Home Blog Page 3

नारियल की चटनी | Nariyal ki Chatni in hindi | Coconut Chutney Recipe in hindi

0
coconut chatni recipe in hindi
नारियल की चटनी | coconut chutney in hindi

nc10नारियल चटनी (coconut chutney) साउथ इंडियन रेसिपीज जैसे इडली (idli), डोसा (dosa), वडा(vada), उत्तपम(uttapam) के साथ खायी जाती है । नारियल चटनी के बिना तो इन सबका स्वाद अधूरा रह जाता है | नारियल की चटनी बनाने में सबसे ज्यादा टाइम सिर्फ कच्चा  नारियल फोड़ने और उसे निकलने में लगता है । में जब छोटी थी तब हर शनिवार घर में १-२ नारियल फोड़े जाते थे, या तो हम इस नारियल को कच्चा खाते थे या मेरी  मम्मी इस नारियल से चटनी ,लड्डू , सब्जी की ग्रेवी या हप्ते भर में बनने वाले नाश्ते जैसे पोहा ,उपमा इत्यादि पर garnishing  के लिए इस्तेमाल करती थी ।

नारियल की चटनी – Nariyal ki Chatni (coconut chutney)

nc9
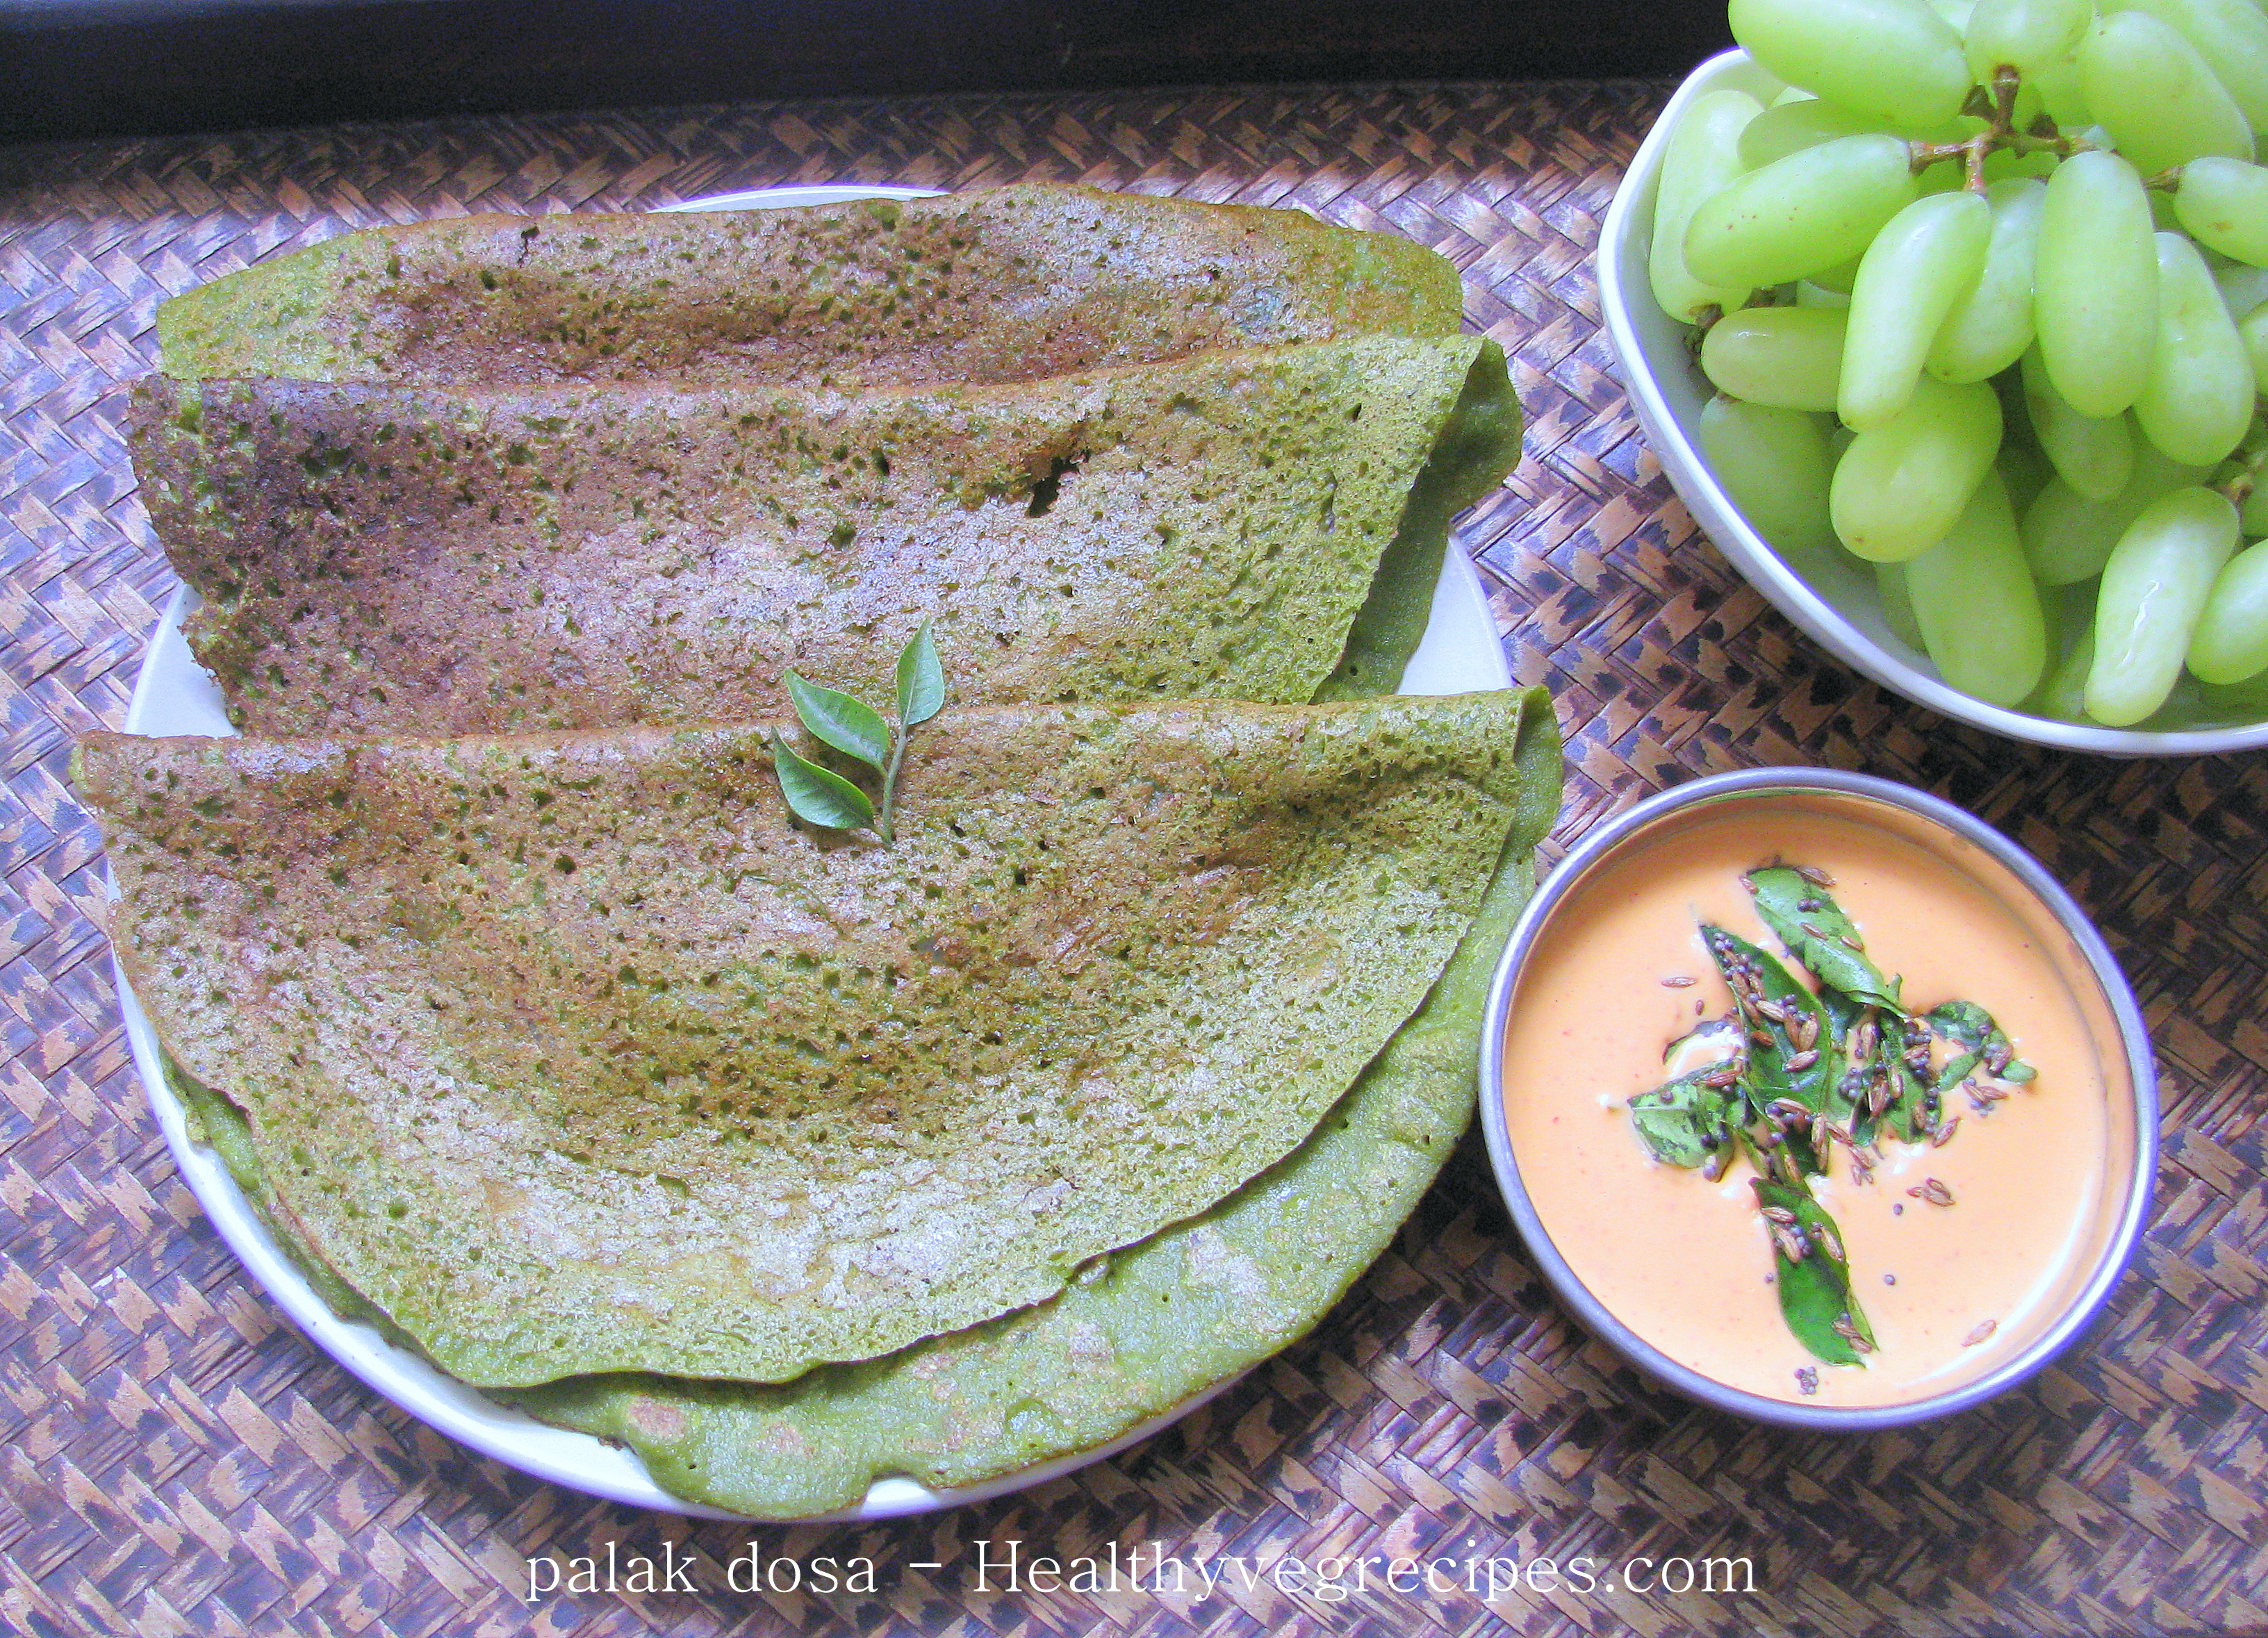
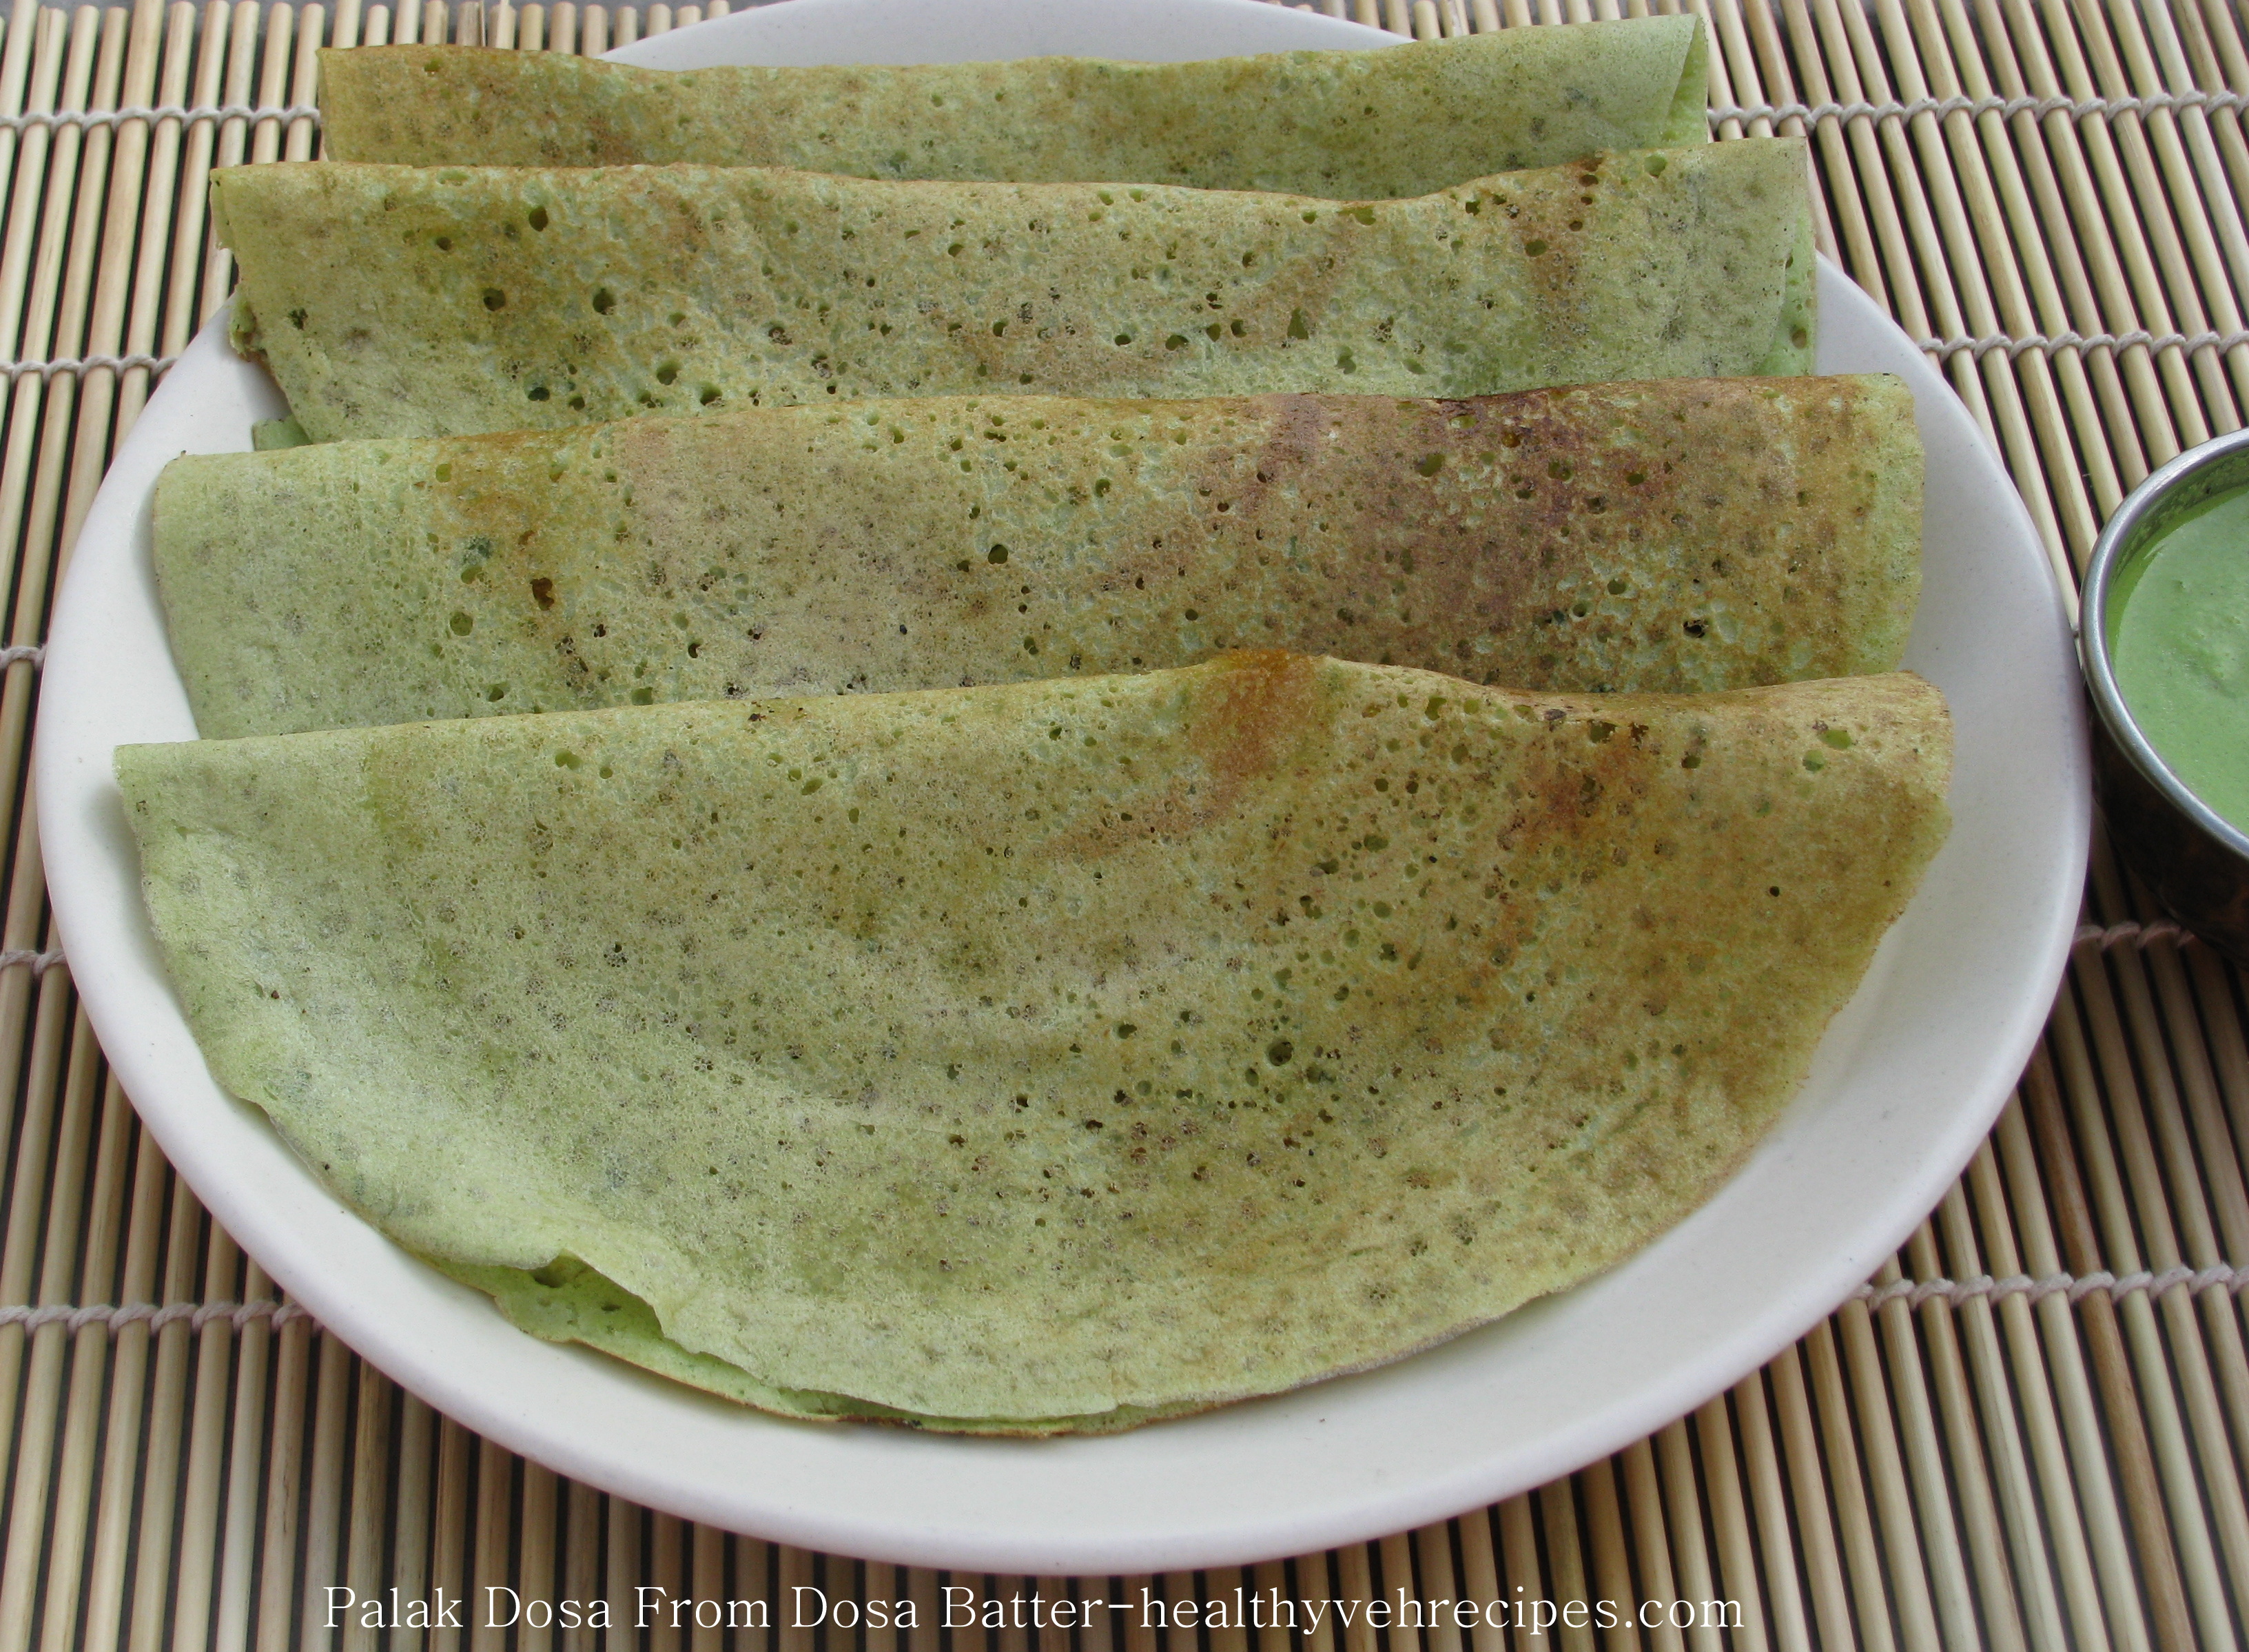
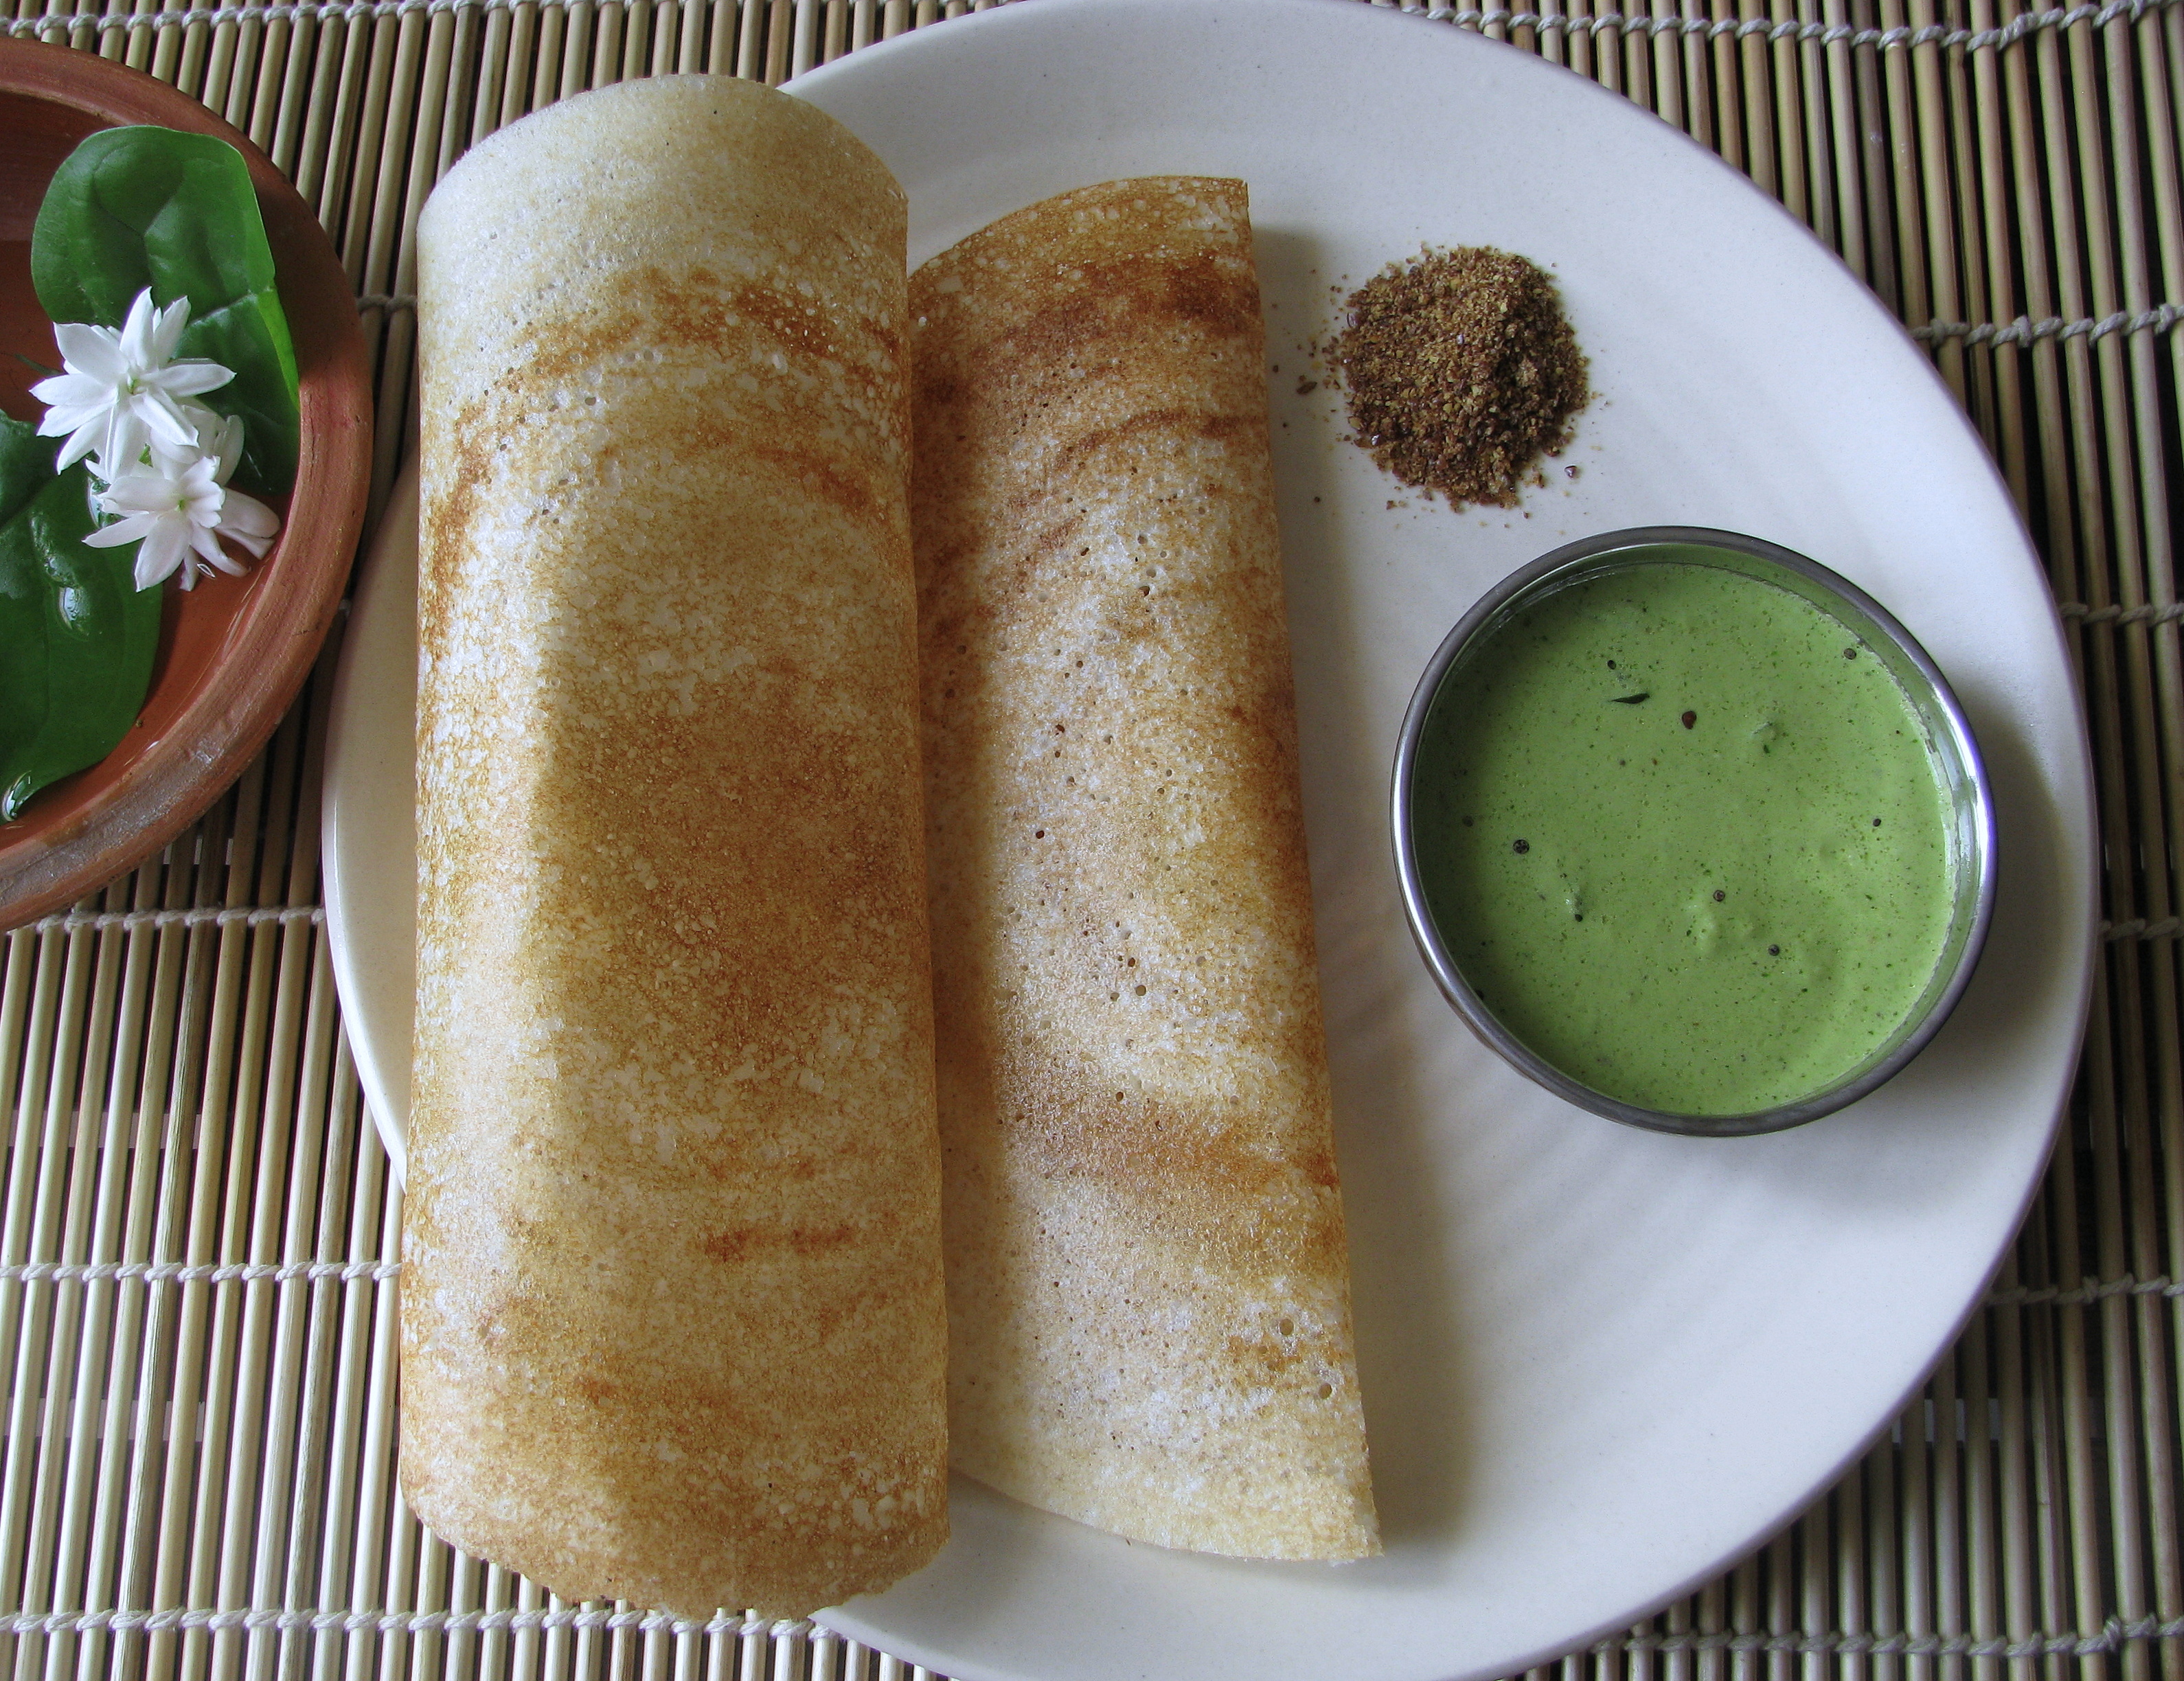
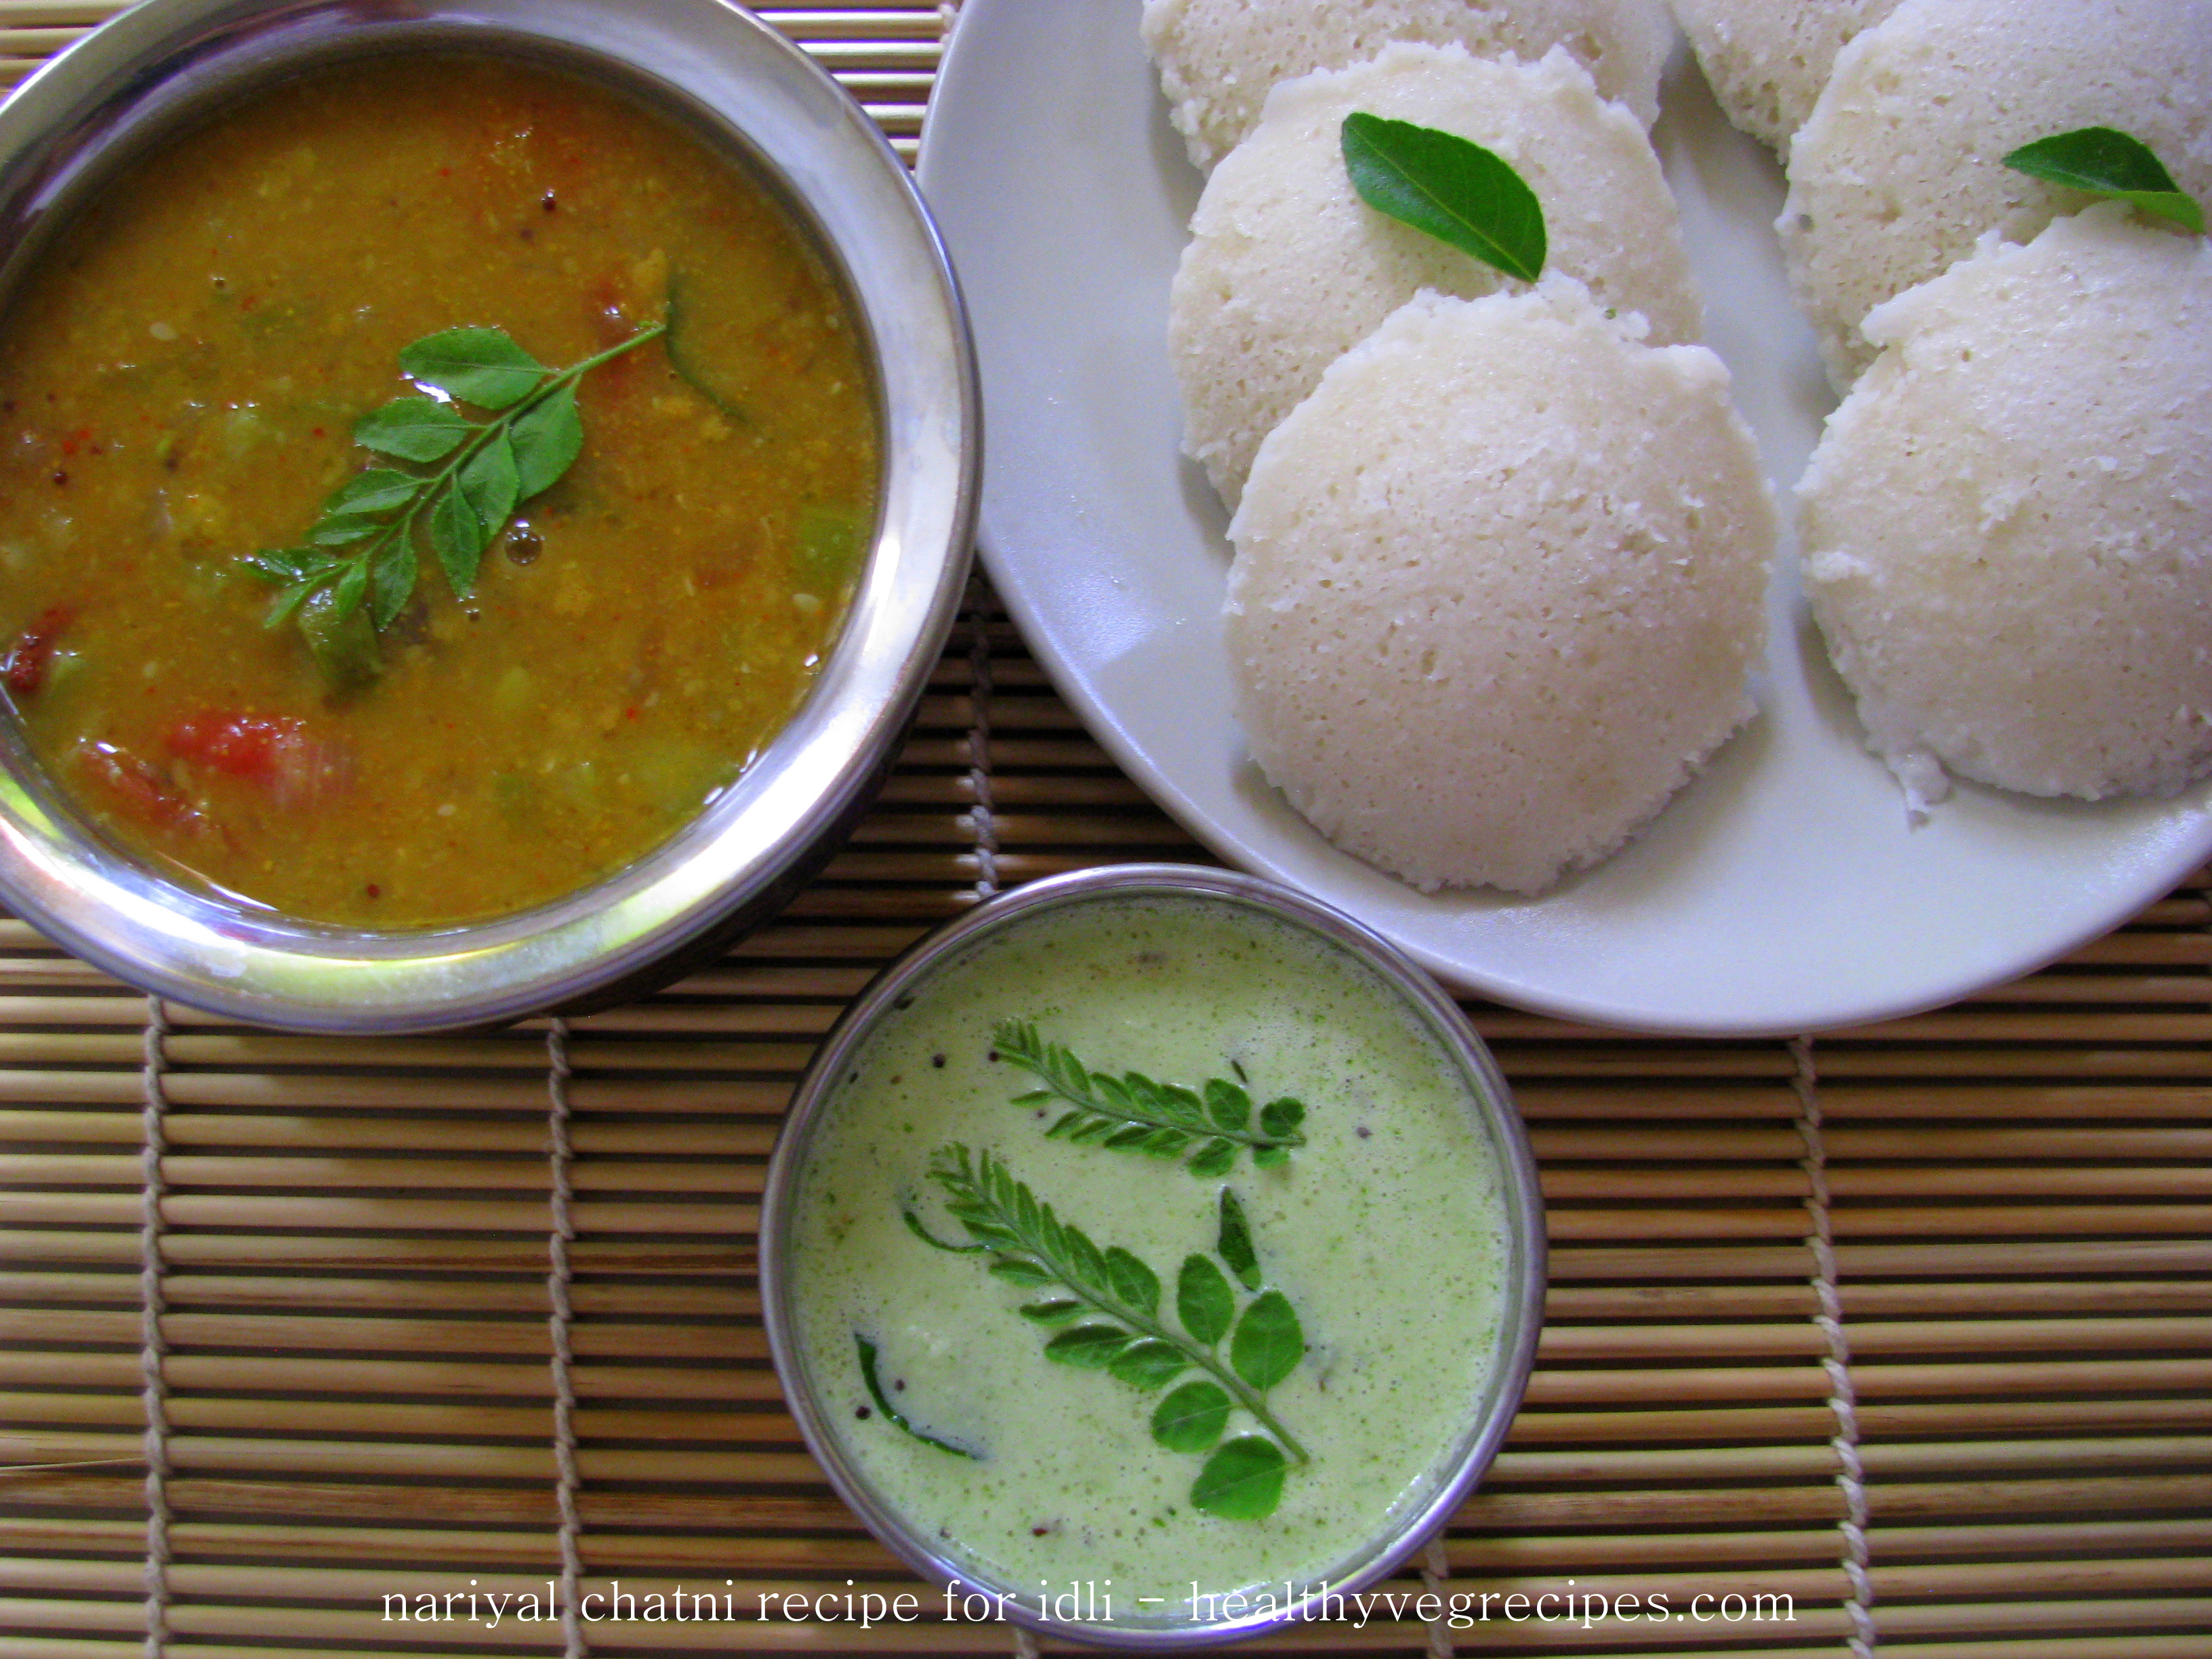
नारियल की यह चटनी इडली(idli), डोसा(dosa) ,वडा(vada) , उत्तपम या परांठे के साथ खायी जा सकती है।  गुजरती और महाराष्ट्रियन लोगो के यंहा थाली में इस चटनी को थोड़ा सूखा बना कर परोसा जाता है । व्रत में इस चटनी को बिना लहसुन(garlic), करीपत्ता(curry leaves) के बनाकर परोसा जाता है , यह साबूदाना खिचड़ी , सिंघाड़े पराठे, व्रत के डोसा के साथ भी बहुत अच्छी लगती है ।यह चटनी स्वादिष्ट तो बनती ही है पर साथ ही साथ इसे खाने के काफी फायदे (हेल्थ benefits)भी हैं|

nariyal ki chatni with dosa

इसे बनाने के लिए डाली जाने वाली हर सामग्री के फायदे है जैसे –

नारियल (coconut)-

नारियल खाने के काफी फायदे हैं |नारियल heart के लिए बहोत अच्छा माना जाता है ,इसमें medium chain fatty acids (MCFA) पाए जाते है जो heart diseases रोकने में मदत करते हैं | साथ ही साथ इसमें fiber की मात्रा भी बहोत  ज्यादा है| इसका  glycemic index भी  बहोत कम है और ये शुगर को कंट्रोल में रखता है इसलिए डायबिटीज के लोगो के लिए नारियल खाना अच्छा माना जाता है । इससे digestion ठीक रहता है और साथ ही साथ ये भरपूर energy देता है| इन सबके  अलावा नारियल में ट्रांस fats नहीं हैं और इसमें antibacterial ,antiviral और anti parasitic healing properties है| यह हमारी रोग प्रतिकार शक्ति को बढ़ाता है|

मूंगफली / चटनी वाली दाल (दालिया )-

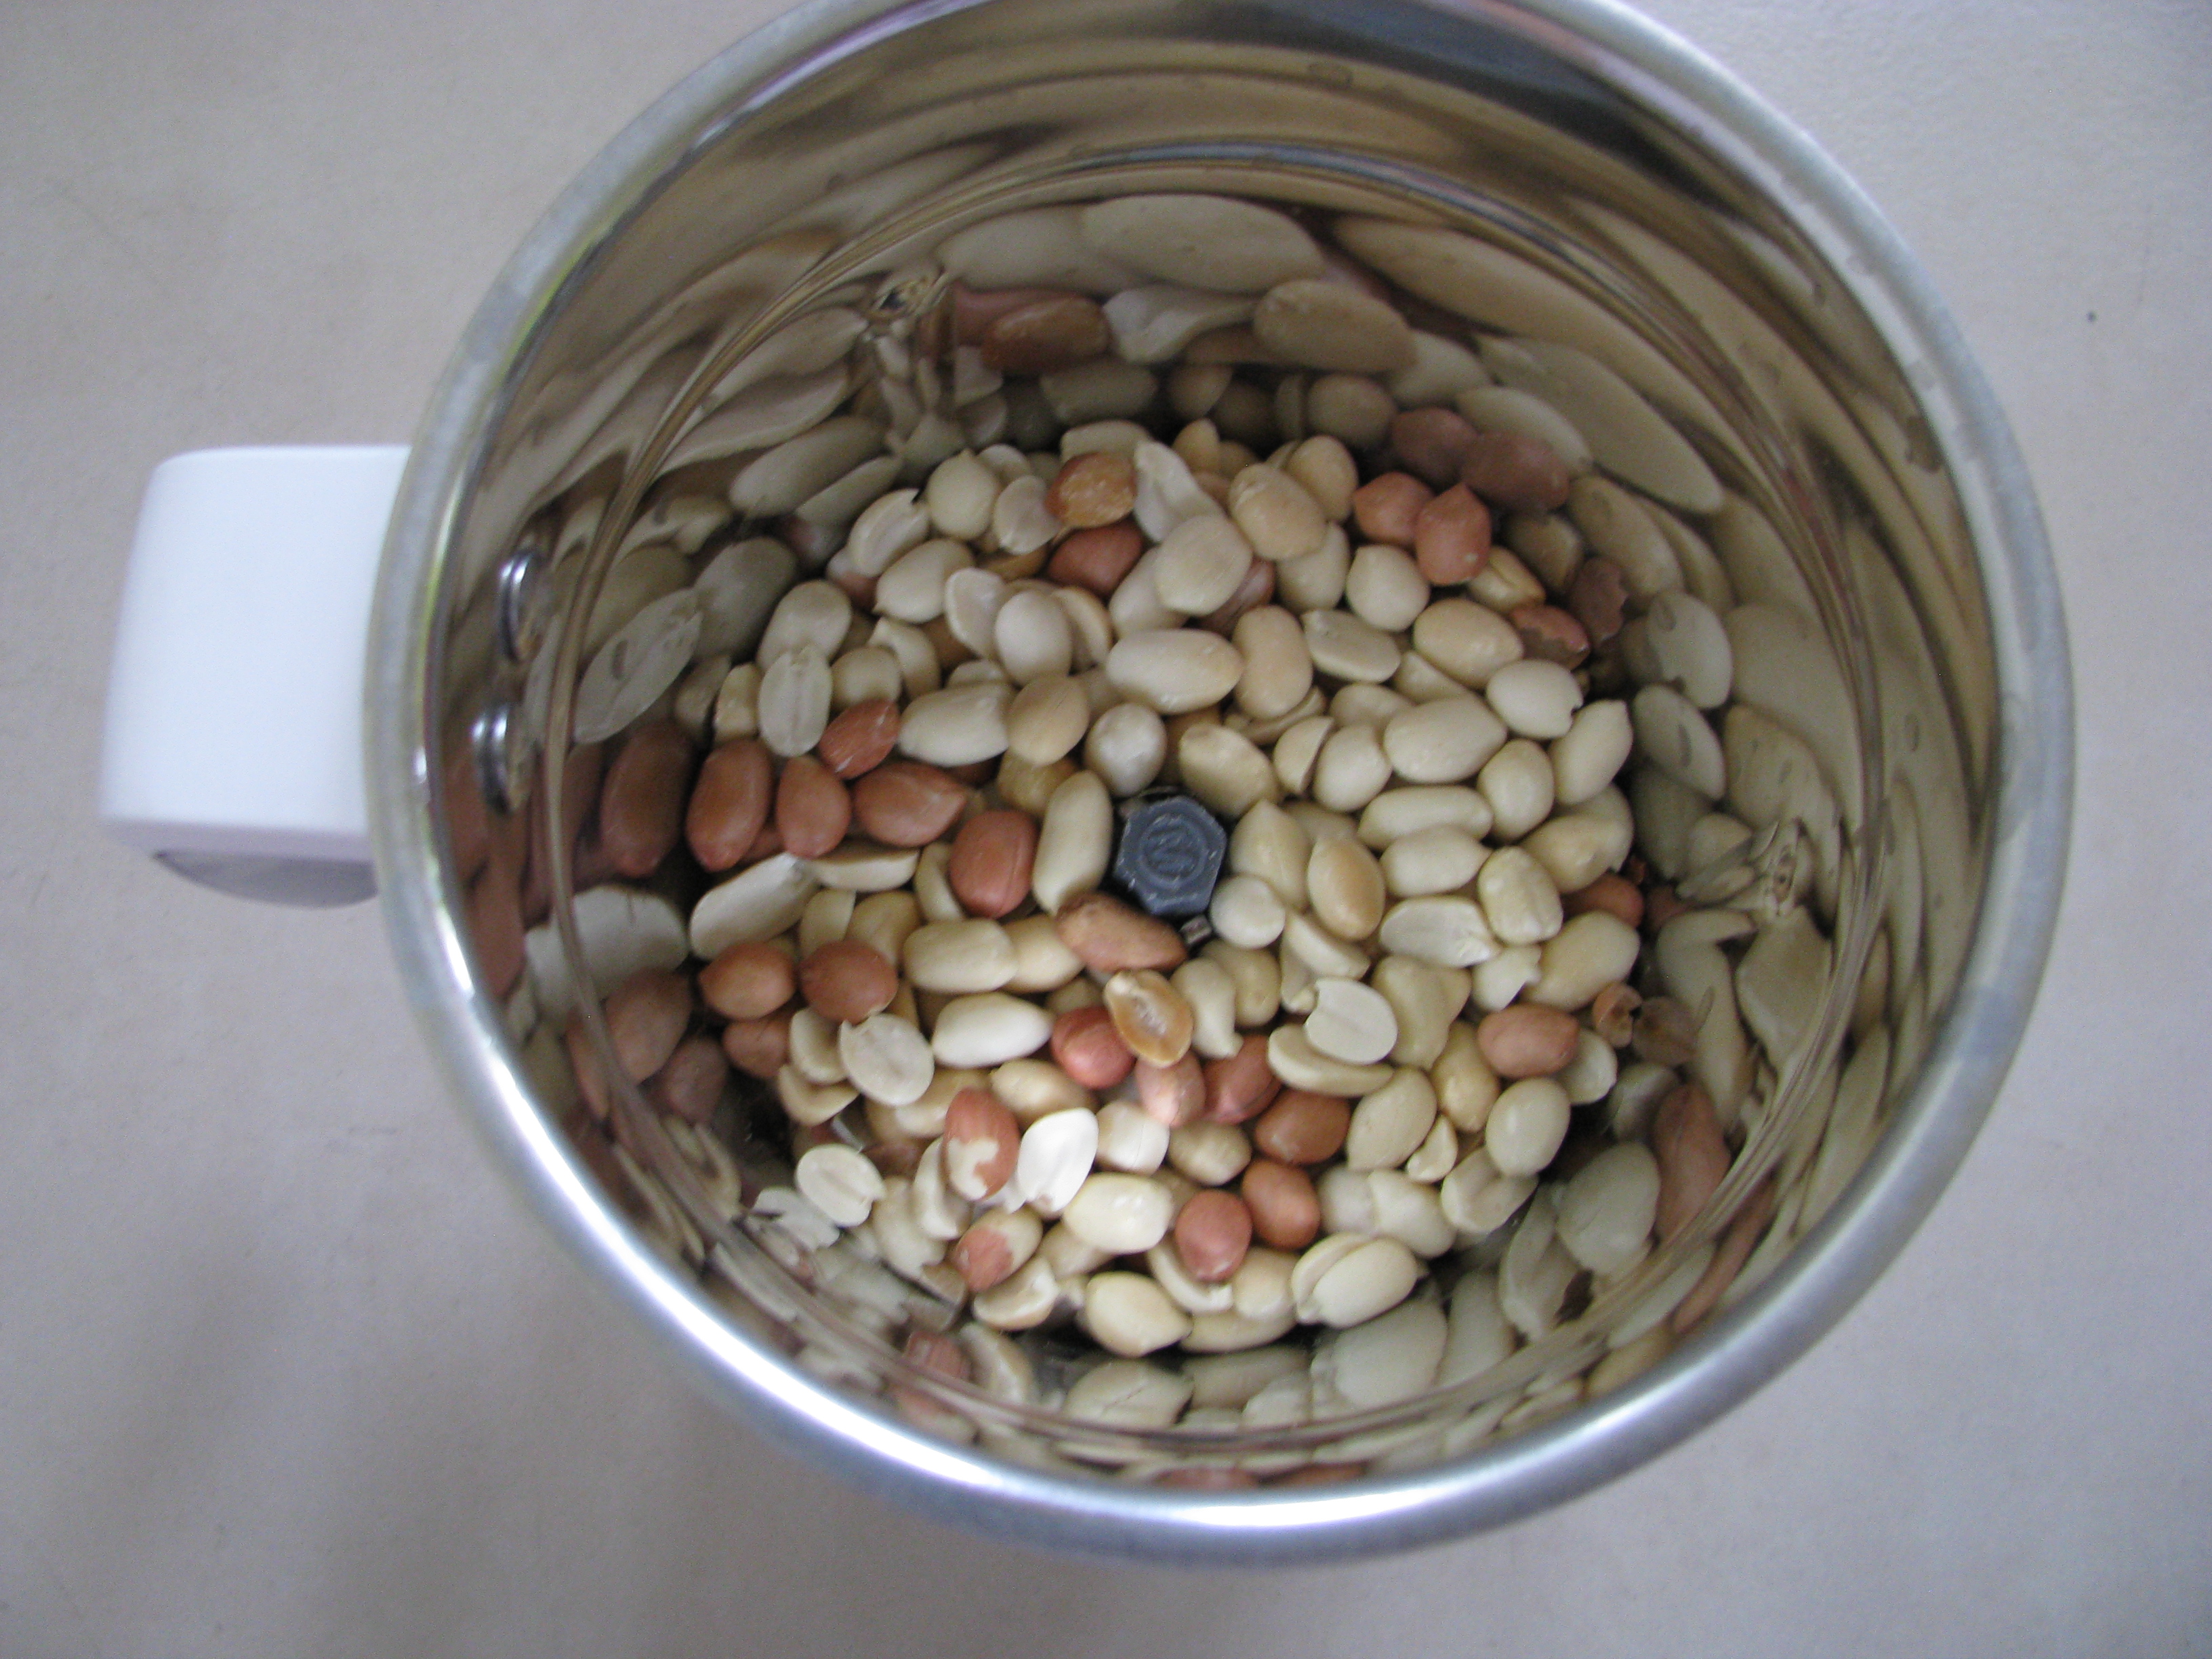
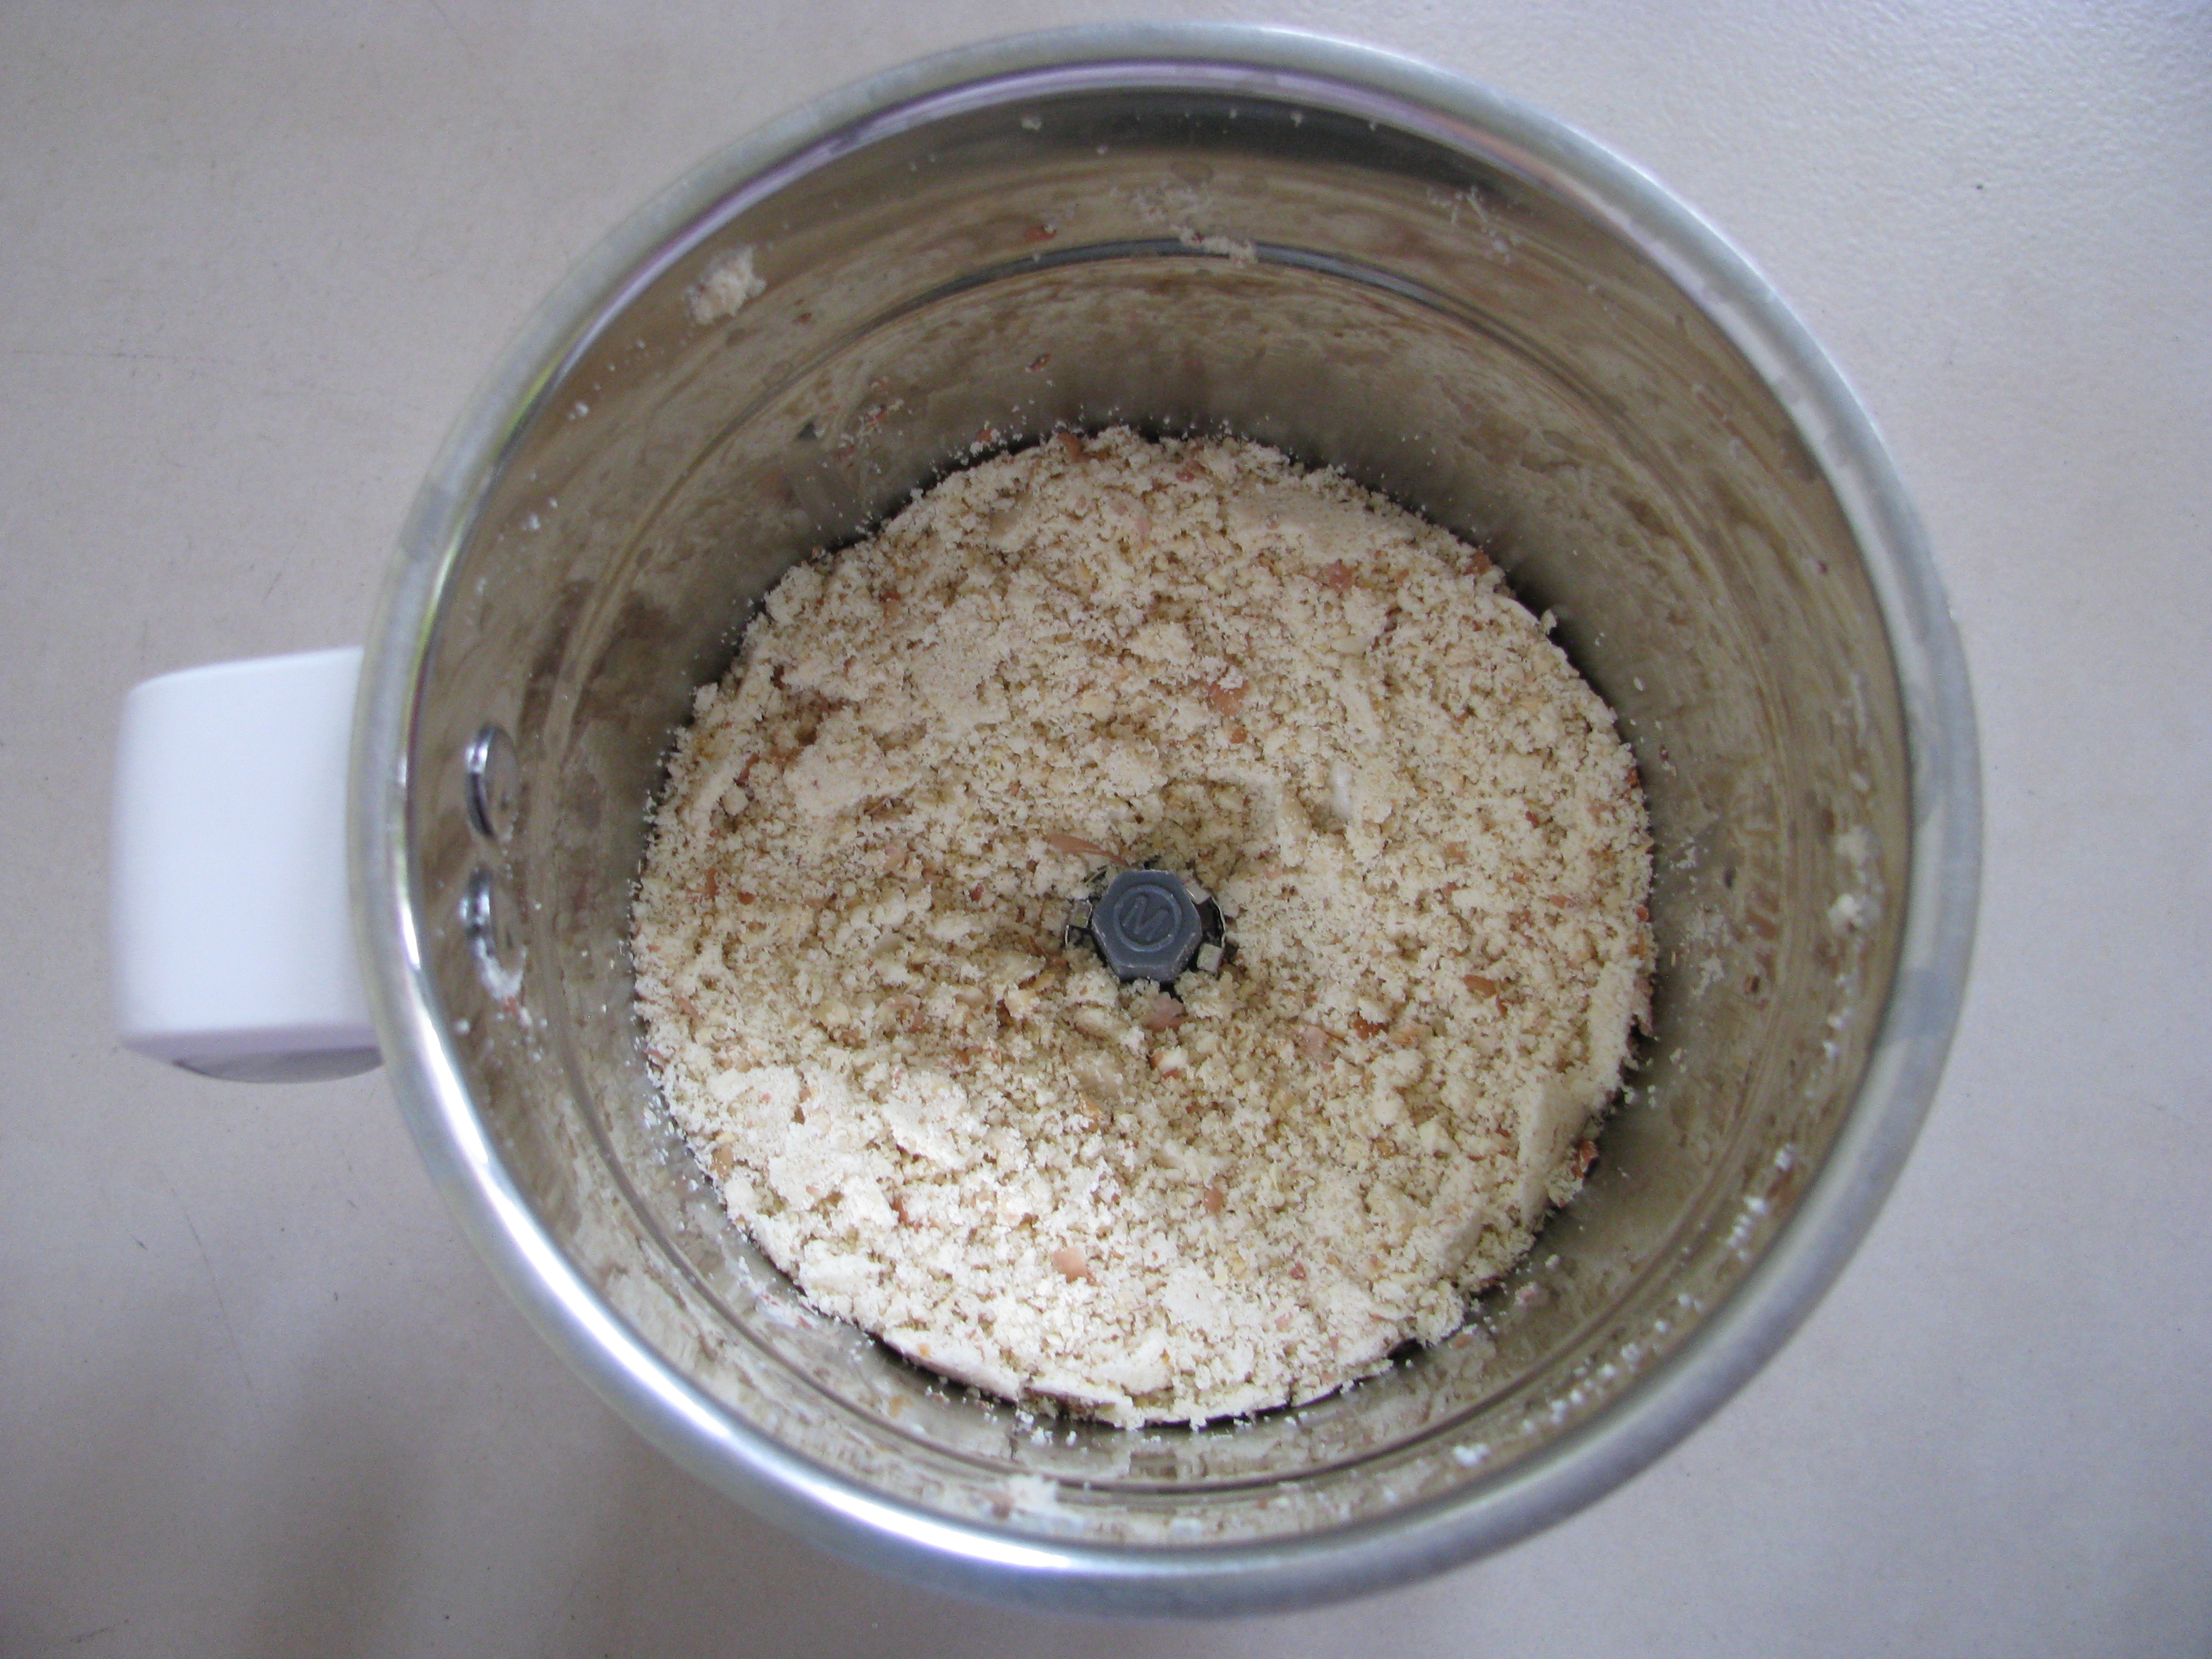
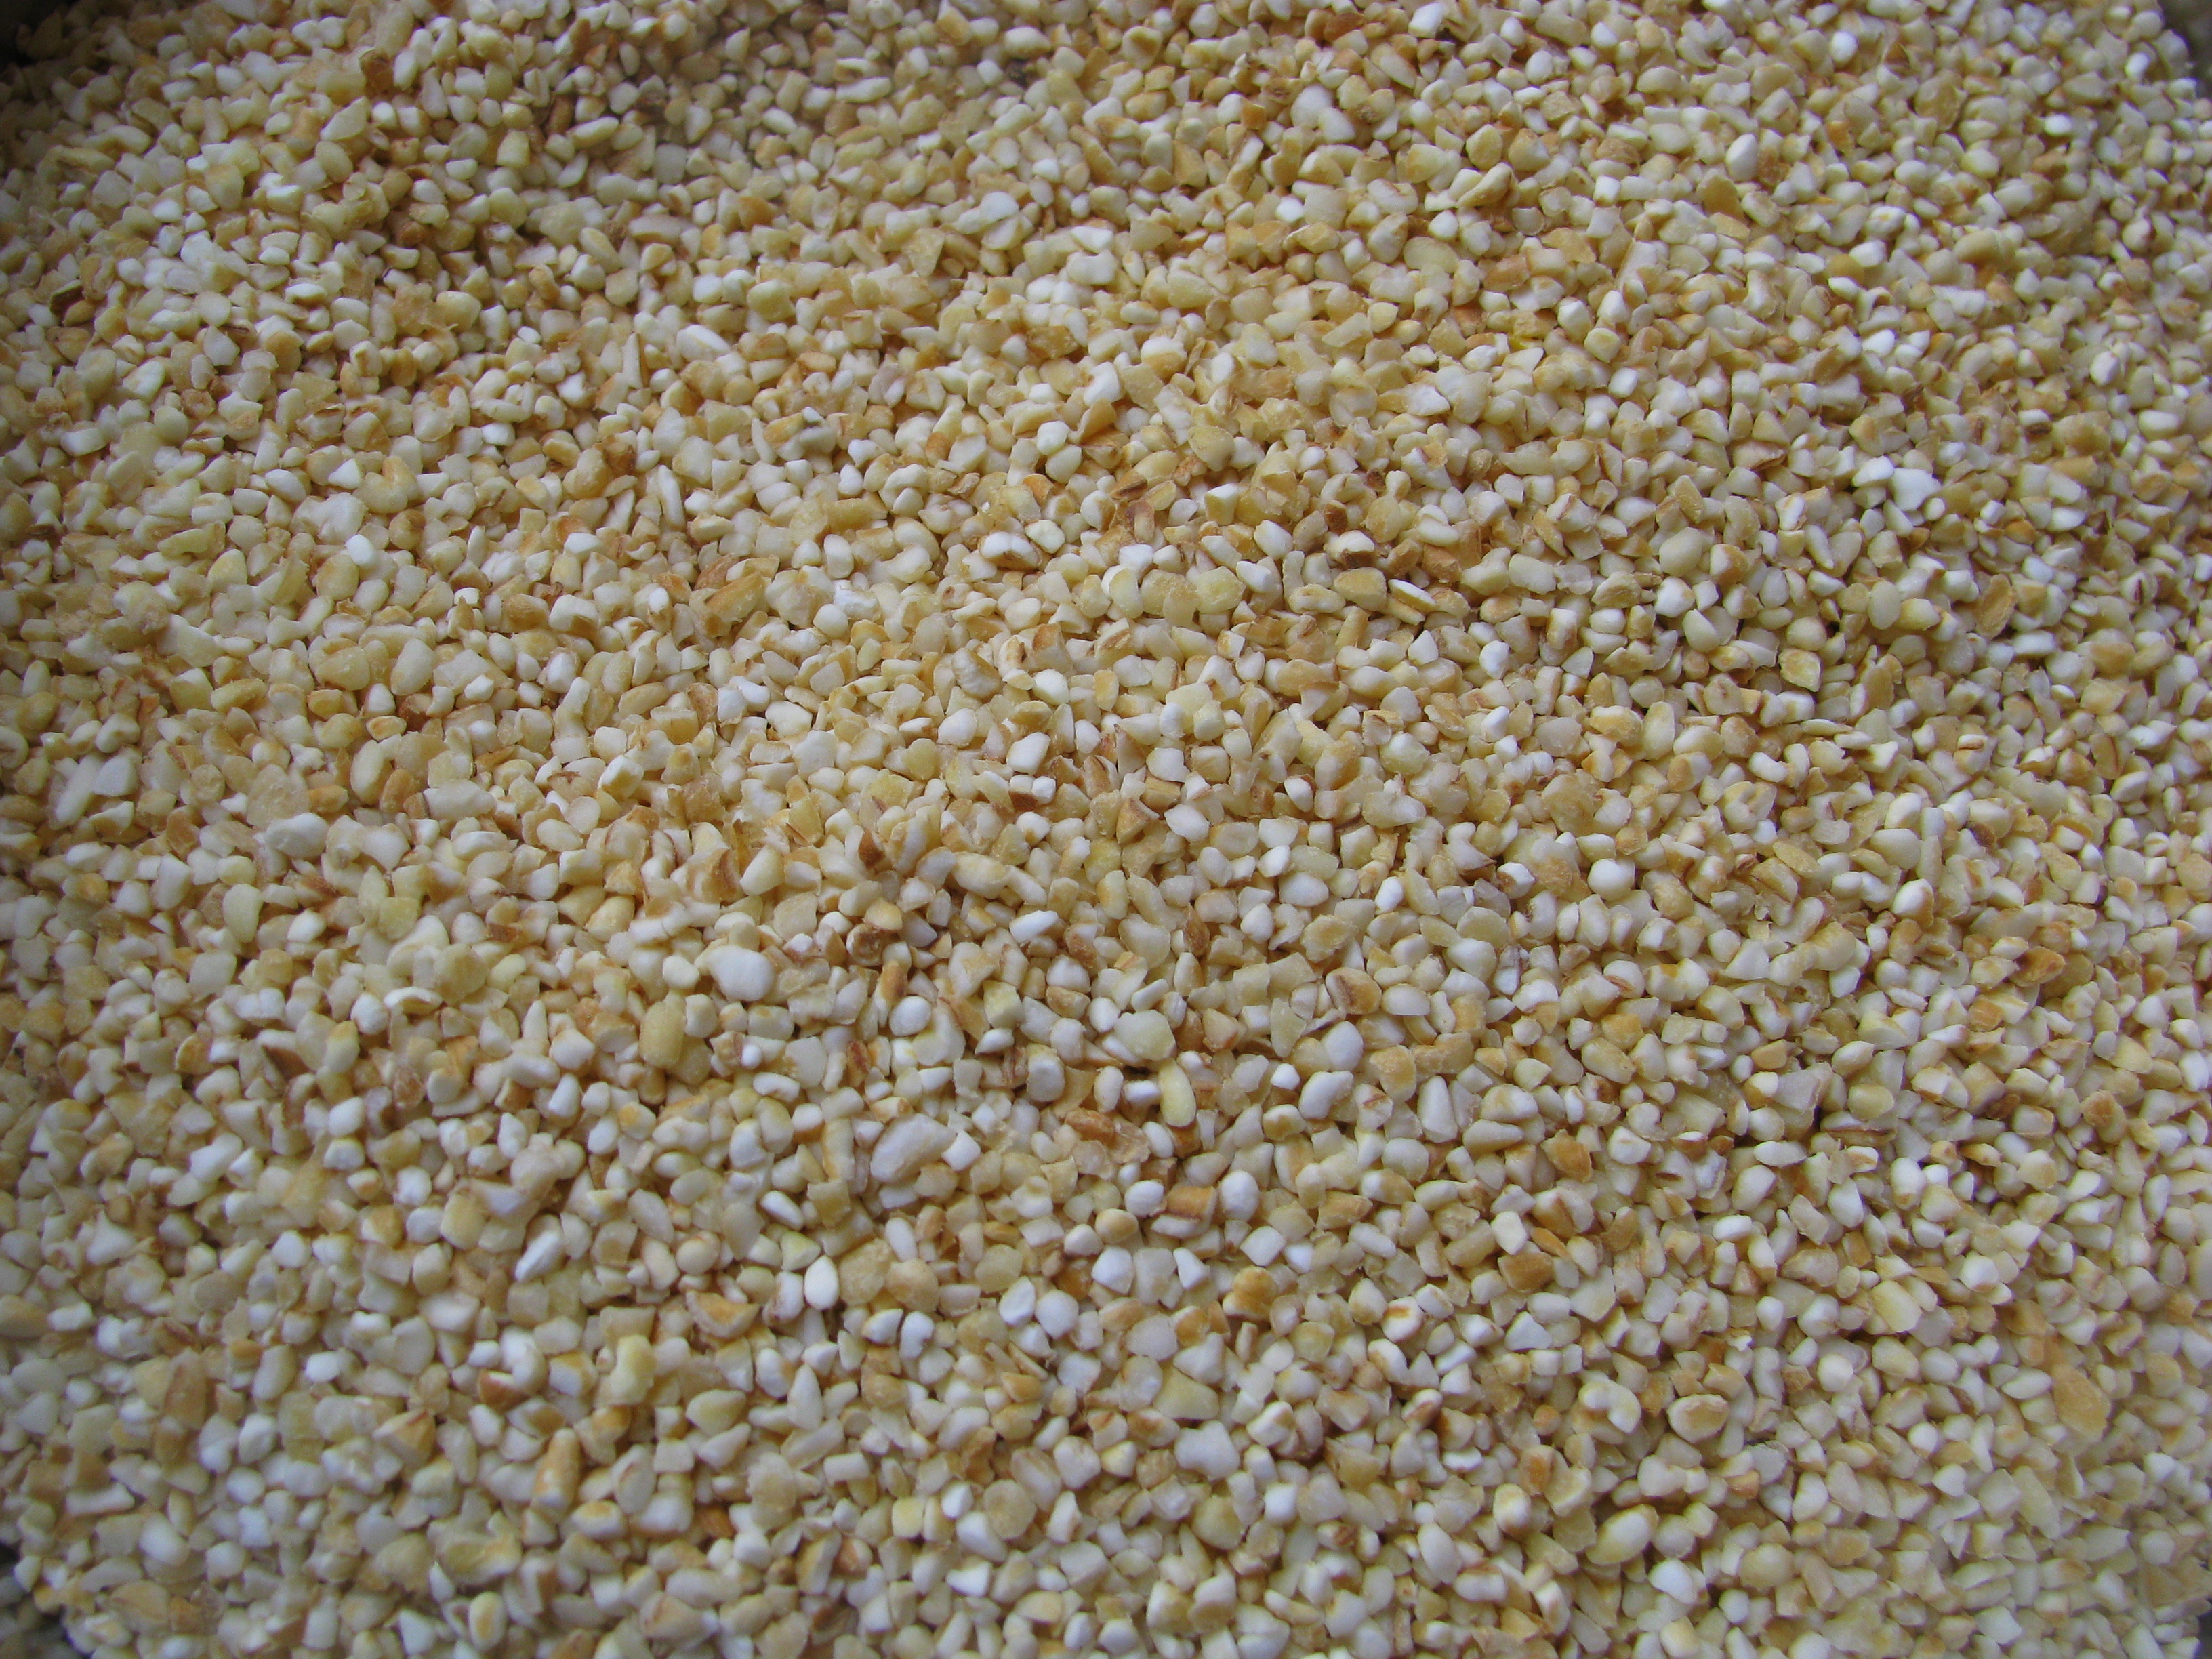
इस चटनी में नारियल के अलावा मूंगफली(moongphalli/ peanuts) या चटनी वाली दाल या दालिया डाली जाती है| इससे चटनी को अच्छी  consistency तो मिलती ही है पर साथ ही साथ दालिया और मूंगफली दोनों ही खाना सेहत के लिए  अच्छा होता है।  moongphalli से  काफी एनर्जी मिलती है और दालिया  खाने से proteins | nc11

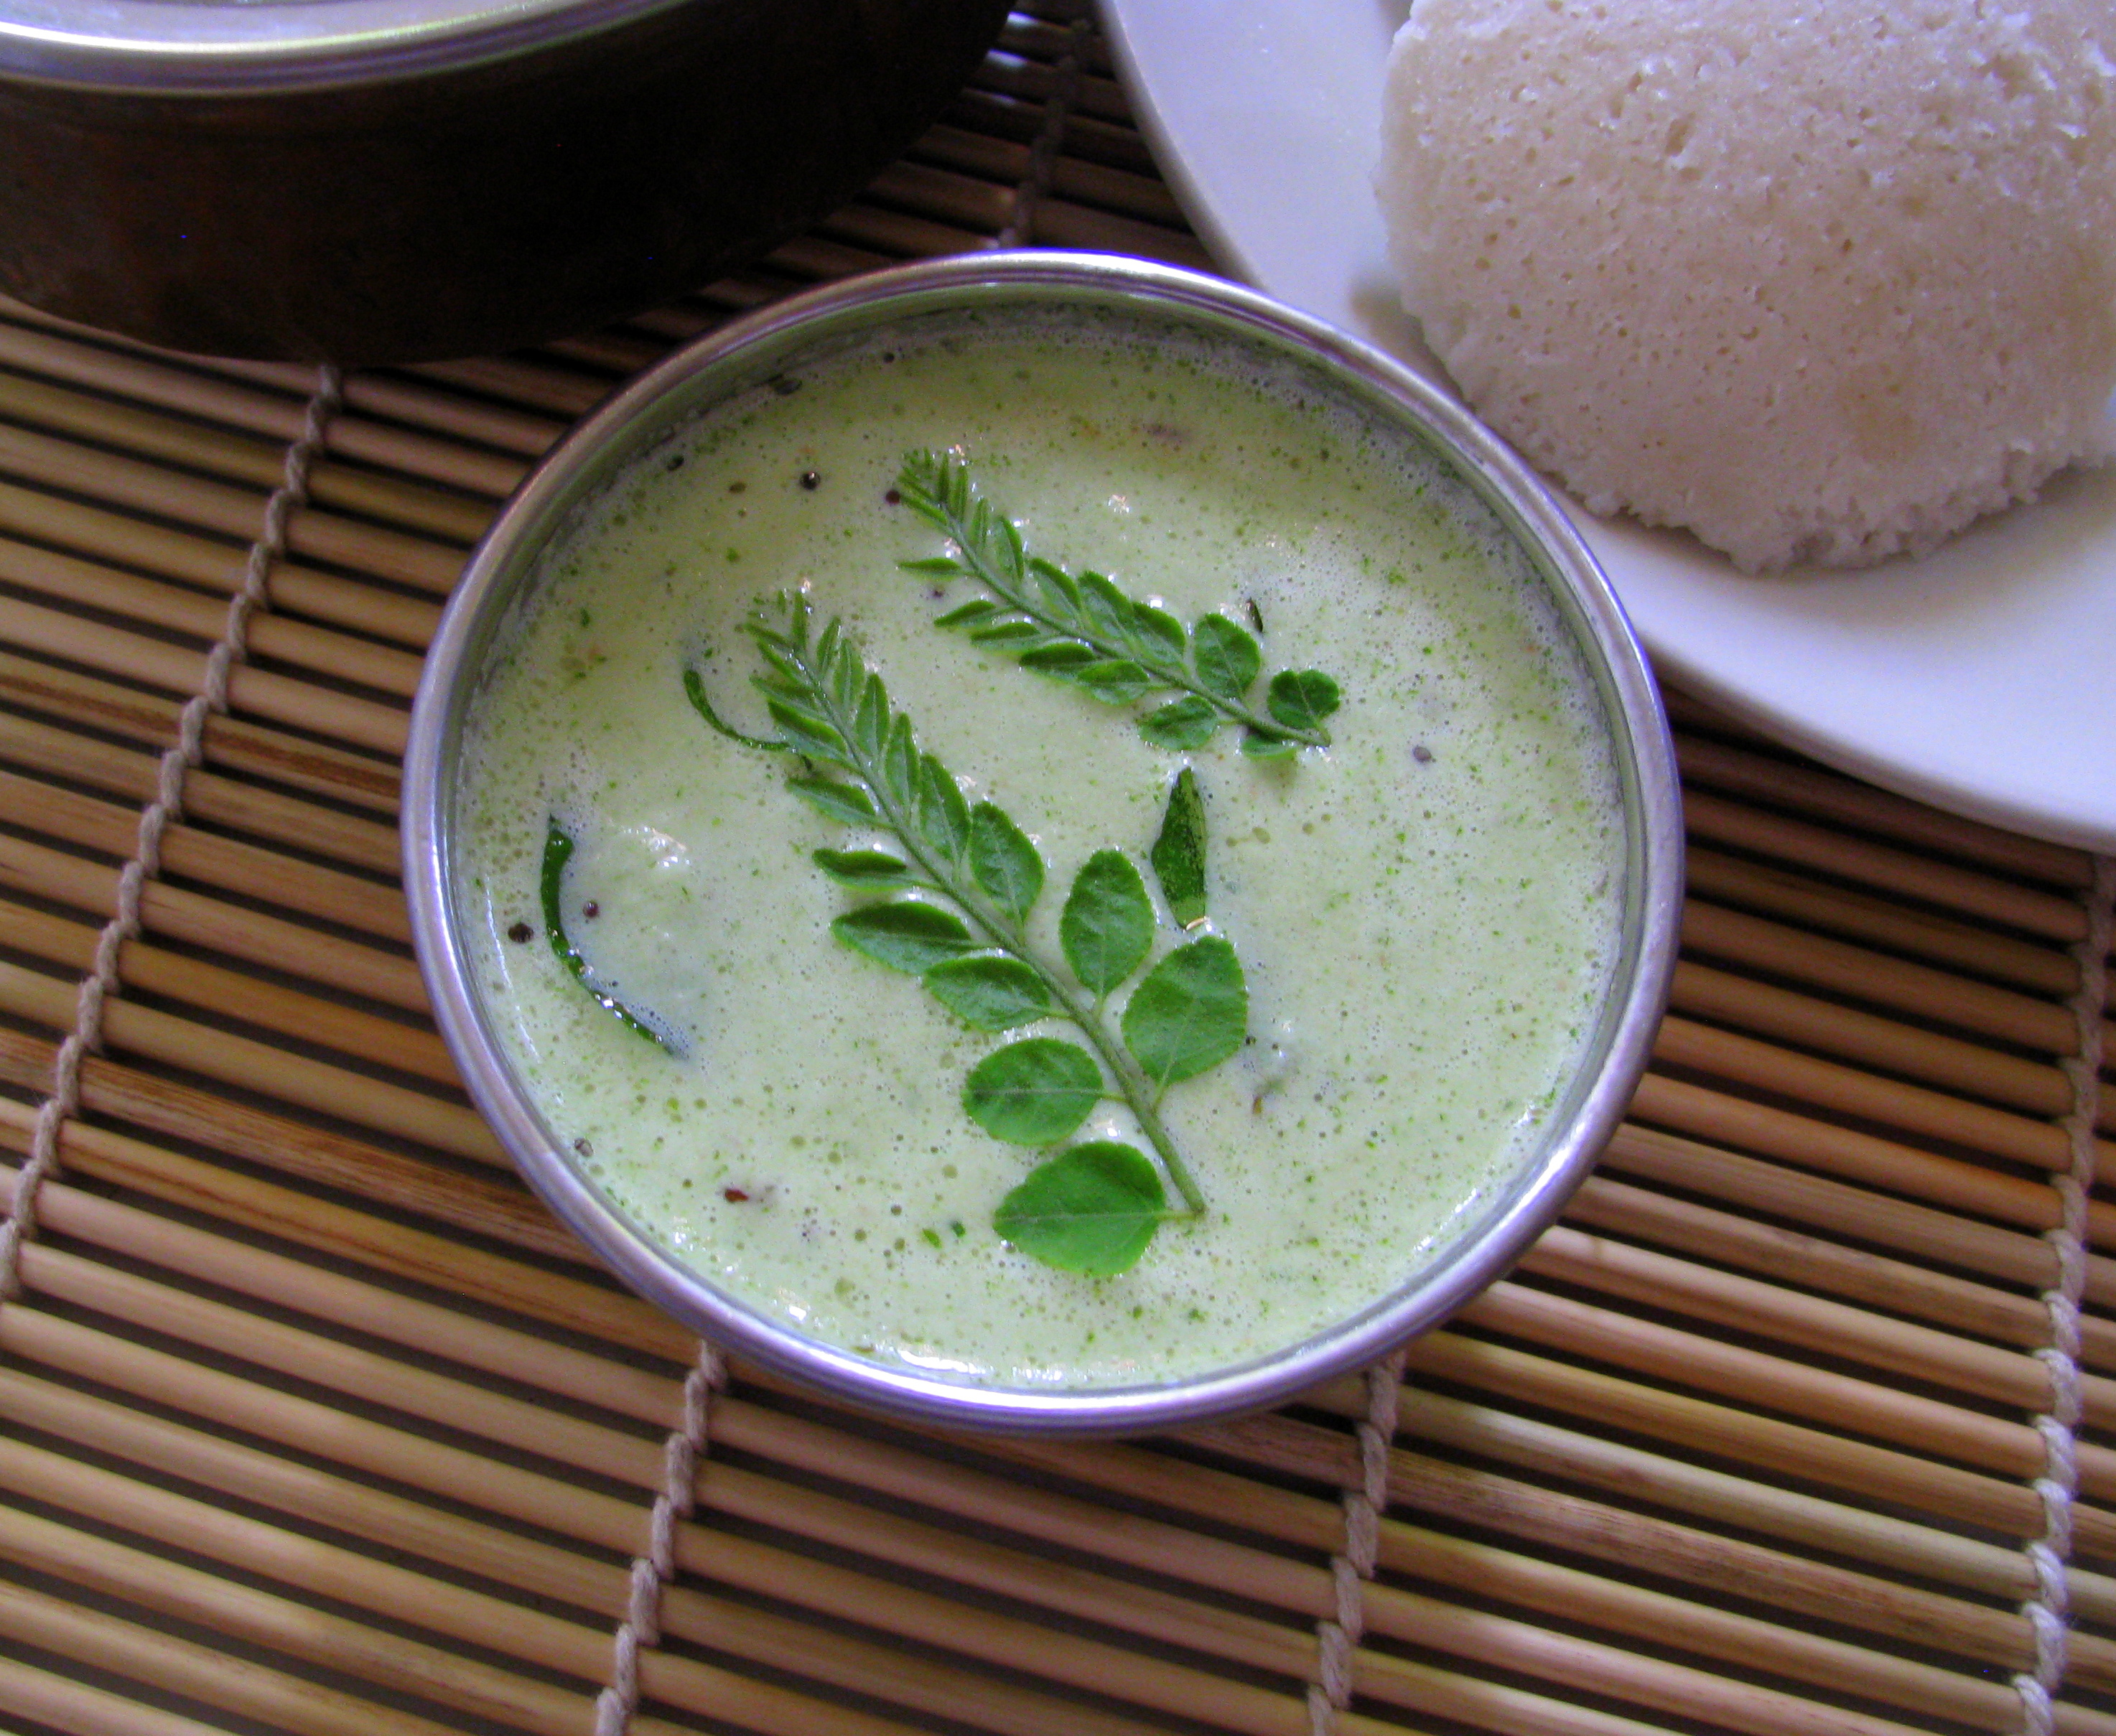
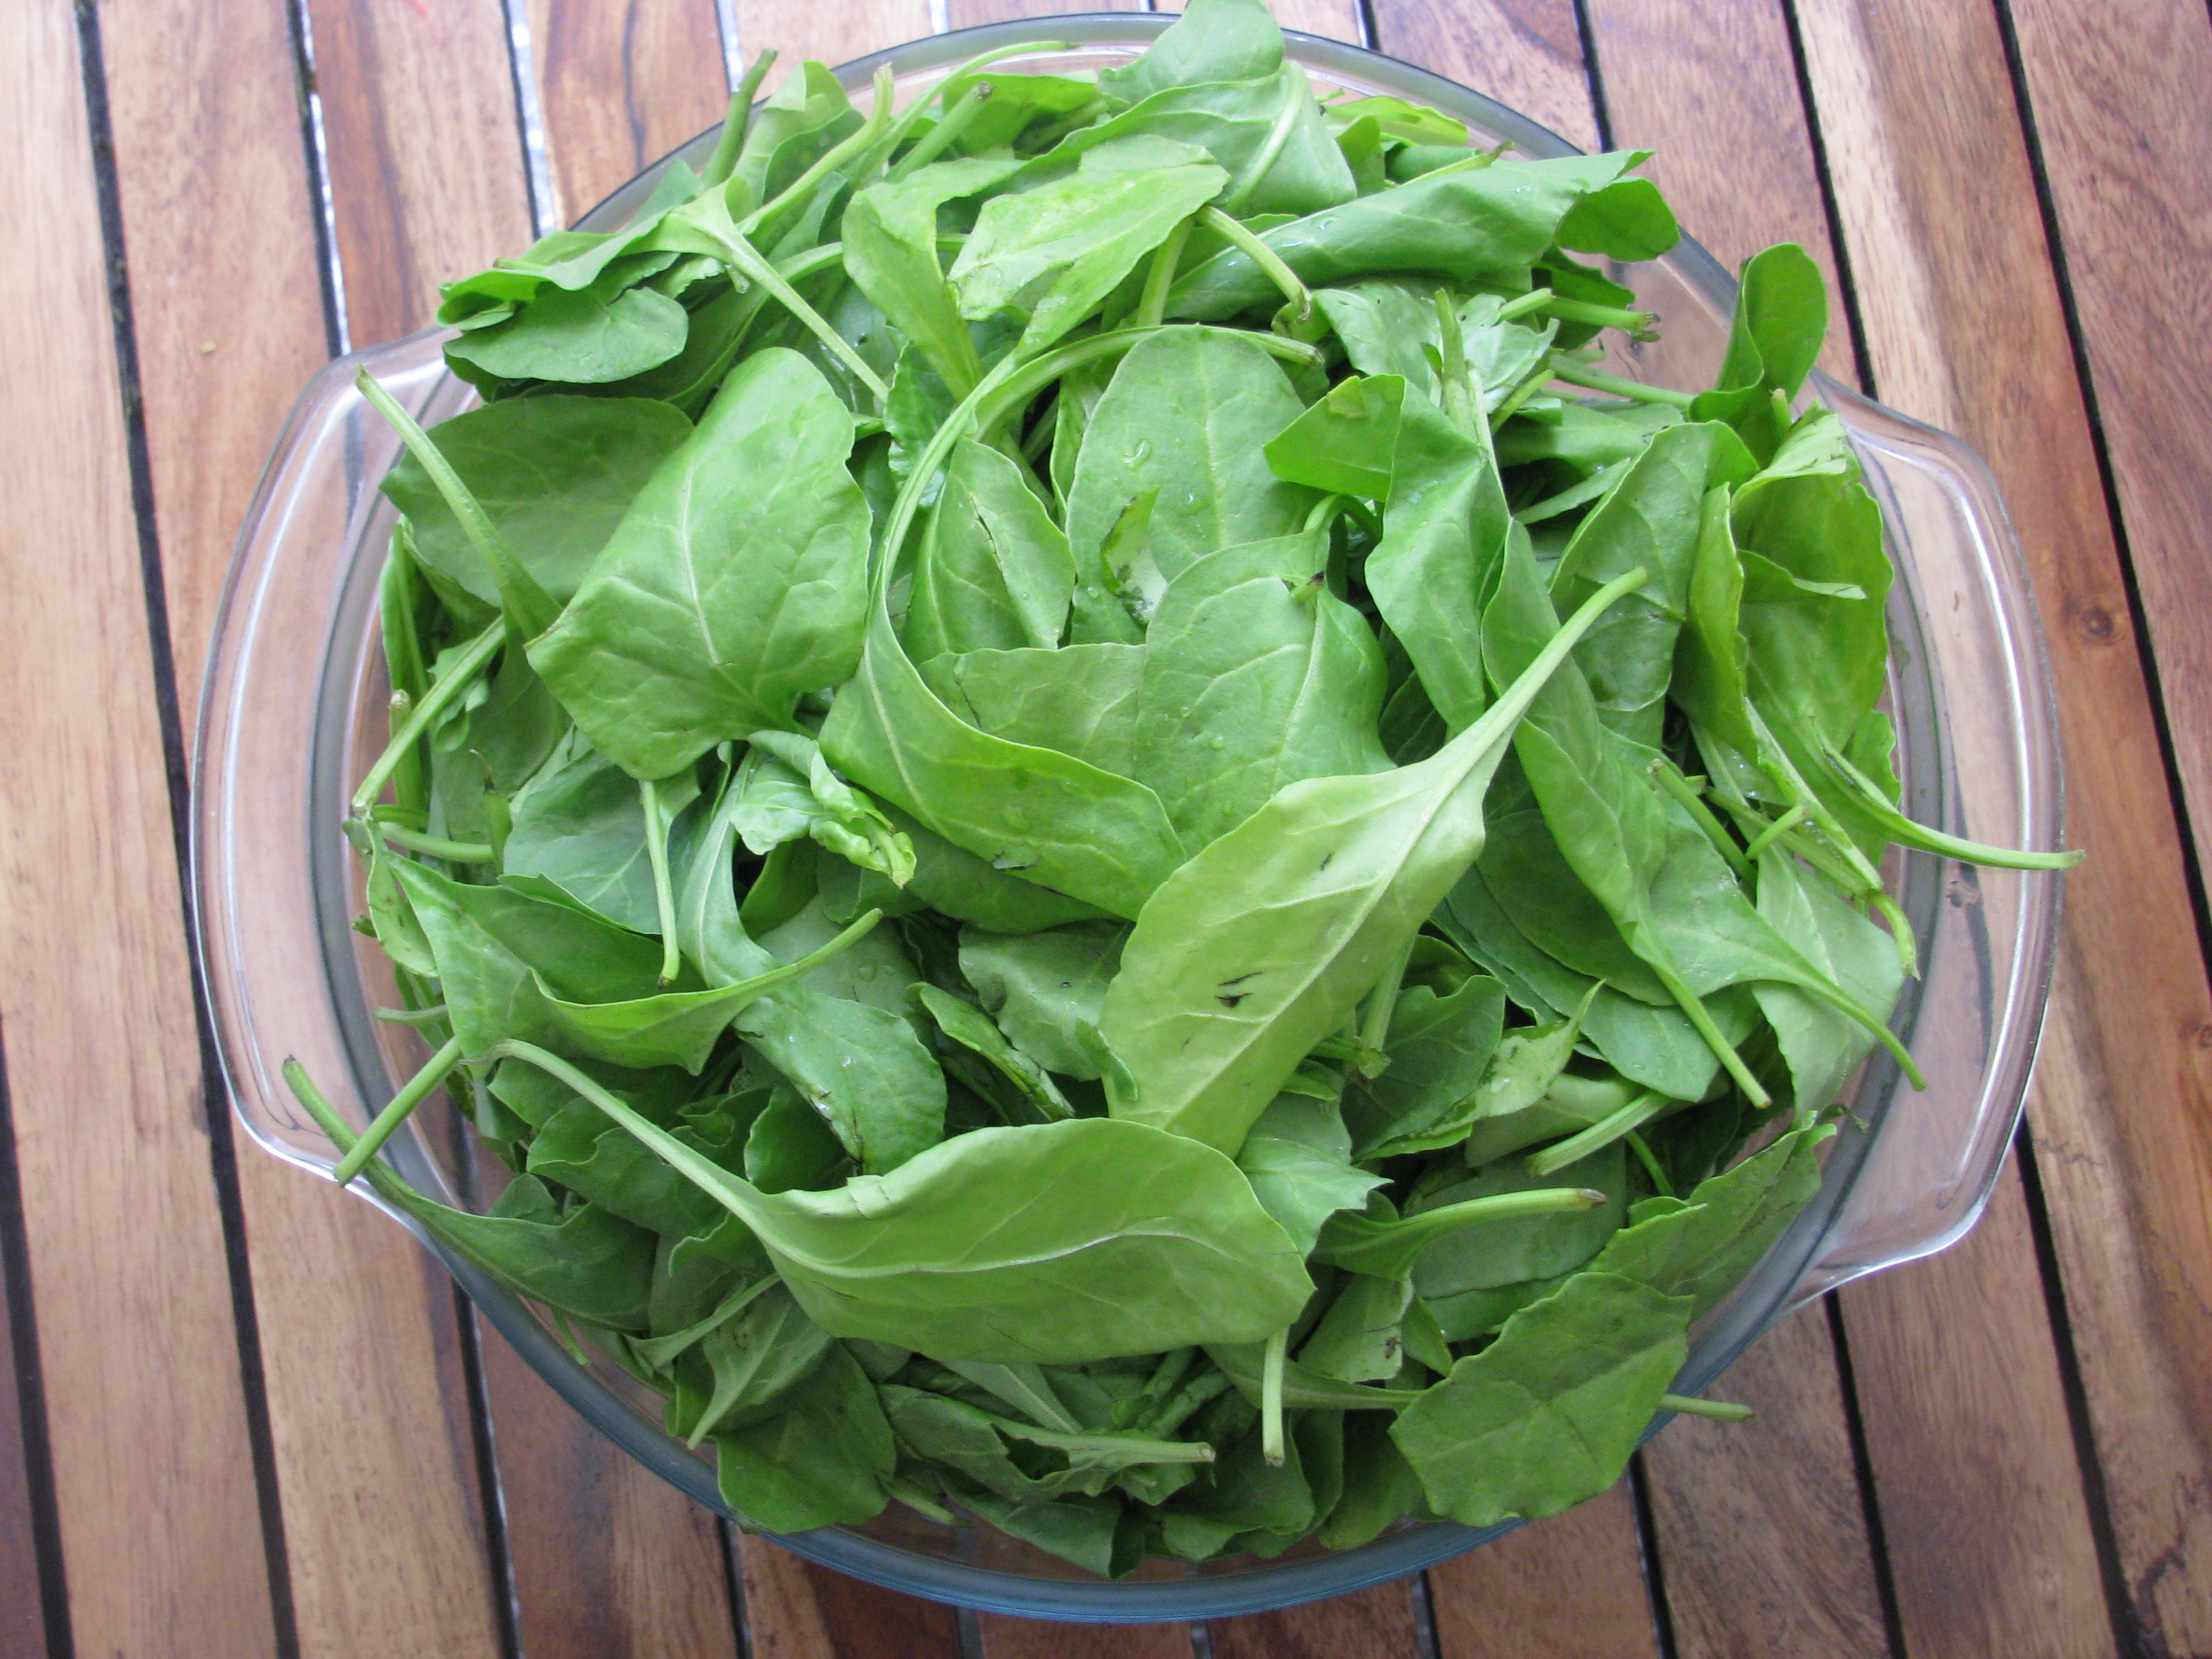
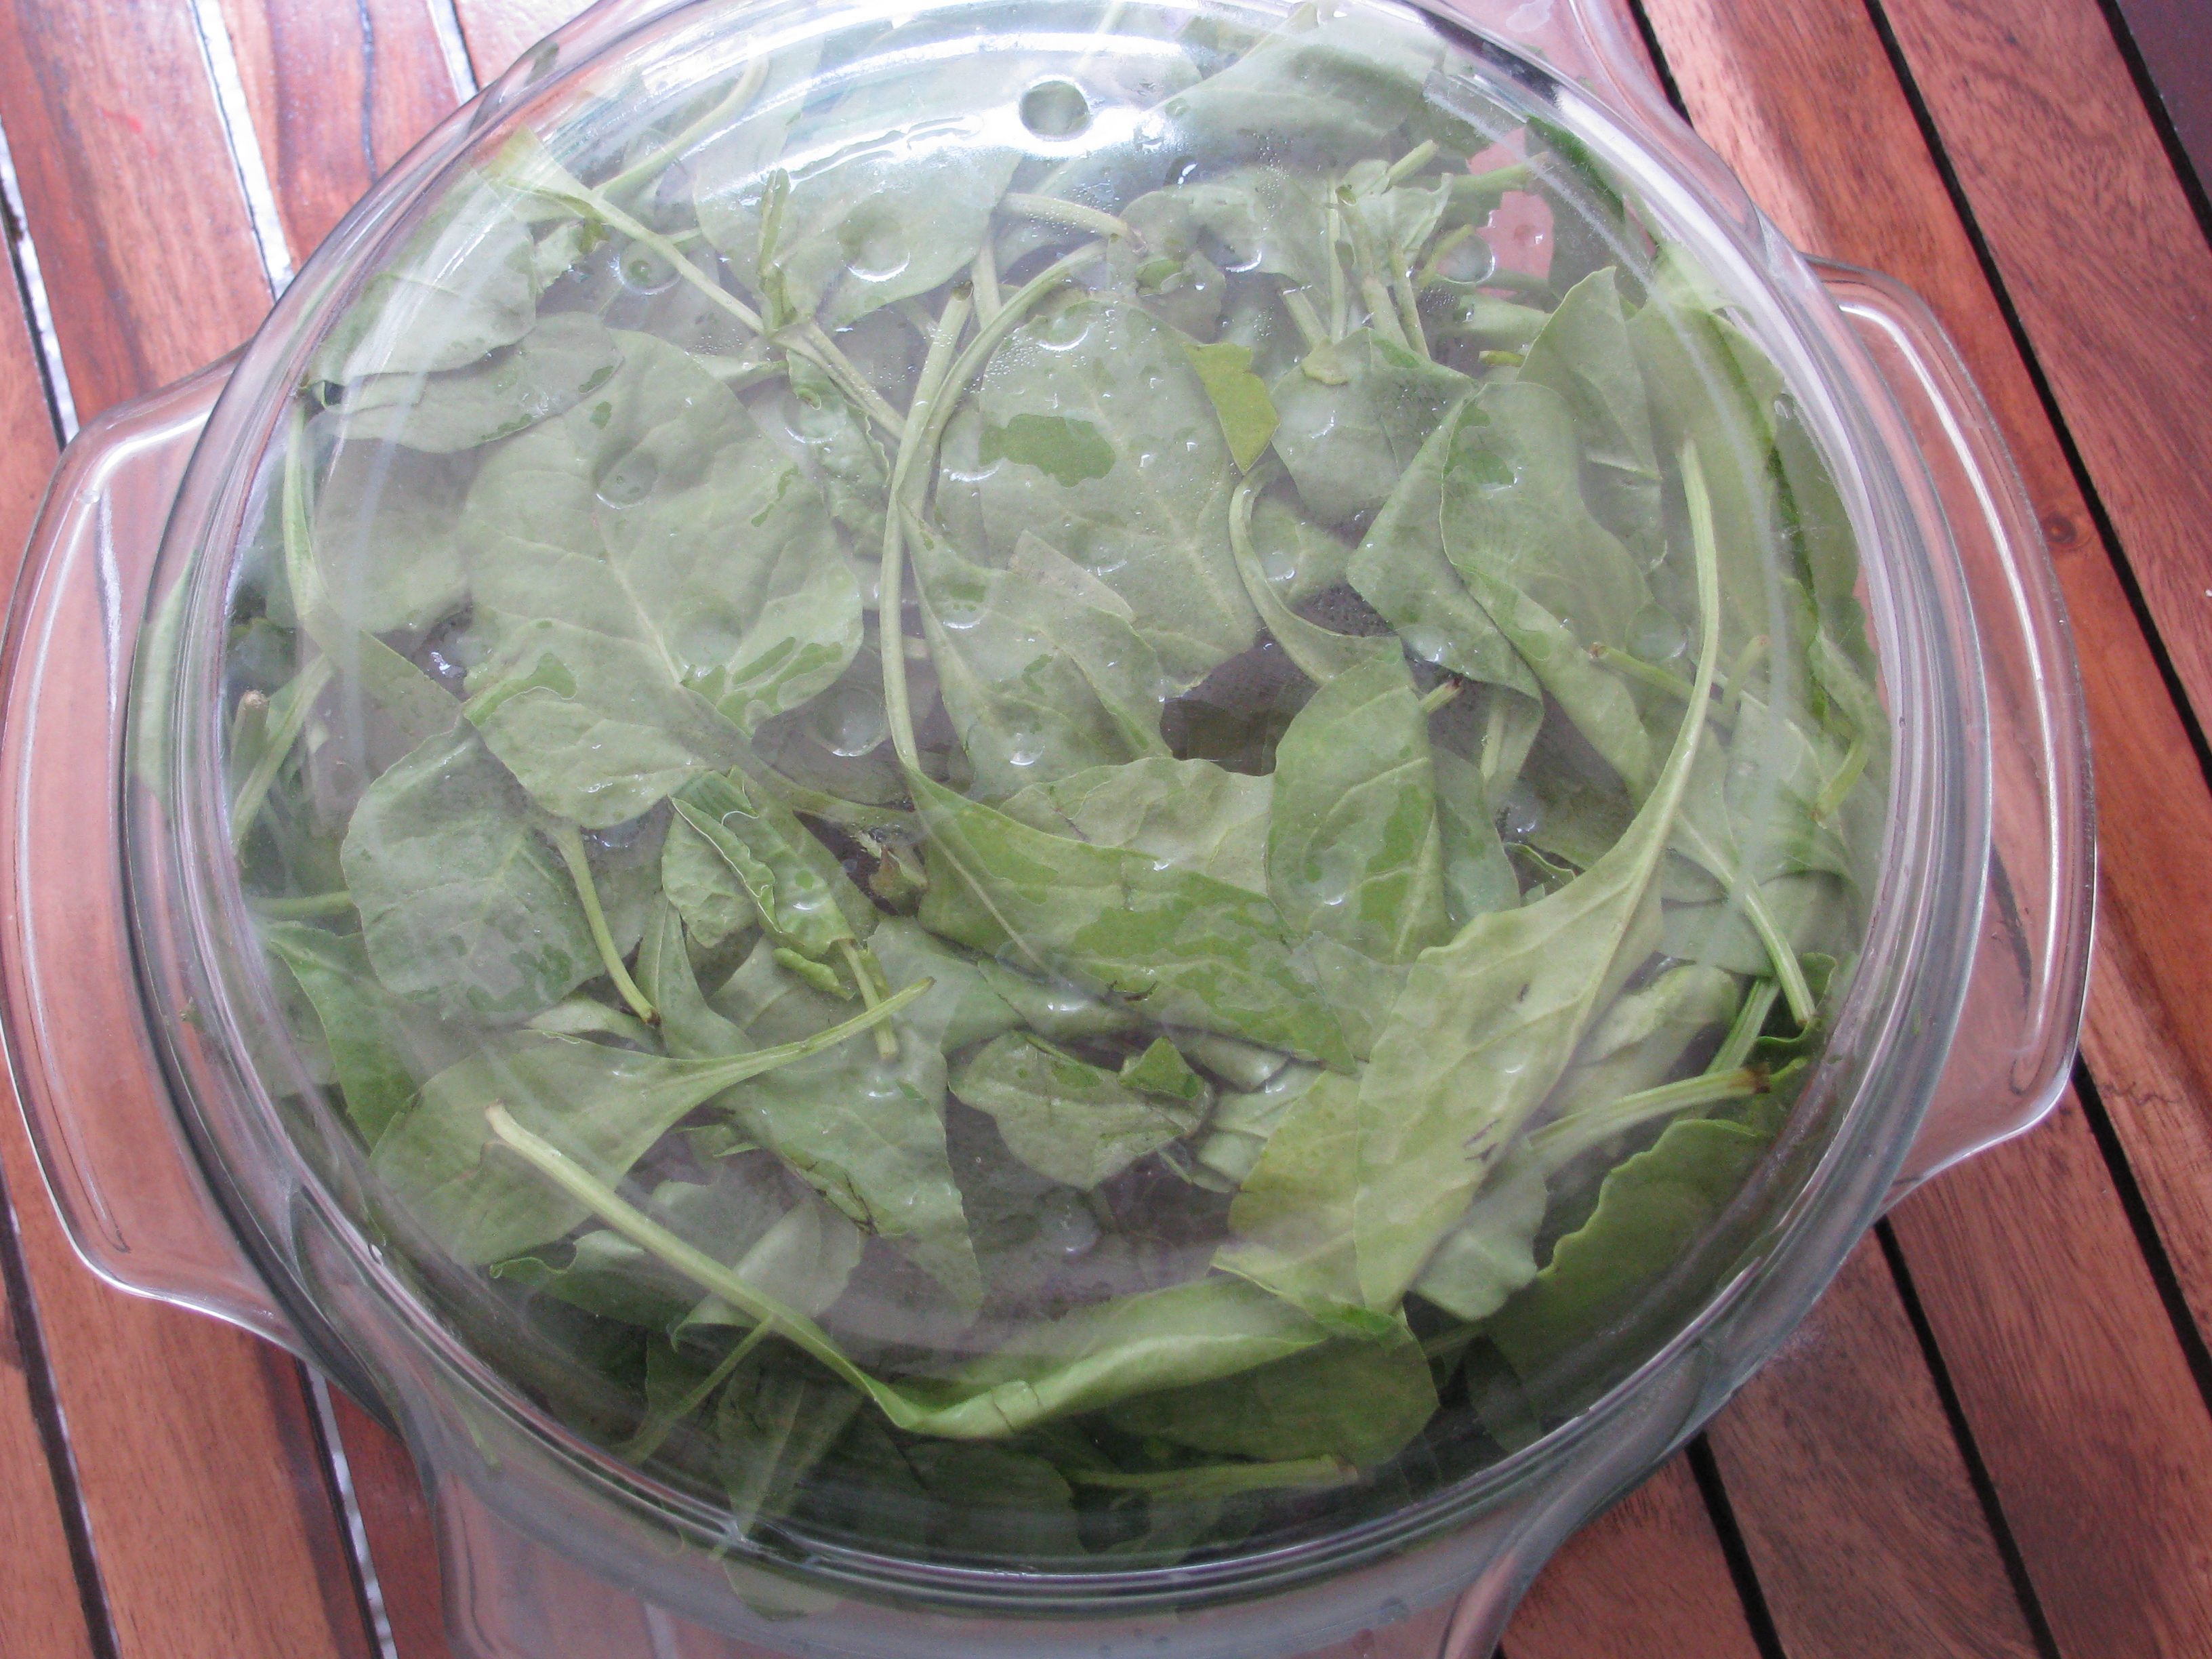
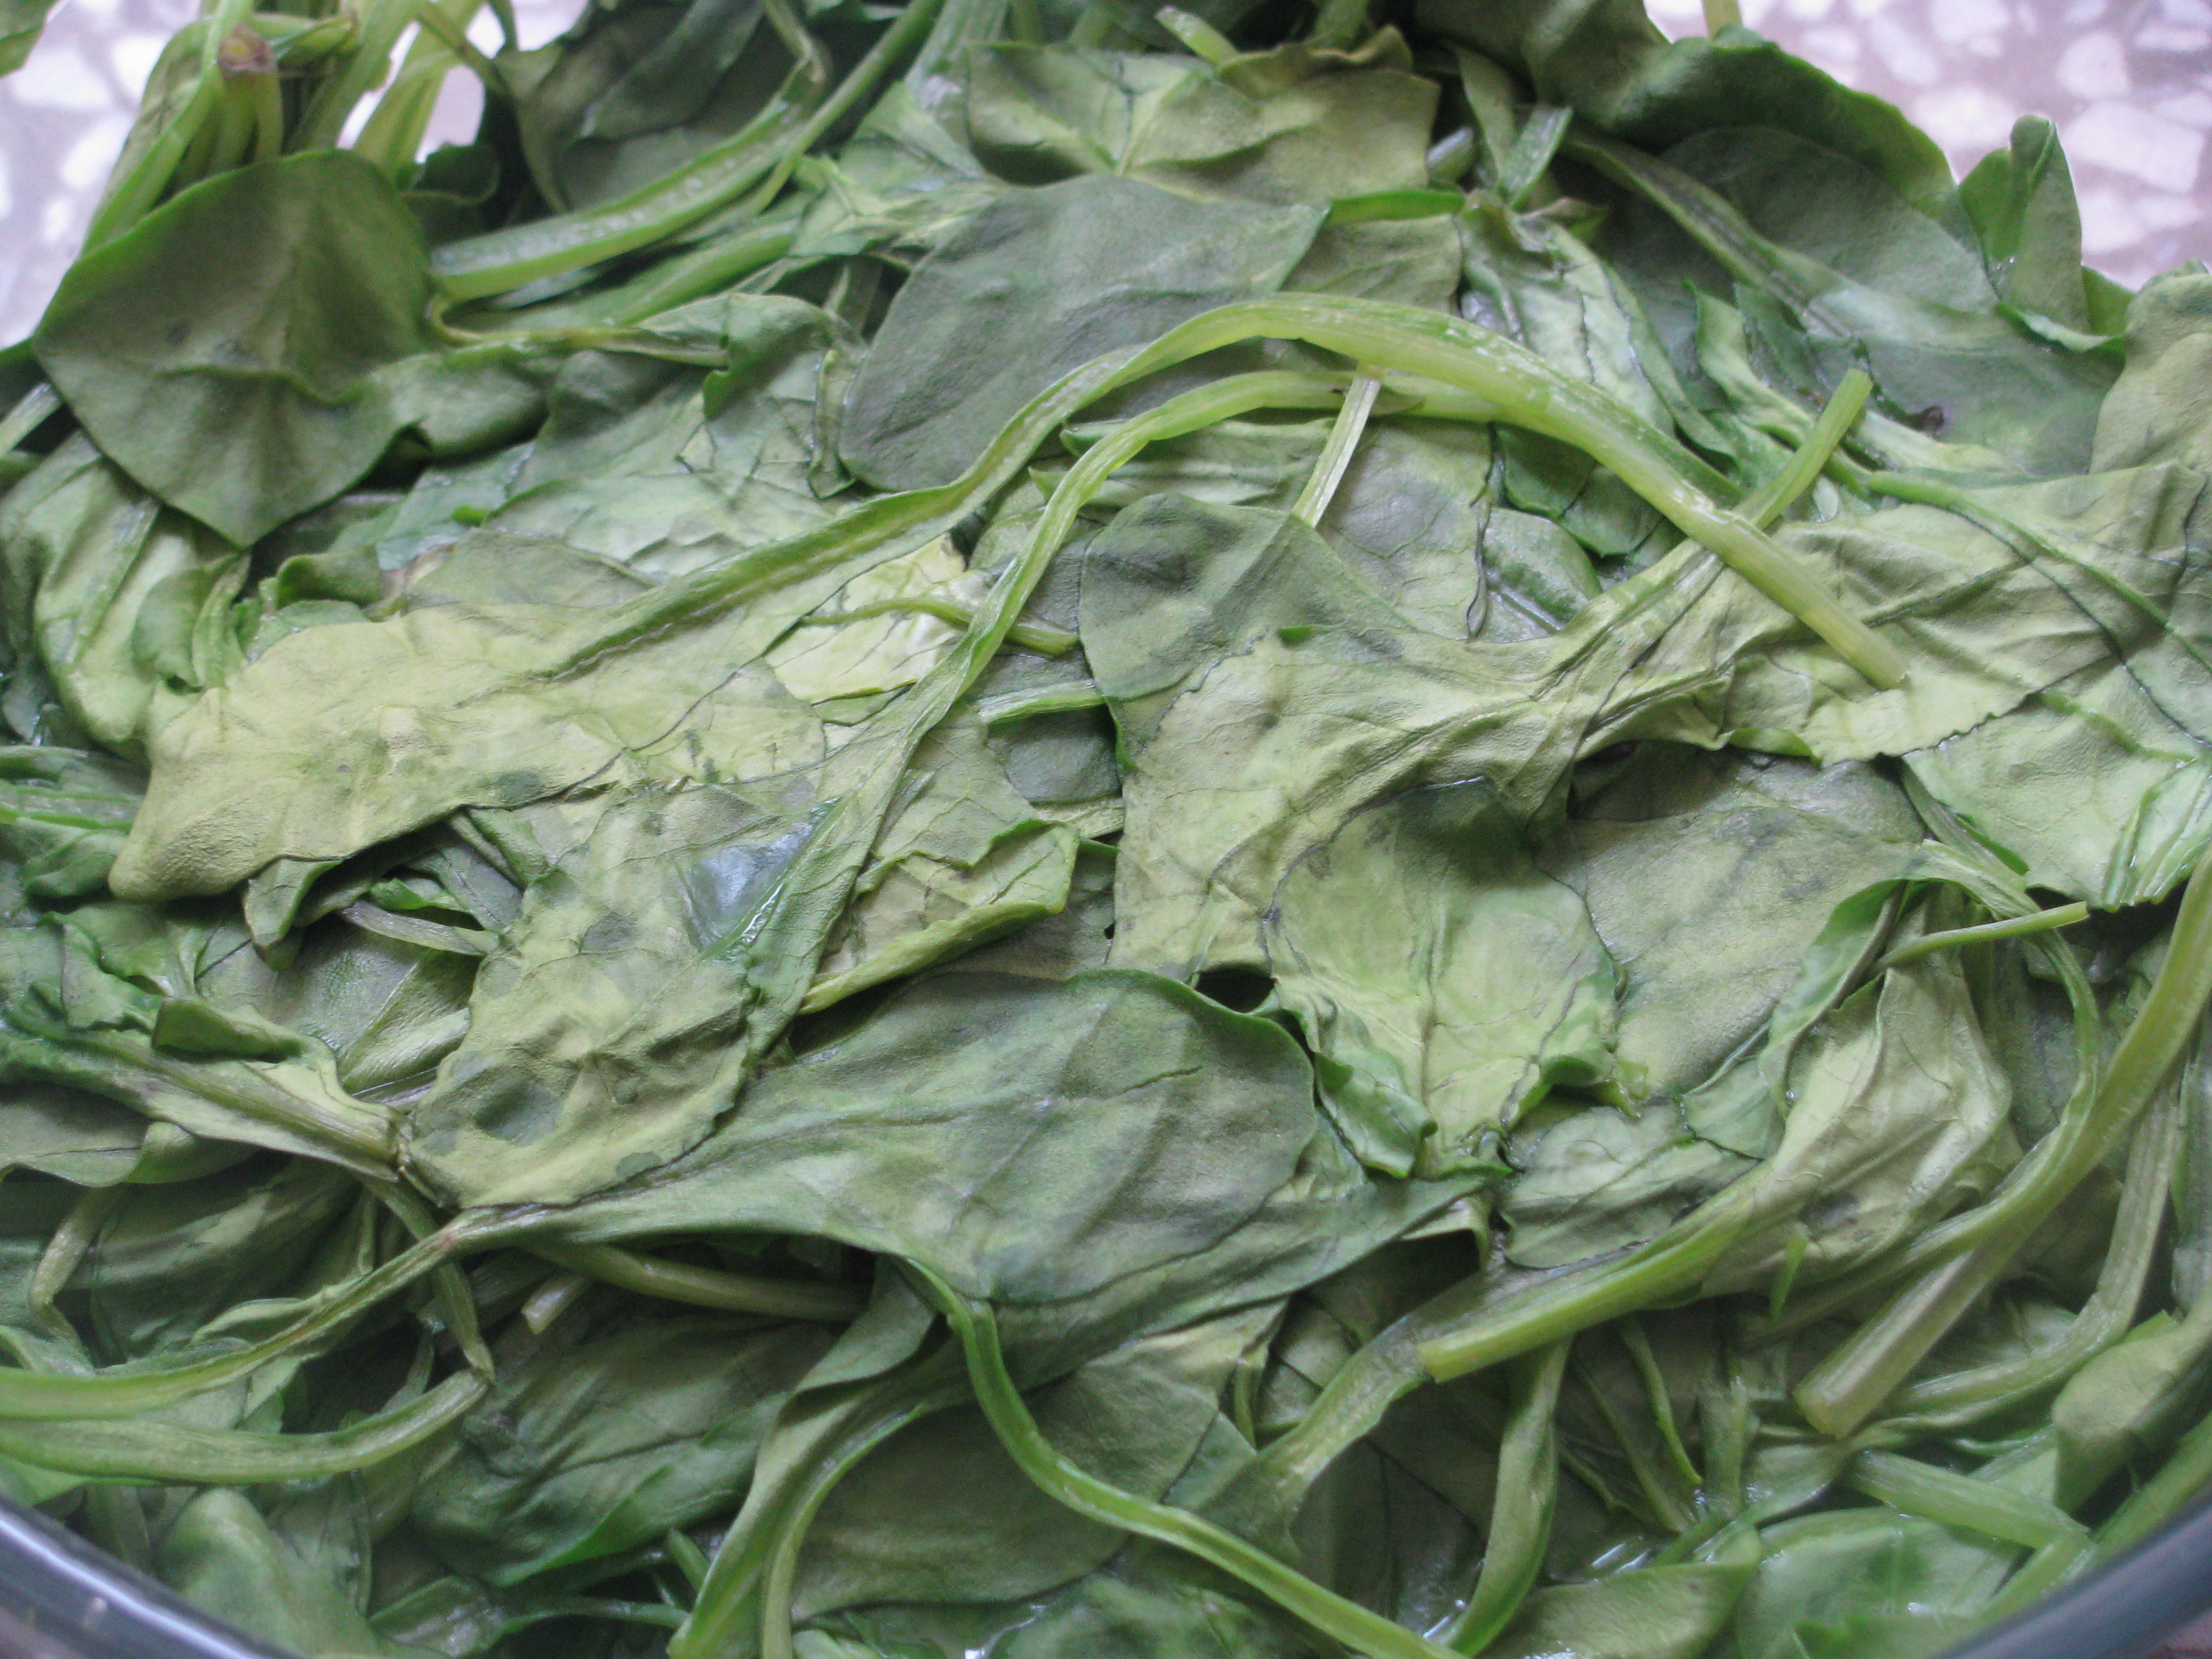
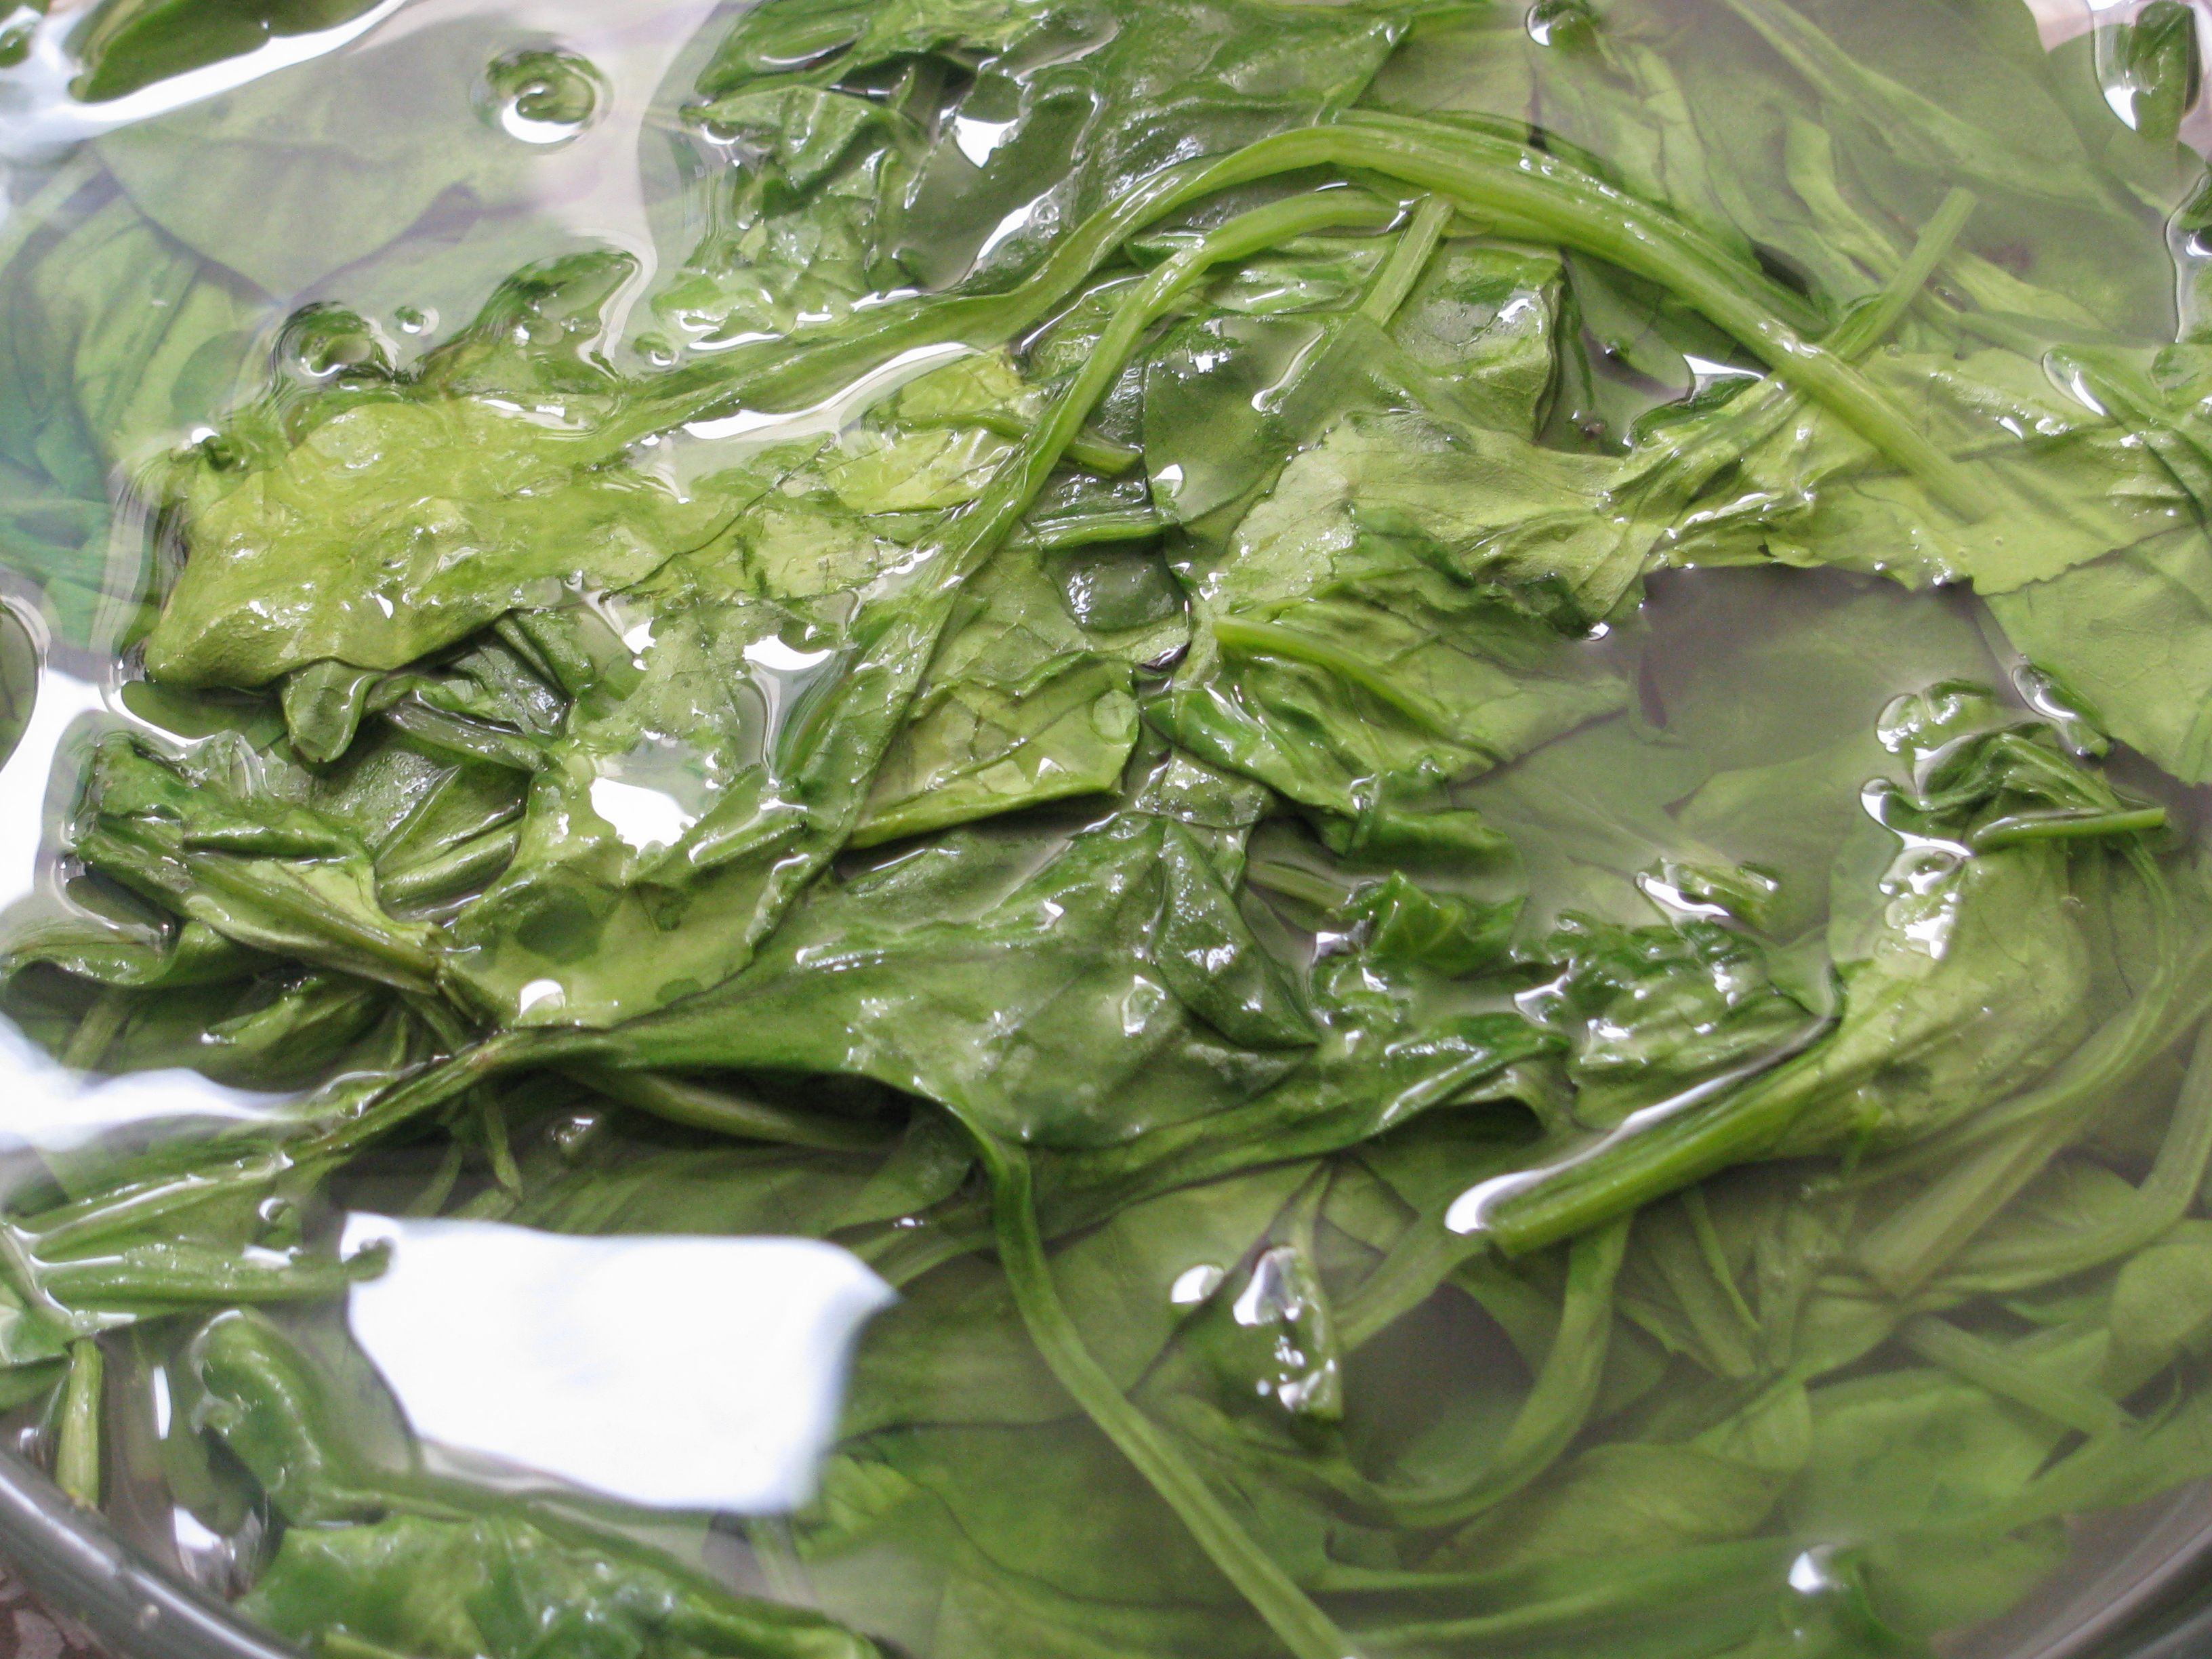
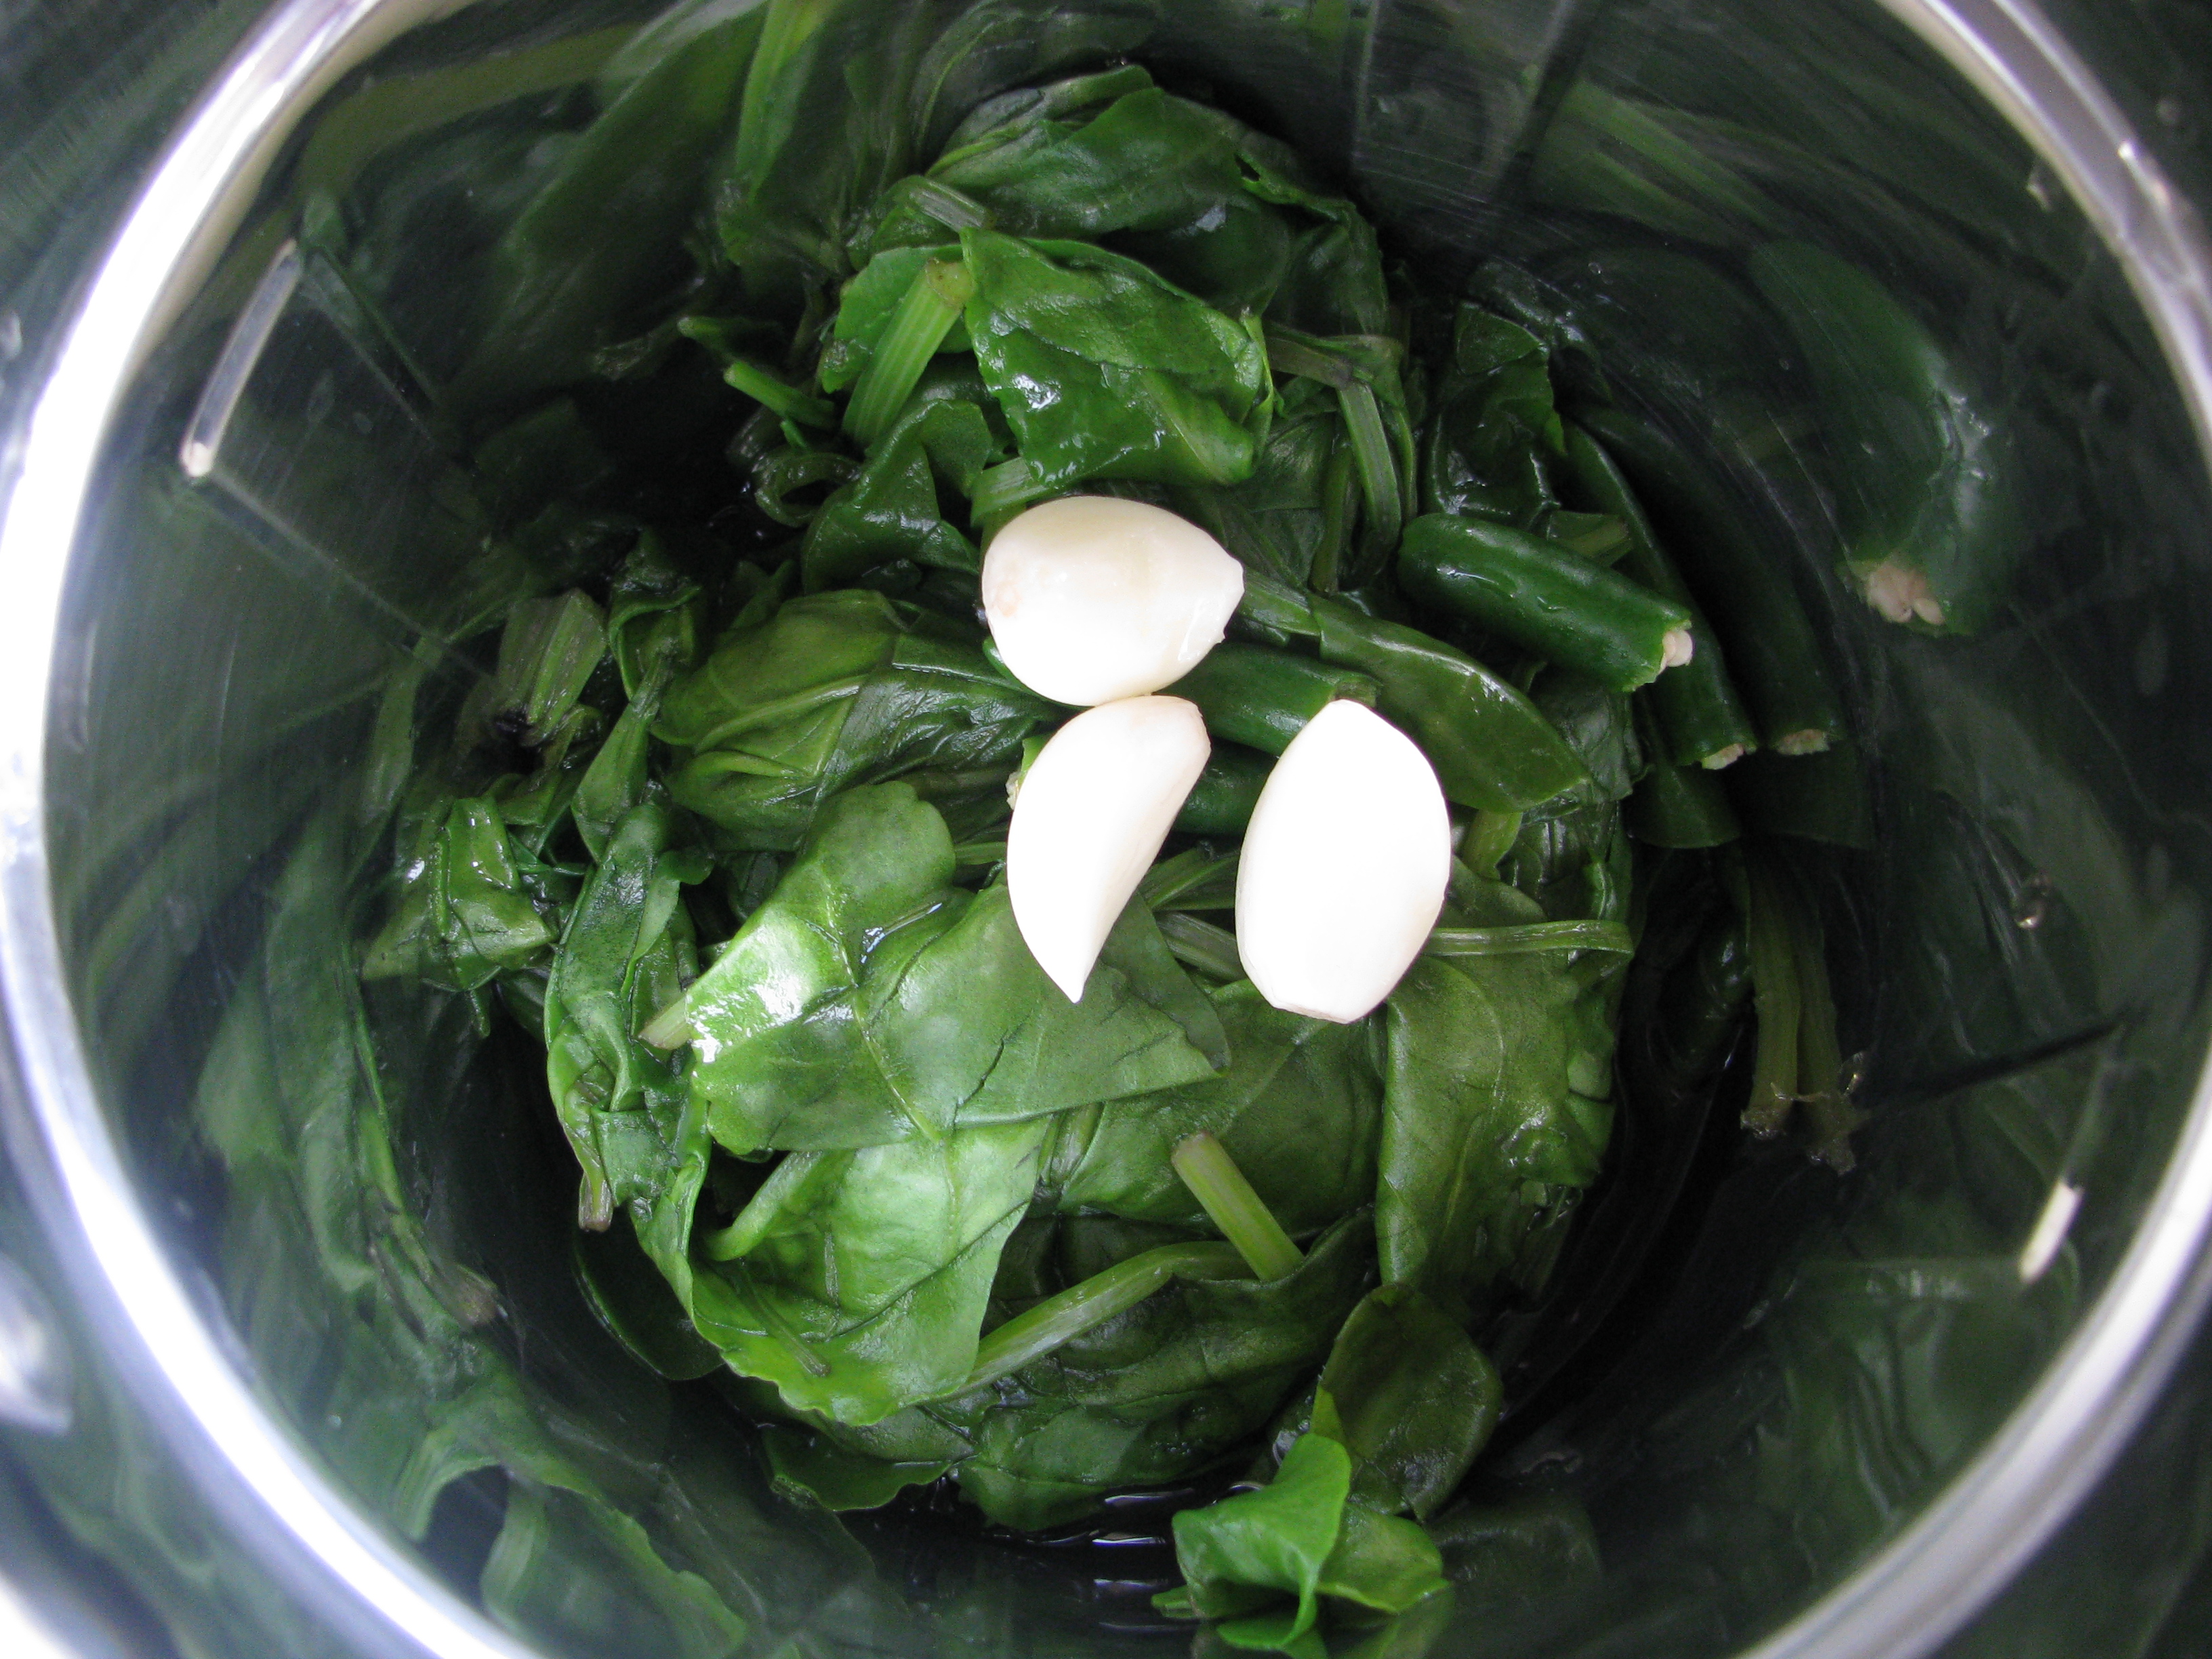
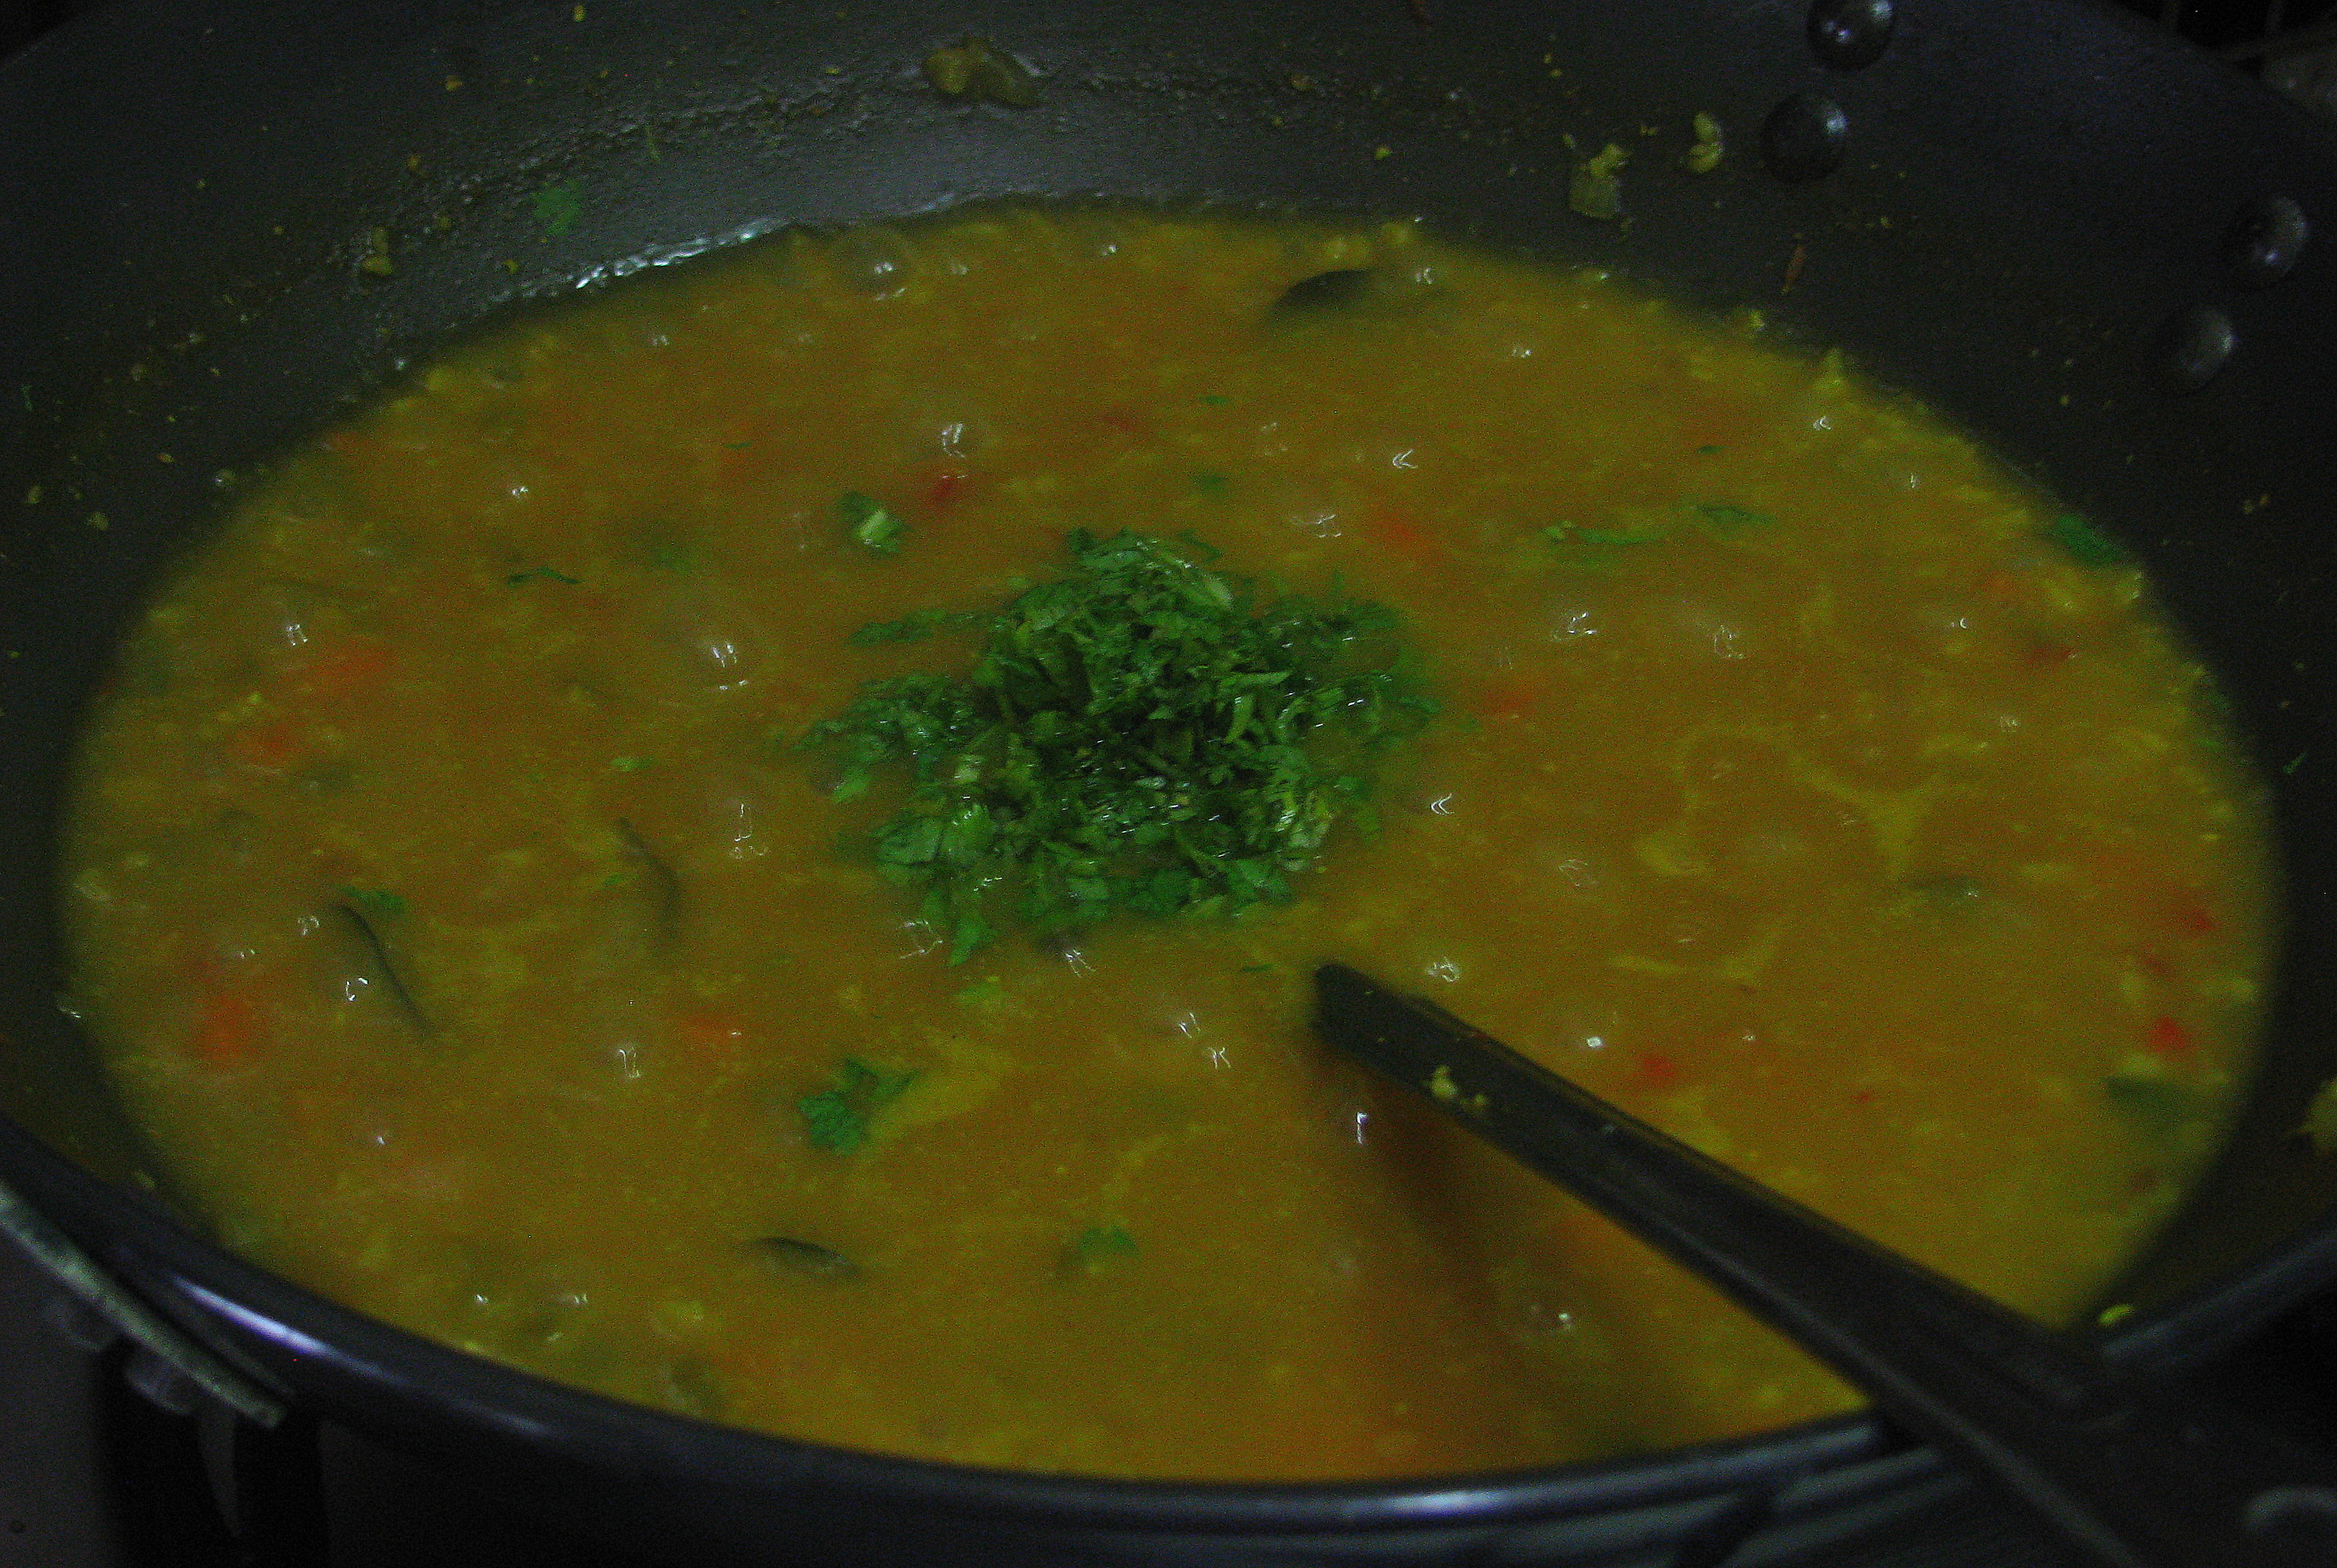
धनिया पत्ता (corriander leaves)-

कुछ लोगों को कच्चा धनिया पत्ता पता नहीं क्यूँ  पसंद नहीं आता, पर इस चटनी को कच्चे धनिये से एक अच्छा स्वाद मिलता है, धनिया न पसंद आने वाले लोगो को भी ये चटनी पसंद आती है| कच्चा धनिया (corriander leaves) के काफी फायदे (health benefits) है ।यह त्वचा, आँखों और blood pressure इत्यादि के लिए बोहोत फायदेमंद है|

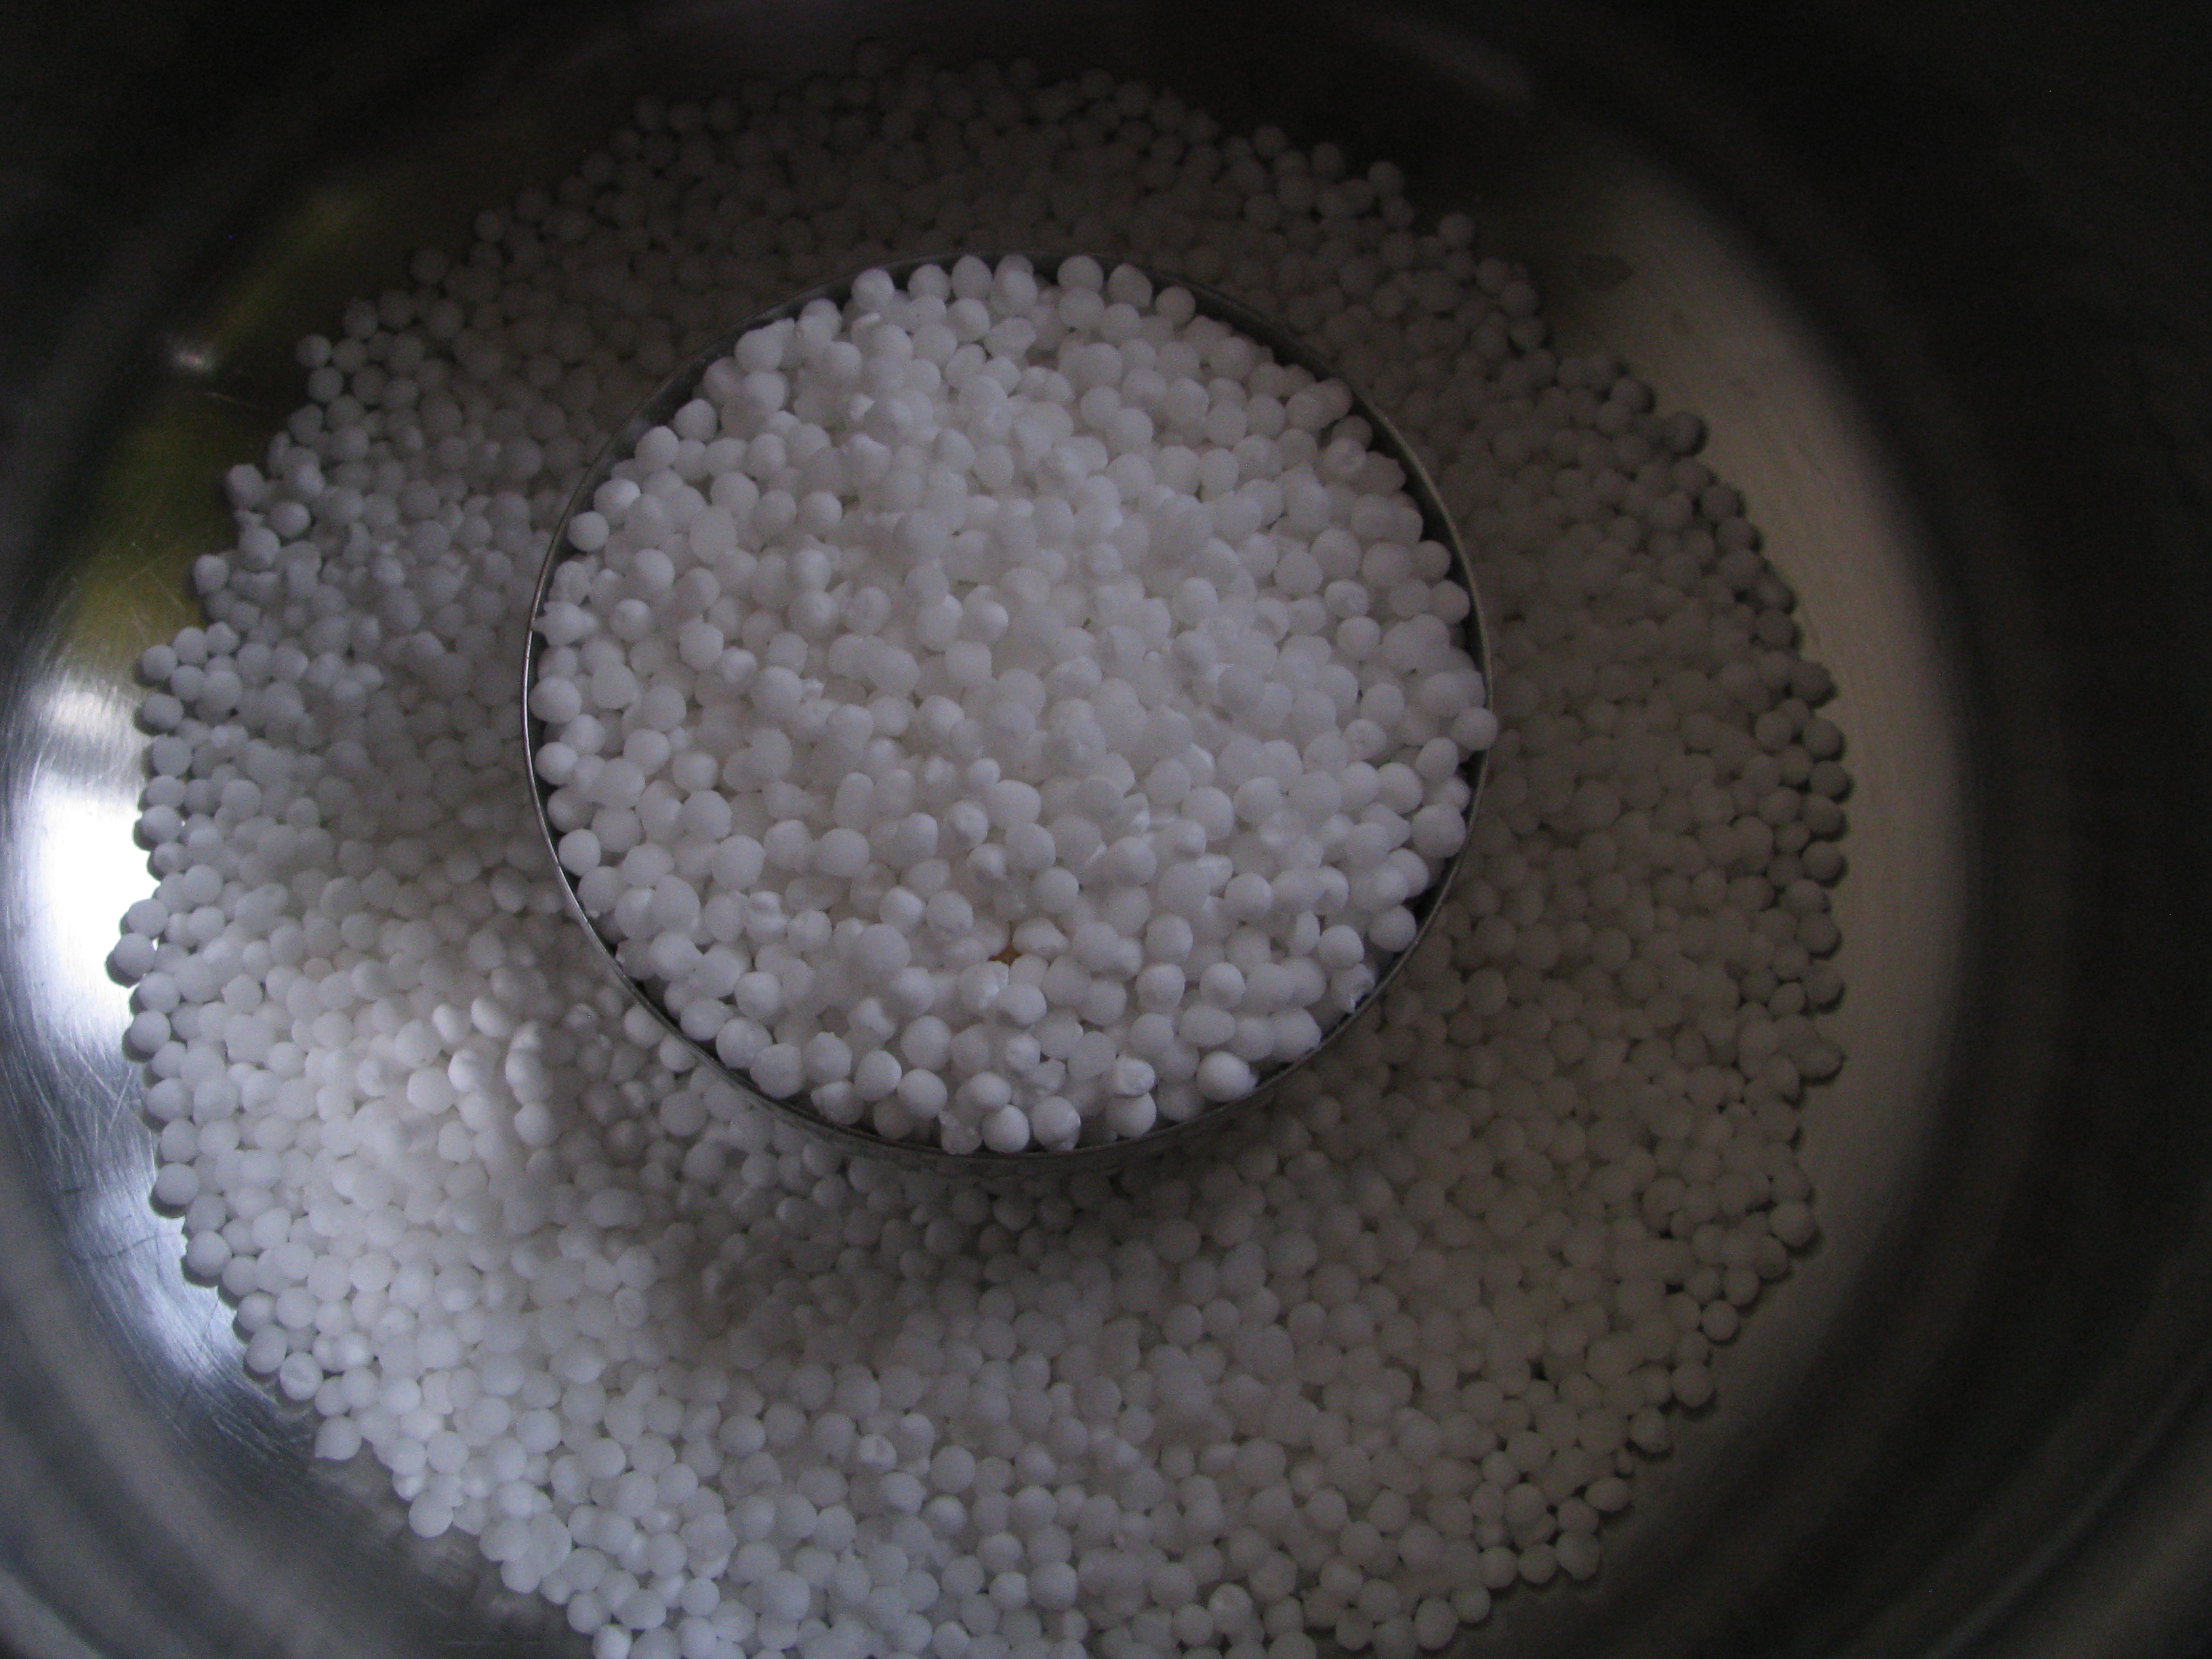
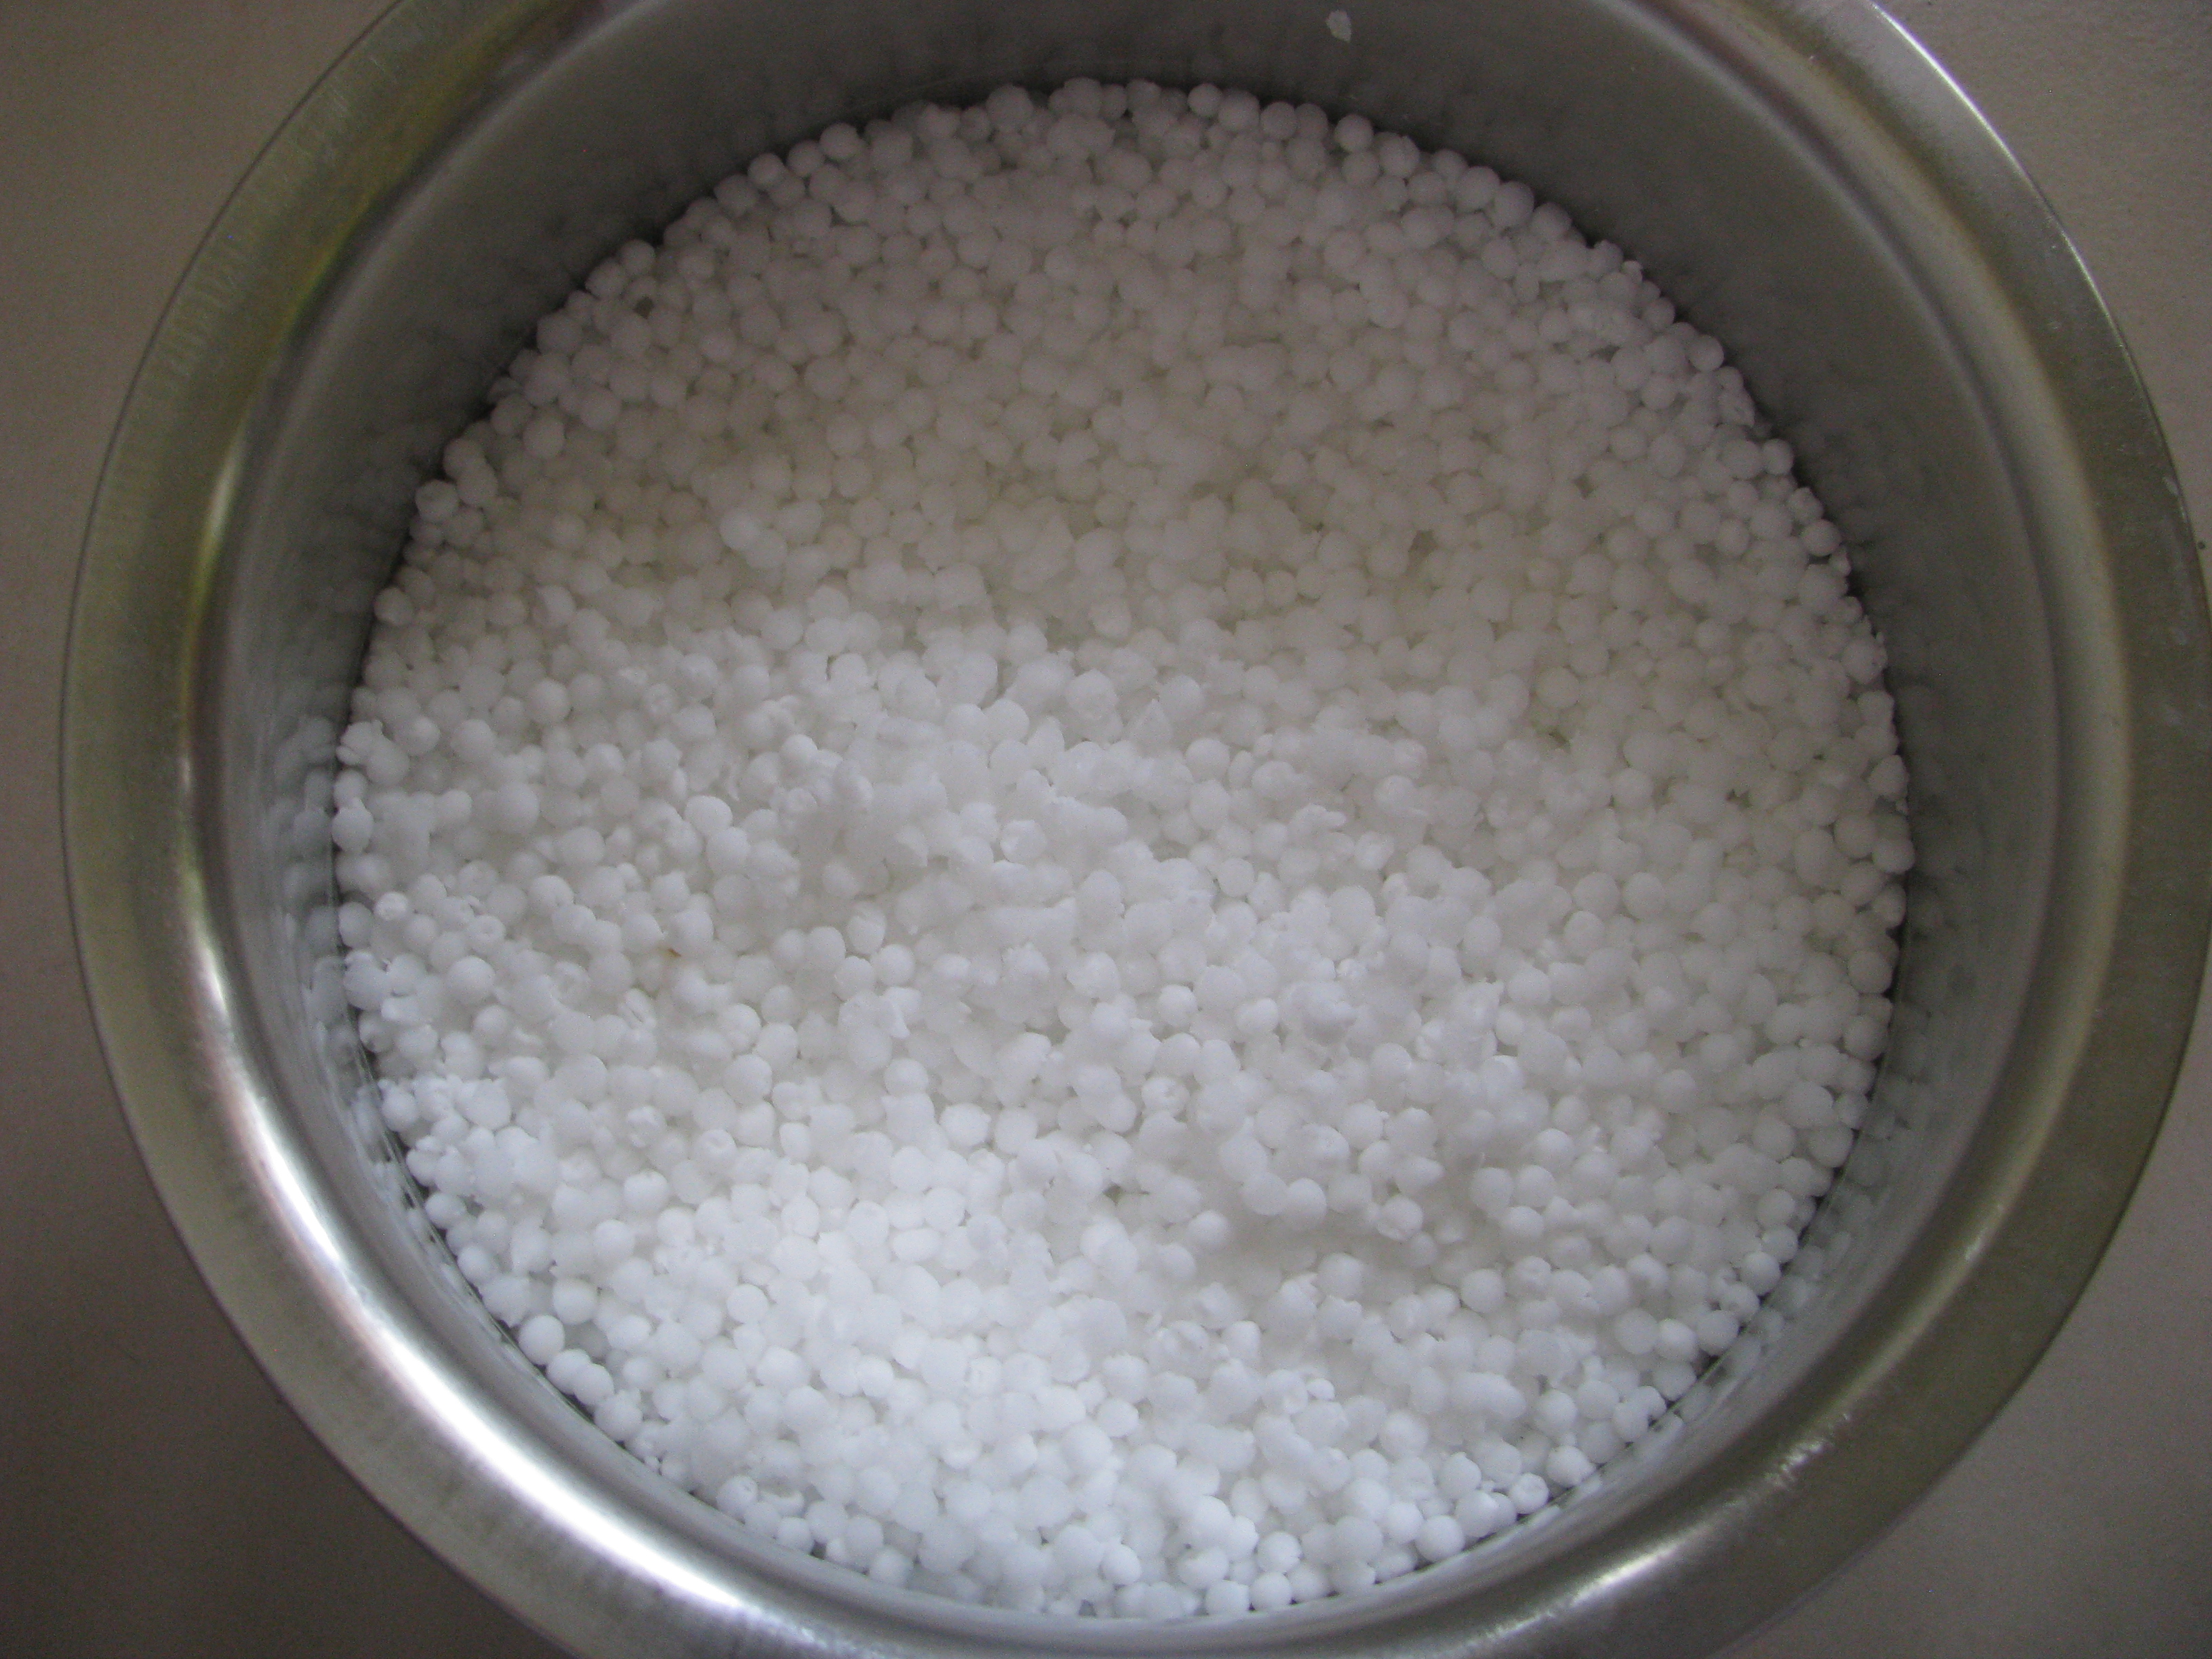
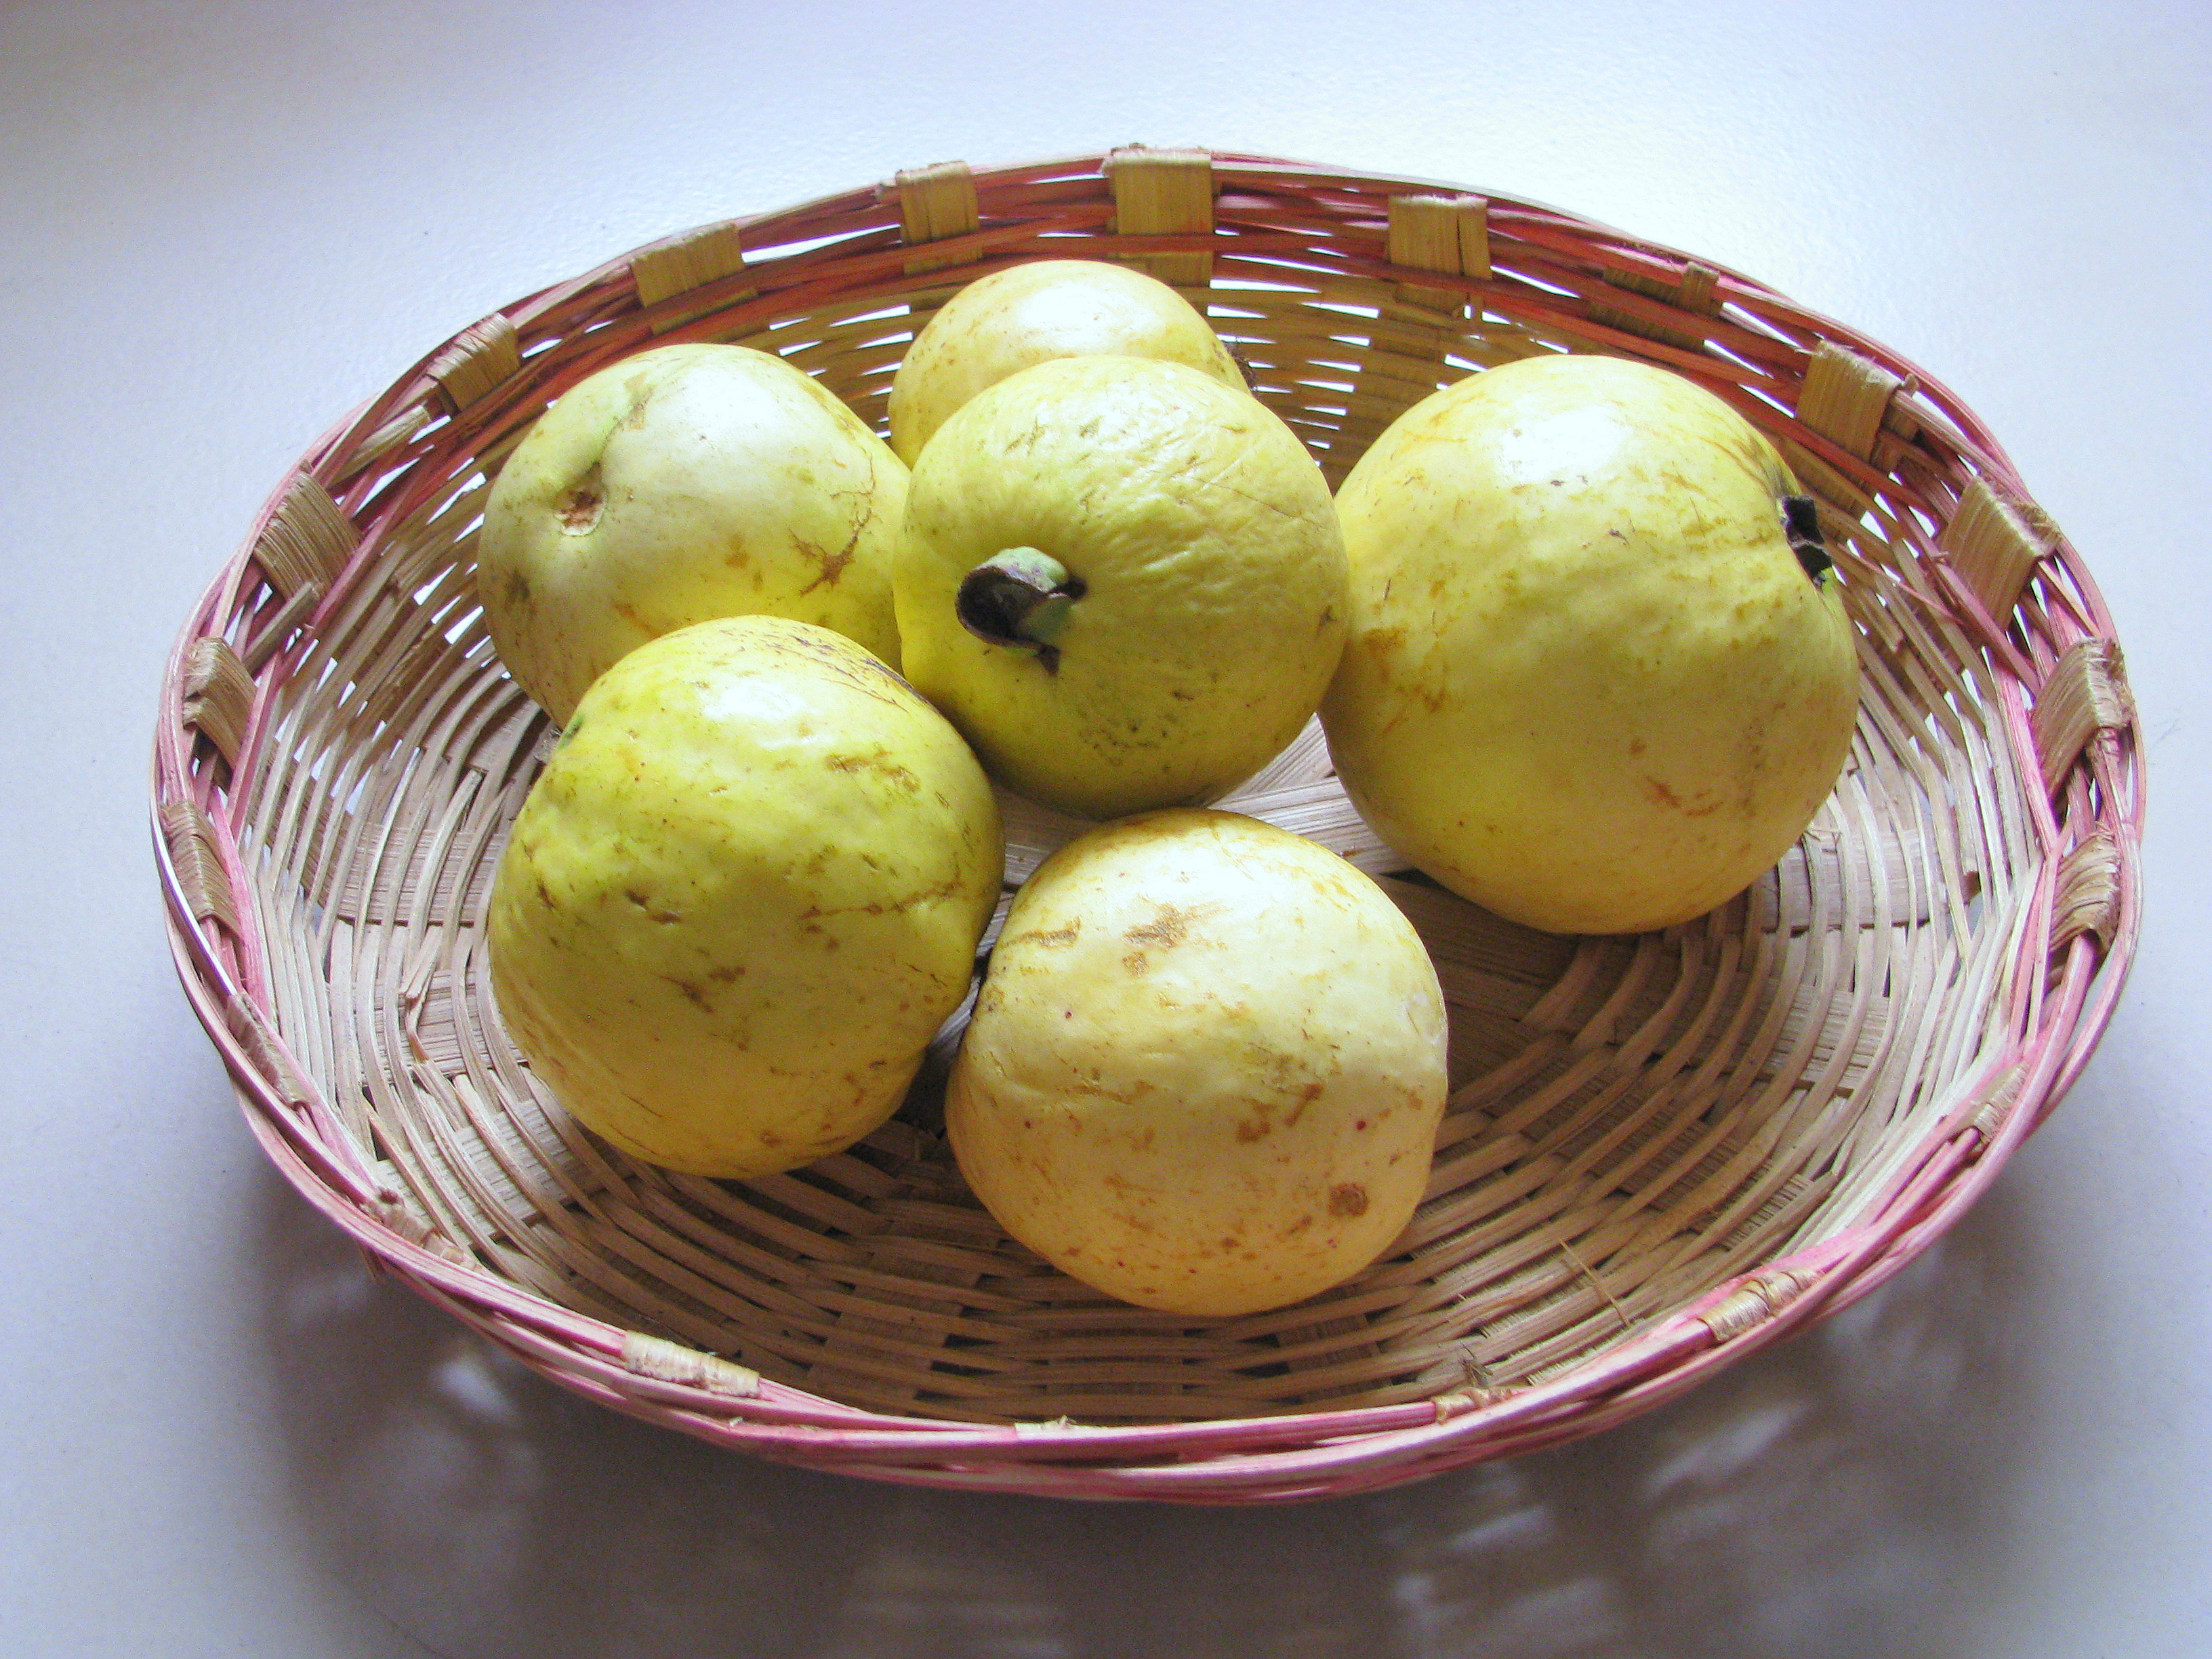
कैसे आसान बनाए  नारियल तोडना और इसका सख्त छिलका निकालना (how to remove coconut from hard shell)

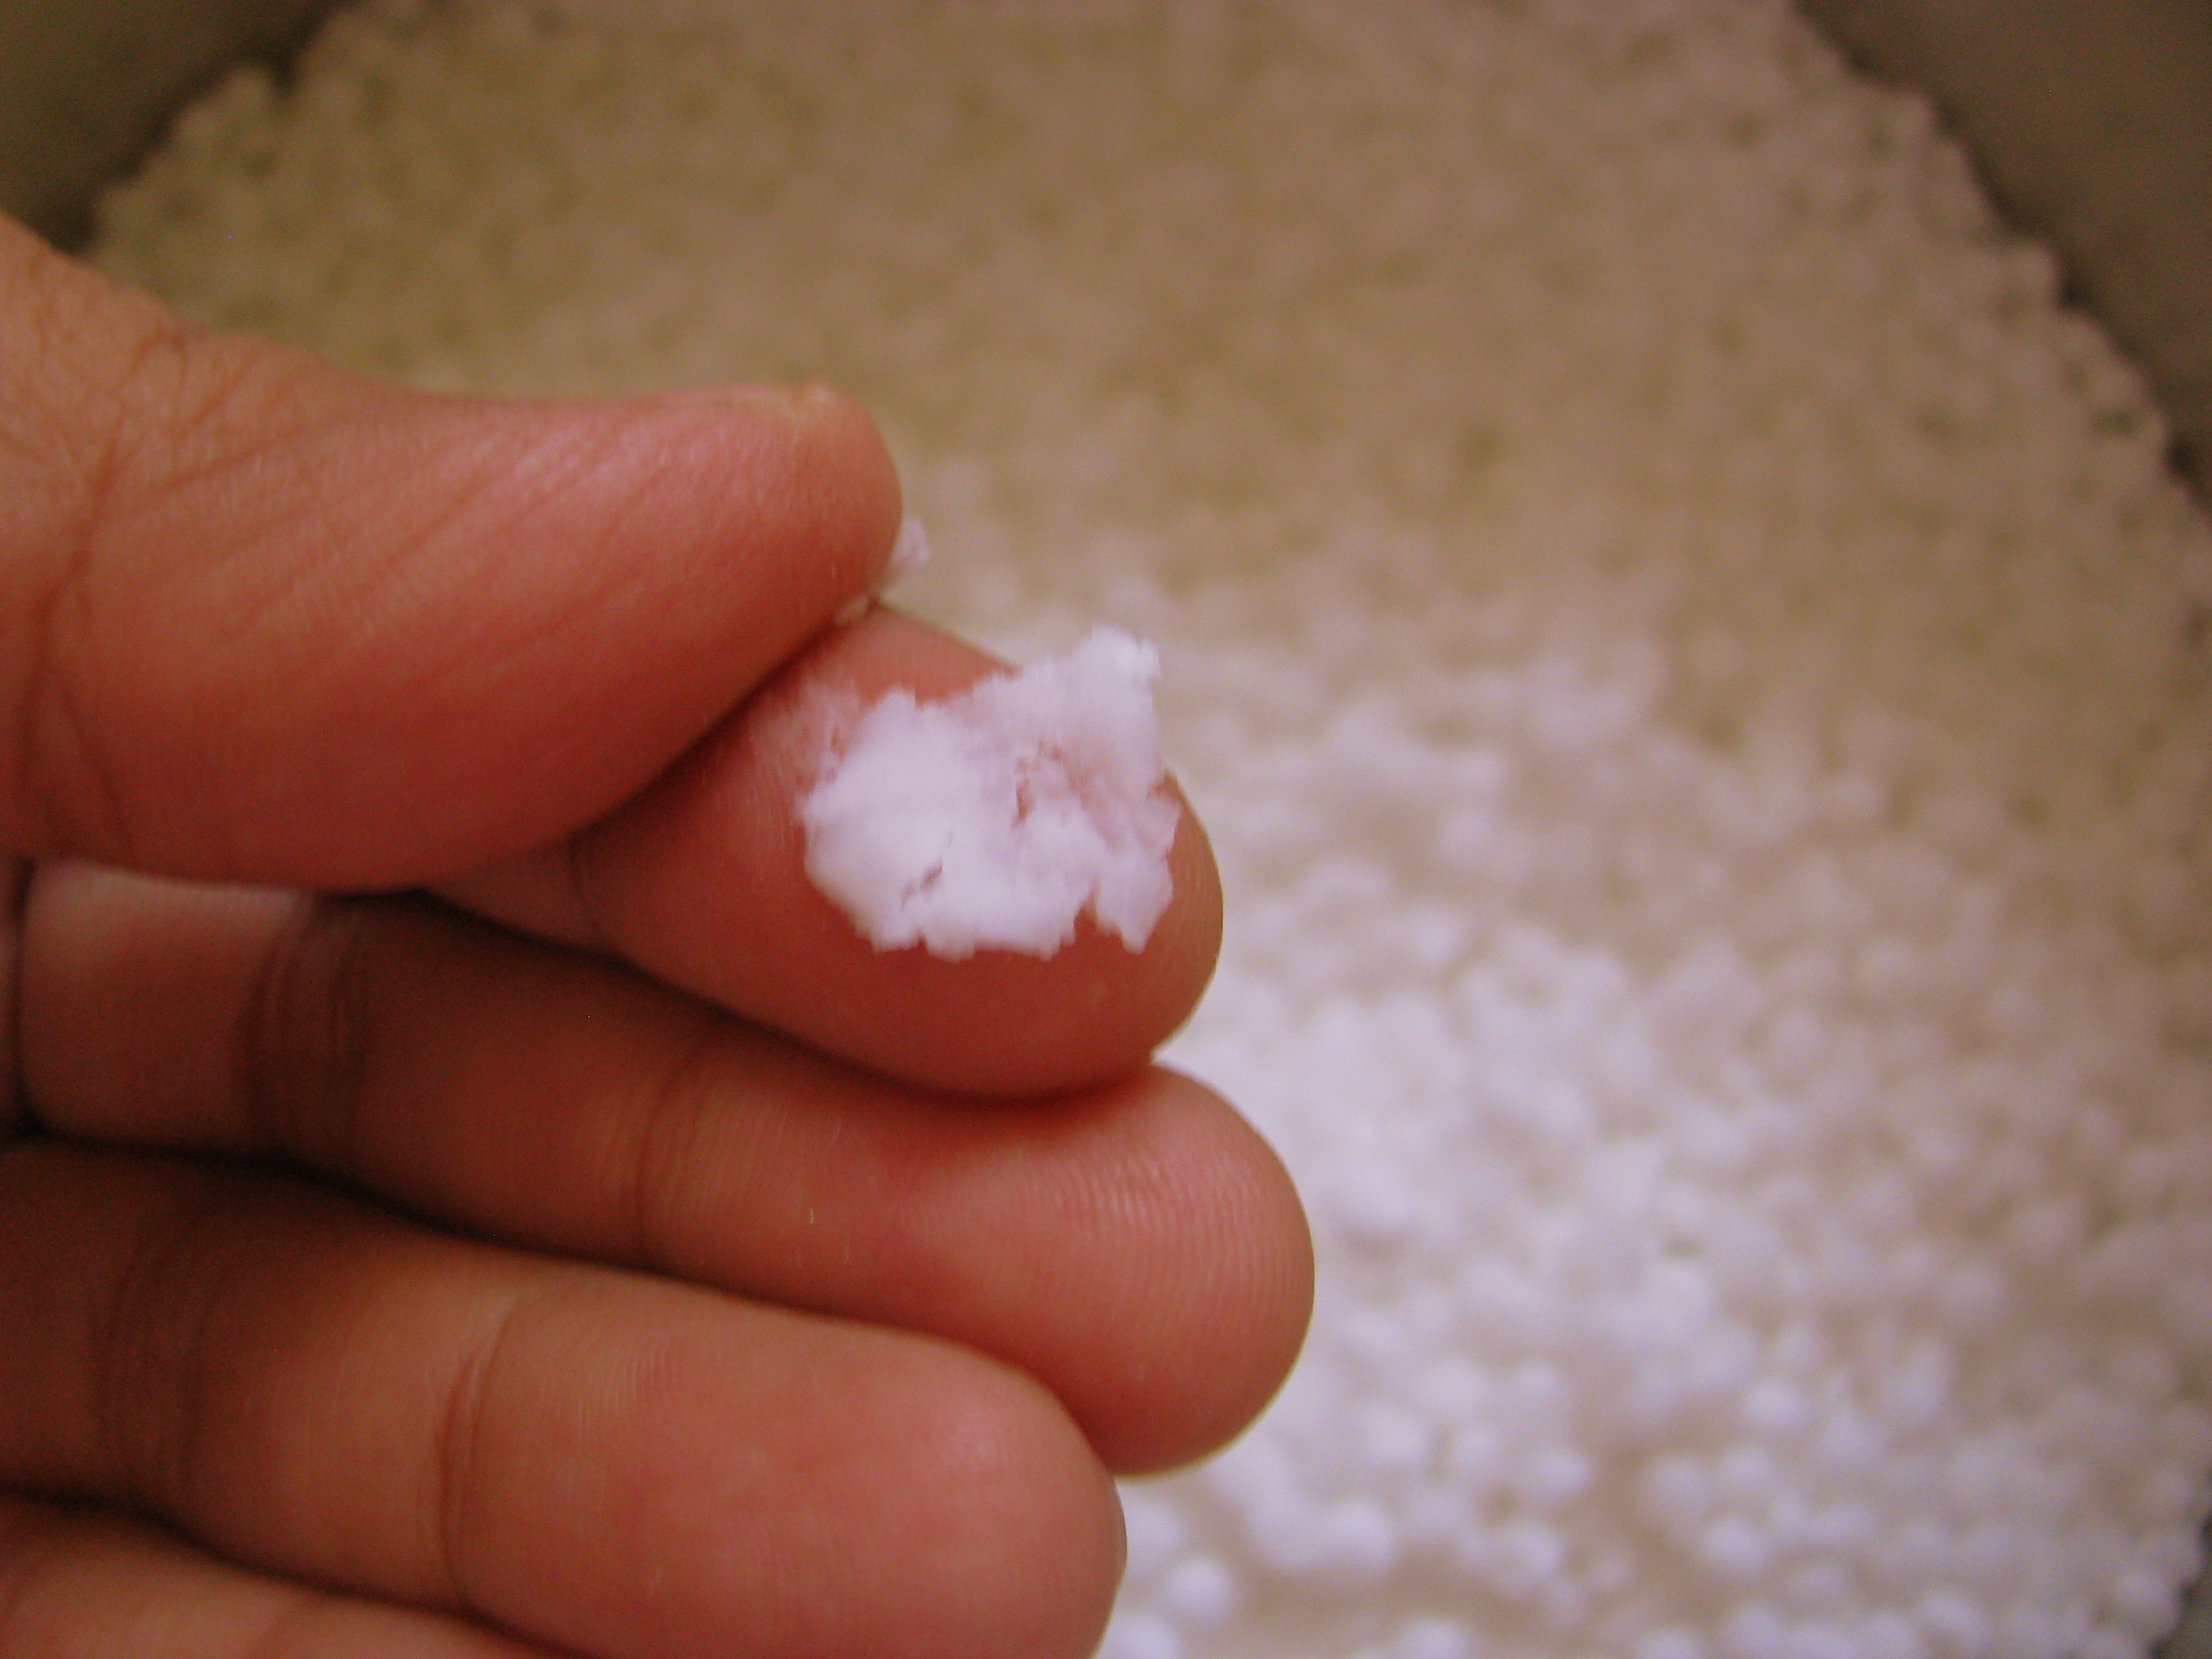
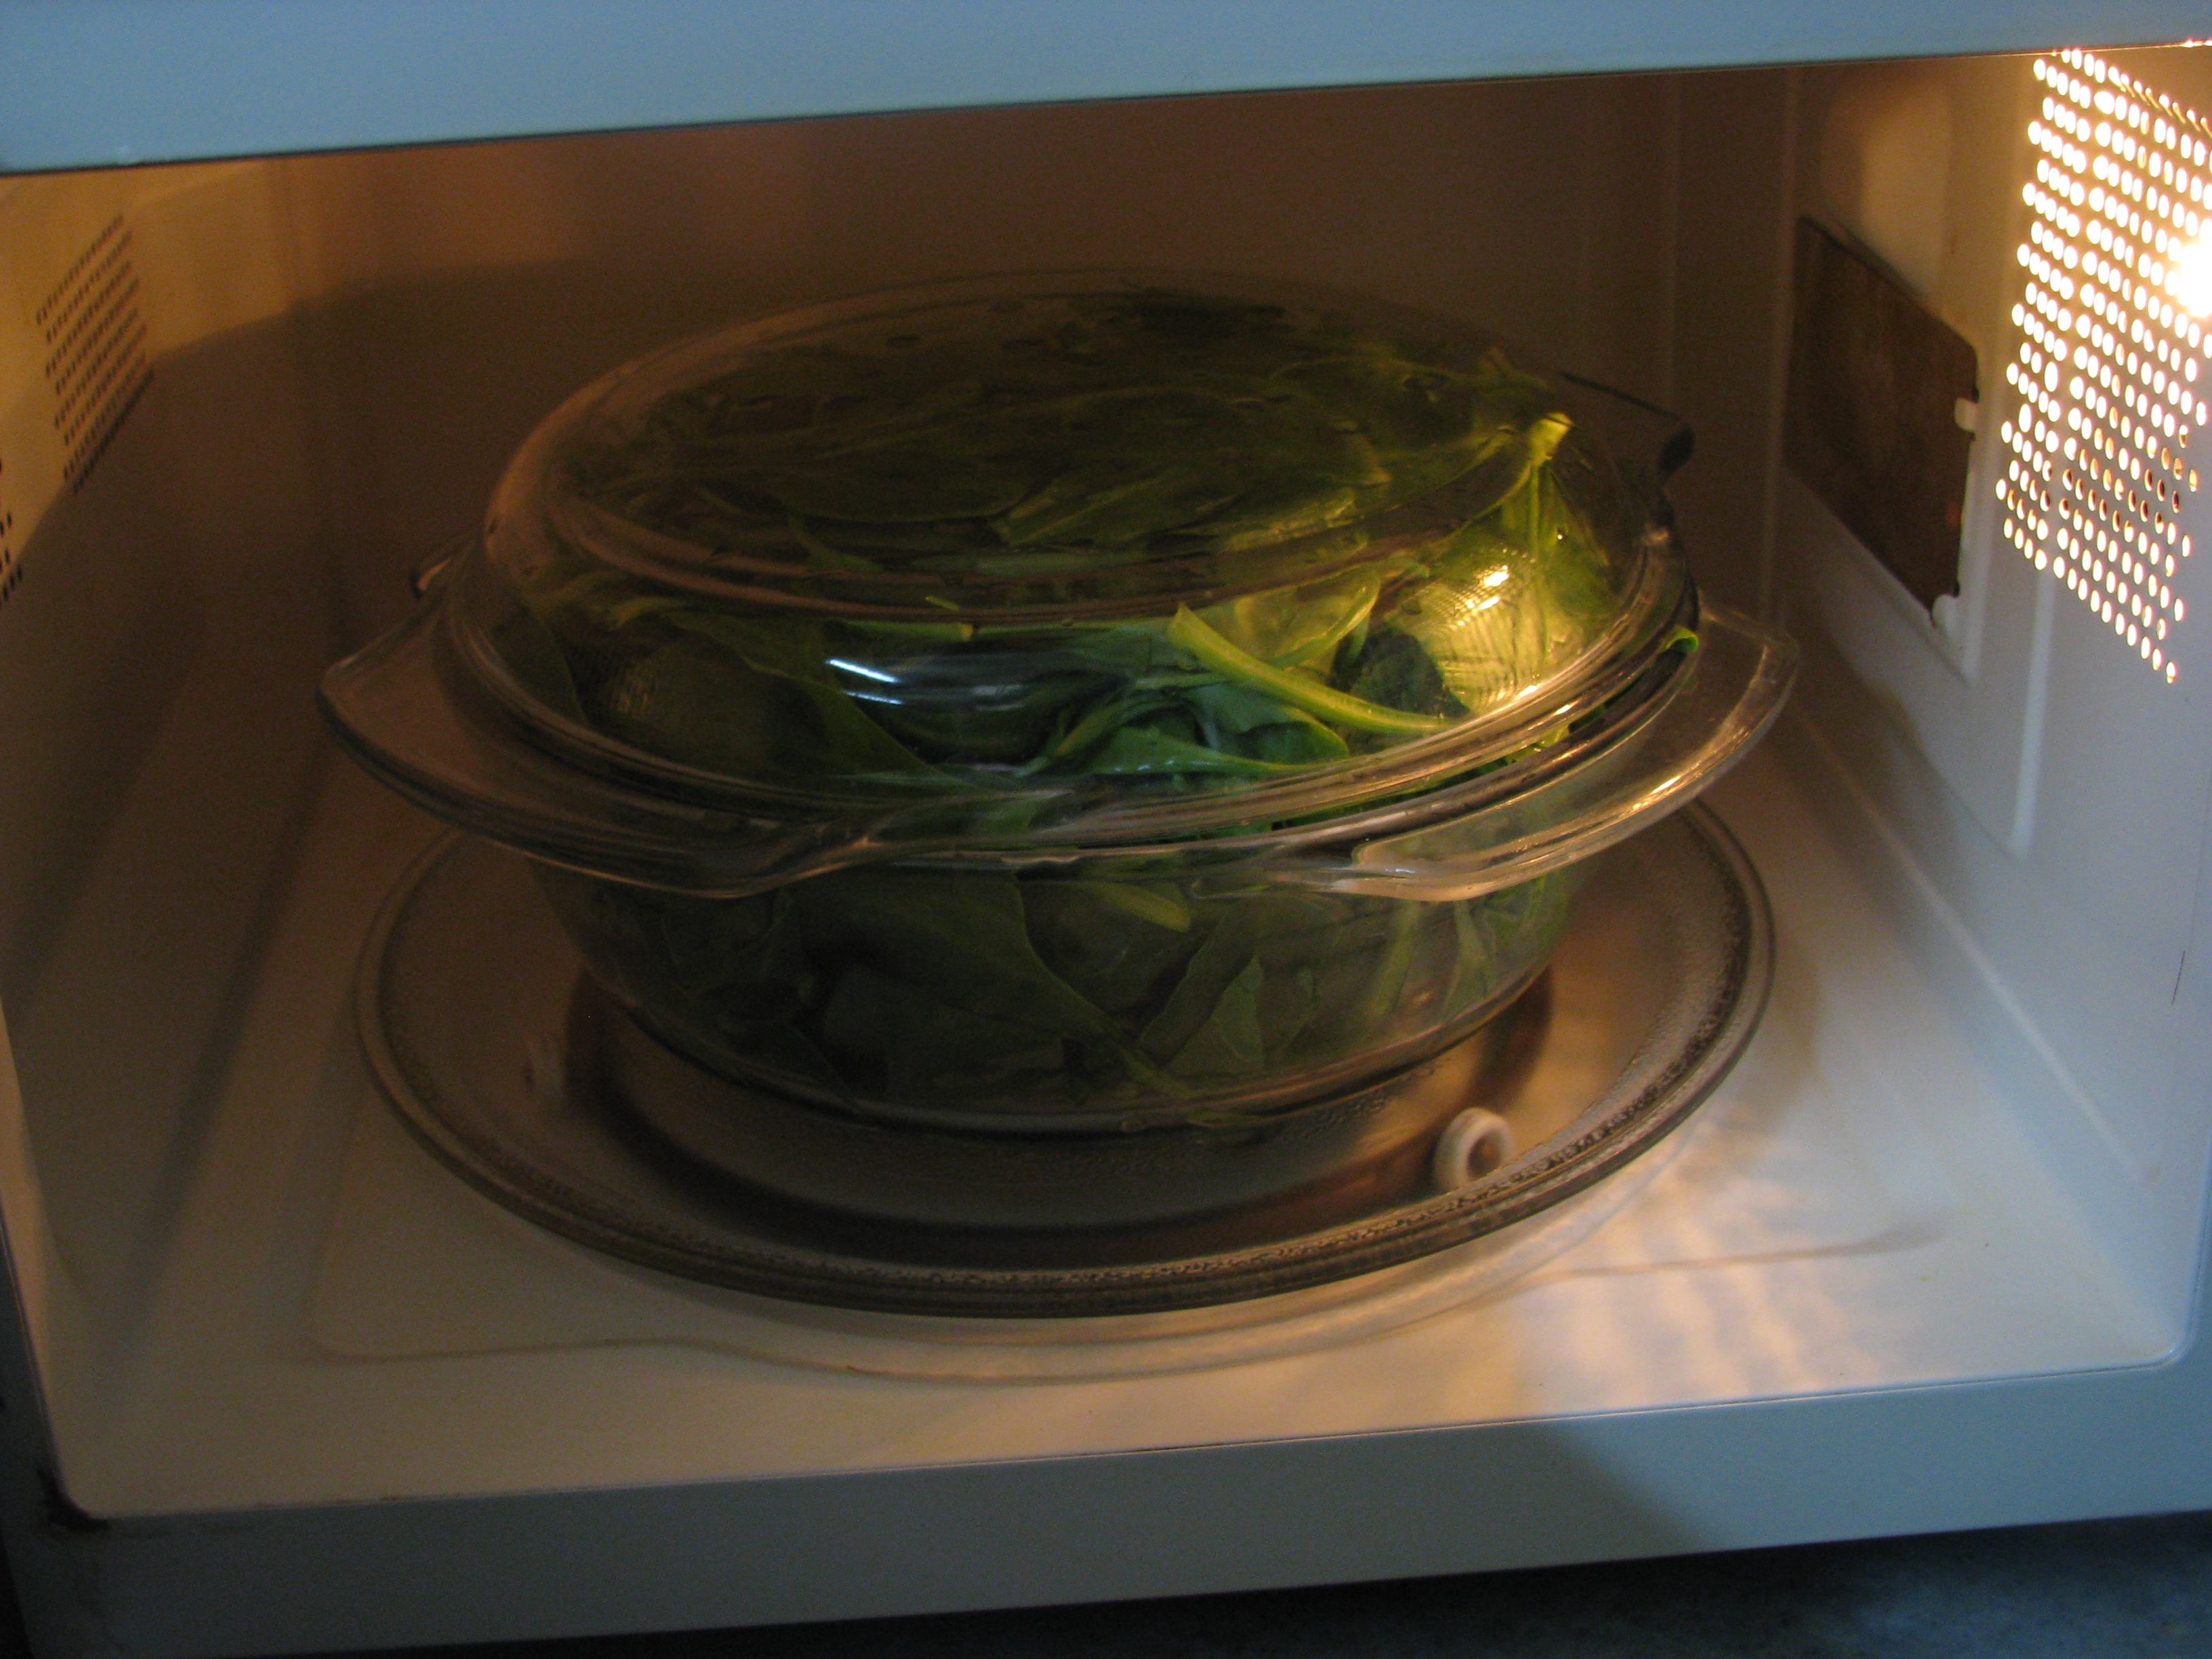
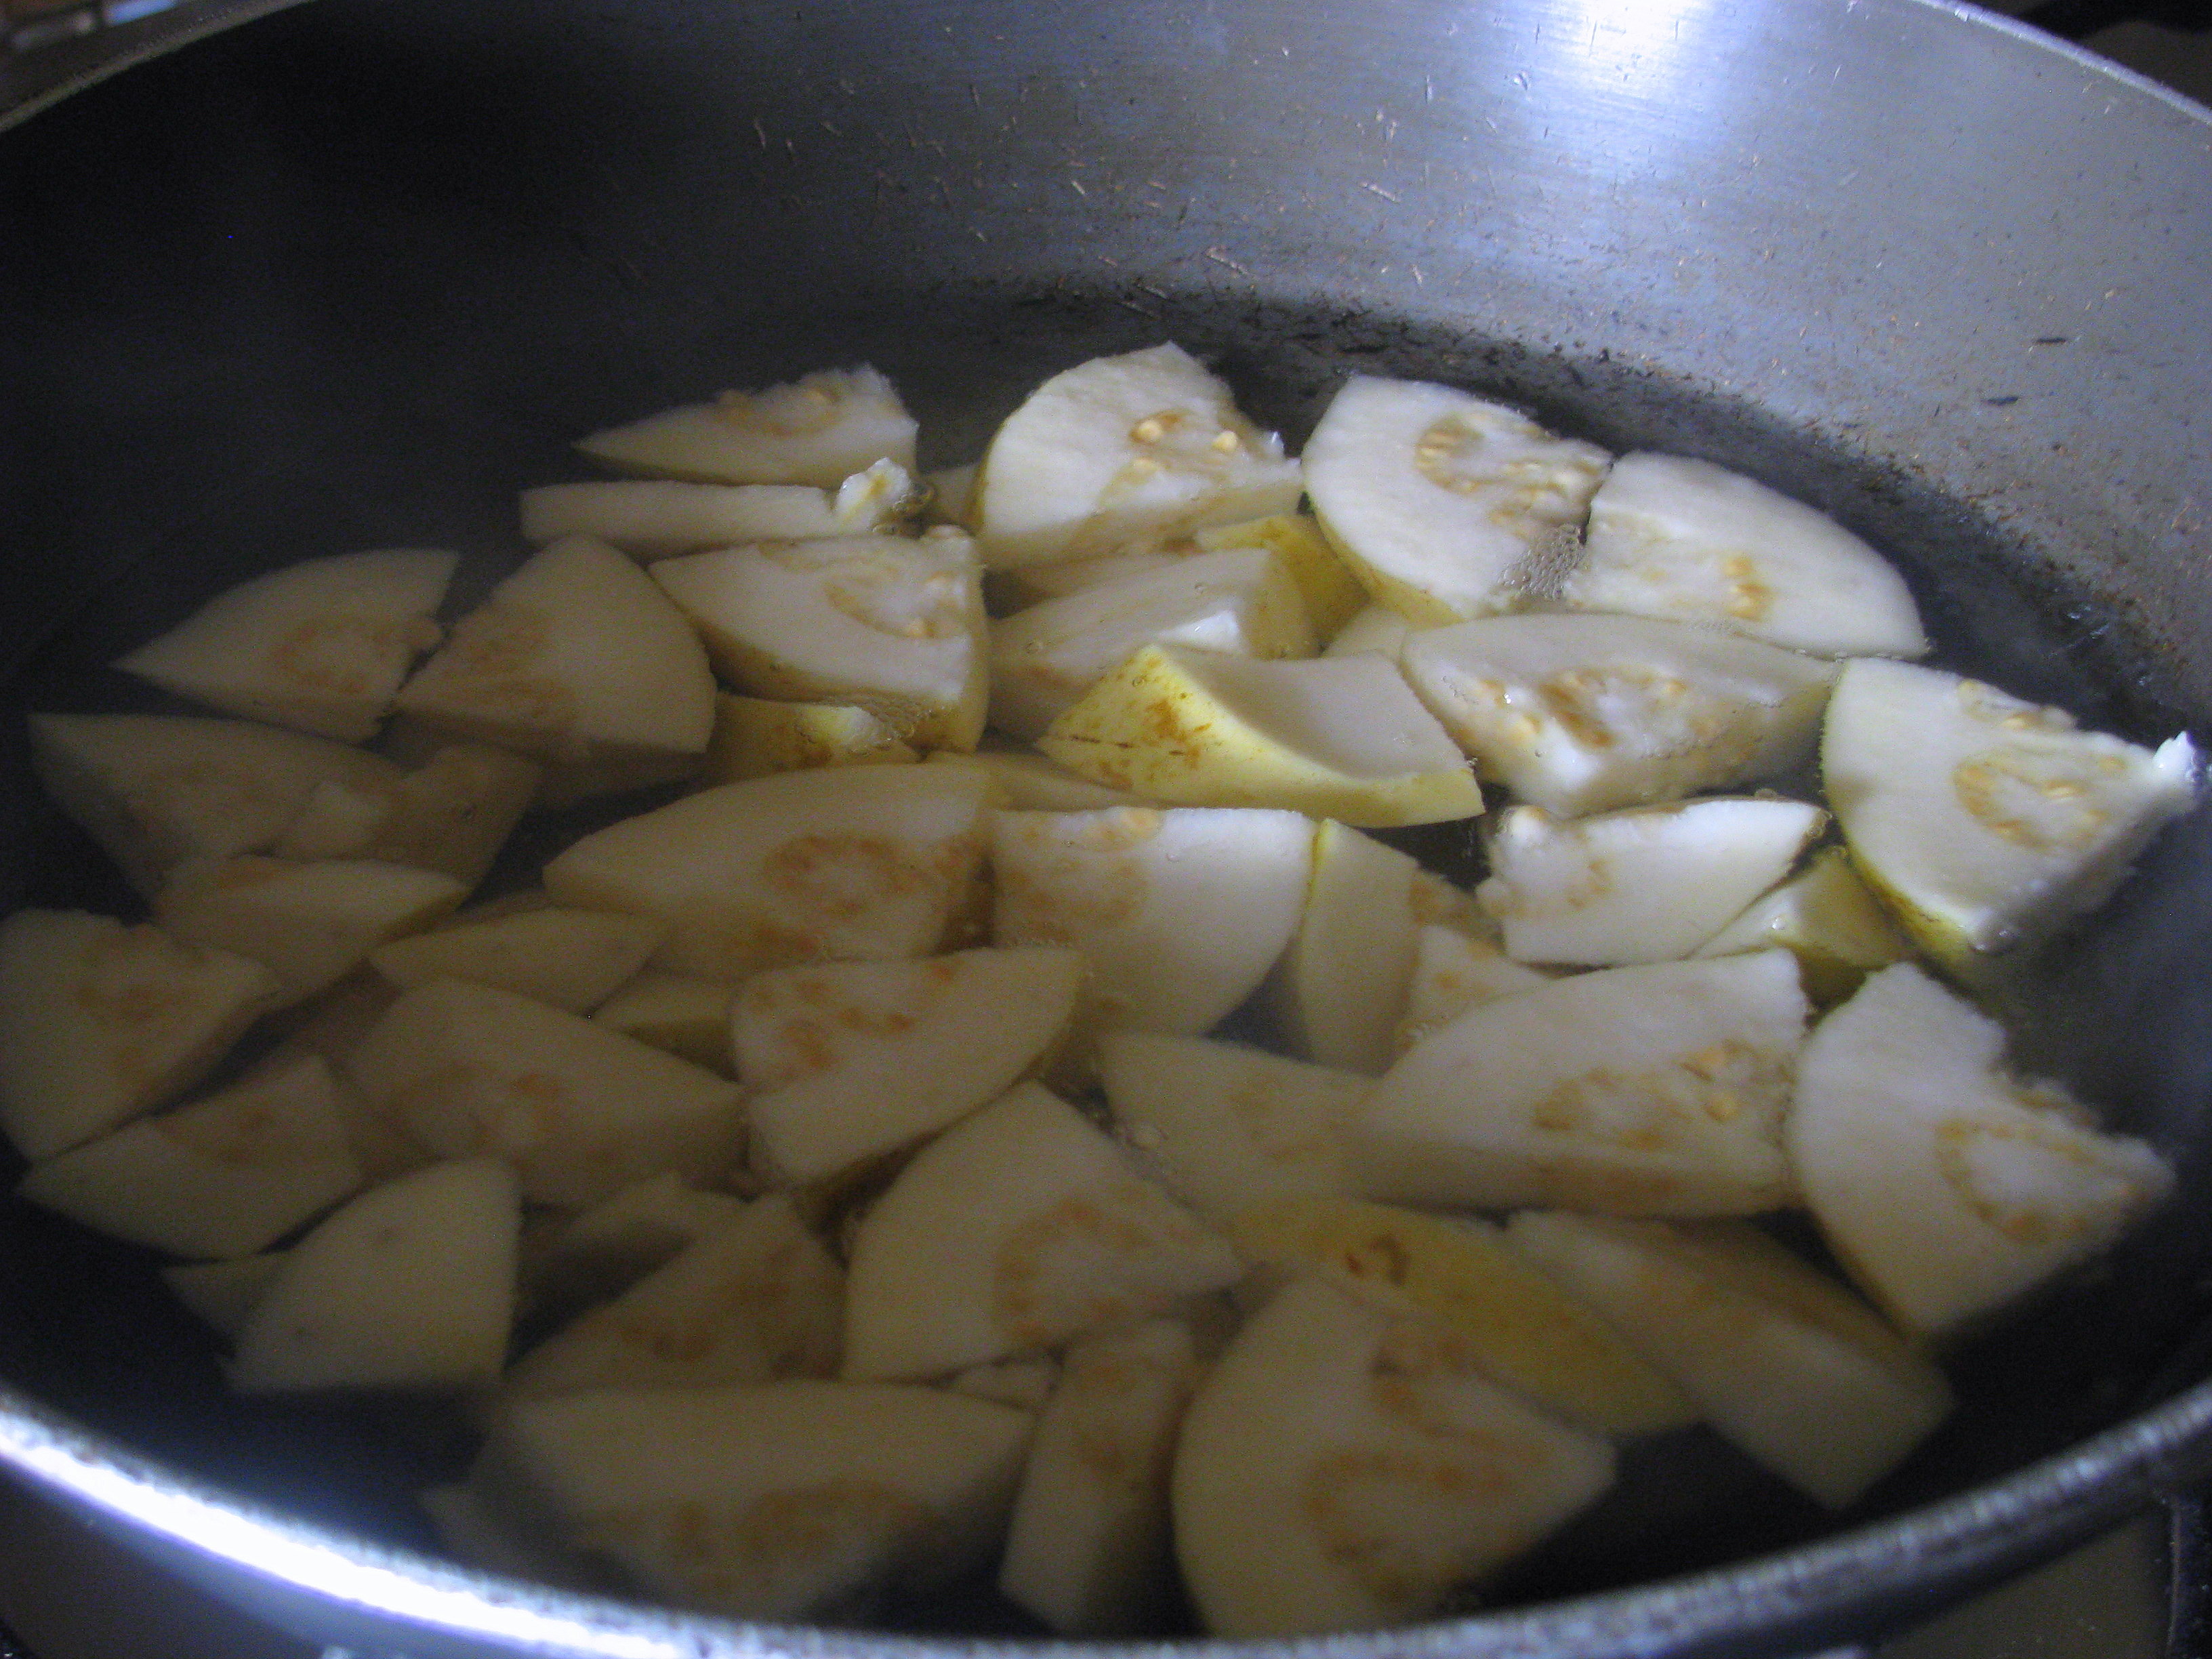
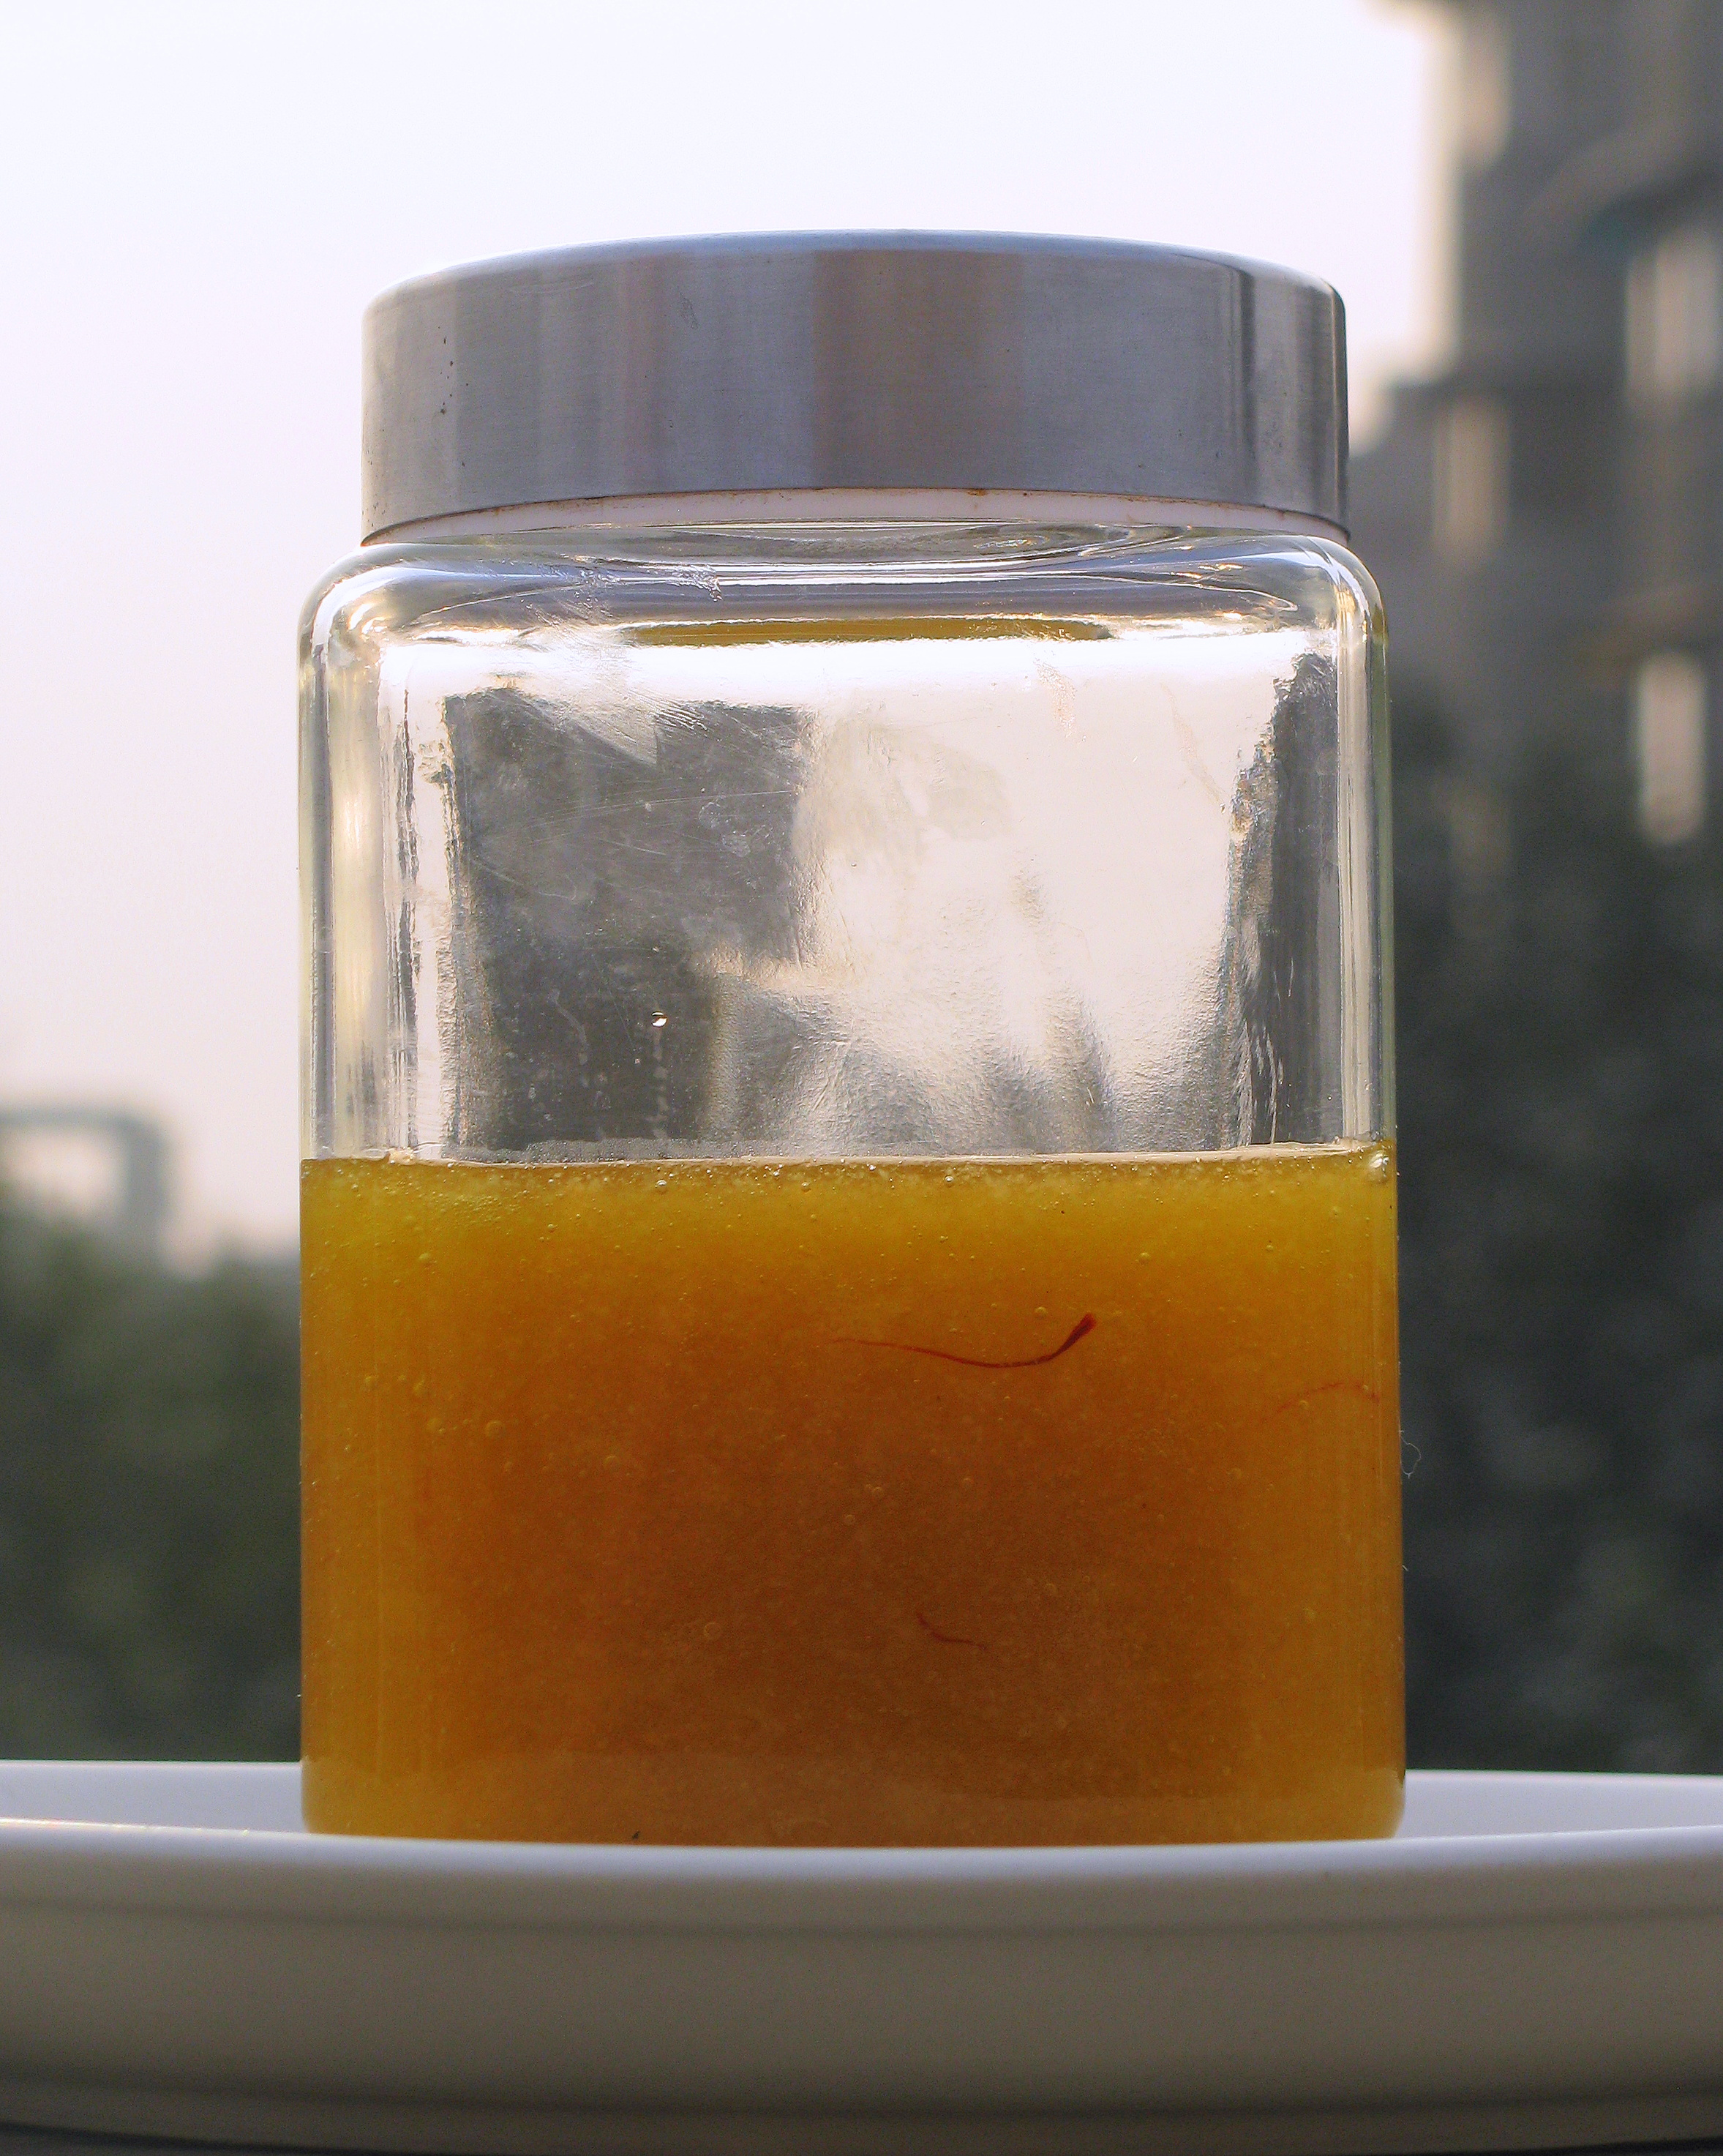
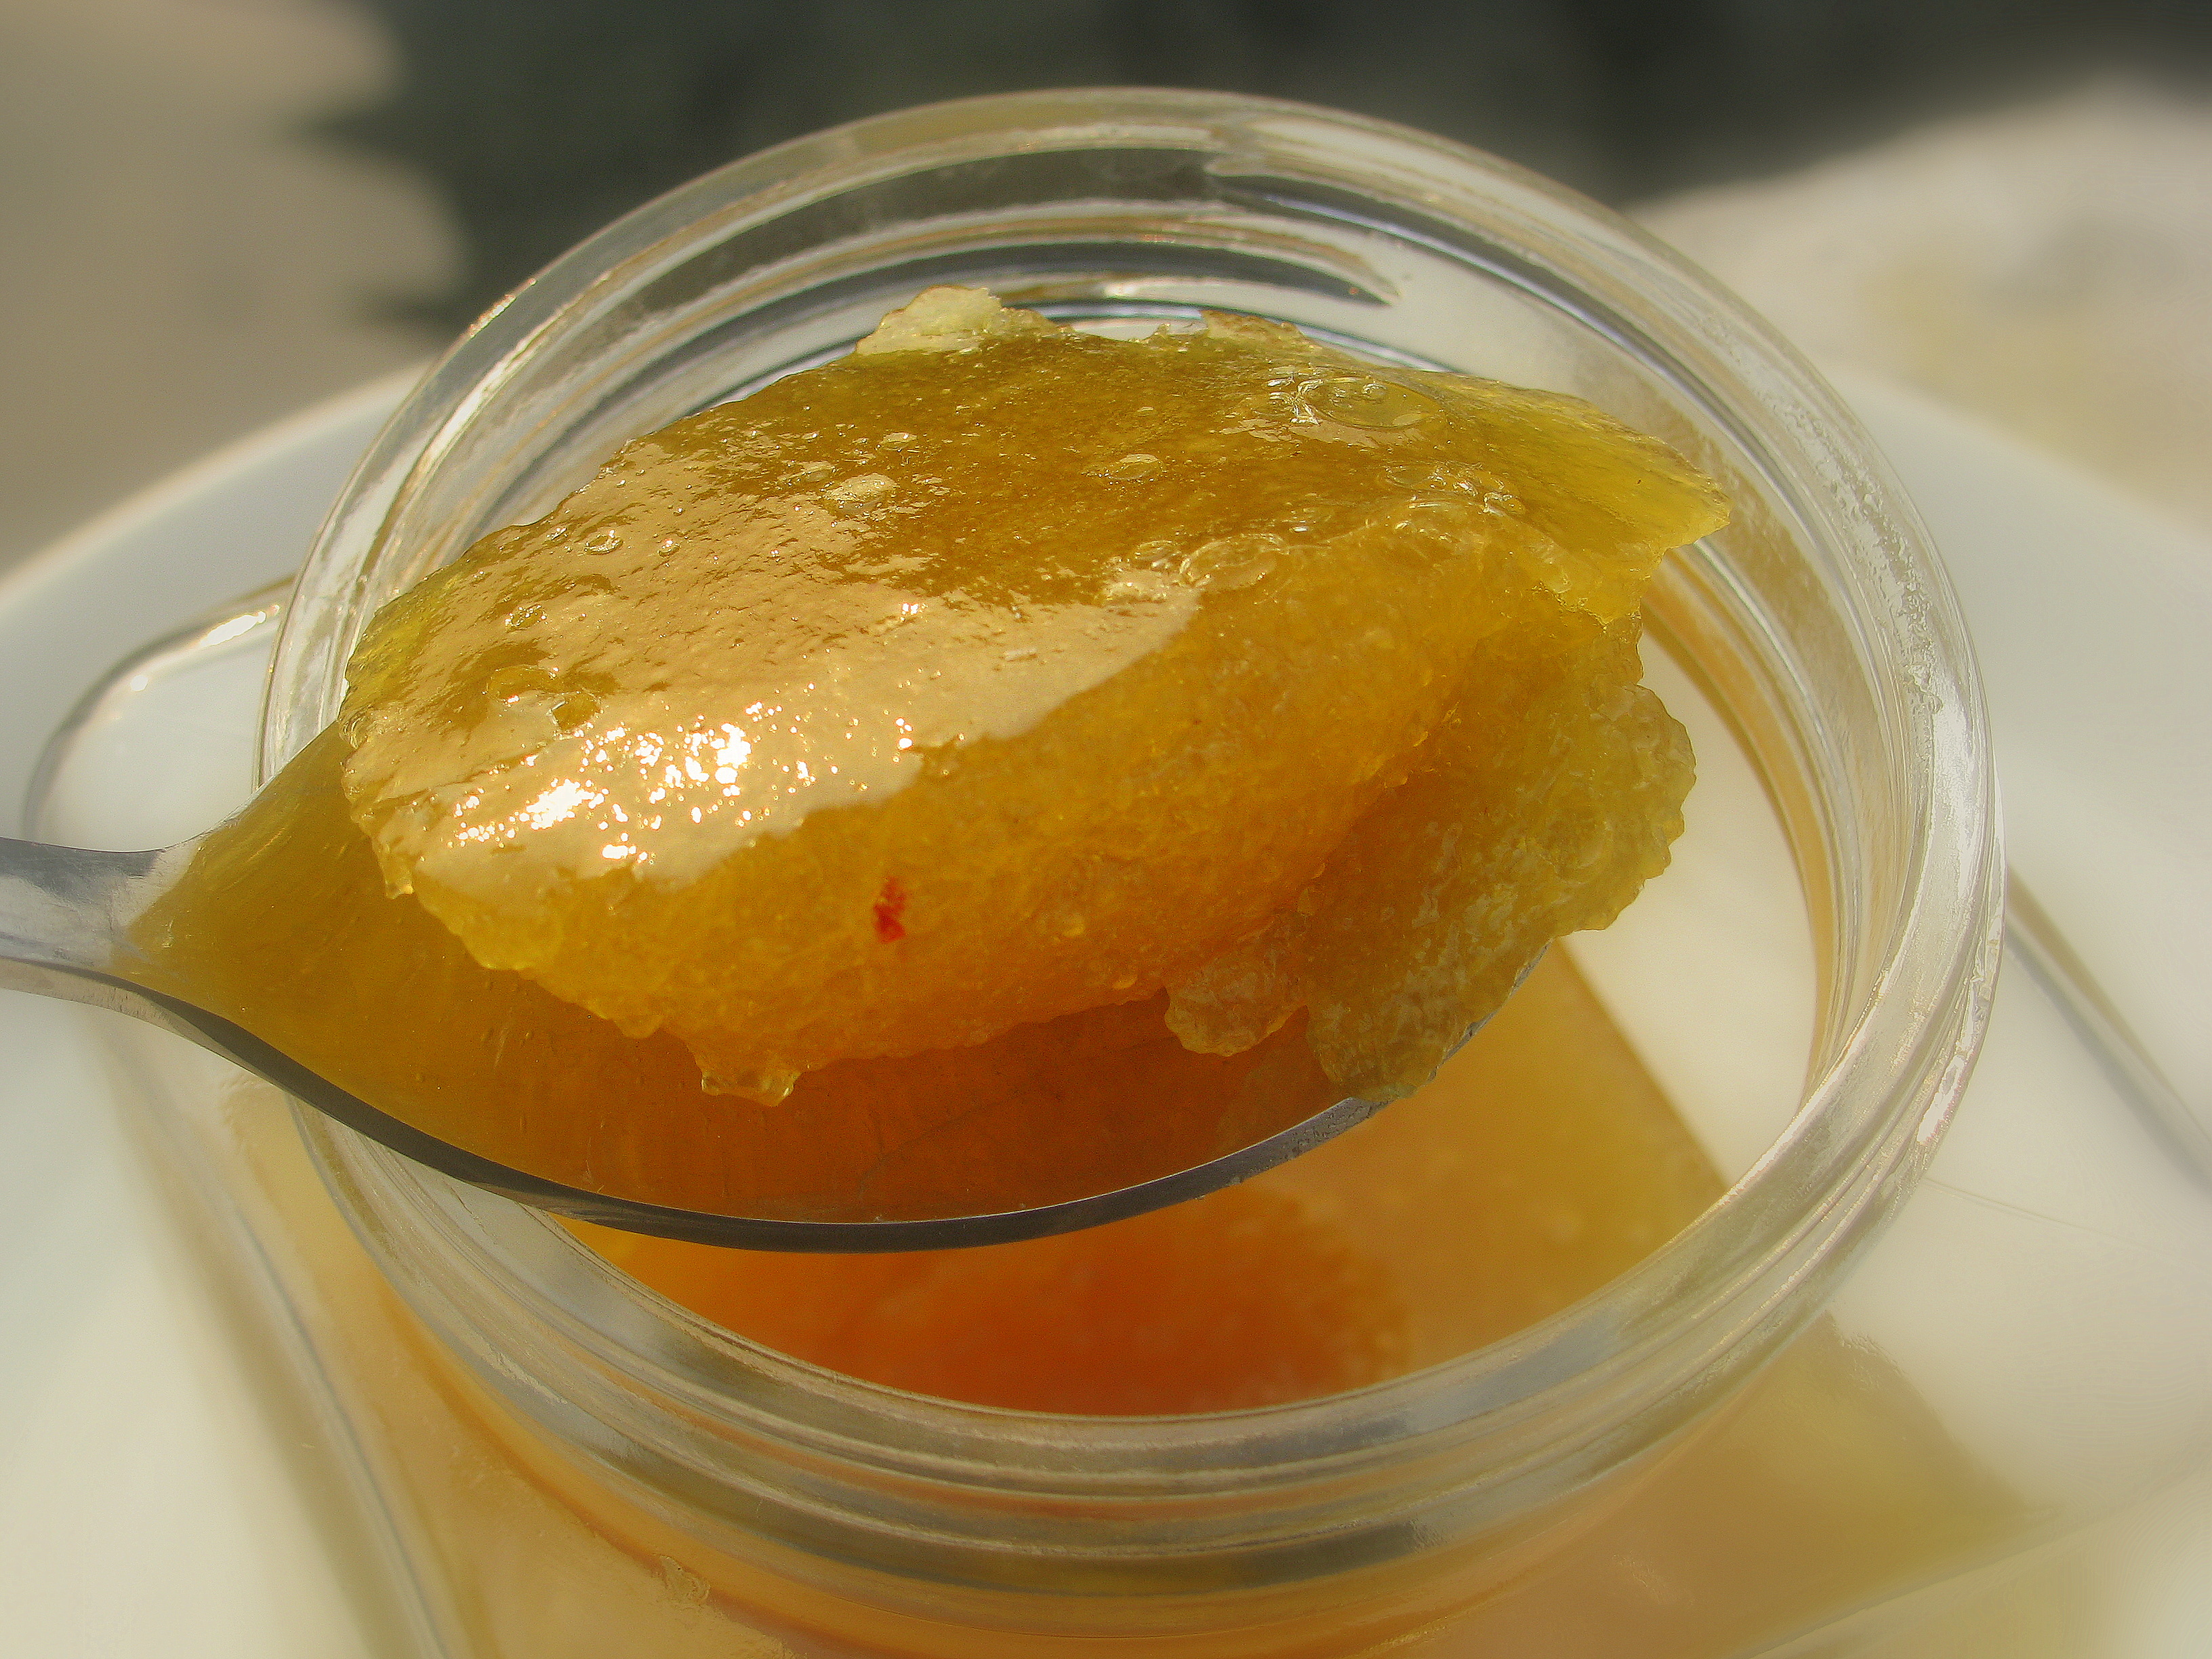
नारियल की चटनी खाने में तो बड़ी मजेदार लगती है पर इसे तोड़कर इसका निकालना म्हणत वाल काम है । इस काम को वैसे बड़ी आसानी से किया जा सकता है । नारियल में तेल की मात्रा बोहोत होती है और ये तेल ठन्डे तापमान पर बहुत जल्दी जम जाता है । नारियल को बाजार से लाने के बाद इस रेफ्रीजिरेटर में deep freeze में रख दे , ७-८ घंटे रेफ्रीजिरेटर में रहने के बाद यह नारियल अपना कड़क छिलका अंदर के गोले से अलग हो जाता है , क्यूंकि  इसका कड़क छिलका टूटने योग्य (brittle) हो जाता है और गोले का तेल जम जाने के कारन वह  छिलका छोड़ देता है  , इस नारियल को फोड़ते ही गोला बड़ी आसानी से छिलके से अलग हो जाता है| इस तरह जो झंझट वाला  काम है वह बड़ी आसानी से पूरा हो जाता है । अब ये कच्चे नारियल का गोला आप चाहे जिस चीज़ में इस्तेमाल कर सकते है। आप इसका काला चिल्का पिलर की सहायता से हटा लीजिए जिससे यह काला रंग चटनी या किसी भी रेसिपी में नहीं दिखेगा |

मैंने नारियल की चटनी की यह रेसिपी क्रमशः फोटो द्वारा बतायी है |आपको यह रेसिपी कैसी लगी या आप इसे कैसे बनाना पसंद करते है यह सारी बातें आप मुझे नीचे दिए गए कमेंट बॉक्स (comment box) में जरूर लिखिए |

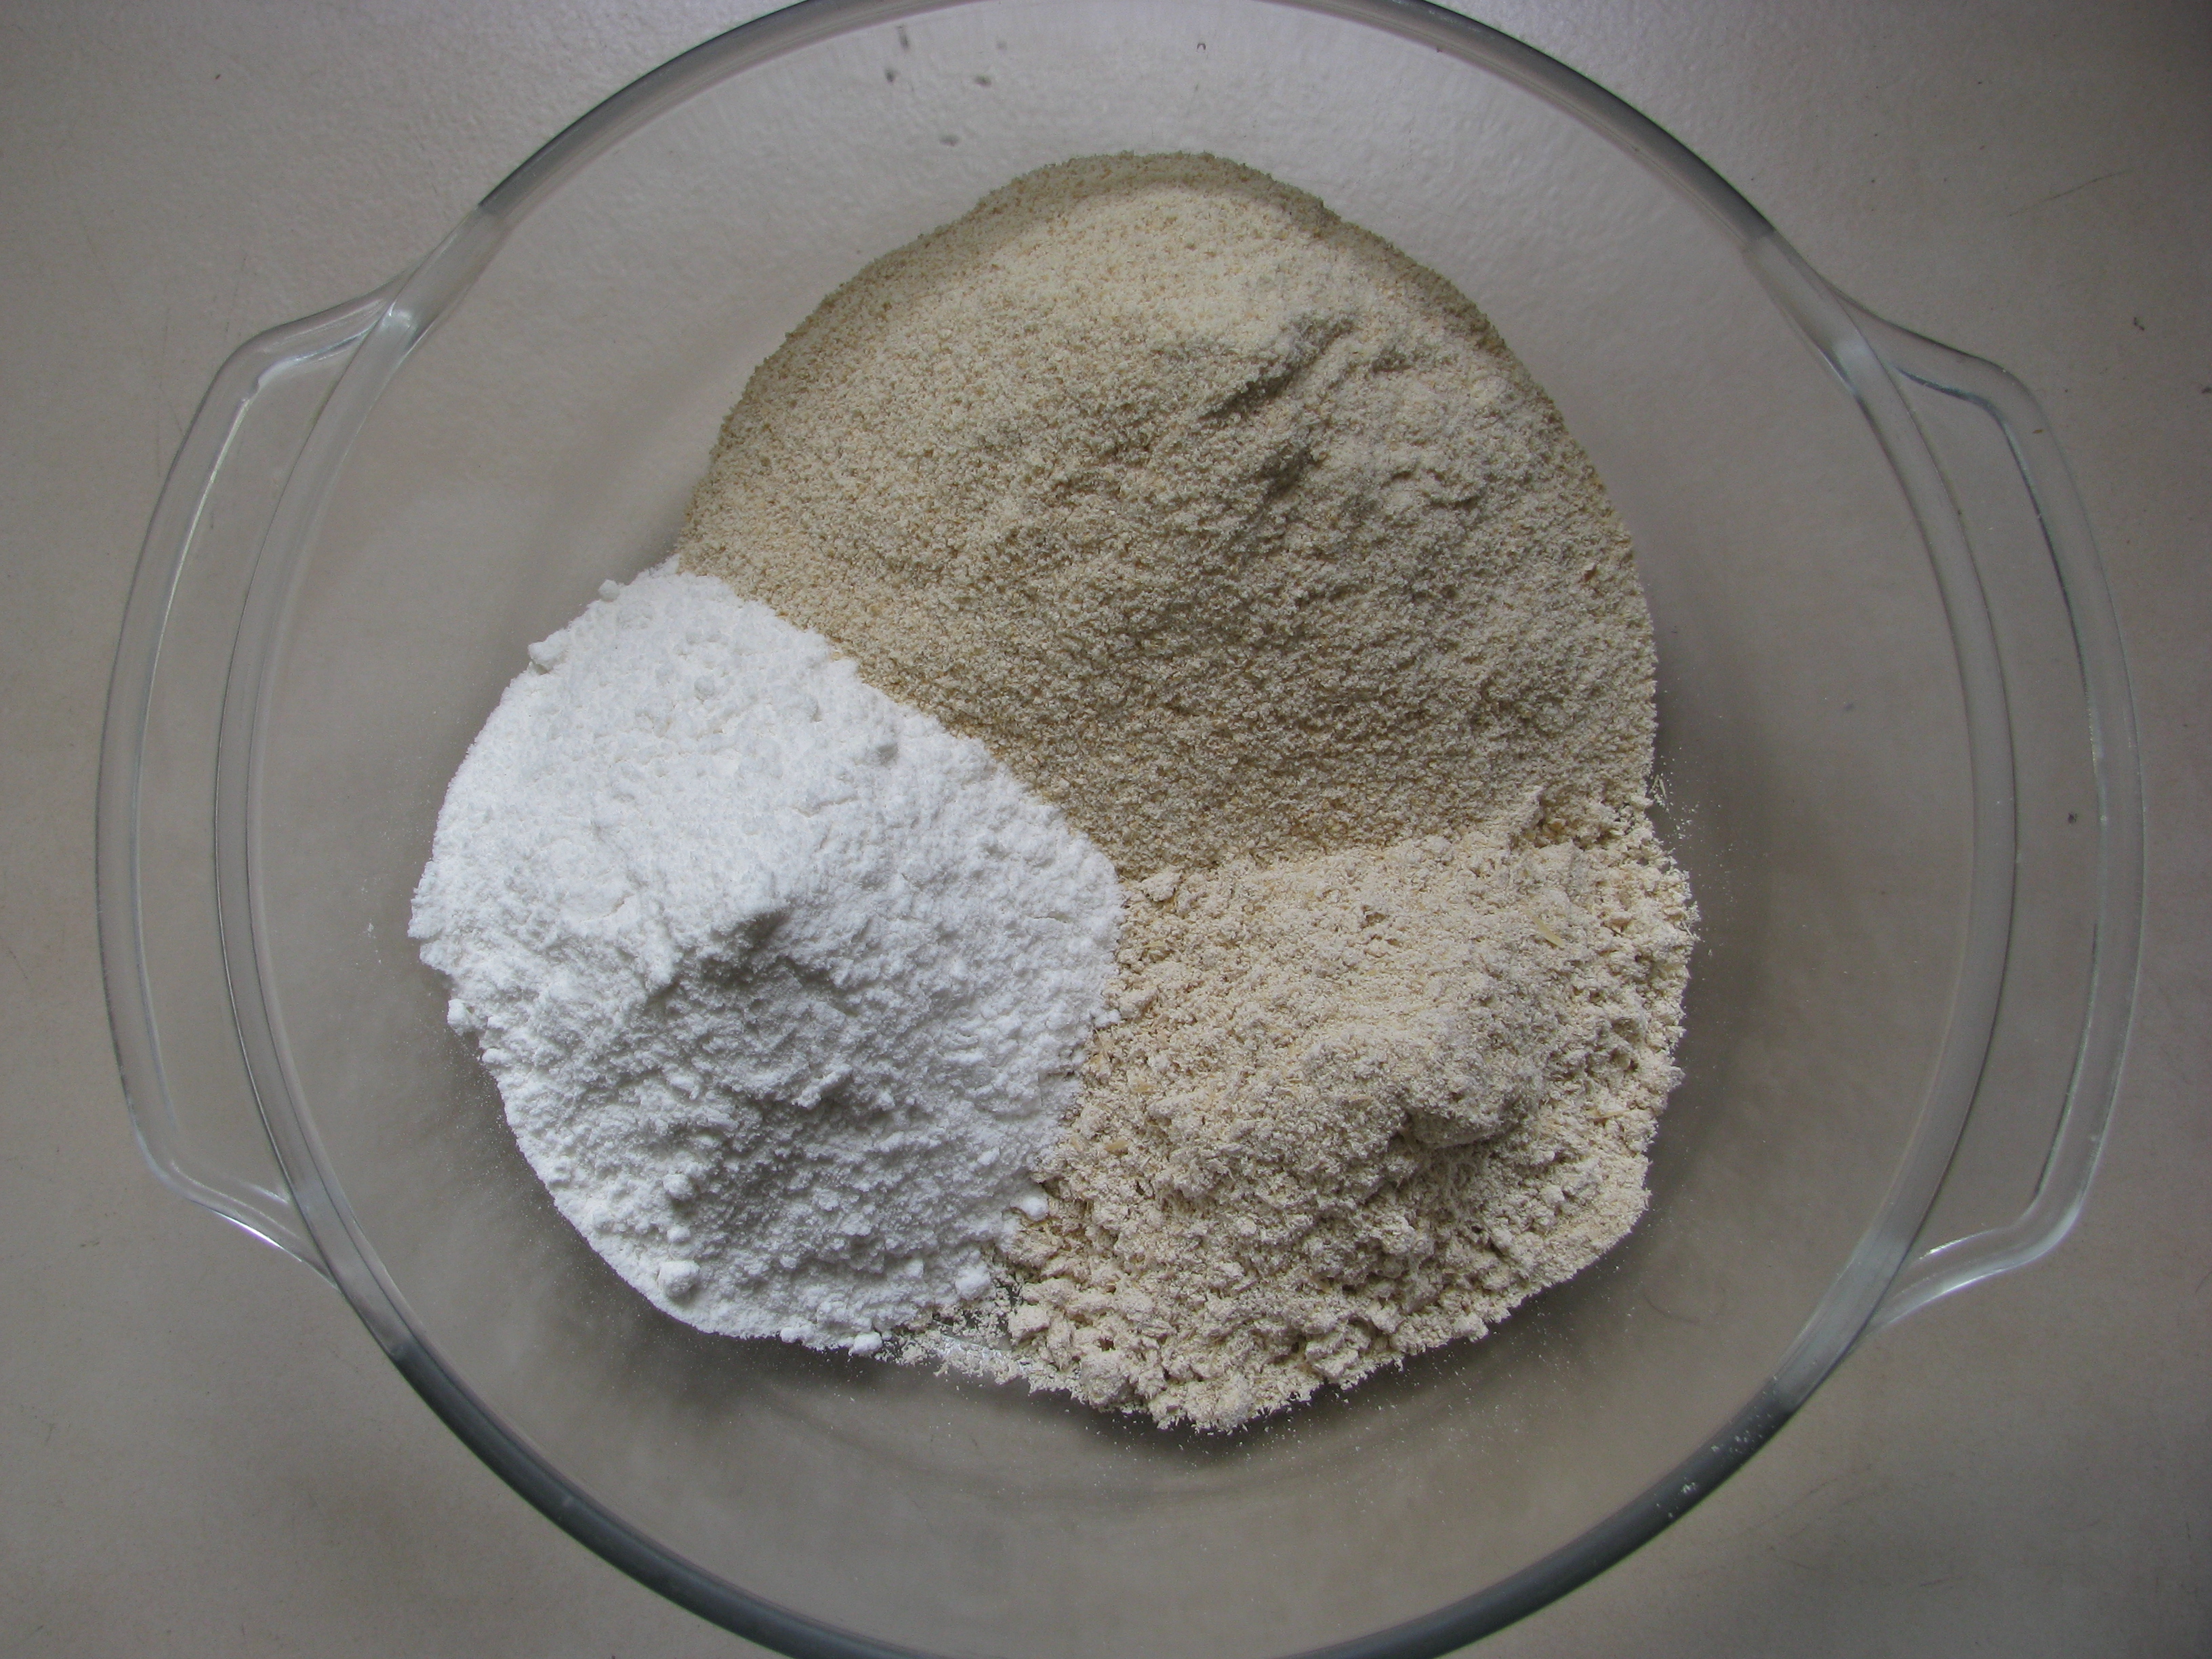
[ingredients title=”नारियल की चटनी (coconut chutney)बनाने की सामग्री Ingredients to make Nariyal ki Chutney”]

चटनी की सामग्री

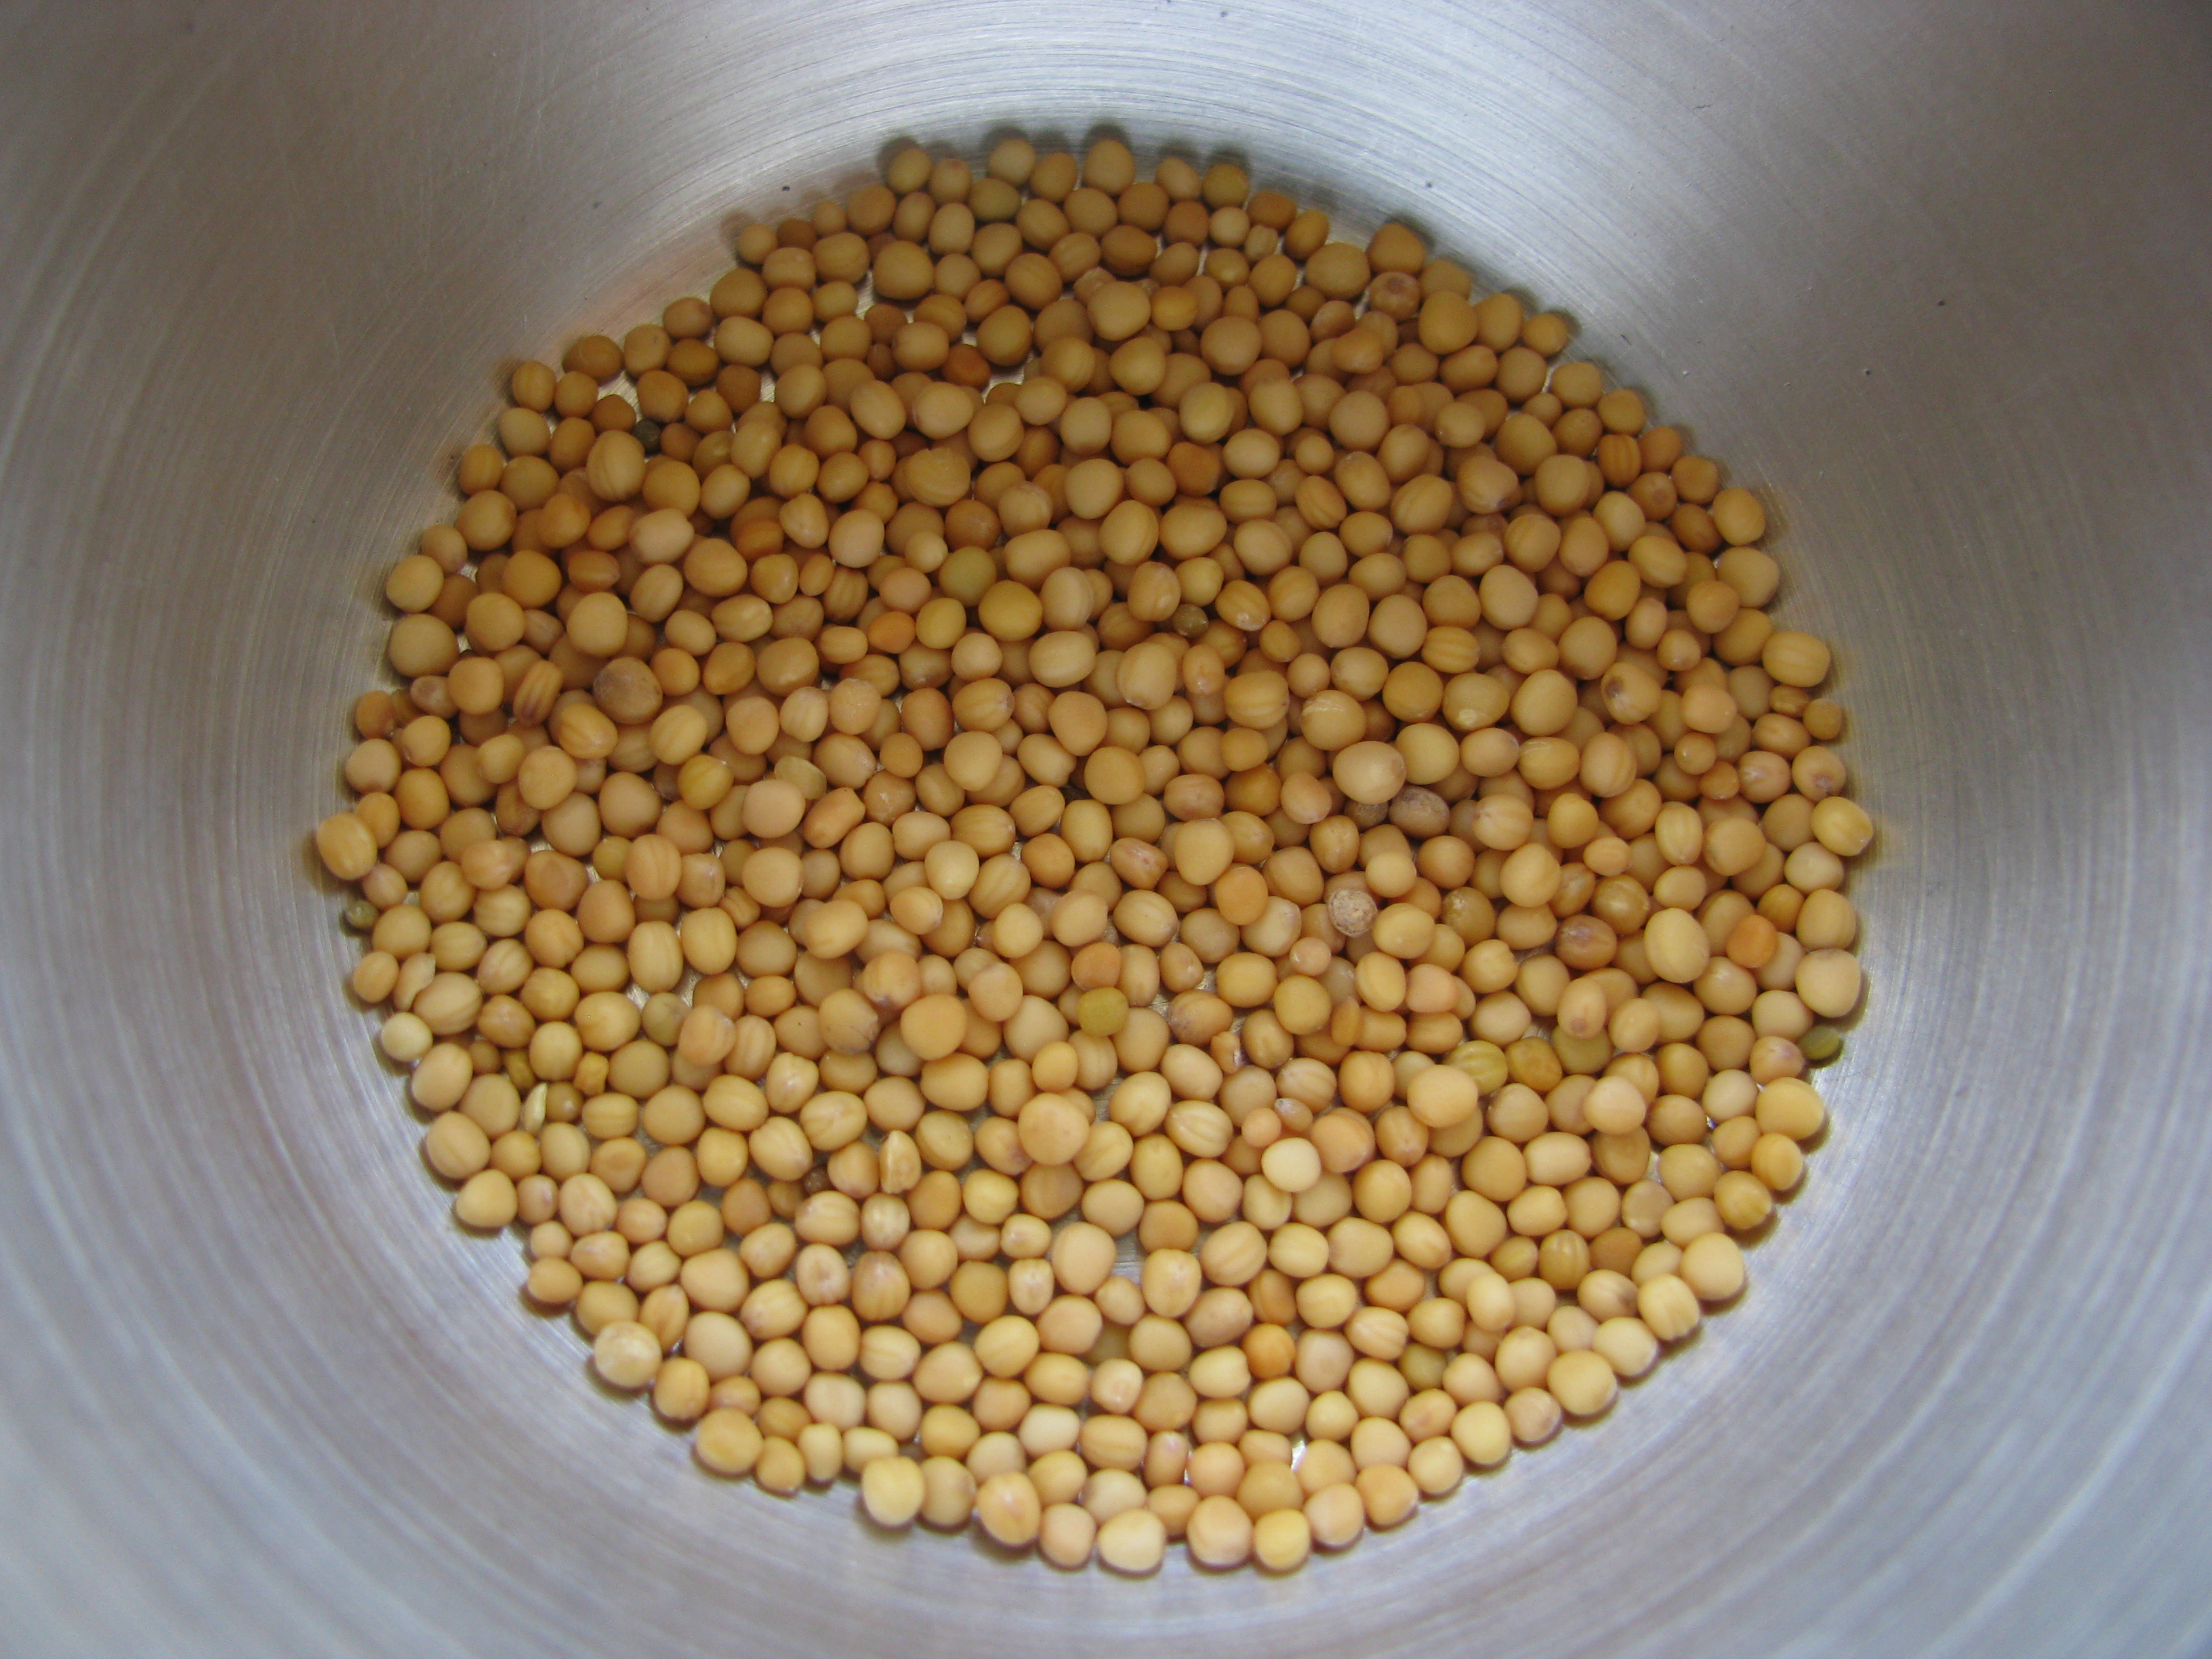
  • १/२ नारियल के टुकड़े या कदूकस कर लीजिए (coconut pieces / grated coconut)
  • ३-४ हरी मिर्च (mirch-green chilies)
  • २- ३ लहसुन की ३-४ कलियाँ (lehsun-garlic cloves)
  • १/२ कप धनिया (dhaniya-corriander)
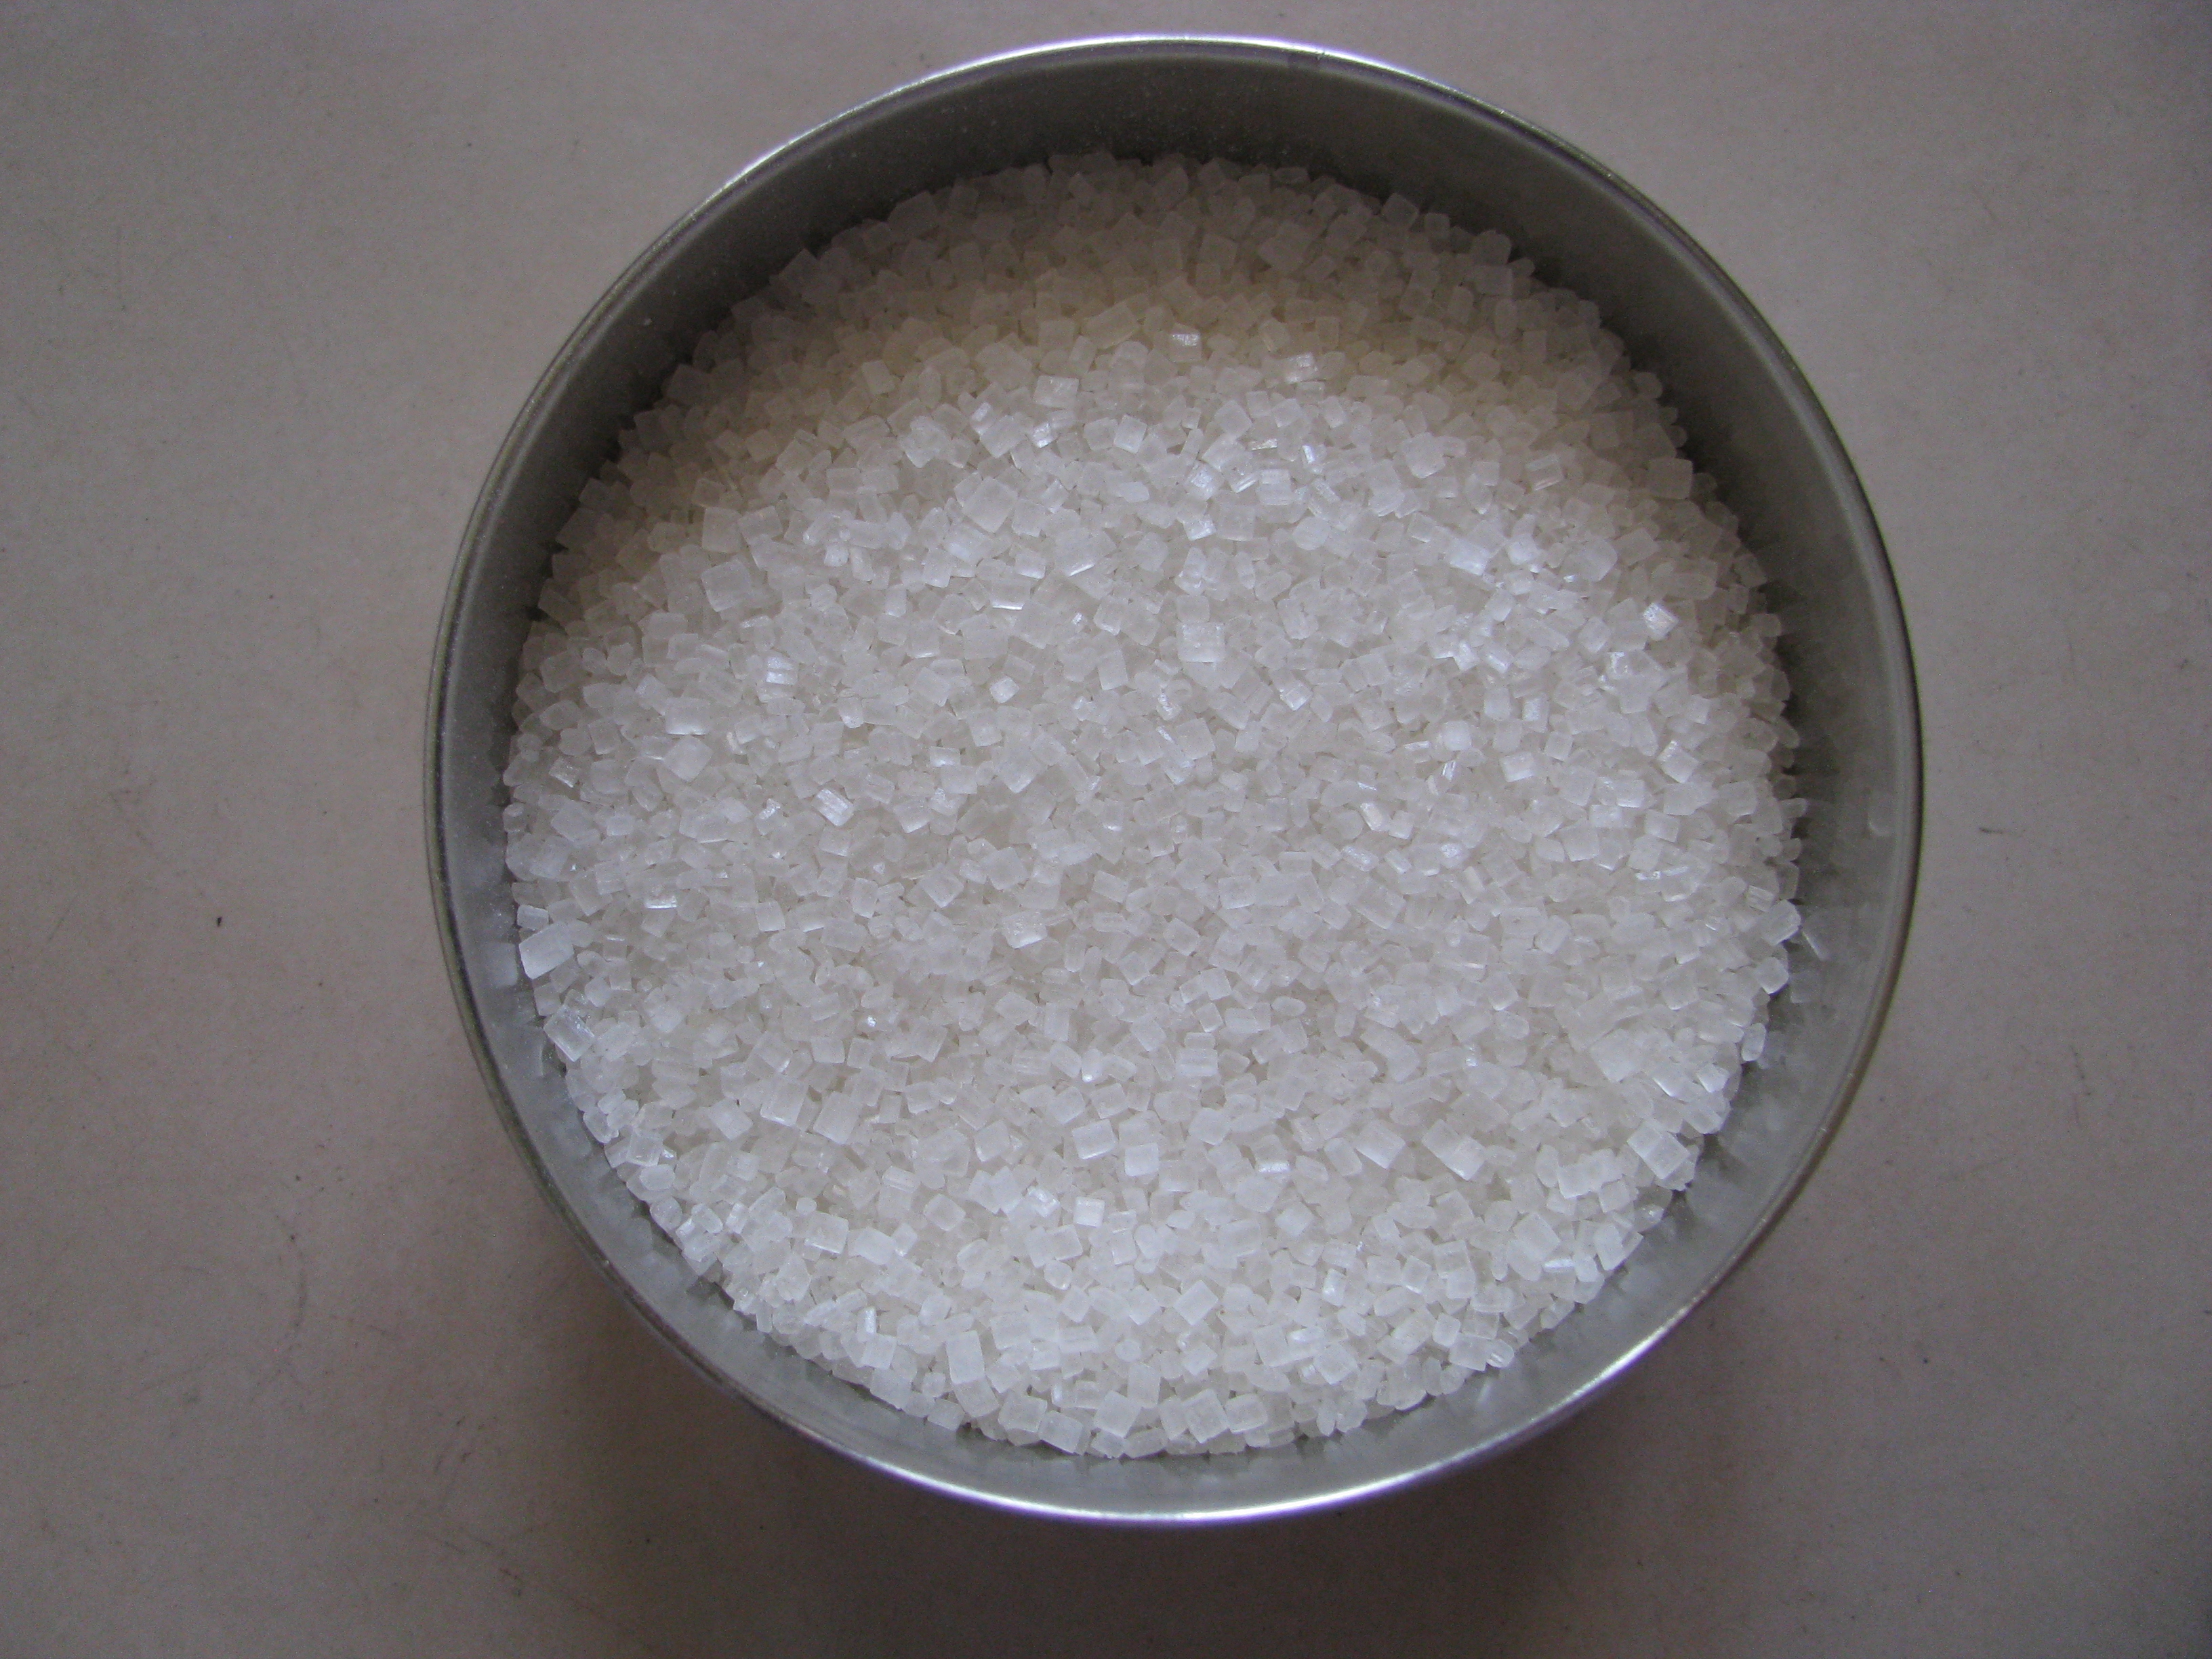
  • १/२ कप भुने हुई मूंगफली के दाने(moongphalli-peanuts)
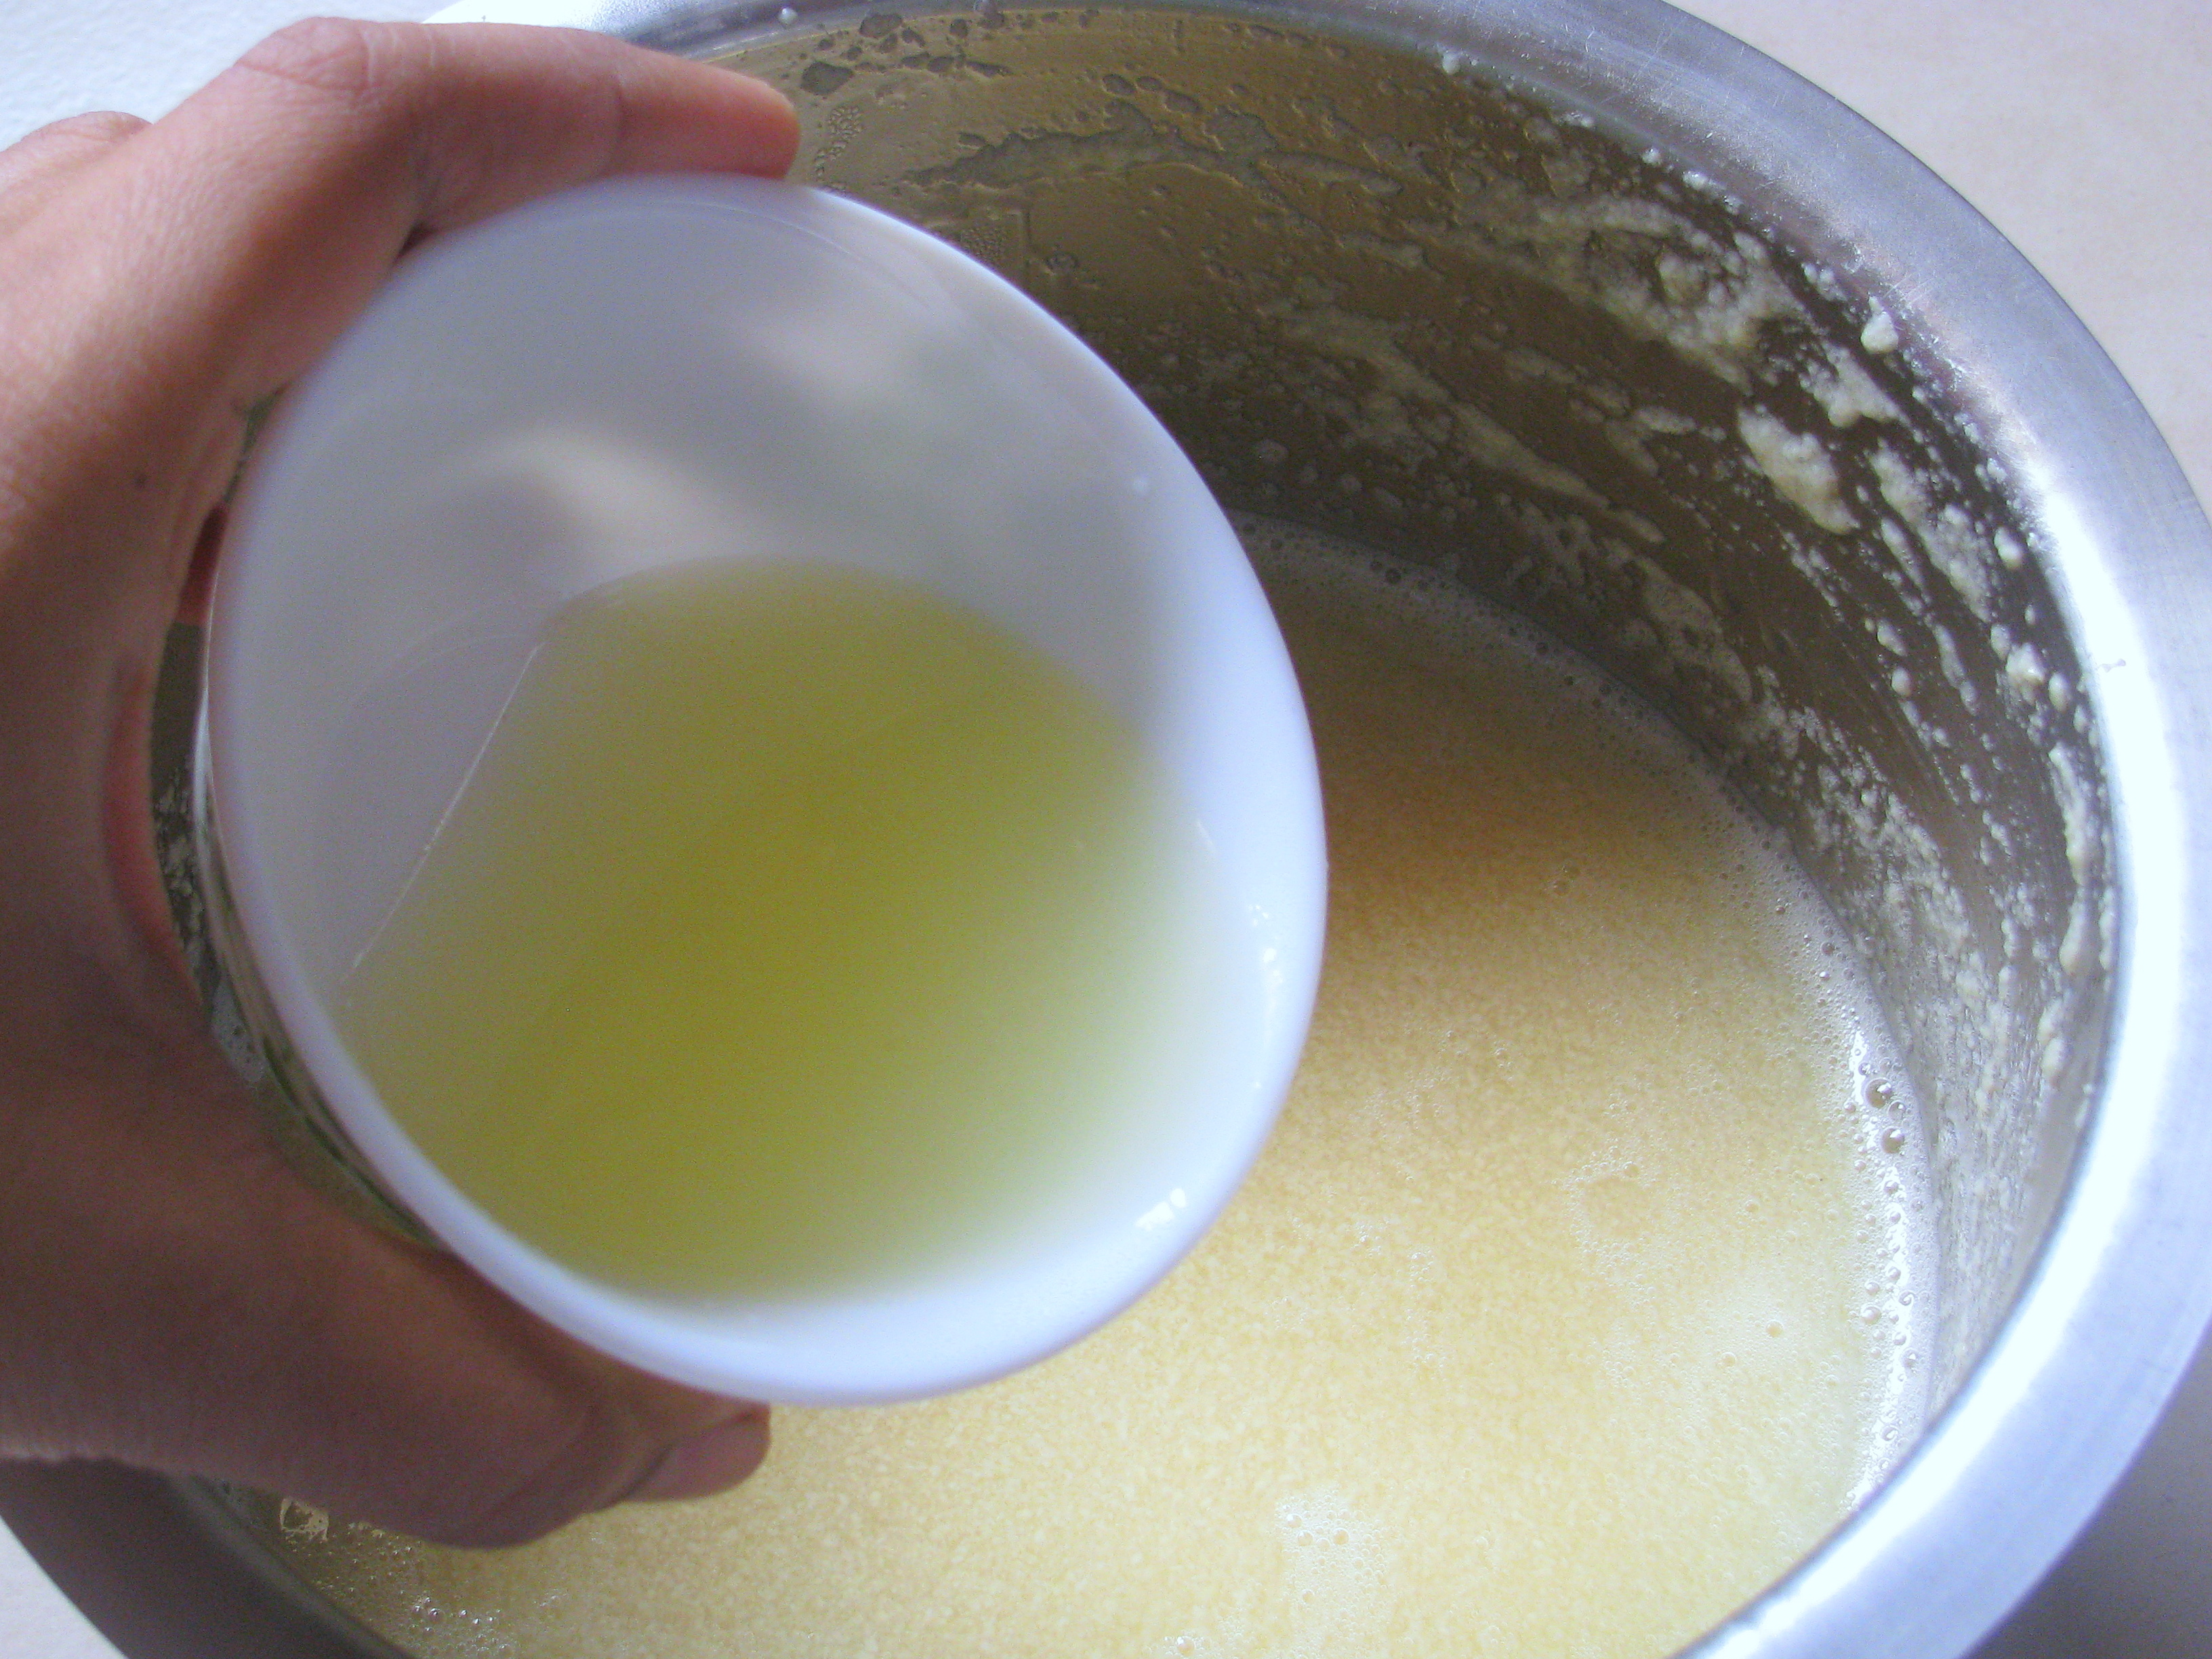
  • १ निम्बू का रस (nimbu-lemon)
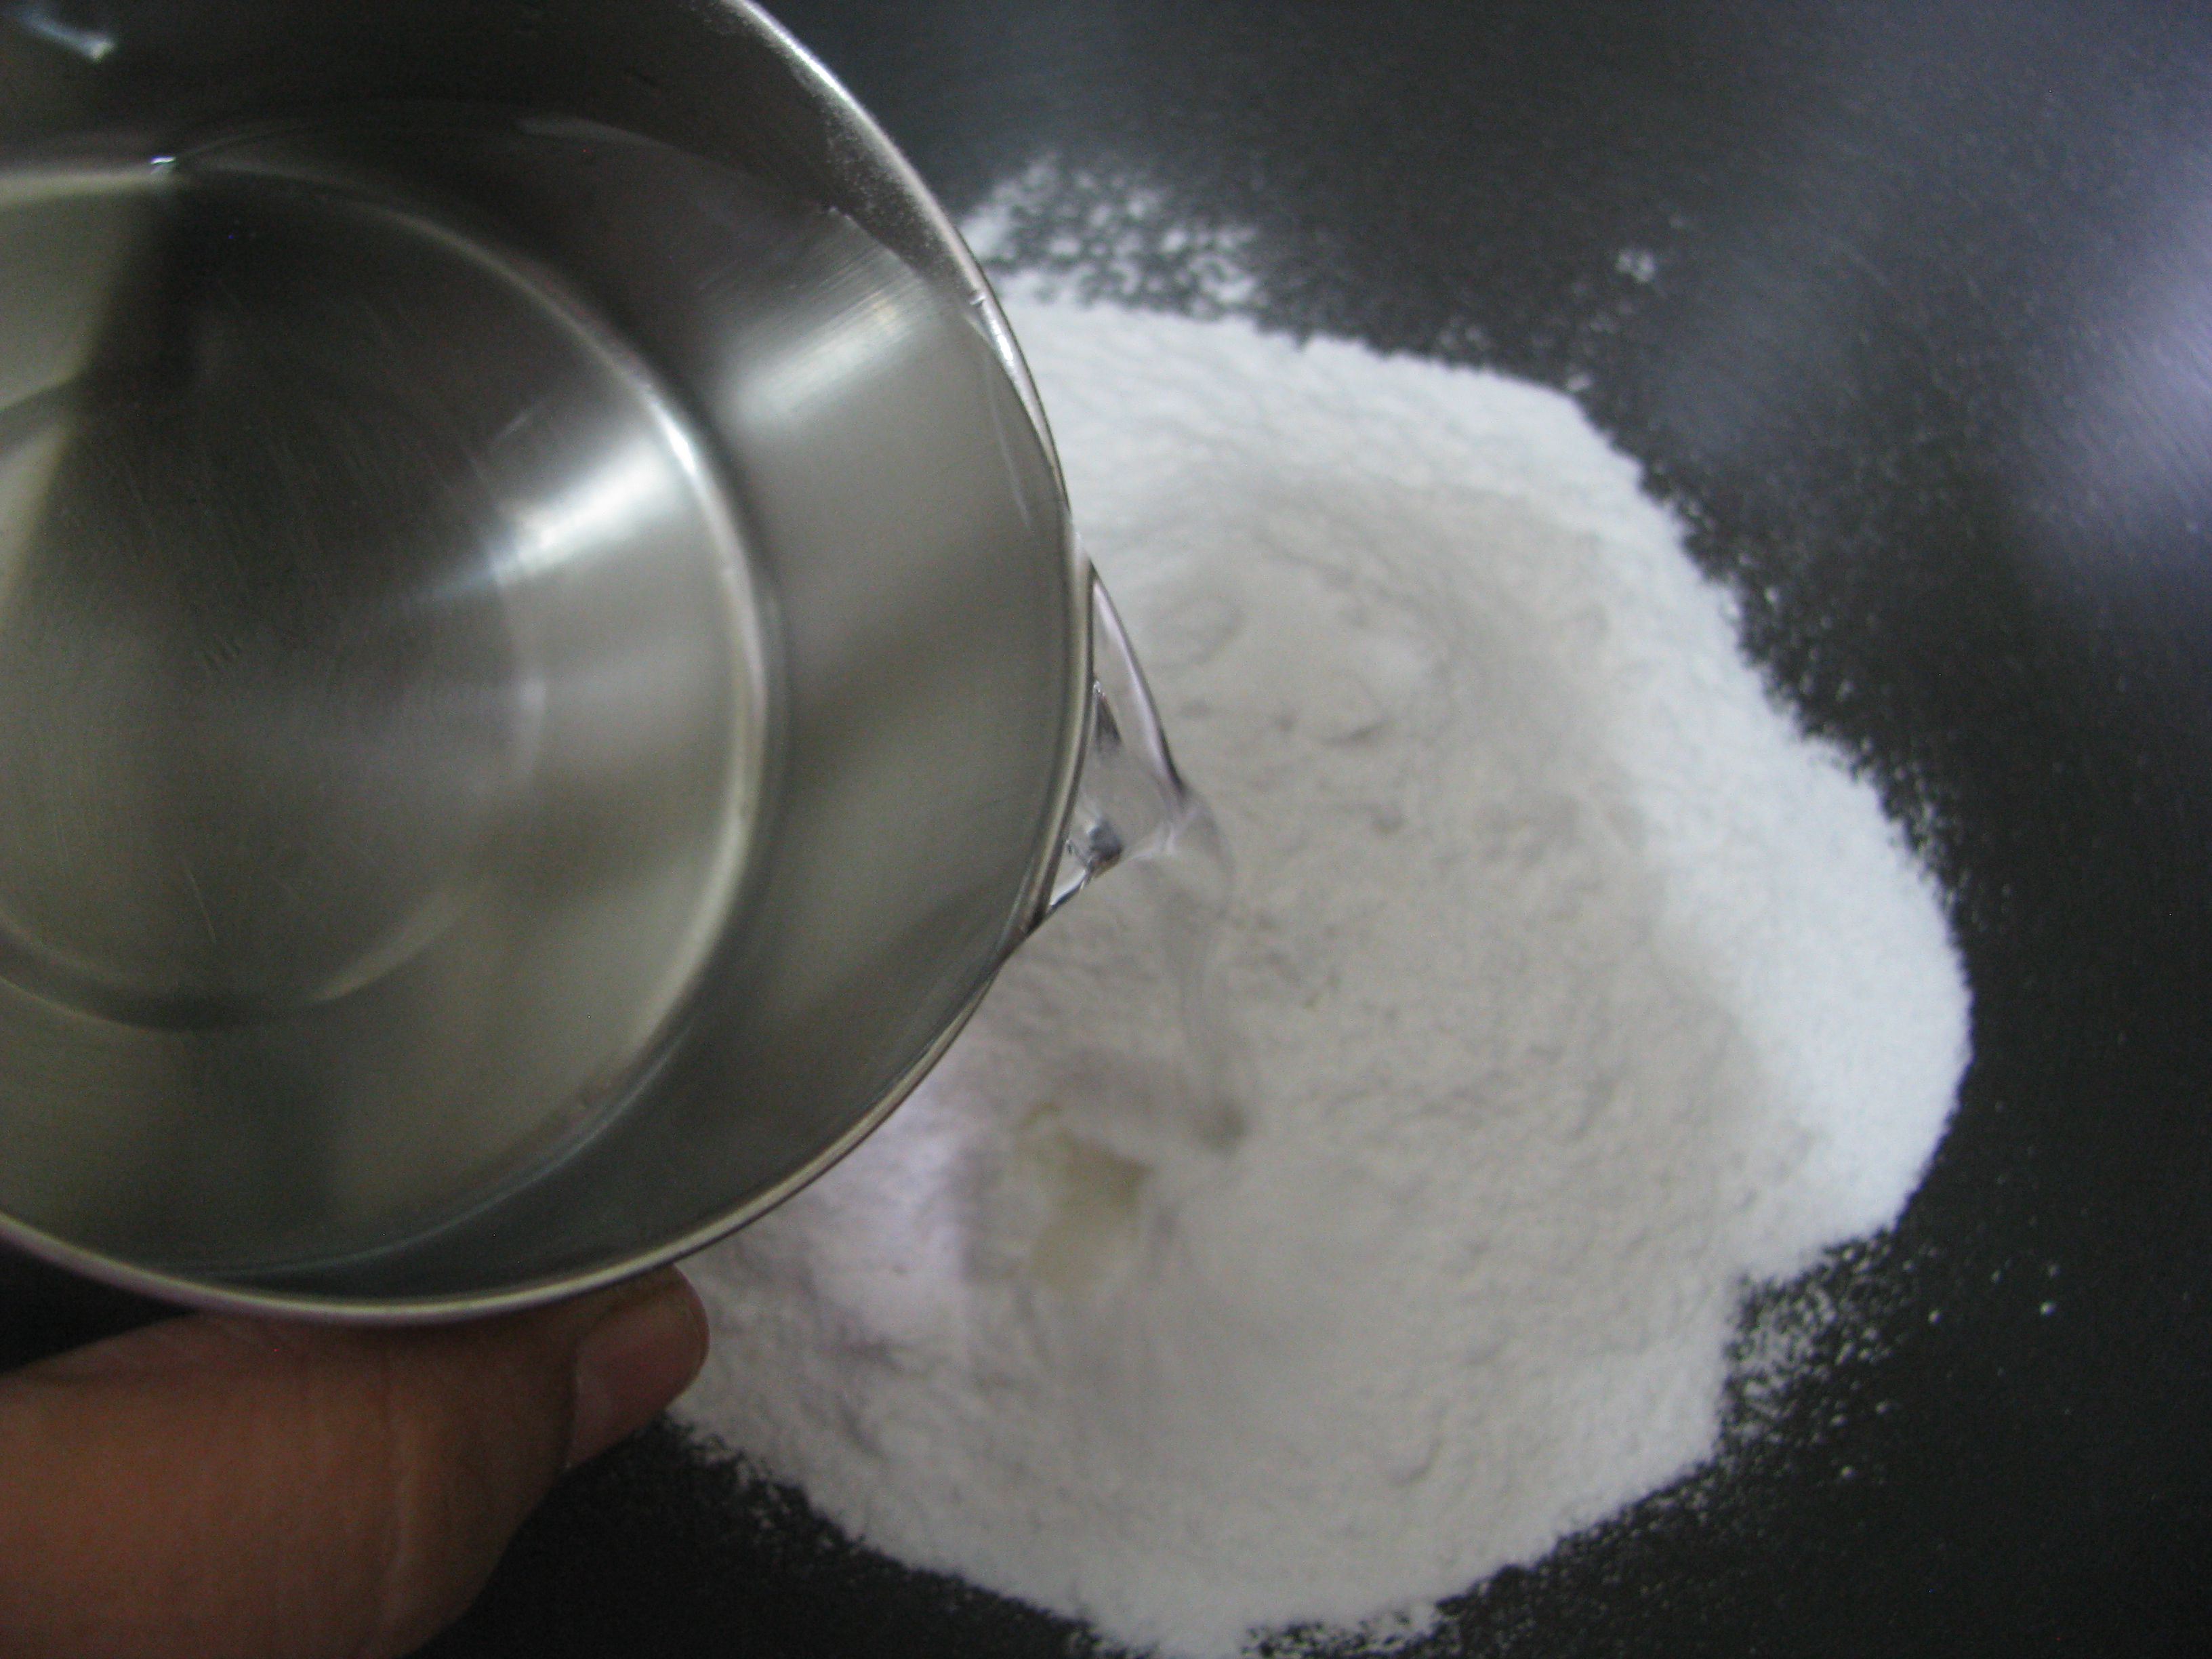
  • नमक स्वादानुसार (namak-salt to taste)

तड़के की सामग्री

  • १ टीस्पून तेल (tel-oil)
  • १/२ टीस्पून राइ (rai-mustard seeds)
  • १/२टीस्पून जीरा (jeera)
  • १ चुटकी हींग (asafoetida)
  • १५- २० करी पत्ता

[/ingredients]

[directions title=”नारियल की चटनी बनाने की विधि (nariyal ki chutney banane ki vidhi )Directions to make coconut chutney”]

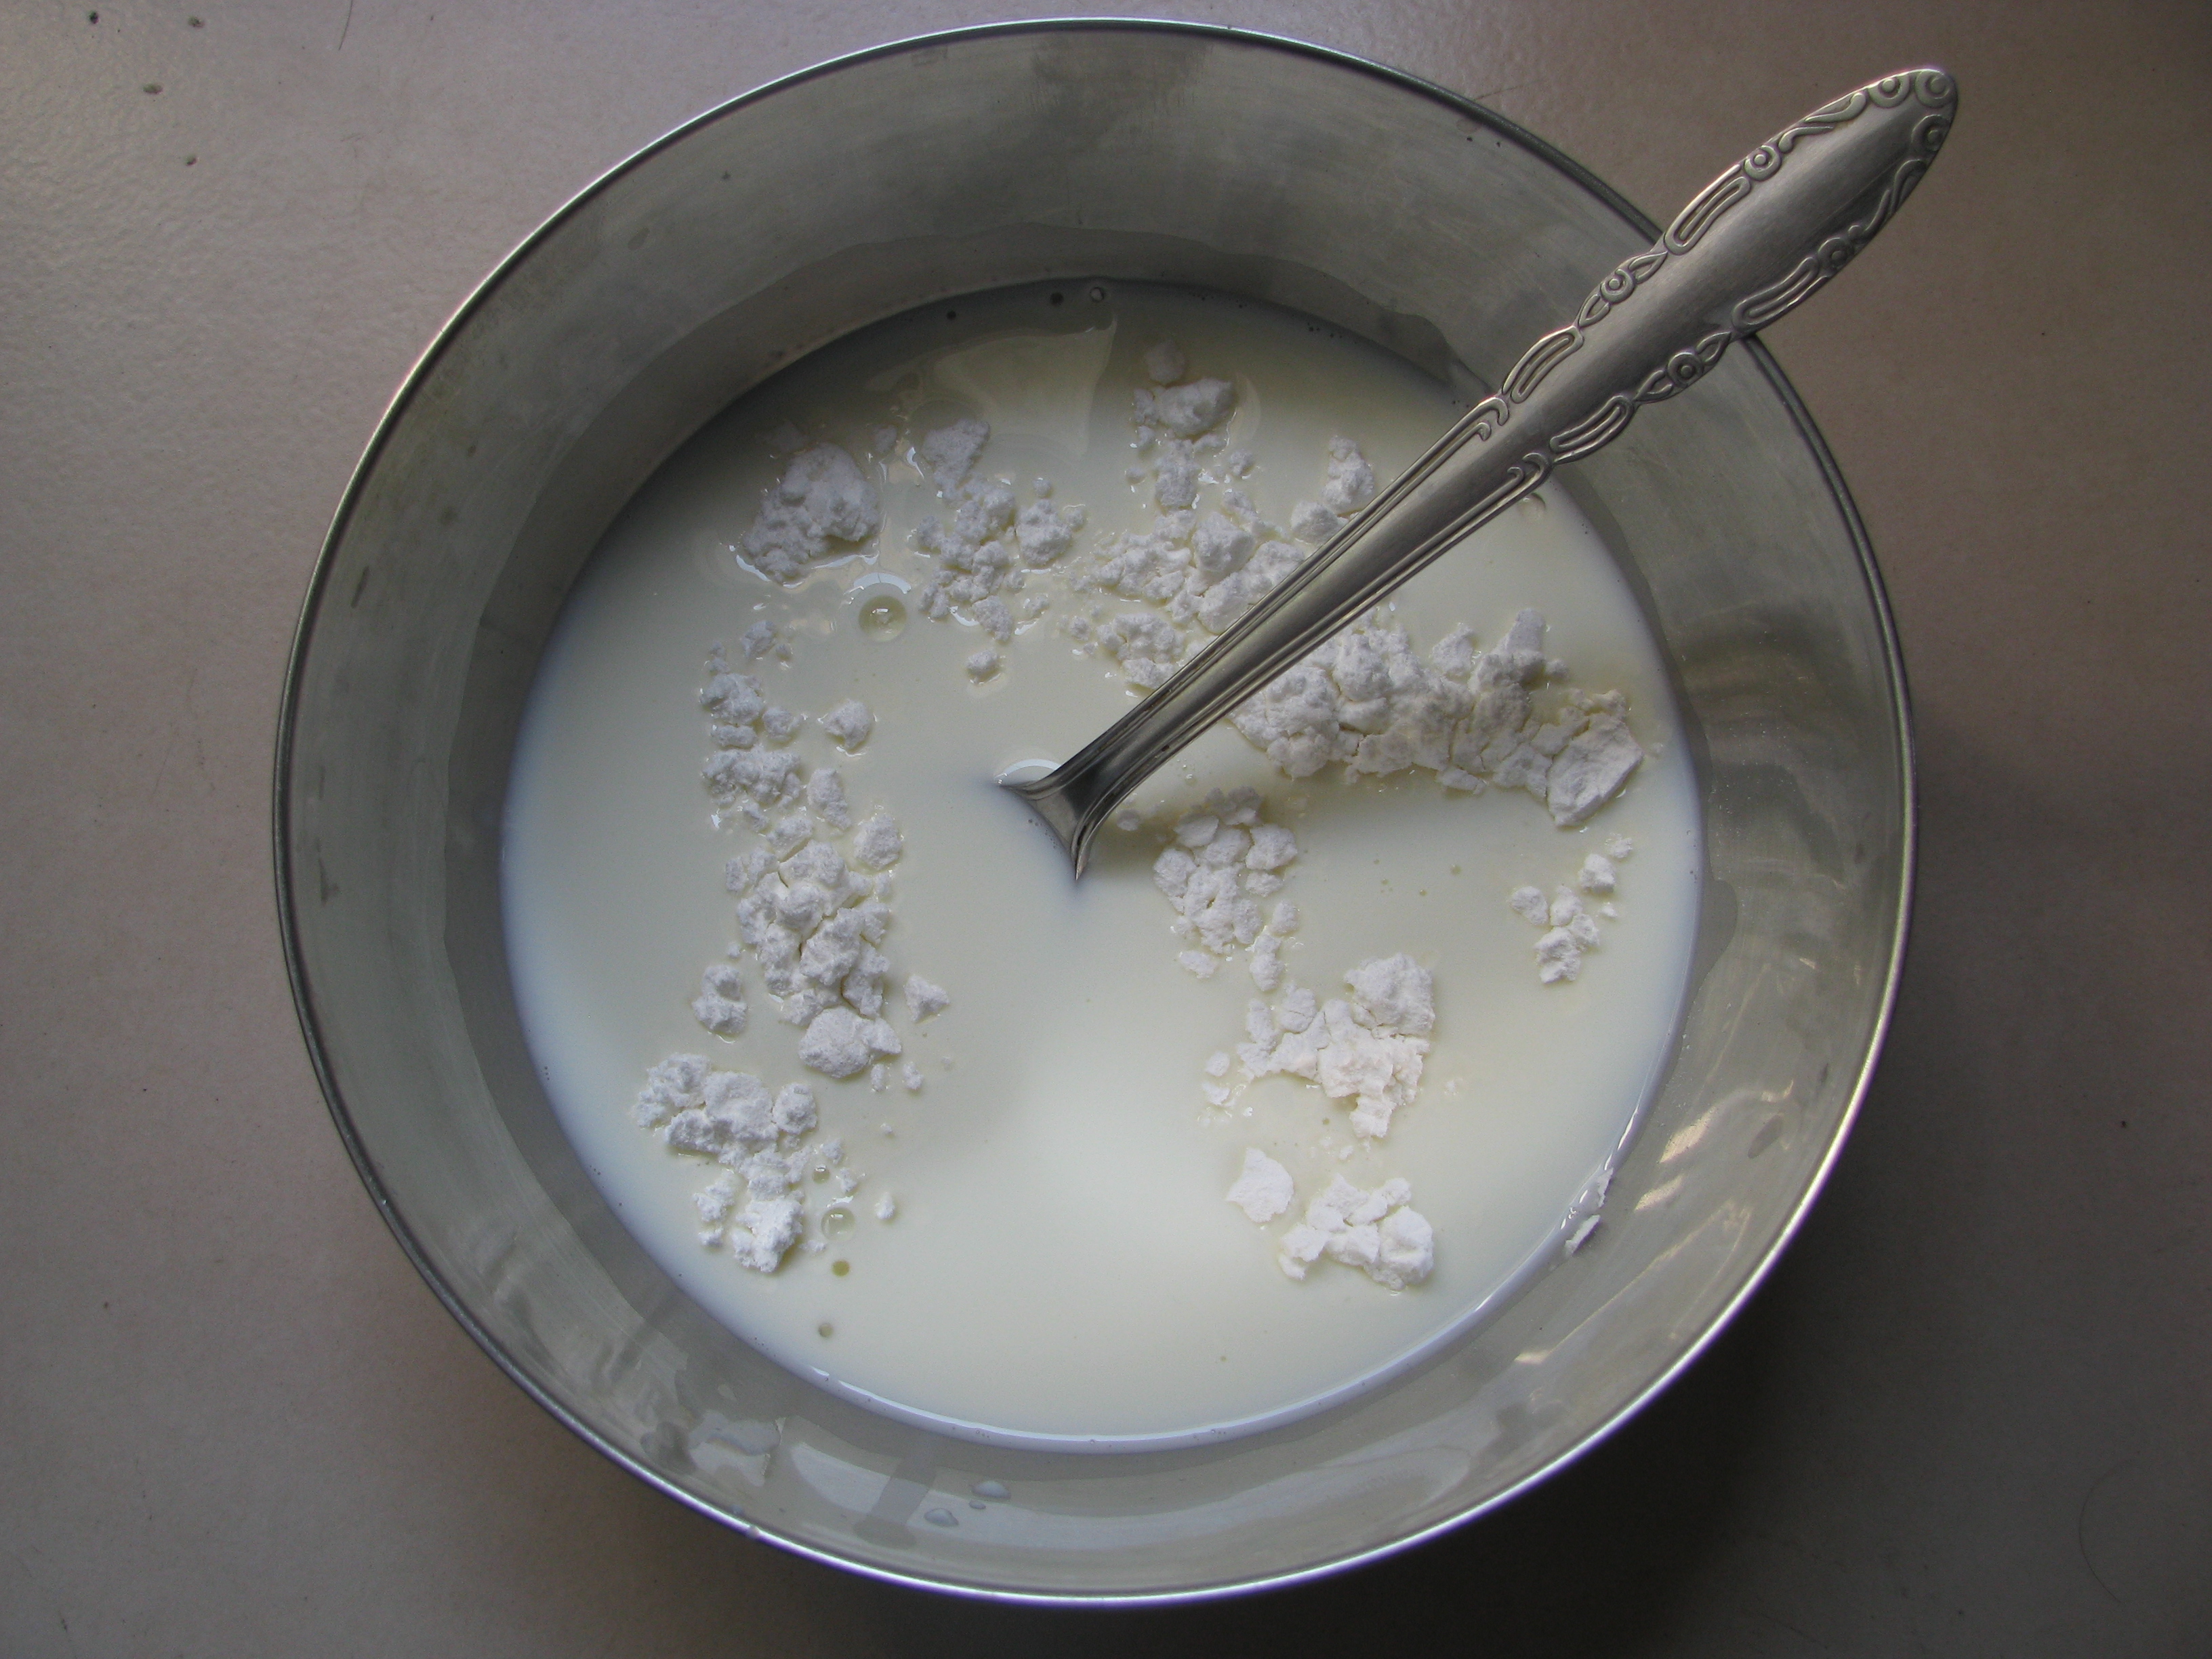
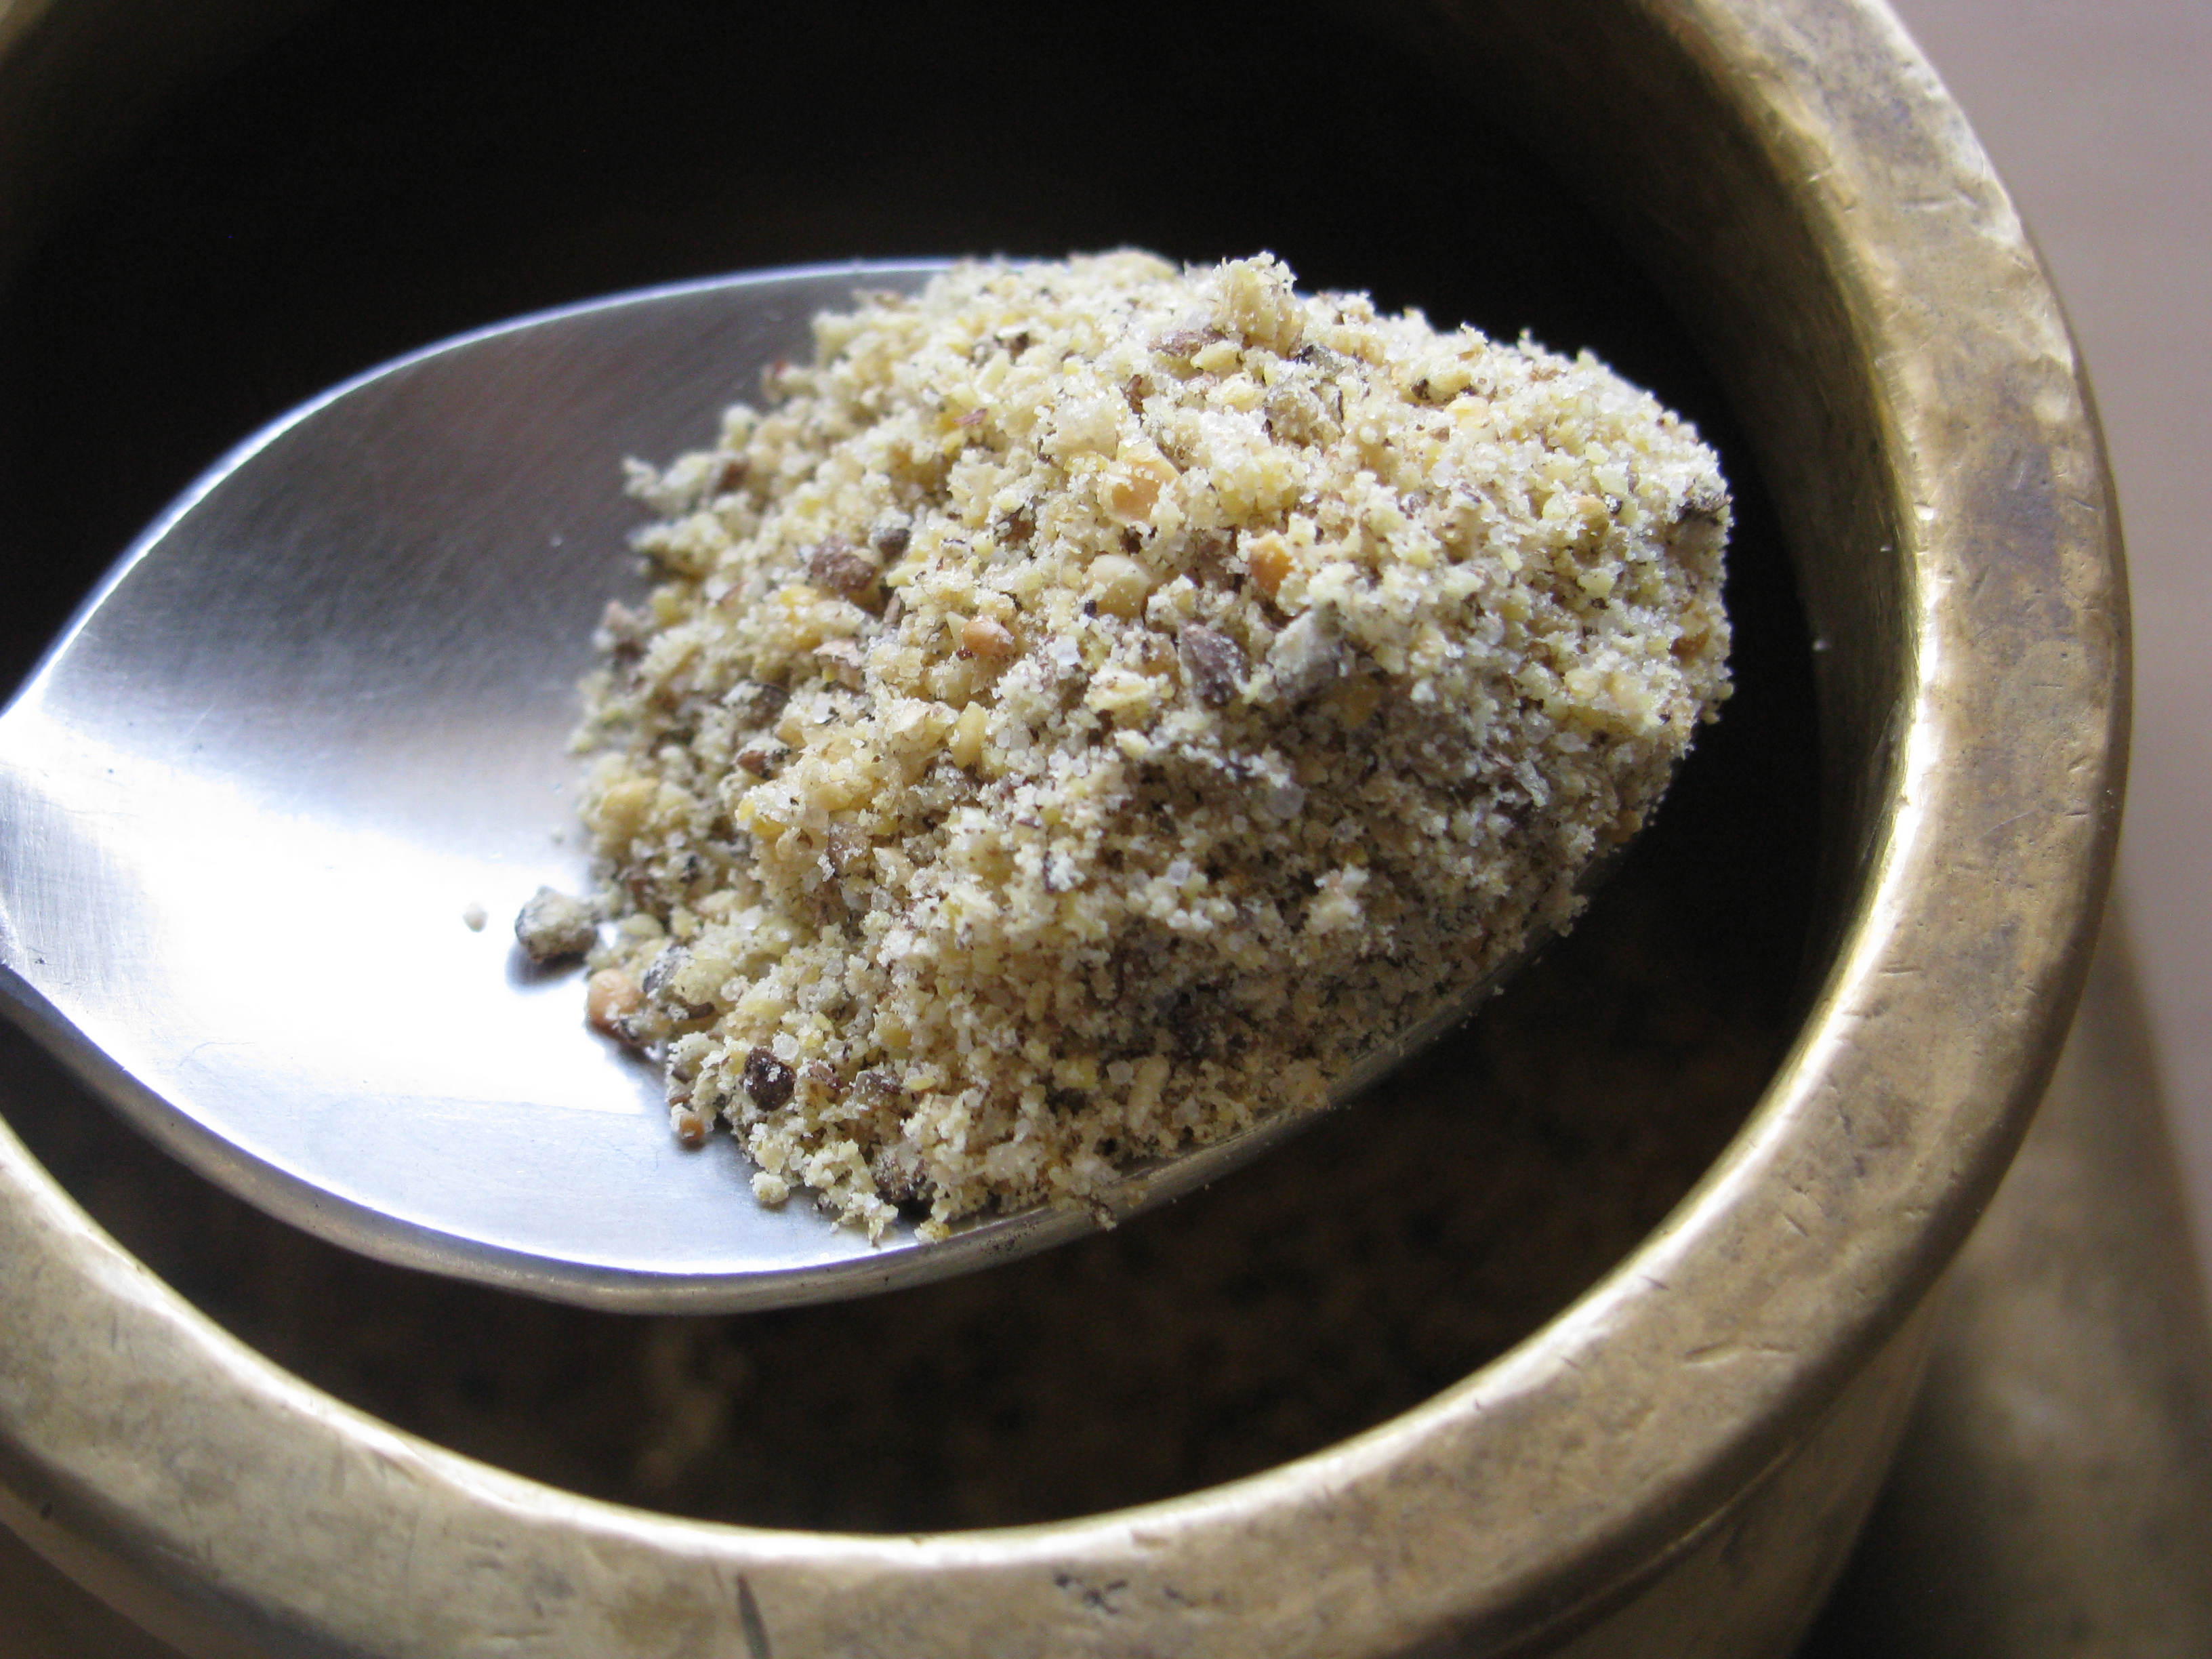
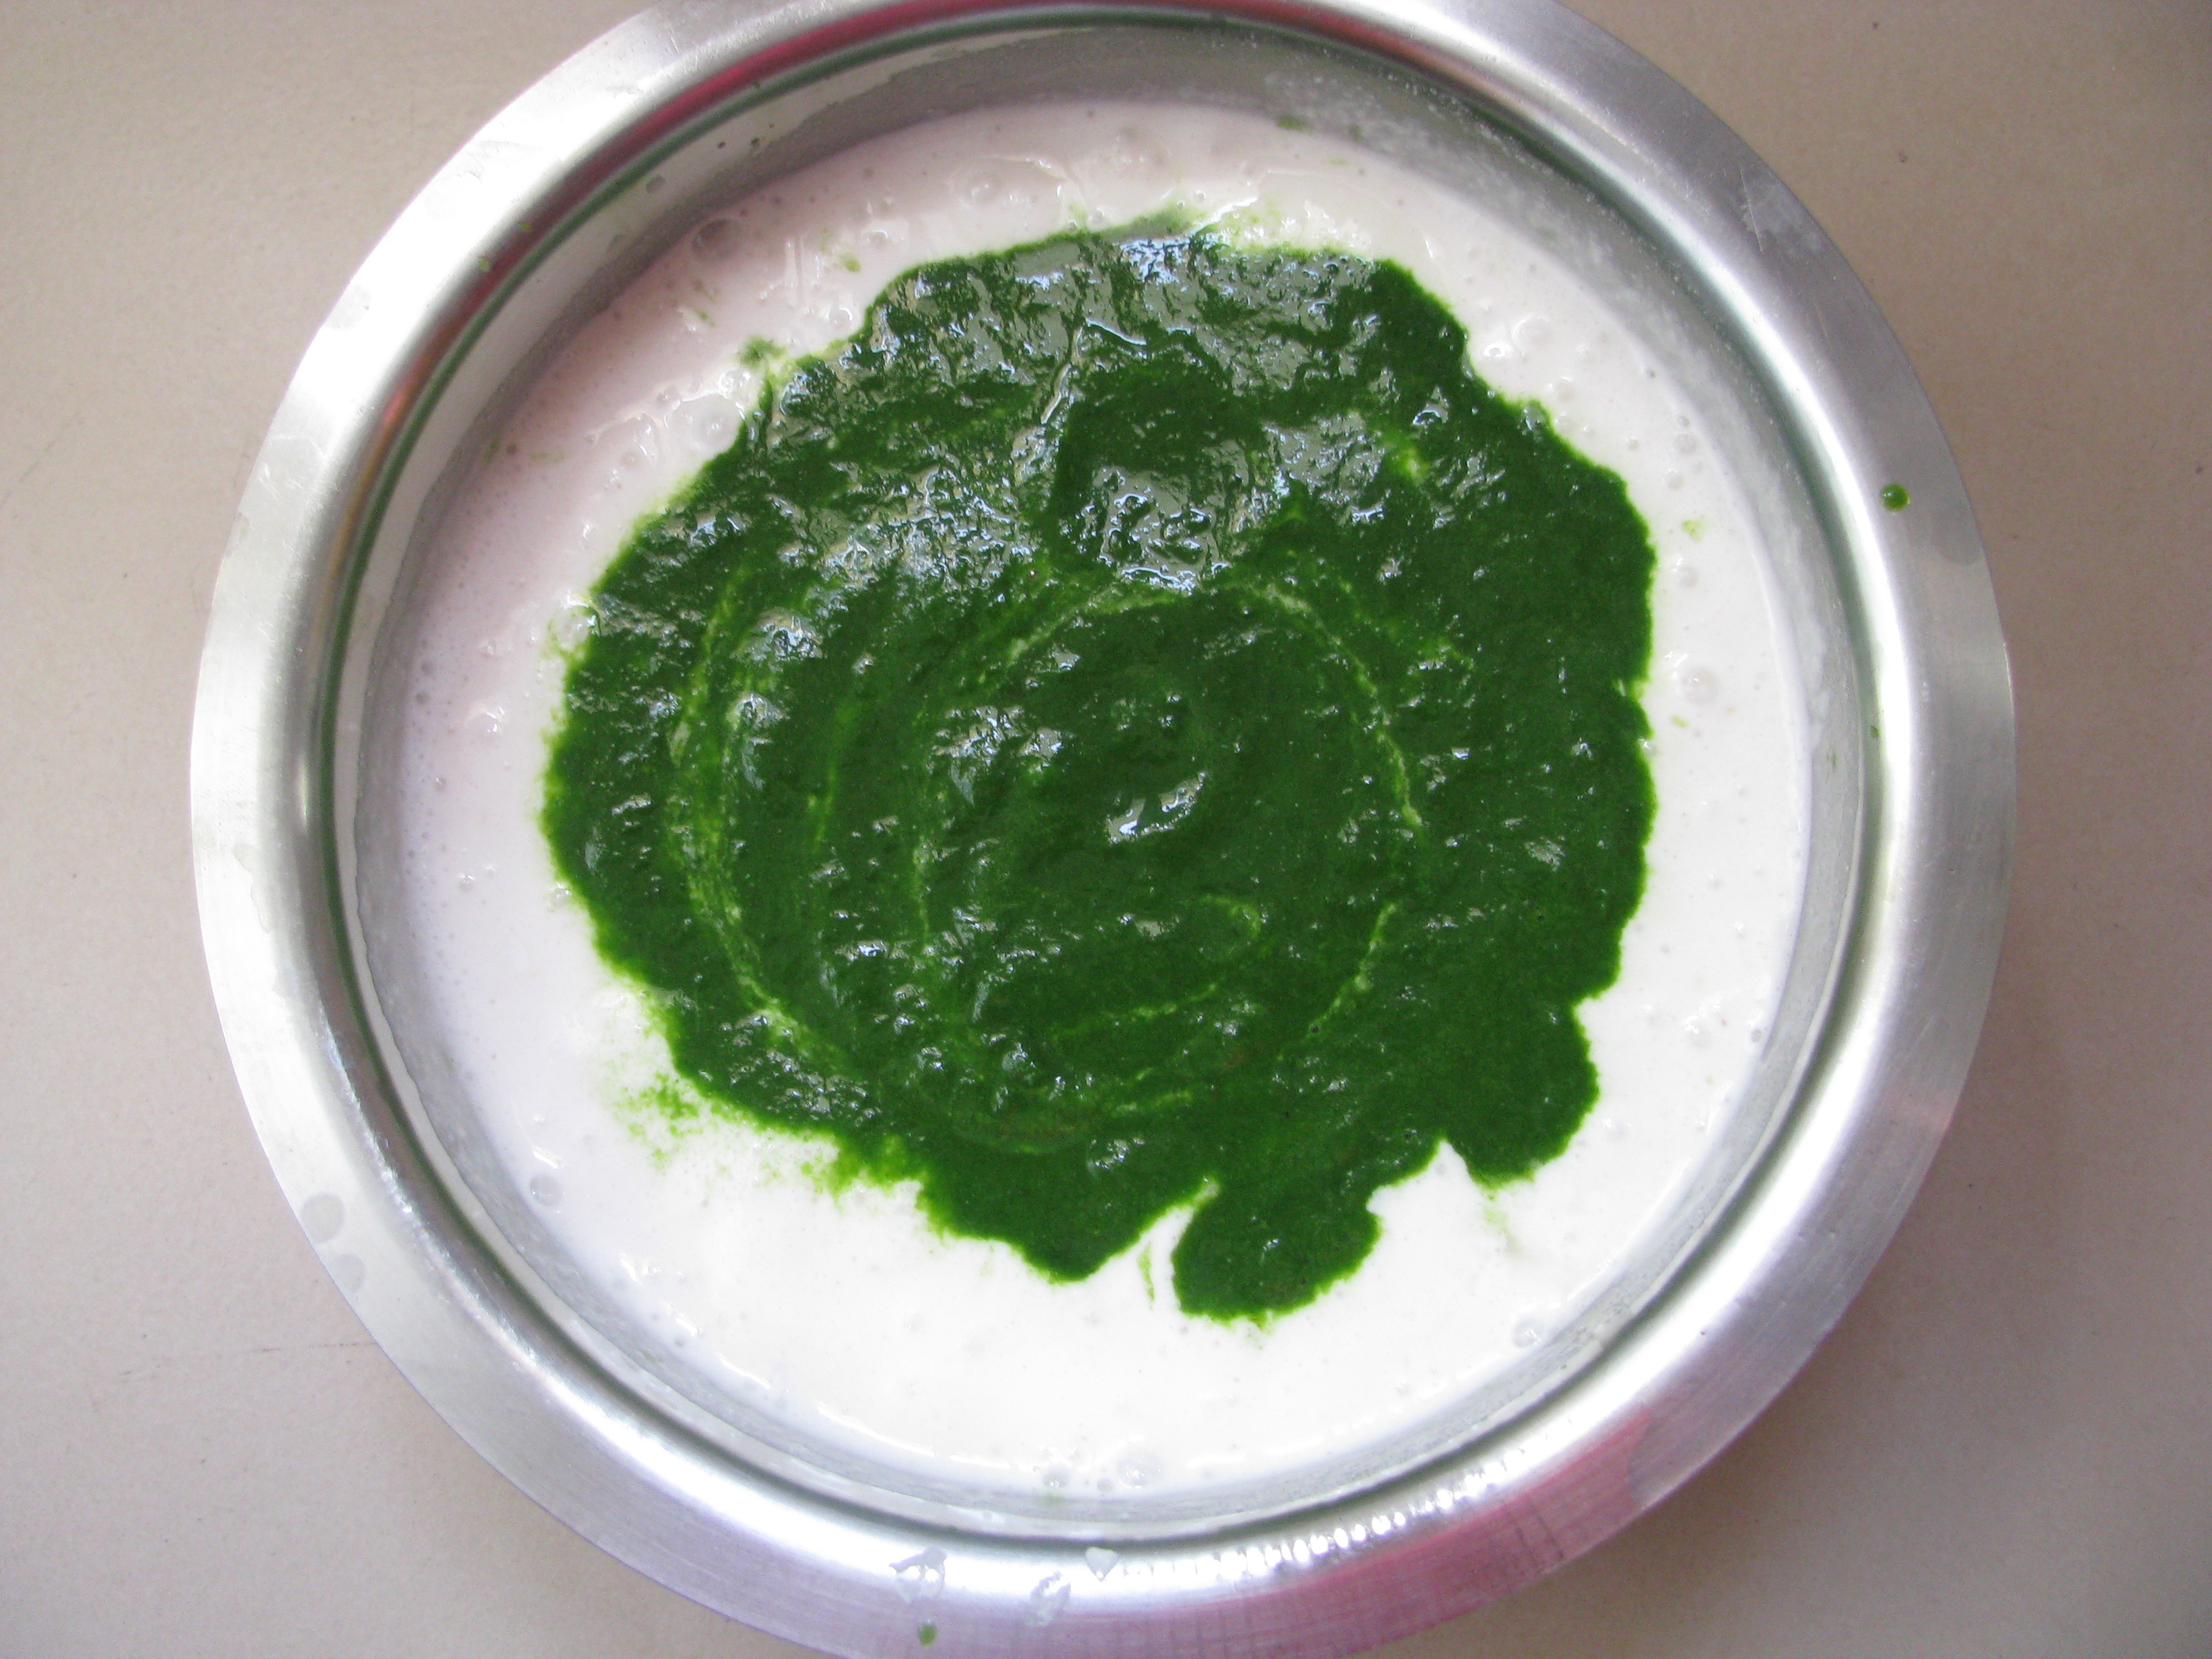
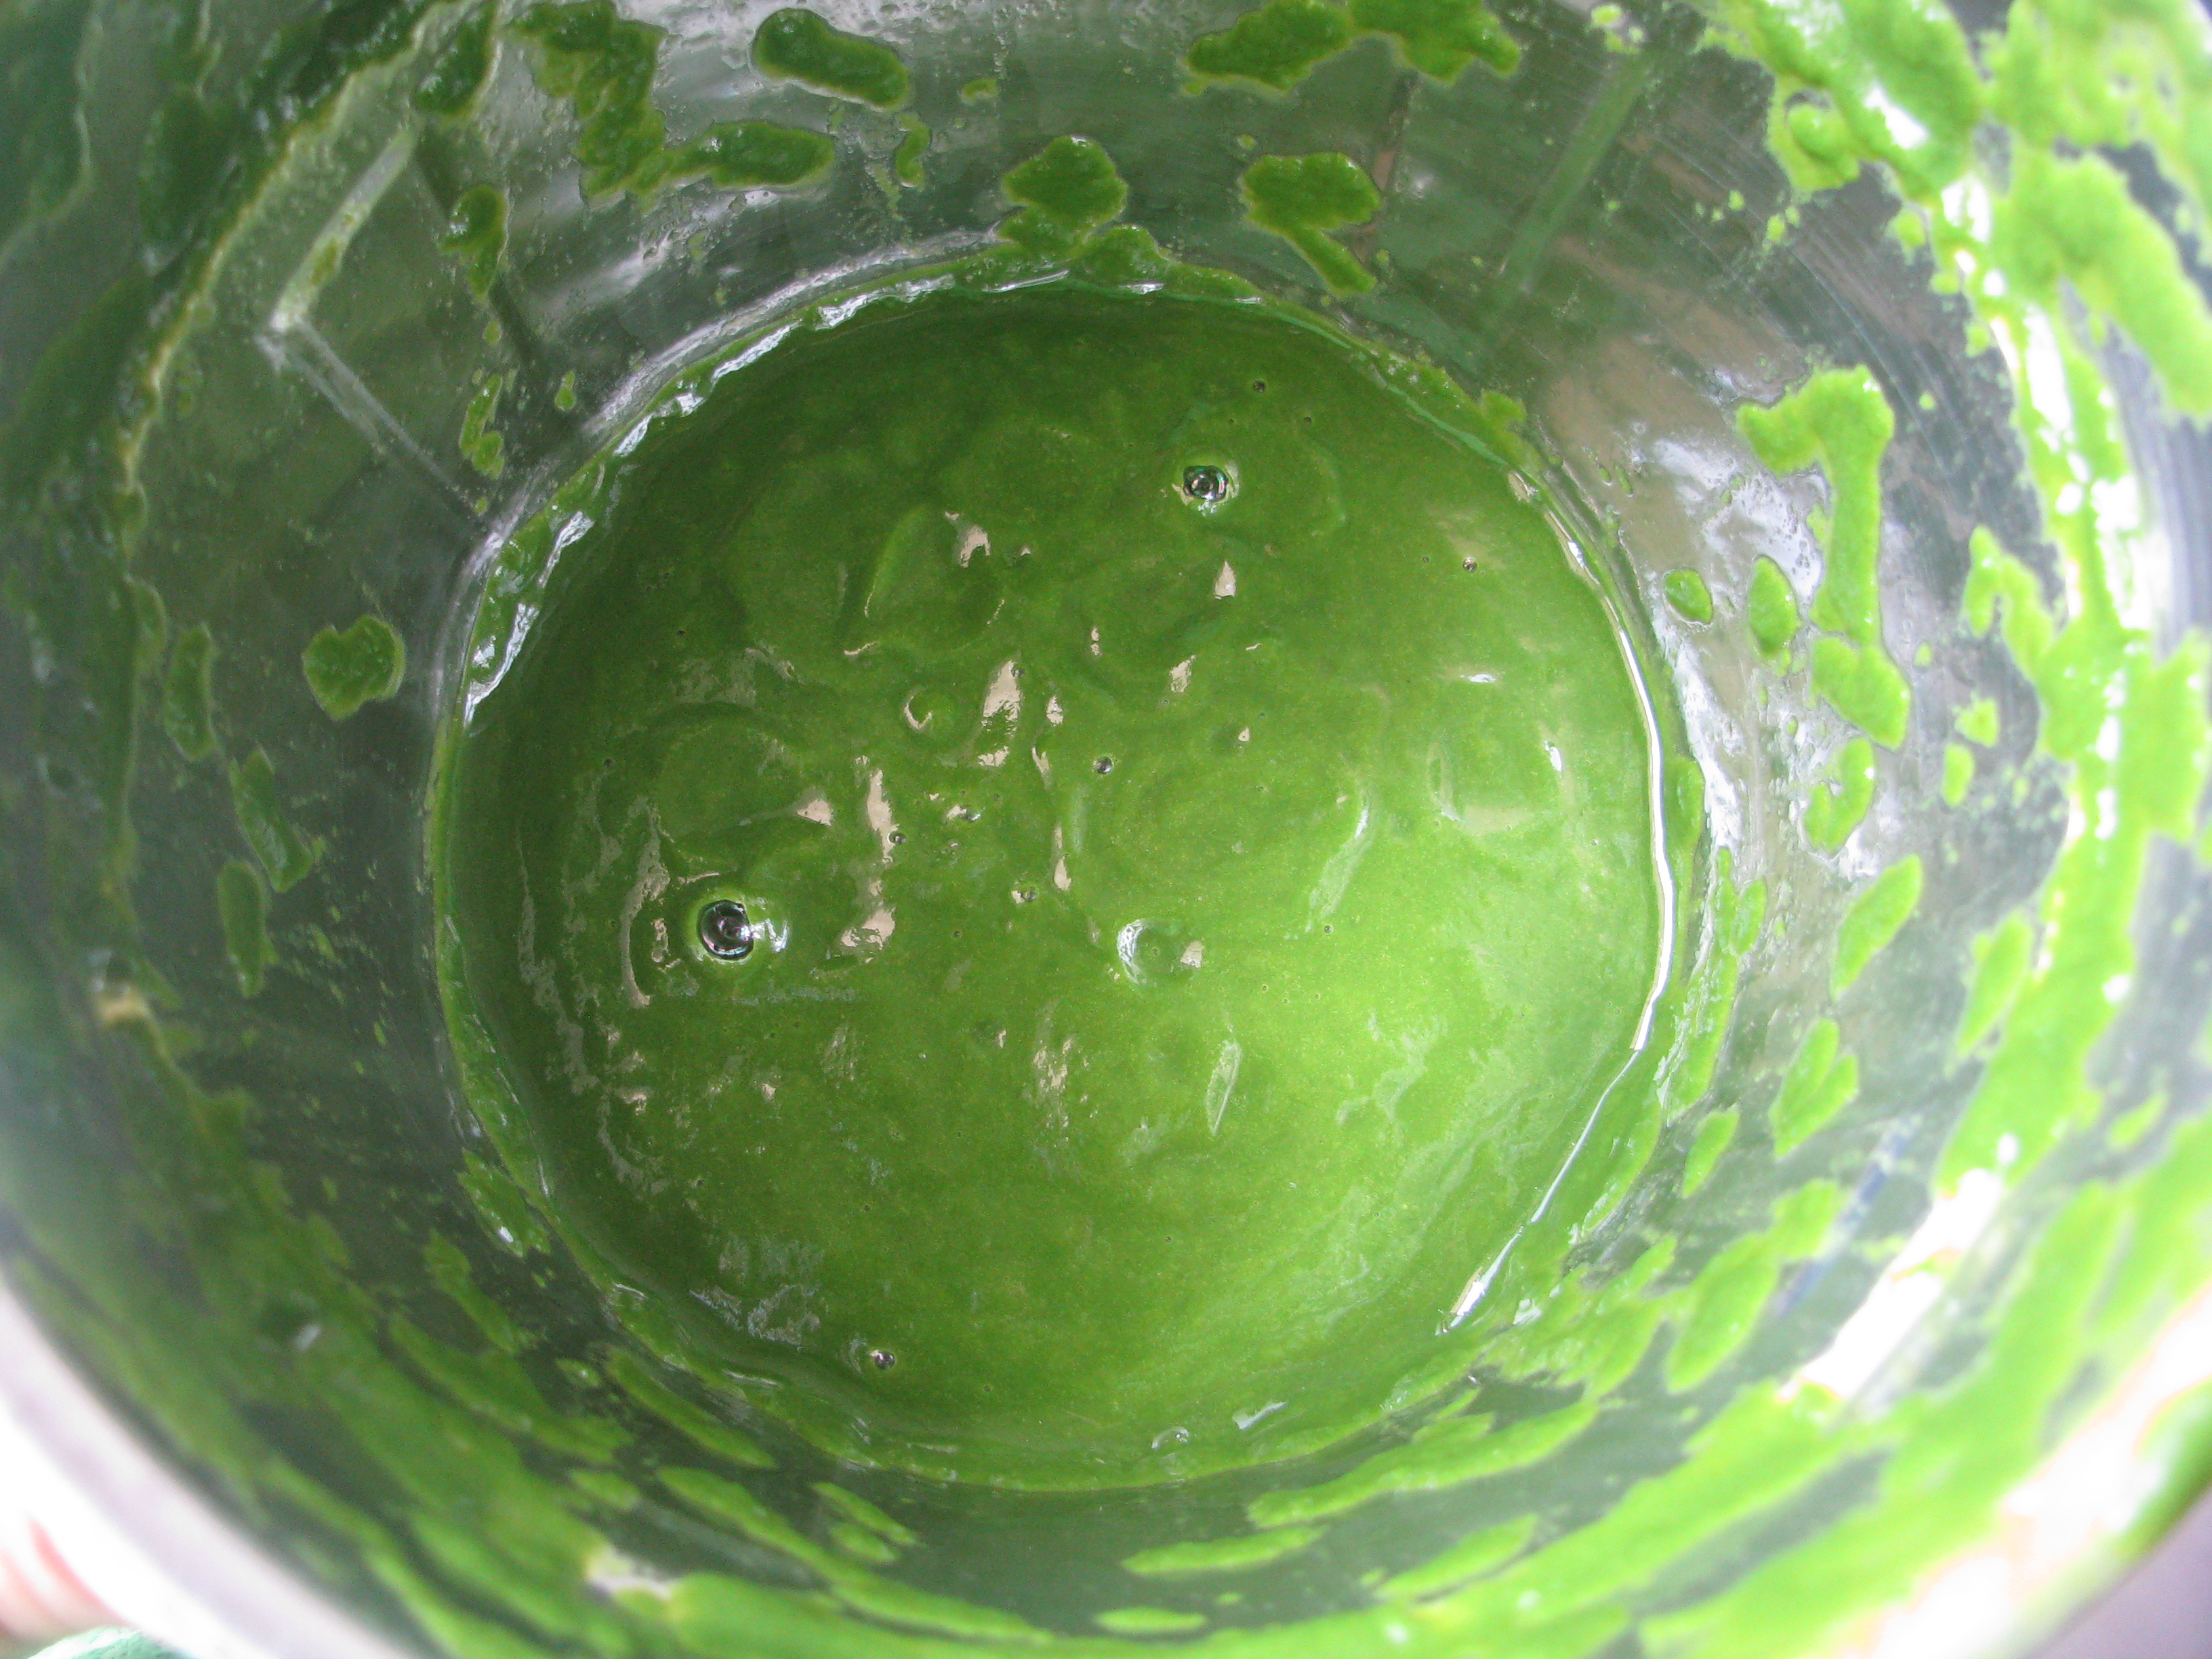
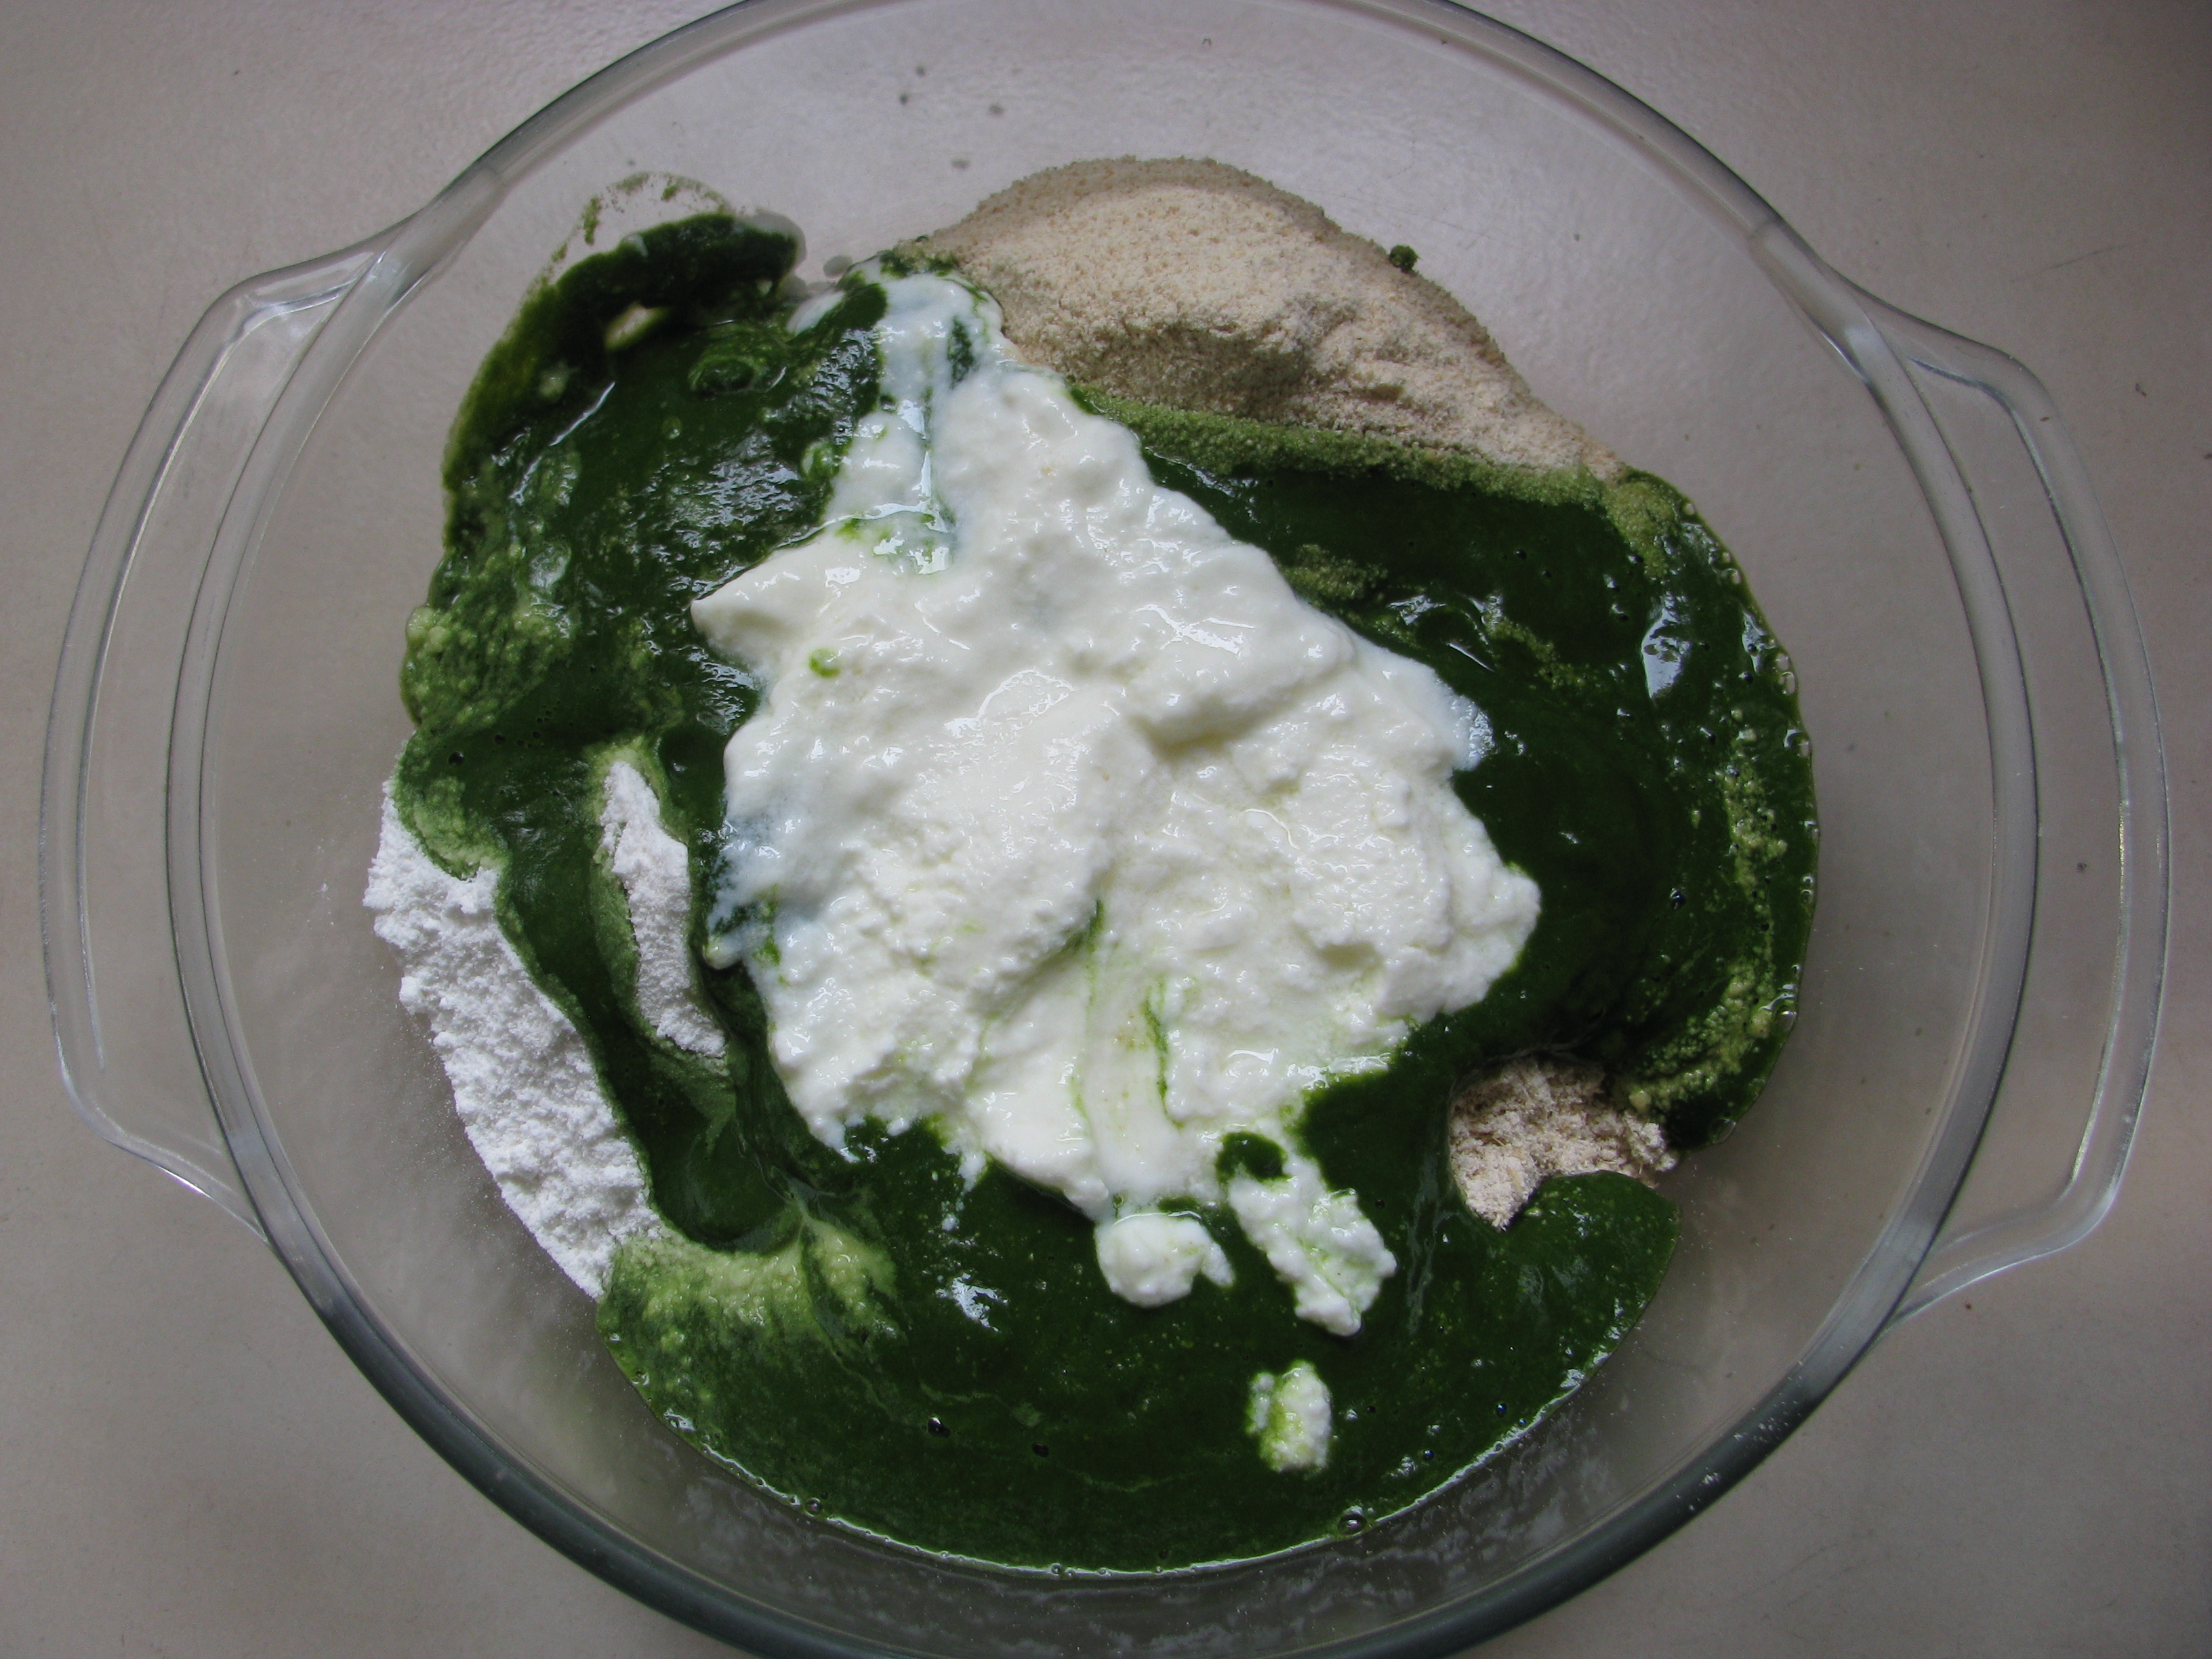
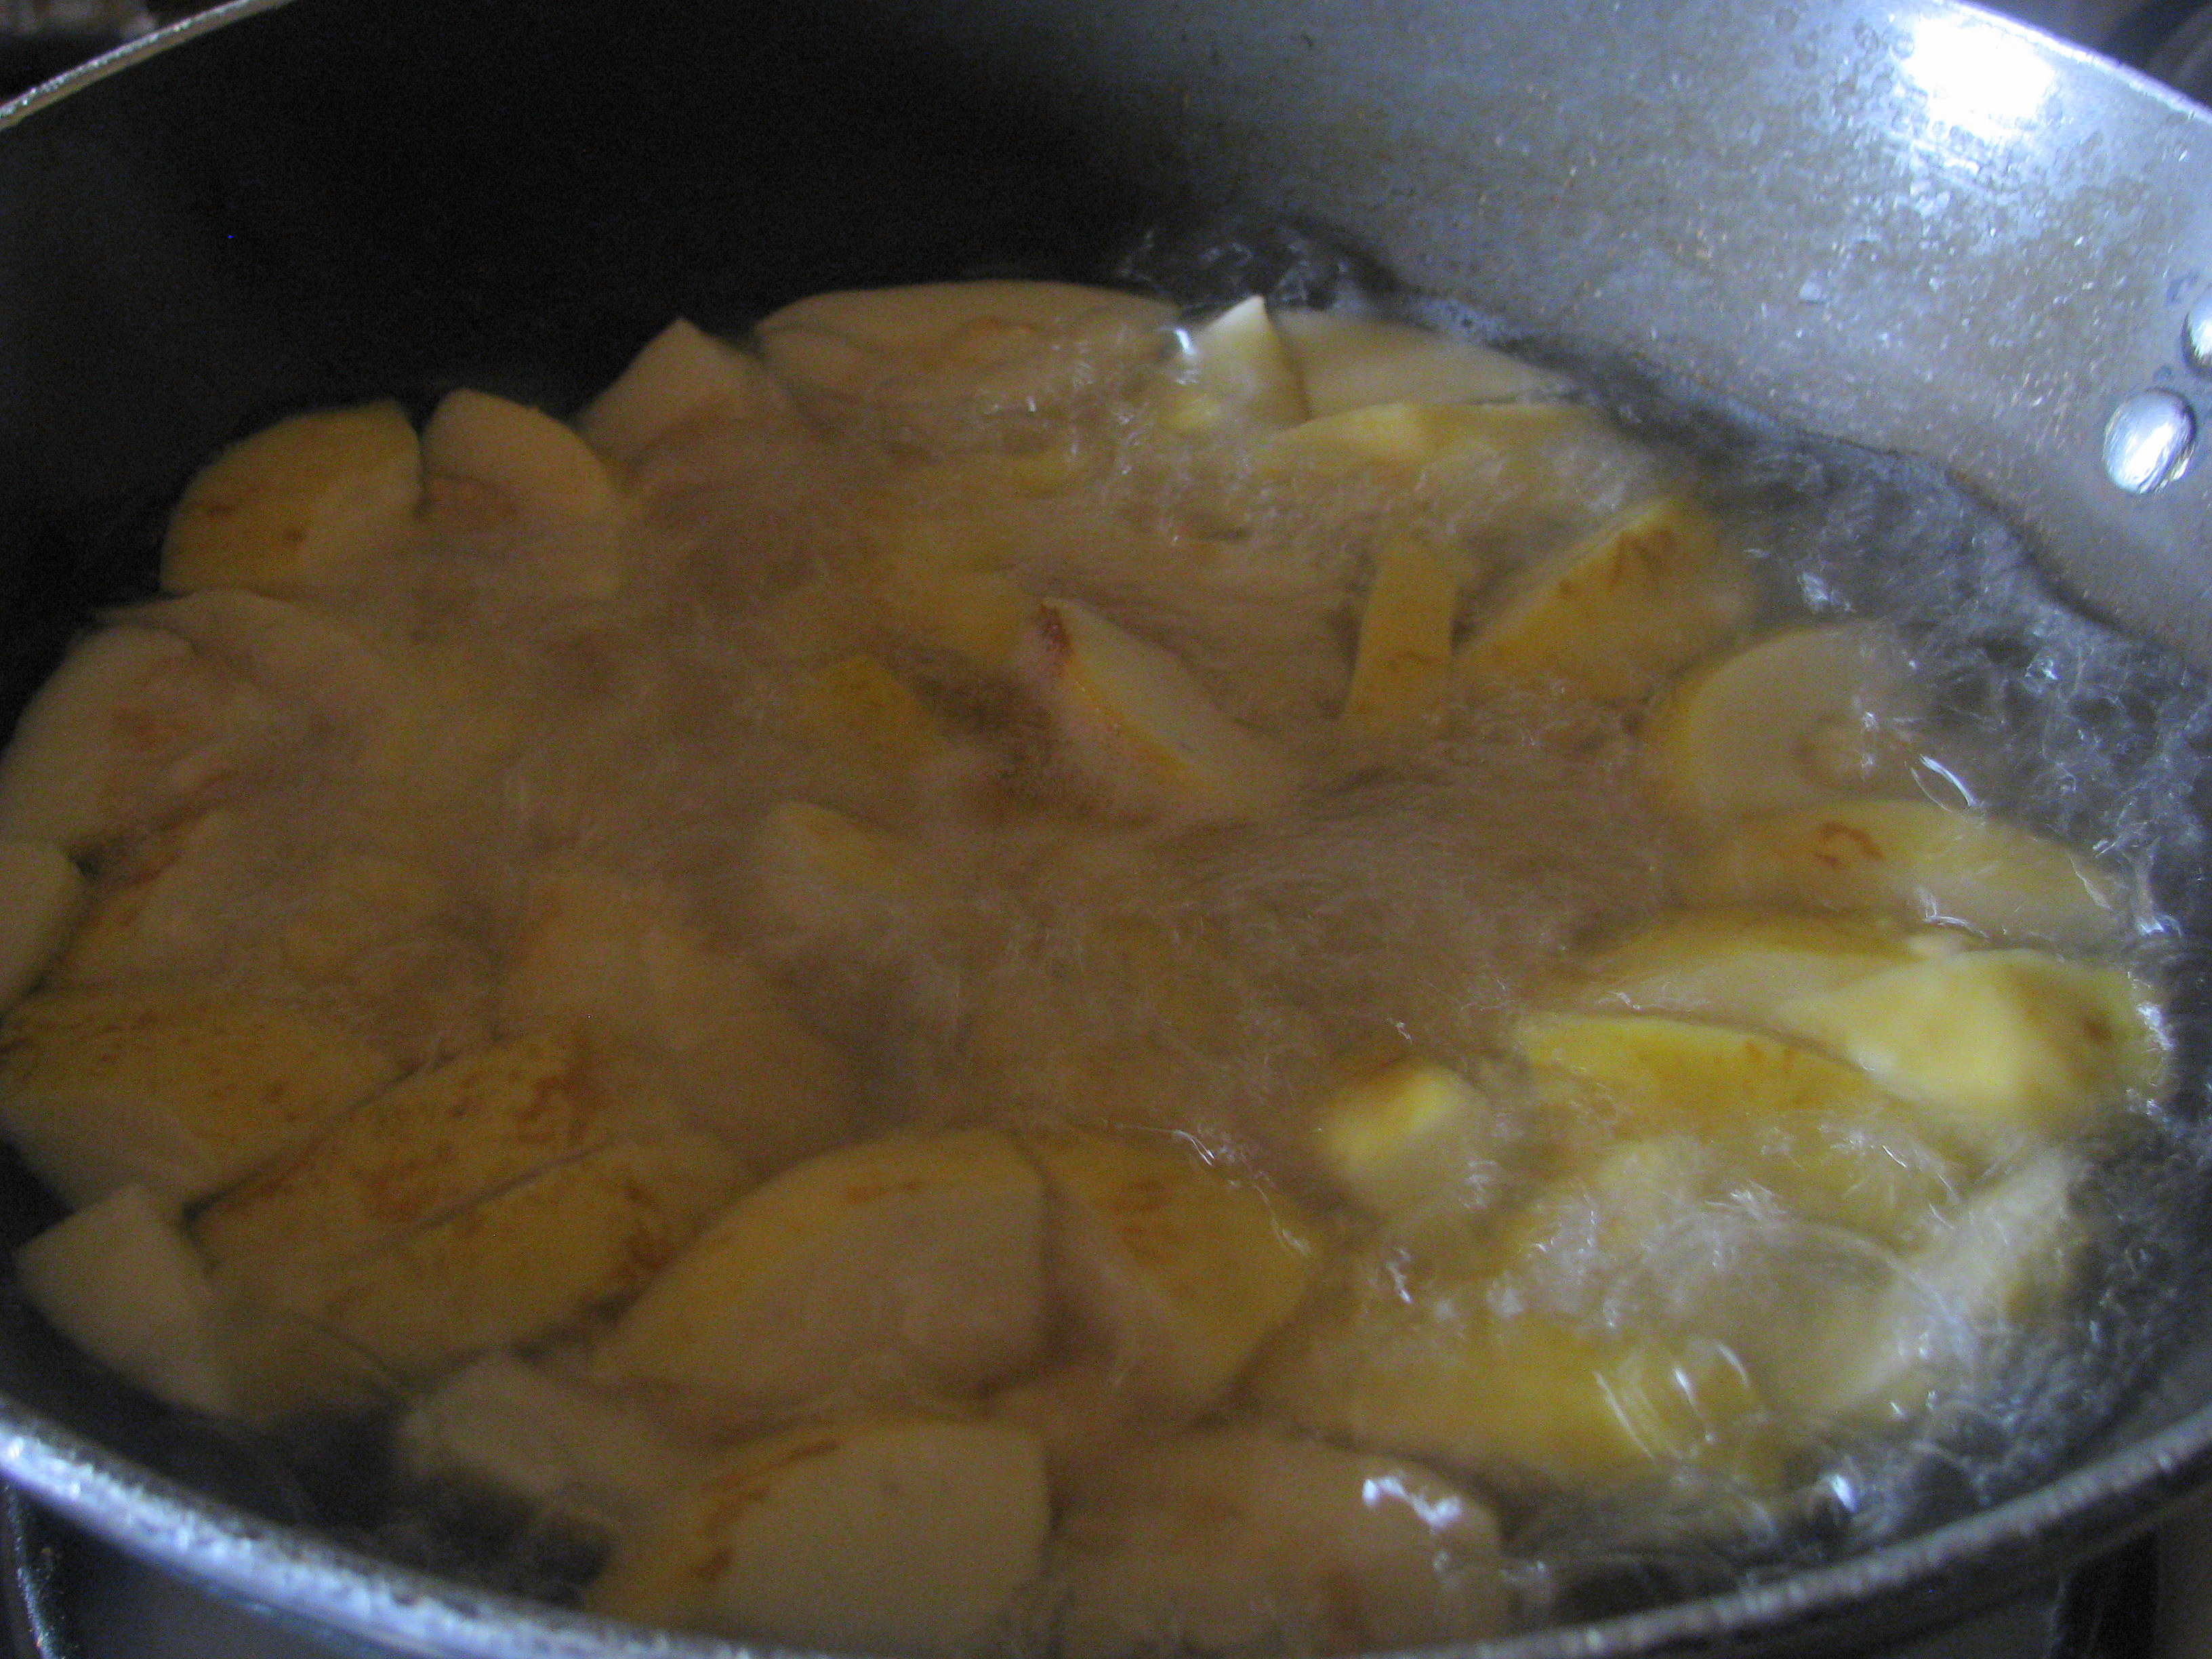
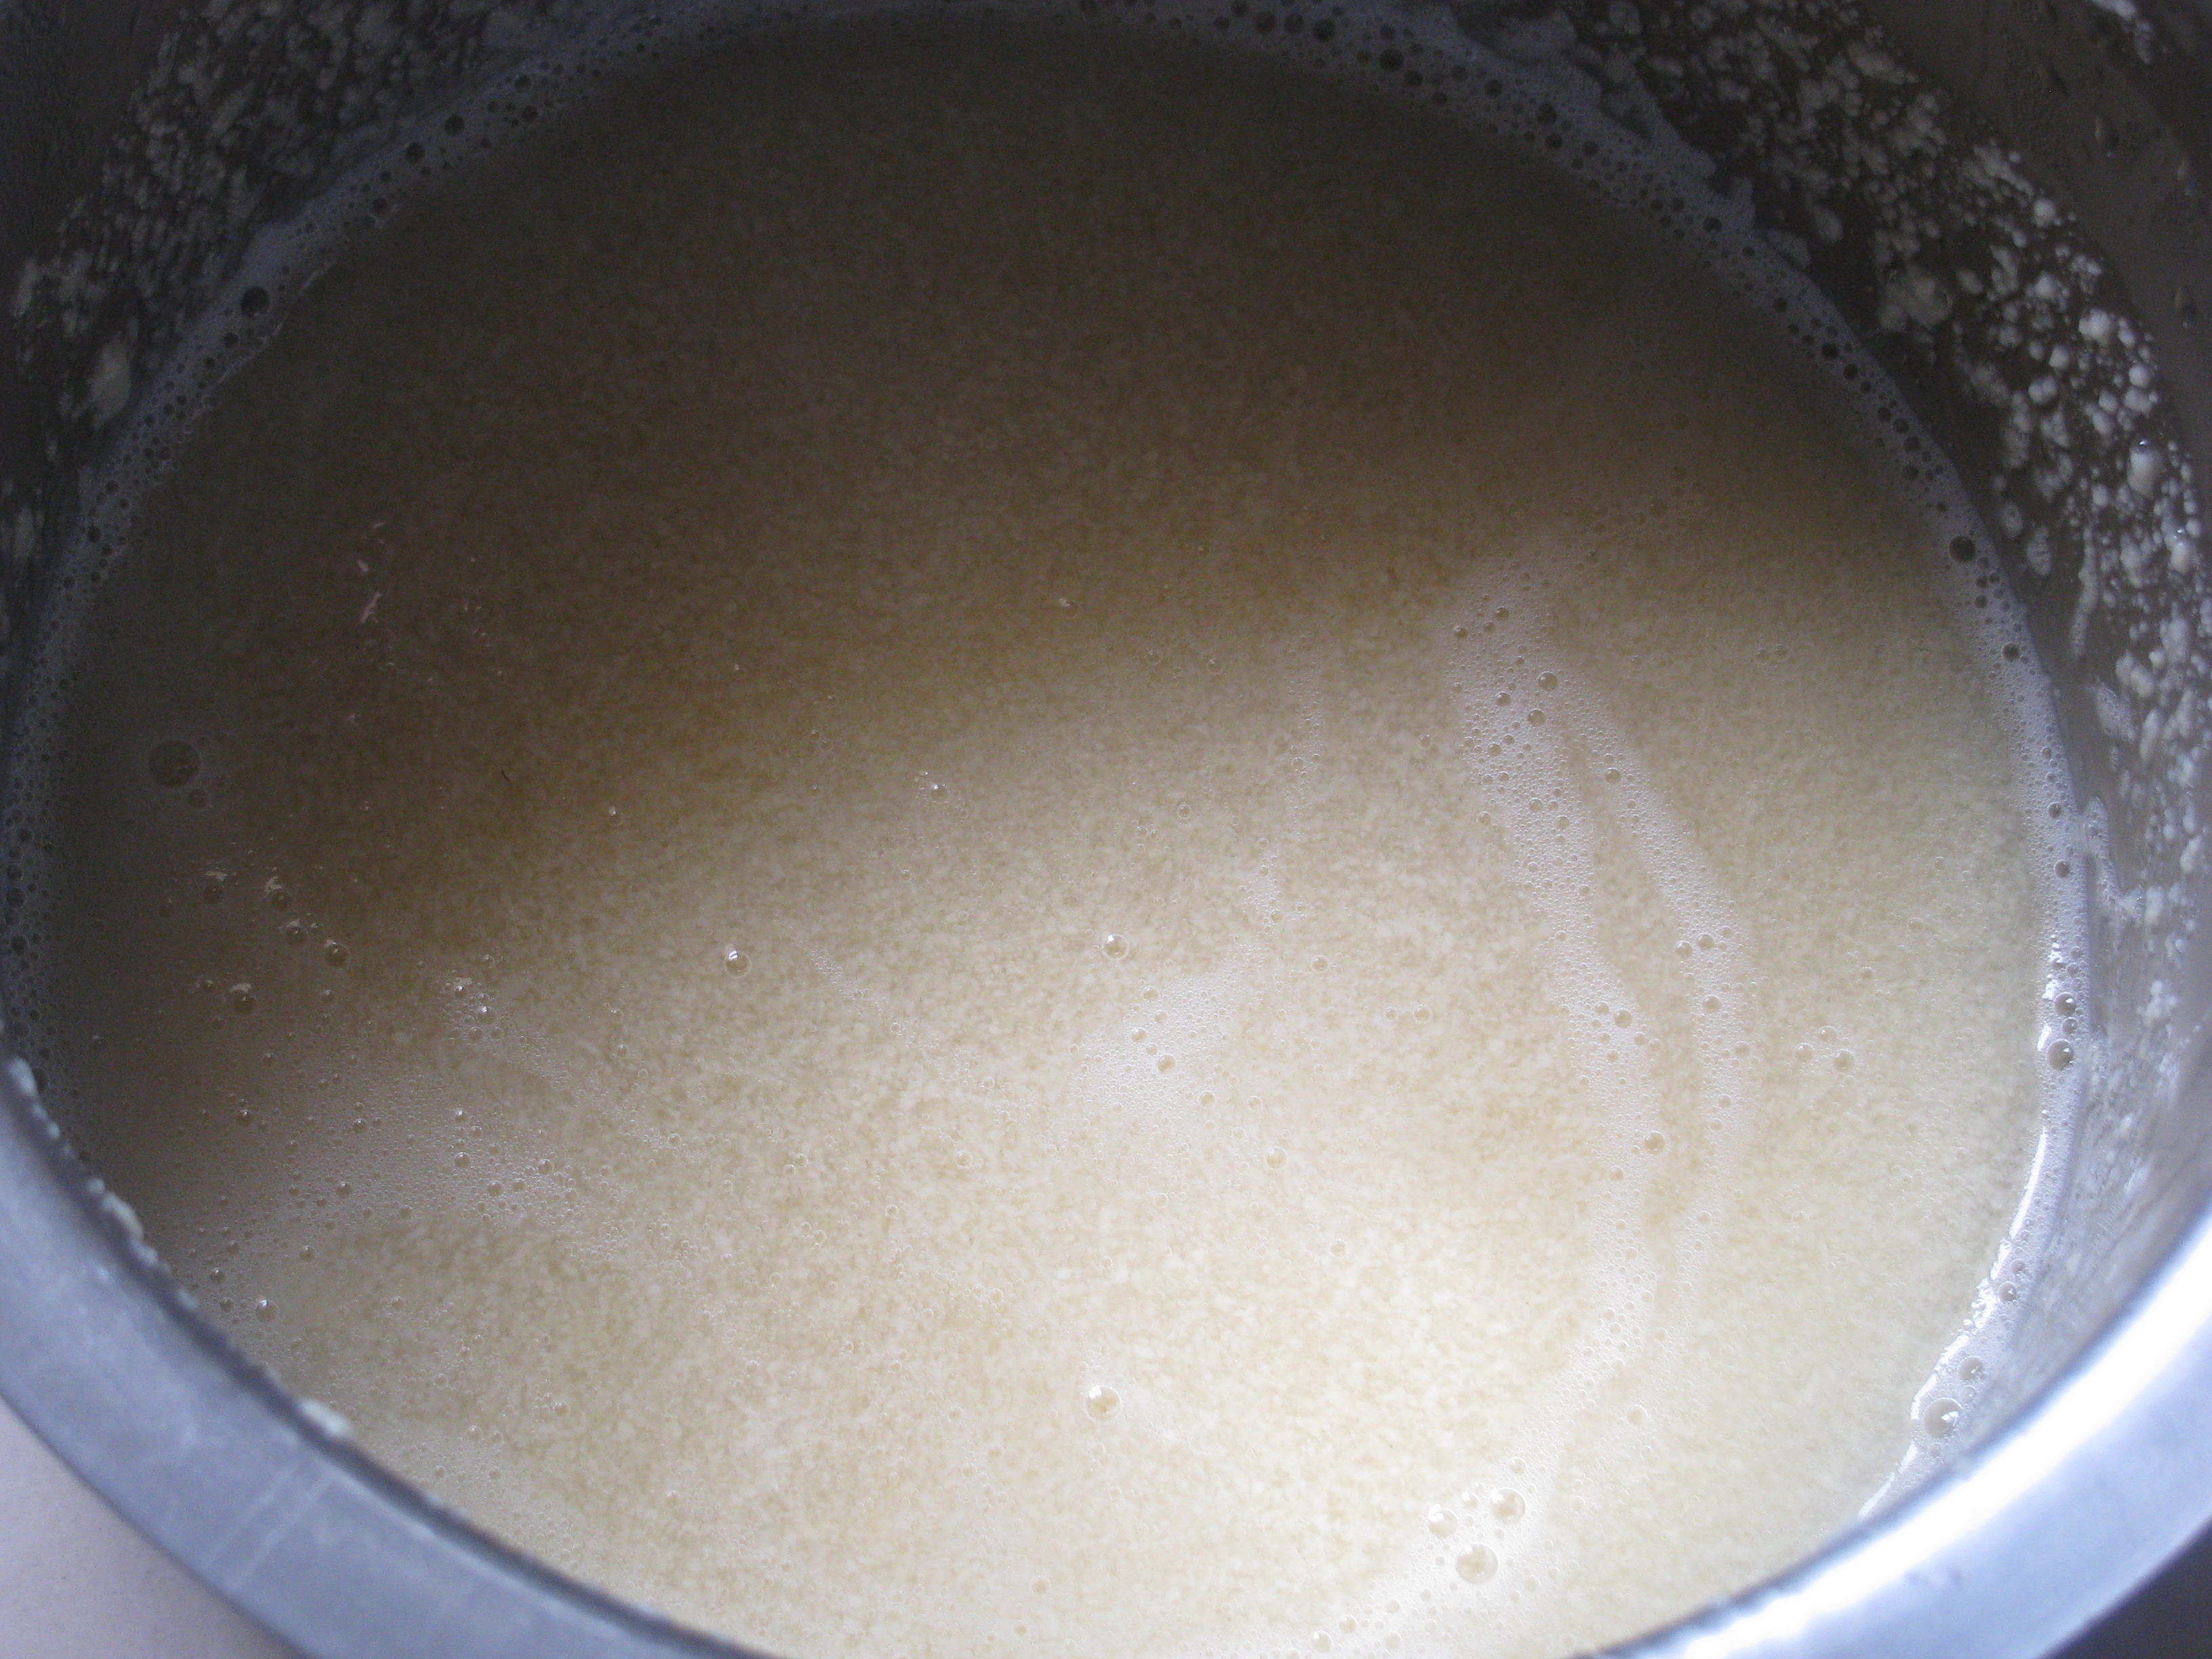
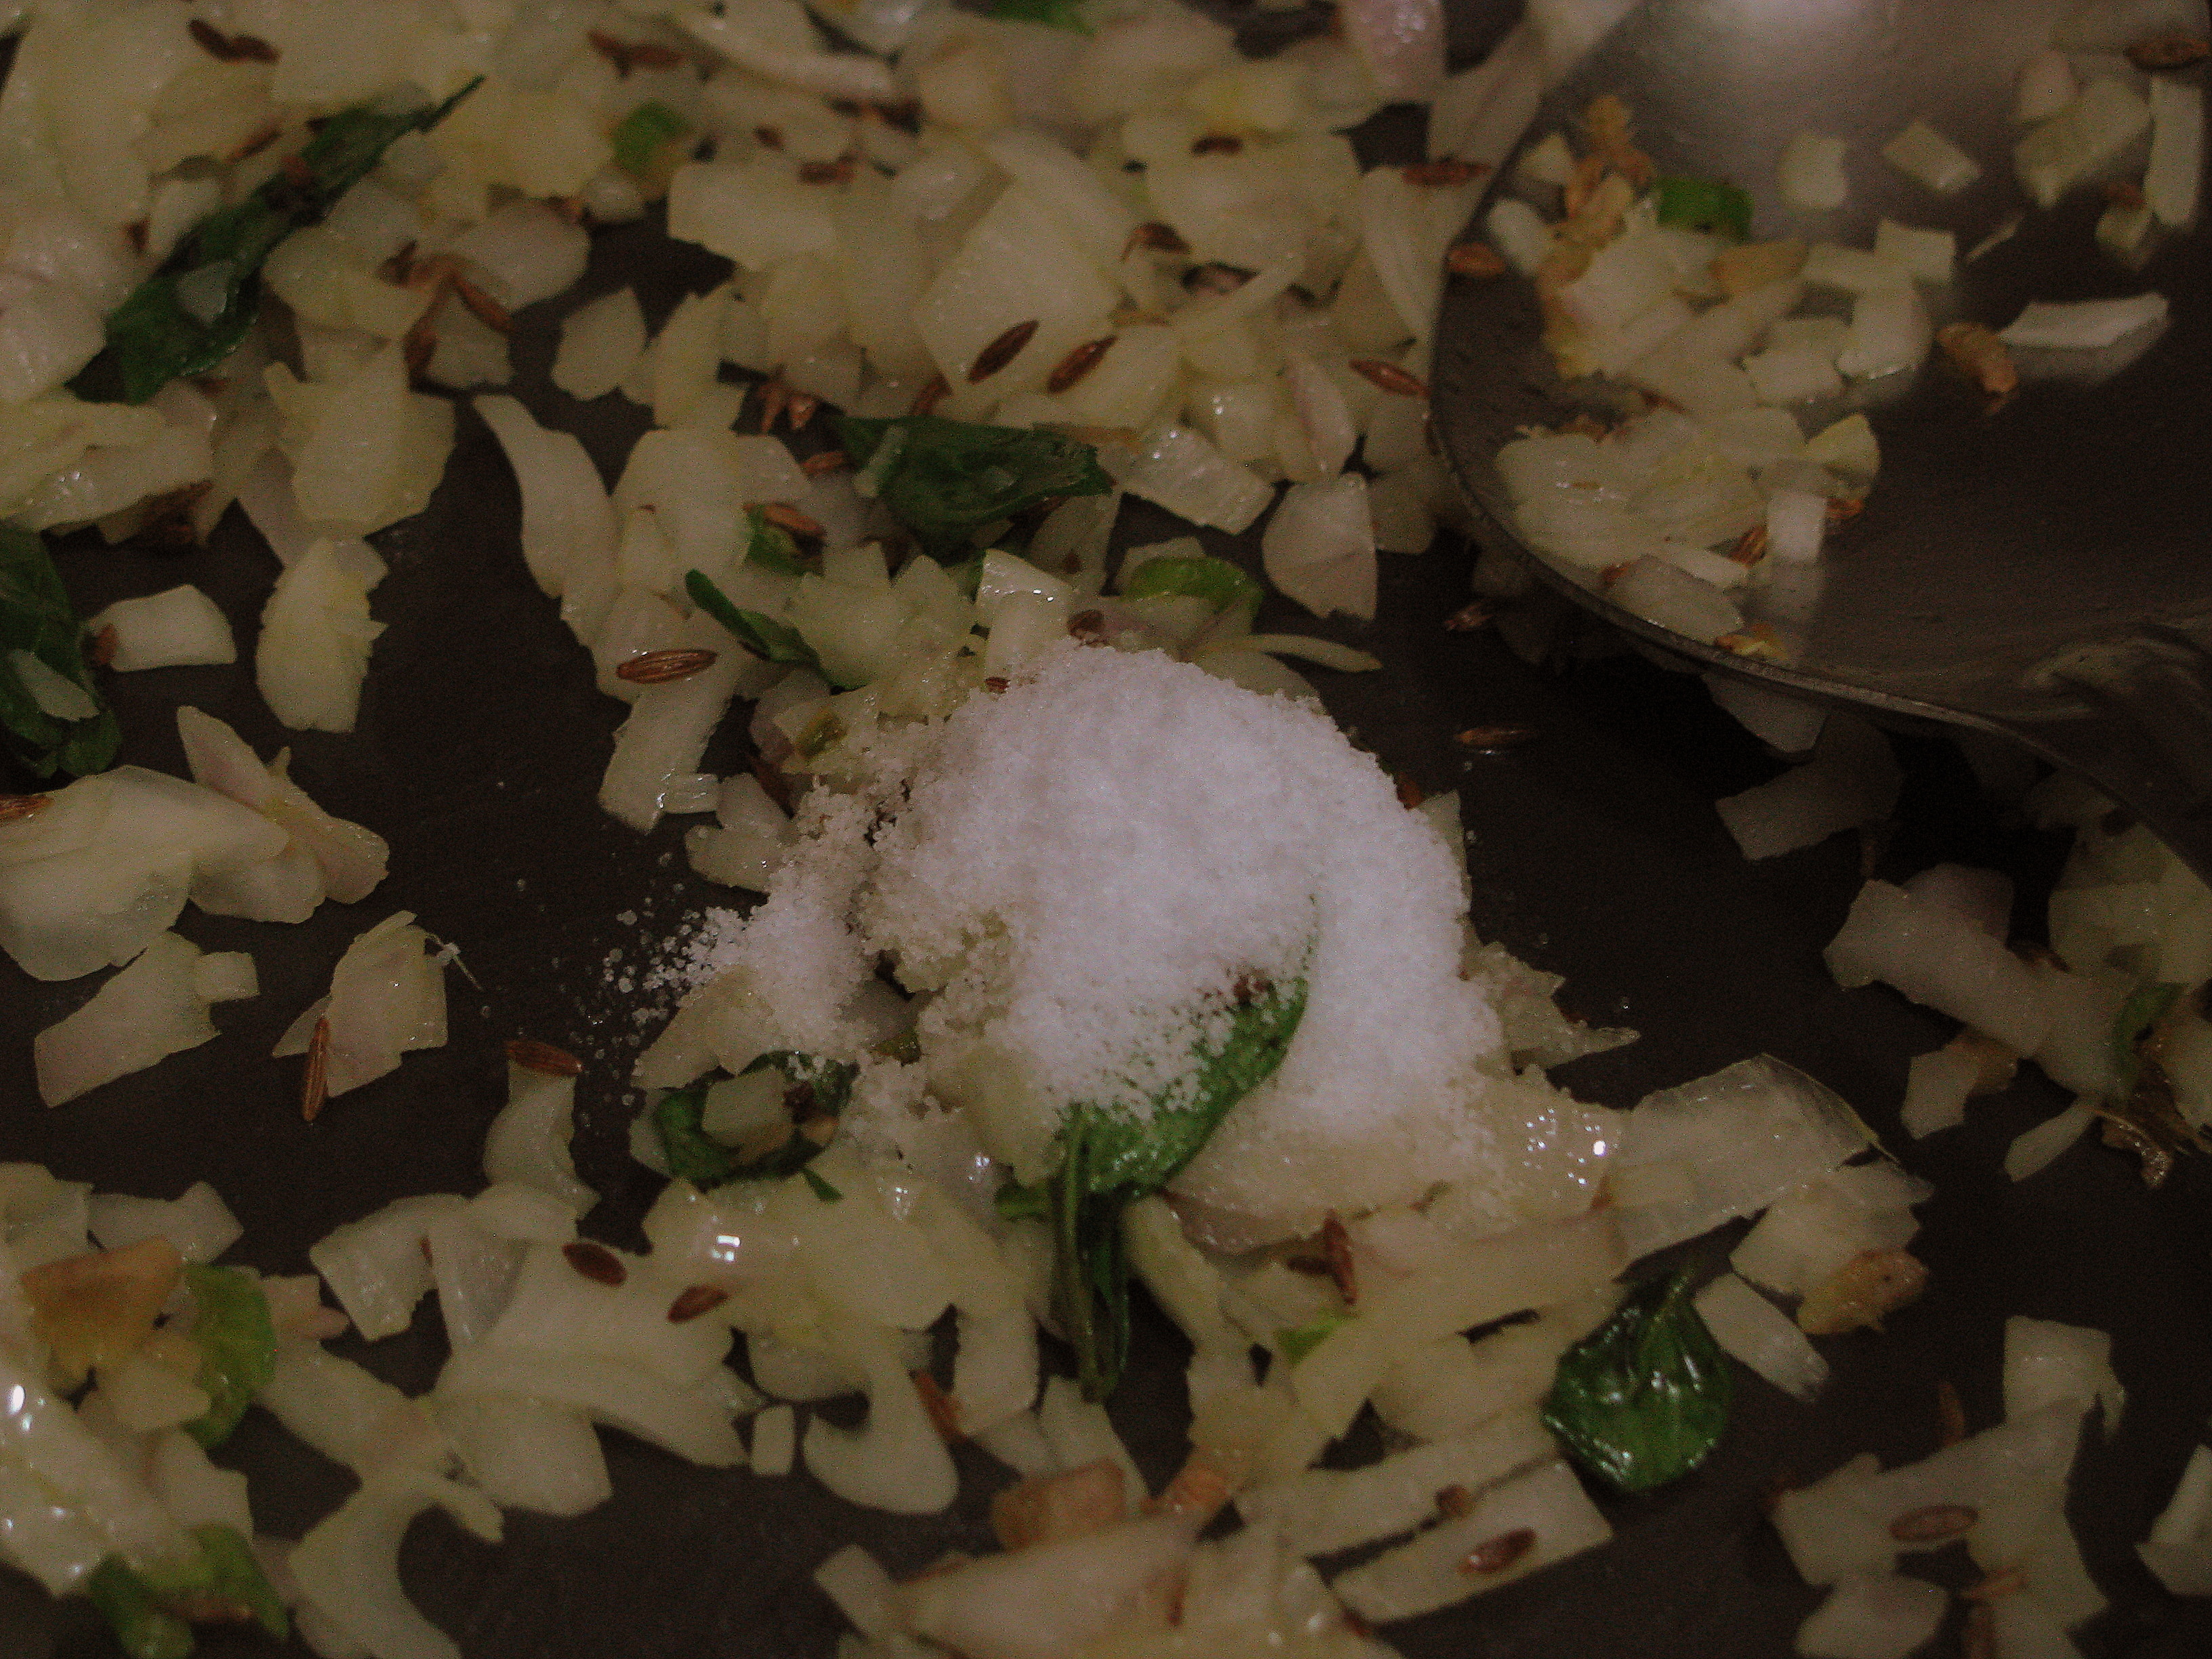
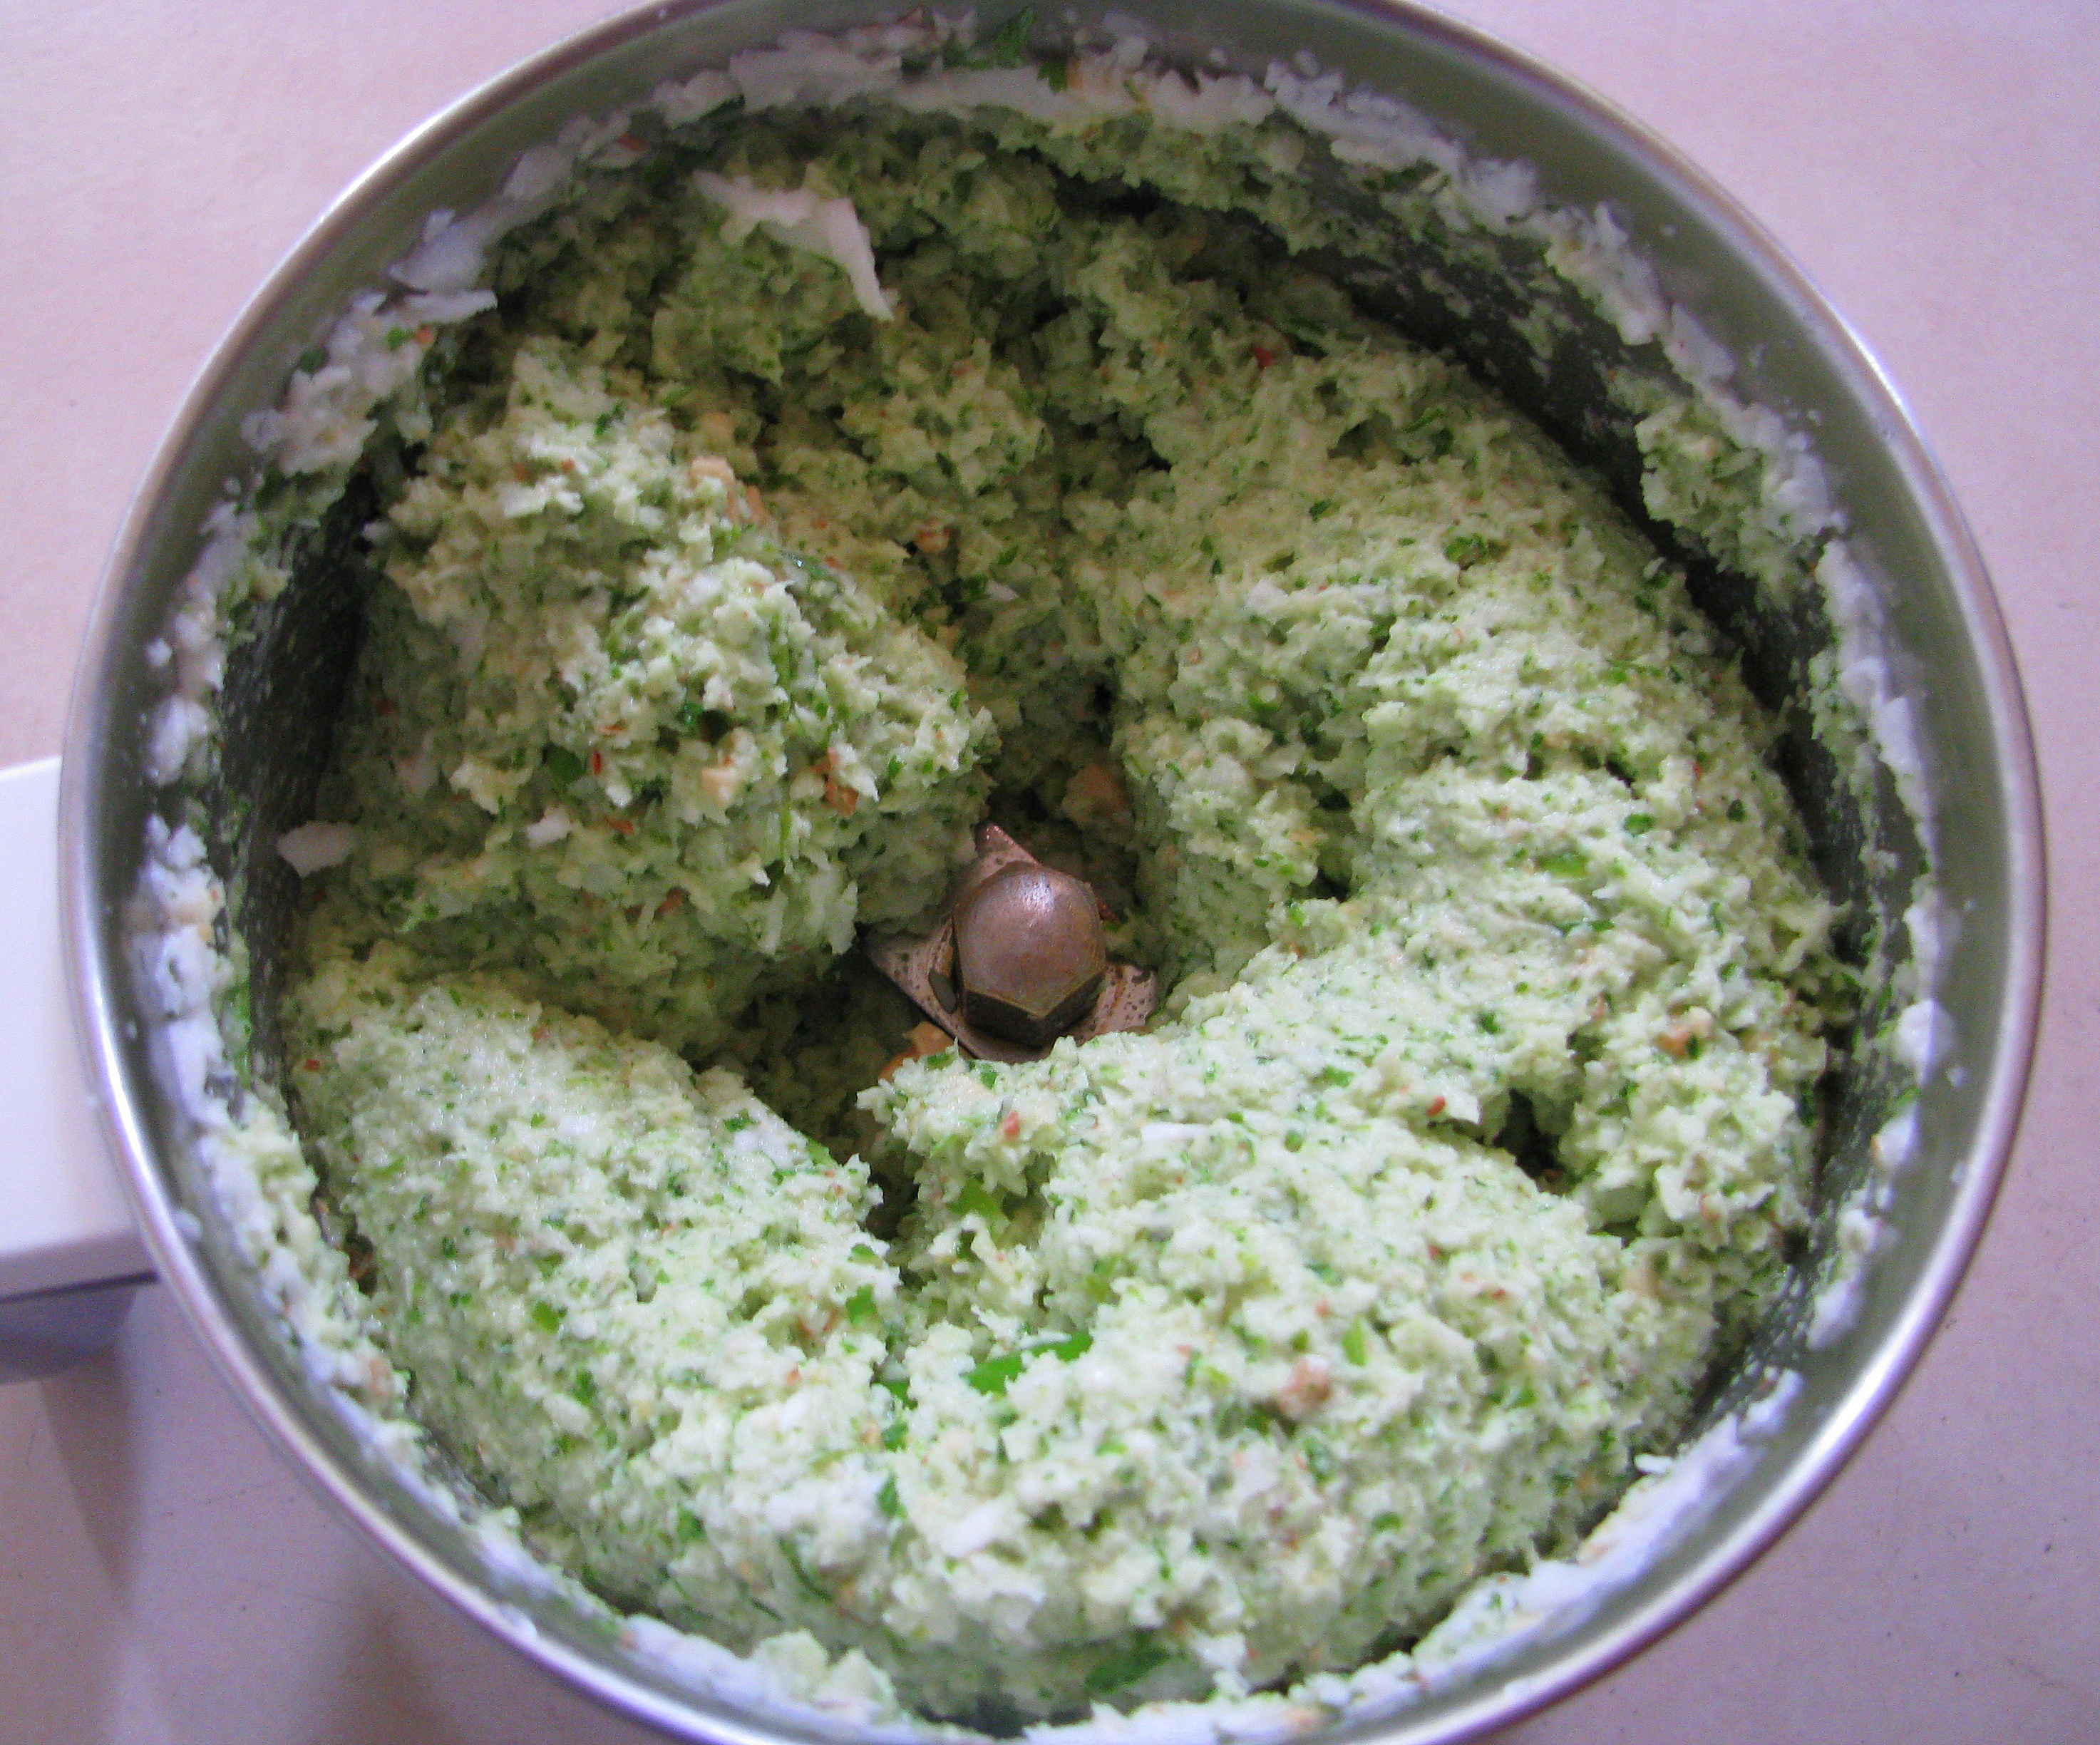
  1. चटनी बनाने की सारी सामग्री को मिक्सर (mixer)के जार (jar) में डाल दीजियेnc1
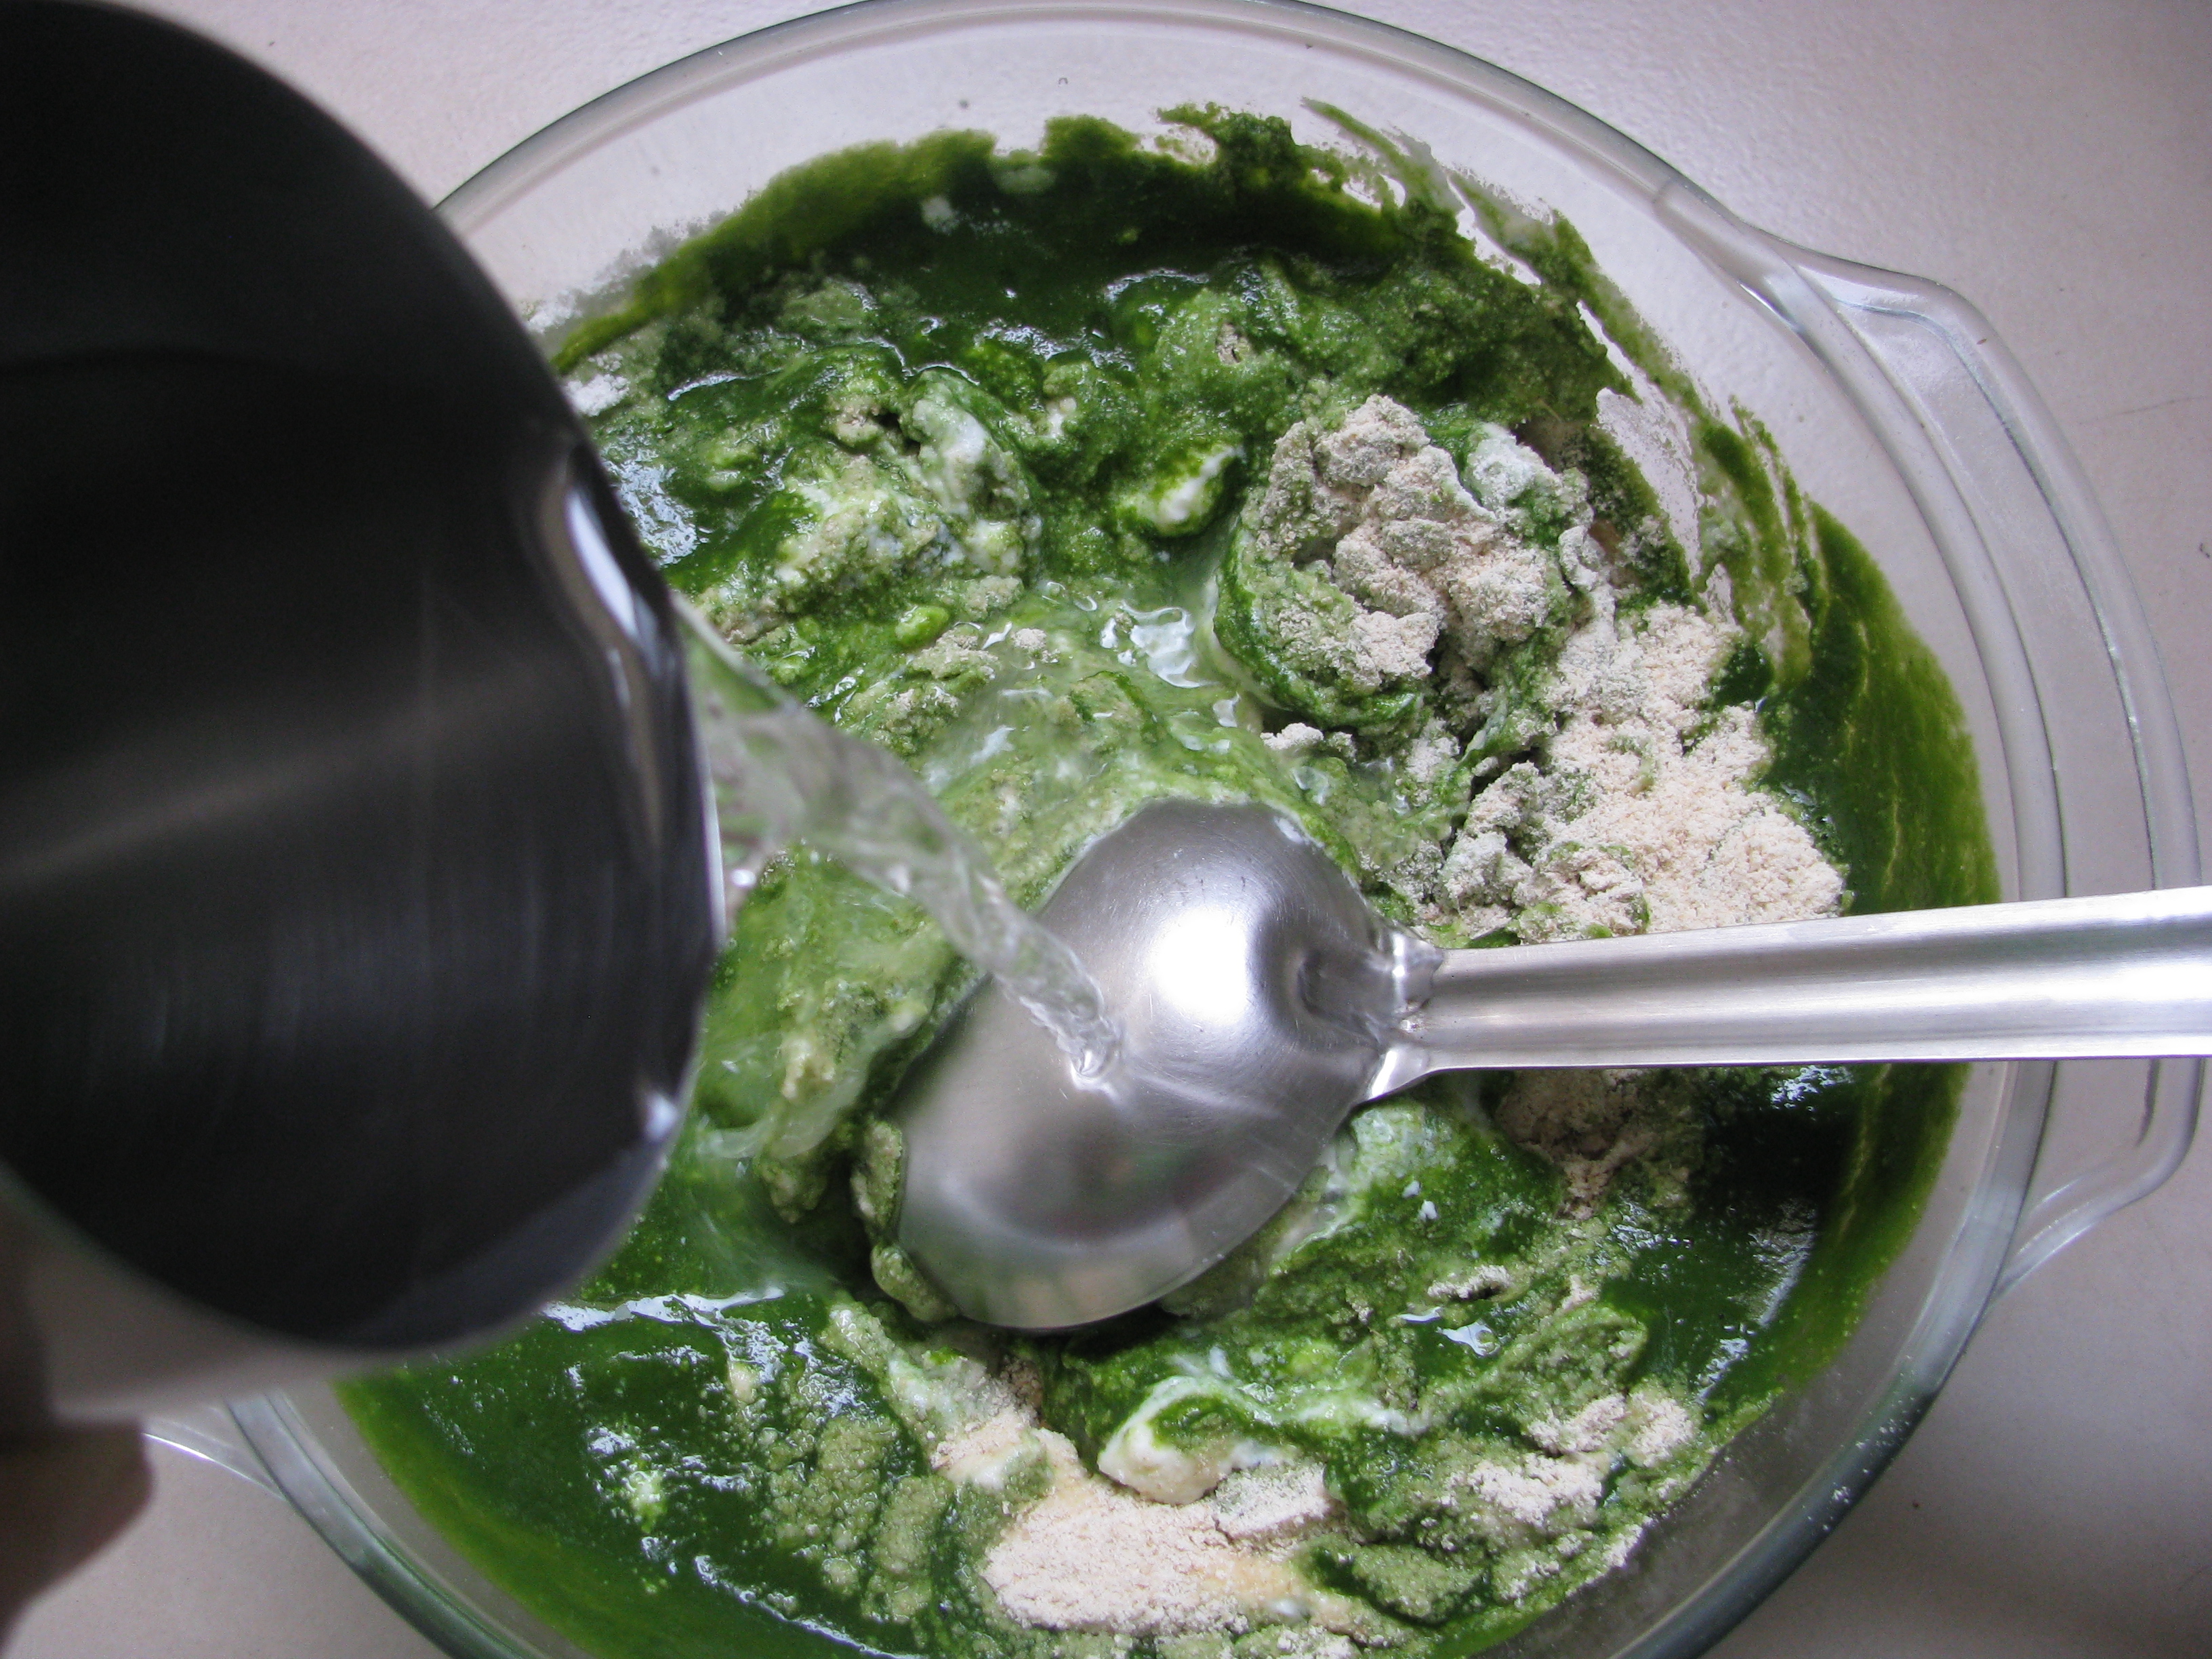
  2. इसमें २-३ चम्मच पानी डाल कर पीस लीजिए , जादा पानी पहले ही डाल देंगे तो मिक्सर के जार से चटनी बाहर उड़ने के सम्भावना बहोत ज्यादा होती  हैं ।nc2
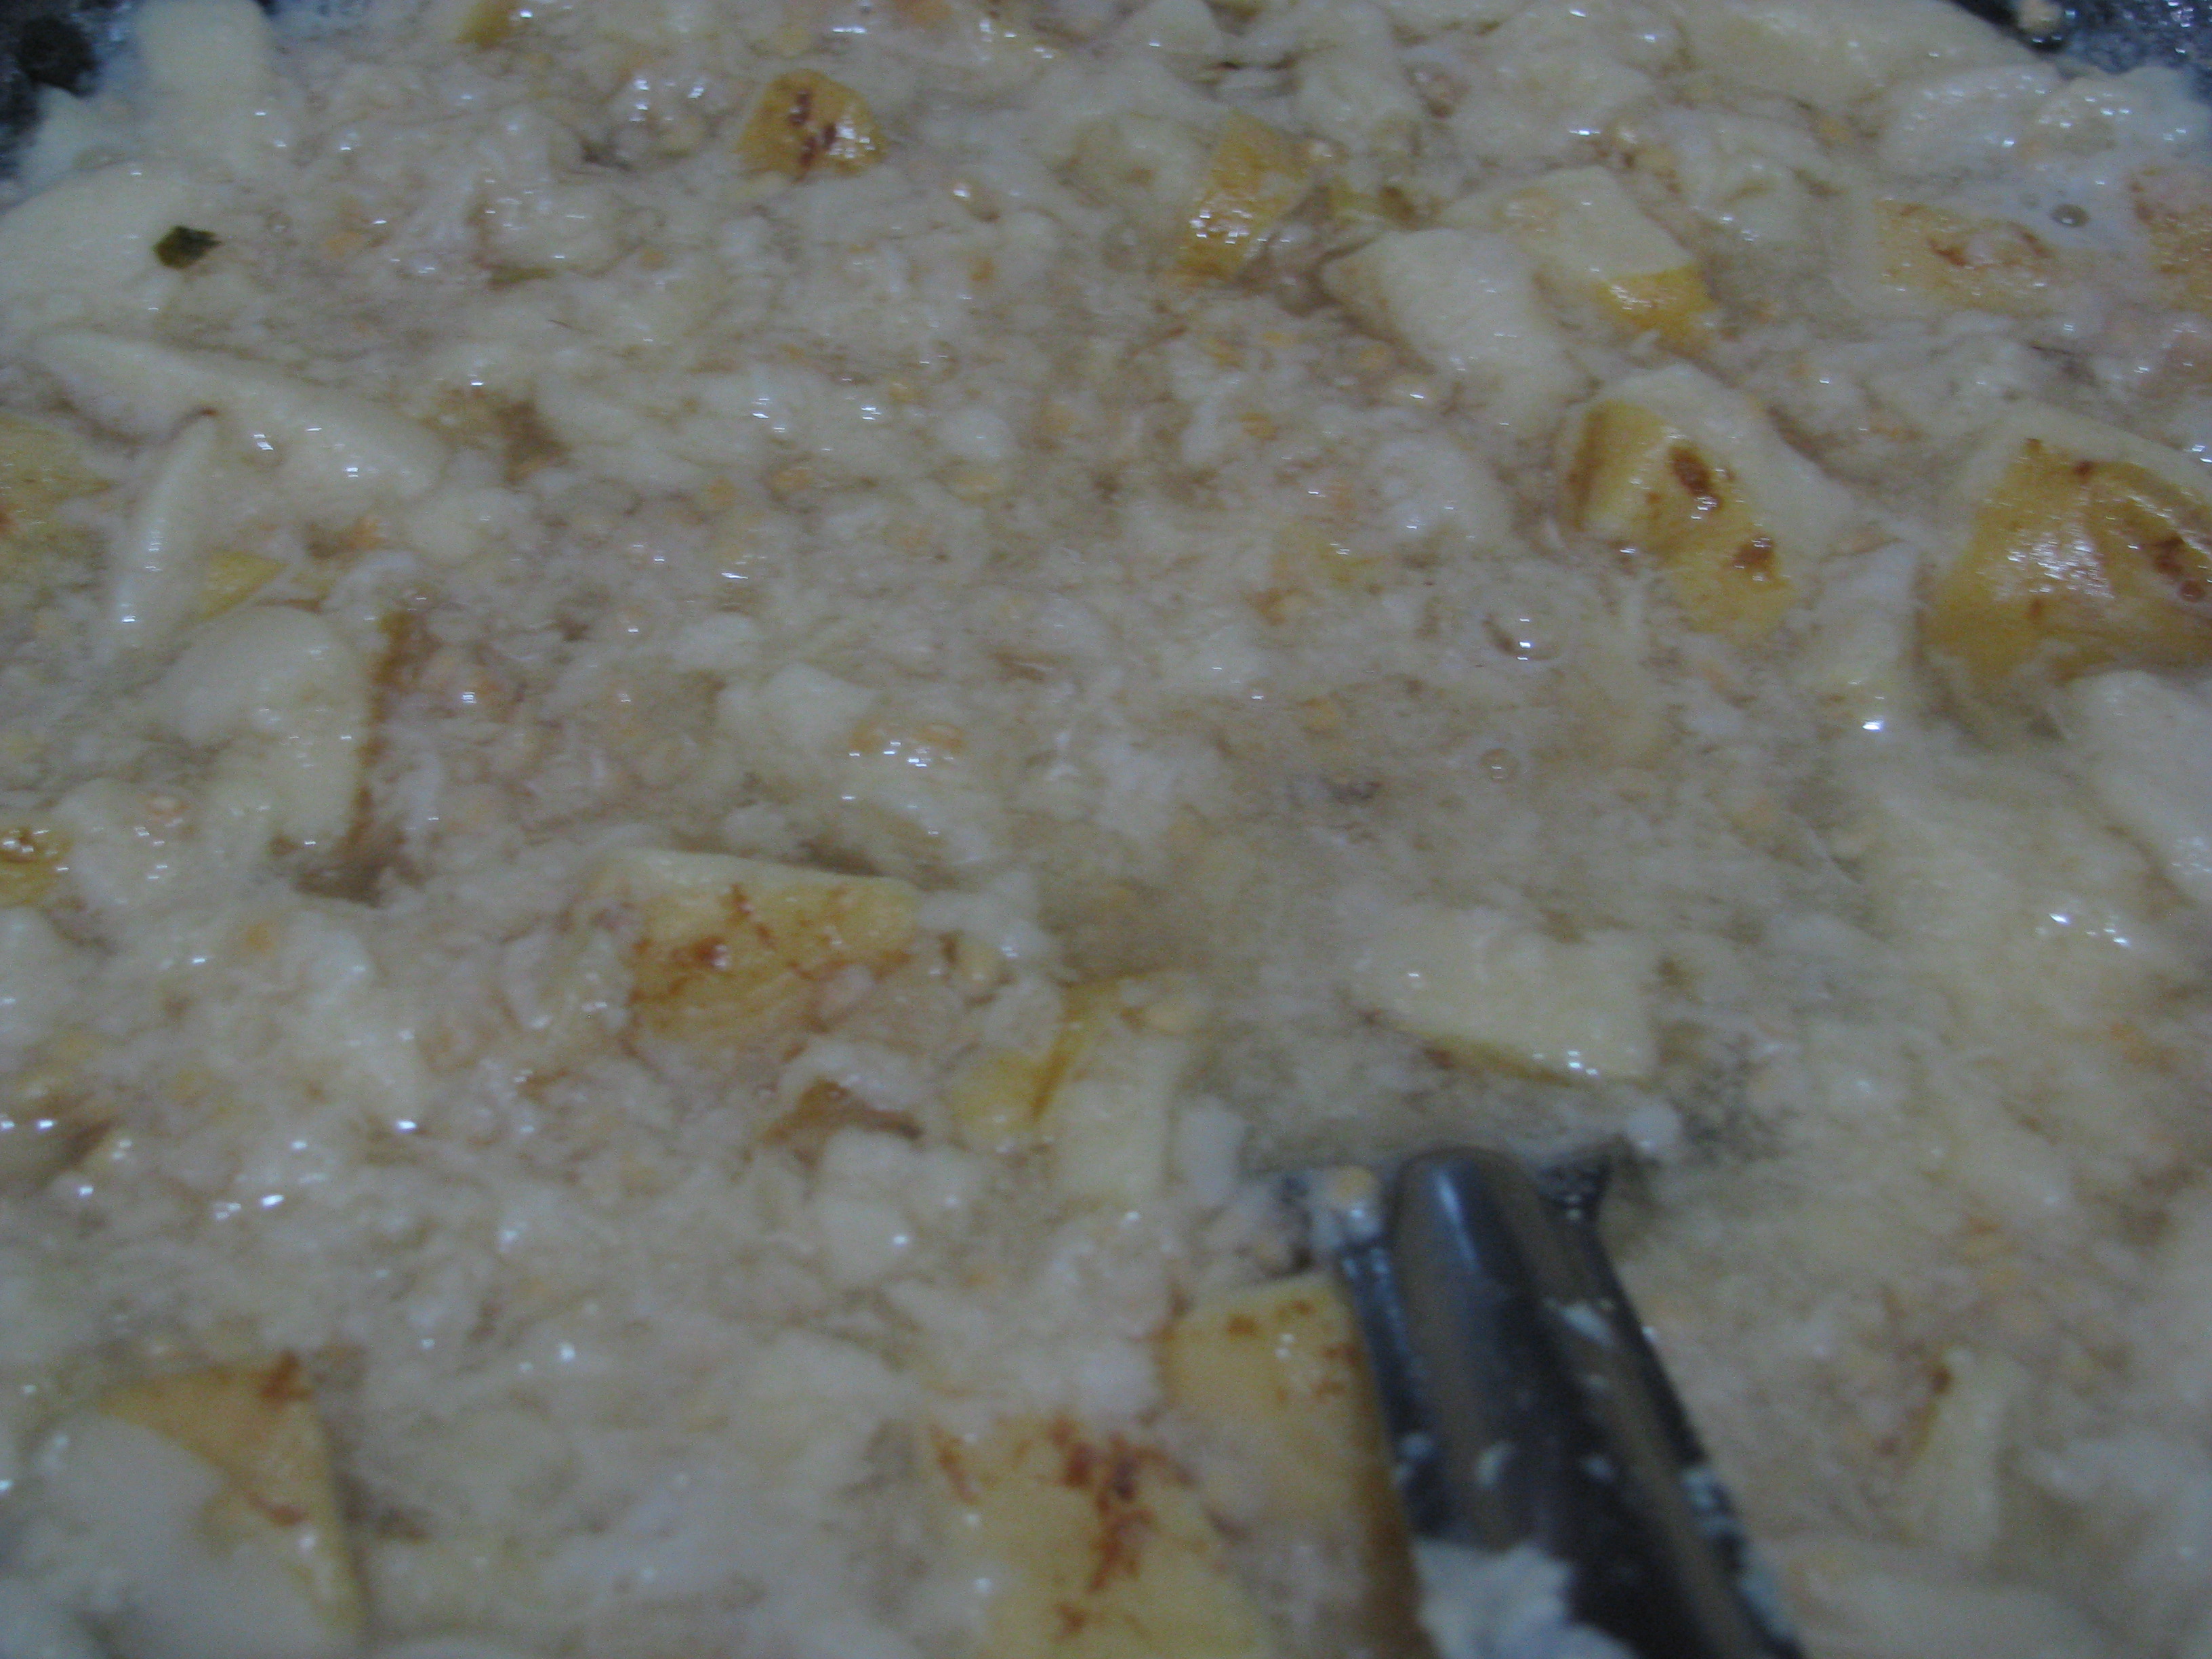
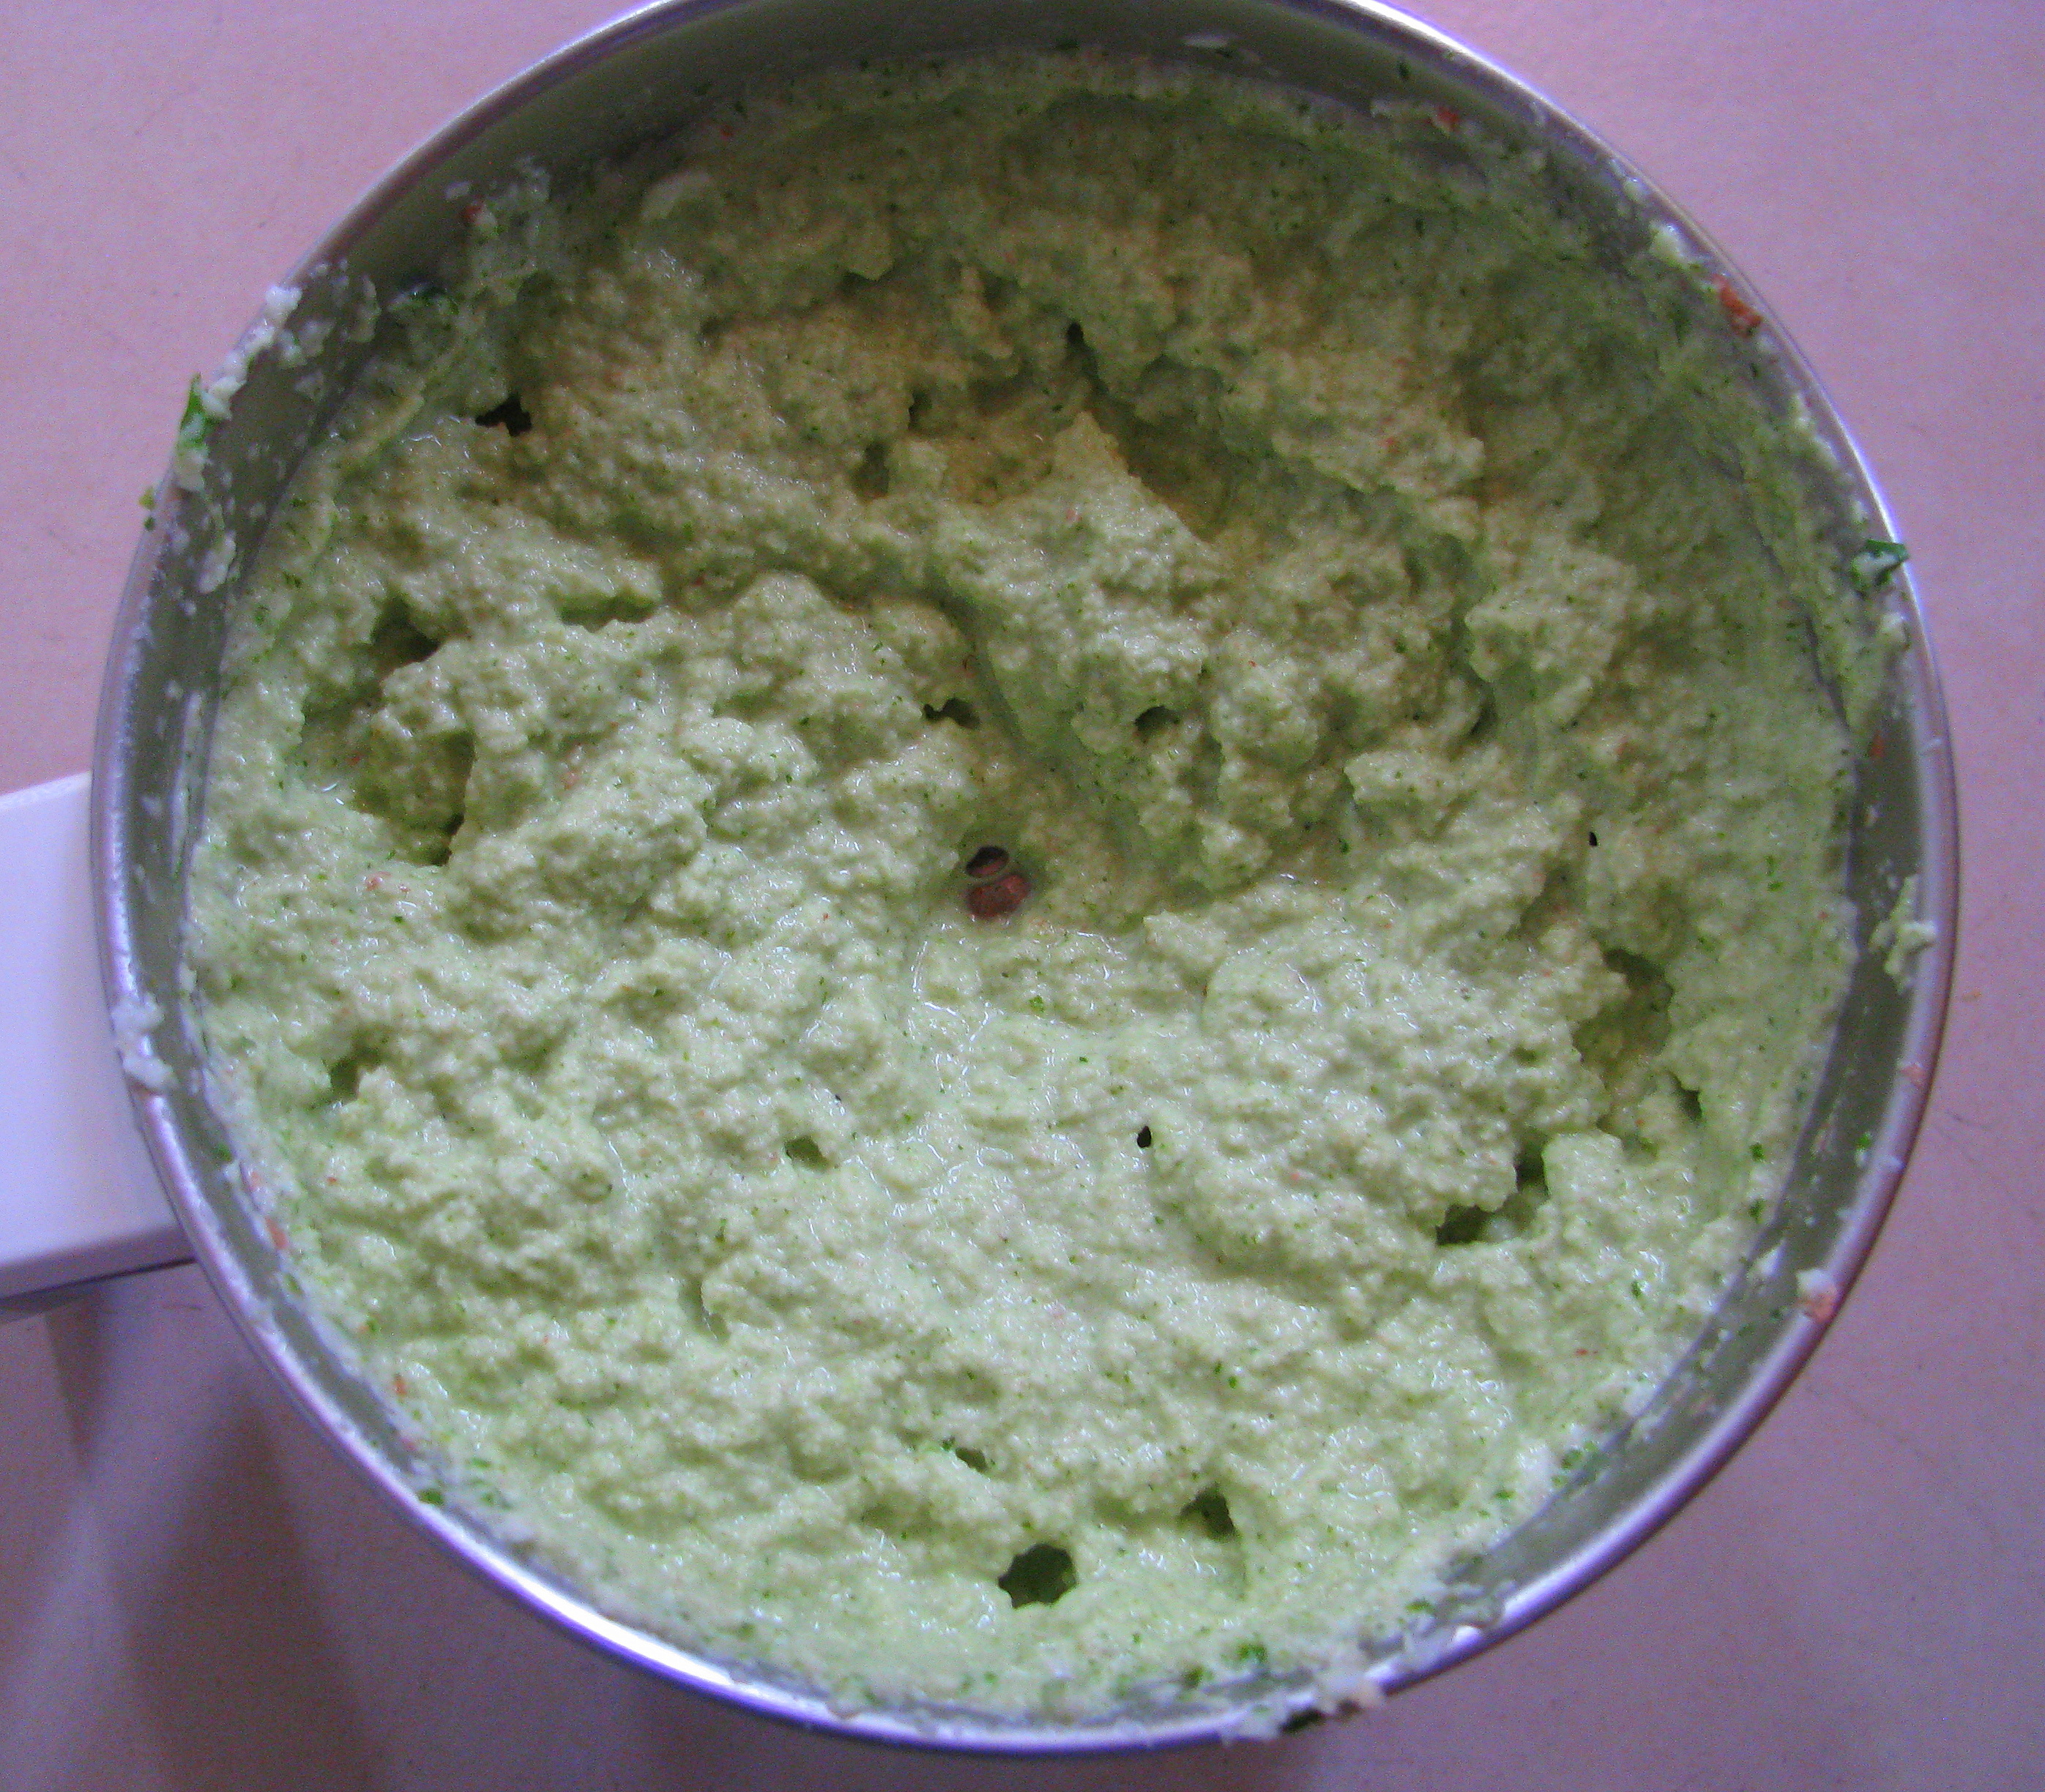
  3. चटनी हलकी मोटी पीसने के बाद और थोड़ा पानी डालकर इसे बारीक़ पीस ले |nc3
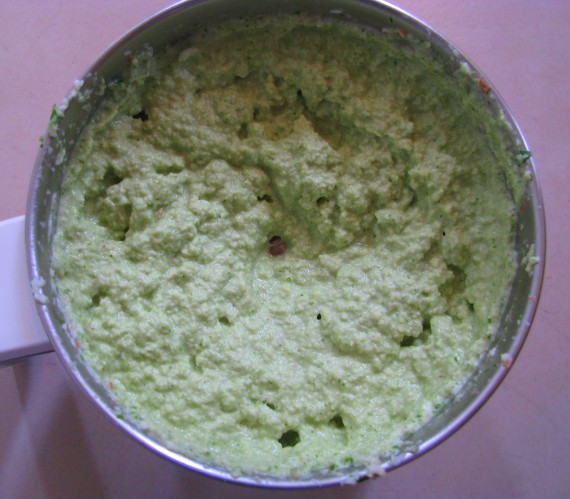
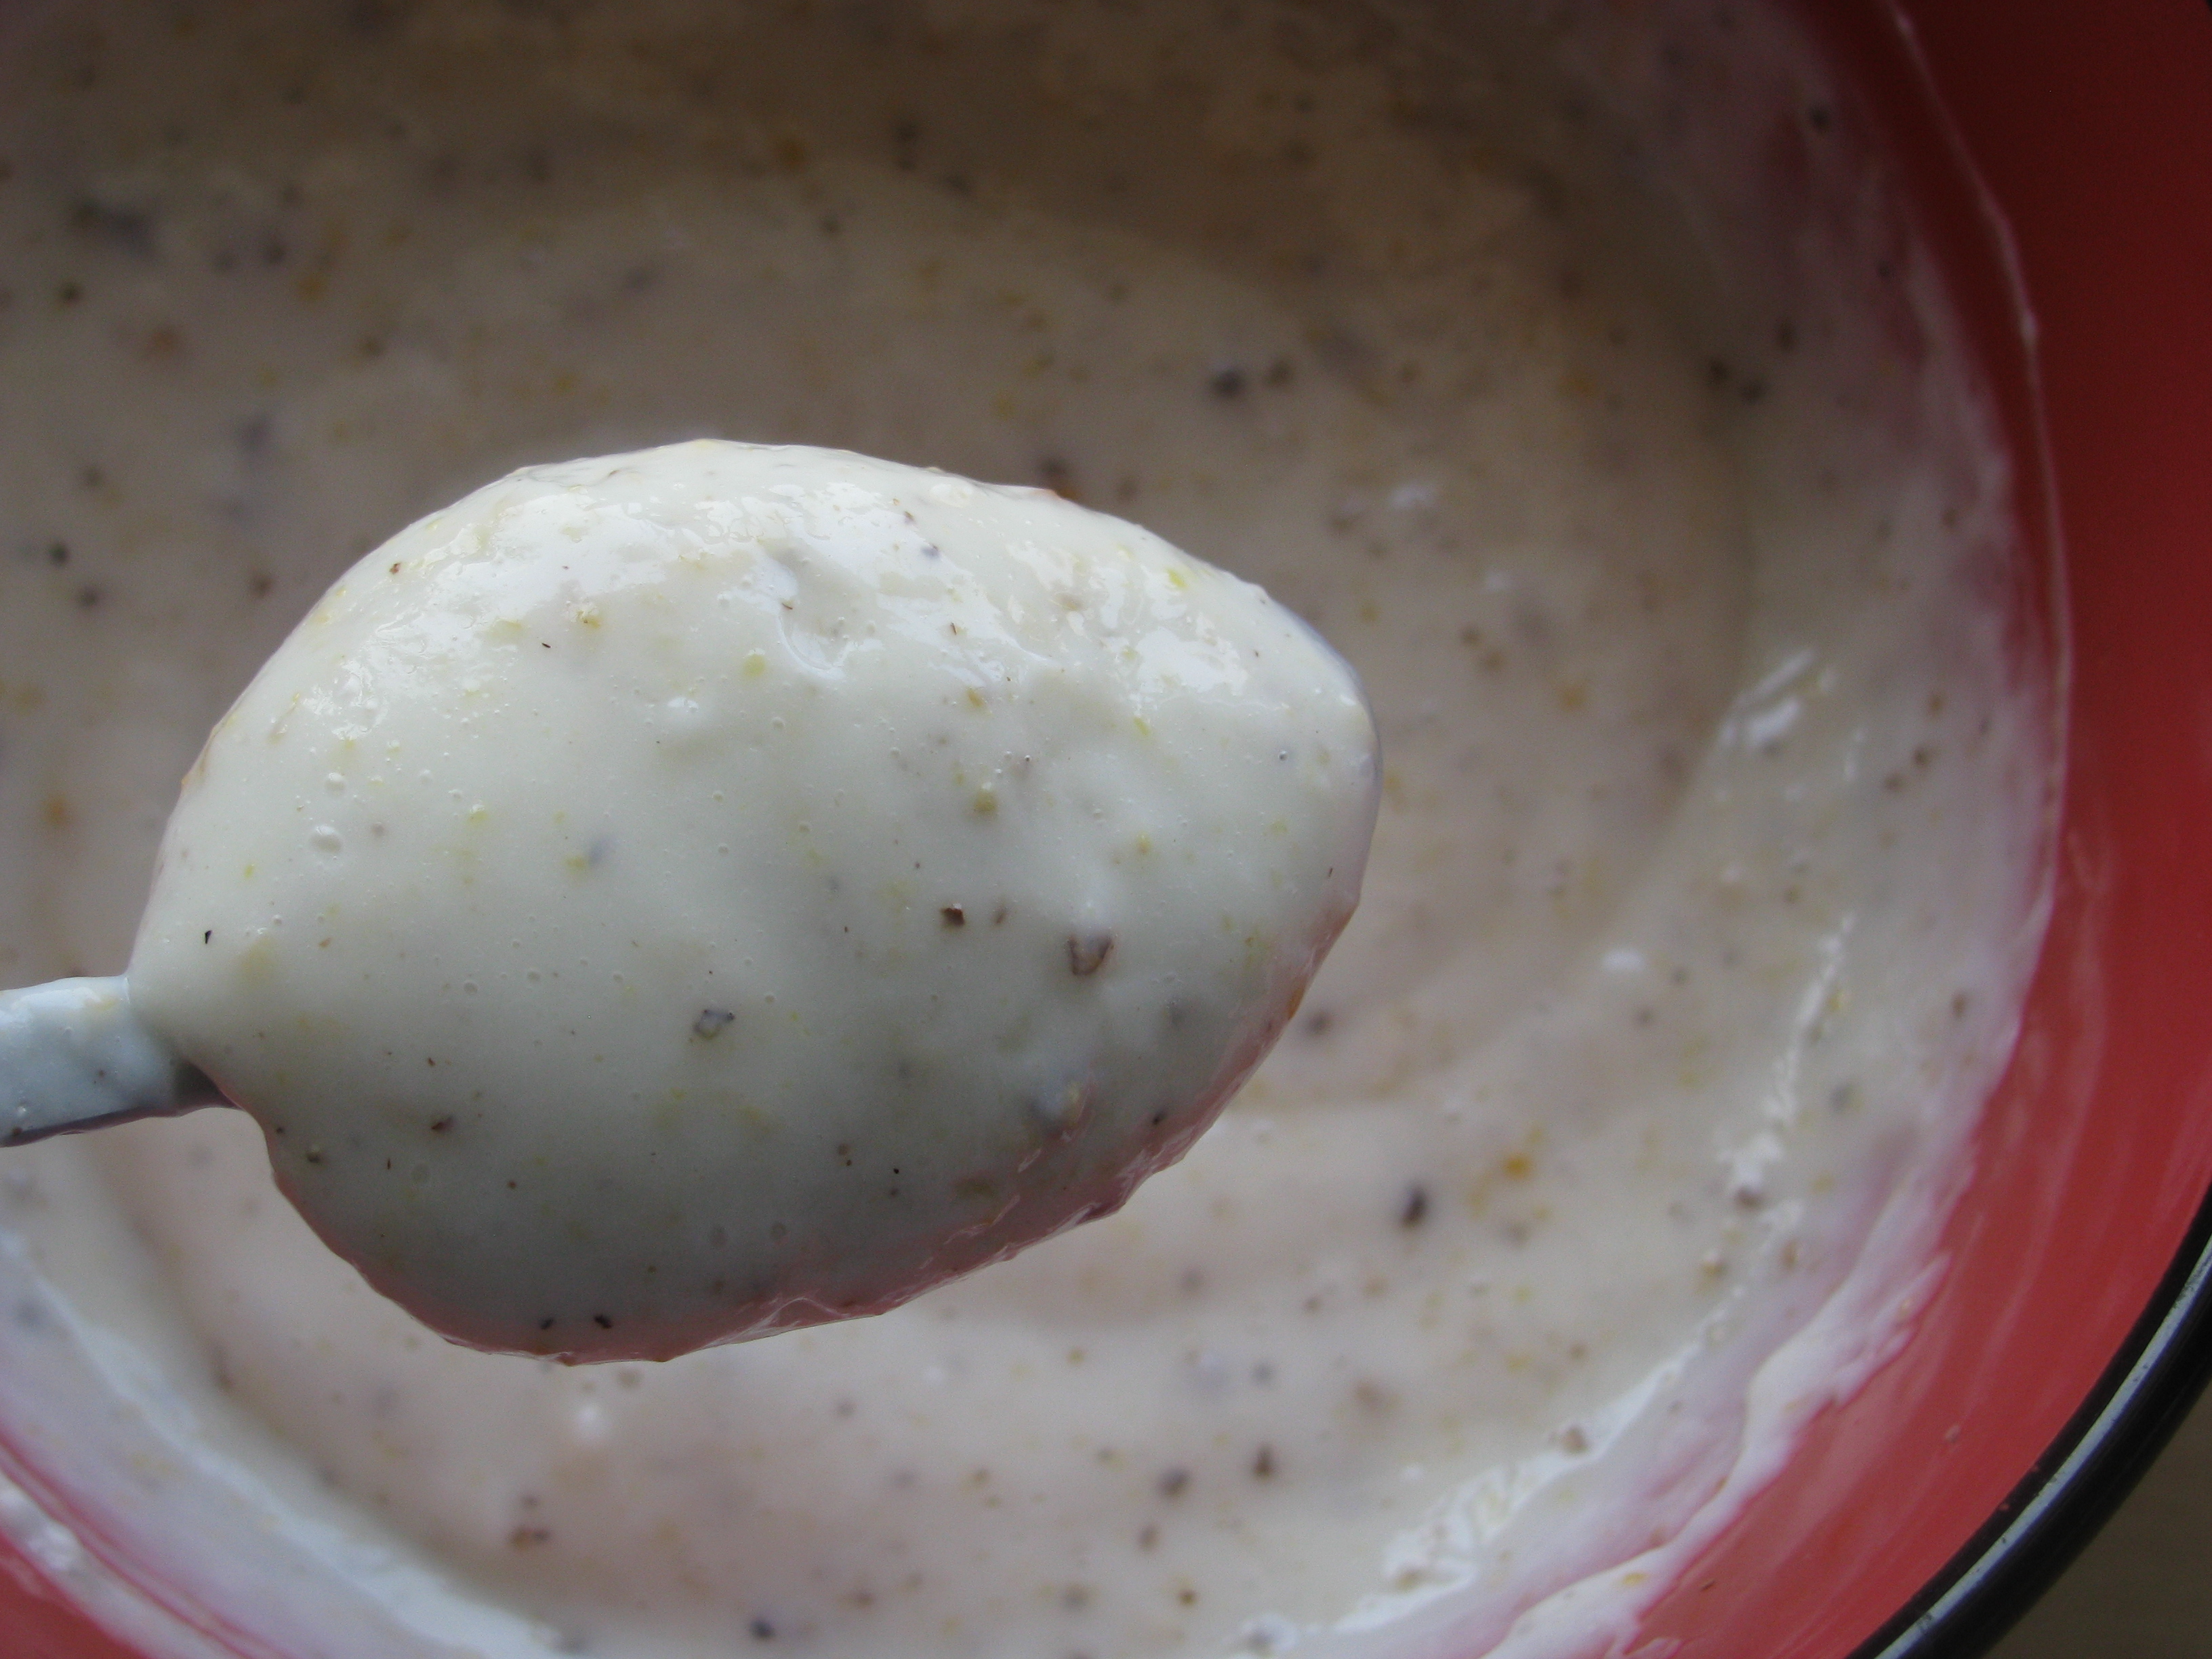
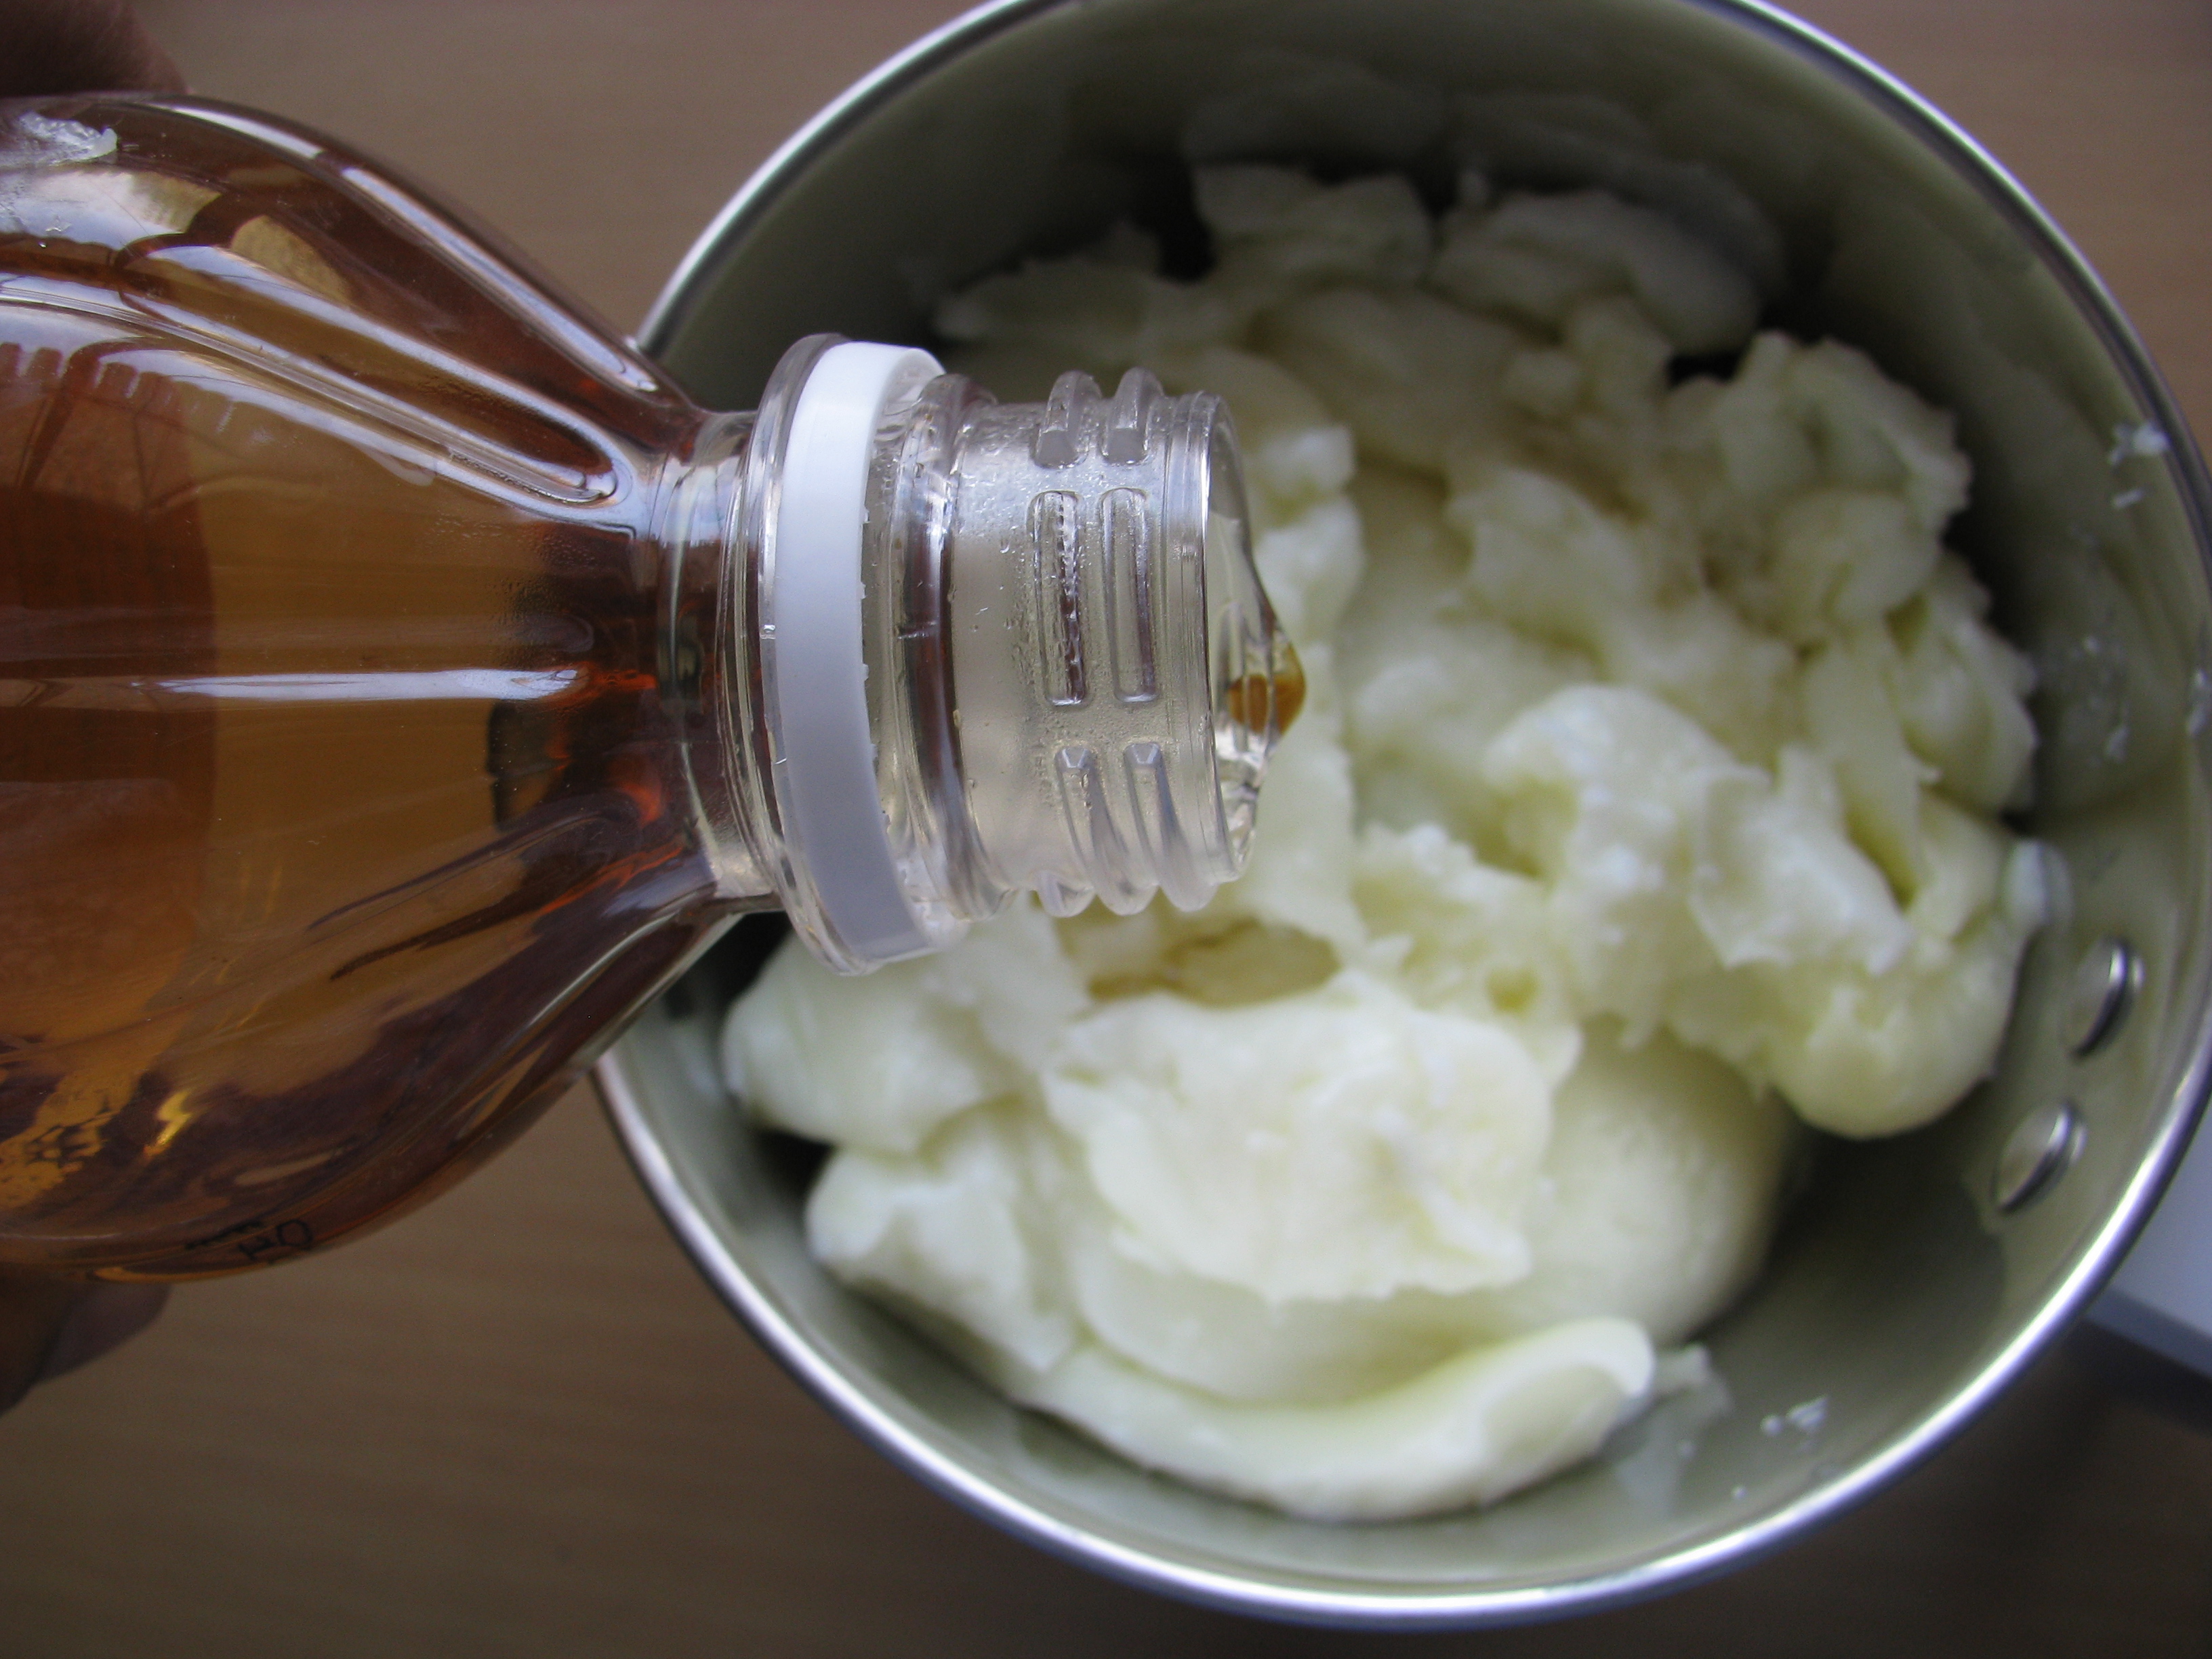
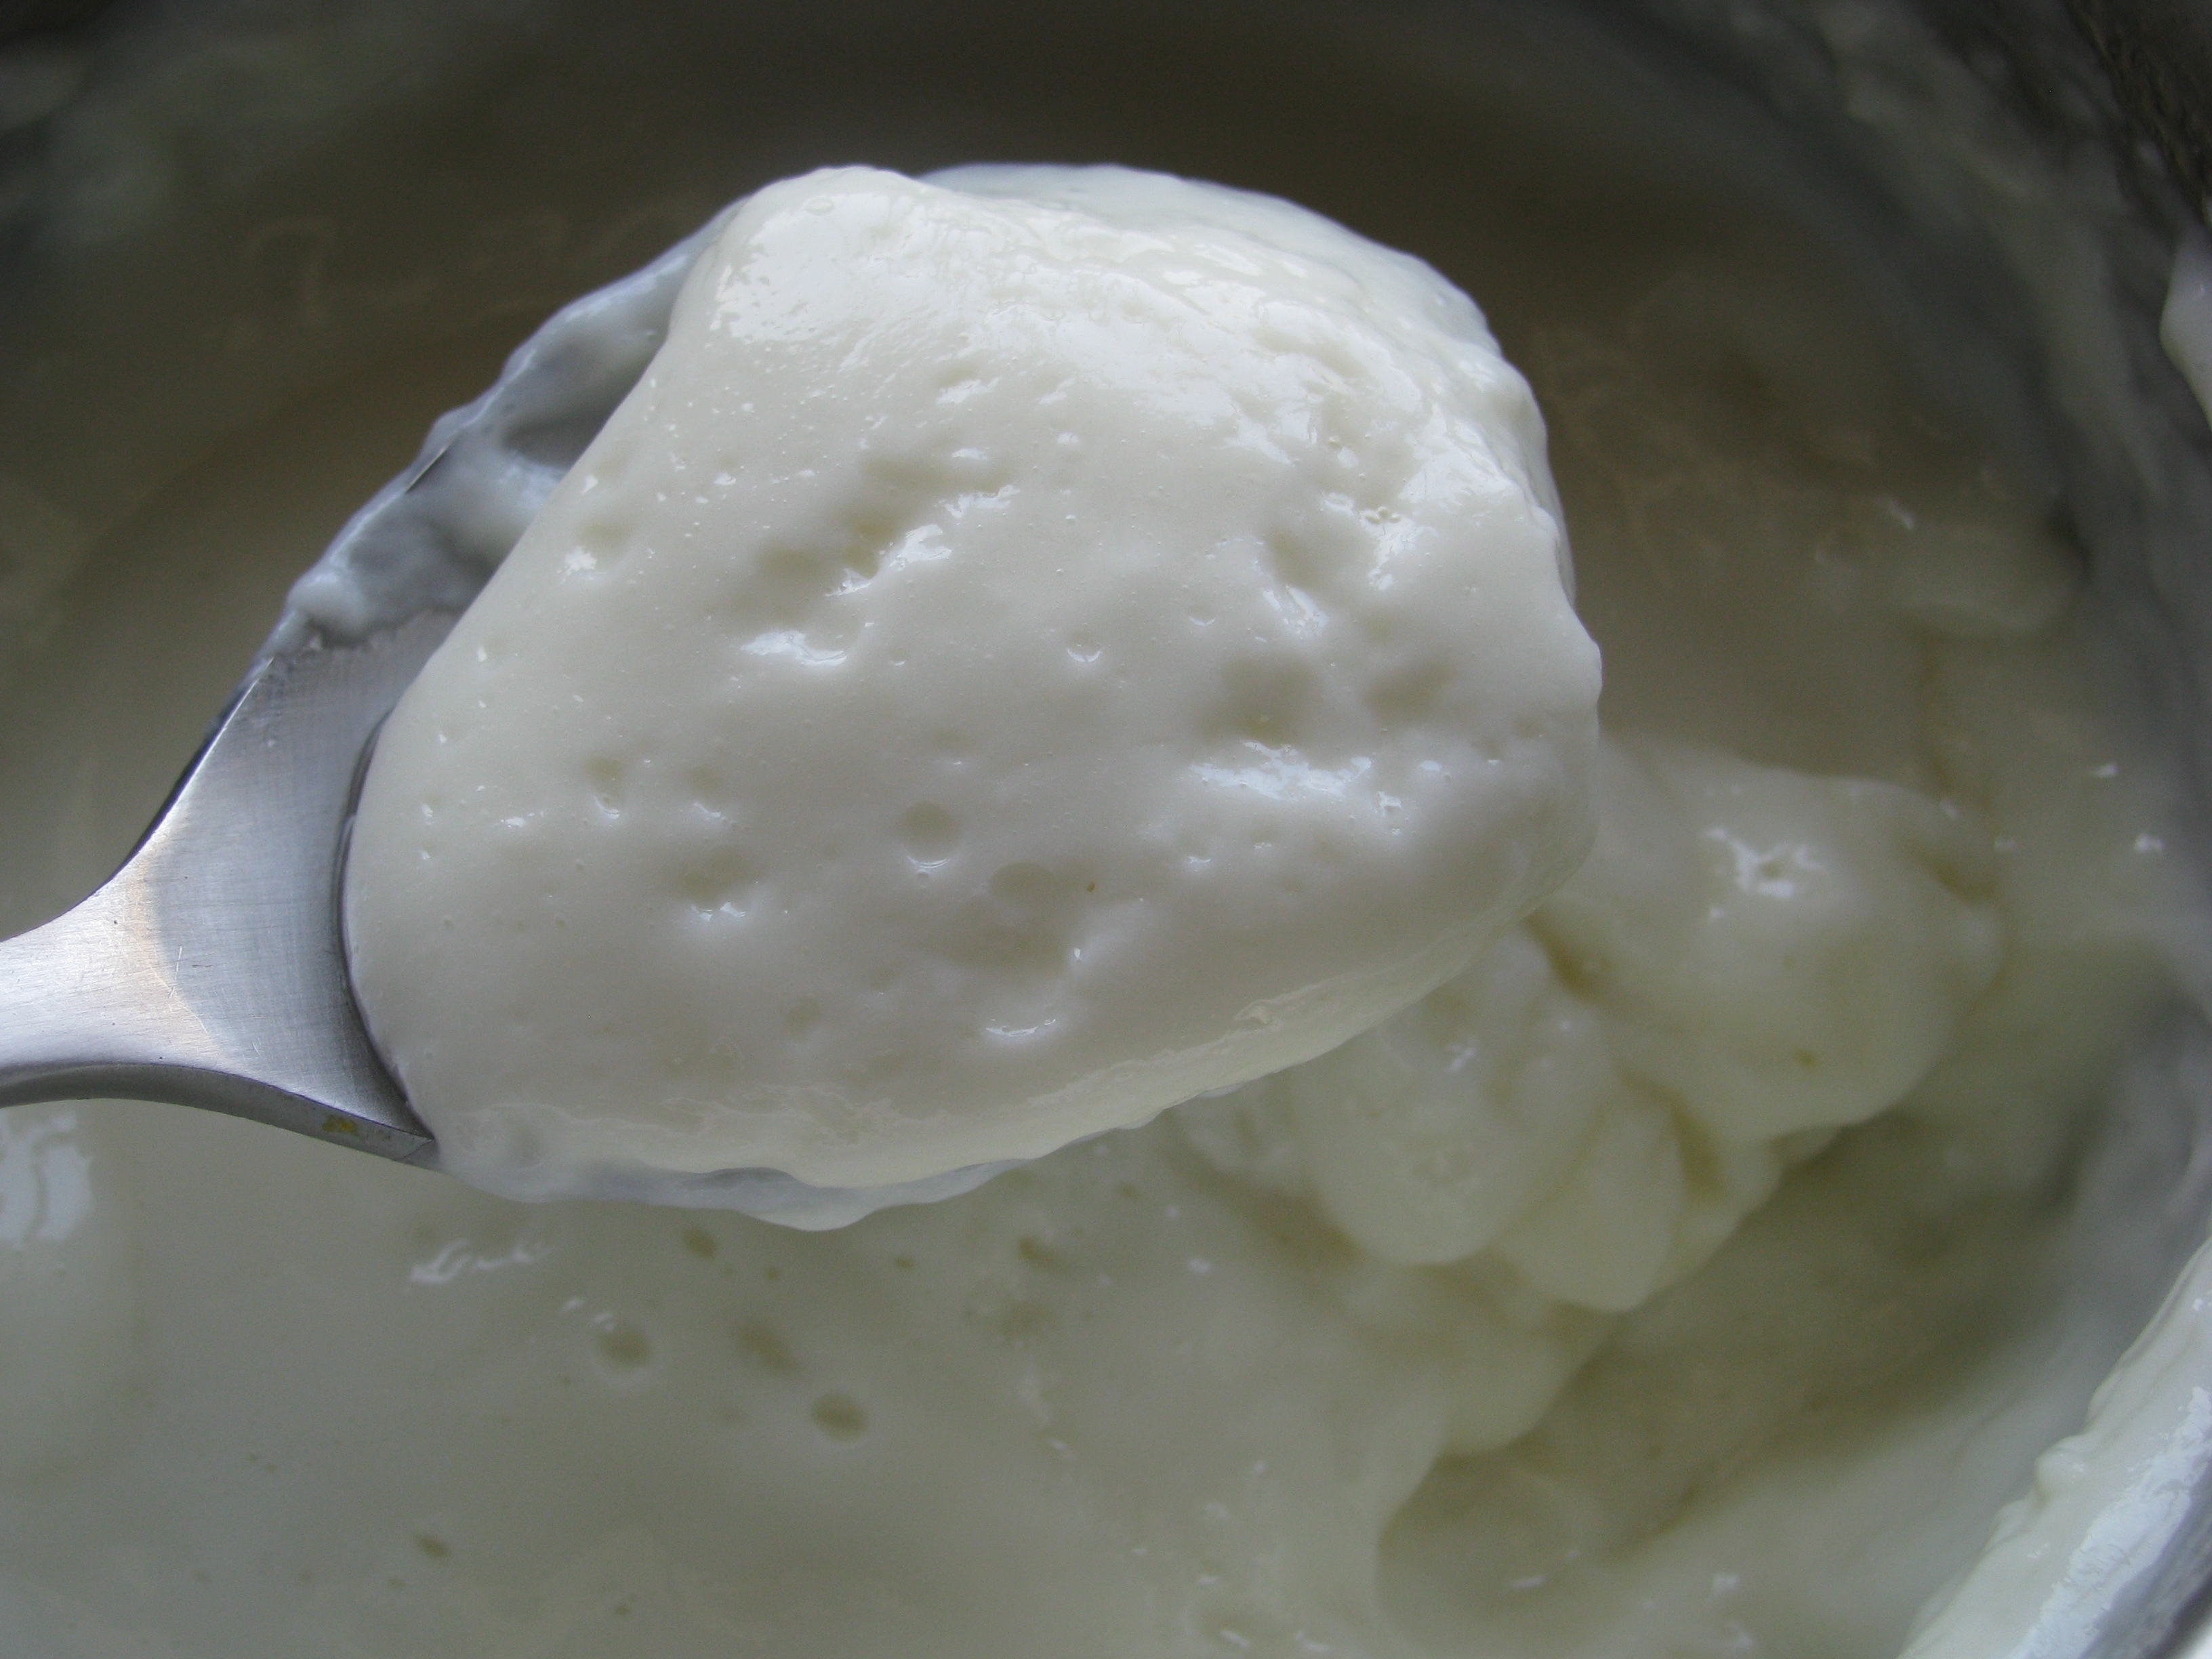
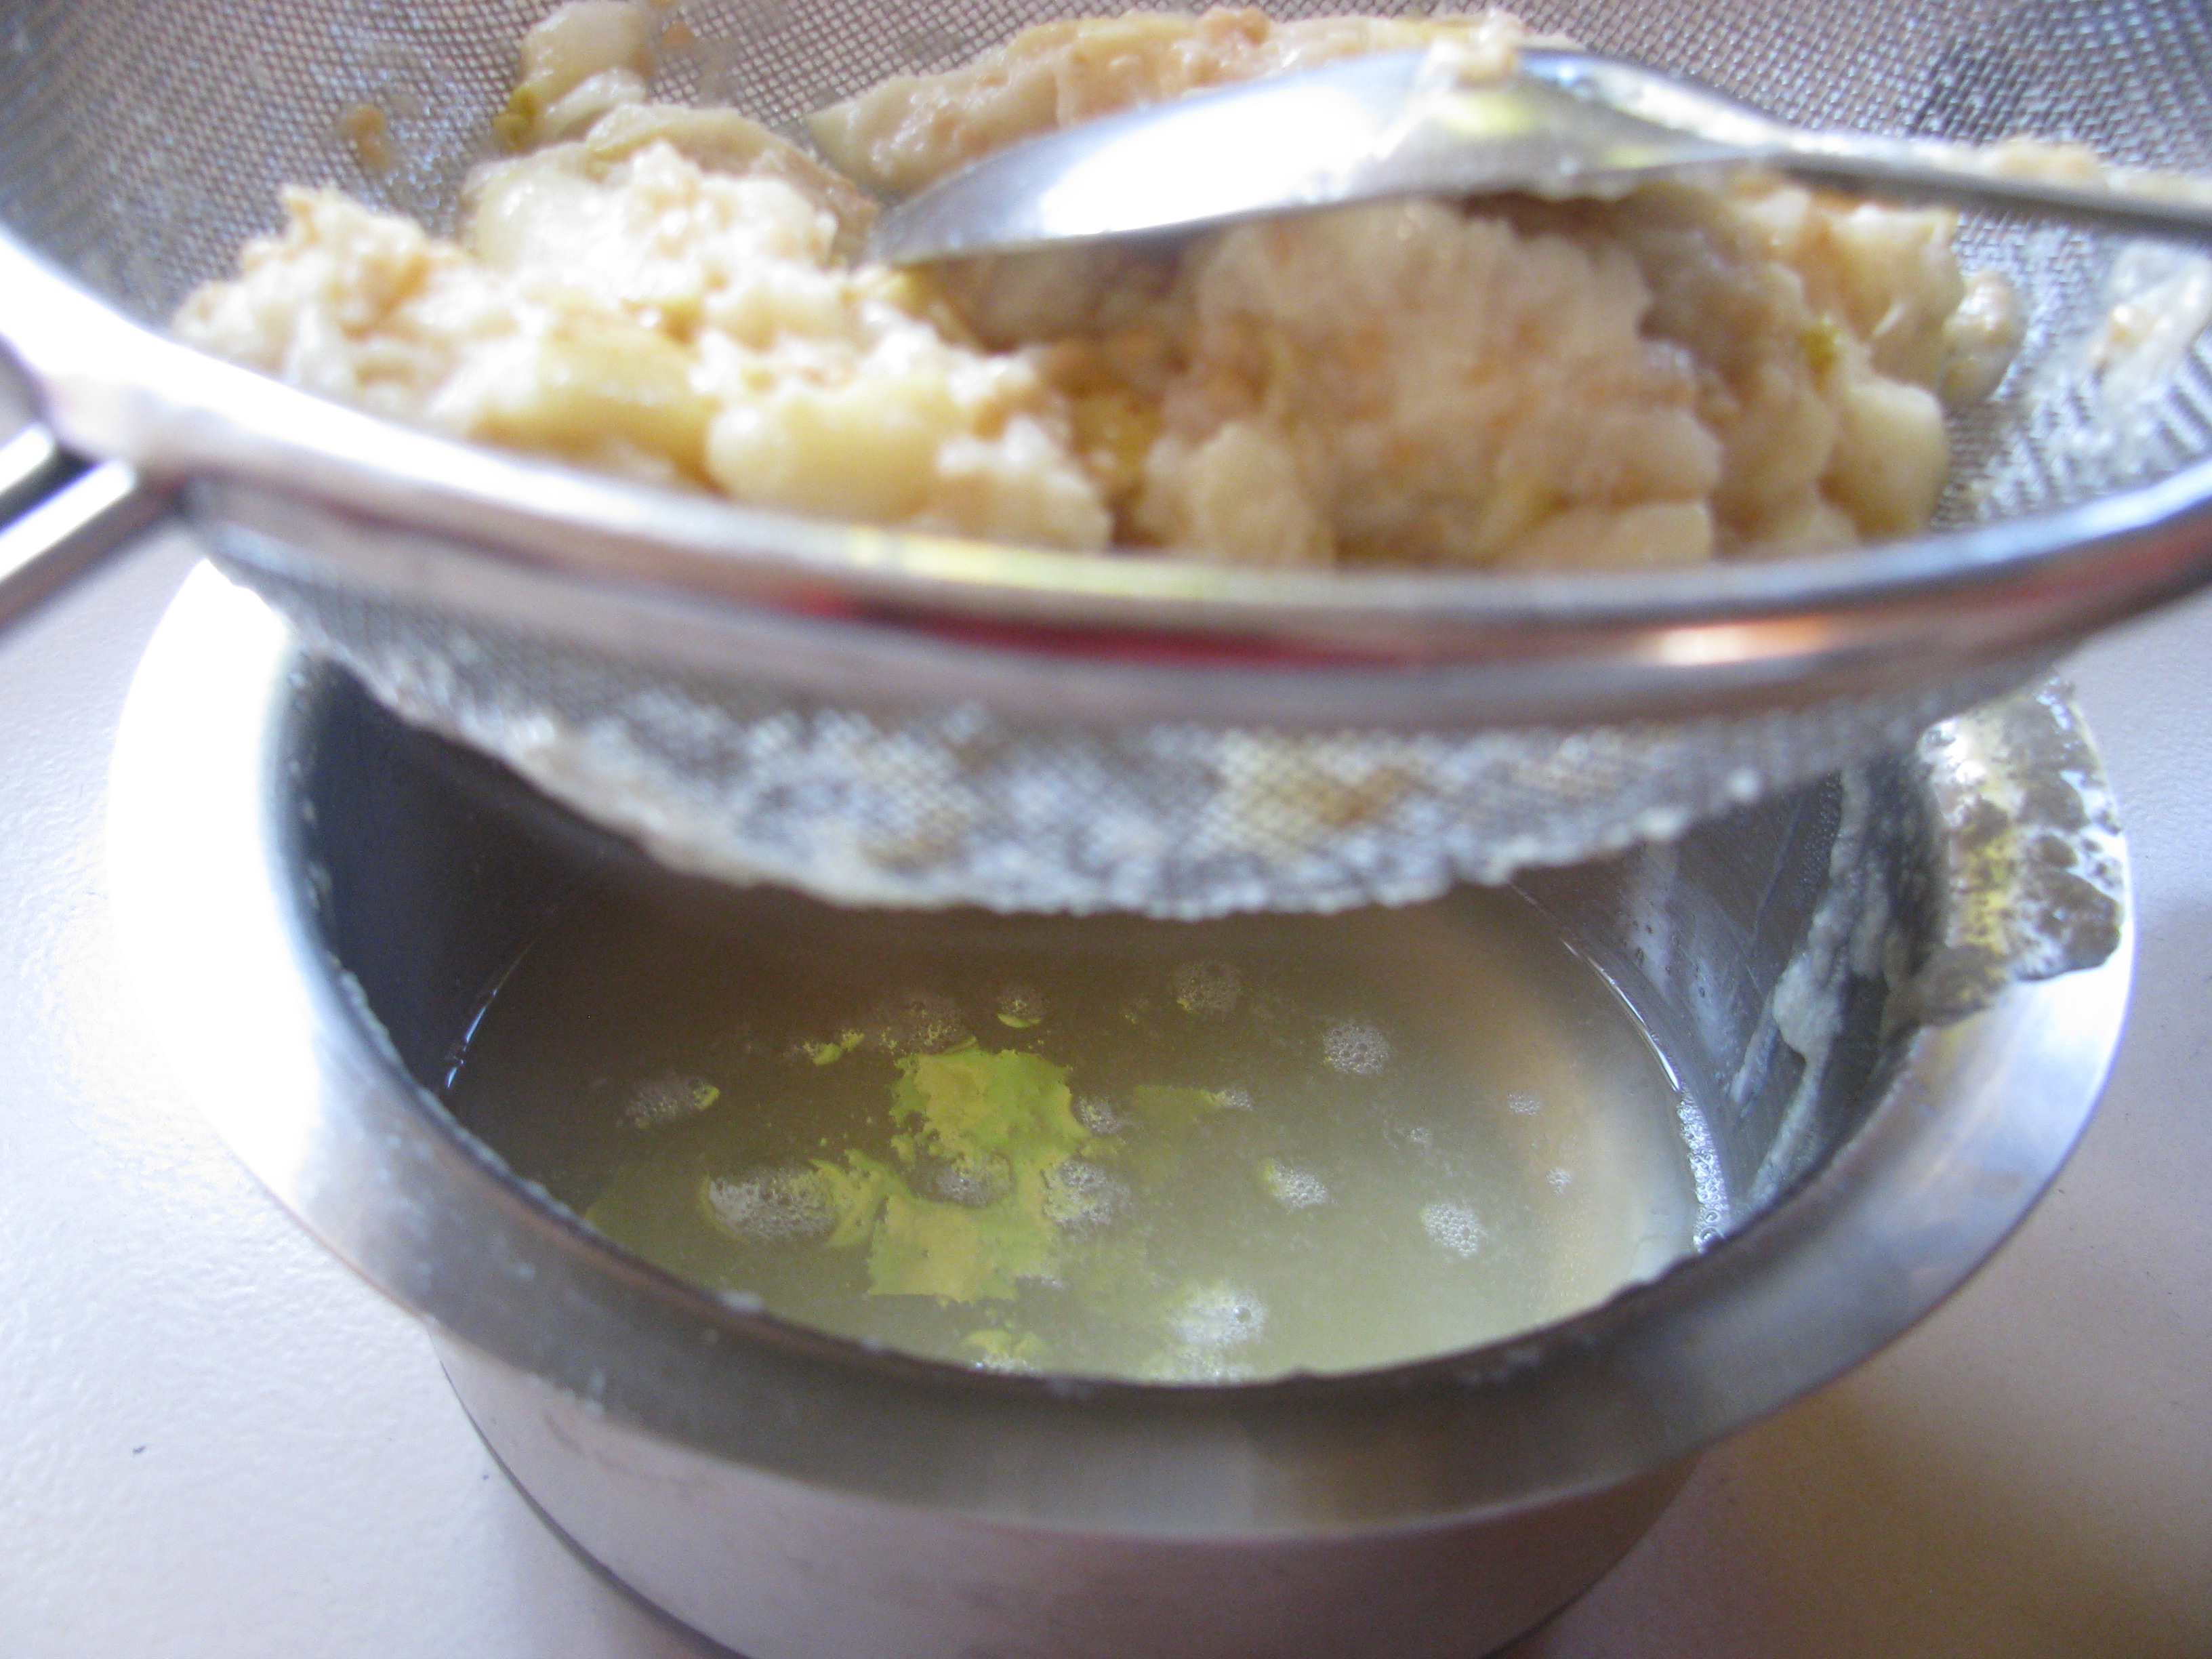
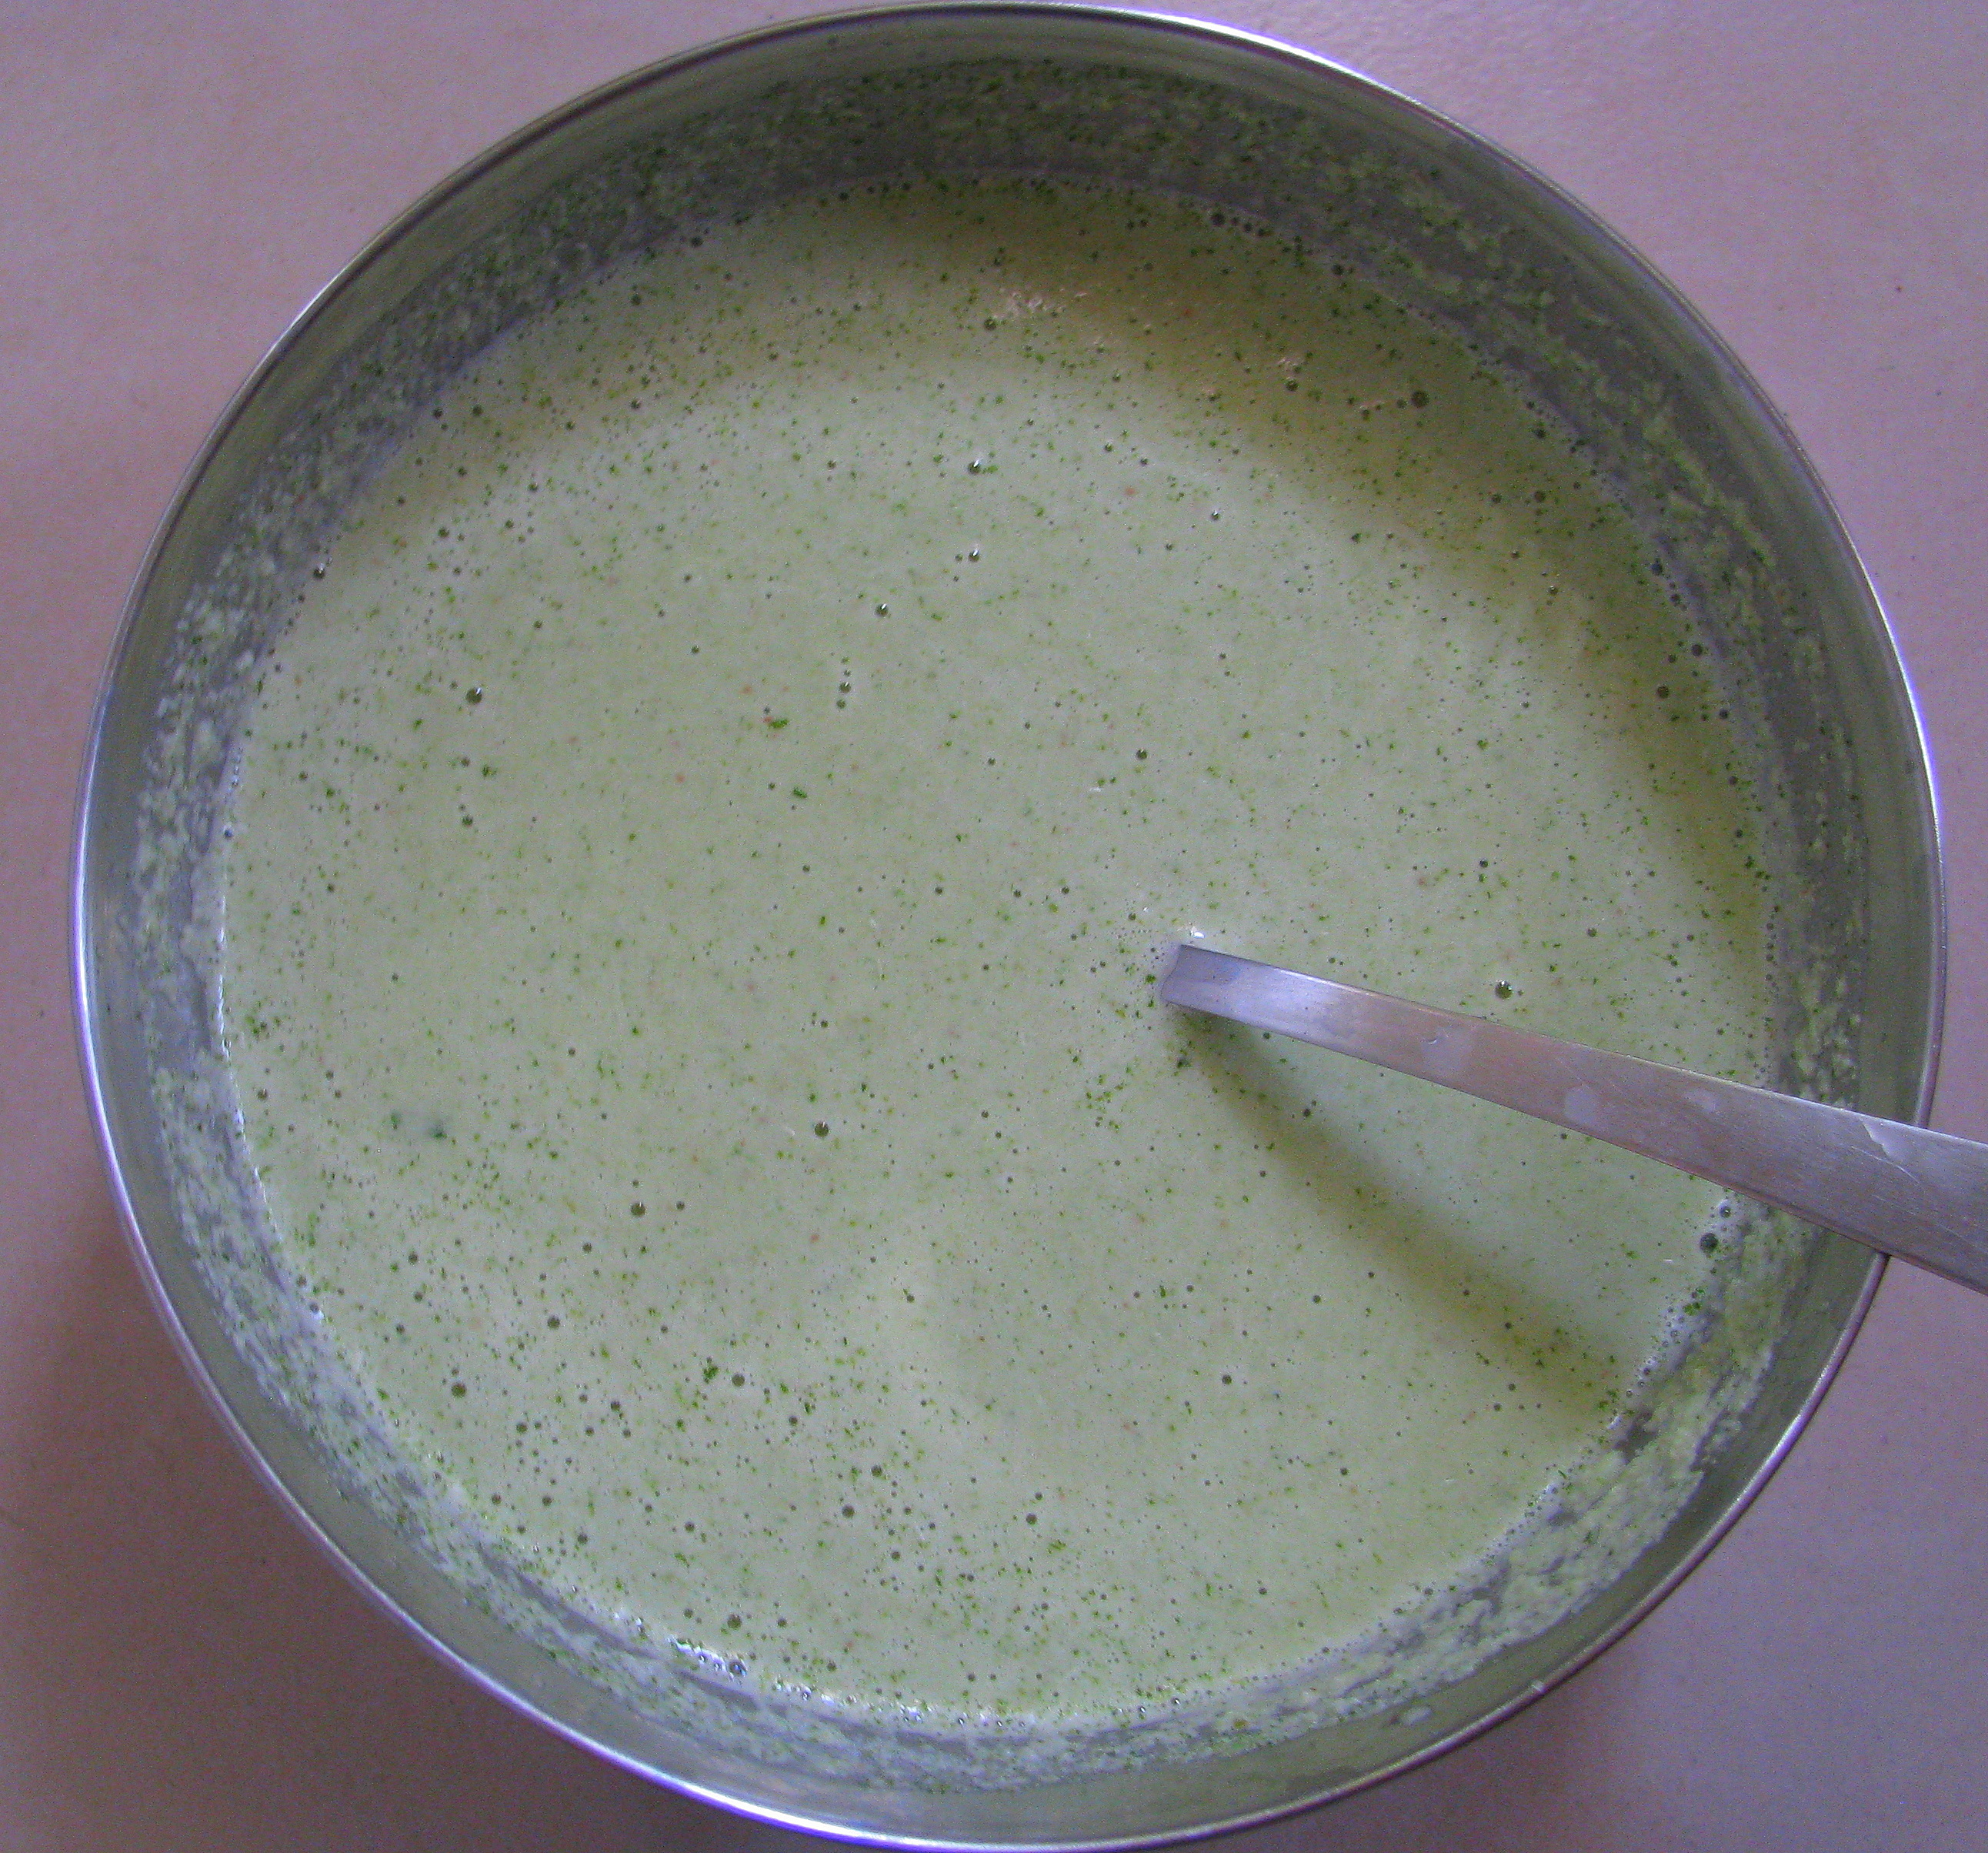
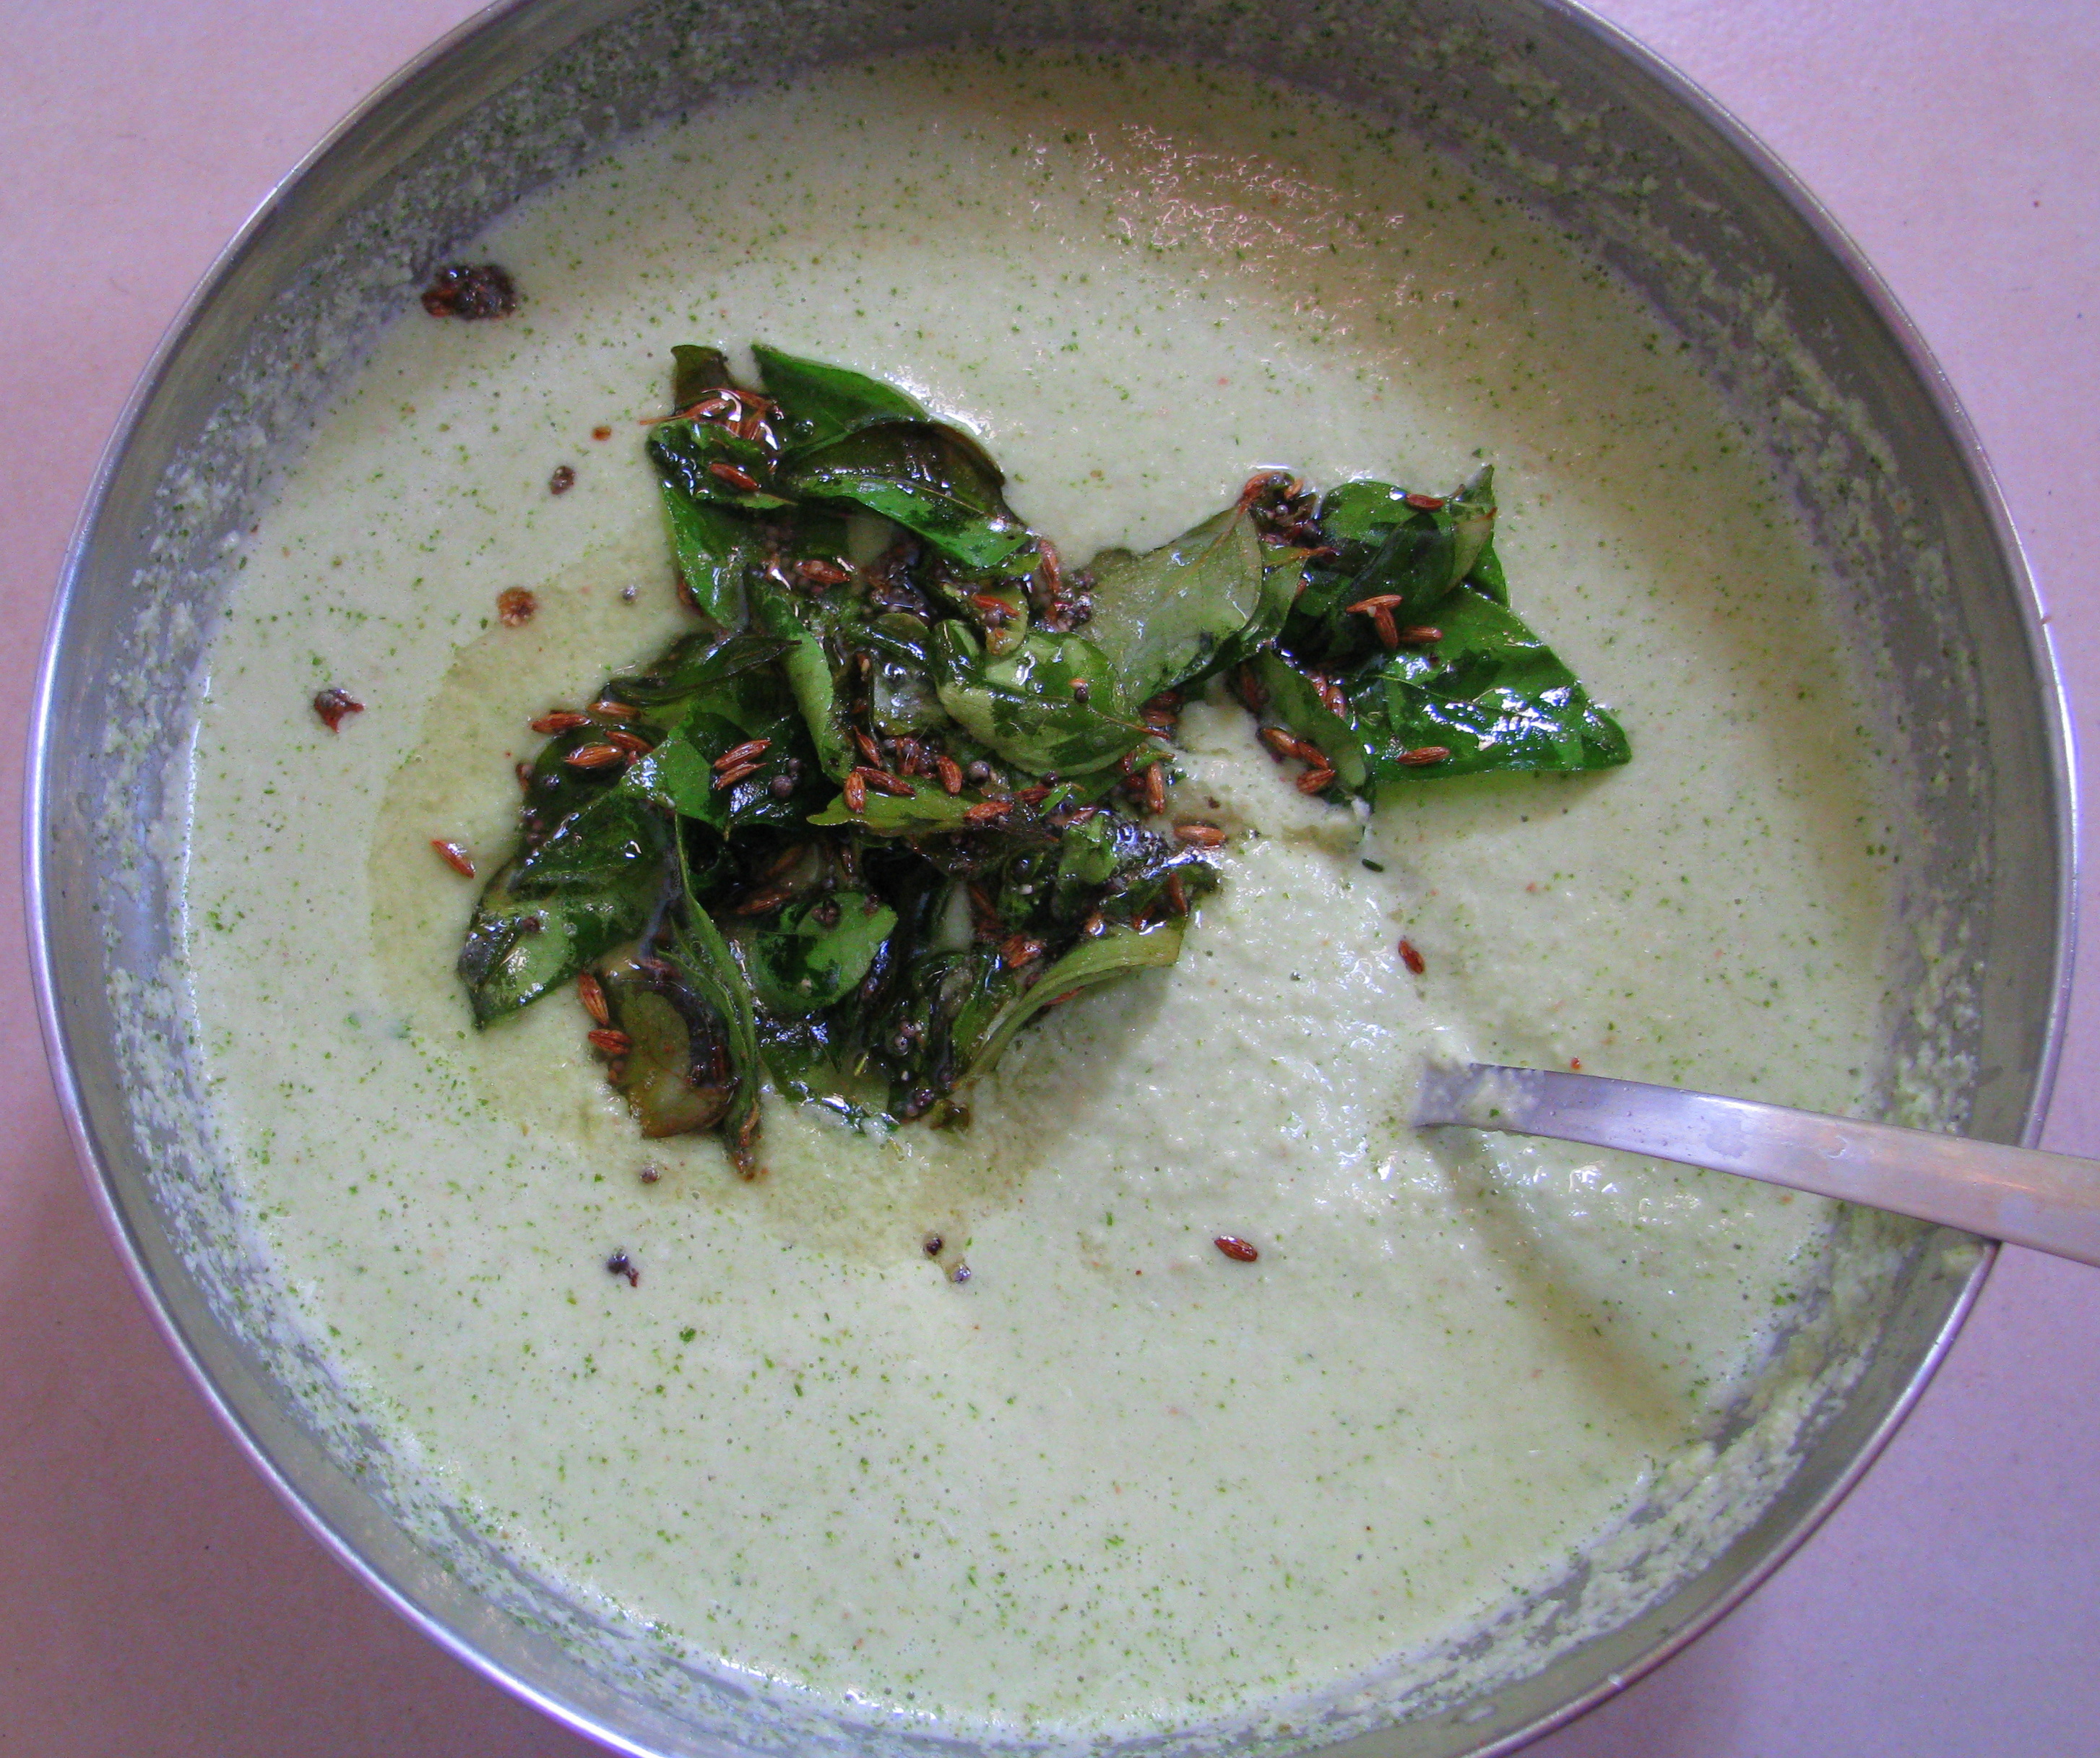
  4. चटनी को कटोरे में निकालकर आवश्यकता नुसार जितना गाढ़ा (thick)रखना है उस हिसाब से पानी इसमें मिला लीजिए |nc4
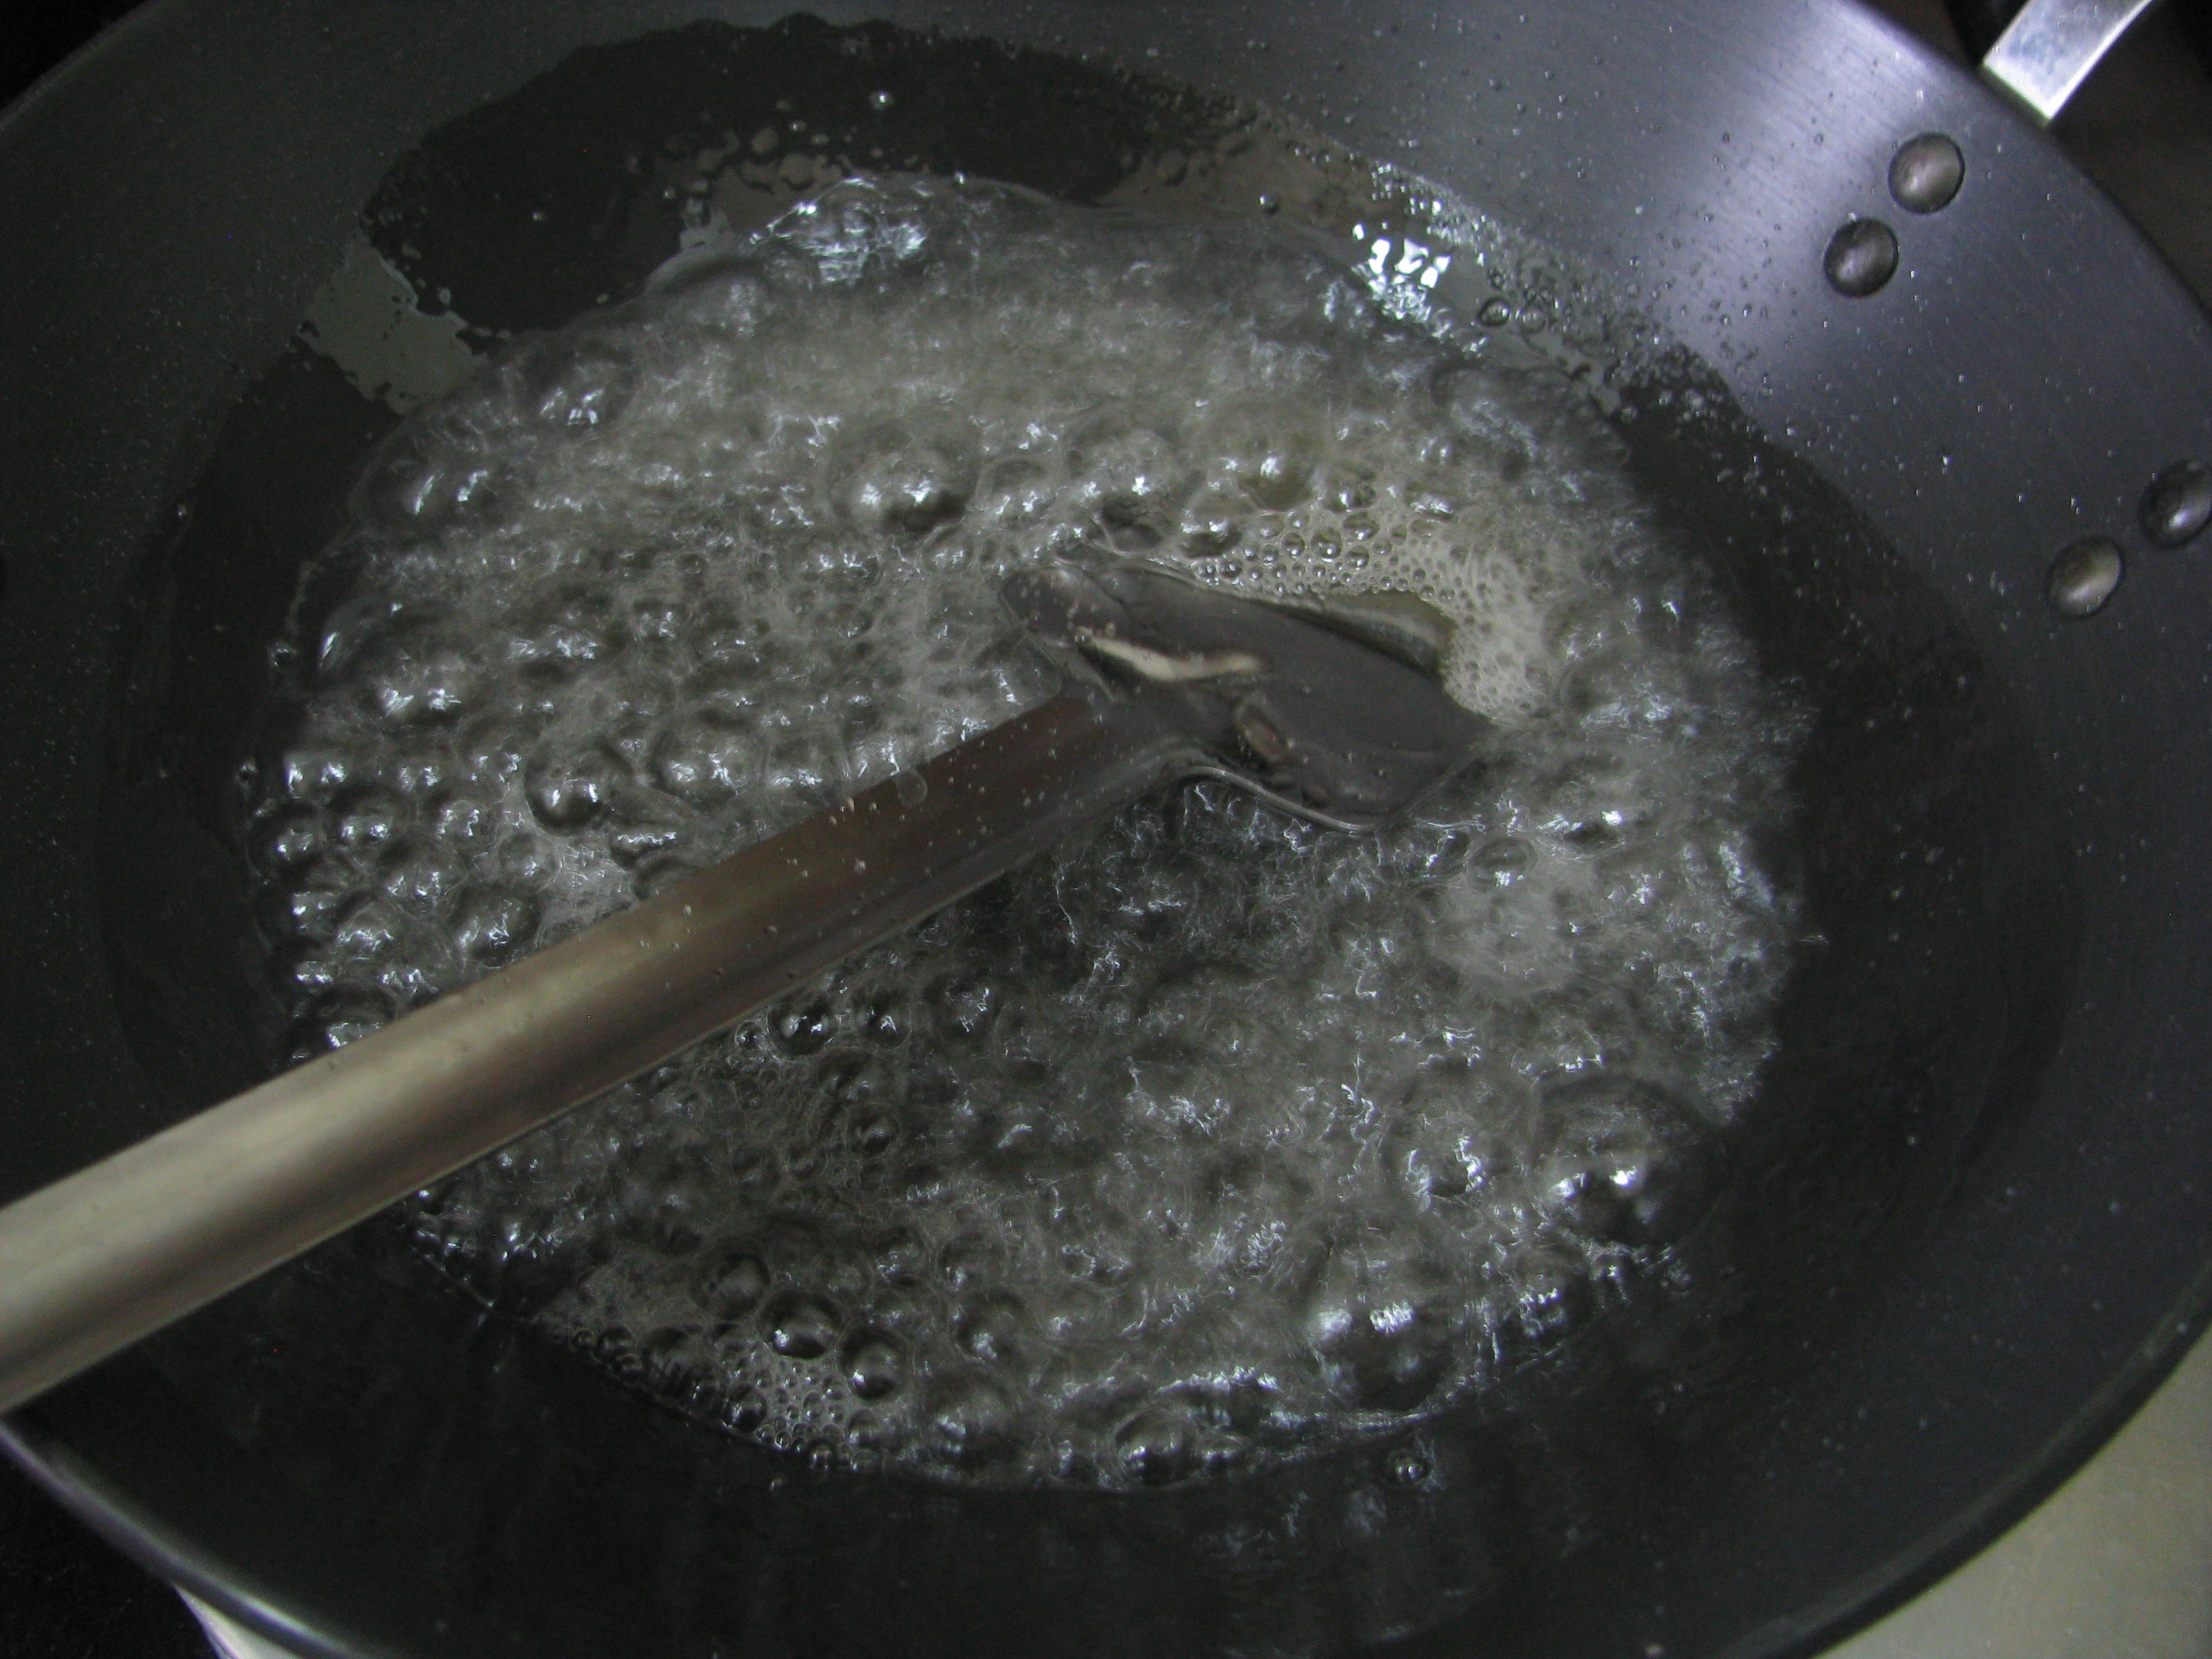
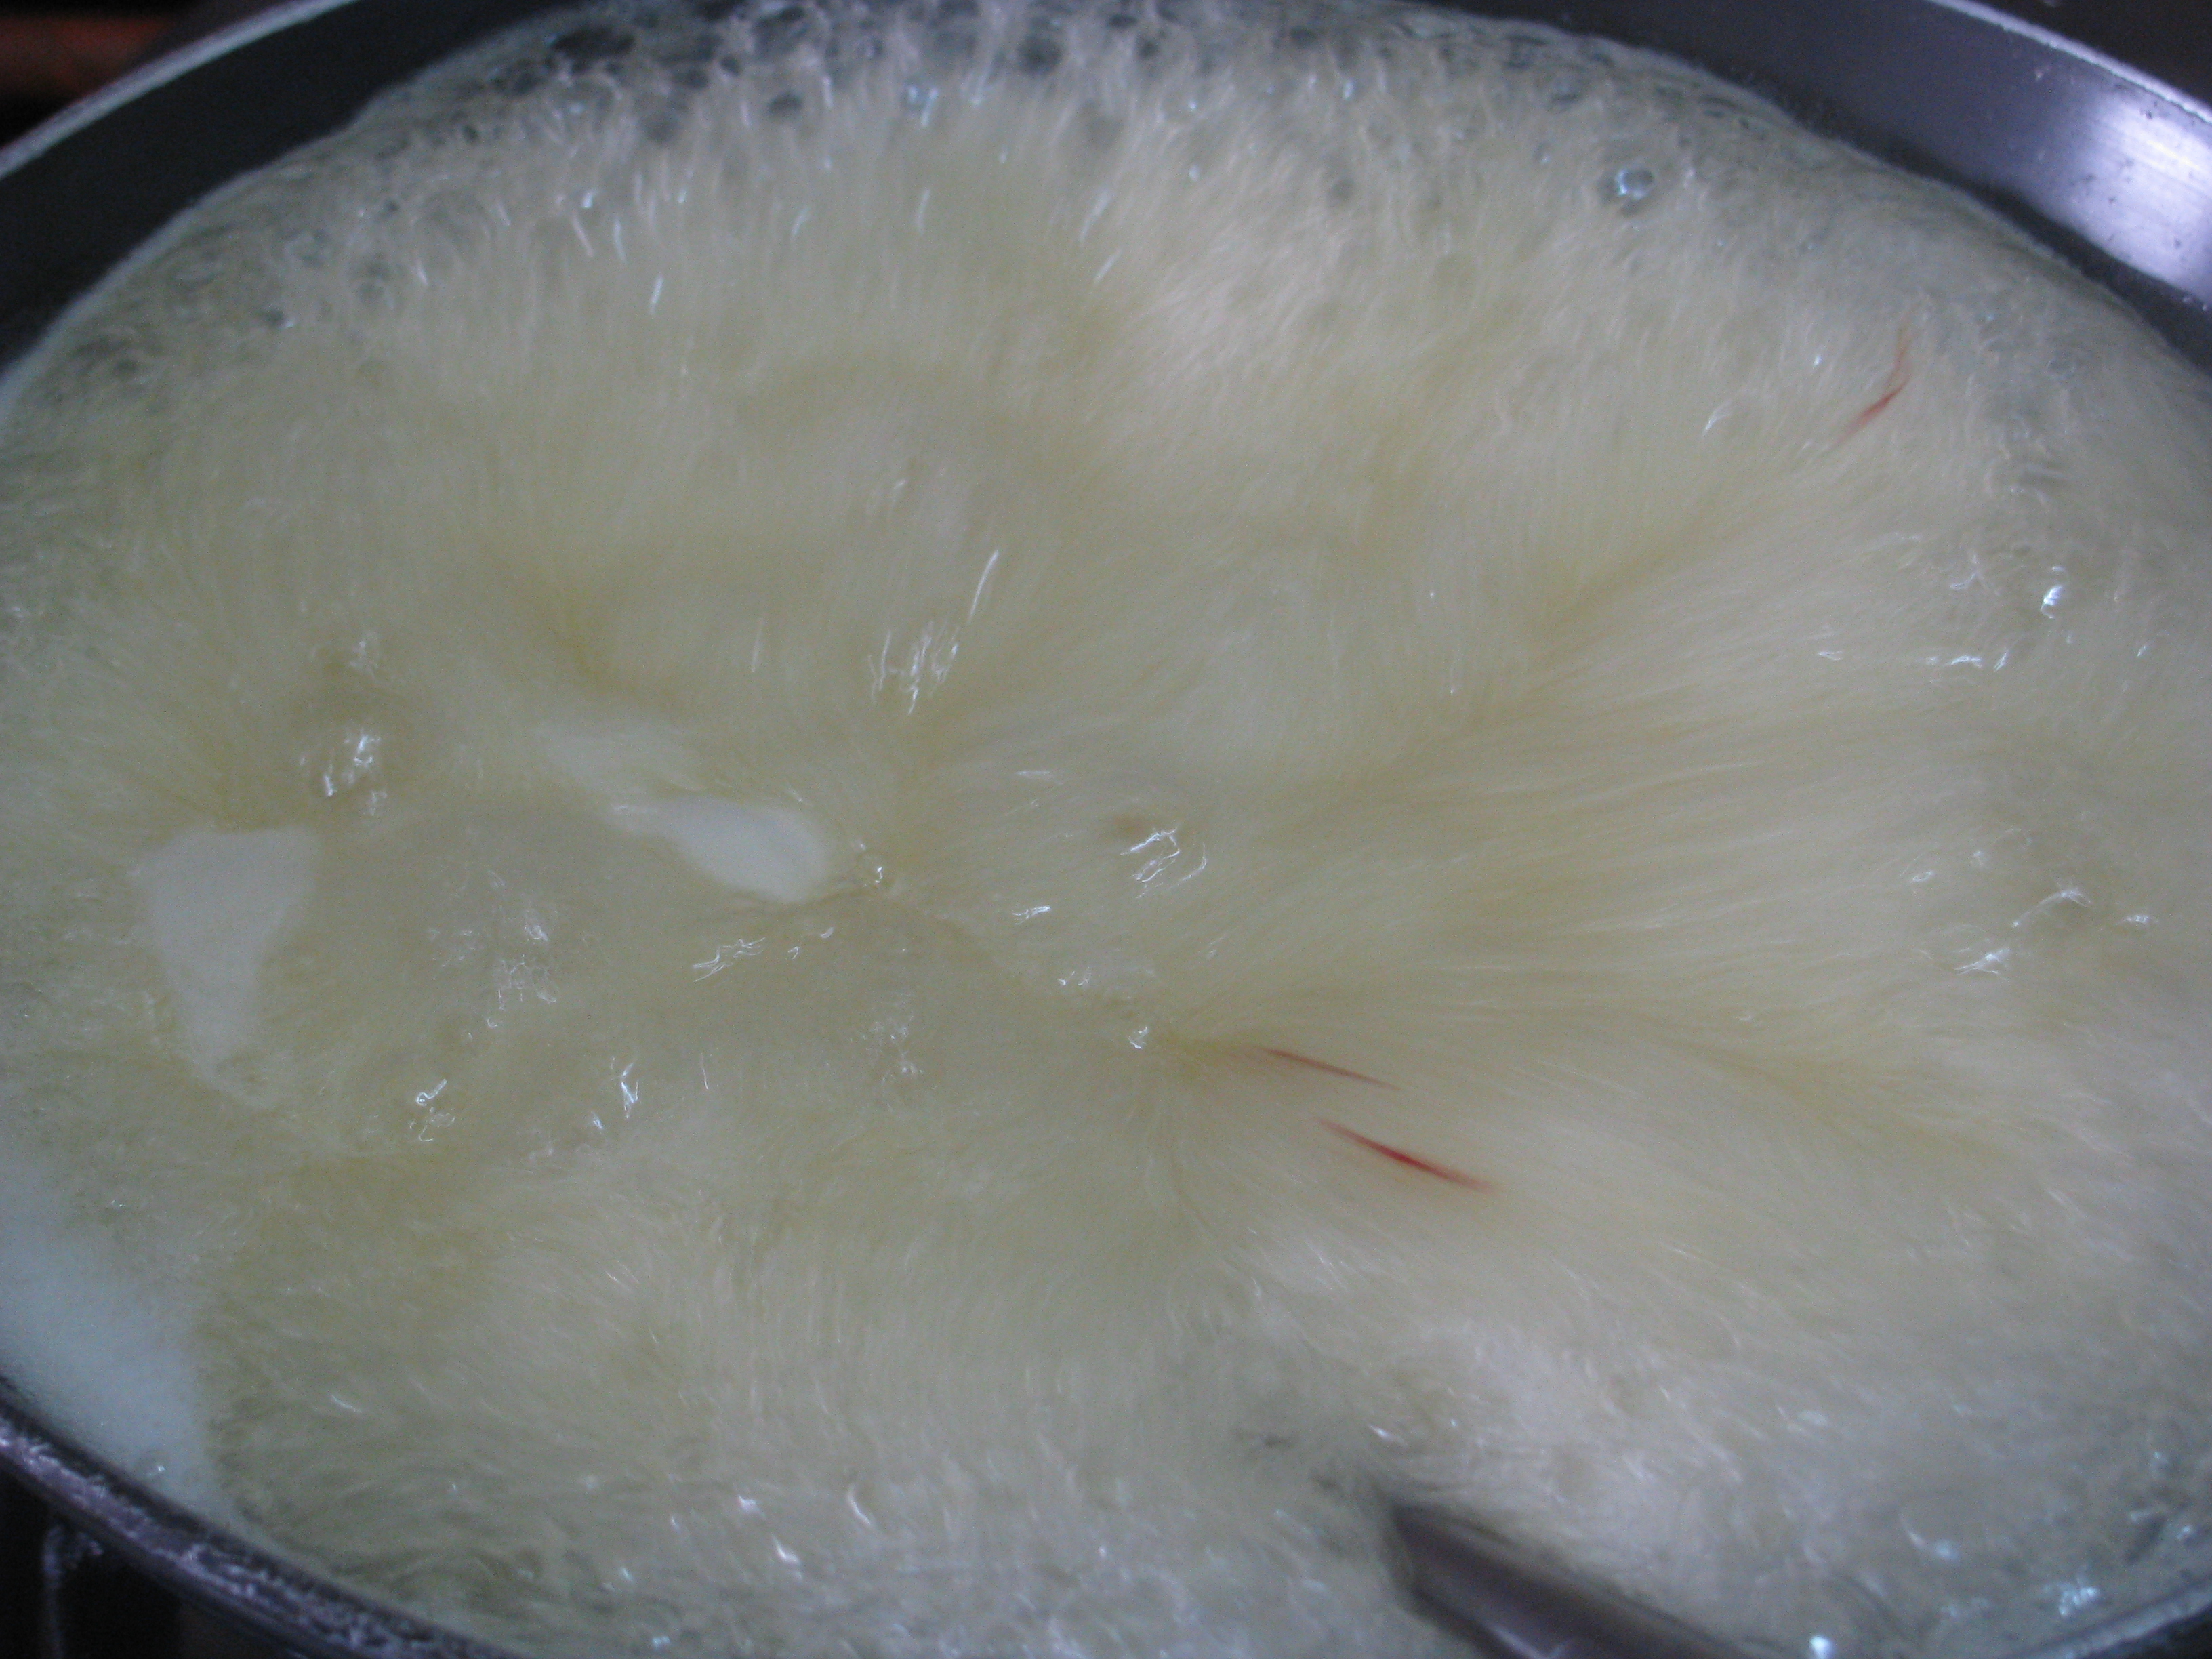
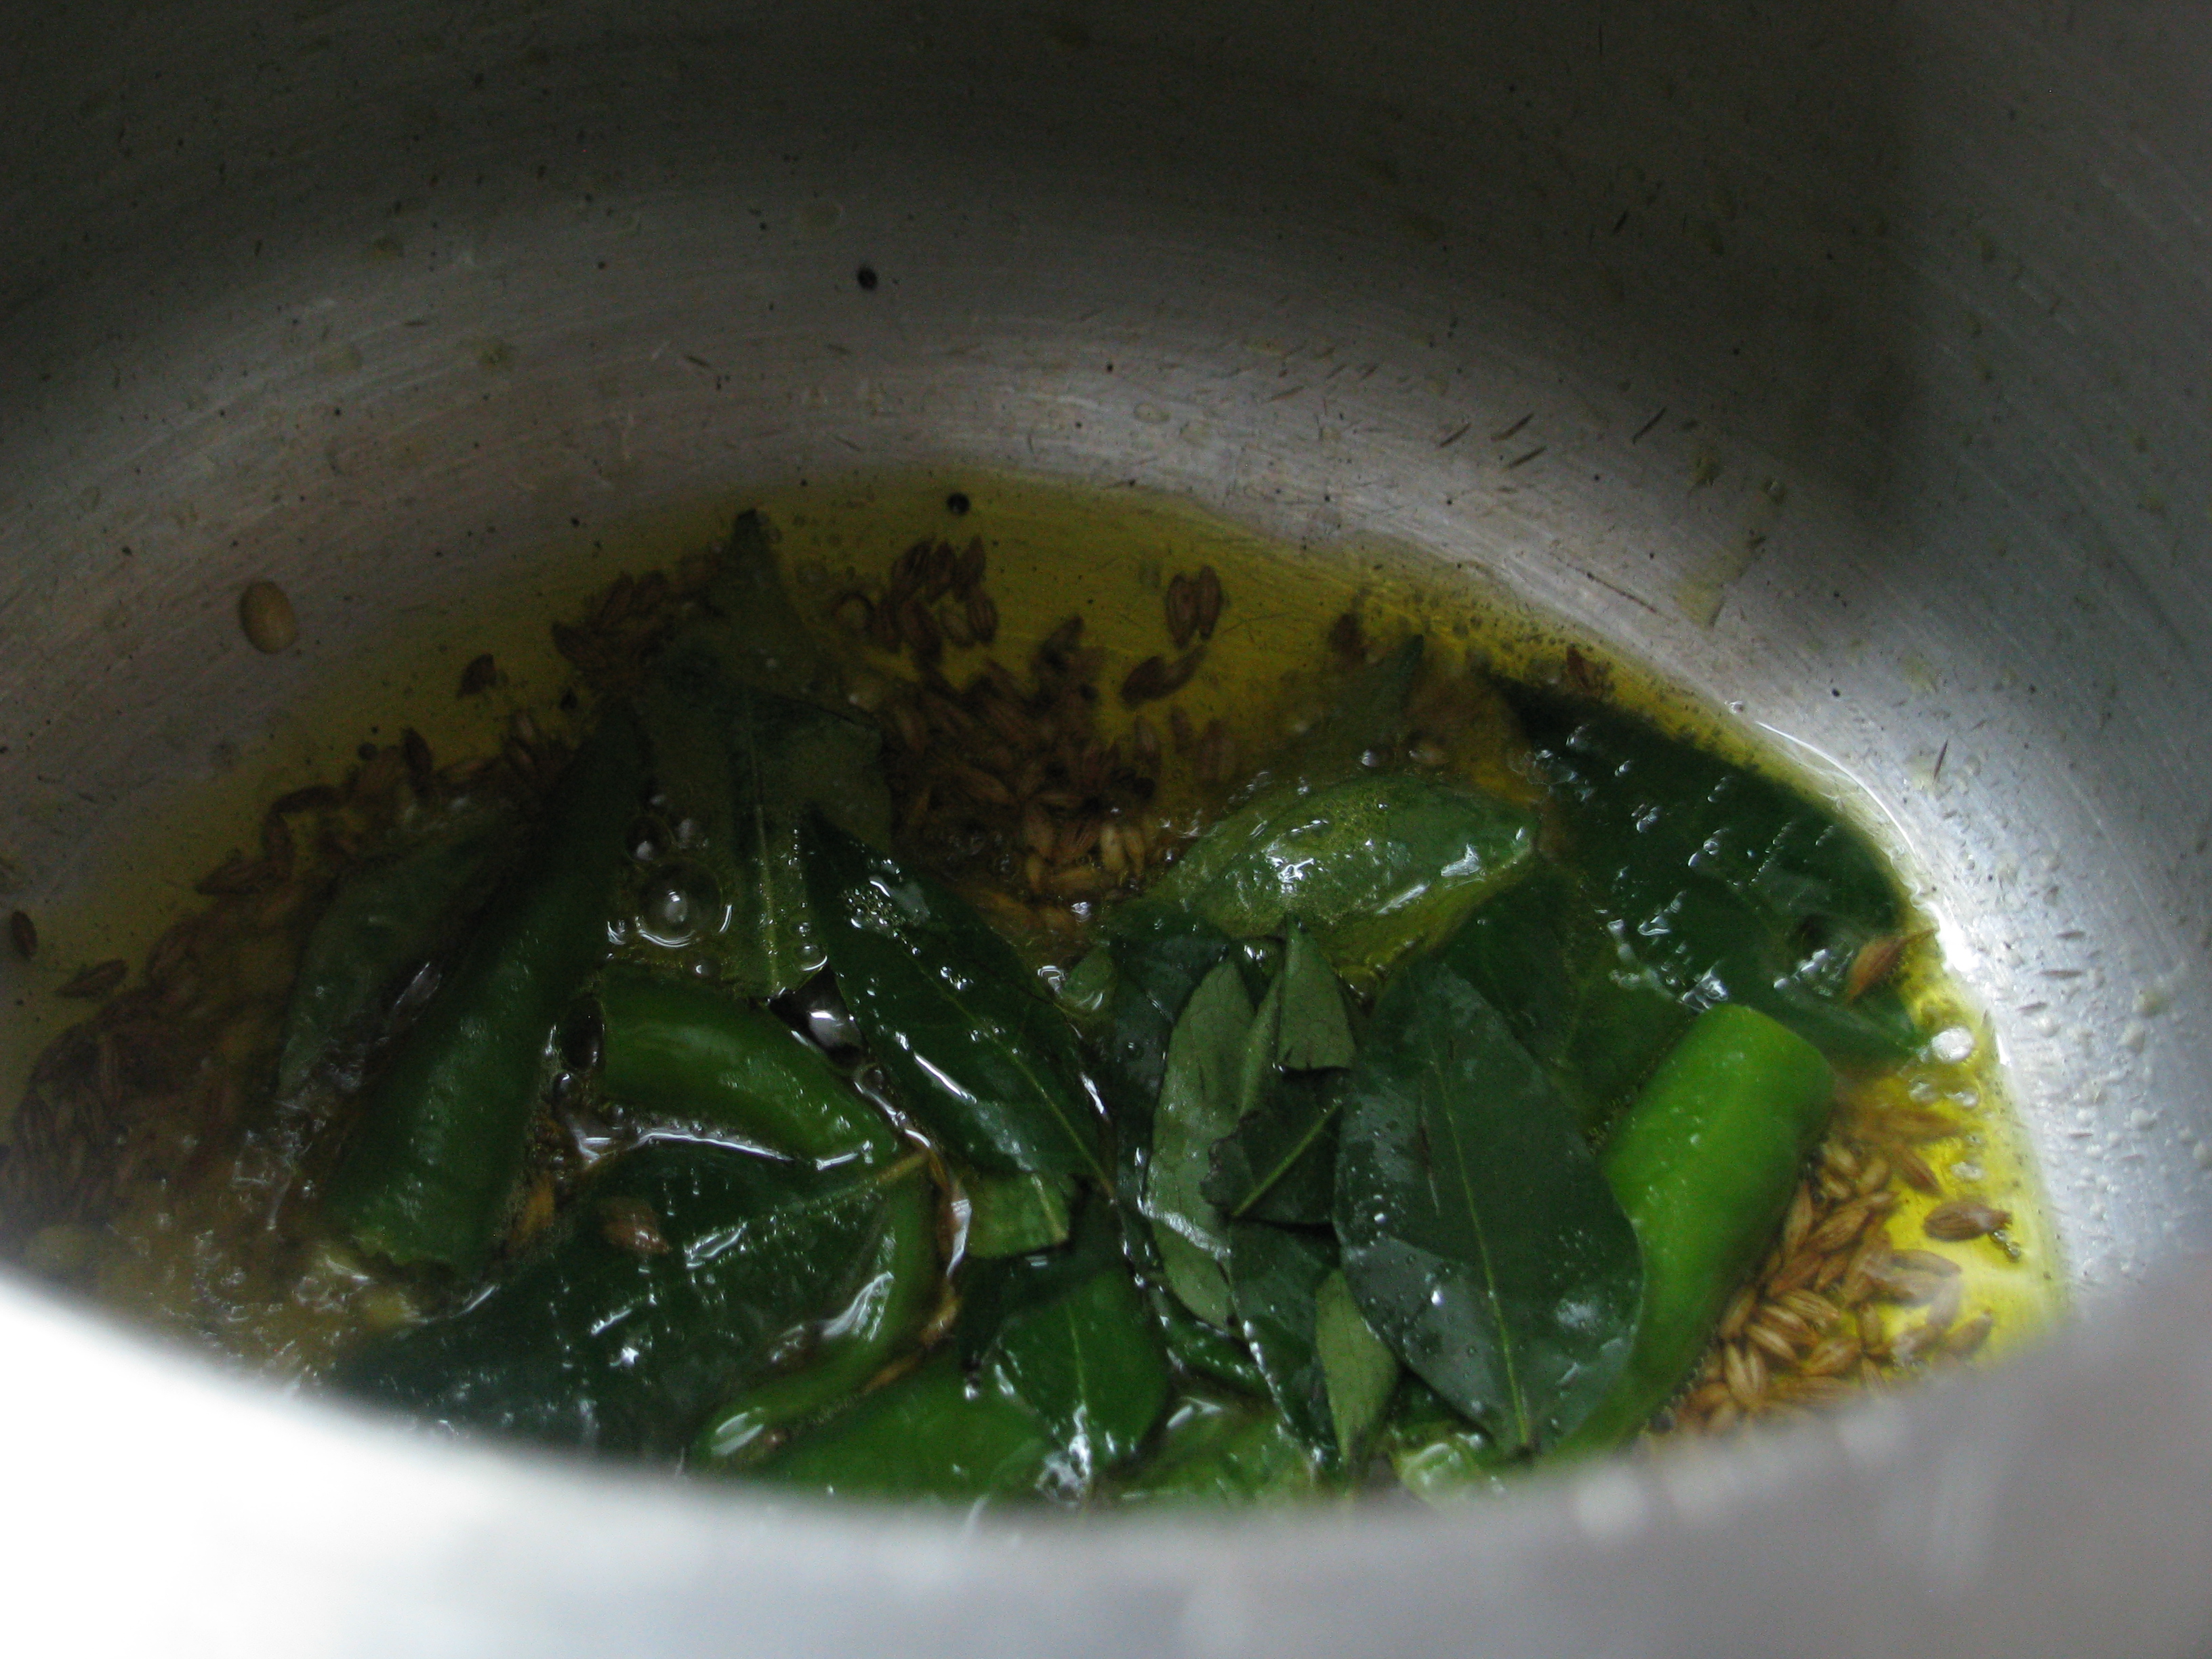
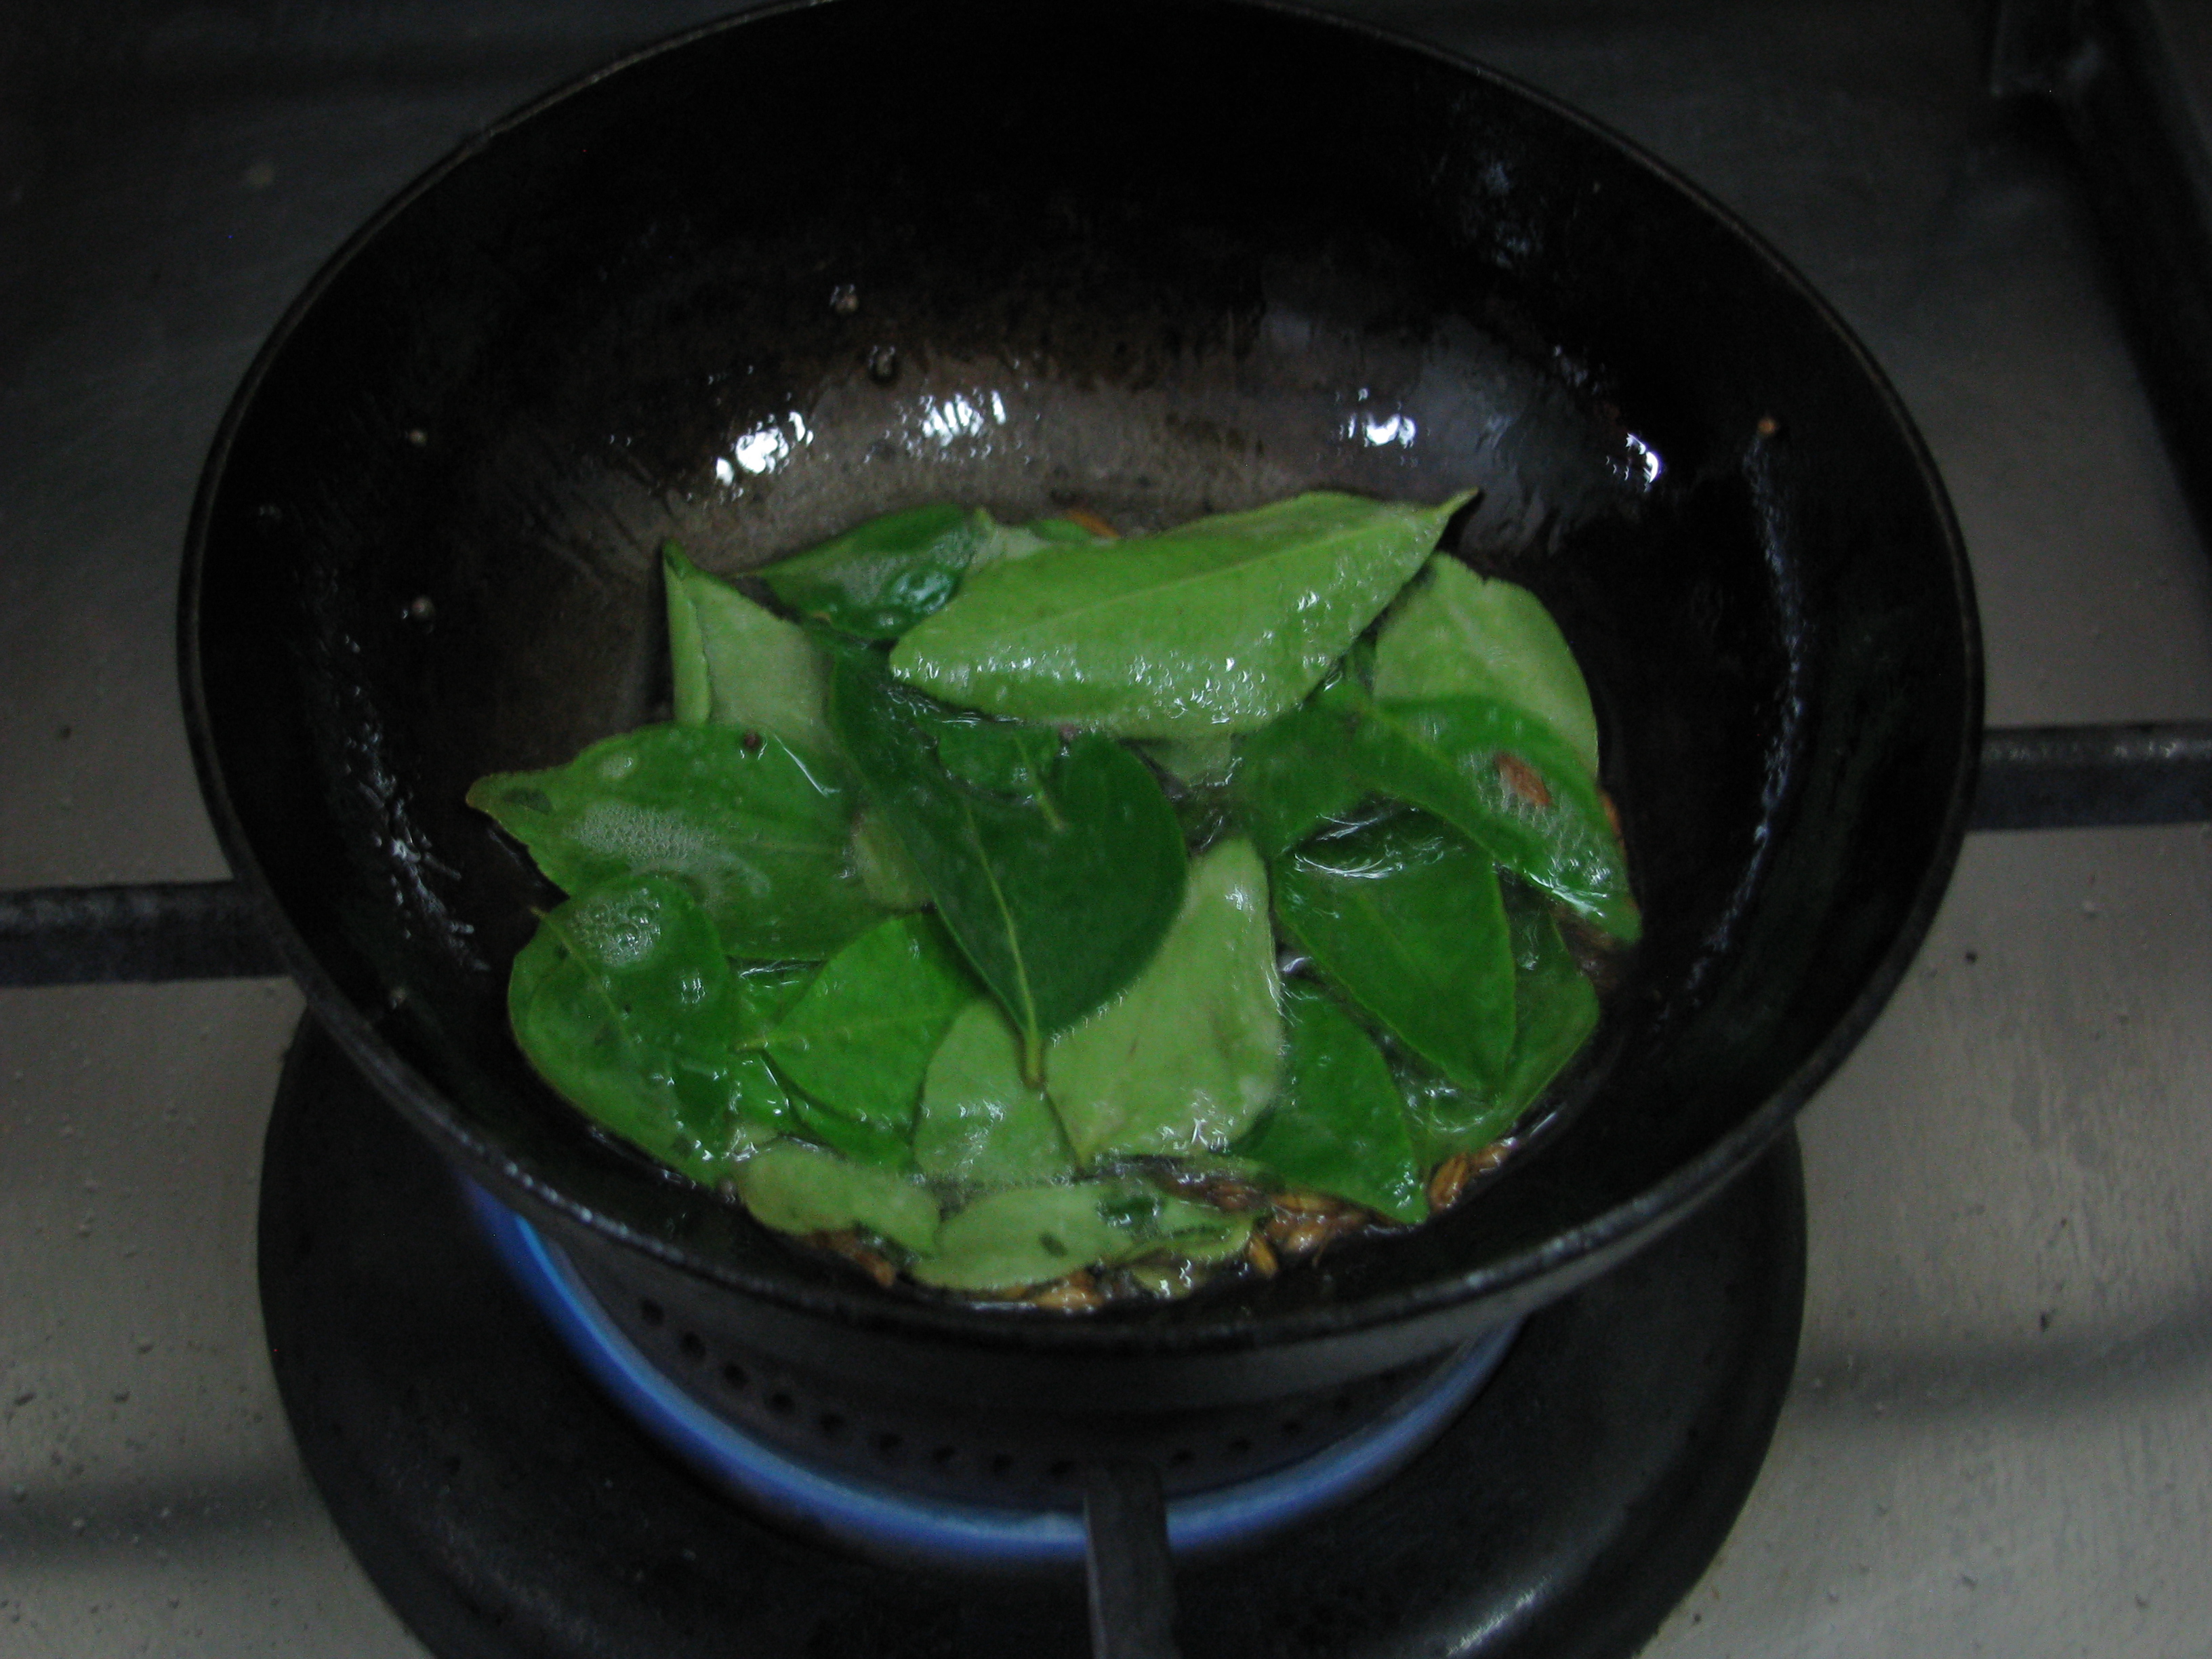
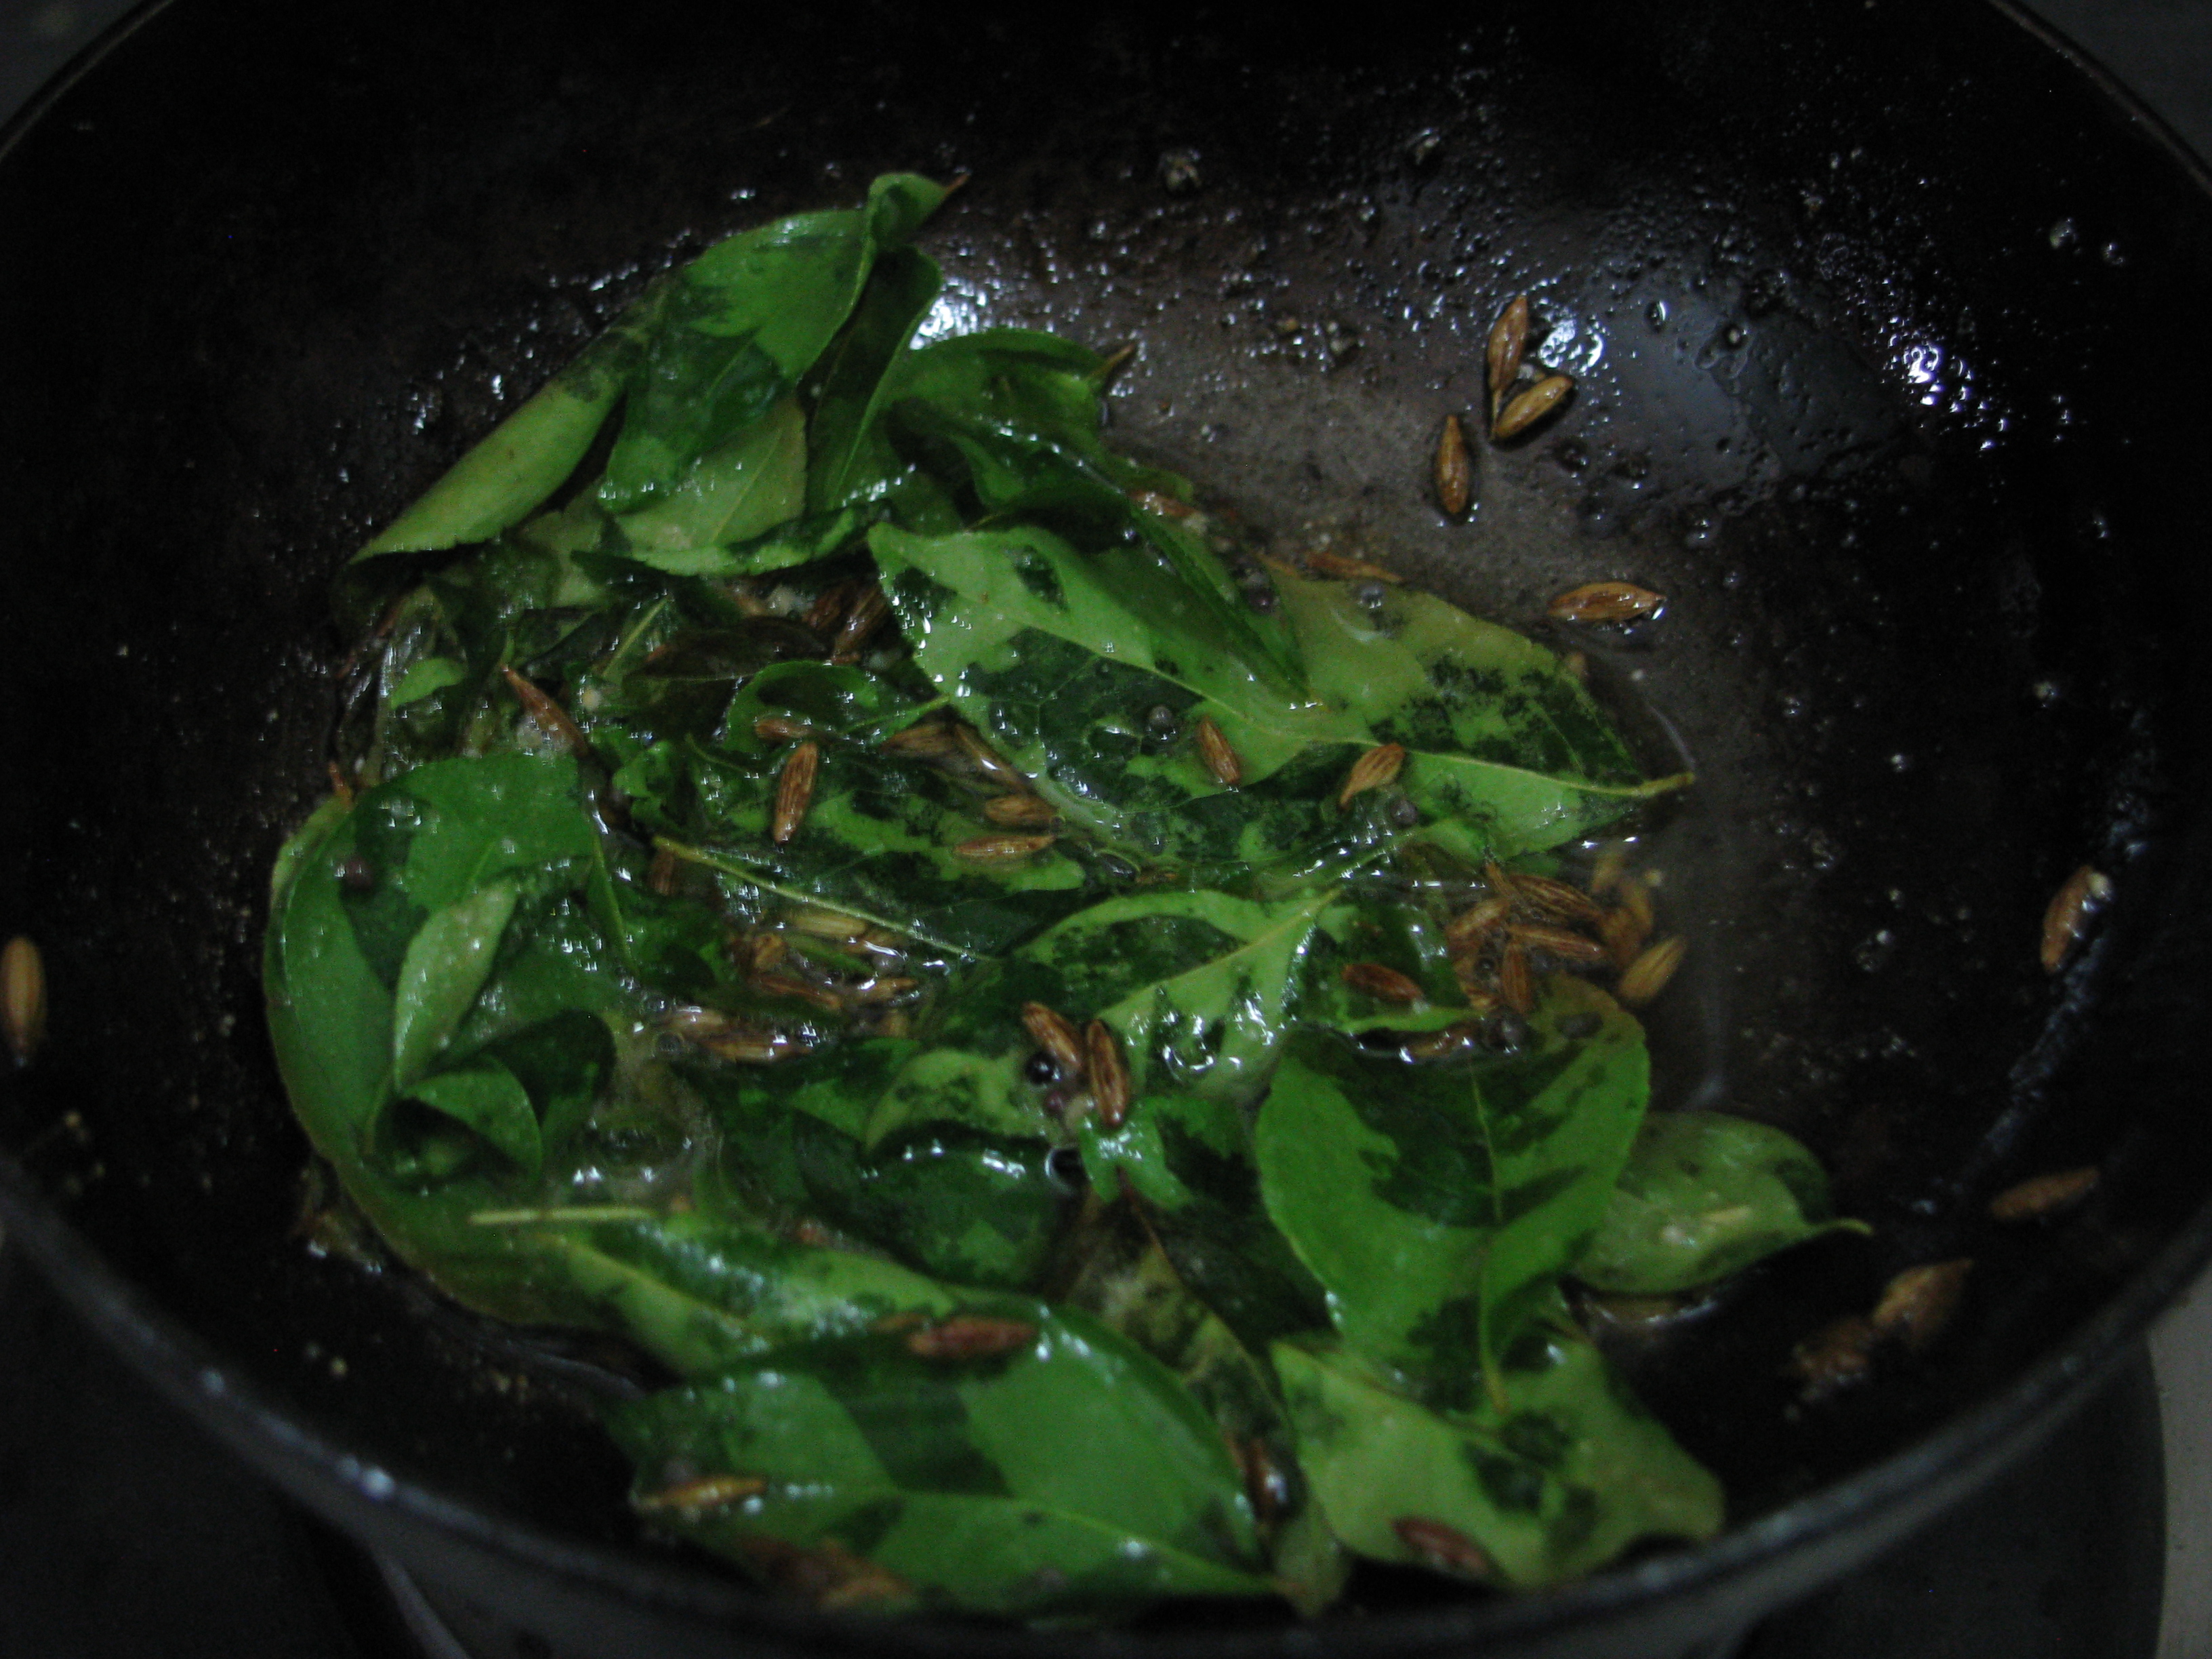
  5. तड़के के लिए छोटी कढ़ाई में तेल गरम कर ले |IMG_5057
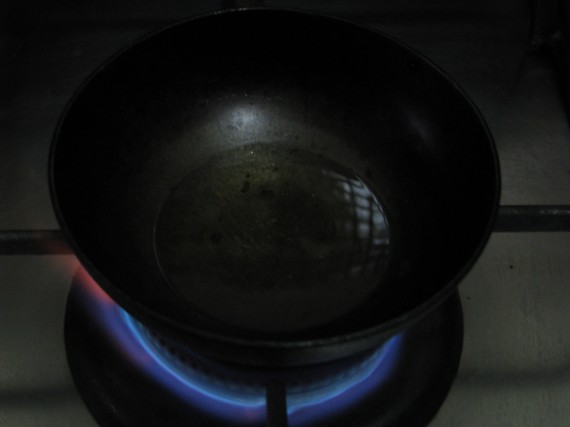
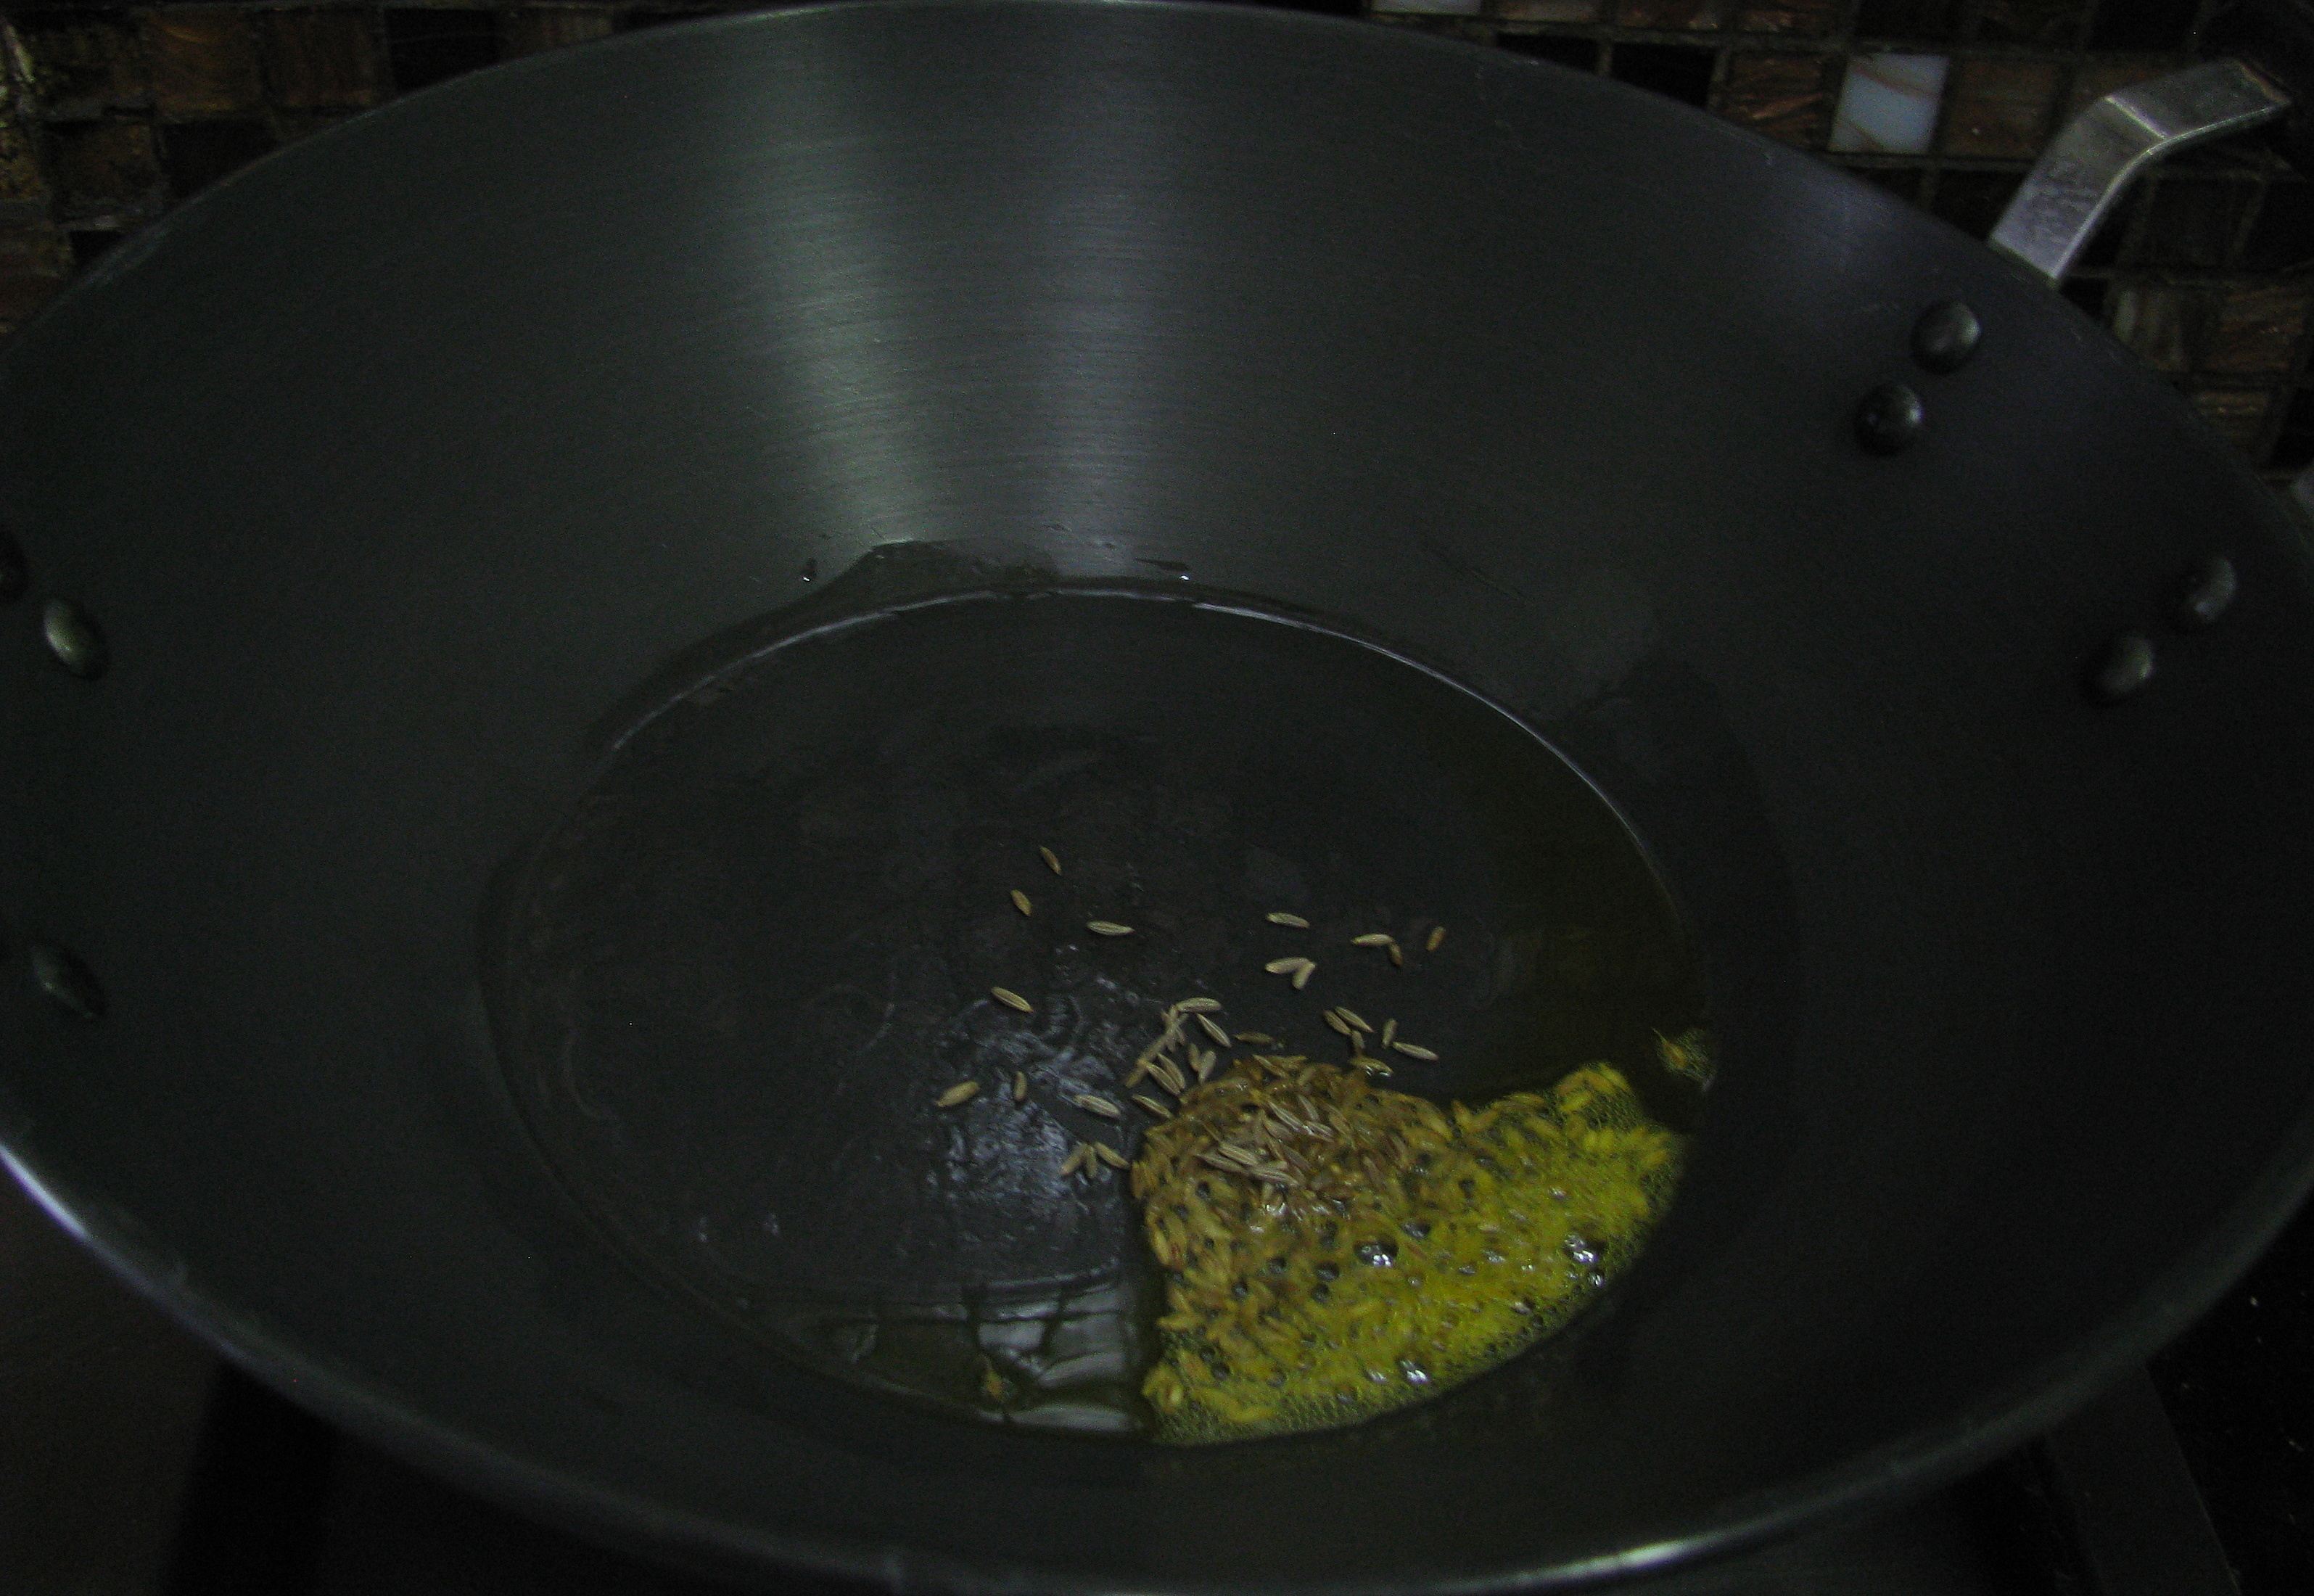
  6. इसमें राइ डाले , राय कड़कने के बाद जीरा डाले|nc5
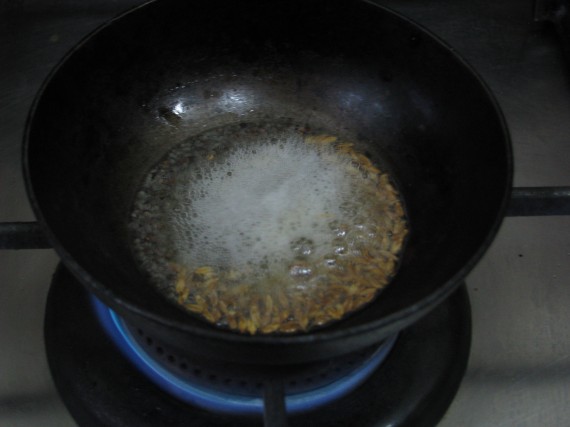
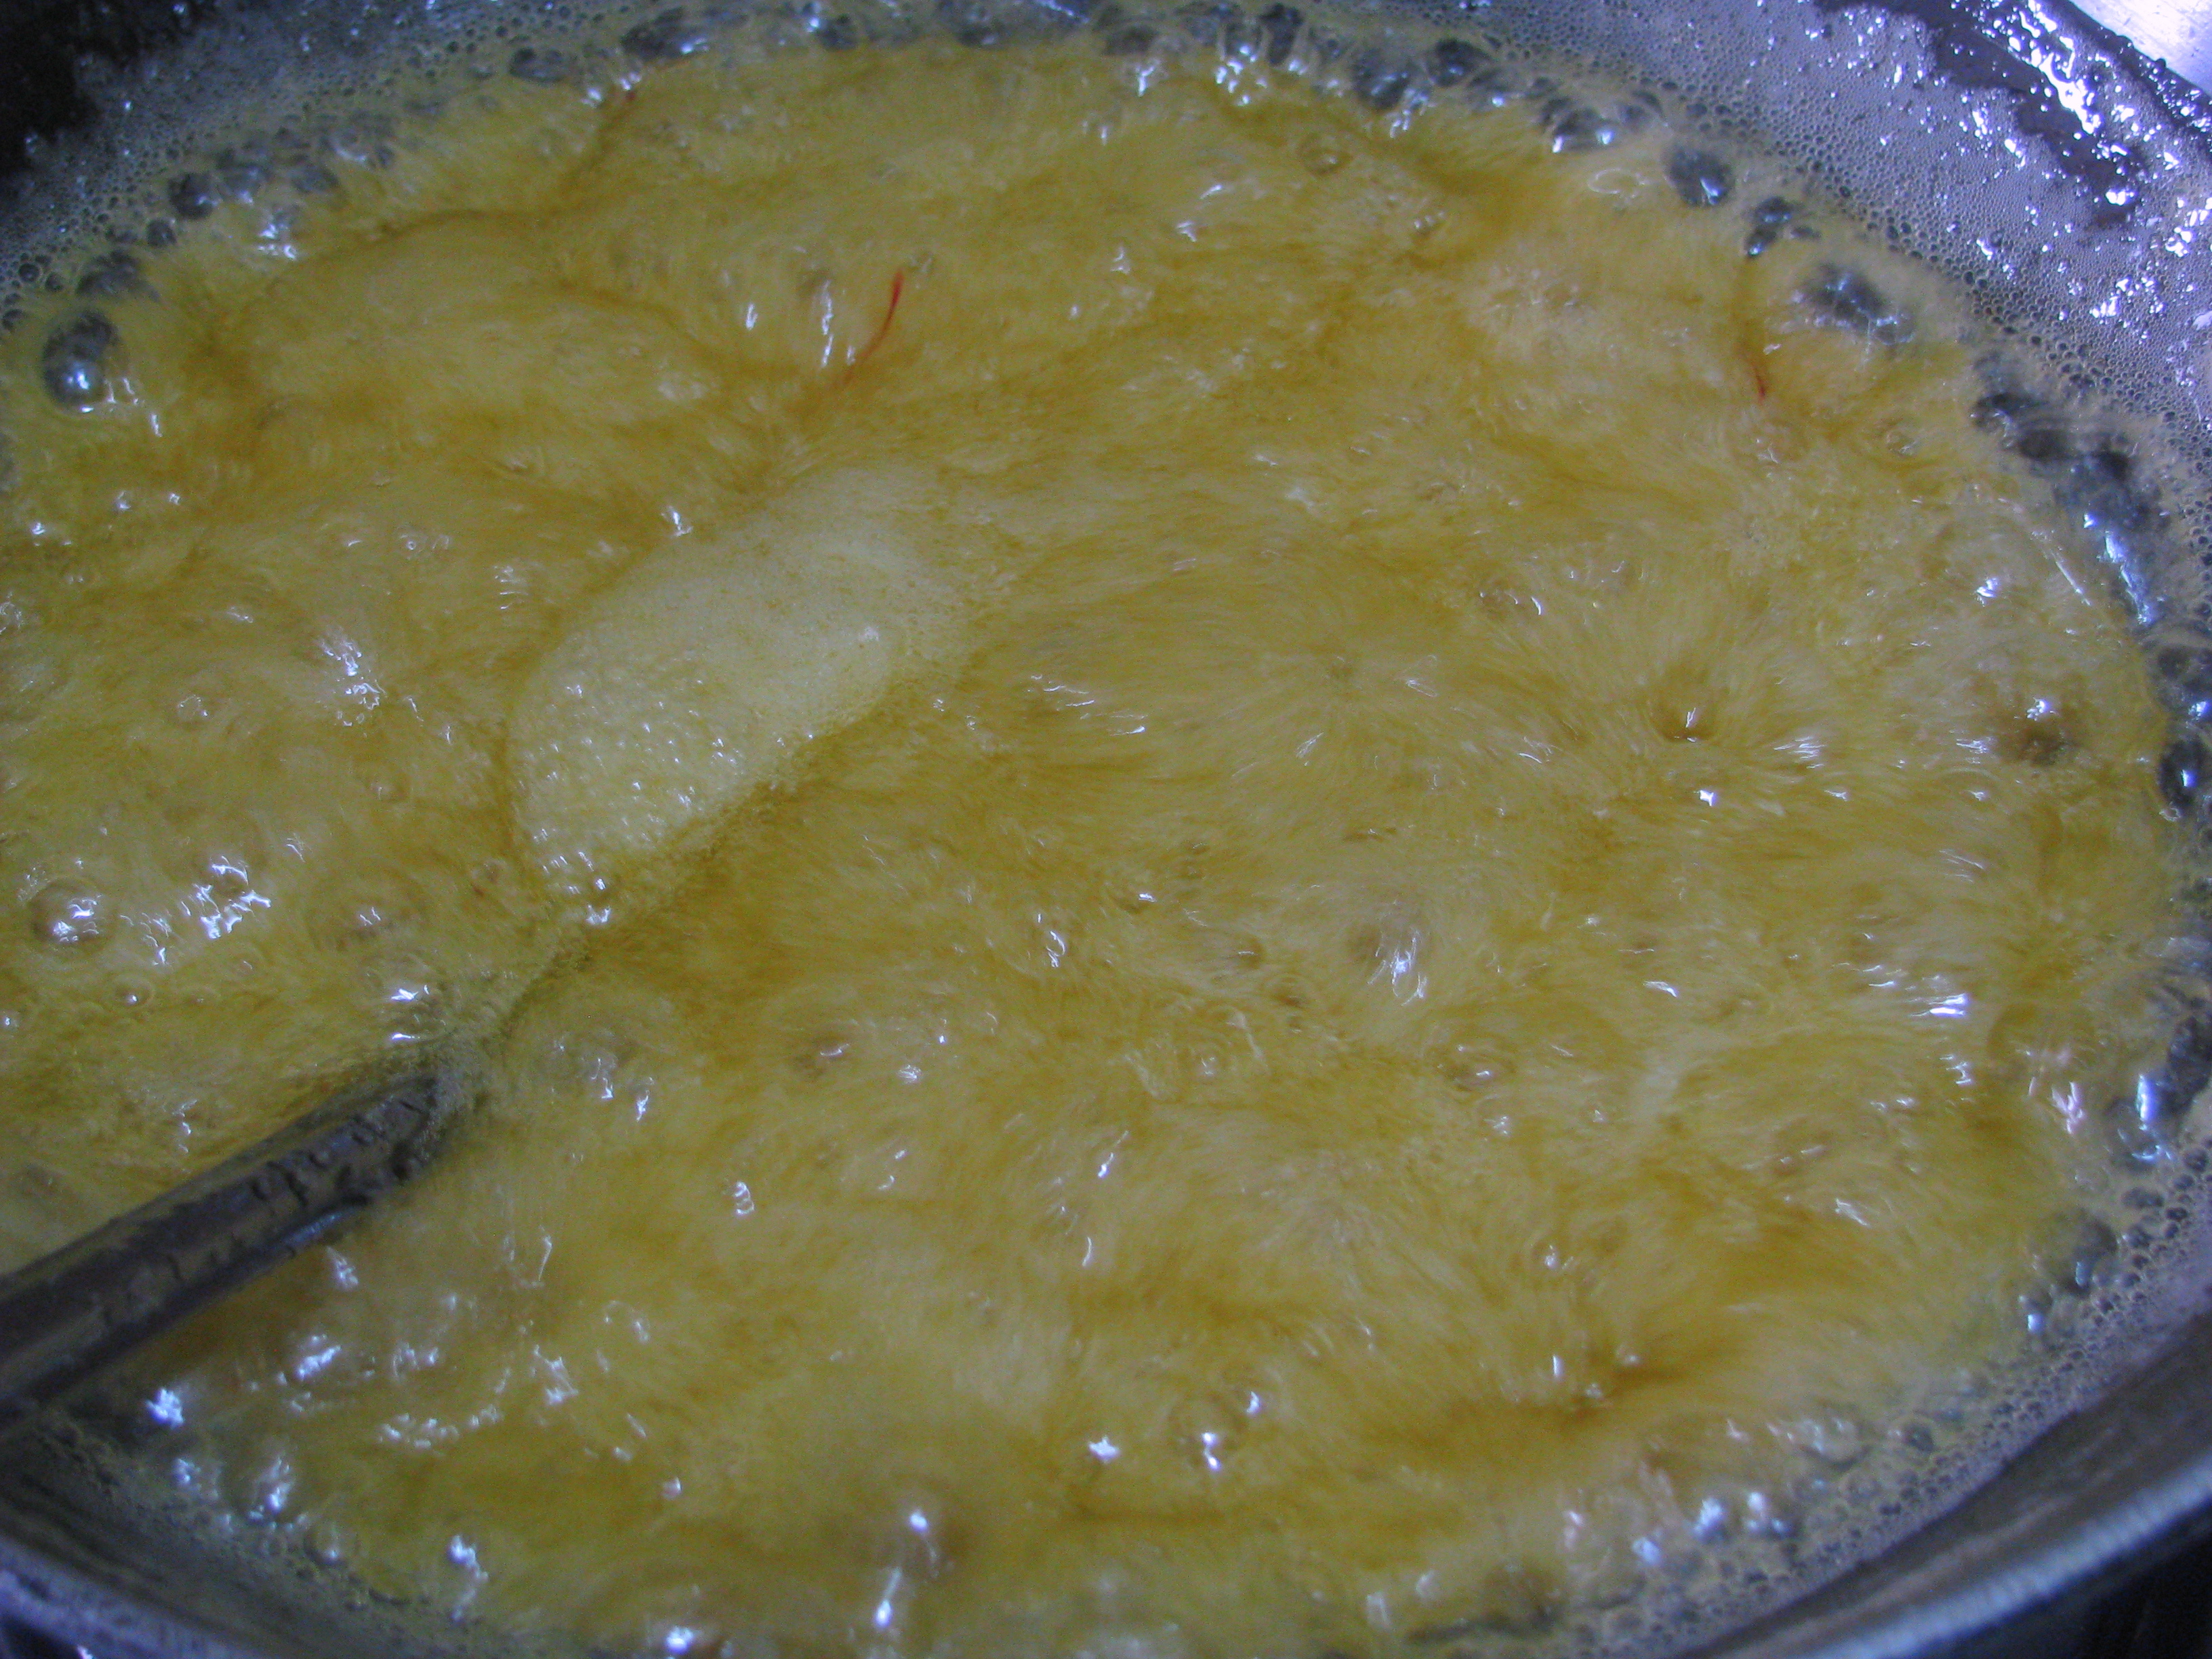
  7. अब इसमें हींग और करीपत्ता डाल दीजिये ।nc6
  8. करी पत्ता हल्का करारा होने के बाद गैस बंद कर दीजिये ।nc7
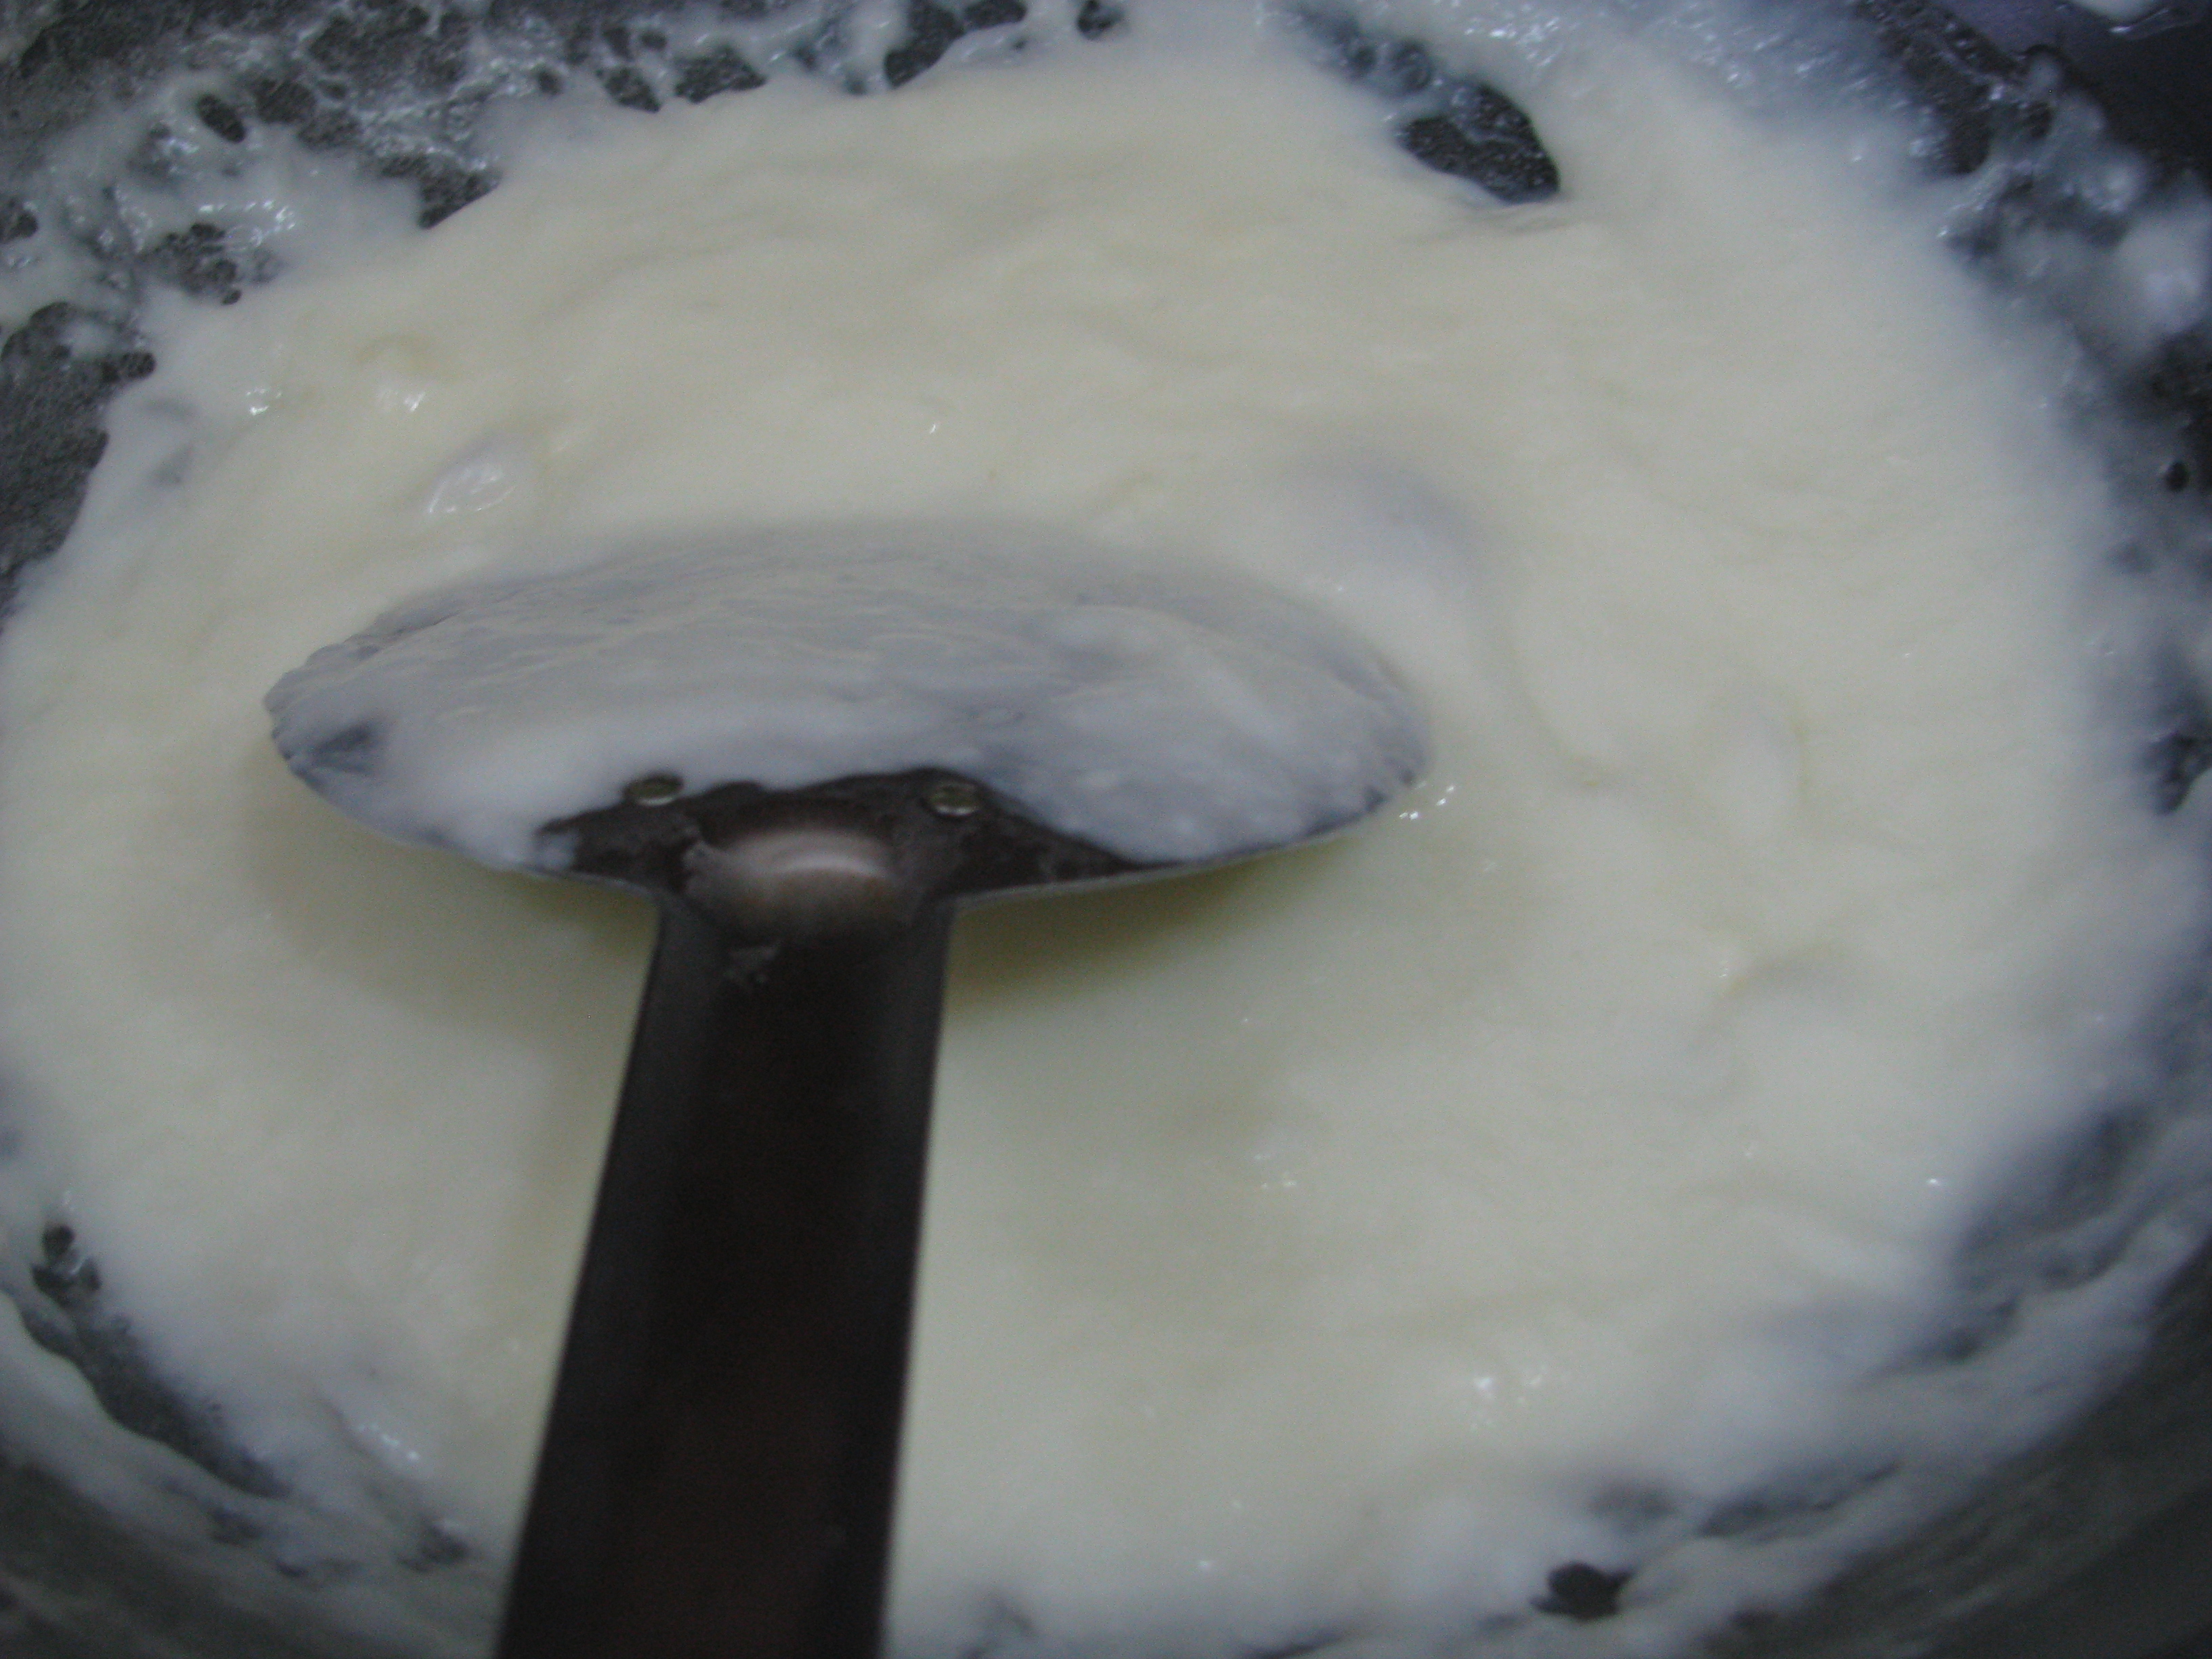
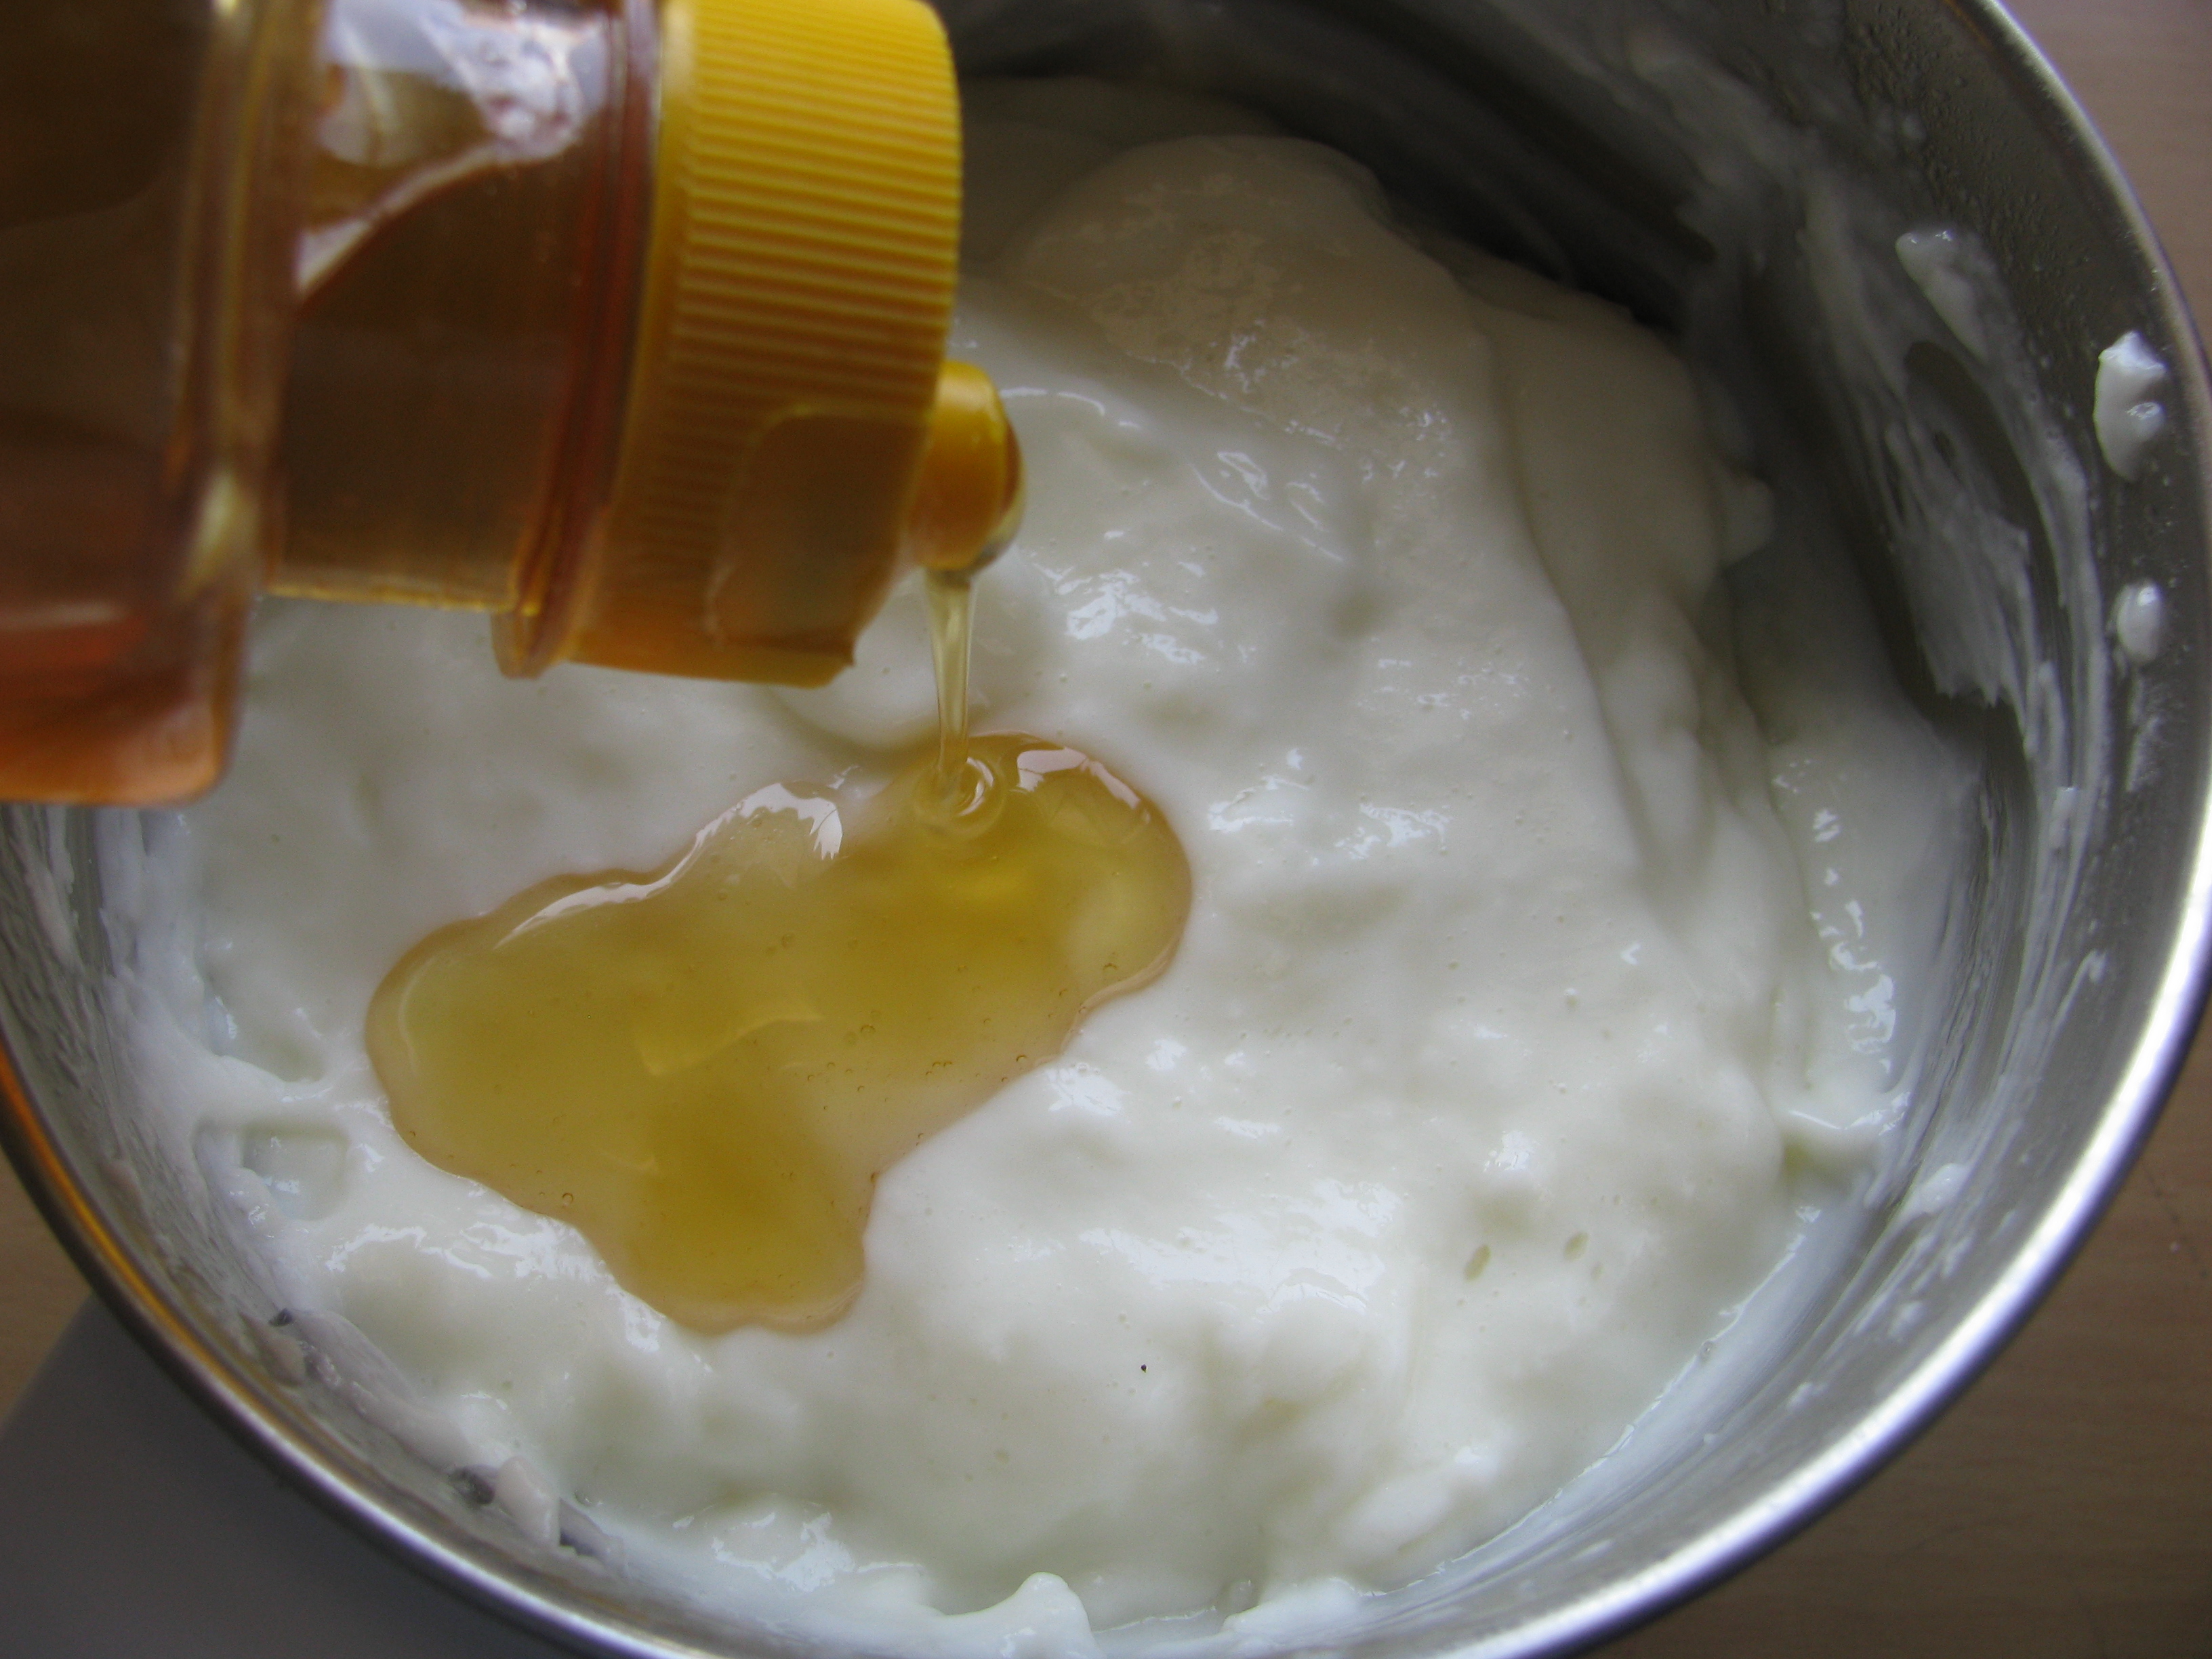
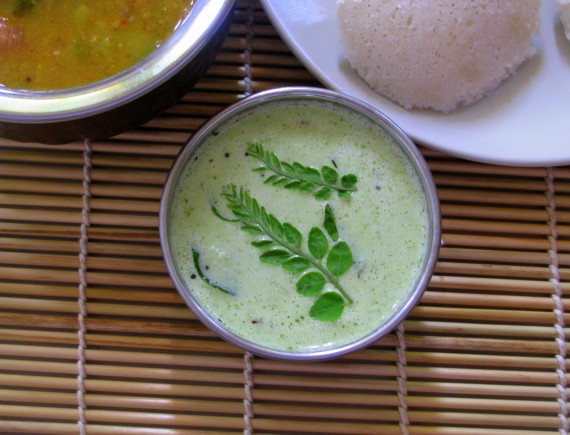
  9. अब इस तड़के को चटनी में डाल कर मिला दीजिये|nc8
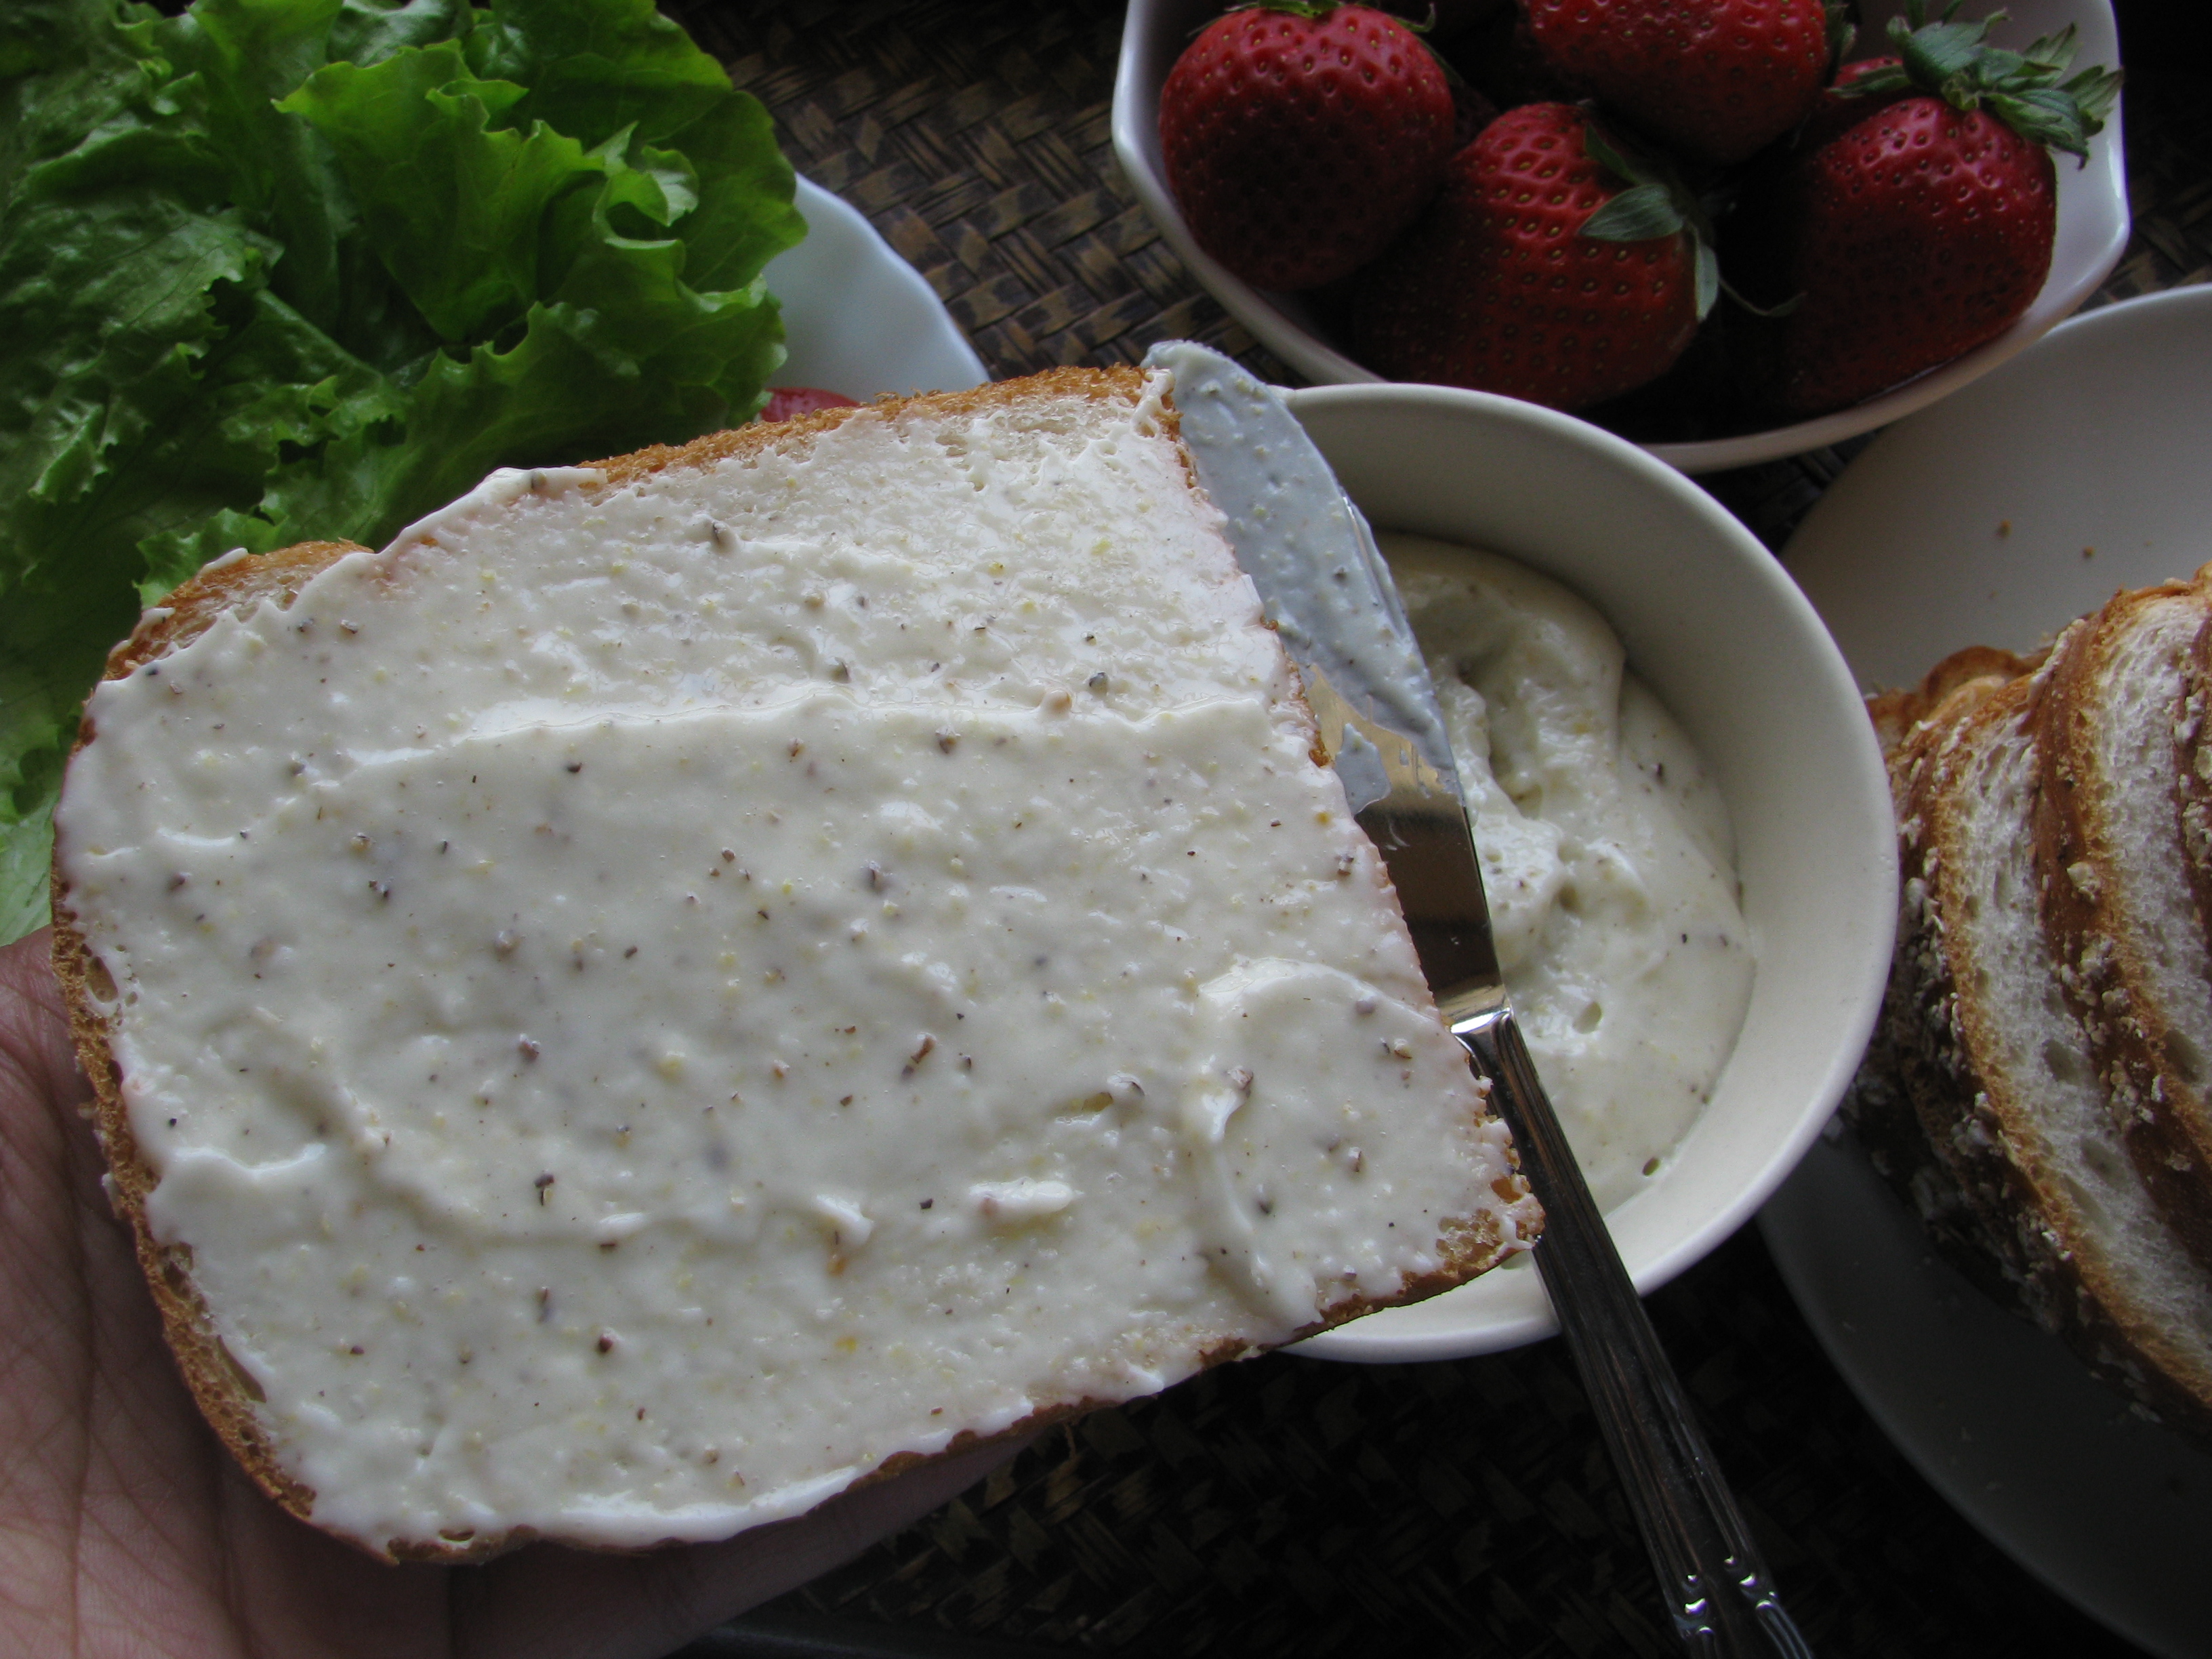
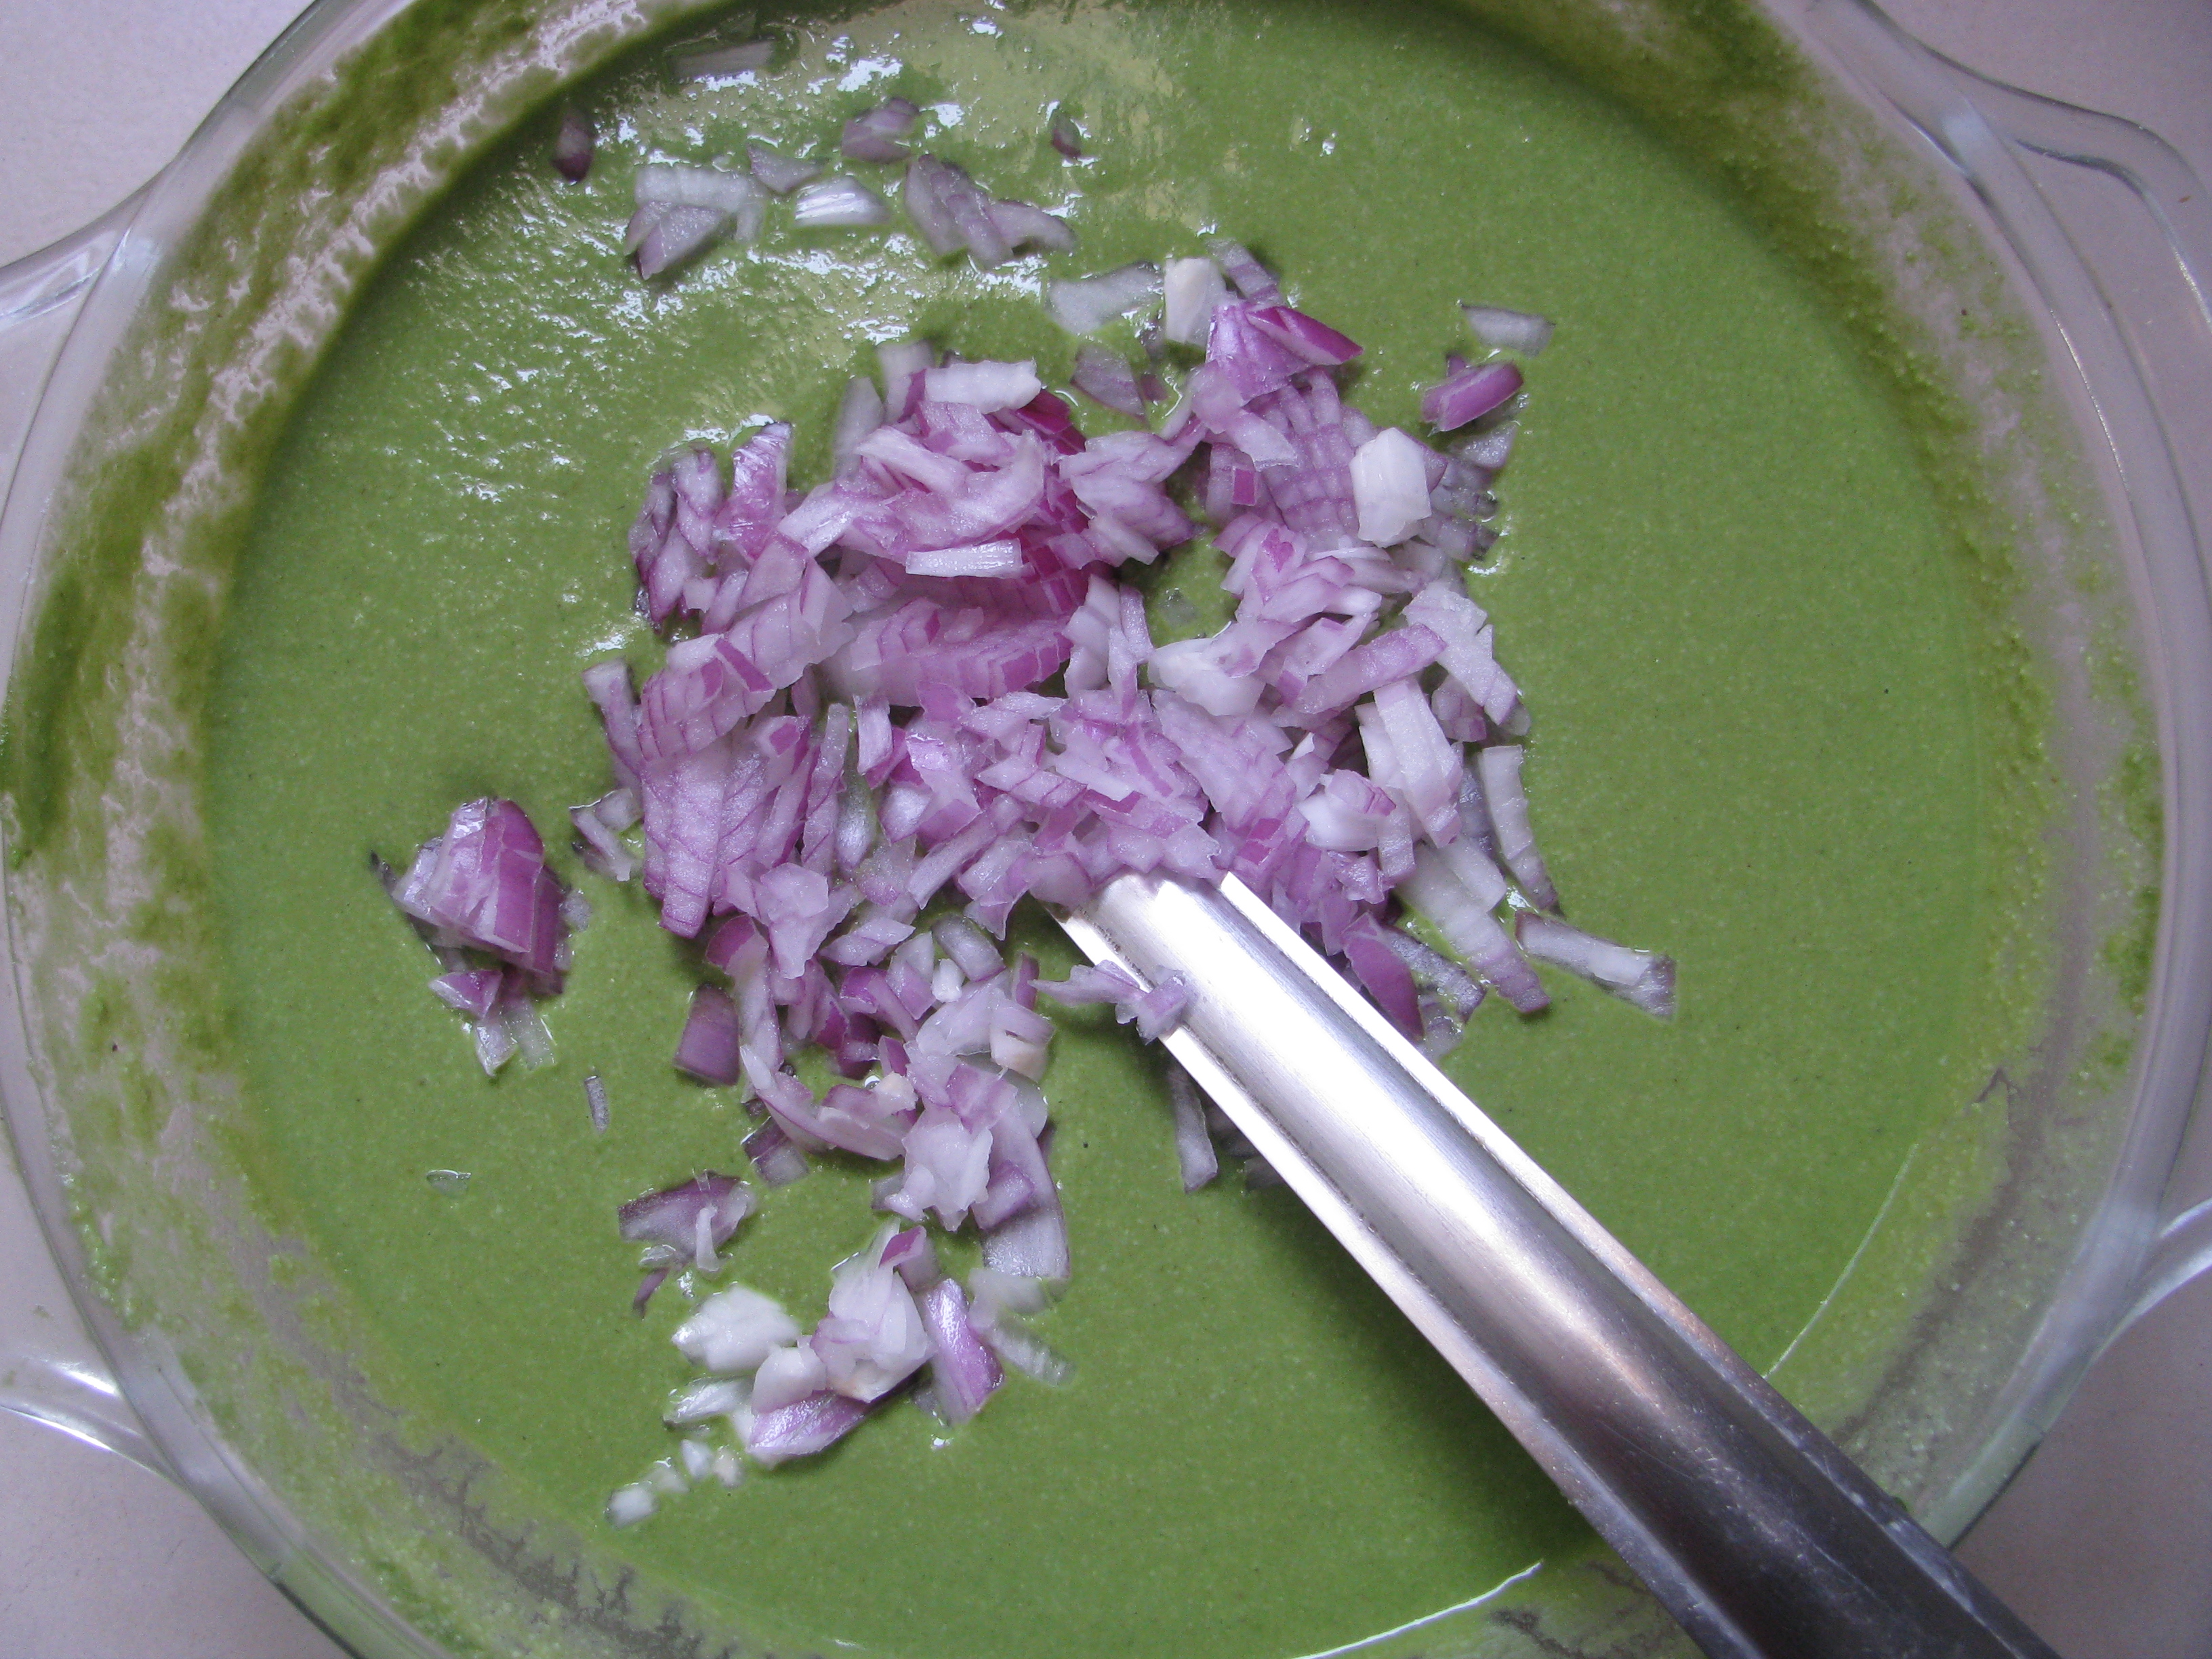
  10. नारियल की चटनी तैयार है, आप इसे इडली (idli), डोसा(dosa) , उत्तपम(uttapam) ,वडा (vada)या अपने किसी भी पसंदीदा खाने के साथ खा सकते हैं ।nc10

[/directions]


साबूदाना की खिचड़ी | Sabudana Khichdi recipe in Hindi

1
sabudane ki khichdi
sabudana ki khichdi
sabudane ki khichdi
साबूदाना की खिचड़ी – sabudana khichdi

साबूदाना खिचड़ी ( sabudana khichdi ) व्रत के समय बनायीं जाने वाली रेसिपी हैं जो घर में सबको पसंद आती है | बचपन में साबूदाना खिचड़ी (sabudana khichdi)खाने के लिए में और मेरा भाई खाने के समय तक व्रत करते थे ! साबूदाना  खिचड़ी खाने में बड़ी स्वादिष्ट होती है और घर में सबको पसंद आती है | यह बनाने में काफी आसान है | कुछ दिन पहले मेरे घर पर नवरात्री के समय गेस्ट आए थे तब मेने खाने के मेनू में सिंघाड़े के पराठे , व्रत का रायता , मखाने की खीर, साबूदाने की टिक्की और साबूदाने की खिचड़ी  बनायीं थी| सबको खाना पसंद आया था | उन्हें ये खिचड़ी बहुत अच्छी लगी , क्यूंकि न तो वो चिप चिपी थी न कड़क |

साबूदाना खिचड़ी (Sabudana ki khichdi)

साबूदाना खिचड़ी की ये रेसिपी महाराष्ट्र और गुजरात से है | यह साबूदाना बिलकुल भी चिप चिपा (sticky) नहीं बनता और सॉफ्ट रहता है | आप इसे टिफ़िन में भी ले जा सकते है ,इसे जरूरी नहीं है की गरम गरम ही खाया जाये क्यूंकि इसका स्वाद ठंडा होने के बाद भी अच्छा ही लगता है |

बाजार में तीन साइज के साबूदाने मिलते हैं –

  • छोटा साबूदाना (बारीक़ / small size sabudana)– ये साबूदाना बोहोत जल्दी भीग जाता है | ये २-३ घंटे में भीग जाता है पर इसकी खिचड़ी में वो मज़ा नहीं जो मध्यम साइज के साबूदाने में हैं | ये साबूदाना वडा  या साबूदाना टिक्की बनाने के किए सही होता है , ये बड़ी आसानी से टिक्की या वादे के सामग्री के साथ स्मैश हो जाता है |
  • मध्यम आकर का साबूदाना – ये साबूदाना , sabudana khichadi बनाने के लिए perfect है | इसे भीगने में १० -१२ घंटे लगते हैं , बनाने के बाद यह साबूदाने सा खिला-खिला सा बनता है |sk6
  • बड़े आकर वाला साबूदाना – ये साबूदाना मेने एक ही बार लाया  था पर वो सही से  भीगा ही नहीं | मेरी फ्रेंड के घर मेने ये साबूदाना खाया था ,उसने इसे कुकर में बनाया था | ये पानी डाल कर उसने पकाया था पर वह खिचड़ी चिप चिपी सी थी और उसे सिर्फ गरम ही खाया जा सकता है | | में ये साबूदाना इस्तेमाल नहीं करती |

Perfect साबूदाना बनाने के tipssabudana khichdi recipe in hindi

  • साबूदाना भिगाना(soak) साबूदाना बनाने में मुख्य काम है , साबूदाना रात भर या ८-१० घंटे  भीगना बोहोत जरूरी है ,तभी ये सॉफ्ट होता है | जब ये भीग जायेगा तब इसके दाने को दो ऊँगली में प्रेस करके देखे ये बिना किसी effort के mash हो जायेगा |
  • साबूदाना को हलके हात से धोना चाहिए , इसे मसल कर धोने से ये ख़राब हो जाता है और फिर ये बनाने के बाद चिप चिपा बनता हैं |
  • साबूदाना भिगाते वक़्त इसमें पानी का प्रमाण (ratio) भी सही हिसाब से डालना जरूरी है | १ कटोरी साबूदाने में ३/४ कप पानी पर्याप्त होता हैं| |
  • साबूदाने में मूंगफली साबुत न डालकर इसे दरदरा कूट कर डालें  , यह साबूदाने का स्वाद बढ़ाता है , इसमें तेल भी कम डालना पड़ता है और साथ ही साथ साबूदाना खिला खिला सा बनता है | मूंगफली पाउडर साबूदाने का अतिरक पानी सोख  लेती है और मूंगफली में जो तेल होता है वो साबूदाने पर पहले से ही एक परत बना देता है जिससे साबूदाना चिप चिपा नहीं बनता |
  • साबूदाना बहुत बार खरीदते वक़्त ही ख़राब मिलता है | ये साबूदाना या तो गलता ही नहीं है या धोते – धोते ही इसकी पाउडर हो जाती है | साबूदाना खरीदते वक़्त अच्छी दूकान से खरीदना बोहोत जरूरी है | अगर फिर भी साबूदाना अगर ख़राब निकल जाता है तो आप इसका दूसरी चीज़े बनाने में इस्तेमाल कर सकते हैं | जैसे अगर साबूदाना धोते वक़्त ही पाउडर हो रहा है तो आप इसको भिगोकर इसकी साबूदाना टिक्की बन लें क्यूंकि ऐसा साबूदाना बोहोत ही चिप चिपा बनेगा | साबूदाना खूब पानी में दाल कर भी गल नहीं रहा हो तो आप इसकी साबूदाना खीर बना सकते हैं | खीर बनाते boil करने से साबूदाना आराम से पक जाता हैं | खैर ये कभी कभार ही होता है!

[box]Also check- Sabudane ki kheer  [/box]

साबूदाना से बनी रेसिपीज (Sabudana recipes) स्वादिष्ट तो है ही पर साथ ही साथ साबूदाने के काफी सारे फायदे (fayde / health benefits) भी है |
मांसपेशियों के विकास ( muscle growth) के लिए बोहोत फायदेमंद है क्यूंकि इसमें प्रोटीन(protein) प्रमाण ज्यादा है | Protein का प्रमाण ज्यादा होने के कारन ये शरीर चिकित्सा में सहारा देता है |
हड्डी का स्वास्थ्य (bone health)- साबूदाने में कैल्शियम , iron और vit k का प्रमाण भी बोहोत ज्यादा है ,इससे bones strong होते हैं |
इसके अलावा ये वजन बढ़ाने और energy देने वाला food हैं |

कैसे बनाए साबूदाना खिचड़ी हेल्थी ? (How to make Sabudane ki Khichdi healthy?)sk2

  • साबूदाना अगर आप व्रत के समय खा रहे हो तो आप इसमें व्रत में खाने वाली सब्जियां जैसे गाजर,खीरा ,हरा धनिया डालकर खाएं | इससे आपको भारीपन नहीं लगेगा |
  • साबूदाना के साथ रायता दही या सलाद अवश्य ले ।
  • साबूदाने को कम से कम तेल या घी में बनाए। मूंगफली में काफी मात्रा में तेल होता है इसलिए तेल का प्रयोग कम कीजिये ।
  • आलू को माइक्रोवेव में पकाए या उबाल ले इससे तेल भी कम लगेगा और साबूदाने खिचड़ी की कैलोरीज को भी आप घटा सकते हैं । माइक्रोवेव (microwave) में पके आलू बहुत स्वादिष्ट लगते है ।
  • आप चाहे तो साबूदाना खिचड़ी को और कम कैलोरीज की बनाने के लिए इसे माइक्रोवेव में पका सकते हैं । माइक्रोवेव वाले साबूदाने की खिचड़ी की रेसिपी के लिए ये लिंक चेक करे (Sabudana khichadi recipe in microwave)

मैंने साबूदाना की खिचड़ी  की यह रेसिपी क्रमशः फोटो द्वारा बतायी है |आपको यह रेसिपी कैसी लगी या आप इसे कैसे बनाना पसंद करते है यह सारी बातें आप मुझे नीचे दिए गए कमेंट बॉक्स (comment box) में जरूर लिखिए |

[ingredients title=”साबूदाना खिचड़ी बनाने की सामग्री (Ingredients to make Sabudane ki khichdi)”]

  • २ कप साबूदाना(sabudana)
  • १ १/२ पानी (water)
  • १/२ कप भुनी हुई(roasted) मूंगफली (peanuts)
  • २ मध्यम आकर के आलू (potatoes)
  • २ टीस्पून नमक (salt)
  • १ टीस्पून चीनी (optional)
  • १ निम्बू का रस (lemon juice)
  • ४- ५ हरी मिर्च (green chili)
  • १ टीस्पून जीरा (cumin)
  • १ टीस्पून अजवाइन (carom seeds)
  • २ टेबलस्पून घी / मूंगफली का तेल / रिफाइंड तेल

[/ingredients]

[directions title=”साबूदाना की खिचड़ी बनाने की विधि  ( step by step method to make sabudana khichdi in hindi)”]

  1. साबूदाना २-३ बार साफ़ पानी से धो लें , साबूदाना मसल कर न धोए इसे  हलके हात से धोना है । इसमें १ १/२ कप पानी डालकर भिगो दे ।sk5
  2. इसे रात भर या ८-१० घंटे भीगने दीजिये ।sk10
  3. भीगने के बाद साबूदाना एकदम मुलायम और हर दाना अलग -अलग हो जाता है, अगर आप किसी भी दाने को दो ऊँगली में दबाए तो वो बिना किसी प्रयास के mash हो जायेगा|sk4
  4. मूंगफली अगर भुनी नहीं होगी तो उसे भूनकर छिलका हटाकर, इसे कूट लीजिए या मिक्सर में दरदरी पाउडर बना लीजिए|sk8sk9
  5. आलू को उबाल कर उसके छोटे टुकड़े कर लीजिए । मेने आलू को उबाल ने के बजाय काटकर उसमें हल्का सा नमक और १/२ चम्मच तेल डालकर उसे माइक्रोवेव सेफ बाउल में डालकर ५ मिनट तक पका लिया । माइक्रोवेव में पके हुए आलू का स्वाद बोहोत अच्छा लगता है ।sk11
  6. भीगे हुए साबूदाने में उबले हुए आलू या microwave में पके आलू के टुकड़े , नमक, चीनी , भुनी मूंगफली दरदरा पाउडर और निम्बू का रस डाल दे|sk12sk13sk14
  7. इसे अच्छी तरह से मिलाकर रख दे |sk15
  8. कढ़ाई में तेल या घी गरम करने रखे|
  9. इसमें जीरा अजवाइन डालें , जीरा अजवाइन हलकी भून लीजिए ।sk16
  10. अब इसमें हरी मिर्च डालिए|sk17
  11. हरी मिर्च जैसी ही तल जाये इसमें साबूदाने को डाल दीजिये |sk18
  12. इसे तेज गैस पर सही से मिक्स कर ढक्कन लगा दीजिये ।
  13. गैस धीमी कर इसे लगभग दस मिनट धीमी गैस पर पकने दे , हर २-३ मिनट बाद इसे चलाते रहे नहीं तो ये निचे से पक जाएगी और ऊपर के दाने कच्चे ही रह जायेंगे ।sk19
  14. साबूदाना खिचड़ी को धनिया के पत्ते डालकर ,दही ,रायता या सलाद के साथ परोसे ।

    sabudane ki khichdi
    sabudana ki khichdi

[/directions]

राजमा चावल रेसिपी | Rajma chawal Recipe in Hindi

6
rajma recipe in hindi
राजमा चावल रेसिपी
rajma recipe in hindi
राजमा चावल रेसिपी

राजमा चावल बनाने में आसान,स्वादिष्ट और healthy खाना हैं| इसे बनाने में ज्यादा  time नहीं लगता और ये एक complete meal हैं | Vegetarian लोगों को proteins की requirement पूरी करने के लिए राजमा, चना, मटर, साबुत मूंग, मसूर दालें जैसी चीज़े अपने रोज के diet में इस्तेमाल करना बहोत जरूरी हैं| राजमा में proteins और iron की मात्रा बहोत ज्यादा हैं और चावल के साथ carbohydrates मिल जातें हैं | ये घर में सभी को पसंद आता हैं, चावल को soft पकाकर इसे tiffin में भी दिया जा सकता हैं| चावल soft होने के कारन ये जल्दी dry नहीं होता|

rajma chawal banane ki vidhi
राजमा चावल रेसिपी

राजमा ( Rajma – Kidney beans)

राजमा (kidney beans) तीन तरह का मिलता हैं

लाल राजमा – ये राजमा dark लाल  रंग का होता  है। ये साइज में छोटा होता है इसलिए आसानी से जल्दी पक जाता है |

कश्मीरी राजमा- ये राजमा dark brown रंग का होता है | ये साइज में बड़ा होता है और इसे पकने में जादा टाइम लगता है |

चित्रा राजमा- ये राजमा इस रेसिपी में मेने use किया है ये skin कलर का राजमा होता है जिस पर brown रंग के धब्बे होते हैं |

राजमा चावल बनाने के लिए इनमें से कोई भी राजमा use कर सकते हैं | राजमा को सही से भिगोना बहोत जरूरी हैं| राजमा को १० – १२ घंटे भिगो कर उसका झाग पूरी तरह से हटा दे और उसे पूरी तरह soft होने तक पकने दें| राजमा अगर सही से न भीगा तो उससे गैस, heartburn और acid reflux जैसी समस्यांए होती हैं |

[box] Also Check- Dal Fry Recipe In Hindi [box]

राजमा रेसिपी (Rajma Recipe) –

राजमा चावल के लिए राजमा रेसिपी (Rajma recipe) या राजमा मसाला (Rajma Masala) कई तरह से बनायीं जाती हैं , किसी में प्याज टमाटर काट कर डाला जाता है , किसी में कदूकस करके ,तो किसी में प्यूरी बनाकर । राजमा में डालने वाले मसाले कोई साबुत मसाले डालता है तो कोई कुटे हुए।इस रेसिपी में मैने प्याज टमाटर को पकाकर उसकी प्यूरी बनाकर डाला है , इससे टमाटर और प्याज एकदम मुलायम होकर पक जाता है  , इस वजह से gravy thick बनती है । राजमा रेसिपी (rajma recipe) में राजमा एकदम मुलायम पकना बोहोत जरूरी है , राजमा हल्का सा भी कड़क रह जाये तो indigestion हो जाता है ।

[box]Also Check- Tasty Moong ki dal Recipe Without pressure cooker[/box]

राजमा पकाते वक़्त इसमें खड़े मसाले पतले cotton के कपडे में  बांध कर डालते हैं जिससे हर राजमा के दाने में इसका स्वाद आ जाये । मेने २-३ दिन पहले ही घर पर गरम मसाला बनाया था इसलिए  मेने इस रेसिपी में गरम मसाला ही राजमा  पकते वक़्त डाल दिया था।


कैसे बनाए राजमा चावल हेल्थी ? (How to make rajama chawal more healthy?)

rc4अगर आपको डायबिटीज (diabetes) है तो आप राजमा की ग्रेवी को ब्राउन  राइस  या दलिया के साथ खा सकतें है | राजमा में भरपूर मात्रा में fibers हैं जो cholesterol को low करते हैं , और साथ ही साथ blood sugar level को बढ़ने से रोकते हैं |अगर राजमा चावल खाना होतो white राइस की जगह brown राइस या boiled brown राइस के साथ इसे एक हेल्थी डिश बना सकते हैं| राजमा gravy के साथ आप plain दलिया भी खा सकतें हैं |IMG_4975
राजमा खाने के बहोत से benefits हैं पर इसे योग्य मात्रा में ही खाना चाहिए | ज्यादा मात्रा में खाने से indigestion और एसिडिटी (acidity)होती हैं| राजमा चावल खाते वक़्त बहोत बार हम पसंद आता हैं तो जरूरत से ज्यादा खा लेते हैं पर कोशिश करे की इससे दो कटोरी से ज्यादा न खाये| इस रेसिपी में ग्रेवी (gravy) ज्यादा रखी हैं , जिससे राजमा जितना जरूरी हैं उतना ही खाया जाता हैं | राजमा की ग्रेवी कम से कम घी या बटर में बनाने के कारन इसे लो कैलोरी (low calorie) बना सकते हैं |

मैंने राजमा मसाला की यह रेसिपी जो आप चावल के साथ खायी जाती है वह क्रमशः फोटो द्वारा बतायी है |आपको यह रेसिपी कैसी लगी या आप इसे कैसे बनाना पसंद करते है यह सारी बातें आप मुझे नीचे दिए गए कमेंट बॉक्स (comment box) में जरूर लिखिए |
[ingredients title=”राजमा चावल बनाने की सामग्री (Ingredients to make Rajma recipe )”]

  • १ १/२ कटोरी राजमा(rajma / kidney beans)
  • २ प्याज़ (onion)
  • २ टमाटर (tomato)
  • २ टेबलस्पून अदरक लहसून की पेस्ट (ginger garlic paste)
  • ३-४ तेज पत्ता (bay leaf)
  • 3 टीस्पून गरम मसाला पाउडर (garam masala)
  • १ टीस्पून हल्दी पाउडर (turmeric powder)
  • १ टीस्पून आमचूर पाउडर (dry mango powder)
  • १ टेबलस्पून लाल मिर्च पाउडर (red chili powder)
  • 2 कप पानी राजमा पकाने के लिए
  • २ कप पानी ग्रेवी के लिए
  • नमक स्वादानुसार

[/ingredients]

[directions title=”राजमा बनाने की विधि | Rajma banane ki vidhi in hindi”]

  1. राजमा को धो कर साफ़ पानी में १०–१२ घंटे पहले भिगो दीजिये|
  2. भीगे हुए राजमा को अच्छी तरह धोकर कुकर में डालें, इसमें २-३ कप पानी डालकर इसे उबलने रख दीजिये | जब इसमें उबाल आ जाये तो इसका झाग चम्मच से निकाल कर फेंक दीजिये | ये झाग हटना बोहोत जरूरी हैं क्योंकि इससे indigestion और acidity होती हैं |
  3. अब इसमें १ चम्मच नमक और १-१ १/२ चम्मच गरम मसाला डालकर कुकर ka ढक्कन बंद कर दें | में पहले खड़े मसालें कपडे में बांधकर इसमें डालती थी पर इस तरह गरम मसाला डालने पर हर राजमा के दाने में मसालें का स्वाद बड़ा अच्छा आता है |
  4. २-३ सीटी आने के बाद गैस को धीमा कर दें और धीमी गैस पर ७-८ मिनट तक राजमा पकने दें | गैस बंद कर दें |
  5. राजमा का मसाला कई तरह से बनाया जाता है पर मेने इस बार इसे थोड़ी अलग तरह से बनाया है ,इस मेथड से मेरी ग्रेवी thick होने के साथ साथ प्याज और टमाटर एक साथ सॉफ्ट होकर पक गए |मेने प्याज टमाटर के pieces १ कप पानी और नमक डाल कर पका लिए , नमक डालने के कारन प्याज और टमाटर बहोत जल्दी पक्कर soft हो गए | मेने इसे तपेले में ही उबाल कर पका लिया है| जब राजमा पक रहा हो तभी इस टमाटर प्याज को दूसरी गैस burner पर उबालने रख दीजियेrc6
  6. इस soft पके टमाटर और प्याज की hand blender या mixer में puree बना लीजिए |rc7
  7. कढ़ाई में मक्खन या घी गरम कर उसमें तेज पत्ता और अदरक लहसुन की paste डाल दें |rc5
  8. अब इसमें पके हुए प्याज टमाटर की puree डाल दे |rc8
  9. इसमें लाल मिर्च , हल्दी , धनिया powder, १ चम्मच गरम मसाला डालकर अच्छी तरह से मिला लें |rc9
  10. इसे ढक्कन लगाकर ६-७ मिनट तेज गैस पर पकने दें , बीच बीच में इसे चलते रहे | ढक्कन ढकना जरूरी हैं क्योंकि उबलते वक़्त गैस स्टोव पर काफी छीटे उड़ती है ,जिसे बाद में साफ़ करना बड़ी परेशानी का काम है !rc10
  11. राजमा का ये मसाला अब सही से पक चुका है, अब इसमें कसूरी मेथी डाल कर १-२ मिनट इसे और चलाये |rc12
  12. आप अगर खट्टा खाना पसंद करते के तो इसमें आमचूर डालें |rc13
  13. अब इस मसालें में soft पका हुआ राजमा डालकर इसे चलाये , आवश्यकता के अनुसार इसमें पानी डाल कर इसे धीमी gas पर उबलने दे |rc17
  14. स्वाद जांच लें अगर नमक कम लग रहा हो तो इसमें नमक डालें , राजमा उबलते वक़्त और प्याज टमाटर की प्यूरी में पहले से नमक डला हैं , इसलिए बिना स्वाद लिए नमक न डालें|rc16
  15. इसमें हरा धनिया डालकर white राइस या brown राइस के साथ serve करें |
    rajma chawal banane ki vidhi
    राजमा चावल रेसिपी

    rc18

[/directions]

सैंडविच रेसिपी | Sandwich recipe in Hindi

4
सैंडविच

सैंडविच रेसिपी

 सैंडविच
सैंडविच

ब्रेकफास्ट में सैंडविच बनाना सबसे आसान काम है. मेरे दोनों बच्चों को मेयोनेज़, टोमेटो, खीरे से बना whole wheat bread सैंडविच बहोत पसंद हैं| टिफीन में अगर ये सैंडविच उन्हें दूँ तो वो हमेशा खाली वापस आता हैं | ये सैंडविच बनाने में काफी आसान है और सुबह के समय जल्दी बन जाता है | सैंडविच कई तरीकों से बनाया जा सकता है , मैंने इस रेसिपी में mayonnaise tomato cucumber सैंडविच बनाने की विधि बताई हैं |

सैंडविच बनाने के लिए सामग्री

ब्रेड (bread) –

सैंडविच बनाने के लिए white ब्रेड की जगह आप whole wheat ब्रेड, oats ब्रेड या मल्टीग्रेन ब्रेड का इस्तेमाल करे | इस ब्रेड में वाइट ब्रेड से ज्यादा फाइबर होता है जो digestion के लिए आसान होता है | इस ब्रेड में बाकि पोष्टिक तत्व भी होते है जो वाइट ब्रेड में नहीं होते | वाइट ब्रेड मैदे से बनता है जो आटे को काफी प्रोसेस करके बनाया जाता है , इस दौरान इसके जरूरी विटामिन्स और मिनरल्स नष्ट हो जाते हैं | आजकल मार्किट में whole wheat ब्रेड के नाम पर मैदे का ब्रेड बेचा जा रहा है इसलिए लेने से पहले ingredients और मैन्युफैक्चरिंग डेट अवश्य जांच ले |

मेयोनेज़ (Mayonnaise) –

मेने इस रेसिपी में घर में बनी eggless मेयोनेज़ का इस्तेमाल किया है | आप को बाजार में eggless मेयोनेज़ आसानी से मिल जाएगी | मेयोनेज़ (mayonnaise ) सैंडविच को मुलायम और स्वादिष्ट बनाने के लिए इस्तेमाल की जाती है| आप होममेड मेयोनेज़ की रेसिपी चेक कर सकते हैं नीचे दी गई लिंक पर क्लिक करें |

https://healthyvegrecipes.com/how-to-make-mayonnaise-without-egg-gluten-free-recipe-veg-mayonnaise/ ये मेयोनेज़ रेसिपी में रेडीमेड मेयोनेज़ के मुकाबले कम कैलोरीज हैं .

खीरा टमाटर और सलाद पत्ता –

सैंडविच को हेल्थी और टेस्टी बनाने के लिए ये सलाद वेजिटेबल्स हमेशा इस्तेमाल करे, इसके अलावा आप इसमें पत्ता गोभी (cabbage) , गाजर (carrot) आदि वेजिटेबल्स का भी इस्तेमाल कर सकते हैं |

बटर (butter)-

बटर इस रेसिपी में आप चाहे तो इस्तेमाल ब्रेड को हल्का टोस्ट करने के लिए इस्तेमाल कर सकते हैं पर में मेयोनेज़ सैंडविच बिना बटर के टोस्ट किए गए ब्रेड से भी बनाती हूँ, ये सैंडविच आप बिना टोस्ट किए गए फ्रेश ब्रेड से भी बना सकते हैं|

मसाले(seasoning) –

बहोत लोग मेयोनेज़ सैंडविच में काली मिर्च (black pepper) डालते हैं , मैंने जो होममेड मेयोनेज़ की रेसिपी दी हैं उसमें ब्लैक पीपर और पिली सरसो (mustard)का पाउडर पहले से डला हैं इसलिए इस सैंडविच में मेने कोई मसाले (seasoning) नहीं डाली | आप अगर प्लैन मेयोनेज़ उसे कर रहे हैं तो स्वादानुसार black pepper पाउडर डाल सकते हैं |
मैंने वेजिटेबल सैंडविच की यह रेसिपी  क्रमशः बतायी है |आपको यह रेसिपी कैसी लगी या आप इसे कैसे बनाना पसंद करते है यह सारी बातें आप मुझे नीचे दिए गए कमेंट बॉक्स (comment box) में जरूर लिखिए |

[ingredients title=”सैंडविच बनाने के लिए लगने वाली सामग्री Ingredients to make sandwich in hindi | Sandwich banane ki samagri “]

  • ८ ब्रेड की स्लाइस
  • १ कप खीरे के पतले गोल स्लाइस
  • १ कप टमाटर के पतले गोल स्लाइस
  • ५-६ सलाद पत्ता
  • eggless मेयोनेज़
  • काली मिर्च पाउडर (optional)
  • बटर (optional)

[/ingredients]

[directions title=”सैंडविच बनाने की विधि | Directions to make sandwich”]

  1. ब्रेड को टोस्ट कर ले , आप चाहे तो इसे बटर लगा सकते हैं या फिर बिना टोस्ट किए ब्रेड की स्लाइस भी ले सकते हैं | ये स्टेप optional हैं|
  2. ब्रेड की एक साइड पर मेयोनेज़ स्प्रेड कर ले , अगर आप प्लैन मेयोनेज़ इस्तेमाल कर रहे हैं तो इस पर काली मिर्च पाउडर छिड़क दे |
  3. इसपर टमाटर , खीरा और सलाद पत्ता रख दे |
  4. अब इसे दूसरी ब्रेड स्लाइस से ढक कर प्रेस कर दें
  5. आप चाहे तो इसे तिकोना या चौकोन काट सकते हैं|

[/directions]


How to make Homemade Chocolate | Chocolate Recipe from Cocoa powder and Milk powder

45

hc1

To make chocolate at home from scratch is the dream of everyone. When we were kids, we used to sing a song asawa sundar chocolate cha bangla, it’s a Marathi song which means I should have a bungalow which is made up of chocolates. To make chocolate at home is really stress buster for me. Yesterday I was not keeping well and my little daughter was very upset because of that. After looking at her I just forgot about myself, I took her to the kitchen asked her that we will make something and she said chocolate. And then we made these yummy chocolates. This recipe is very simple and everybody will love to have homemade chocolates.

[box]Also Check – How to make chocolate cake from whole wheat flour[/box]

Homemade chocolate

In my college days, I made chocolates from the chocolate compound. My mom used to make it from Cocoa powder and butter, the only issue of this chocolate is it was very sticky and to give it any particular shape was difficult. Because of that when I started making it I always used the dark chocolate compound. The only problem with this is I never got the good quality chocolate compound, I always felt that the fats used in it were not of good quality. It may be that I never had an access to the good chocolate compound. One day when I was making besan barfi I thought that I can add Coco powder and milk powder to this sugar syrup to make chocolates. I tried it and to make it soft and glossy I have added homemade butter to it…. and hurray …… It turned out awesome.

When my Friends had this chocolate, they asked me for the recipe and I promised them to post it on my blog.

How to make homemade Chocolate

hc2

This homemade chocolate recipe is very easy and even a novice can make it easily.

Ingredients required to make homemade chocolate

As I said, this chocolate recipe does not contain a ready-made chocolate compound. So I have used some basic ingredient to make this chocolate. It’s a chocolate recipe with cocoa powder.
Cocoa powder– I have used Hershey’s Cocoa Powder to make this recipe. It is plain Cocoa Bean powder without sugar. I have used 1/2 cup of cocoa powder to make this chocolate. If you like dark bitter chocolate you can increase the amount of Cocoa powder and decrease the amount of milk powder.
hc8

Milk powder – I have used Everyday milk powder to make this homemade chocolate to give it a nice smooth milky taste. It is an important ingredient in this homemade chocolate recipe.
Sugar – sugar is an important ingredient in this chocolate. It does not just give sweet taste to the chocolate but also gives binding to it. I even tried this chocolate by using jaggery. It was good but kids love the chocolate with sugar only.
Butter – Butter makes this chocolate smooth and glossy. I use homemade butter to make this chocolate. Butter should be salt-free to make this recipe. In place of butter, you can also use edible coconut oil to make this recipe but my kids love this chocolate with butter only.

I have explained how to make this chocolate from scratch with images. Do share your feedback for this recipe.

[ingredients title=”Ingredients  to make Chocolate”]

  • Milk powder (I used everyday dairy whitener)- 1 1/2 cup
  • Cocoa powder ( Hershey’s or cadburries unsweetened Cocoa powder)- 1 cup
  • Sugar – 3/4 cup
  • Water – 1/4 cup
  • Butter – 1/3 cup
  • 1 cup of chopped nuts cashew, hazelnut, almonds (optional)

Note – This chocolate taste best on the next day

[/ingredients]

[directions title=”Step by step method to make chocolate at home”]

Take sugar in a mixer jar.
hc4
Make a fine powder of sugar.hc5
Take powdered sugar and water in a thick bottom container or kadhai.hc7
Keep it on low heat.
Take milk powder and Coco powder in a grinder and make a fine powder of it.hc11
When the sugar water mixture starts boiling and sugar gets completely melted…hc13
Add butter to it. Keep the flames low.hc16
When the butter is completely melted add Coco milk powder mixture to it.hc14
Mix it nicely so that no lumps are formed.hc17
Remove from the heat and add roasted chopped nuts and mix it.hc18
let it cool down and make chocolate balls of it.hc19
You can also Grease the tray, add the chocolate mixture and spread it with the back side of the greased bowl.hc21
Let it cool down and cut the chocolate into the desired shape.
You can hc22You can make both chocolate balls or any desired shape chocolate out of the mixture.
Enjoy the tasty homemade chocolateshc1

Note – Keep the chocolates in an airtight container or in a bowl covered with cellophane film when you keep it in the refrigerator.

[/directions]


Eggless Mayonnaise Recipe | Veg Mayonnaise Recipe | Homemade low calorie Mayonnaise

16
low calorie mayonnaise
egg-less mayo
low calorie mayonnaise
Egg-less mayonnaise

This is a recipe of Mayonnaise without Eggs, Sugar, Cream or Condensed milk. It tastes too good and without a second thought you can eat it guiltlessly in your breakfast. I like this Egg-less Mayo spread on my sandwiches, veg burgers and even in paratha role. Whenever I had ready-made mayonnaise (even if it’s Egg-less) I always had heavy feeling after eating it. This homemade veg mayonnaise has much less calories as compared to the ready-made one. If you are on diet and looking for low calorie, healthy veg mayonnaise recipe, this is the perfect mayo spread for you.

[box]Also Check – Healthy Breakfast and Snack Recipes[/box]

Eggless Mayo spread
Eggless Mayo spread

Mayonnaise

Mayonnaise is basically a thick, creamy sauce which can be used as spread, salad dressing, as a condiment and in lots of ways. The basic recipe of mayonnaise contains Eggs, olive oil, vinegar or lemon juice and it is flavored by using herbs and spices. Oil gets emulsified with Eggs to give it a creamy texture. For veg mayo or Egg free mayonnaise milk, soy milk, cashew milk or condensed milk is used.

[box]Also Check – Whole Wheat Flour Cake Recipes[/box]

Why Home-made Mayonnaise?

My friends ask me why I make mayonnaise at home. They feel that I am trying to save money! (That is good too :-)) But home-made mayonnaise can have some important benefits beyond just saving money –

  • Oil content is very high in ready-made mayonnaise and it also has lots of preservatives in it.
  • Recipe is very easy and not much efforts are required to make it at home
  • You would be surprised when you taste it. I bet you will make out the difference.

Fresh homemade mayonnaise can last for 2 -3 days if we store it in refrigerator. Ready- made mayonnaise has shelf life of months since it contains preservatives. But we do not know what side effects these preservatives would have. My kids love mayonnaise in their sandwiches and burgers and I don’t want to stuff them with ready-made high oil, preservative-containing and stale-for-months food.

So the basic purpose of making this recipe is to make guiltless and healthy mayonnaise without sacrificing taste.mayo spread for sandwiches

Egg-less Mayonnaise or Veg Mayonnaise

Eggless mayonnaise or Veg mayonnaise is low in cholesterol, fat and calories as compared to the one with eggs. It is good for vegetarians, cholesterol conscious and for the people who are on diet. This mayonnaise is also good alternative for people who have egg allergies. This mayonnaise is also gluten free.

The original recipe of mayonnaise contains eggs; eggs add creamy texture to this recipe. For Veg Mayonnaise the substitute of eggs can be milk, condensed milk or soy milk.

Contents of Eggless mayonnaise or Veg Mayonnaise

Milk-

I use low fat milk to make mayonnaise. You can use full fat milk to make it creamier. If you want to make it vegan, use soy milk. Both Milk and Soy milk are rich in calcium, protein and lots of health benefits.

Unrefined Oil –

I use very less oil in my mayonnaise when I am make it for myself and my hubby Paresh. I use non-refined oil in my recipes. If you’re on diet you can make this recipe even without oil 🙂 I use extra virgin olive oil or unrefined sunflower oil in my mayonnaise. You can also use unrefined sesame seed oil or peanut oil but remember it has very strong flavor. I use refined oil only for higher temperature cooking but whenever less heating or no heating is required I use unrefined oil in my daily meals. They are usually cold pressed, which means oils are extracted mechanically by machine which applies pressure not heat. This leaves the high flavor and nutrient content in the oils, making them a healthier choice.

Corn flour

I use corn flour in mayonnaise to make it creamier. This works well since we are using less oil.

Lemon juice/ Apple Cider Vinegar

I use lemon juice or apple cider vinegar in mayonnaise to give it a sour taste. I use lot of lemon juice in my day to day meal and fresh lemon juice tastes very well in this recipe. It is said that apple cider vinegar has lots of health benefits and that’s why I started using it in my recipes. You can use any one of them in mayonnaise.

Honey-

I have started using honey in place of refined sugar in my recipes. I have added honey in this Egg free mayonnaise and it turned out really well.

Herbs and spices-

You can make plain mayonnaise but spices and herbs add extra flavors to it. Homemade mayonnaise tastes fresher and brighter than anything you can buy at the store as we use fresh spices and herbs in it. Spices and herbs taste best when they are eaten freshly grounded or chopped. You can add many herbs or spices in mayonnaise to give it a nice flavor. You can add freshly crushed pepper, grounded mustard, minced garlic, chili flakes, dills, chives, oregano, parsley, basil or any combination of your choice. In this recipe I have used white peppercorns and yellow mustard.em23

I have explained step by step recipe to make this low-calorie, gluten-free, Eggless mayonnaise. I am sure once you taste this recipe you will stop buying ready-made mayo.

[ingredients title=”Ingredients required to make egg-less mayonnaise”]

  • 2 cups of milk (approximately 300 ml)
  • 4 tablespoon corn flour
  • 2 tablespoon honey
  • ½ teaspoon salt
  • 2 tablespoon lemon juice or apple cider vinegar
  • 1 tablespoon extra-virgin olive oil, non-refined sunflower oil or any oil of your choice (optional- as you can make it without oil)
  • ½ teaspoon white pepper or black pepper (kali mirch/ safed mirch)
  • ½ teaspoon yellow or black mustard (kali/ pili sarso or rai)

* Spices are optional , you can make this mayonnaise plain.

[/ingredients]

[directions title=”Step by step method to make egg-less mayonnaise”]

  1. Take 4 tablespoon of corn flour in a mixing bowl. Fill it loosely, do not pack it down.em4
  2. Heat 1/2 of the milk in a pan. em9
  3. Whilst the milk will starts boiling, add the remaining milk to corn flour.em5
  4. Mix the corn flour with the milk and stir well. Ensure there are no lumps in it.em6
  5. When milk starts boiling, add the milk corn flour mixture to it.em7
  6. On low flames, stir it continuously so that no lumps are not formed.em8
  7. Cook it until the raw smell disappears and the mixture becomes thick and shiny.
  8. Let it cool down completely.
  9. Take pepper, mustard seeds and salt in mortar.em11em10em12
  10. Crush it with Pastel to make a coarse powder of it.em16
  11. Let the paste cool down. Then take it in a blender jar. em17
  12. Add Apple cider vinegar or lemon juice and oil to it.em18
  13. Blend it and then add honey to it.em19
  14. Blend it little and take it in a bowlem20
  15. Add coarsely ground salt mustard pepper powder to it.em21
  16. Mix it nicely .em22
  17. Tasty mayonnaise is ready to use. Store it in refrigerator. Mayonnaise has shelf life of 2-3 days.

    low calorie mayonnaise
    egg-less mayo


*Add little milk and mix it nicely if mayonnaise has become very thick and difficult to spread.

*Don’t add spices if you want plain mayo.em20

[/directions]

Palak Dosa | Spinach Dosa Recipe

6
Palak Dosa recipe
Palak Dosa | Spinach Dosa
Palak Dosa recipe
Palak Dosa | Spinach Dosa

Yesterday, I went for a short trip to a calm and serene village. On my way back, I asked the farmer for 1 kg of Palak. This farmer was very generous. He packed almost 3 kgs of Palak. I wondered what I would do with so much palak. When I came back home, I gave some of it to my neighbor. Next day, I made Palak Paneer. My elder kid asked to make Spinach rice and I made that too. And still a lot of Palak was left in my refrigerator. After giving a 2 days’ break to green leafy veggies (:-)), I made this tasty Palak dosa for our breakfast. This recipe turned out so well that I had to share it with you all. It is a quick recipe if leftover Dosa batter or different types of flour are available at home. It is very easy to make and a good makeover for our white Dosas. Hope you all will enjoy it!

Palak Farm
Palak Farm
The Generous Farmer
The Generous Farmer

[box]Also check – Besan chilla recipe[/box]

Palak dosa | Spinach dosa

This is easy to make Palak recipe for breakfast. Palak dosa or Spinach dosa is an instant dosa recipe which doesn’t require much preparation. This green dosa looks very tempting and tastes awesome. It can be made with leftover Dosa batter or by using different types of flour. I have shared both – the recipes from leftover dosa batter and multi-grain flours. I have added coarsely ground wheat flour, rice flour, oats flour or ragi flour to make this instant dosa. Oats flour is optional but it tastes awesome in this recipe. I also added curd or butter milk to this recipe.
Also check – Neer dosa recipe/ dosa with fresh coconut milk.

How to make Palak puree for Palak dosa

pdb4I cooked Palak in microwave or pan to make Palak puree. When Palak is cooked, I immediately added cold water to it. This method gives nice green color to Palak puree. This puree can be used in Palak based gravies like corn Palak, Palak paneer, Palak puri and even in Palak rice or khichdi. In this dosa I am using the same Palak puree.

[box]Also check- how to make Palak rice | Spinach rice[/box]

Palak dosa batter | Spinach dosa batter

In Palak dosa batter, Palak puree is the main ingredient. Base batter can be made according to our convenience and available ingredients. Broadly, we can make the Palak dosa batter in two ways-

Palak dosa from different types of floors

pd 2Palak dosa can be made by mixing different types of flour like while wheat floor, Oats flour, rice flour or  ragi flour.

Palak Dosa From leftover Dosa Batter

pdb2Most of the times, we don’t know what to do with leftover dosa batter. Well this recipe is an interesting way to use it. I have mixed palak puree in Leftover dosa batter at my home. This Palak dosa are little spicy with nice fermented flavor.

Nutritional benefits of Palak dosa

When you make palak dosa from multi-grain flour it has lots of health benefits. Multi-grain dosas are high in complex carbohydrates and proteins. Complex carbs are great for energy production and this can help in exercise and losing weight. They have low glycemic index i.e. they break down slowly and can provide energy for longer period of time. Palak dosa made from multi grain flour with goodness of Spinach makes it very healthy. Spinach is rich source of calcium, iron, vitamin A, vitamin C. To make kids eat Spinach is little difficult for many parents. For them, this Dosa Recipe will work really well.

[box]Also check – Types of Chutney recipes for dosas[/box]

I have explained step by step method to make this easy Palak dosa from both multi-grain flour as well as leftover Dosa batter. Do share your suggestion for this recipe.

[ingredients title=”Ingredients to make Palak Dosa | Spinach Dosa”]

  • 3 cups of mix flours (I have used oats flour, coarsely-ground whole wheat flour and rice flour) or 3 cups of Dosa batter (Dosa Banane ka ghol)
  • 1 cup curd (optional- use it if you are using multi-grain flours)
  • Water to make batter (optional- use it if you are using multi-grain flours)
  • Salt as required
  • 1/2 cup finely-chopped onion (optional- I add onion when i make this dosas from multi-grain flours)

Ingredients for Palak puree | Spinach puree

  • 250 gms Spinach leaves (Palak ke patte)
  • 2 green chilies (hari mirch)
  • 5-6 garlic cloves (lasan / lahsun)

[/ingredients]

[directions title=”Step By Step Method to Make Palak Dosa | Spinach Dosa”]

  1. You can cook Palak in microwave or by boiling it in pot or kadhai. Most of the times, I cook Palak in microwave when I want to make puree out of it. It is very quick and I get nice green Spinach puree.
  2. Wash the Spinach nicely and take it in microwave safe bowl with lid.pd4 (2)pd4.1
  3. Cook it for 3-4 minutes in microwave.pd5
  4. Add ice cold water to it.pd6pd7
  5. Take cooked Spinach leaves in grinder jar and add chilies and garlic cloves to it.pd8
  6. Make puree of cooked Spinach garlic and green chilies.pd9
  7. If your using multigrain flour, take all the flours in a bowl.pd10
  8. Add Spinach puree and curd to it.pd12
  9. Add salt.pd13
  10. Mix it and add little water to make Dosa batter out of it.pd14
  11. I have also added finely chopped onion to it.pd15
  12. If your using Dosa batter, mix Palak puree with Dosa batterpdb4
  13. Heat non-stick or caste iron tawa (griddle) and grease it with a little oil. Sprinkle a little water on the tava and wipe it off gently with cloth or kitchen napkin.
  14. Pour a ladleful of batter at the center of tawa and spread it in a circular motion from the center towards the sides of the tawa.
    palak dosa from leftover dosa batter
    palak dosa from leftover dosa batter

    palak dosa from multi-grin flours
    palak dosa from multi-grain flours
  15. Smear a little oil, ghee or butter over it. I have used gingelly oil (sesame seed oil/ til ka tel).
  16. Cook on high flames until it turns little brown.
  17. Flip and cook it on other side (as we are using multi-grain flour, we have to cook it properly).pdb5
  18. Serve it with peanut or coconut chutney.

    Palak Dosa recipe
    Palak Dosa | Spinach Dosa

[/directions]

Hope you enjoyed reading the recipe. Share your comments below and let me know what you think! 🙂

Guava Jam recipe | How to Make Homemade Jelly from guava

23
Guava jelly recipe
Guava Jam Recipe
guava jelly recipe

Guava Jam Recipe

This Guava jelly / jam recipe is a nice companion for your bread toast, paratha, roti or phulka. I love to make this jelly recipe as it has no preservatives and no color. I have used saffron (kesar) to give nice color and flavor to this homemade jam/ jelly.
When I was a kid, we had a guava tree in our garden. Me and my brother used to climb up the tree to pluck guavas and finish them off in garden only 🙂 The tree had very strong branches. We used to play on it a lot. In morning, flock of different types of birds like parrots, cuckoo birds, bulbuls,sparrows, Greater coucal etc. used to gather on that tree. I think they came there to enjoy guavas and have a chat… It was a awesome Bristo for them! 🙂

[box]Also check – Whole wheat chocolate cake recipe[/box]
My mom always made this jam whenever we couldn’t finish the guava before they became fully ripened. Guava jam or jelly tastes awesome when it is made from fully ripened soft guava. Hard ripe guava which we love to eat, gives little bitter taste to this recipe.gjn3

Types of Guava used to make guava jam

A ripe guava tastes like mellow and mildly sweet, but if you eat it raw, it tastes like astringent 🙂  I have used the fully  ripened white, fleshy guava to make this jelly. This jelly can also be made from red fleshy guava. The only difference is guava should be fully ripe and soft to make this jelly. Otherwise it will taste bitter.
guava jam

Natural pectin is used to make Guava jam

Pectin is a substance which, when heated together with sugar, causes a thickening that is characteristic of jam and jellies. It naturally occurs in many fruits and berries. Pectin is used to make jams/ jellies and marmalades. It increases the gel strength of low calorie jams. For household use, pectin is an ingredient in gelling sugar (also known as “jamsugar“) where it is diluted to the right concentration with sugar and some citric acid to adjust pH. Guava has little amount of natural pectin in it. So we are going to add lemon juice to this jam which is rich source of pectin. This is why we are not using any artificial pectin or jelly-forming substance in guava jam / jelly. Lemon  has lots of pectin and it also acts as acidity regulator in this jam. I use lemon in many of my jam/ jelly recipes. Even if I haven’t used pectin in this jam, it is not at all runny. In fact, it has a very nice sticky and jammy texture 🙂 The pectin present in fruit and lemon gives a nice texture to this jam.

homemade jam without preservatives

I have explained how to make  guava jelly / jam at home with step by step instructions. Do share Your comments and suggestions for this recipe.

[ingredients title=”Ingredients used to make Guava jam /jelly”]

  • 6-7  ripe soft guavas (around 750 gms). It is important that the guavas are ripe and soft. That gives a nice flavor and sweetness to the jam. Ripe guavas are easier to cook and get easily melted.
  • Sugar – I use sugar according to pulp I extract from guavas. In this recipe I have extracted around 3 cups of guava pulp, so I have added 3 cups of sugar.
  • Lemon juice – I added 1 tablespoon of lemon juice for each cup of guava pulp I extract. Here as I said, I have extracted 3 cups of guava pulp so I have added 3 tablespoon of lemon juice.
  • 5 cups of water.
  • 1 pinch of saffron strand (kesar).
  • ½ teaspoon salt (optional) I like my jam with little salt but my kids don’t 🙂 In this recipe, I didn’t add salt.

[/ingredients]

[directions title=”Step By Step Method To Make Guava Jam / Jelly”]

  1. Wash the guava and remove the dirt from it.gjn3
  2. Cut the guava into small pieces. Add 5 cups of water and boil it in a pan. Small pieces will make the guava easier to cook.gj5
  3. Boil it for 10 – 15 minutes, or until it becomes very soft and pulpy.gj6
  4. Now mash it nicely.IMG_4196
  5. Strain it through strainer to extract all the juice and pulp from cooked guavas. Straining will remove all seeds, skin and thread out of it.gj9
  6. Measure the extract with a cup and take it in a container. I have extracted around 3 cups of guava pulp and juice.gjn5
  7. Add lemon juice and mix it nicelygjn4
  8. For each cup of extracted mixture, I add 1 cup of sugar. So here, I have added 3 cups of sugar to extracted pulp juice mixture.gjn6
  9. Add saffron strand.gjn7
  10. Keep the mixture of guava juice pulp extract, lemon juice, sugar and saffron and bring to a boil.gjn8
  11. Stir it continuously with ladle to avoid jam from hardening.
  12. Cook it for 20 – 25 minutes and bring it to rolling boil. Bringing your jam to rolling boil point means to boil it rapidly with bubbles all over and it doesn’t stop or slow when stirred.gjn9
  13. Once rolling boiling starts and if it seems like the drops of spatula are starting to become less drop-like. It is time to check if the jam is ready to set.gjn10
  14. Put the pan off the heat and drop little jam in ice cold water. If it sets and doesn’t dissolve in water, your jam is done.gjn11
  15. Remove the scum and pour it in dry clean bottle. Let it cool down completely and then only close the lid.gjn2
  16. Enjoy this tasty homemade guava jam with bread, bun, roti, paratha or chapatti. Enjoy …….gjn17

[/directions]

Dalia Upma | Broken Wheat Upma recipe

3
Dalia recipe
नमकीन दलिया | Dalia Upma Recipe
how to make dalia upma
Dalia Upma | Broken Wheat Upma

Dalia | Broken Wheat Recipe

Upma is originally a South Indian dish but it is made in all parts of India. It is made from coarsely grounded wheat called rava /suji / semolina, rice grains, vermicelli and even with quinoa. Upma is seasoned by curry leaves which gives it a nice southern flavor. Dalia or broken wheat is generally eaten in North India. Being a gujrati, Dalia or fada (broken wheat) recipes like Dalia lapsi (fada lapsi), Dalia khichdi (fada ni khichdi), Dalia Upma (fada no Upma) were always made at my home. Dalia Upma or broken wheat Upma is a nice combination of Dalia with vegetables.

[box] Also check – Whole wheat flour cake recipes[/box]

Dalia Upma Recipe

Dalia Upma is little spicy. It is cooked with onion, green chilies, vegetables, nuts and with different spices to maintain its savory. Upma made from broken wheat / Dalia  is high fibrous & nutritious food for breakfast as compared to upma made from semolina(rava/ suji). It has very balance taste and suitable for consumption of both children and adults.

broken wheat upma recipe

Dalia (broken wheat) and its nutritional benefits

Dalia is made from whole wheat kernels because of that it has outer bran as well germ of the cell. For the same reason Dalia is often used to make healthy diets especially for heart patients. It has high glycemic index than refined flour so good for diabetics. Consuming Dalia can even lower the risk of type 2 diabetes. It is non refined that’s why very nutritious, it has high proteins with low fat and low calories. It has twice the fiber as compared to brown rice. Dalia is also good for people with constipation problem as it has lots of insoluble fibers.

Calories in Homemade Dalia Upma

Nutrition Facts

Homemade – Dalia Upma

  •  
Calories 130 Sodium 0 mg
Total Fat 3 g Potassium 0 mg
Saturated 0 g Total Carbs 23 g
Polyunsaturated 0 g Dietary Fiber 0 g
Monounsaturated 0 g Sugars 0 g
Trans 0 g Protein 4 g
Cholesterol 0 mg
Vitamin A 0% Calcium 0%
Vitamin C 0% Iron 0%

*Percent Daily Values are based on a 2000 calorie diet. Your daily values may be higher or lower depending on your calorie needs. source- myfitnesspal

[box]Also check – Different types of Upma recipes[/box]

Types of Dalia Or Broken wheat available in market

In market we get Dalia(broken wheat / cracked wheat) in two sizes.

Fine sized Dalia (fine sized cracked / broken wheat)

This is small size Dalia with fine and firm texture. This type of crushed wheat Dalia is used for making Dalia kheer, lapsi or plain Dalia with milk.


Medium sized Dalia (medium sized cracked/ broken wheat)

This medium sized broken wheat Dalia is used to make Dalia upma, Dalia khichadi or Namkeen Daliadu9

How to make Dalia / Broken wheat Upma Healthy as well as tasty?

I have made this Dalia Upma from medium sized broken wheat. Preparation of this broken wheat Upma recipe is very easy and doesn’t require much time. Use lots of vegetables to make this Upma. Vegetables like carrot, peas, beans, bell pepper (colorful capsicums), tomatoes, cabbage ,zucchini etc. gives nice taste to the Upma made from broken wheat. You can use any of this vegetables which is easily available at home. Less vegetables makes this Upma little dry and less tasty. I have also added roasted peanuts to give a nice nutty taste to this recipe. For garnishing I add green coriander, grated coconut and dash of lemon juice the same way i did it in Vegetable Poha recipe .IMG_3552

I have explained step by step method of how to make Dalia Upma recipe. I hope you will like the recipe. Do share your comments and suggestions for this recipe.
[ingredients title=”Ingredients to make dalia upma | broken wheat upma  “]

  • 2 cups roasted dalia (broken wheat)
  • 4 cups water
  • 2 cup of chopped or grated vegetables (grated carrot, chopped peas, chopped cabbage, bell peppers etc.)
  • 2 medium sized chopped tomatoes
  • 1 medium sized onion finely chopped
  • 2 green chilies finely chopped or break into 2 pieces (for kids i used big pieces , so that i can remove it once it cooked)
  • Hand full of roasted peanuts
  • 1 teaspoon mustard seeds (rai / mohri)
  • 1 teaspoon cumin seeds (jeera)
  • 15- 20 curry leaves (kadi patta)
  • 2 teaspoon urad dal
  • 1 tablespoon oil

[/ingredients]

[directions title=”Step By Step Method to make broken wheat Dalia Upma”]

  1. I am using roasted Dalia in this recipe , but if you are using plain Dalia roast it in Kadhai or pan until the nutty flavor starts coming out and Dalia becomes light to roast.du9
  2. Heat oil in the pan, add mustard seed to it . when it starts crackling add jeera & urad dal to it.IMG_3558
  3. Add curry leaves and  green chilies to it. Sauté it for few secondsIMG_3559
  4. Add onion and sauté it until it becomes translucent.IMG_3560
  5. Add all chopped vegetables except tomatoes and sauté it for 2-3 minutes.IMG_3562
  6. Now add tomatoes and let it cook 2-3 minutes.IMG_3563
  7. Add water, salt and roasted peanuts to it.IMG_3566
  8. When water starts boiling add roasted Dalia to it and mix it nicely.IMG_3569
  9.  Close the pressure cooker lead and let it cook for 3-4 whistle.
  10. When the pressure release from cooker and then open to see if its cooked or not, if it’s not cook close the lid and let it cook for couple of minutes on medium flame.du4

# You can also cook Dalia in kadhai or pan. It takes more time to cook Dalia by this method. Add ½ cup more water if u want to cook Dalia in kadhai or pan.

Serve Dalia Upma Hot With grated coconut , coriander garnishing and a dash of lemon juice. Enjoy!

du2
[/directions]

Masala Oats Recipe | How to make Masala Oats at home

11
corriander masala oats recipe
Masala oats
How to make masala oats at home
Masala oats

Masala Oats

I always made upma, dosa, porridge or chilla from oats but when I saw Saffola masala oats ad I thought that I should make it at home. First I tried the ready to make Saffola masala oats at home, it was good but I thought I will try myself with all the fresh vegetables and by adding some more ingredients of my choice. Well the masala oats making at home experiment turned out really well. It is tasty as well as healthy.
[box]Also check – Oats upma recipes[/box]

Vegetables to add in Masala Oats Recipe

I take long time to pick up vegetables as it is my favorite way to pass time! Almost every day I go out to buy vegetables. To buy vegetables is the stress buster for me First I take a round of the vegetable market then get the ones which are very tempting, for the same reason I prefer to make this masala oats recipe with fresh juicy vegetables. I have added some nice bell pepper, carrot, beans, fresh cherry tomatoes. You can add any types of vegetables like shredded cabbage, spinach, green onion, bottle gourd, sometimes I even add grated fresh turmeric (kachi haldi) and even gooseberries (amla).

cherry tomatoesTomato and coriander is the essential ingredient which gives nice taste to this recipe. Yesterday I bought some cherry tomatoes to add it in salad but I used some of them in my masala oats recipe. I have added lemon juice to give a tang to this recipe as cherry tomatoes are sweet as compared to other tomatoes . The sweet and sour taste of tomatoes and lemon made this recipe awesome. Well normal variety of tomatoes can also be used to make this recipe. Sometimes I also add desi tomatoes in masala oats it gives nice sour taste t0 it.

[box]Also check – Oats omelette recipe [/box]

Masala Oats Benefits

When you eat oats upma the amount of oats is more as compared to the masala oats recipe. Oats upma is dense as compared to masala oats. Masala oats recipe fills the stomach as it is soupy.Oats has lots of  health benefits and this recipe is  low calorie meal so good for weight loss. It  gives a sense of satiety and controls appetite. It is rich source of dietary fiber and good source of protein. Oats has very low glycemic index, it is digested and absorbed very slowly in body. It helps by reducing high cholesterol in blood.

how to cook masala oats
Masala oats

Different Ways To Make Masala Oats Recipe

I have added this recipe for people who are on diet or for the ones who wants to eat something in between meals. If you want to make it a complete meal add small cubes of paneer, tofu, boiled sprouts, cooked daal , boiled mushrooms or soya nuggets to it.

You can also give different flavours to this same masala oats recipe by adding following ingredients

Mint Masala Oats-

Add mint leaves(pudina) in masala oats recipe. You can add mint leaves after adding cumin seeds in oil.

Methi Masala Oats

You can give a Methi flavor by adding Kasuri Methi leaves (Dry Kasuri methi) while cooking the vegetables for masala oats. When I make methi masala oats I add small paneer or tofu cubes in my masala oats recipe. These masala oats give a nice Punjabi cuisine flavor.

Coriander Masala Oats

The following recipe which I have explained is the coriander masala oats only. I have also added curry leaves to it.

corriander masala oats recipe
Masala oats

[box] Also check- Orange juice Oats Cake recipe[/box]

I have explained how to make Masala Oats recipe at home with step by step photos. I hope you will like it. Do share your comment and suggestion for this recipe

[ingredients title=”Ingredients required to make Masala Oats “]

  • 1 cup of oats (I used quaker oats)
  • 2 ½  cup of water
  • 1 ½ cup of chopped vegetables (carrot, beans, bell pepper, cabbage etc)
  • ½ cup chopped tomatoes
  • 1 medium sized finally chopped onion
  • 1-2 teaspoon of lemon juice (optional)
  • 1 teaspoon ginger (adrak / ala) finely chopped
  • 1-2 green chilies finely chopped
  • ½ teaspoon cumin seeds (jeera)
  • 10-12 curry leaves
  • 1 teaspoon coriander powder( dhania powder)
  • ½ teaspoon turmeric powder (haldi)
  • pinch of garam masala optional
  • 1 tables spoon finely chopped coriander (dhaniya patta)
  • 2 teaspoon oil

[/ingredients]

[directions title=”Step by Step Directions to make Masala Oats”]

  1. Heat 2 teaspoon oil in kadhaimo s1
  2. When it becomes hot add cumin seeds (jeera) let it sizzlemo s2
  3. Add finely chopped green chilies, curry leaves and ginger to it, sauté it a for a while.mo s4
  4. Add onion and salt to it. Sauté it until onion becomes softmo s5
  5. Add chopped vegetables. Sauté it on medium flame for 2-3 minutes, cover it with lid and let it cook for 3-4 minutes.mo s6
  6. Add tomatoes sauté it and let it cook until it becomes mushy.mo s8
  7. Add coriander powder, turmeric powder and pinch of garam masala (optional) to it.mo s9
  8. Add 2 ½ cups of water and let it boilmo s10
  9. When it starts boiling add oats to it and mix it nicelymo s11
  10. Let it cook for 3-4 minutes until oats becomes soft. Turn of the heat.mo s12
  11. Add finely chopped coriander and lemon juice to it.mo s13
  12. Serve Masala Oats hot or warm it will thicken more as it cools.

    corriander masala oats recipe
    Masala oats

[/directions]