Home Blog Page 6

Patodi recipe | Patodi rassa Bhaji | Besan ki sabji

20
besan ki sabji
patodi rassa bhaji
besan ki sabji
patodi rassa bhaji

Patodi recipe

Patodi rassa bhaji recipe is Maharashtrian Besan ki sabji. It tastes awesome when eaten with bhakri, poli (roti), or phulki. It is a typical Marathi recipe which is made in different parts of Maharashtra with little variation in Rassa. Rassa means the red spicy Gravy  base of patodi bhaji. I love all the variations of this recipe. When I came to Delhi and made it for my north Indian friends, they liked it a lot and asked me for the recipe. They called it Besan ki sabji in hindi as it was difficult for them to spell Pataudi / Patawadi chi Rassa Bhaji .

[box]Also check – Shev Bhaji recipe [/box]

I like Shev bhaji and this recipe is little similar to that. Basically it is a non-fried version of shev bhaji. So when fried shev is not available at home or you are not in a mood to make it, go for this recipe. You will love it. Not many people know this spicy rassa bhaji recipe. My mom used to make this recipe on Sundays as she used to be busy on Saunday and this recipe is simple, easy to make and tastes really special. My grandma asked her to made the masala on pata warwanta (sil batta), and the taste is never comparable with the masala paste made  in mixer.

[box]Also check – Pitla recipe | Besan curry in marathi style[/box]

Maharashtrians make lots of variations in patawadi like coriander / kothimbir patawadi, methi patawadi etc. But plain spicy pataudi  tastes best in patawadi rassa bhaji. This pataudi recipe is different from Gujarati patodi. In Gujarati patodi, it is made as a role. It is called as khandhvi. This recipe  has patodi which is cut in square pieces. The batter of this patodi is also different from khandvi.

[box] Also check – Marathi Recipes [/box]

Patodi Rassa Recipe

There are many variations of patodi rasa- in Nagpur style rasa patodi bhaji, khus – khus or poppy seeds is used in gravy paste. Dry coconut and onion is a must in this gravy paste. Don’t add tomatoes in patodi gravy if you want to make it in authentic maharashtrian style. You can add khandeshi kala masala, kolhapuri garam masala or any garam masala in this recipe .

Many people add raw/kachya patodi in rassa, I don’t add raw patodi. Personally, I feel that besan takes little more time to cook and if you boil it with rassa for long time it will not taste good. I prepare patodi separately and add it when rassa starts boiling , I boil it on low flames for 2-3 minutes, take it off and keep the container closed for 10 minutes. All the flavor of rassa comes in patodi when you cover it.

I have explained step by step recipe to make this tasty patodi recipe. Do share your queries and suggestions for this recipe.

[ingredients title=”Ingredients to make Patodi rasa bhaji”]

Ingredients to make Besan Patodi / Pataudi  /Patwadi

  • 1 ¼ cup of besan
  • 2 cup water
  • 1tablespoon oil
  • 1teaspoon sesame seeds (til)
  • 1twaspoon jeera
  • 2 teaspoon red chili powder
  • 2 teaspoon coriander powder
  • 1 teaspoon turmeric powder
  • 1 pinch for asafoetida
  • 1 teaspoon salt

Ingredients to make rassa (gravy/ curry)

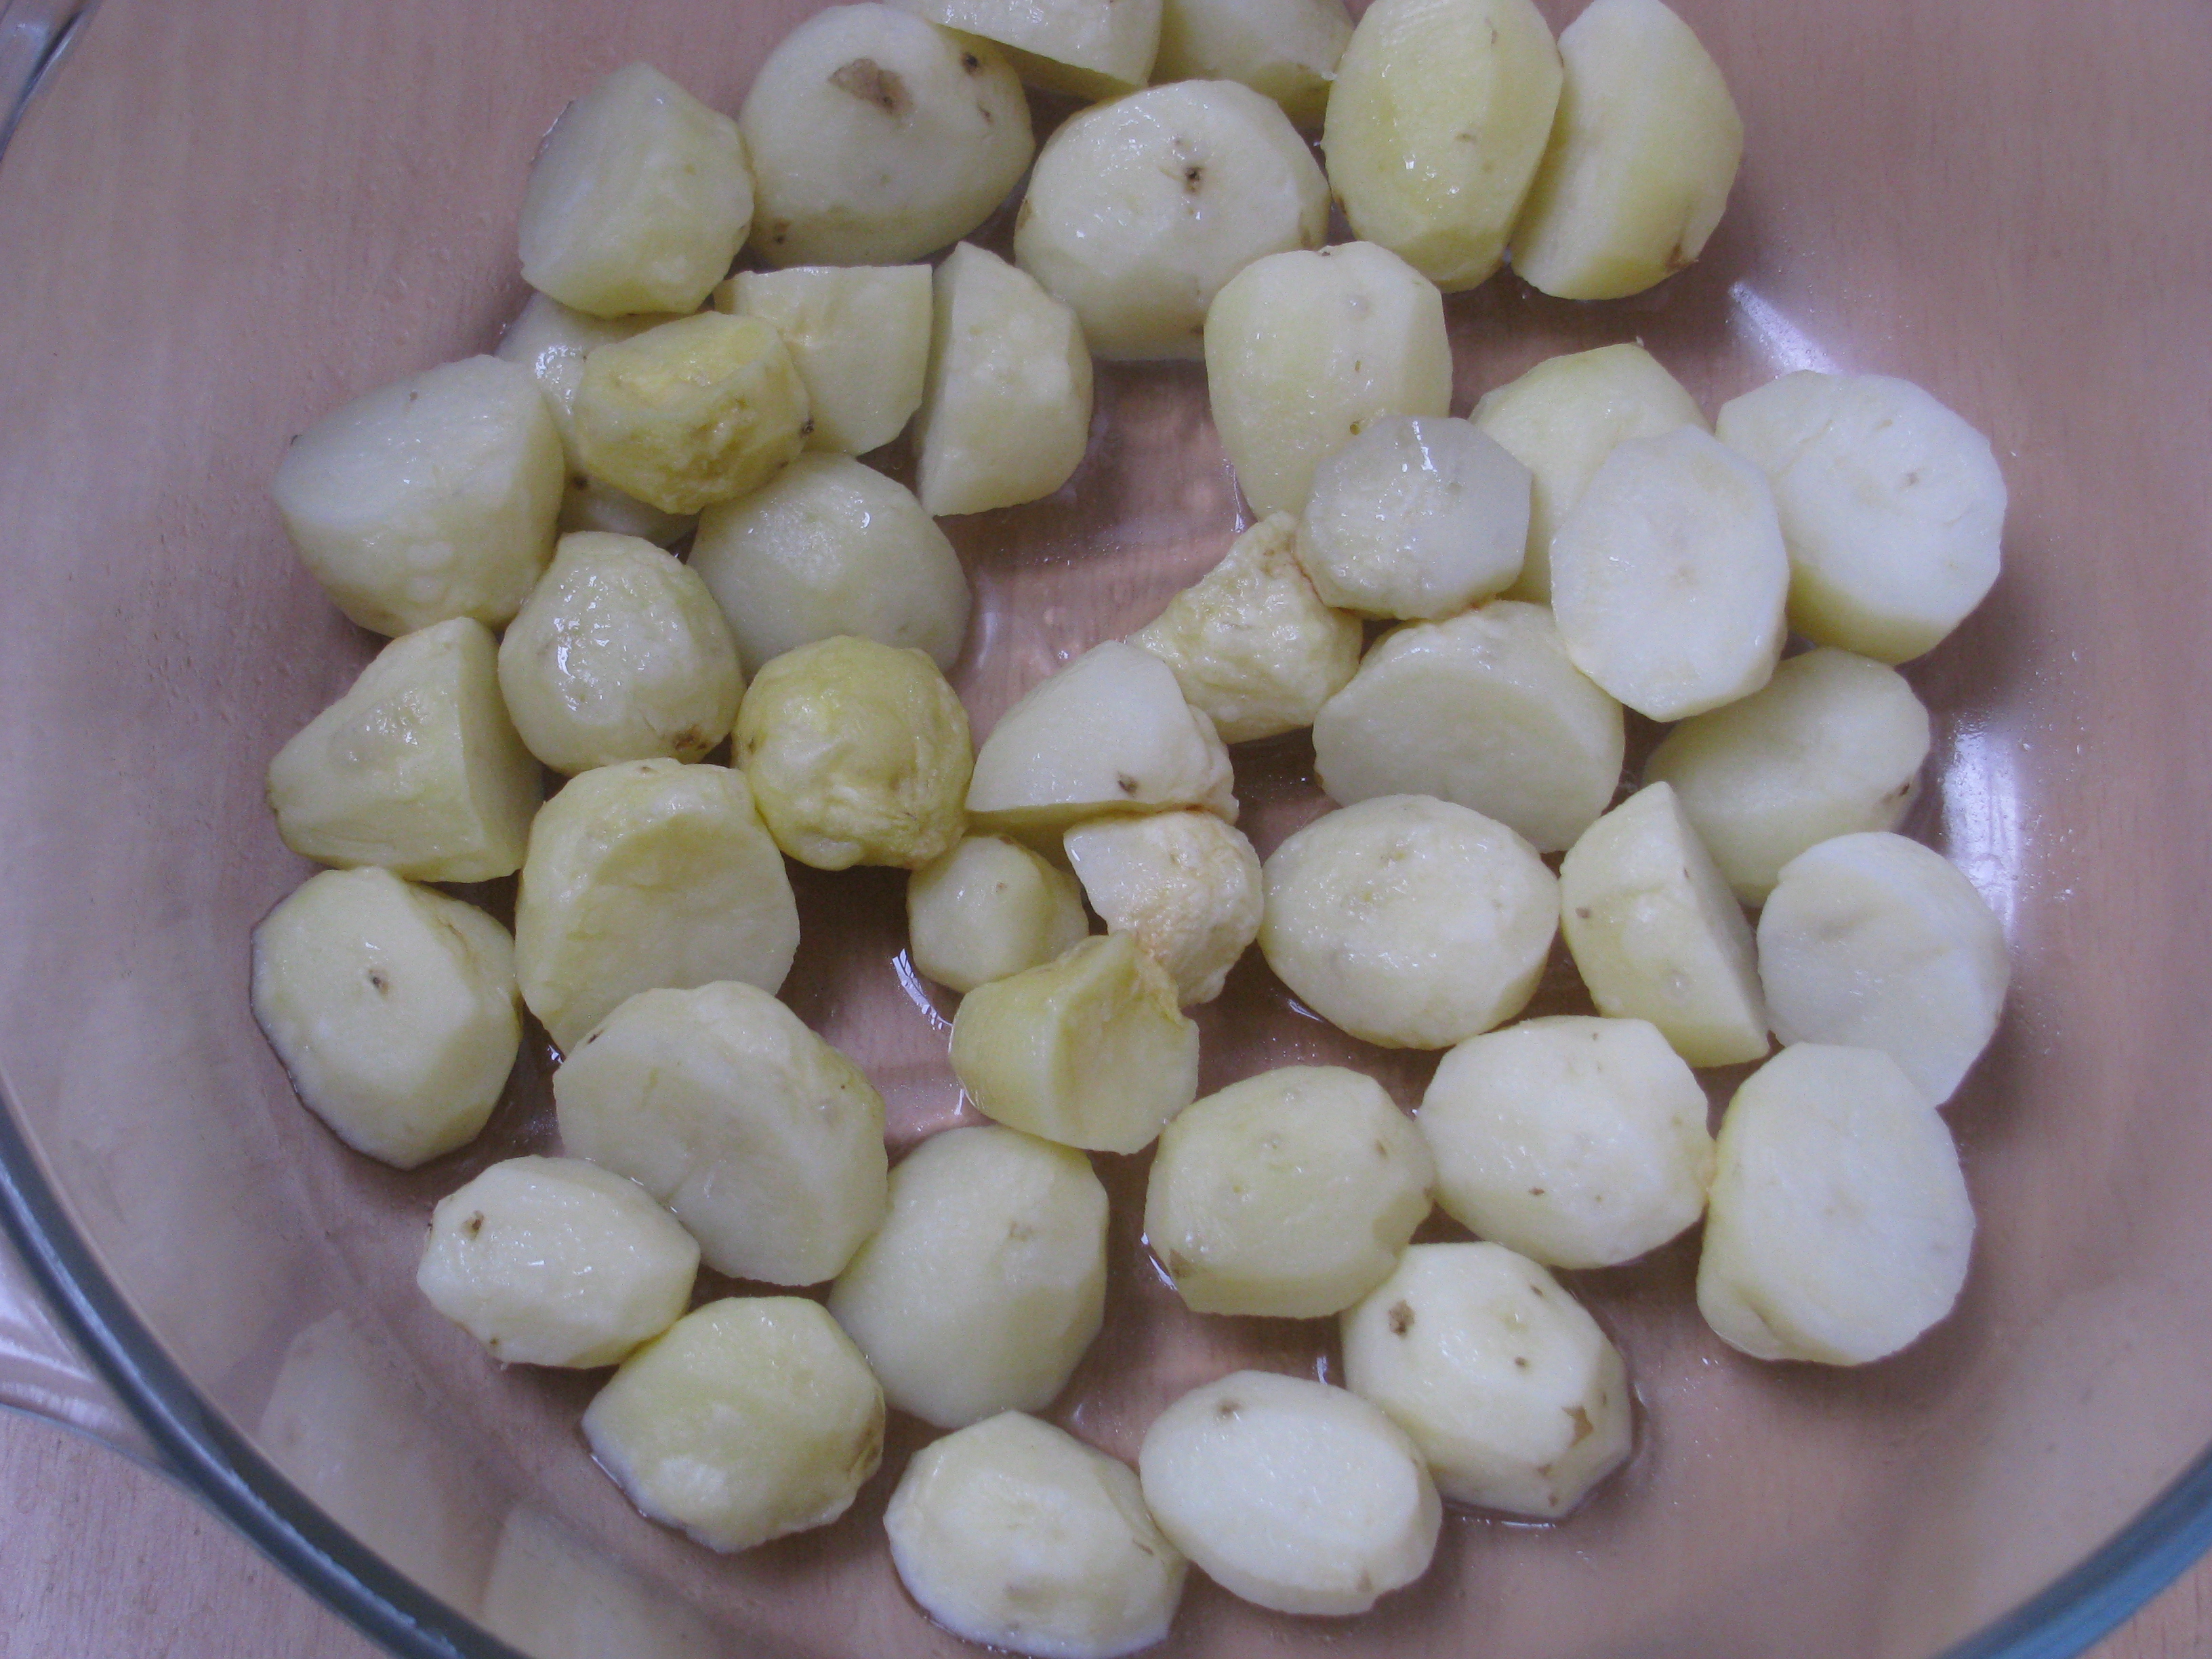
  • 2 medium sized onions
  • ¾  cup grated dry coconut ( Sukha khobra / gola)
  • 1inch ginger piece (ala / adrak)
  • 9-10 garlic cloves (lasnyachya paklya /lasan)
  • 1 teaspoon poppy seeds (Khus-khus) – optional
  • 3 cups of water
  • 2-3 teaspoon red chili powder
  • 2 teaspoon coriander powder
  • 1 teaspoon turmeric powder
  • 1 teaspoon garam masala
  • 1-2 bay leaves (tej patta / tej pan)
  • Salt to taste
  • 1 tablespoon oil

[/ingredients]

[directions title=”Step by step instructions to make Patodi rassa bhajiv| Besan ki sabji”]

Directions to make patodi / pataudi  / patwadi

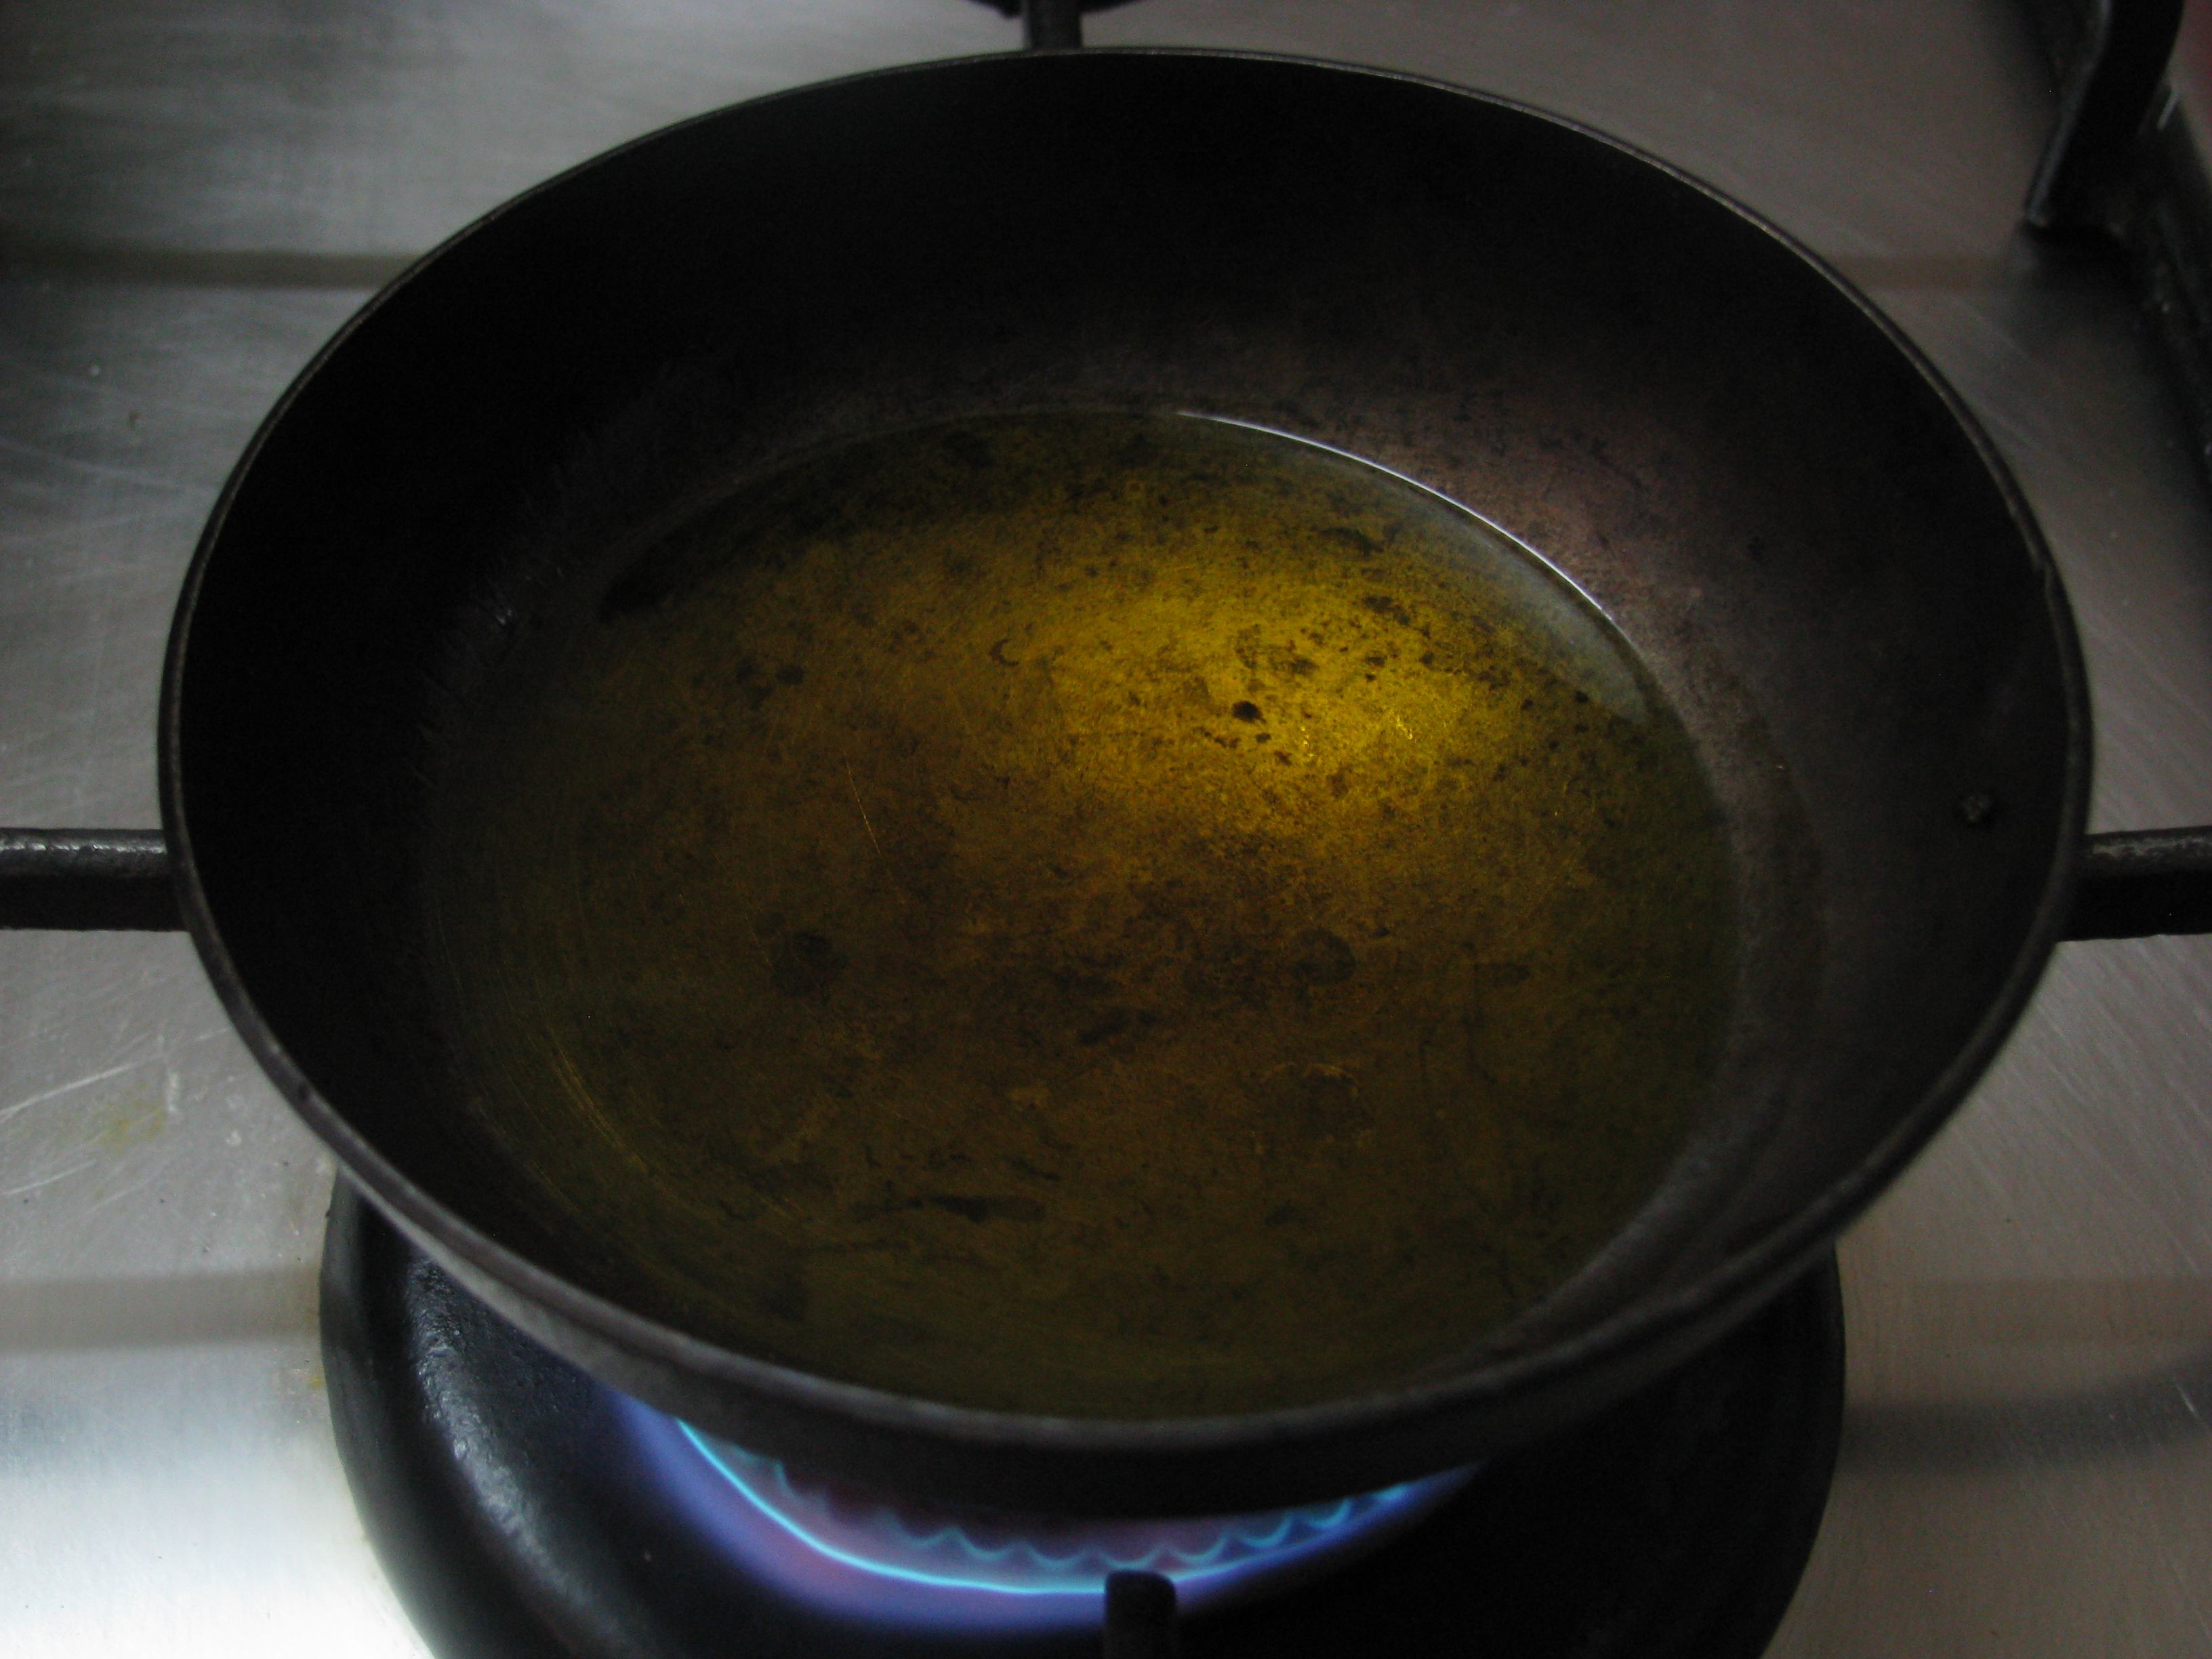
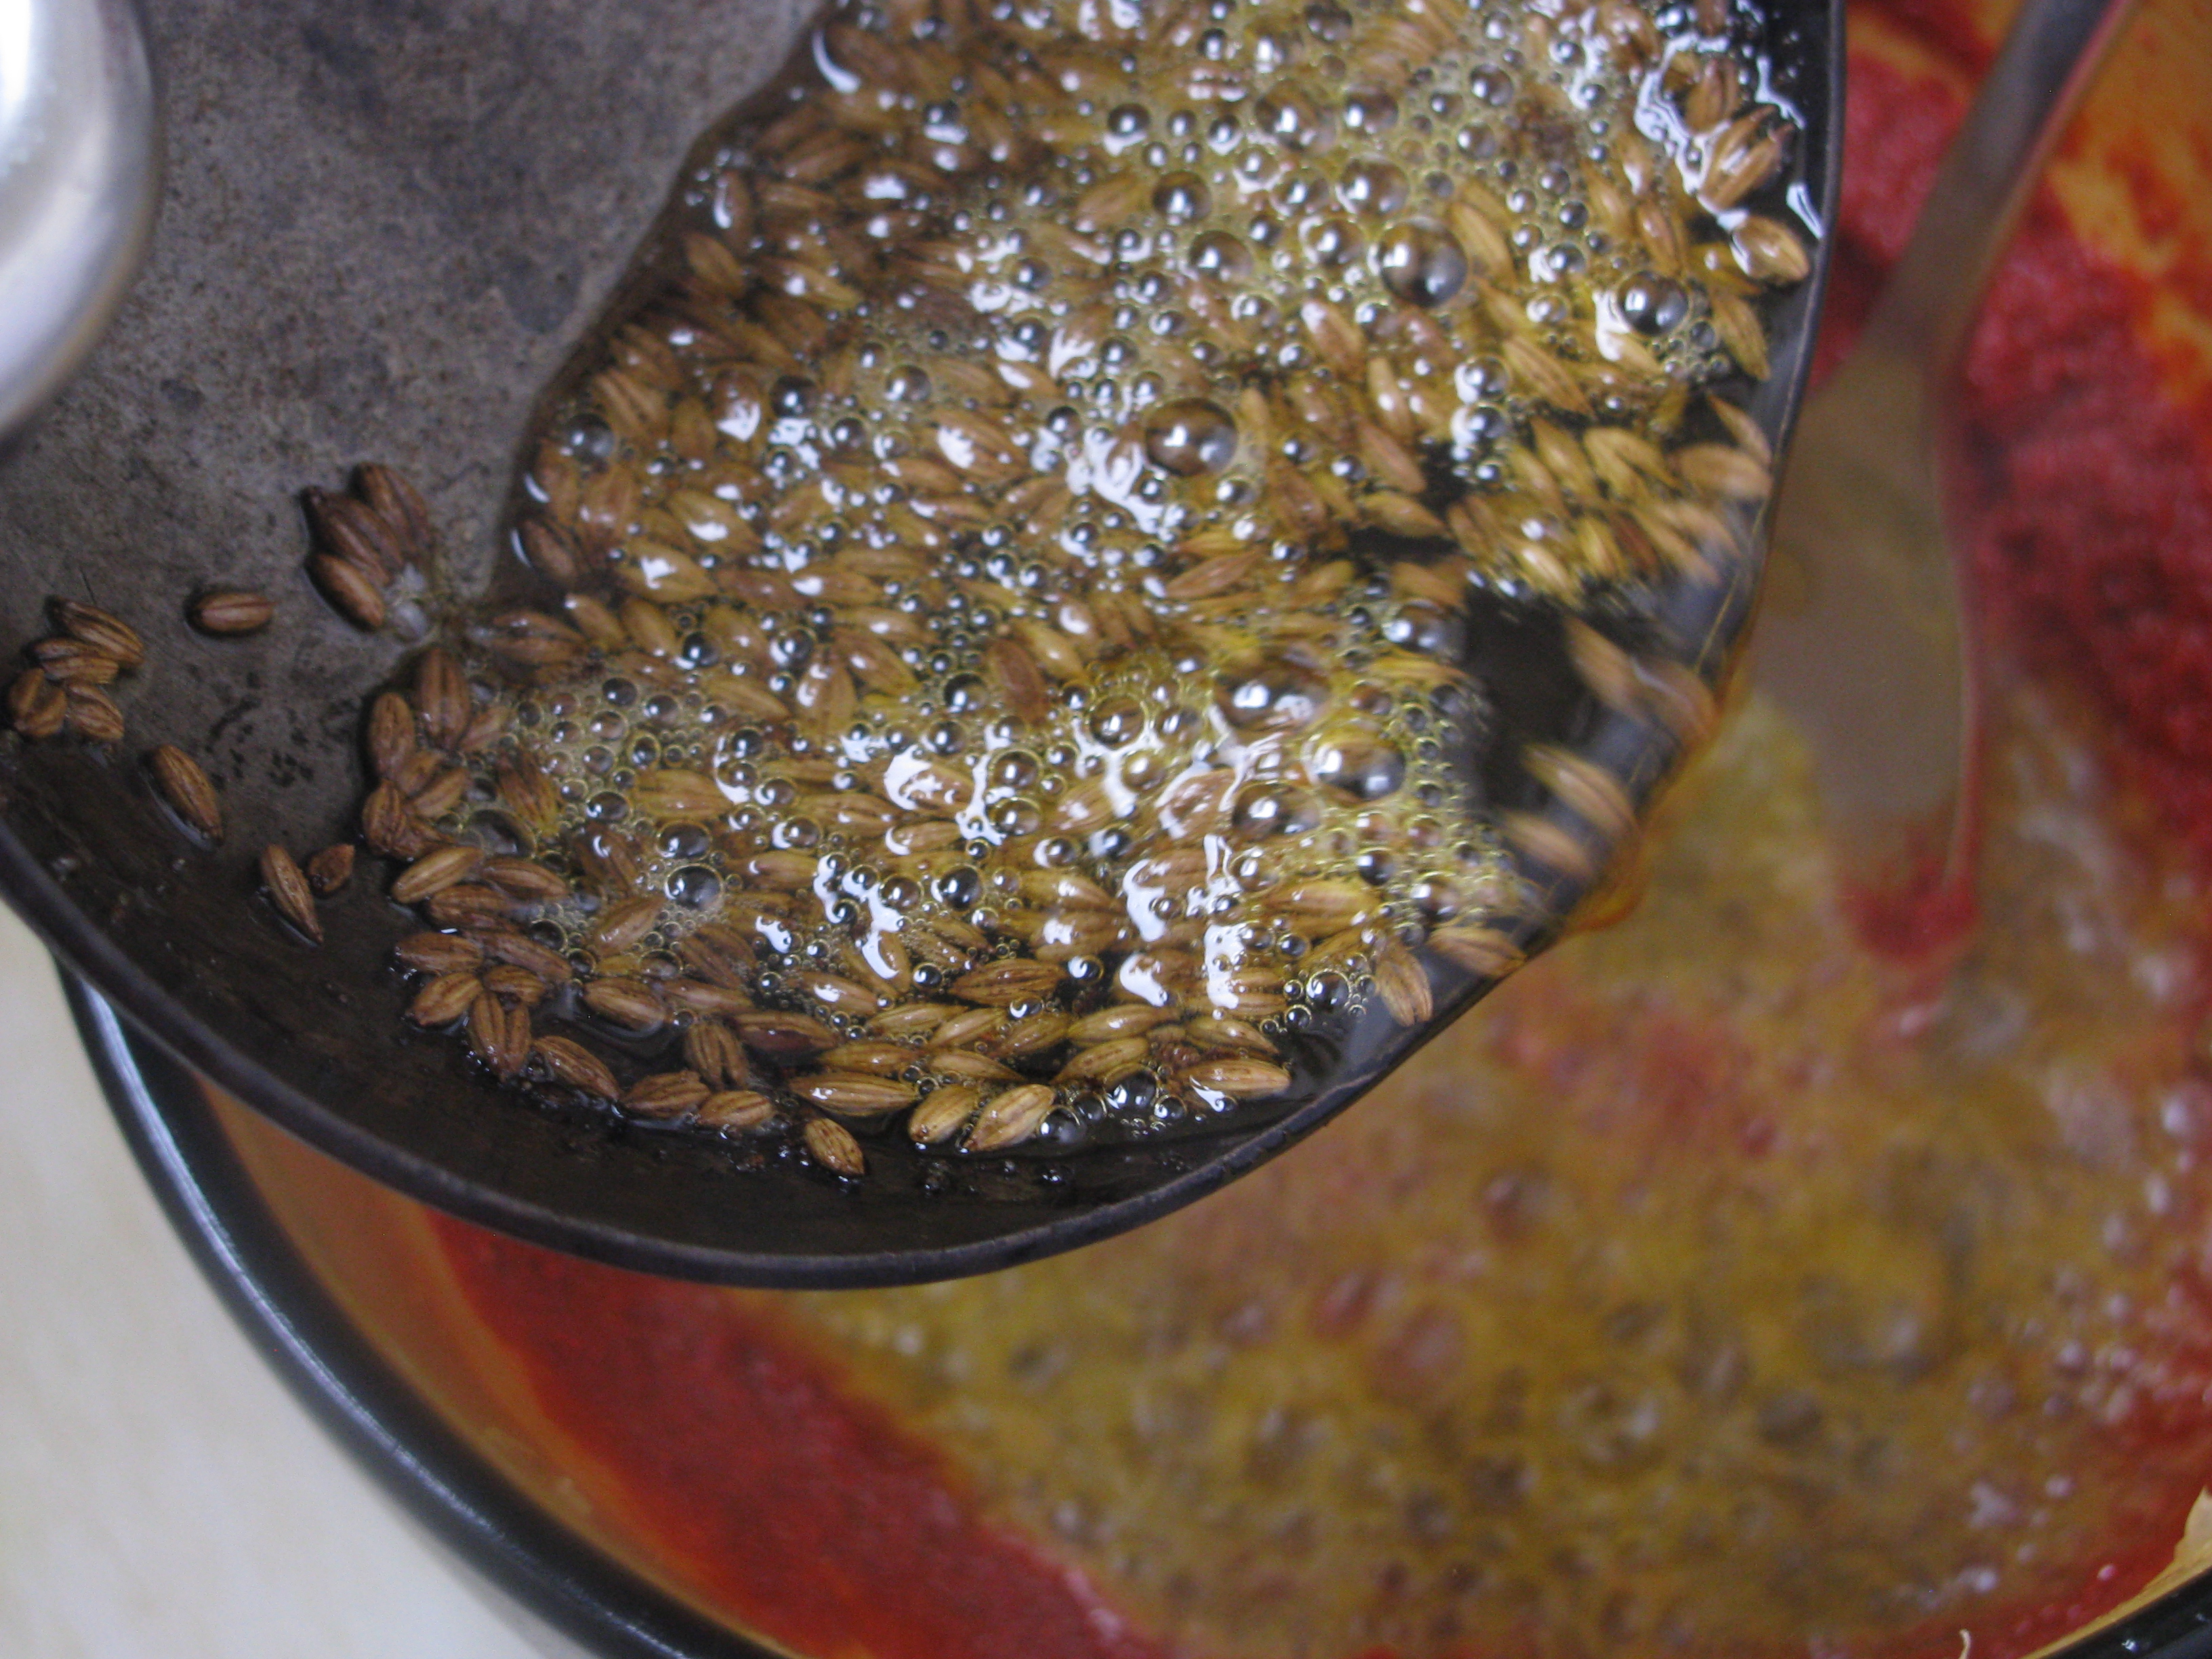
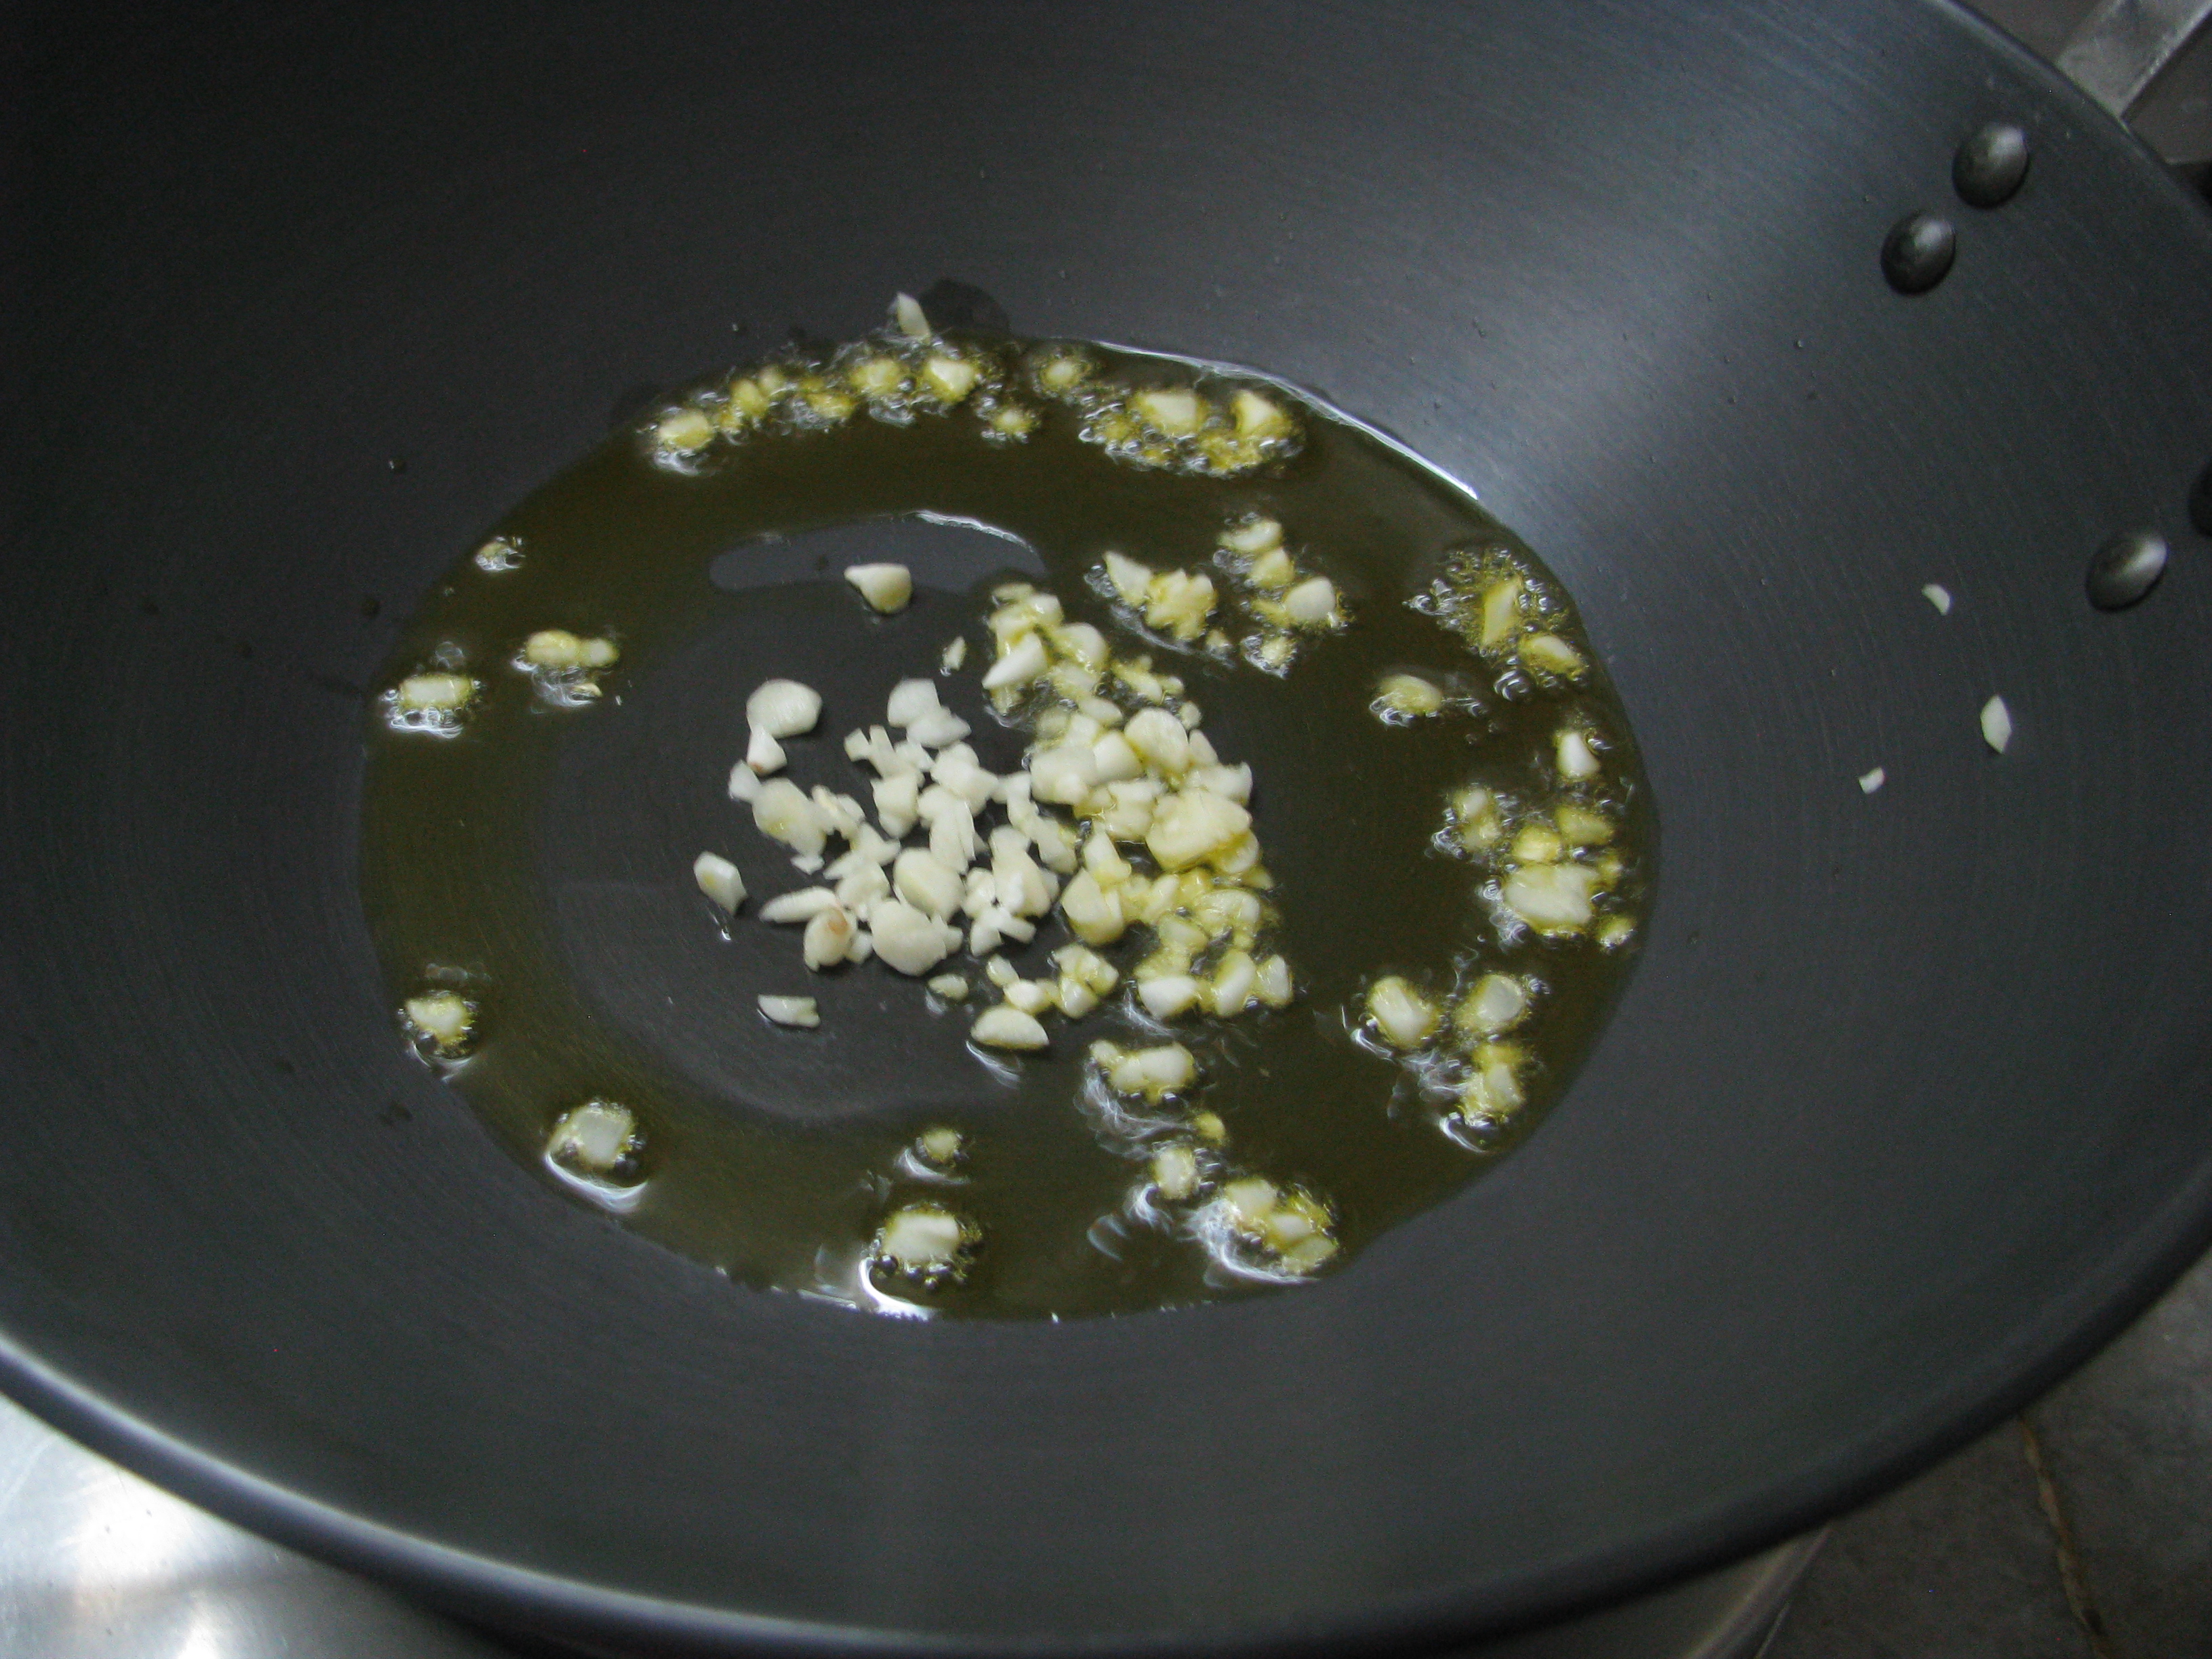
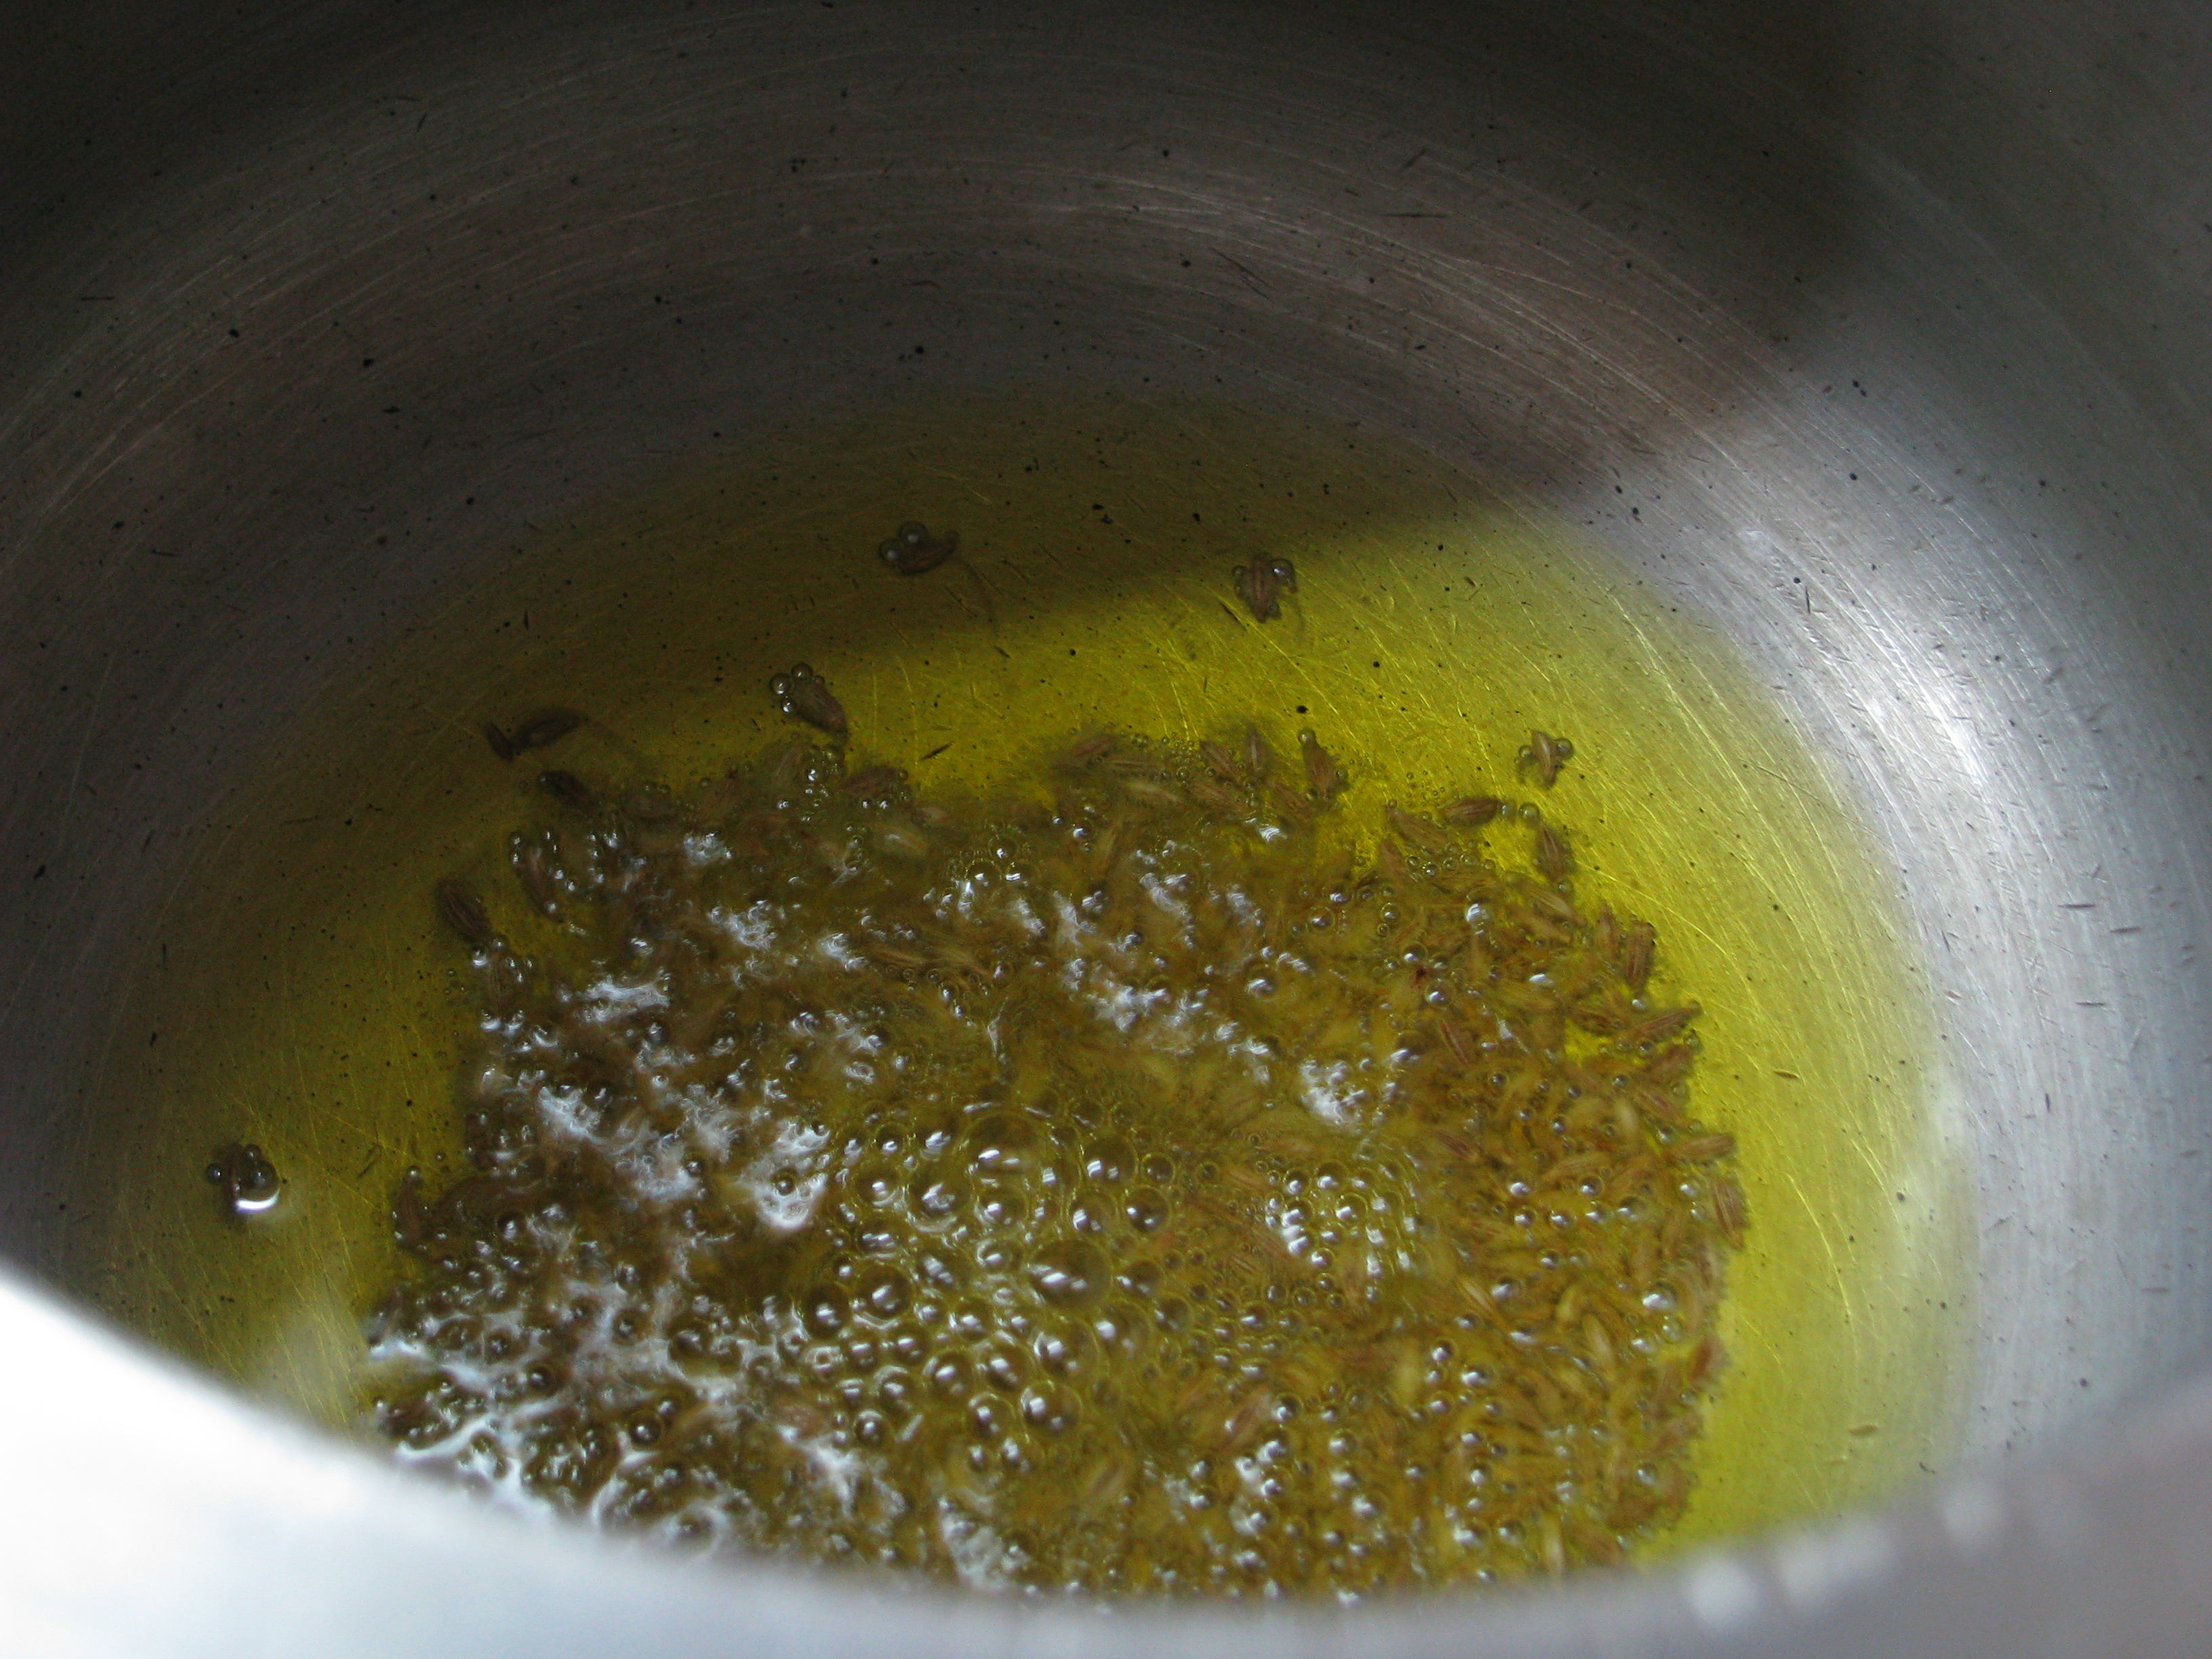
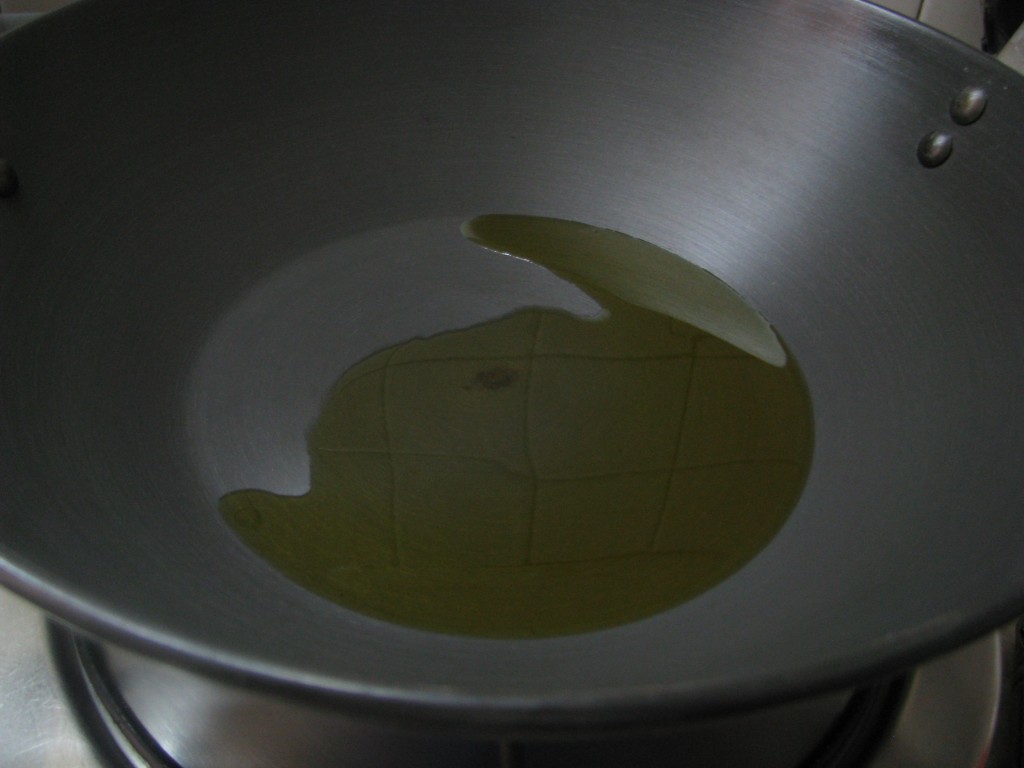
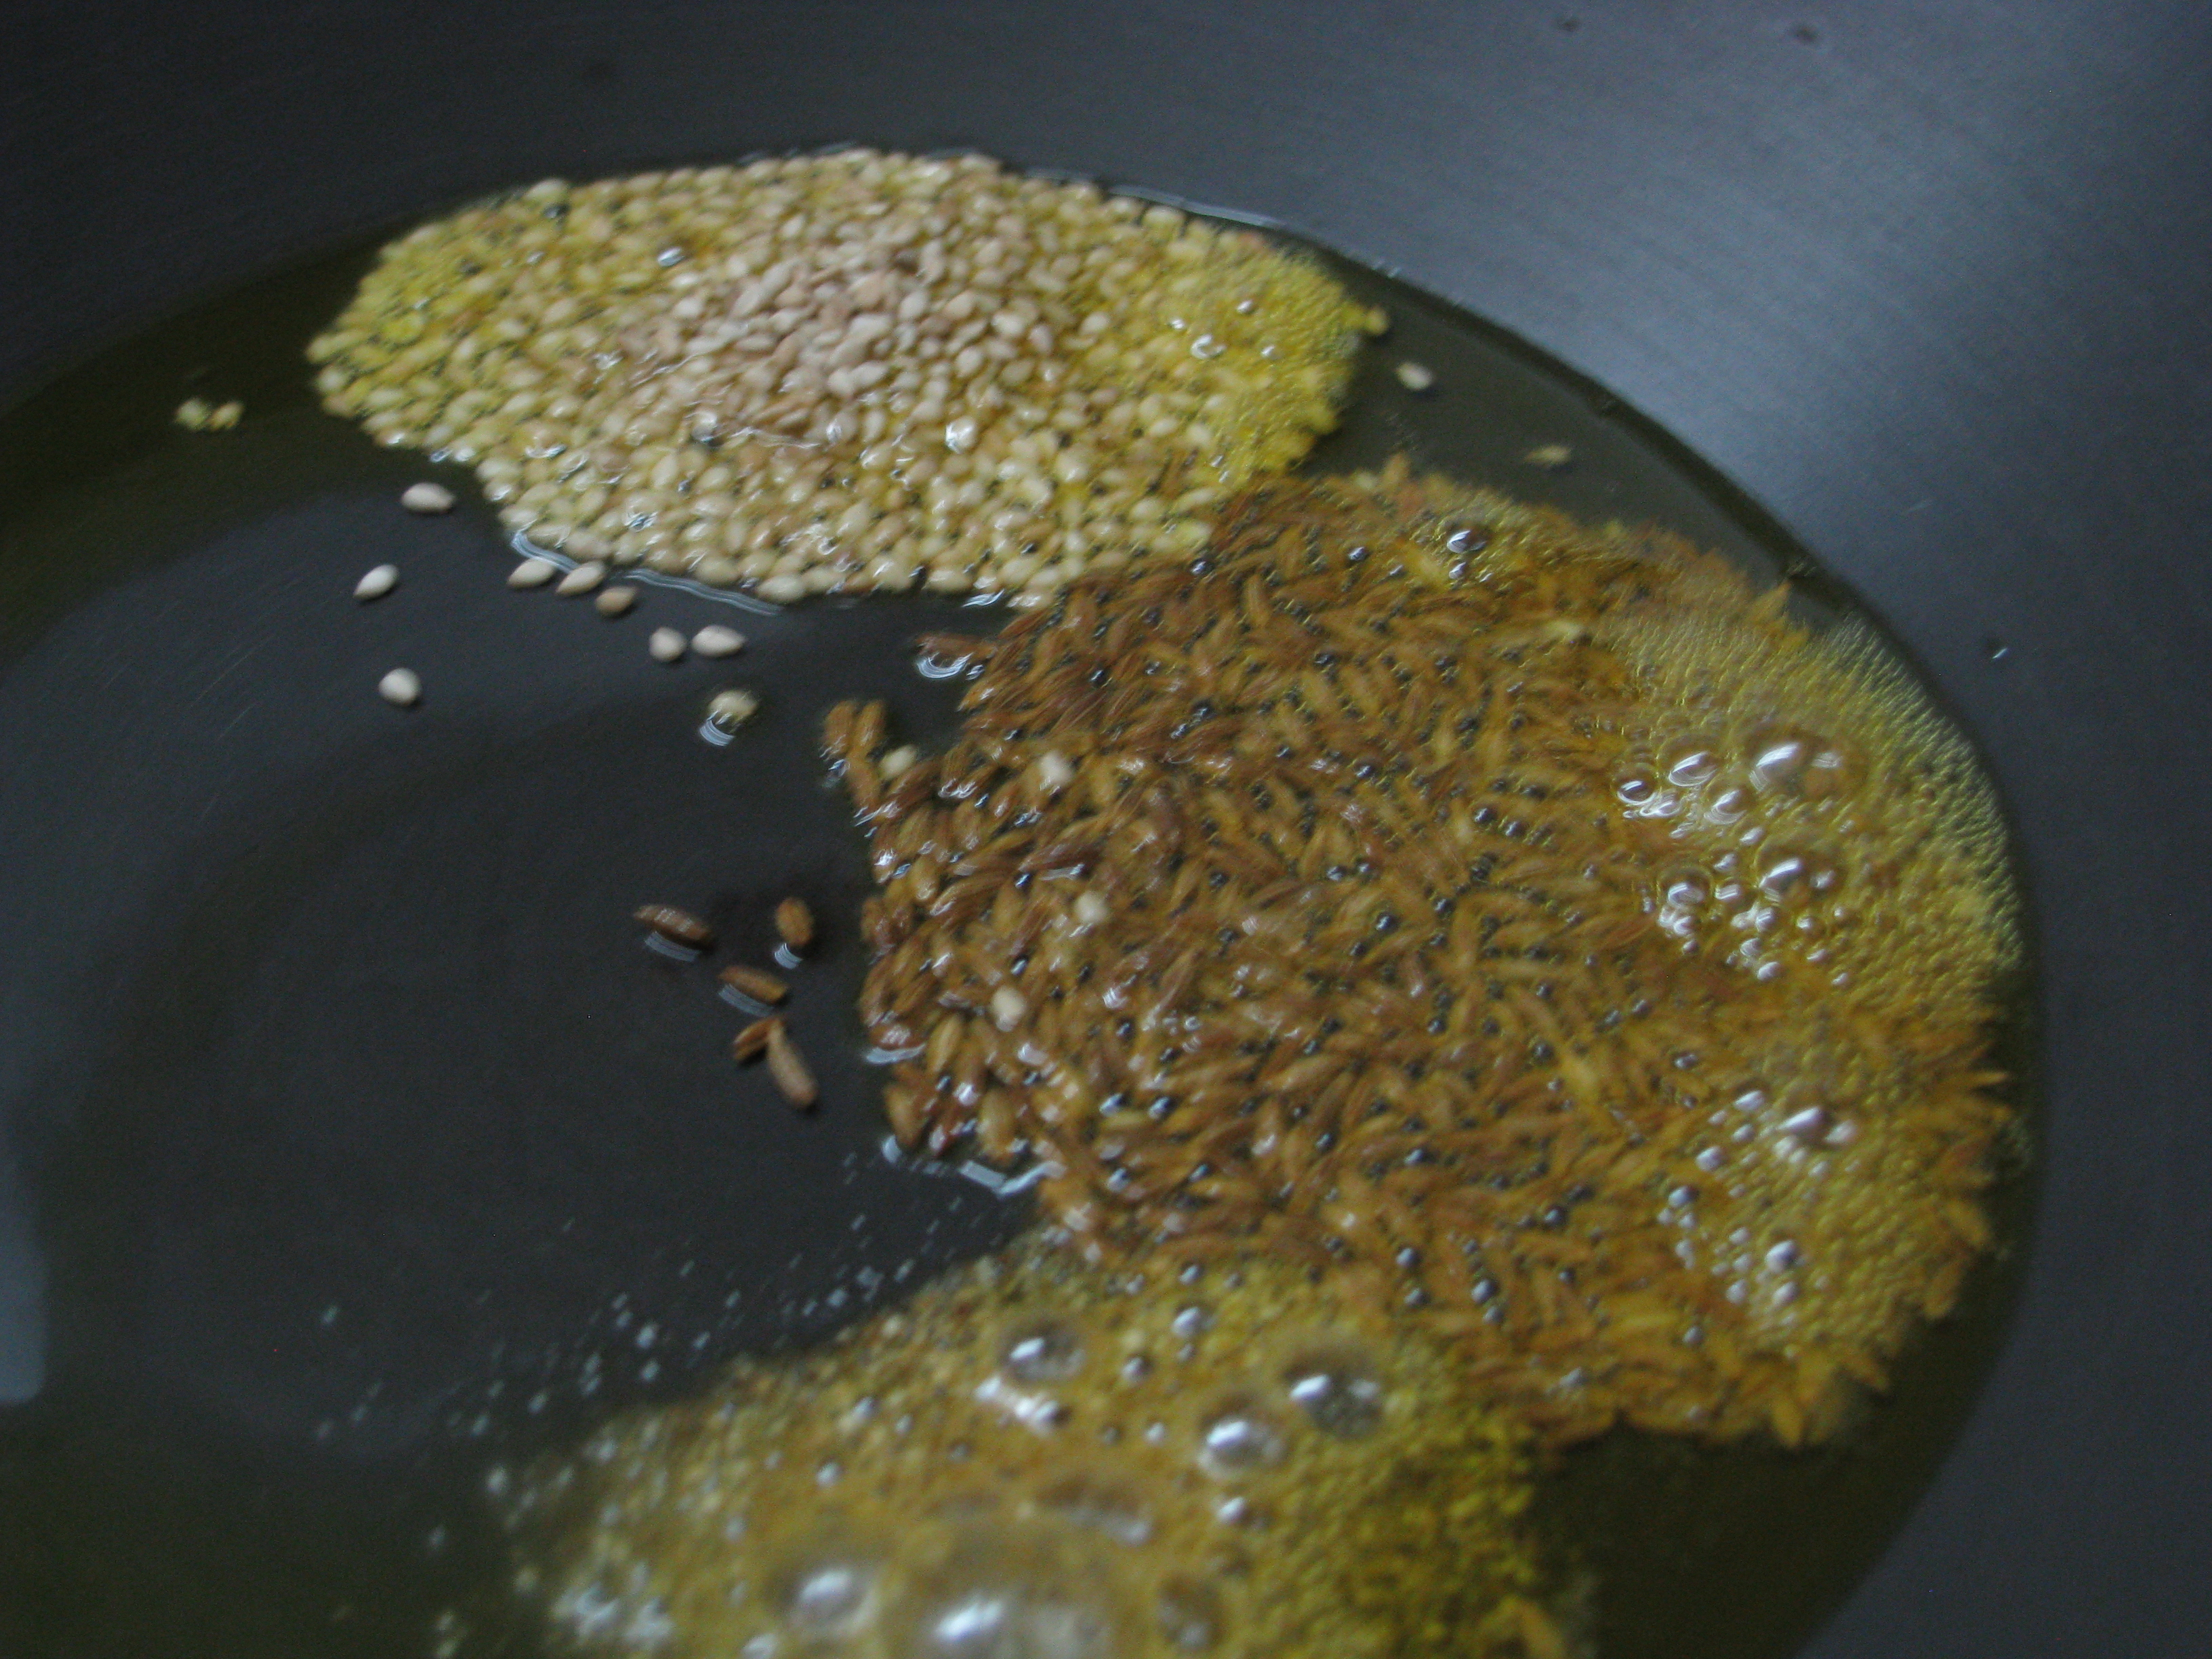
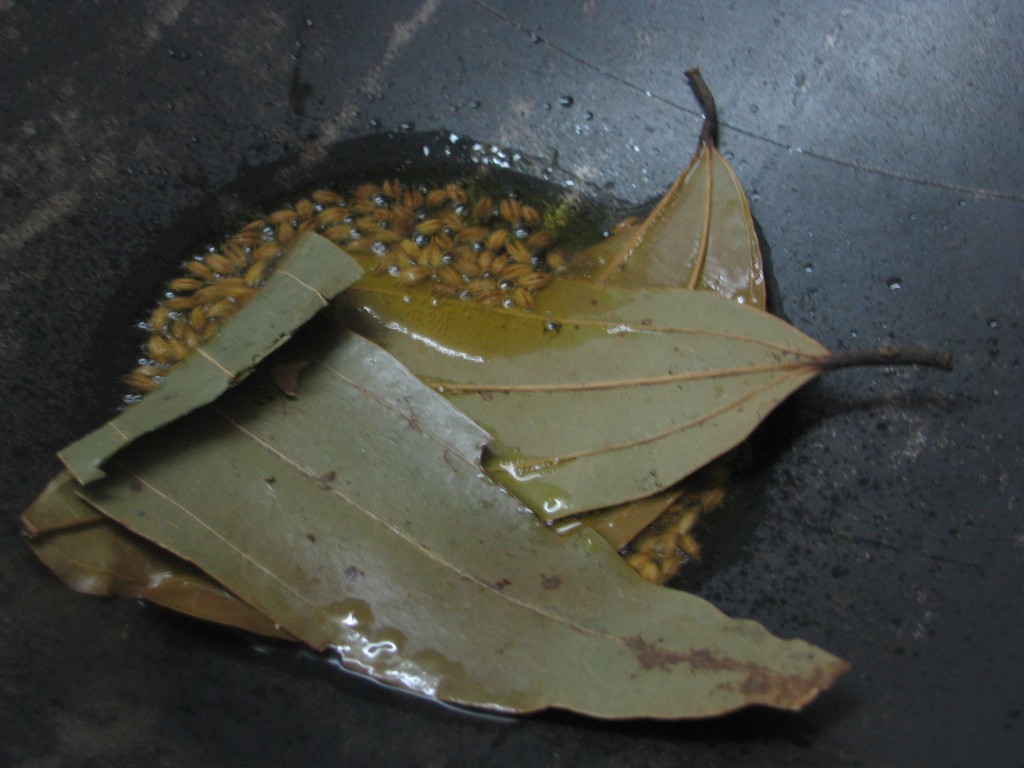
  1. Heat 1 tablespoon oil in a pan.IMG_1362
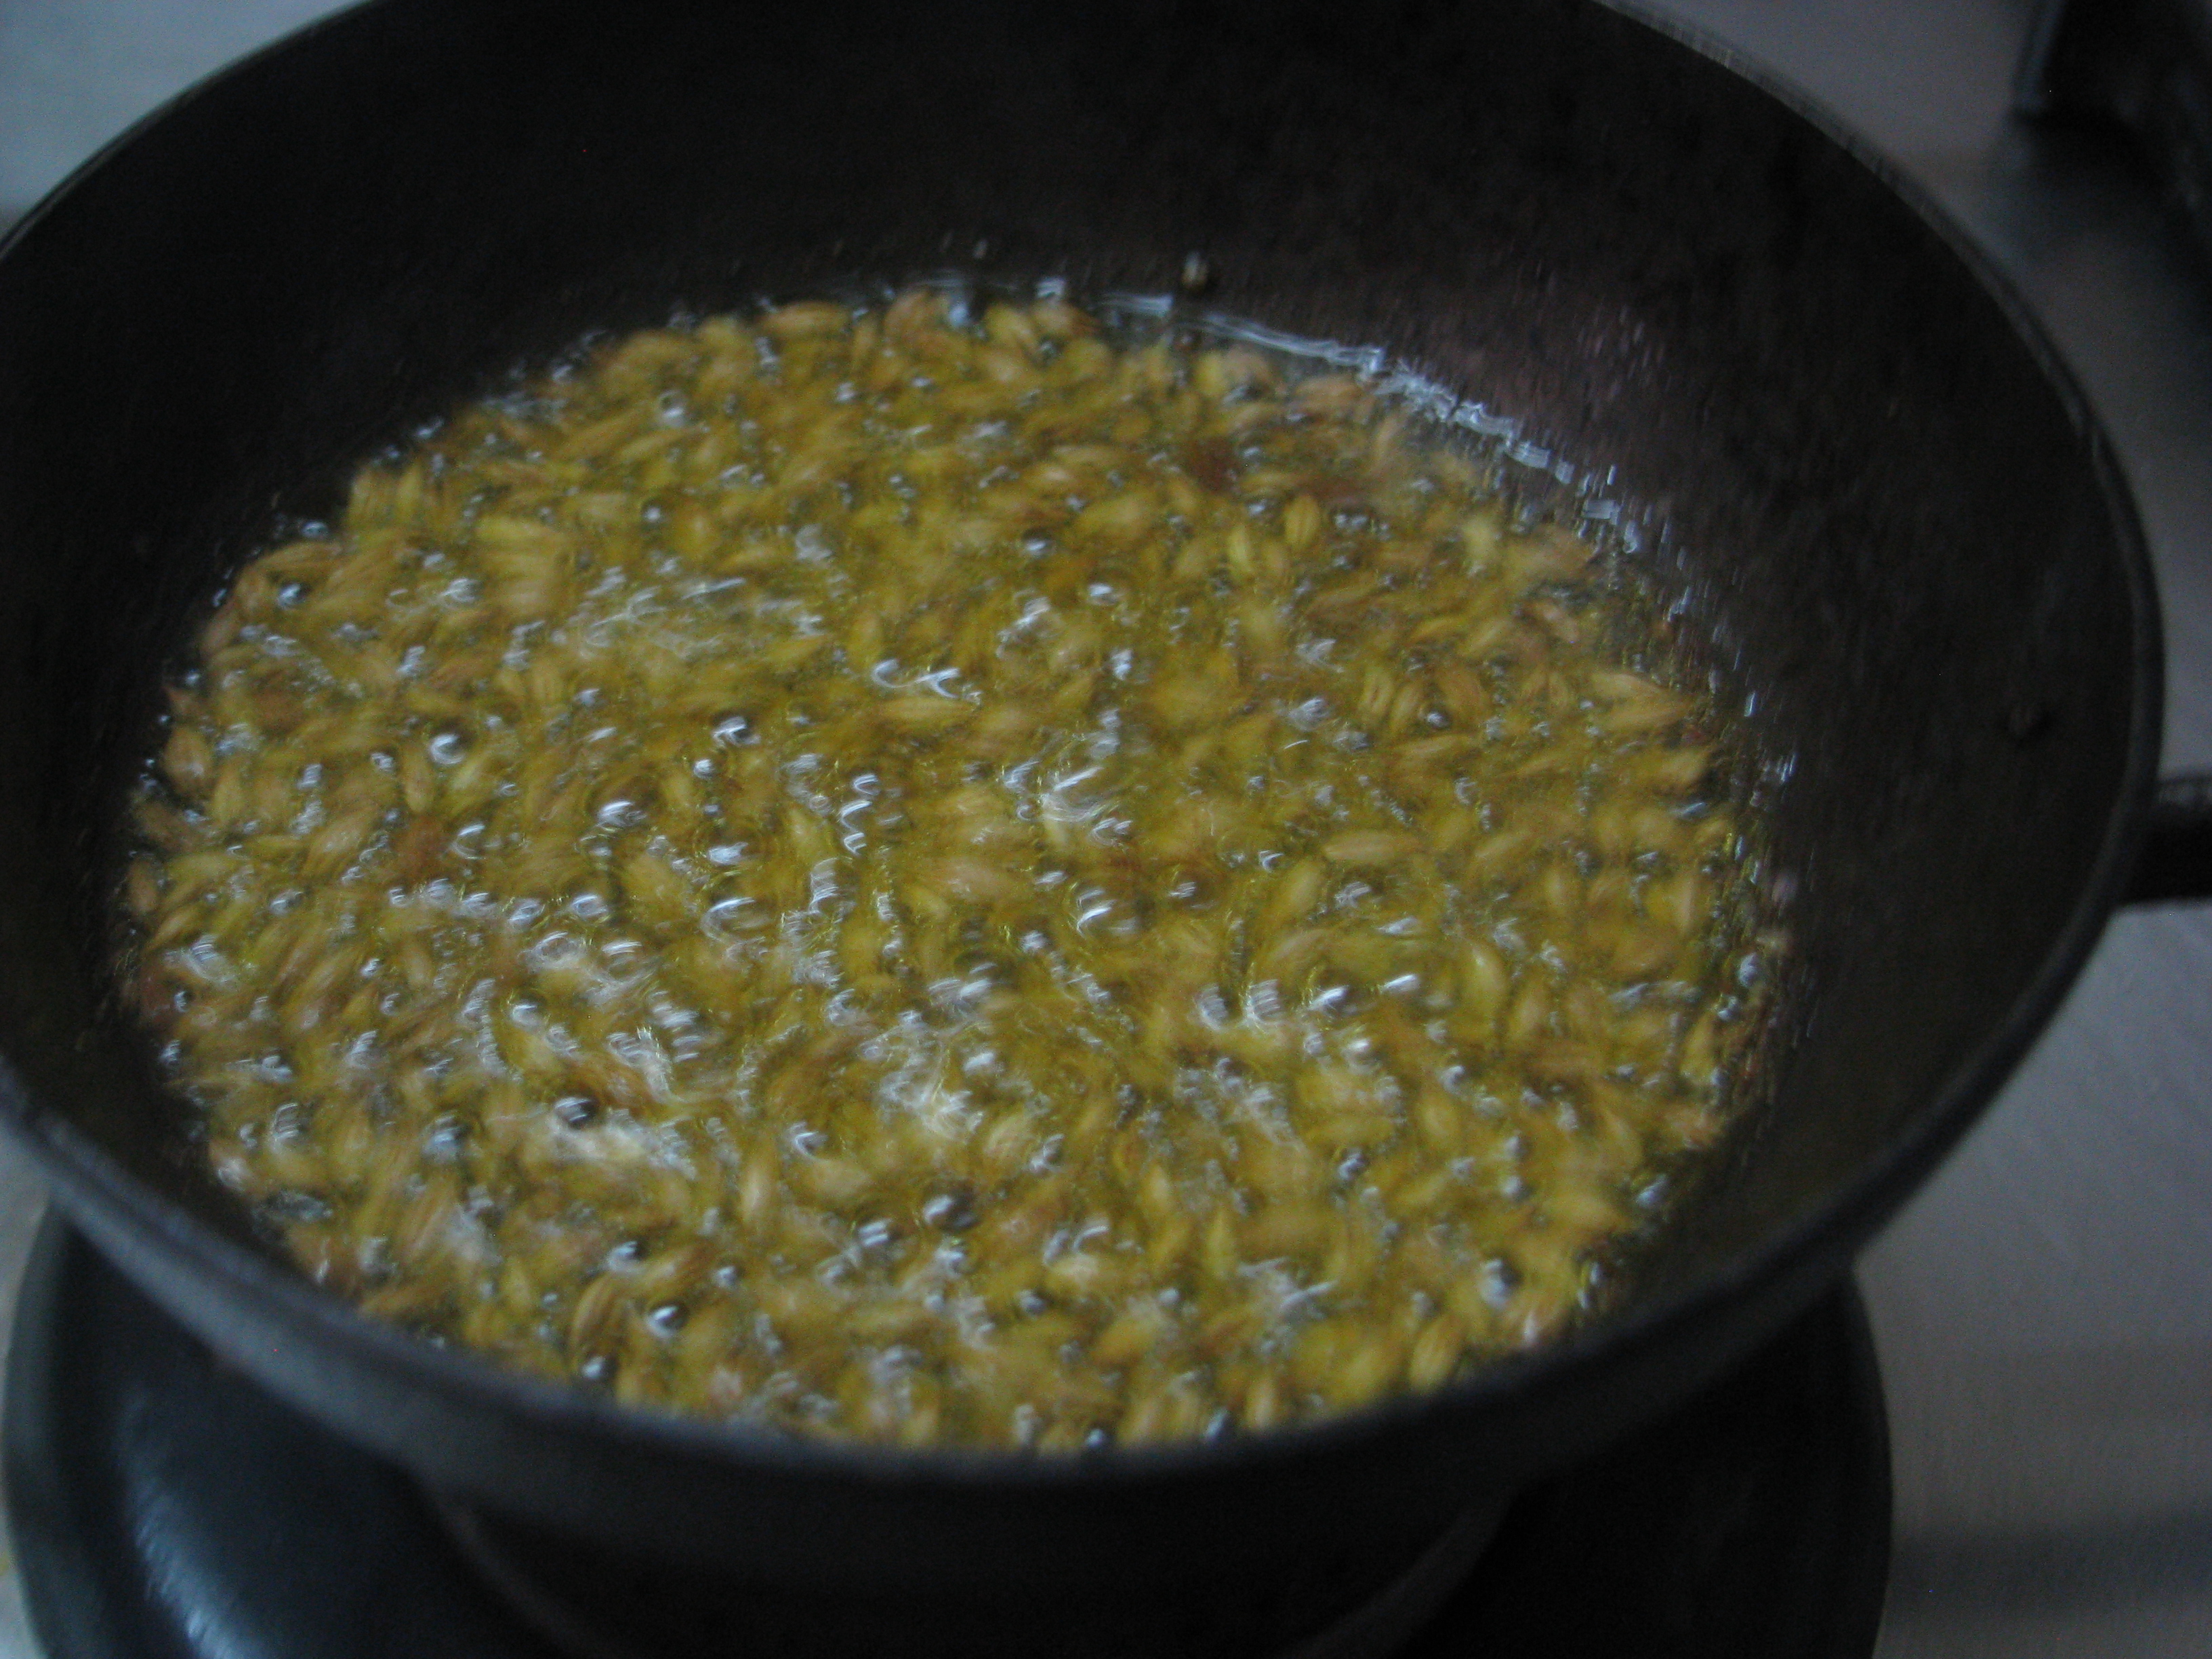
  2. Add asafoetida, cumin seeds and sesame seeds to it.IMG_1365IMG_1366
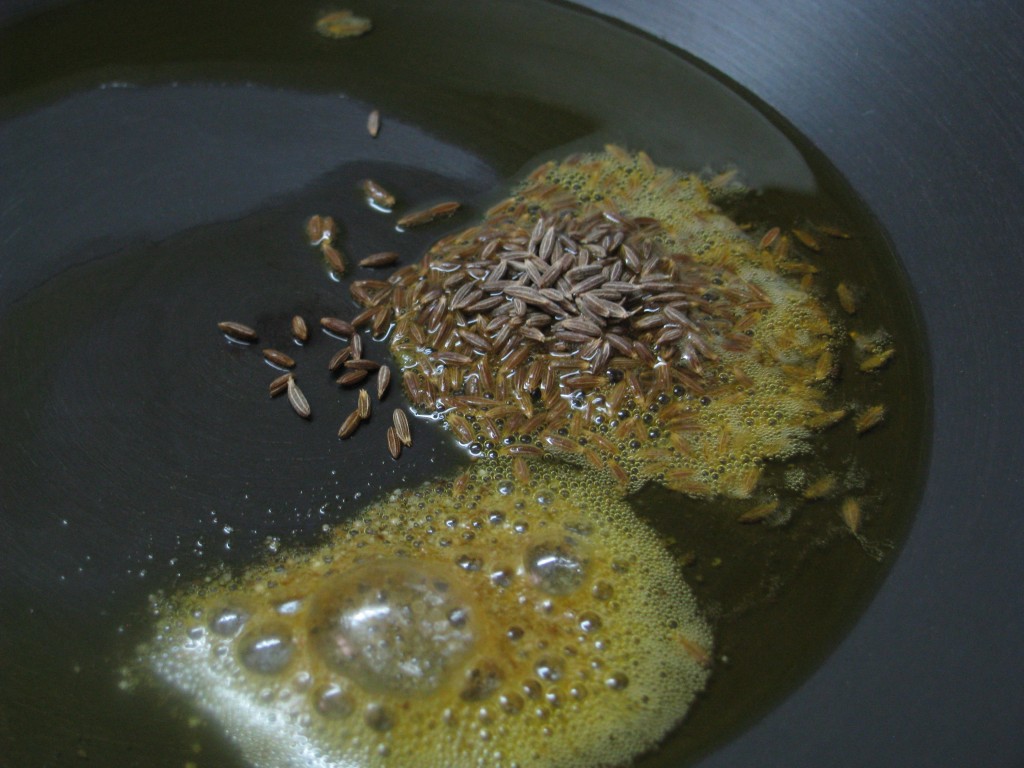
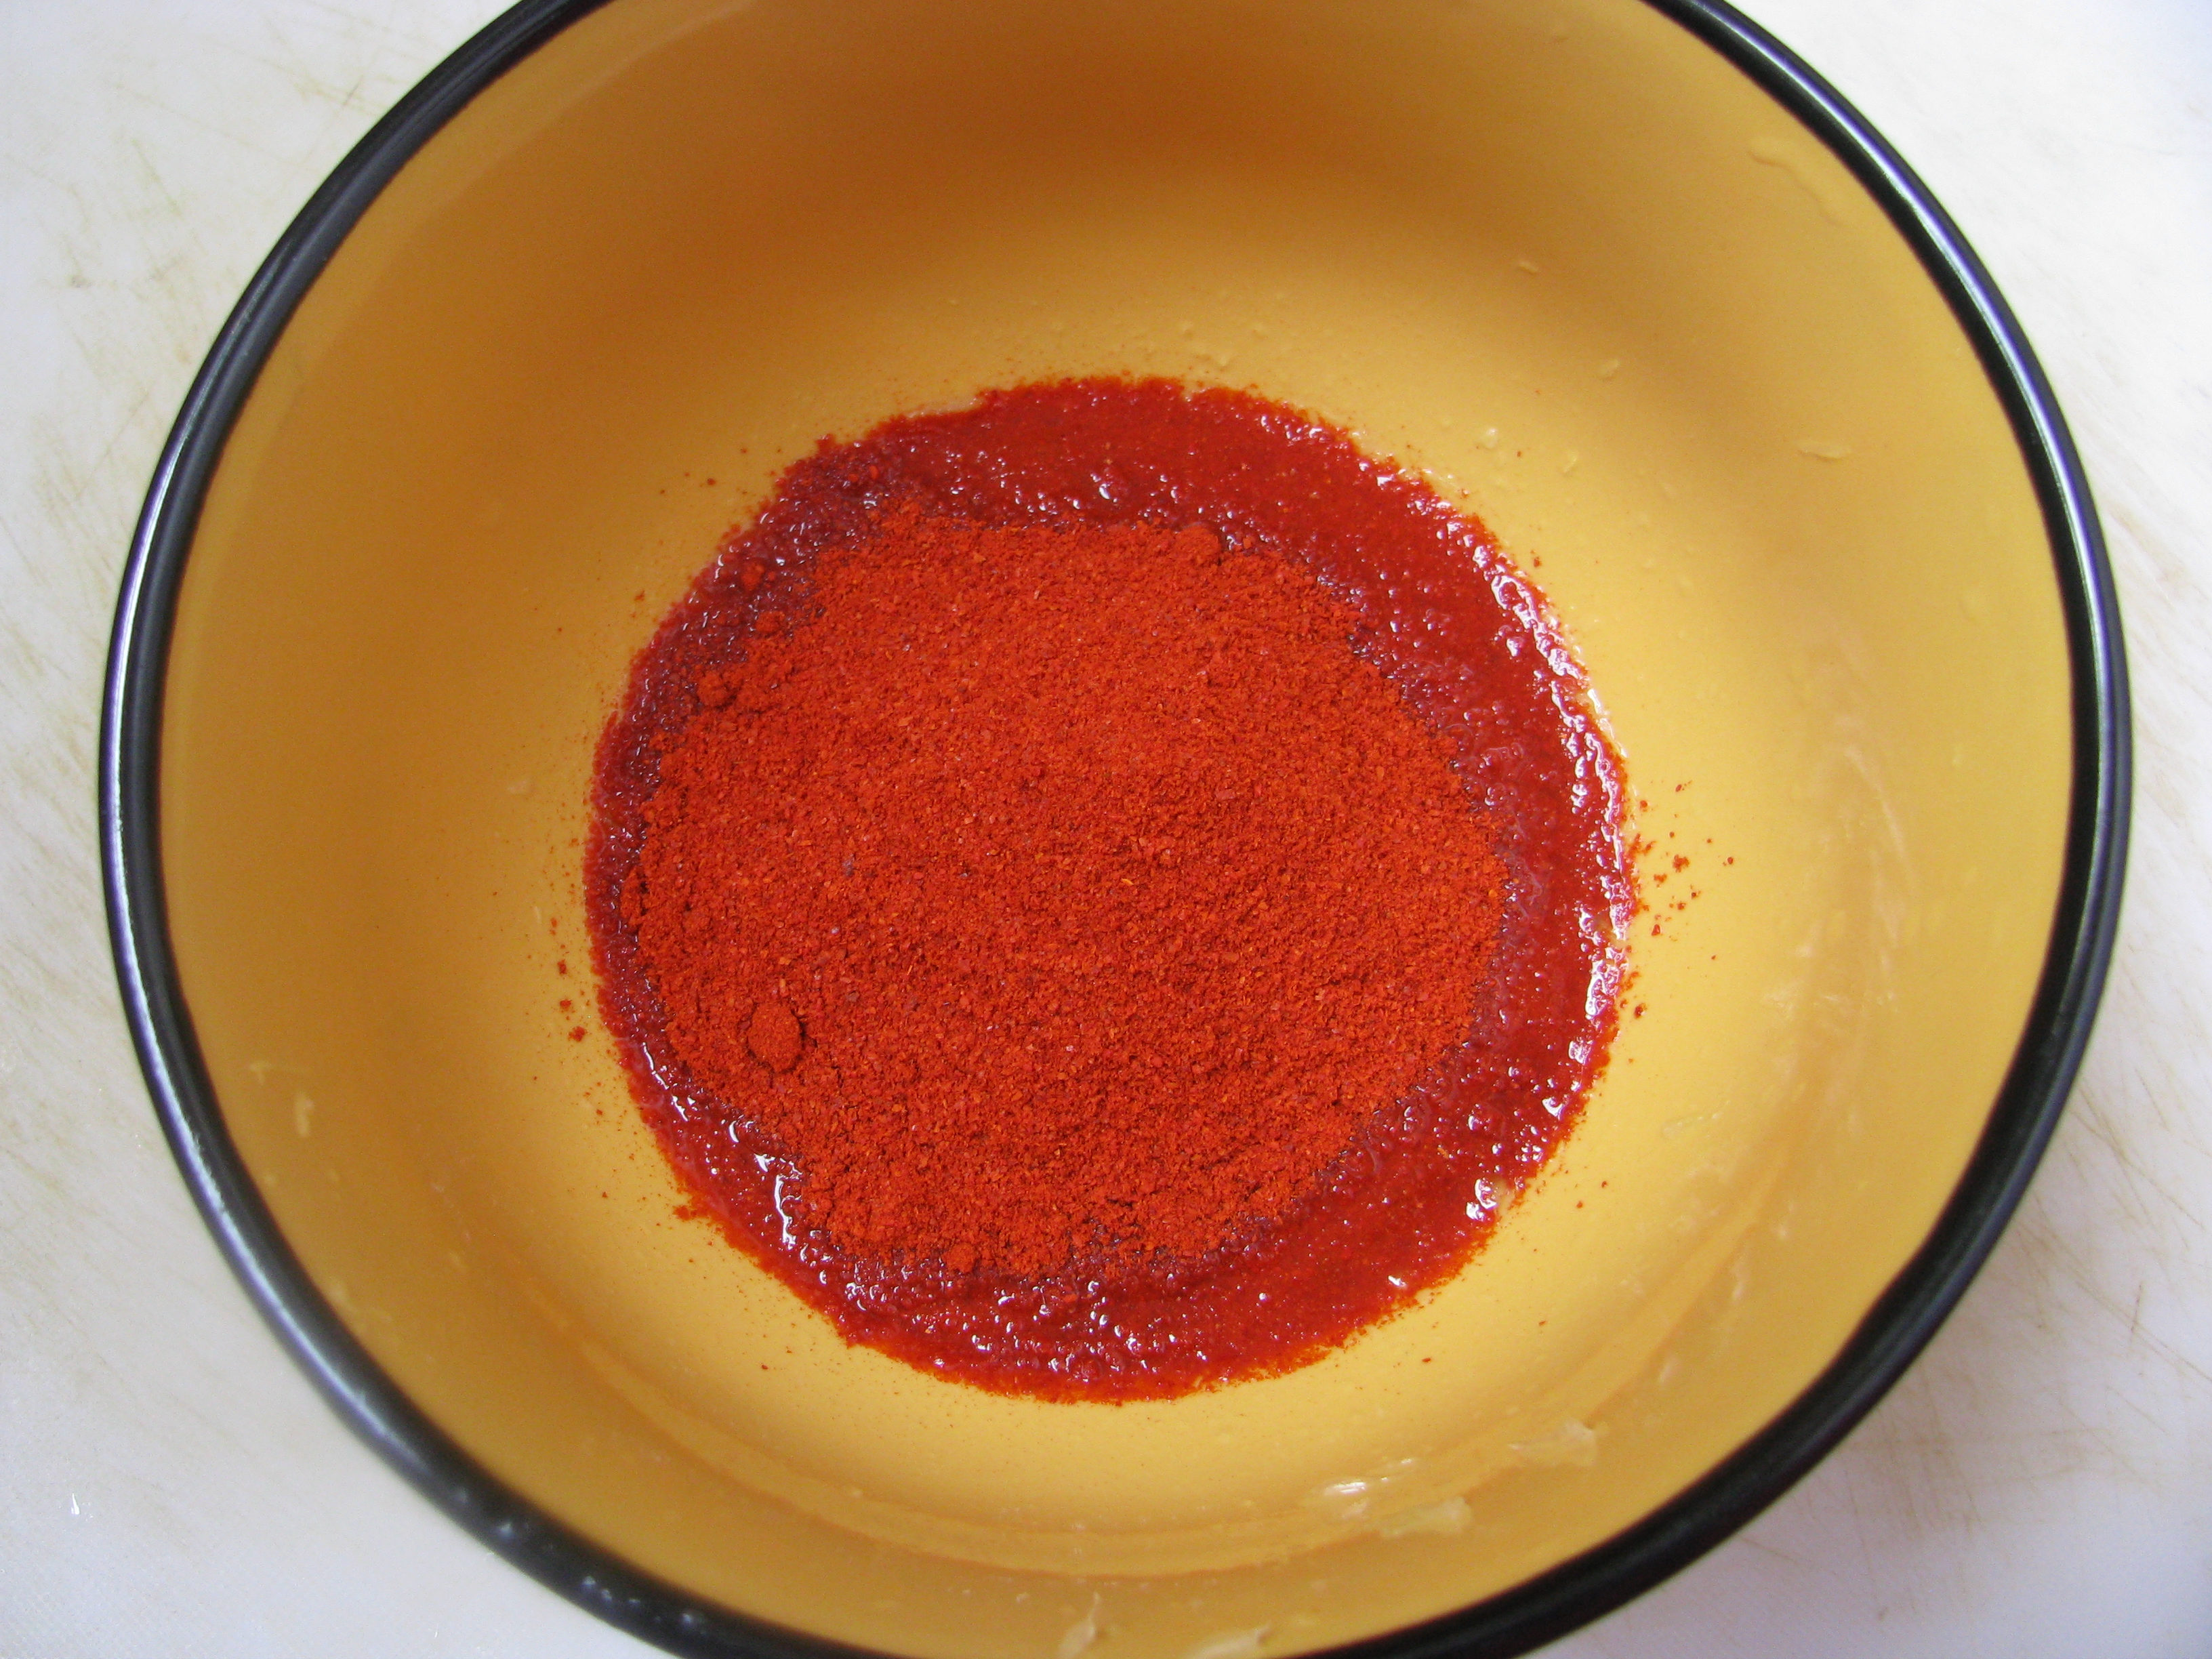
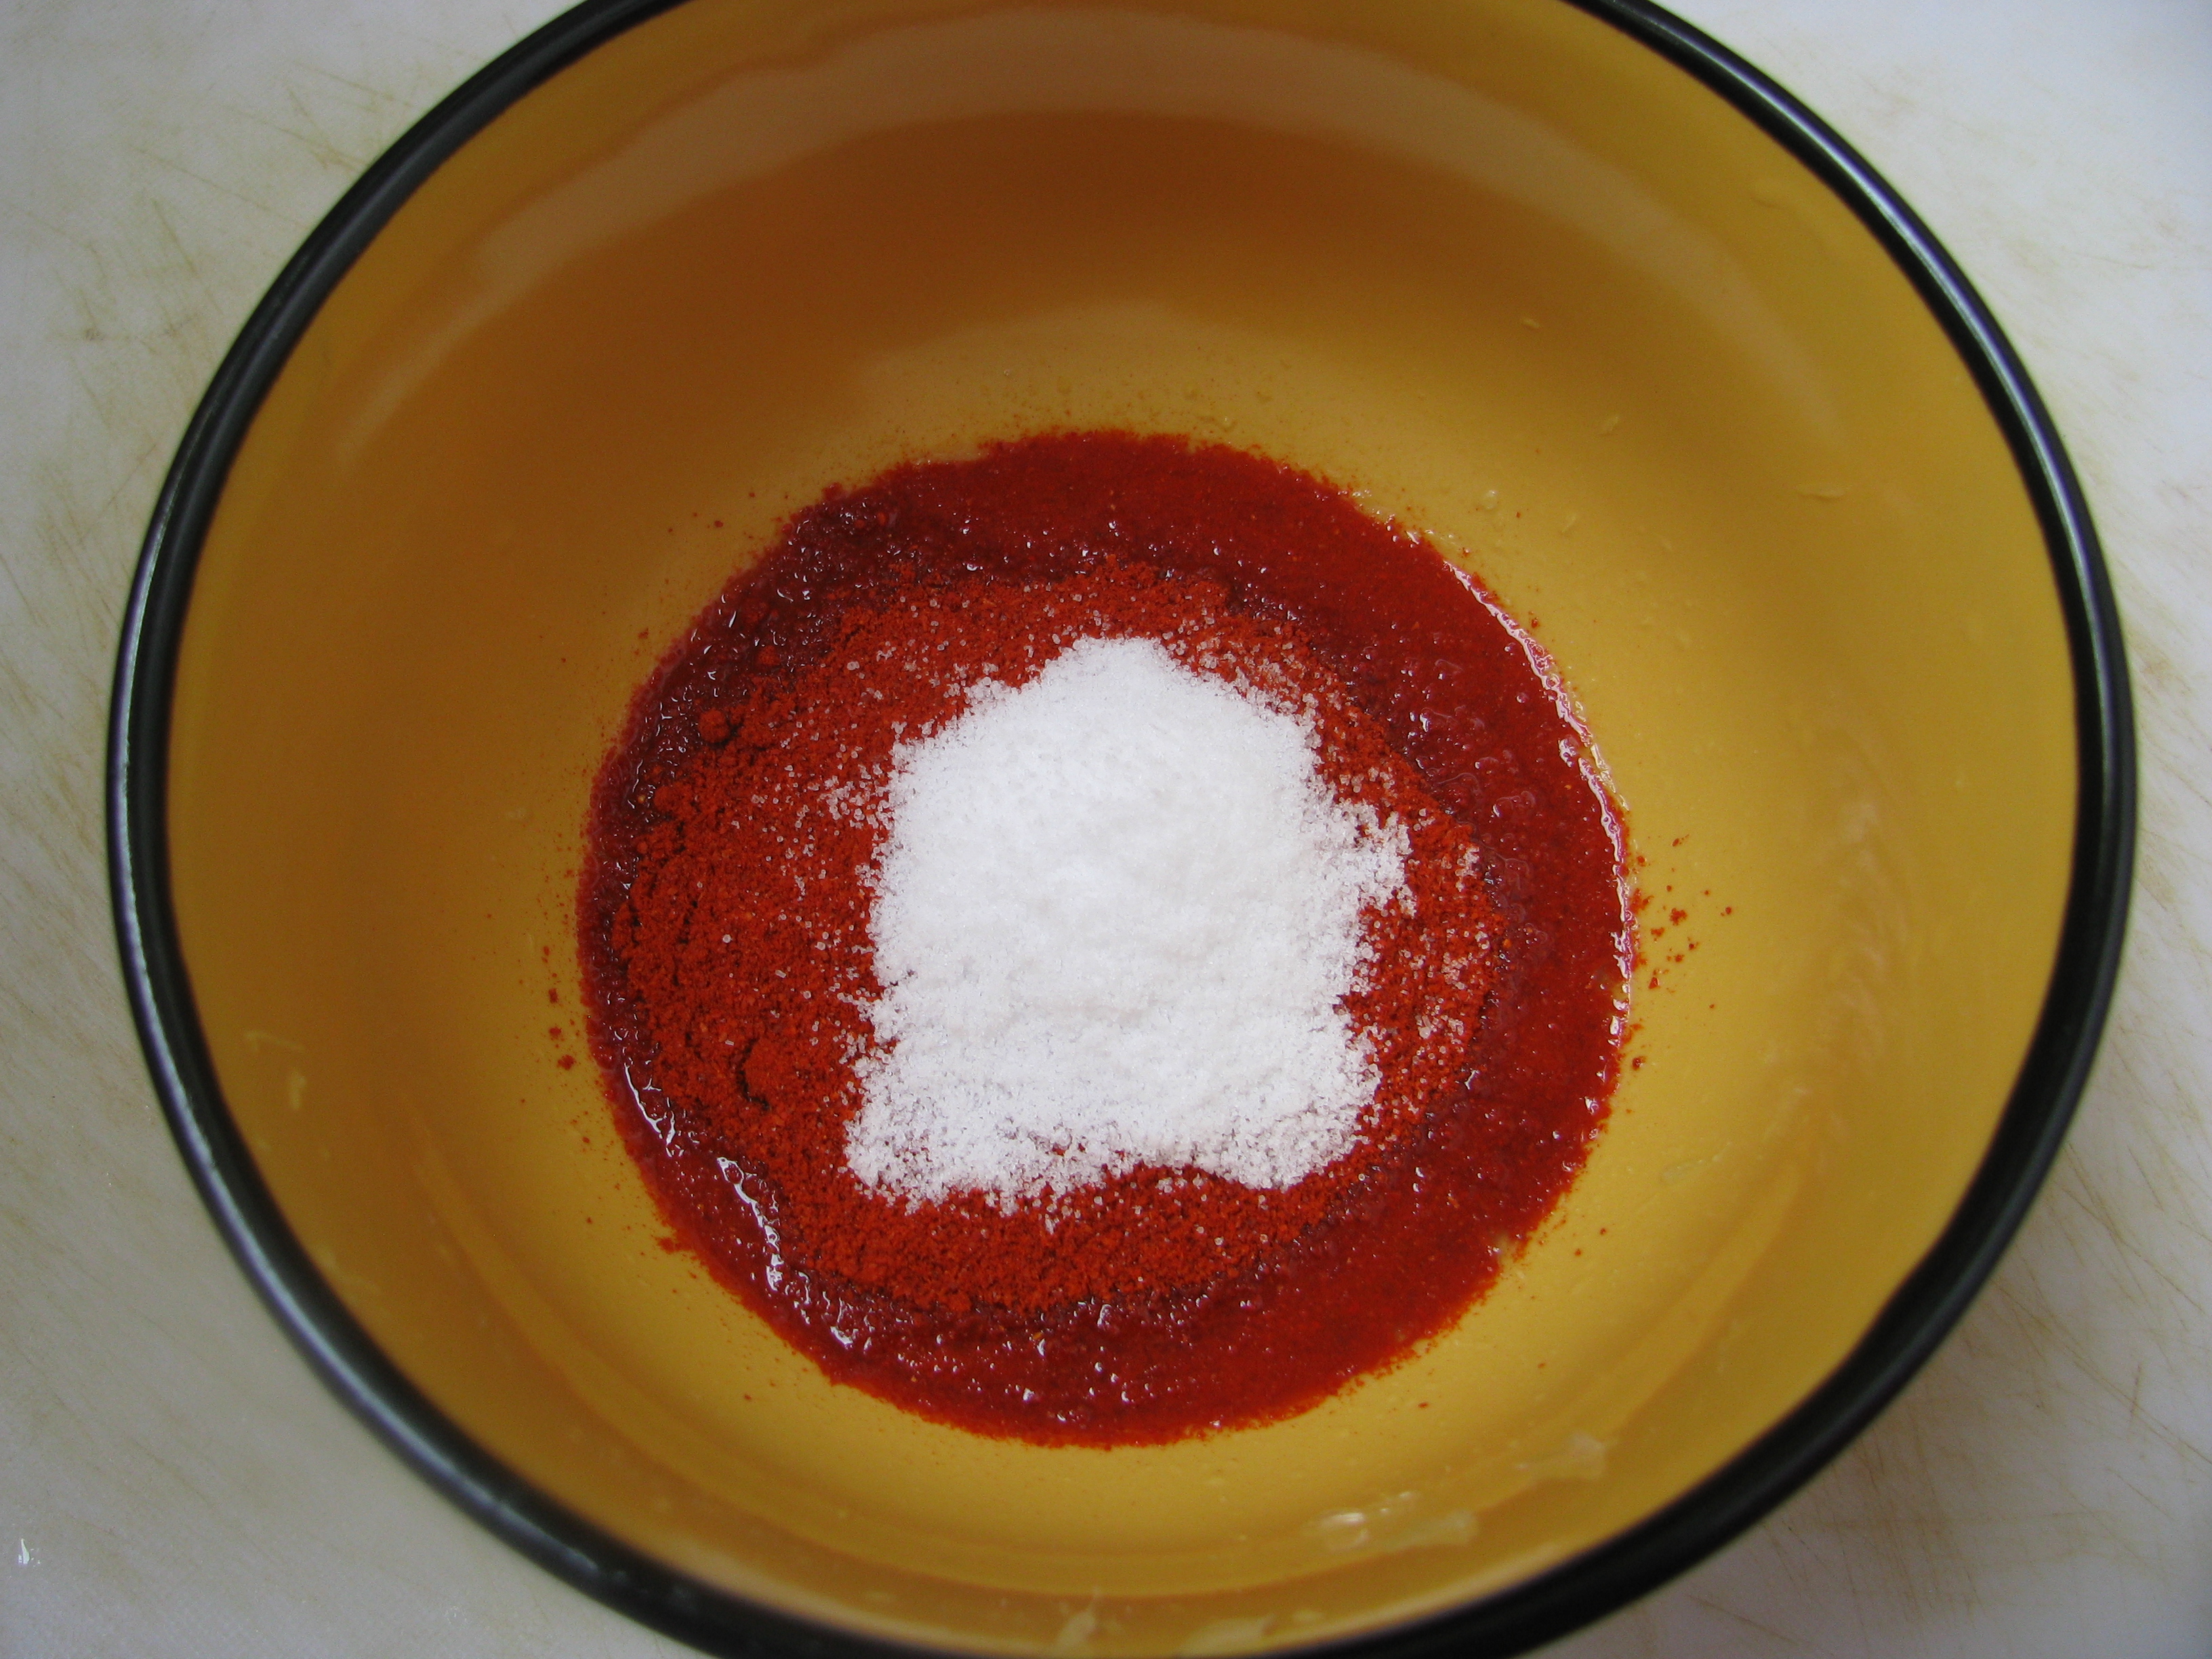
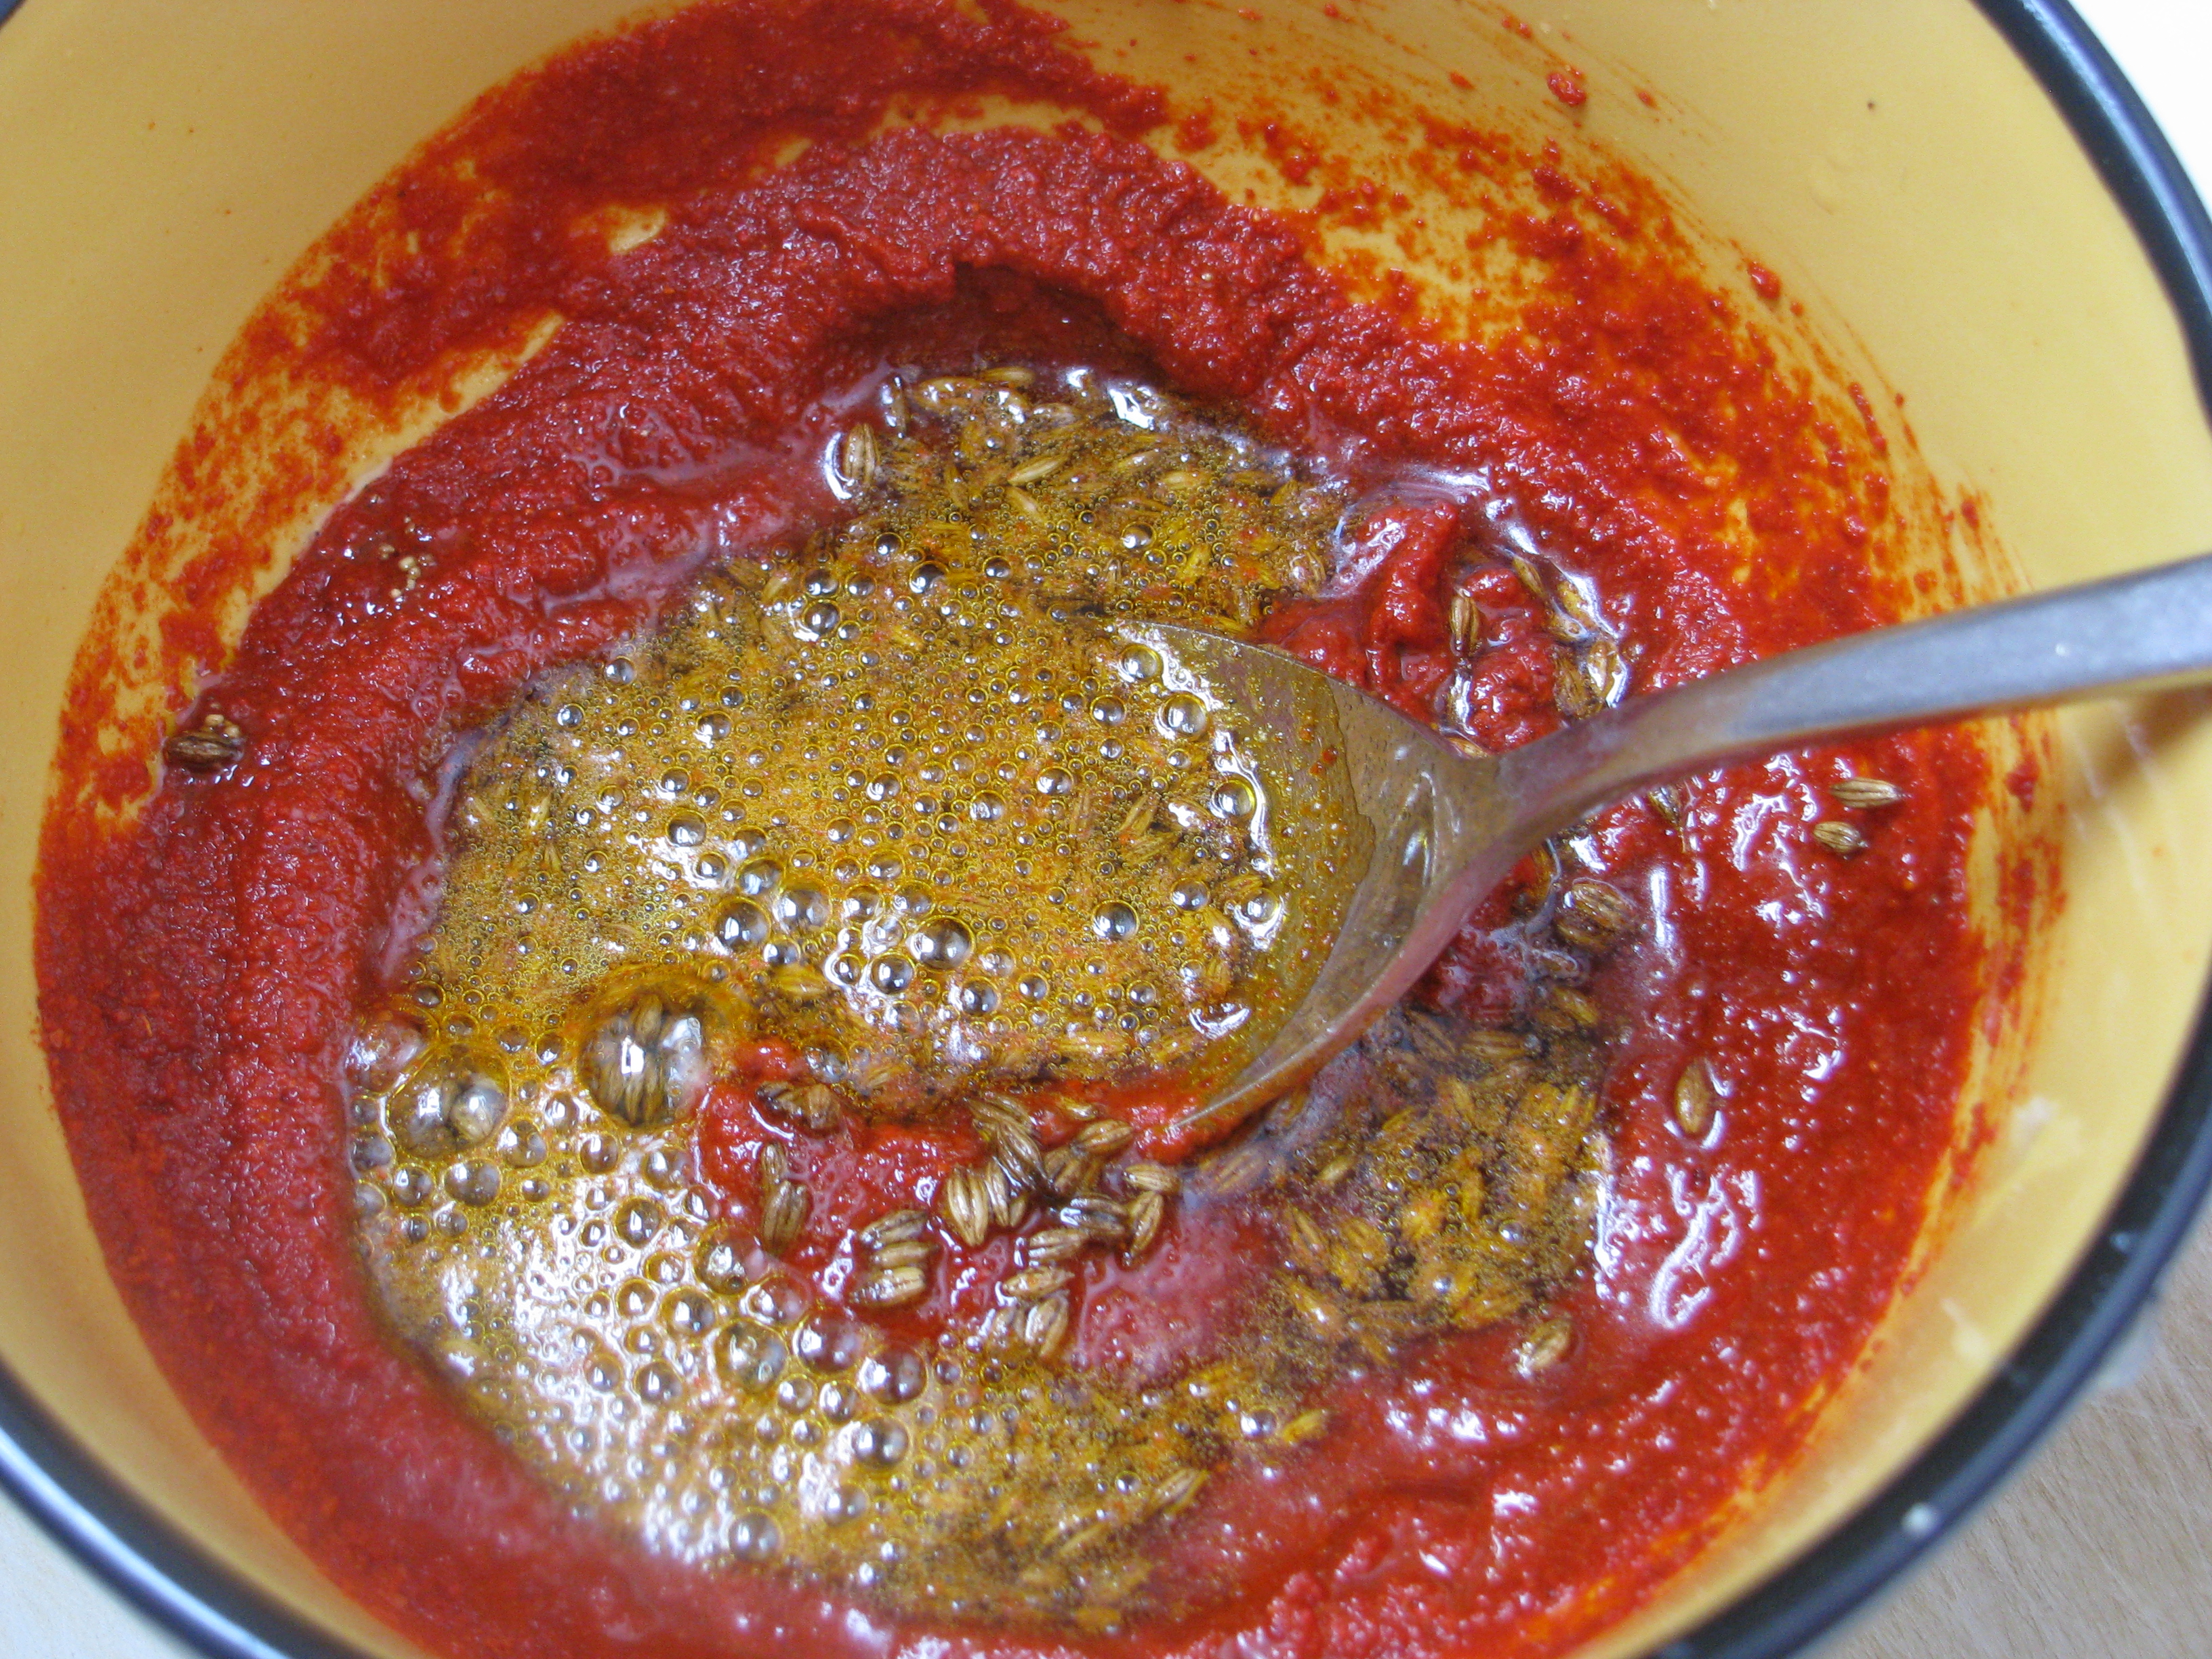
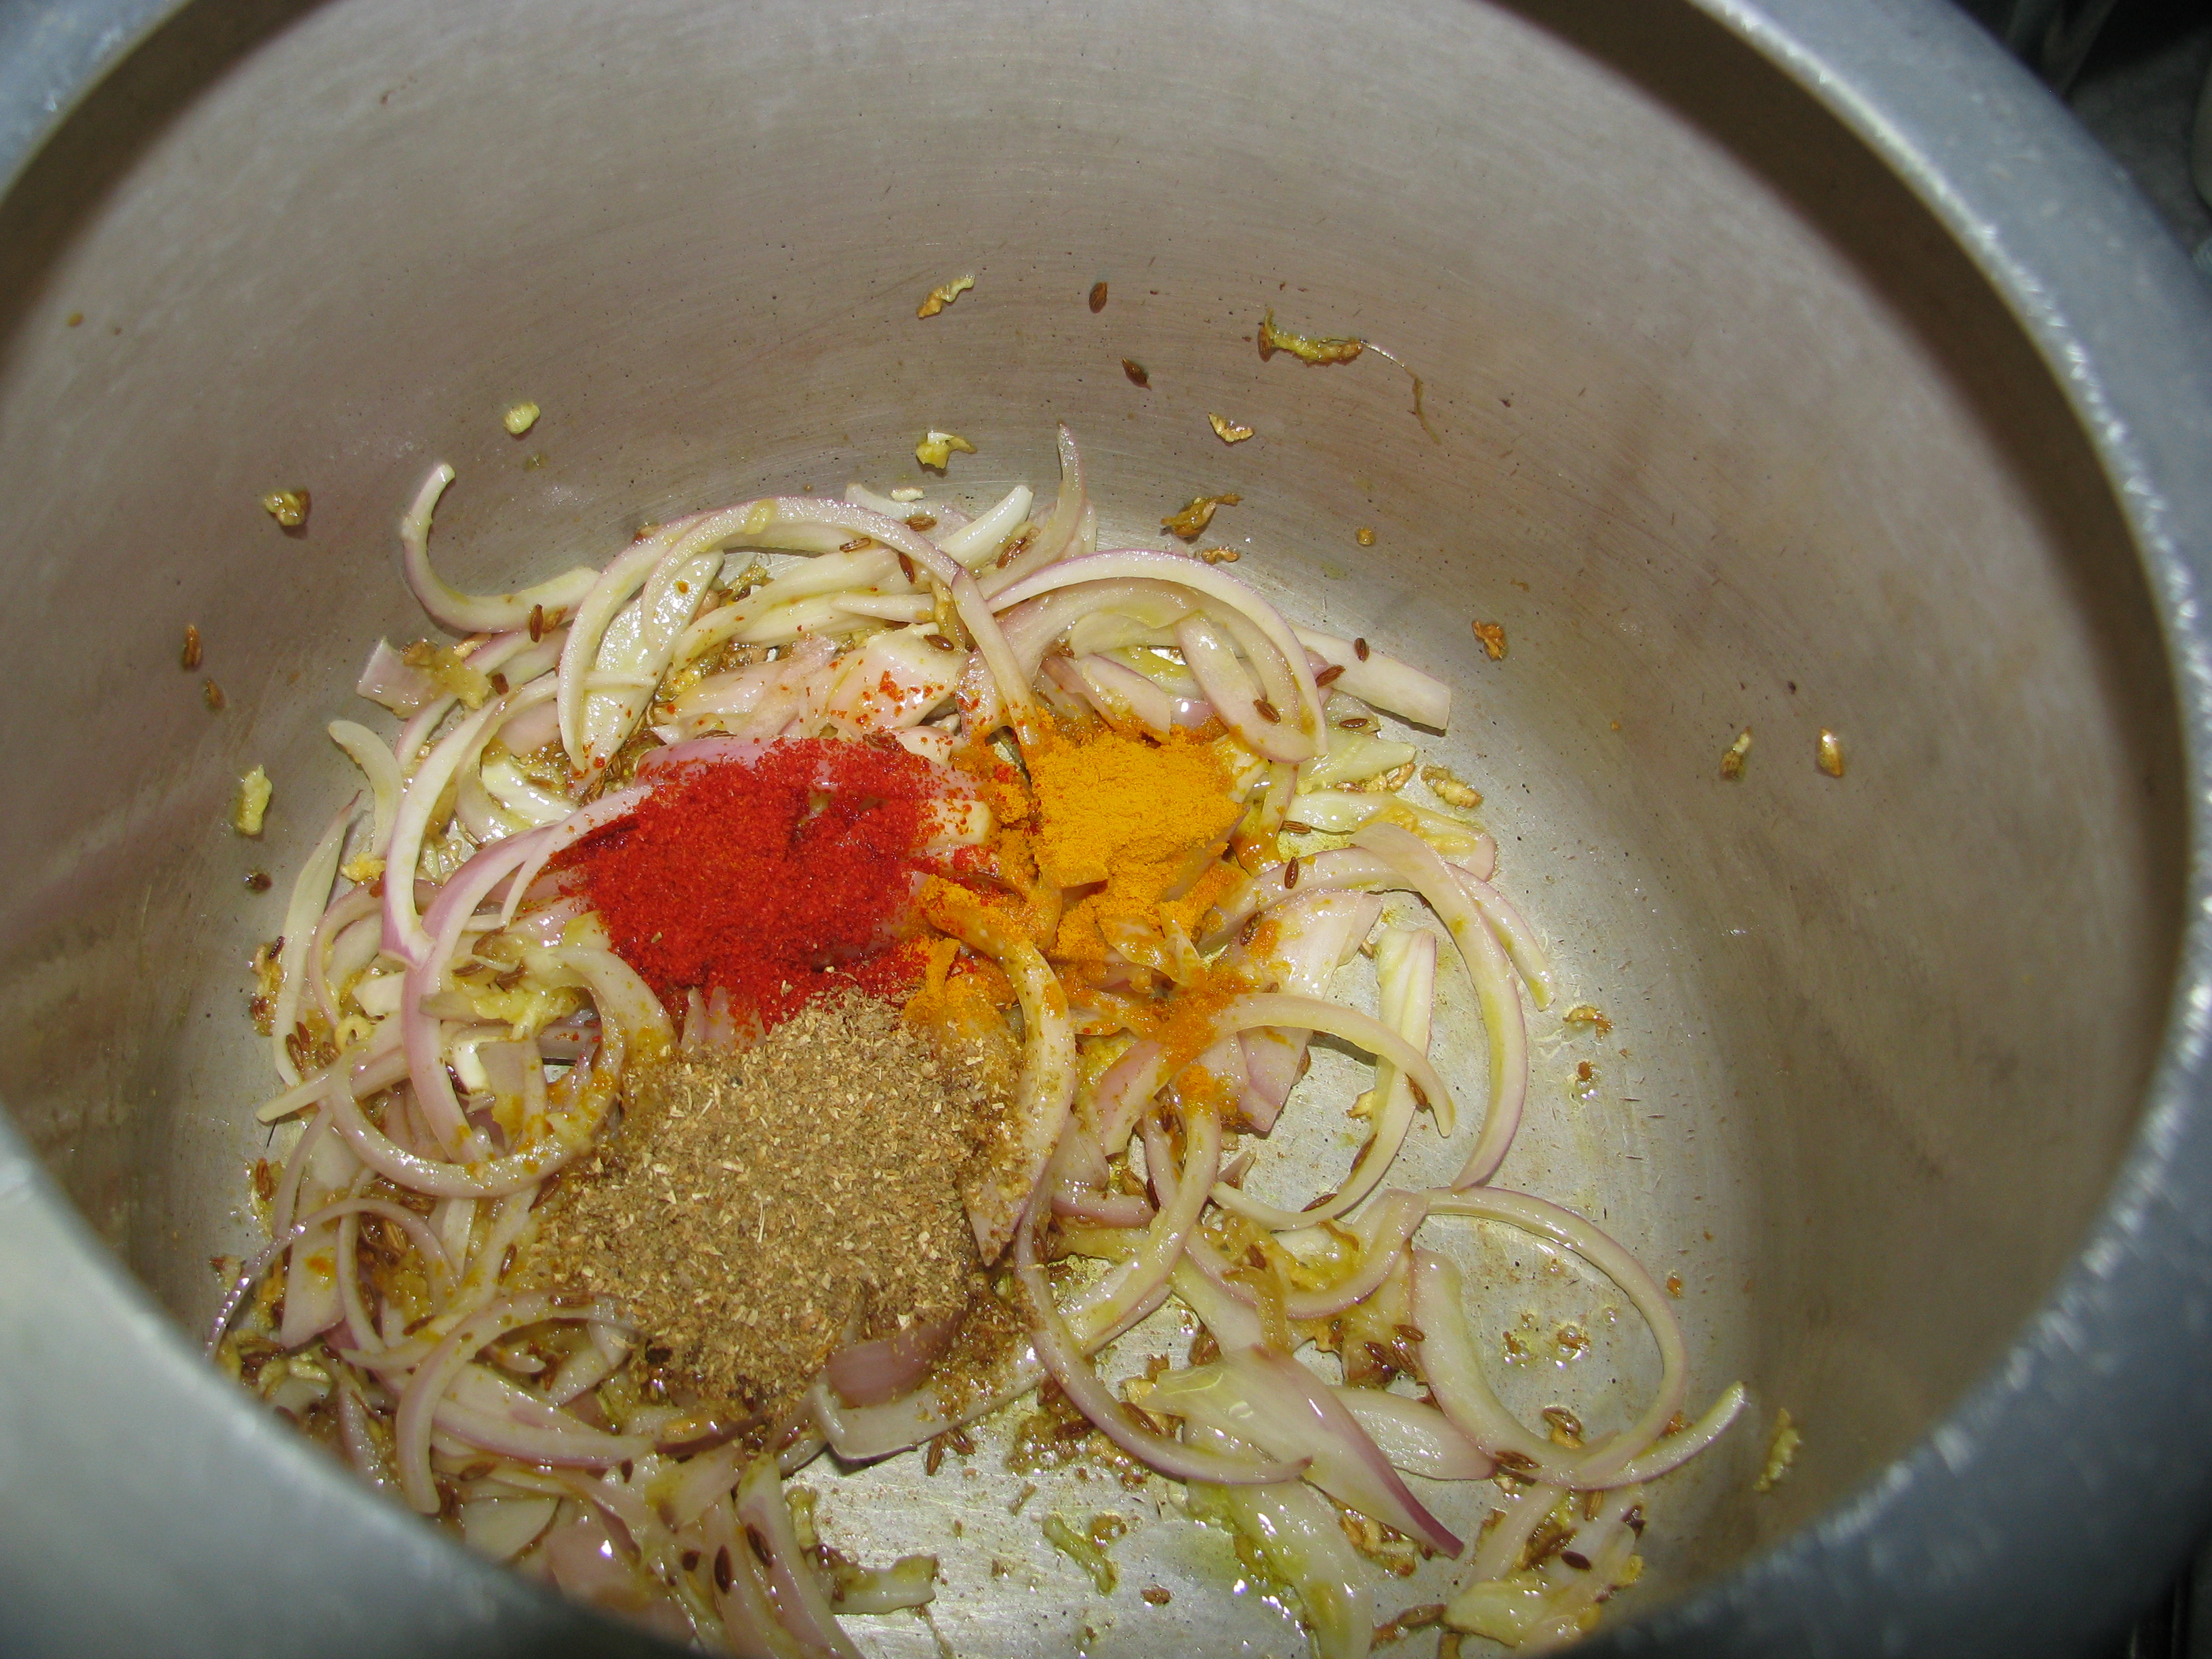
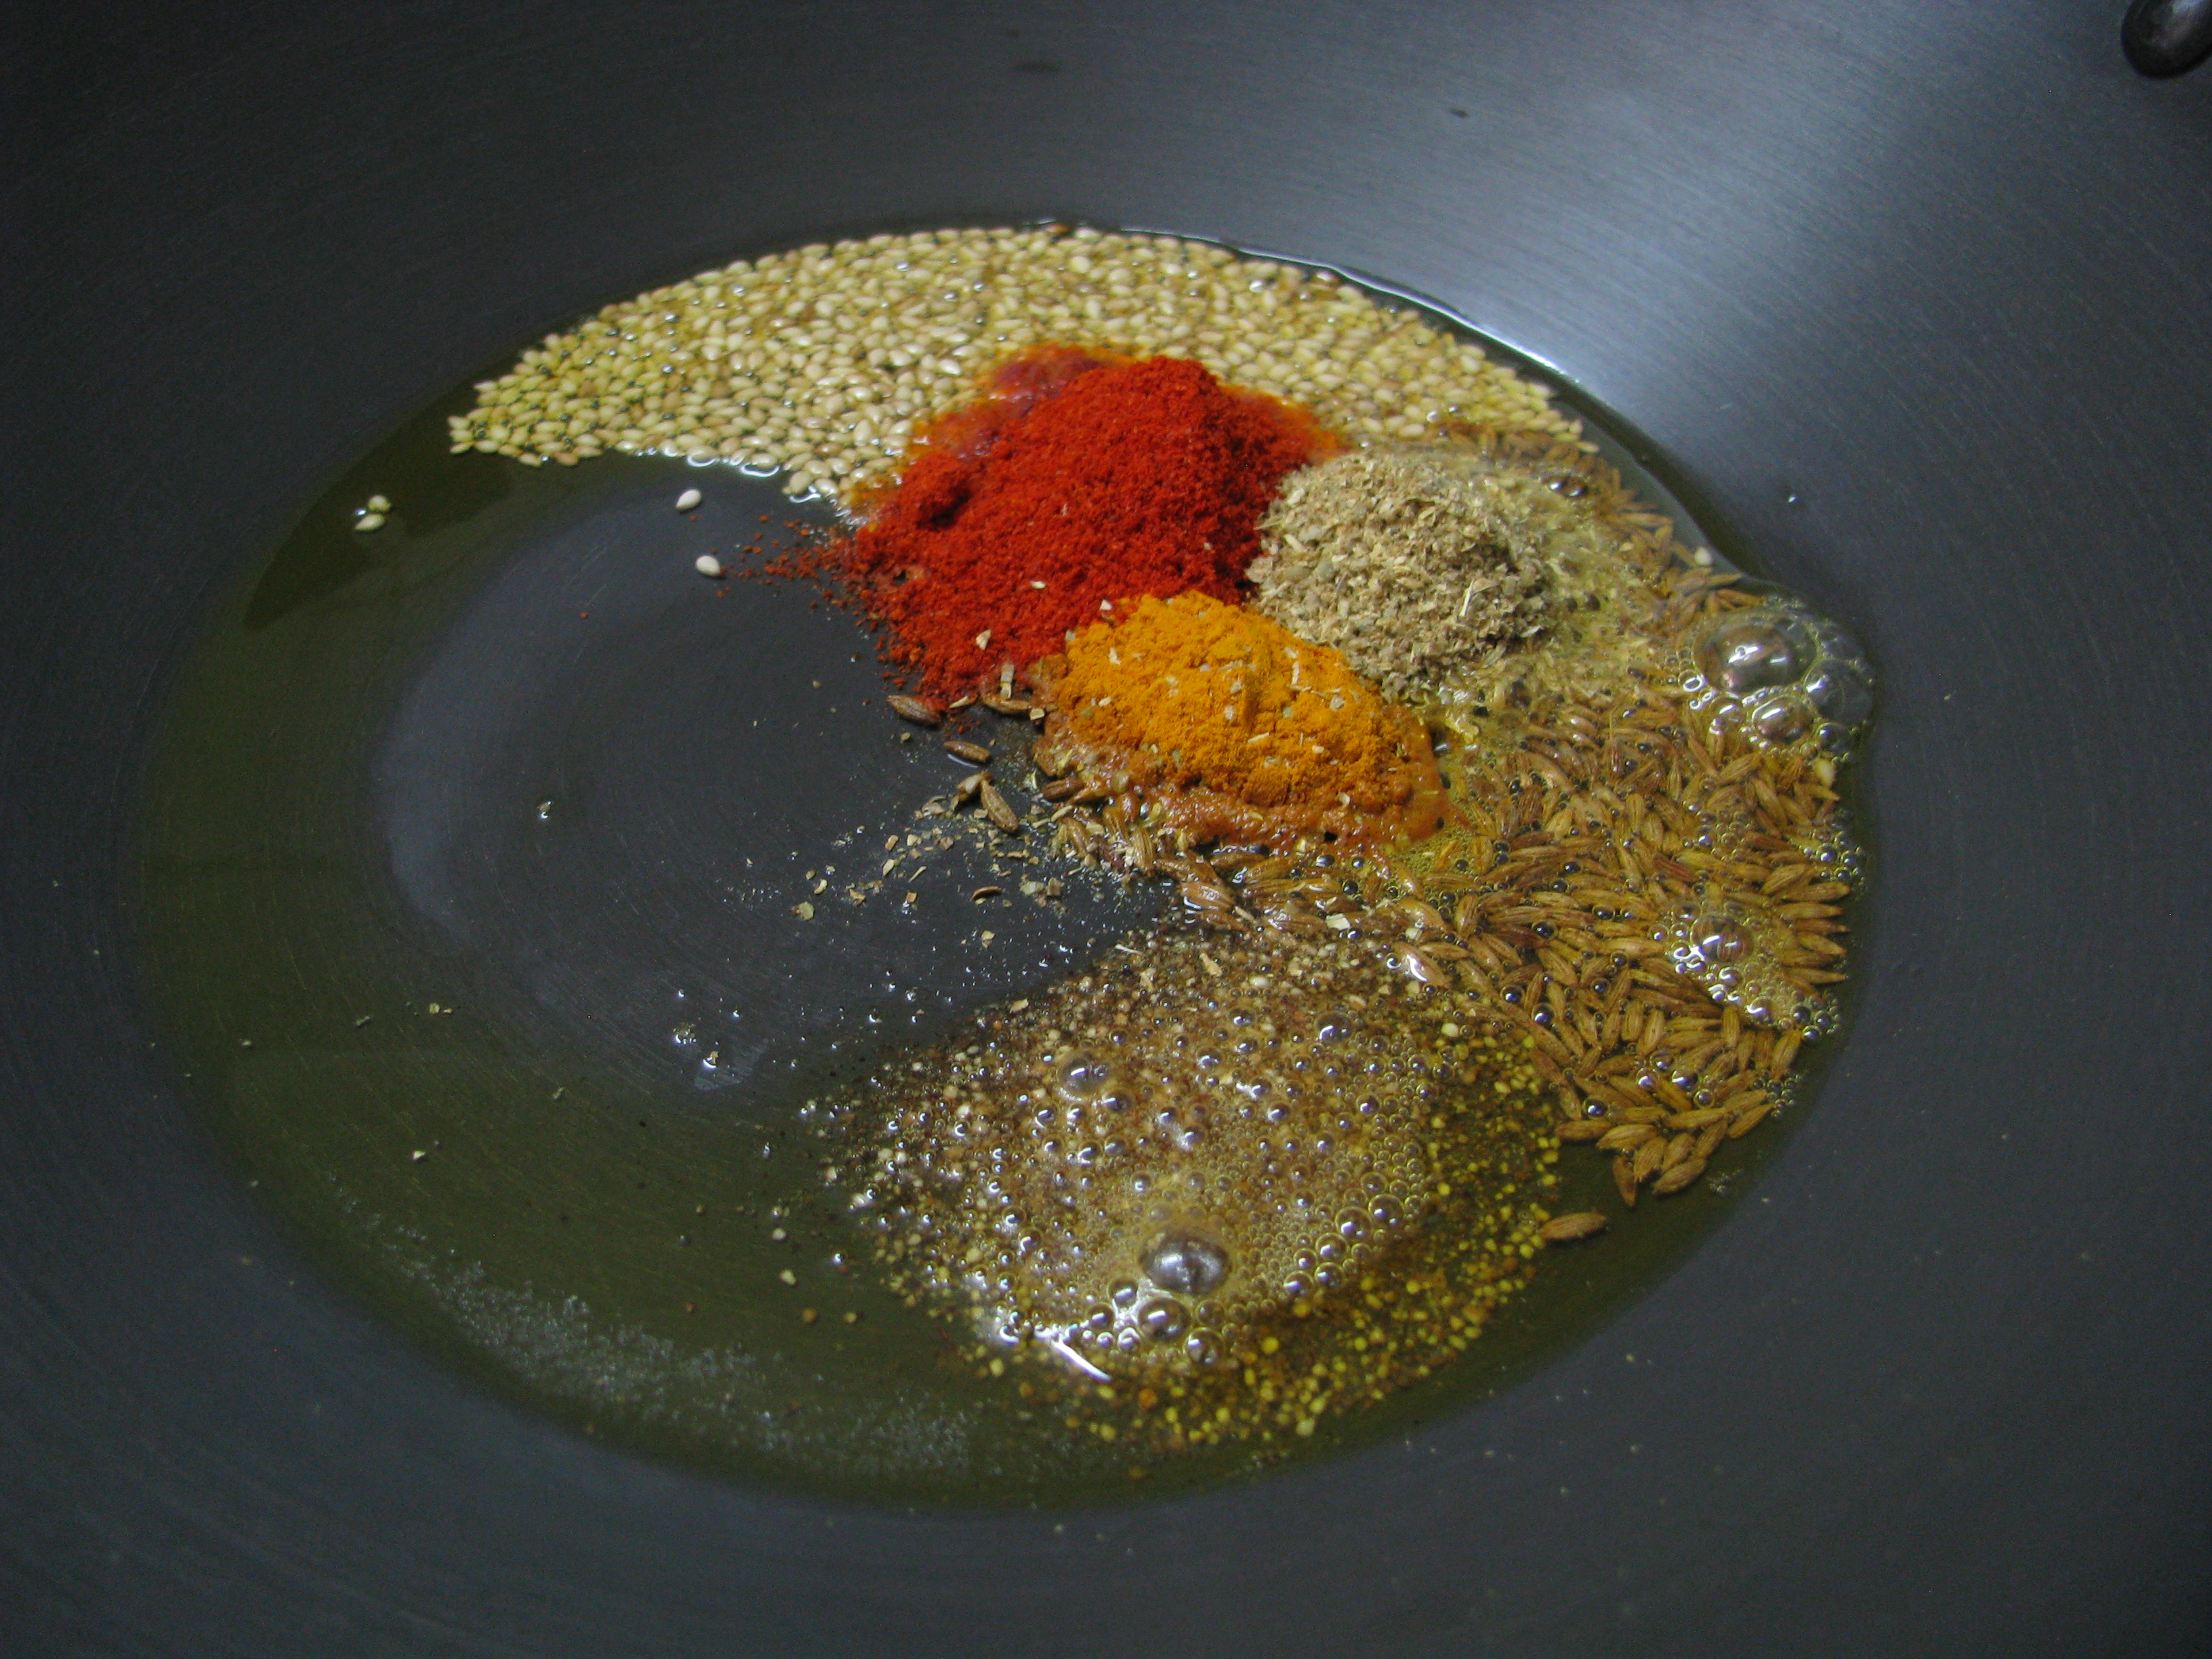
  3. When the seeds start fluttering, add red chilli powder, coriander powder and turmeric powder to it.IMG_1367
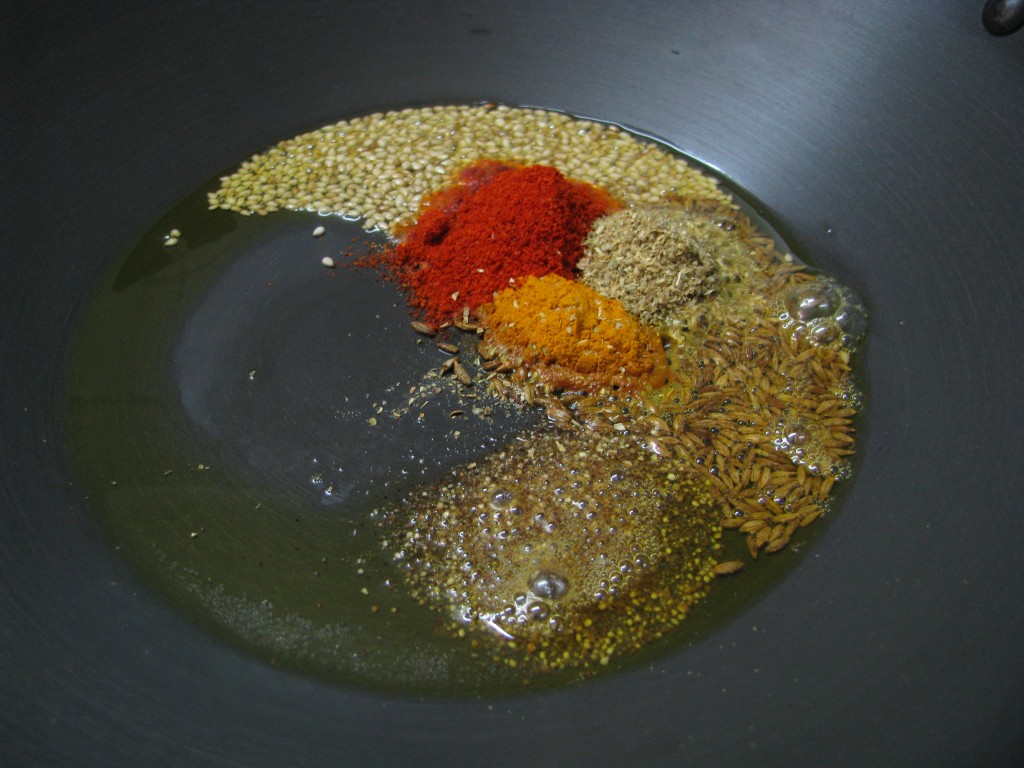
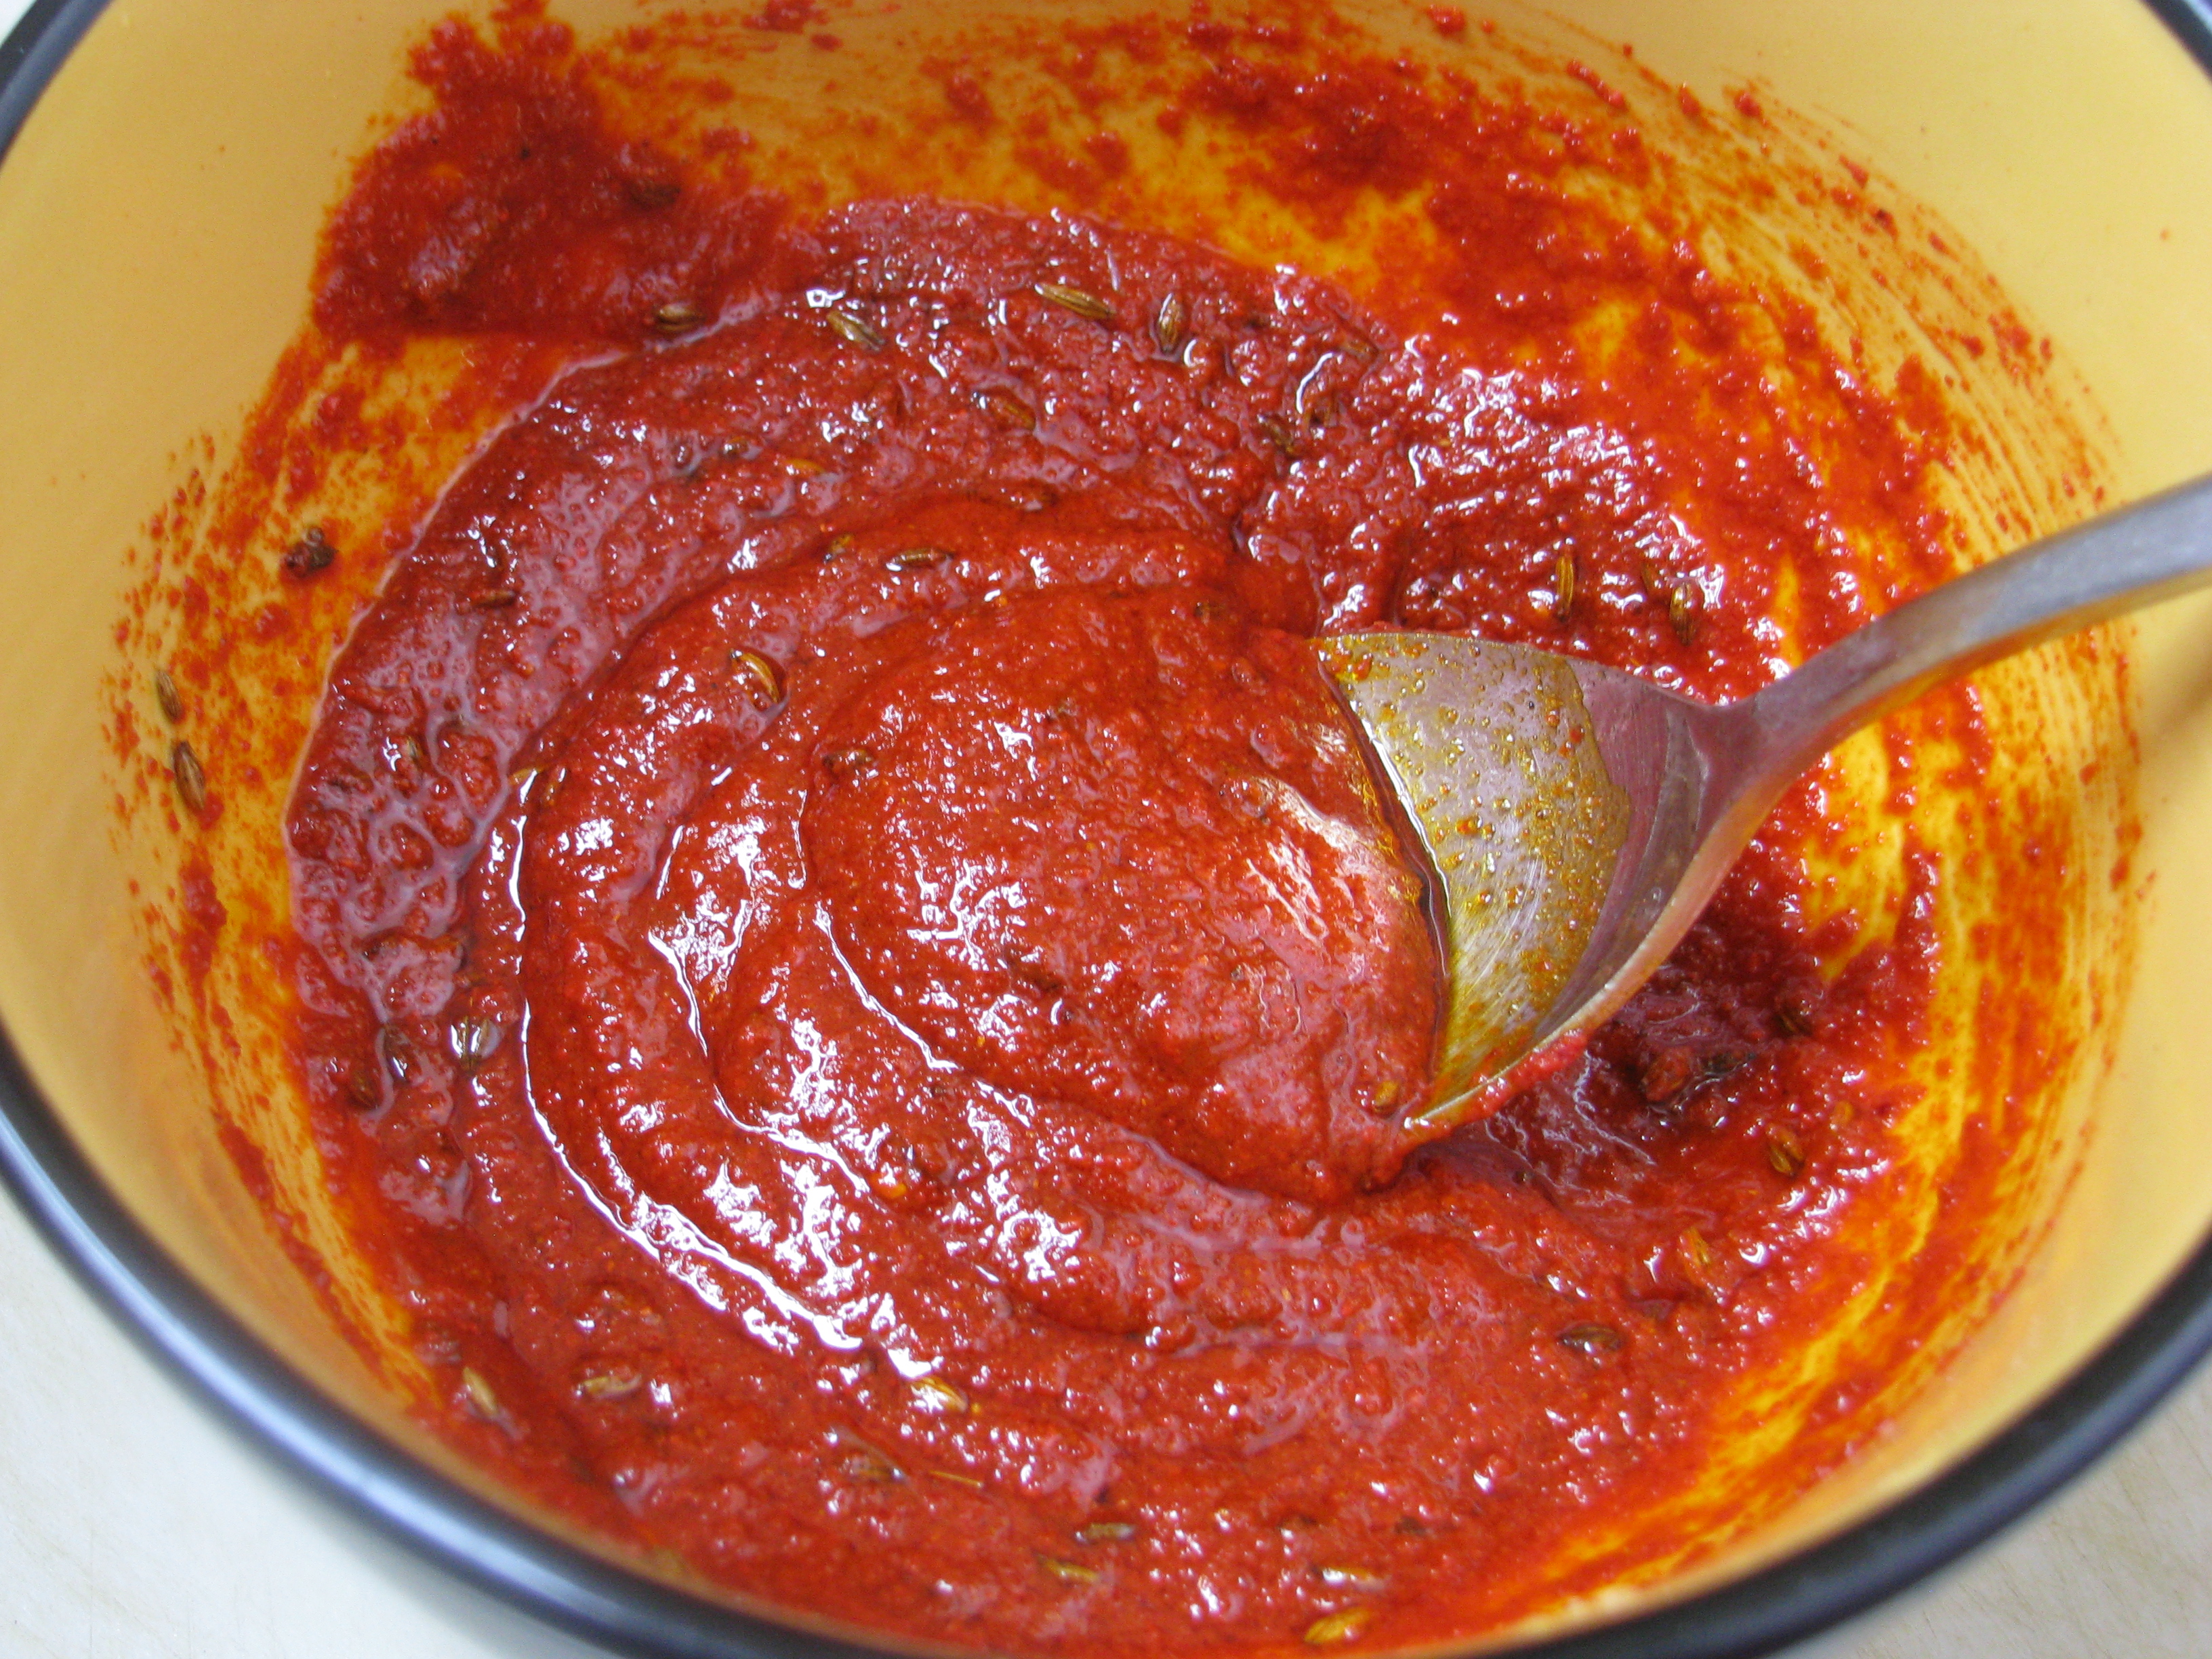
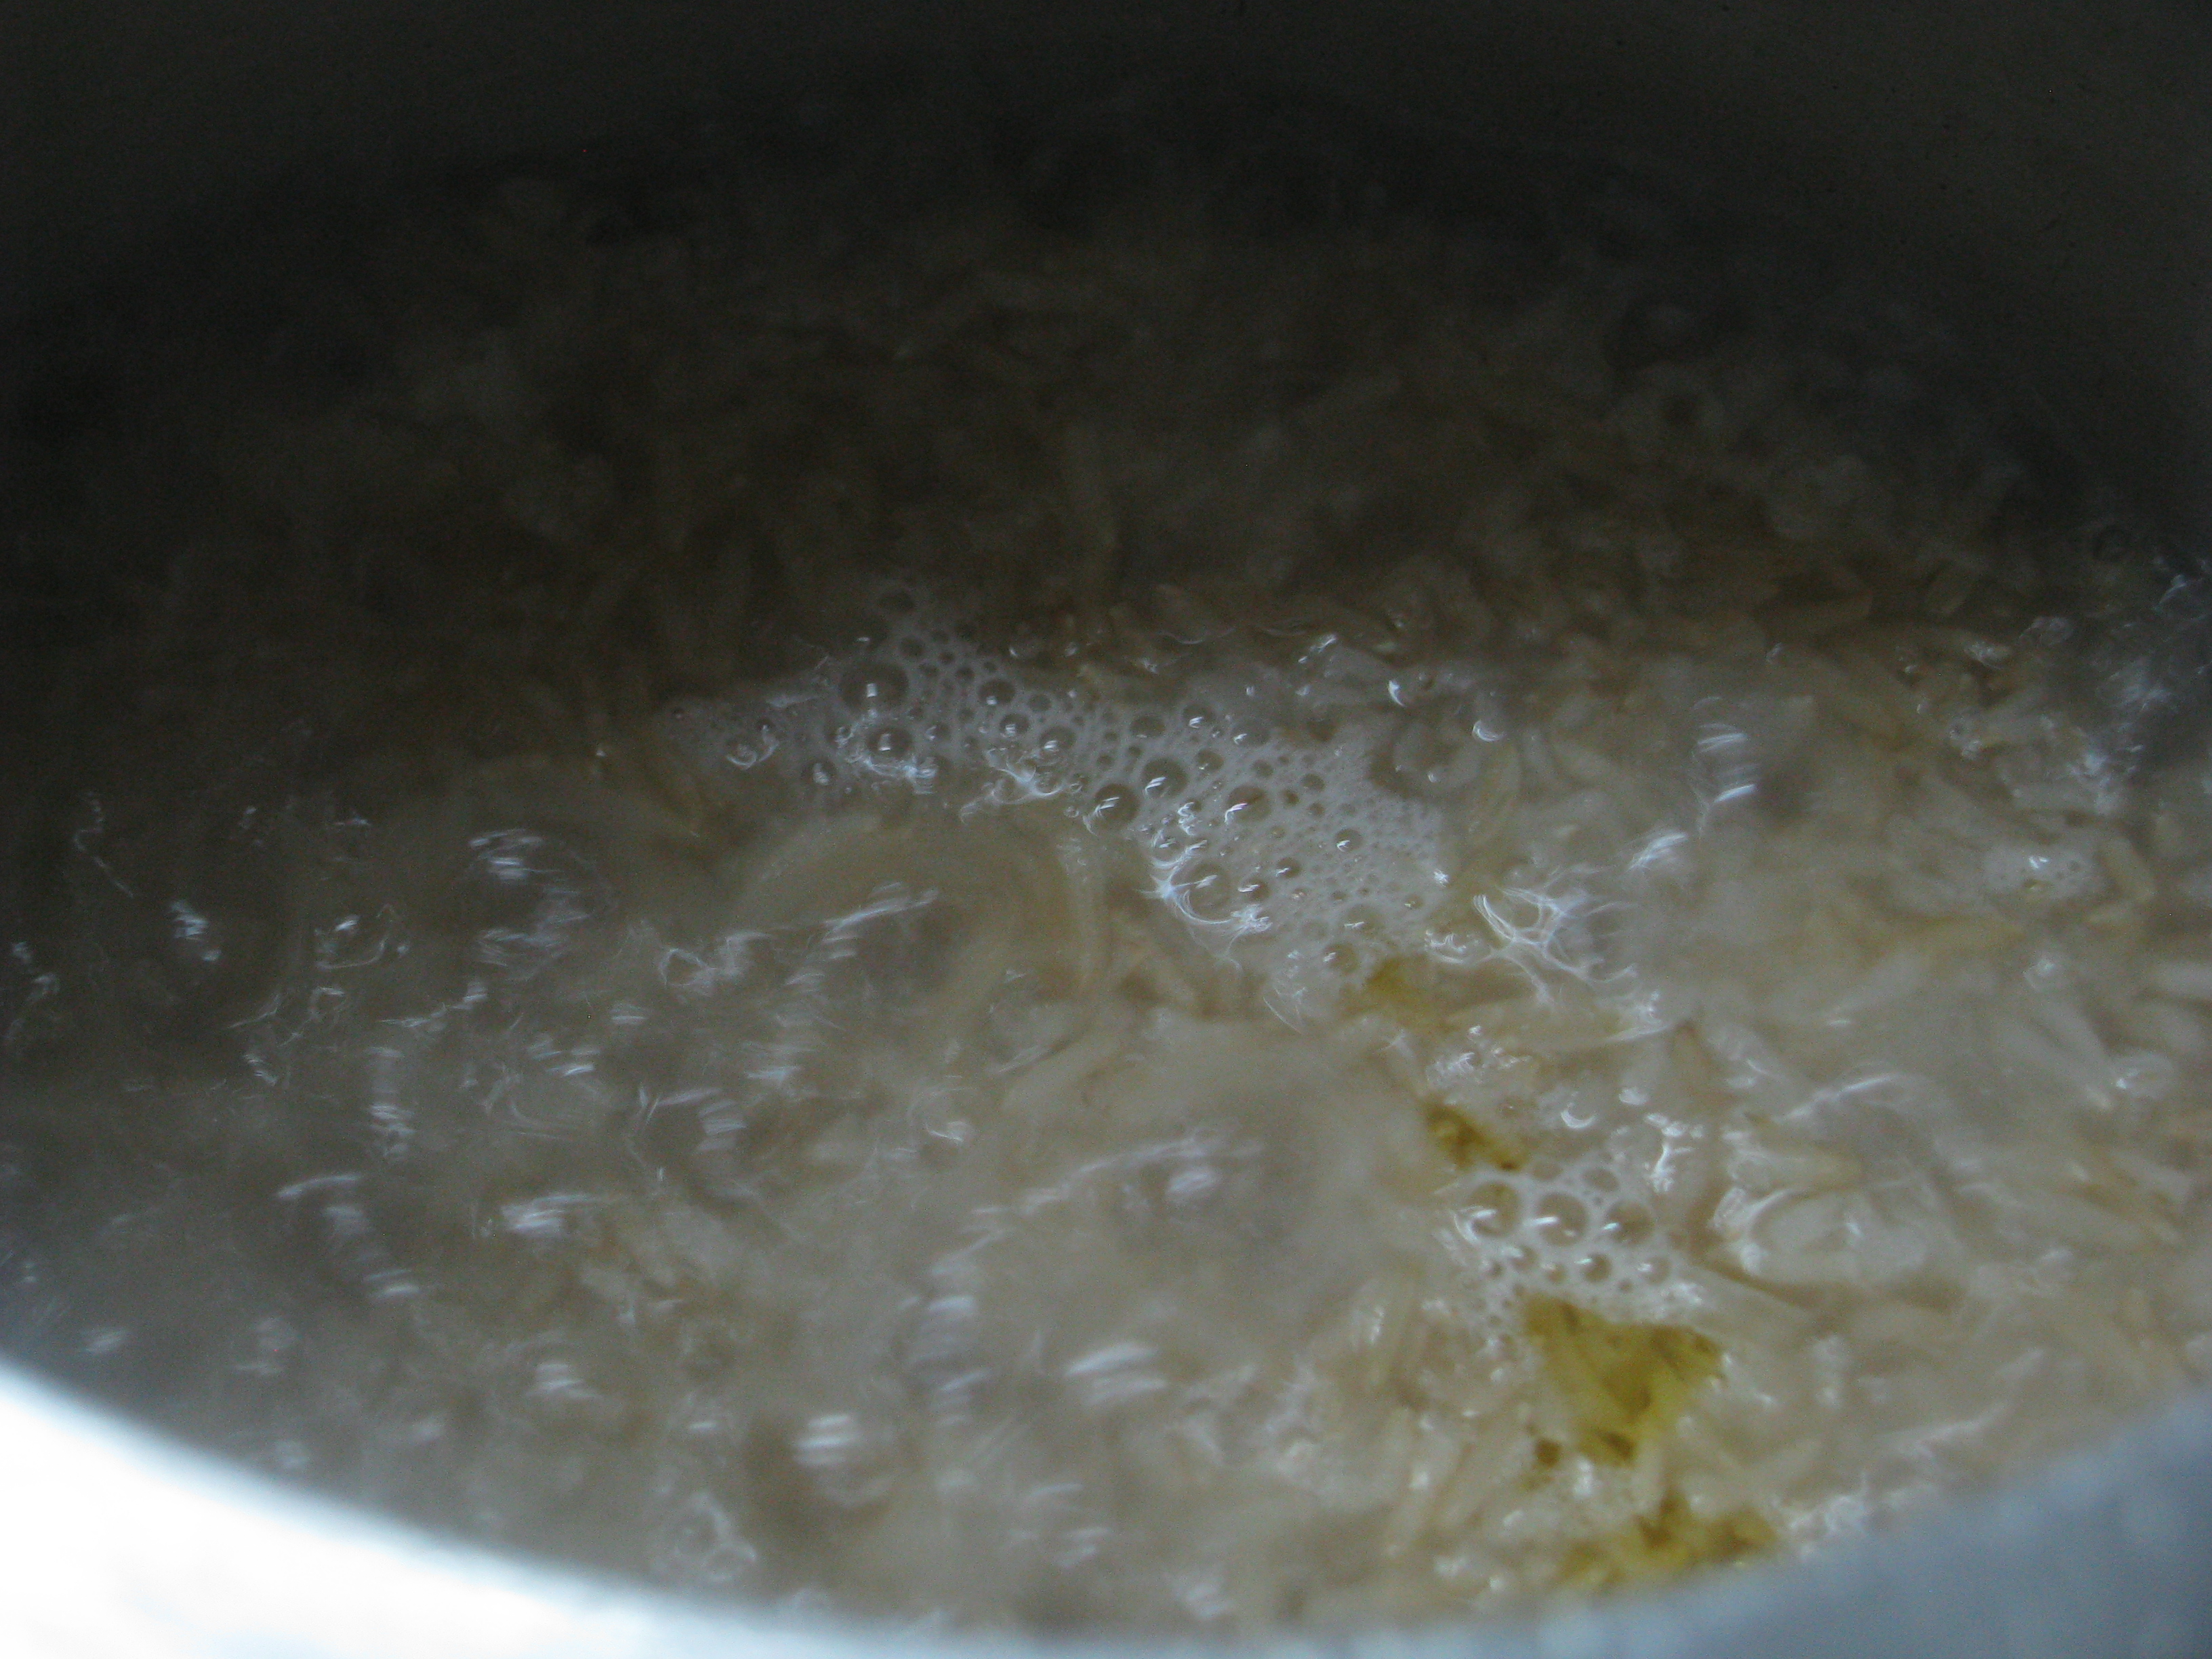
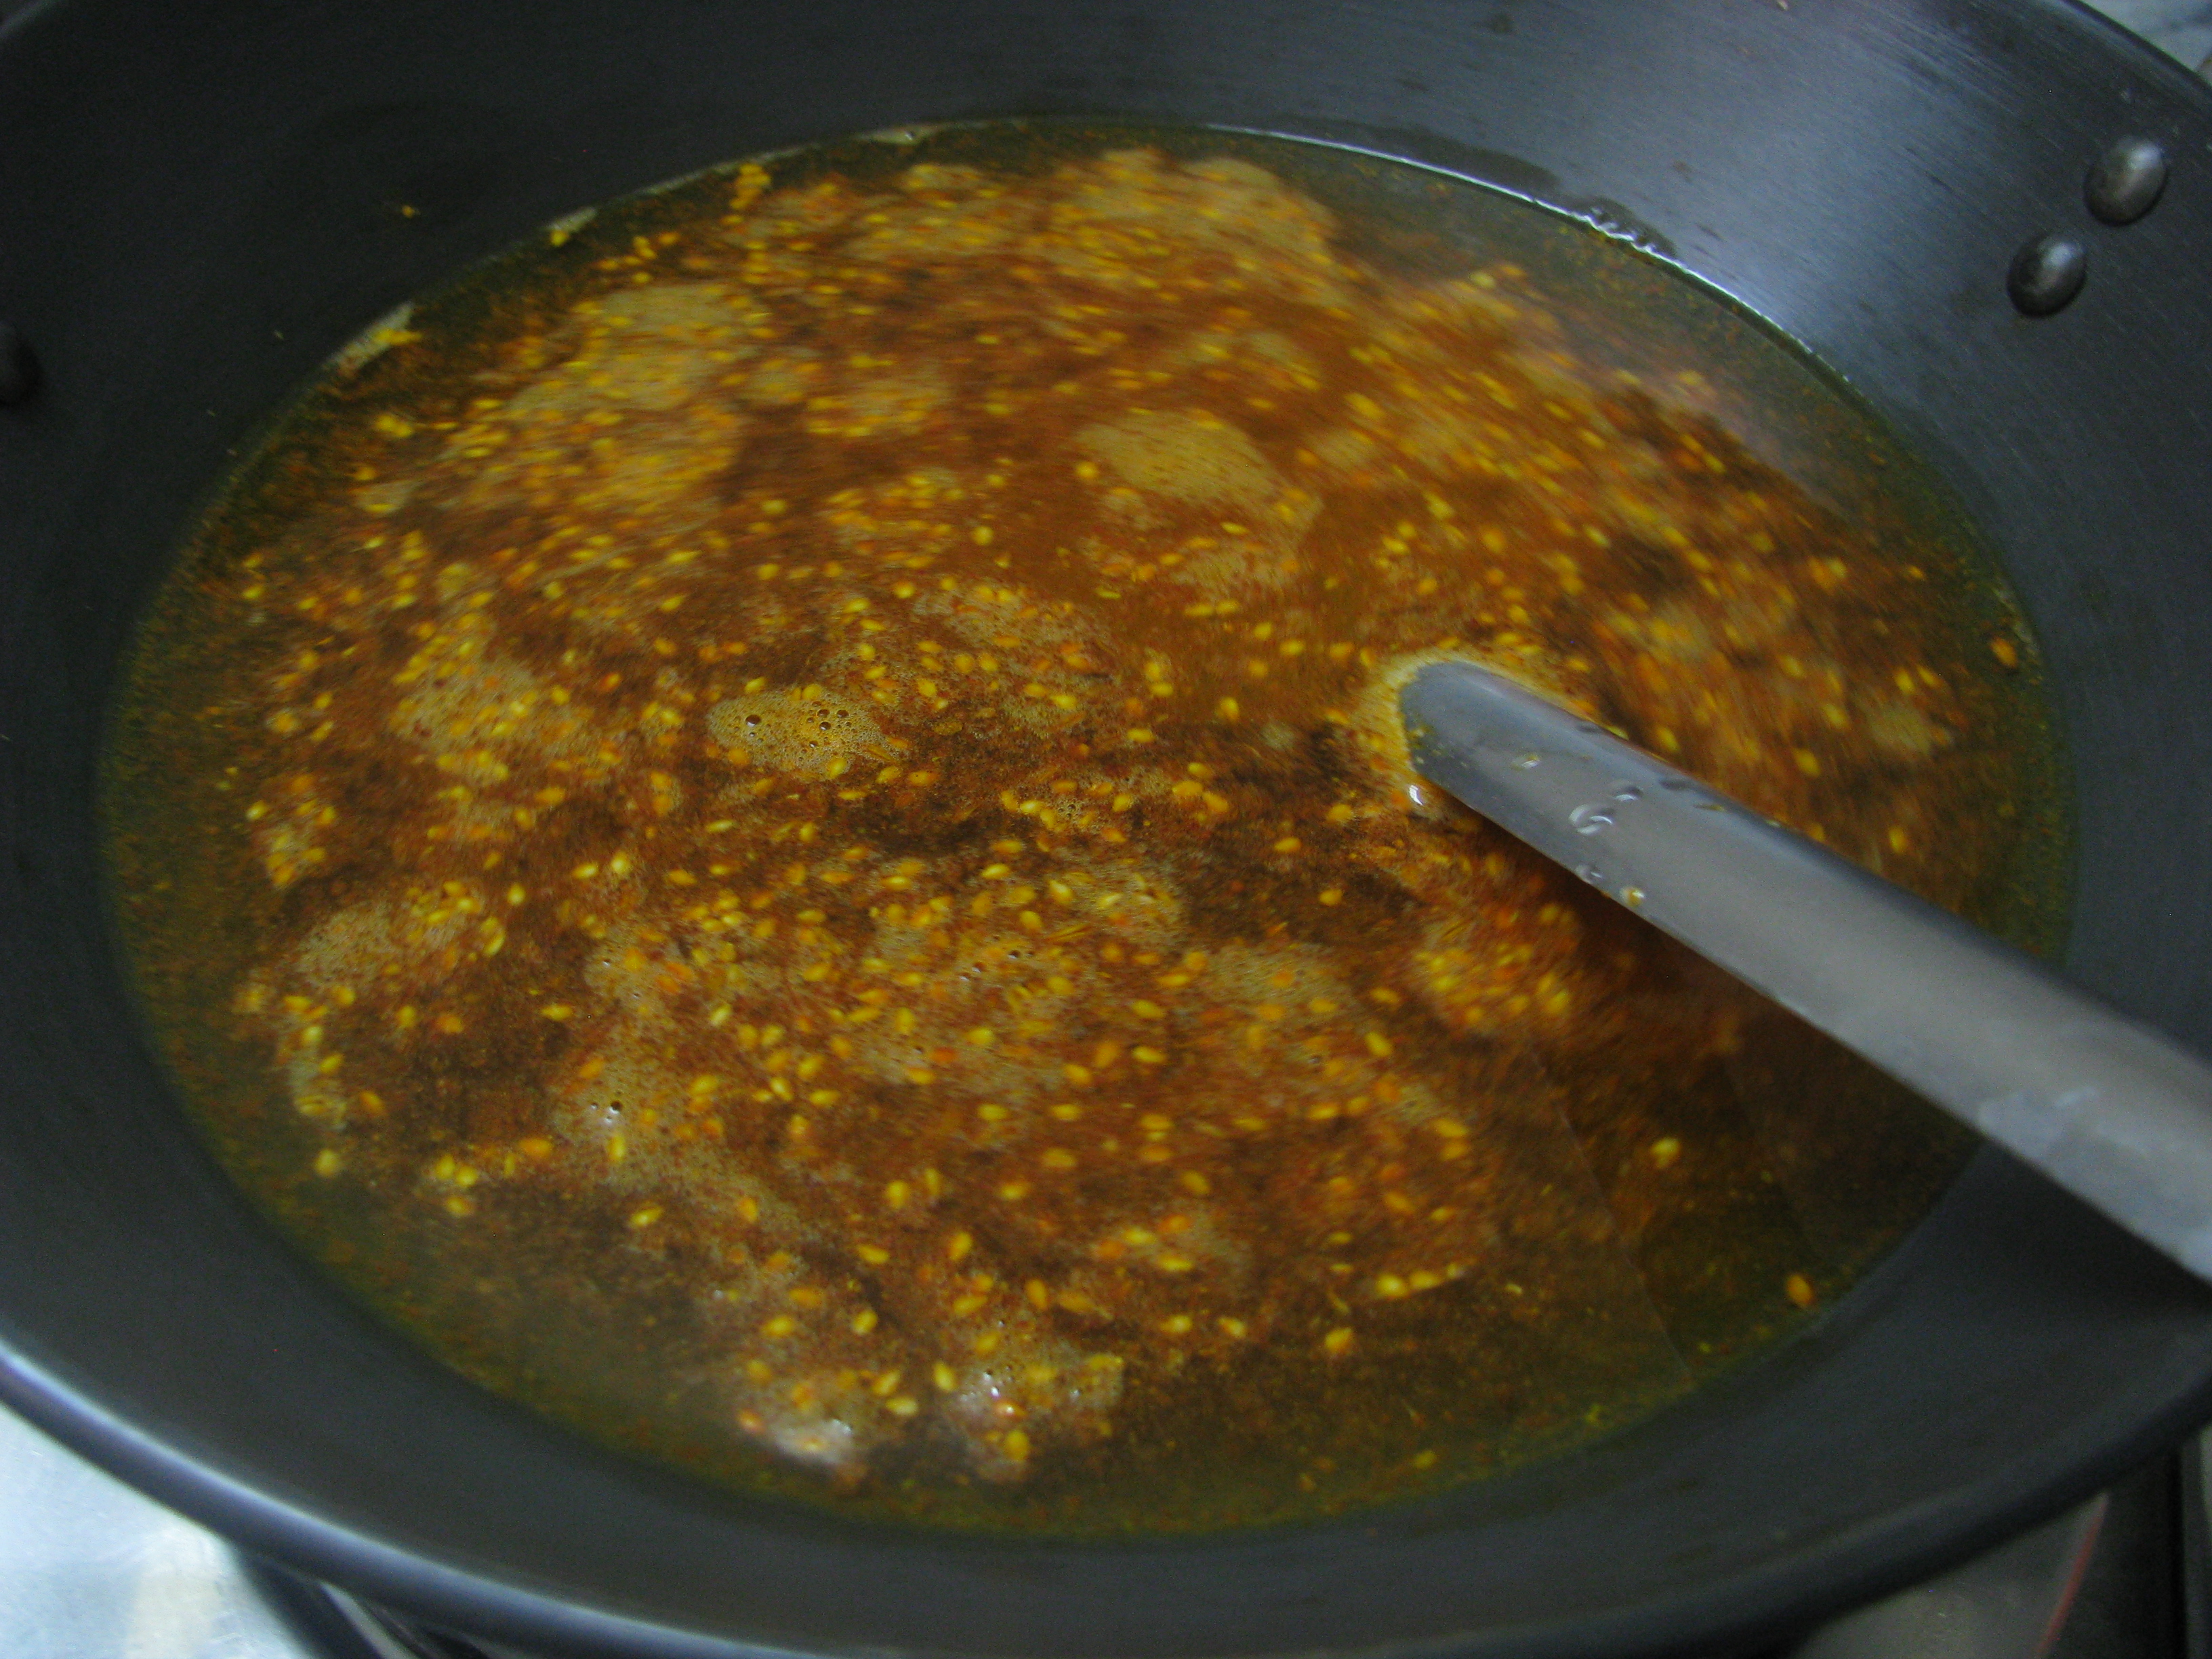
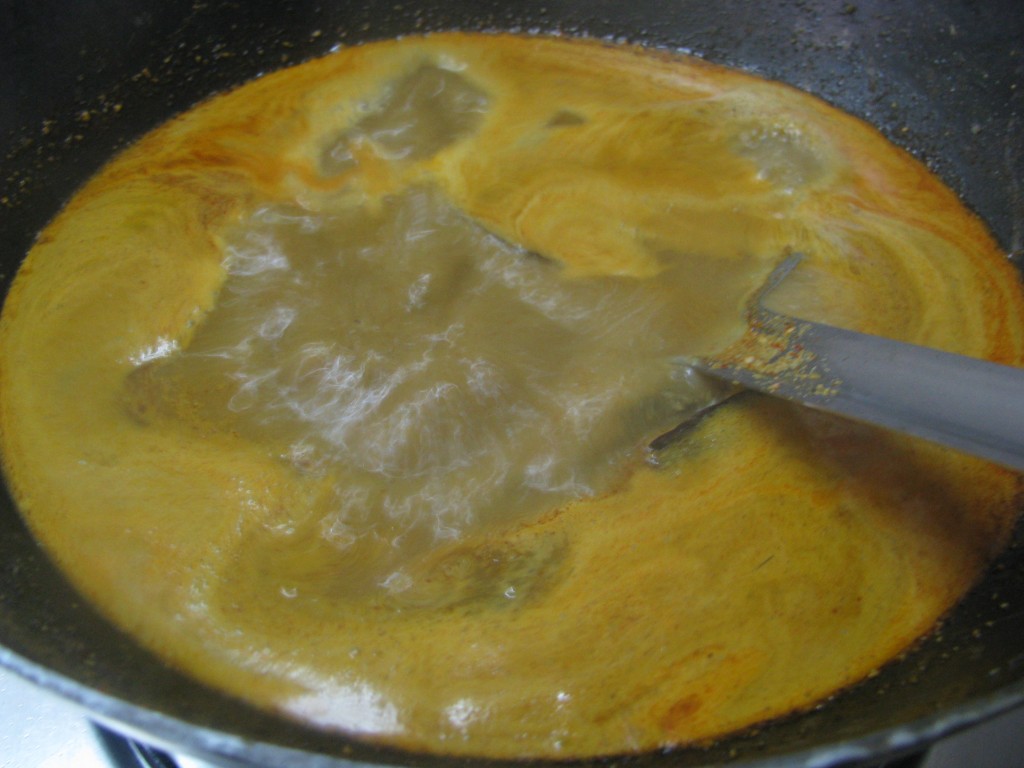
  4. Add 2 cups of water and let it boil.IMG_1369
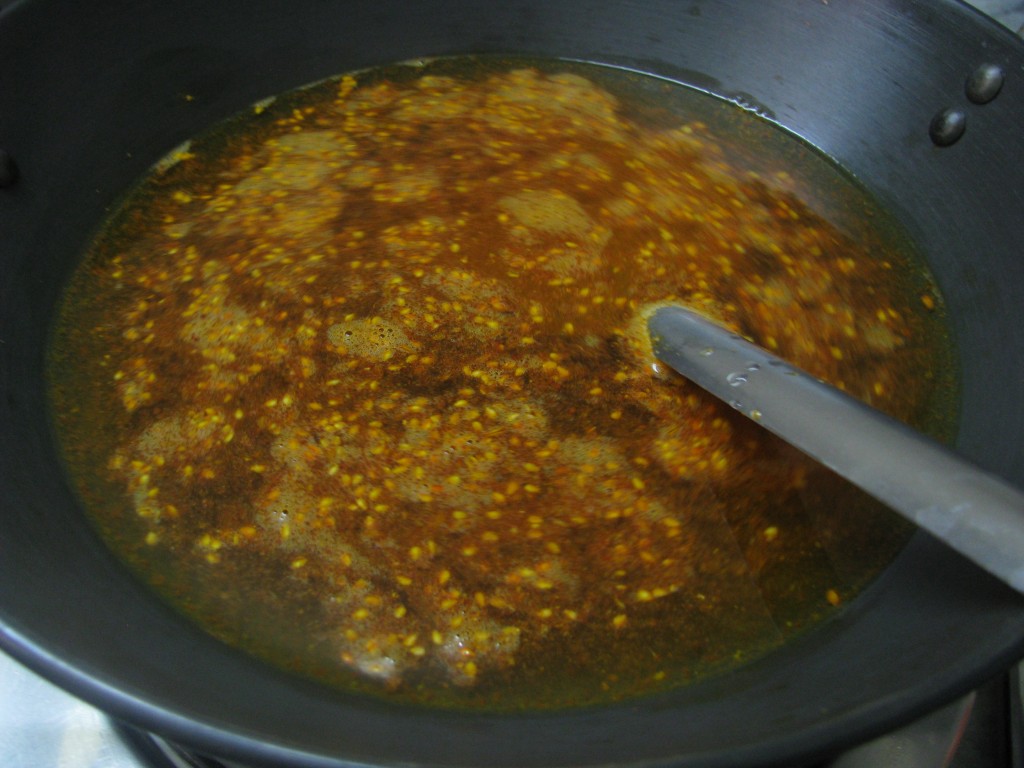
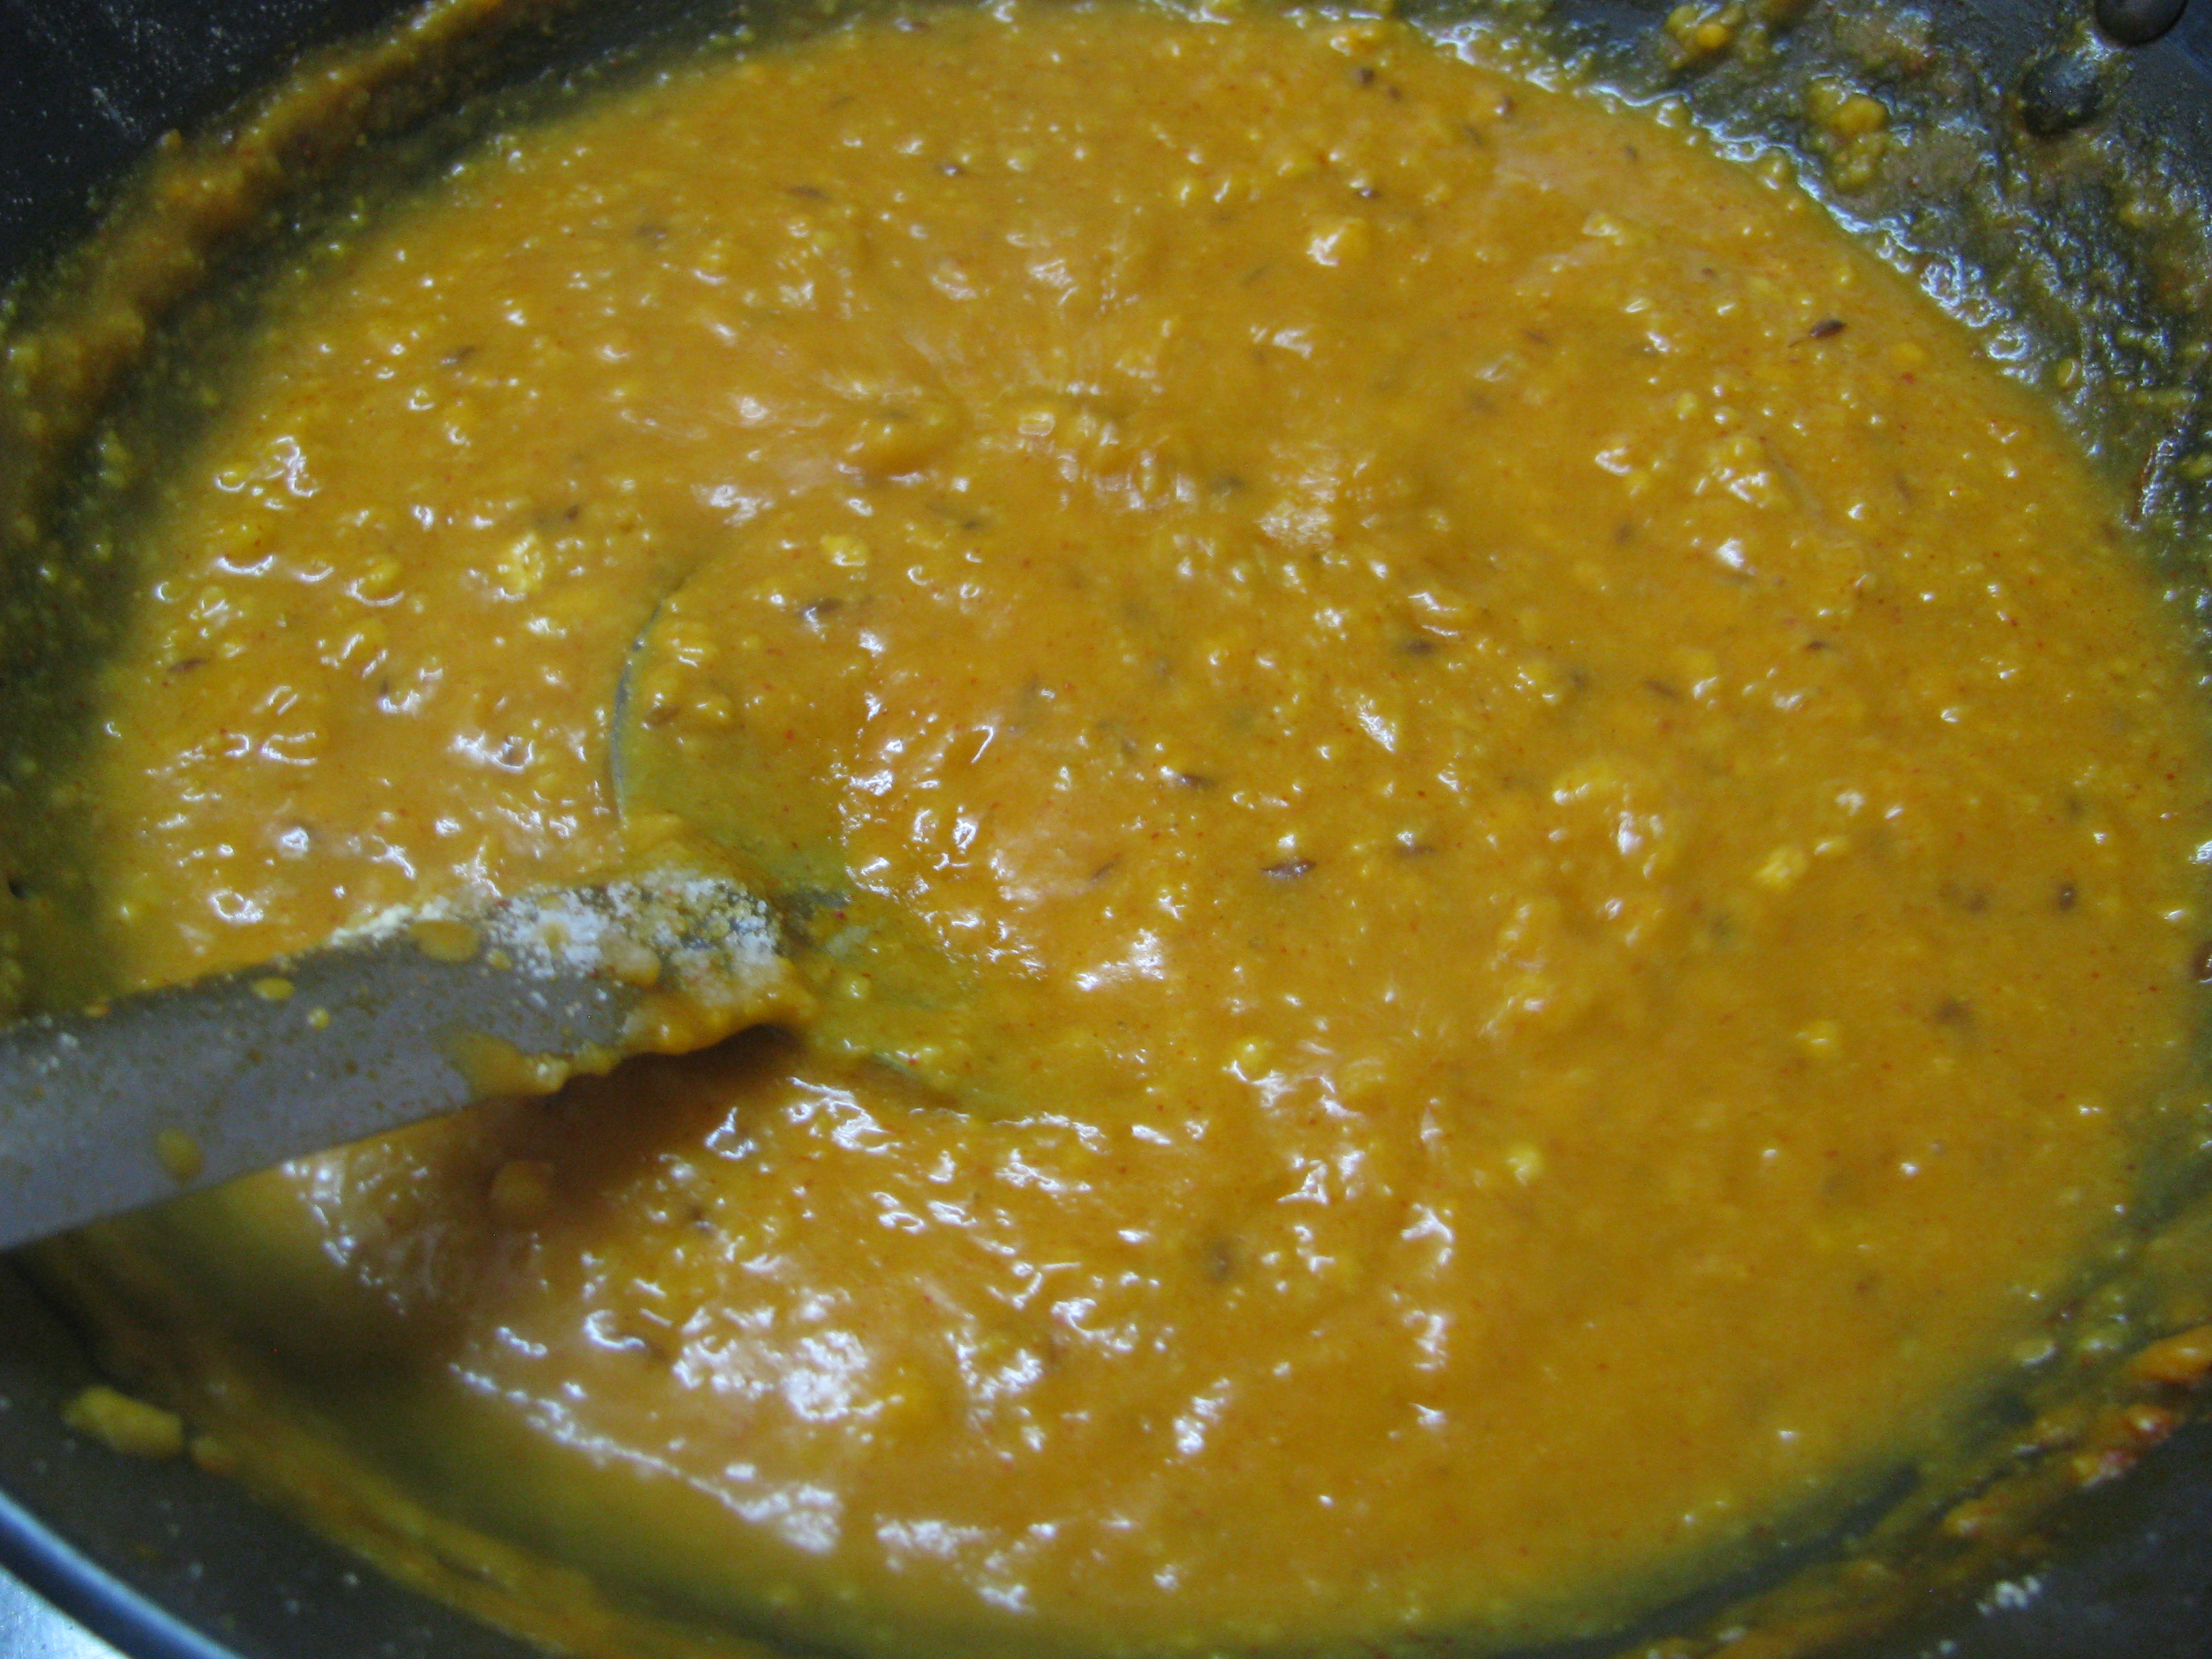
  5. When it starts boiling, slowly add besan while stirring it with perforated spoon (jhara)IMG_1376
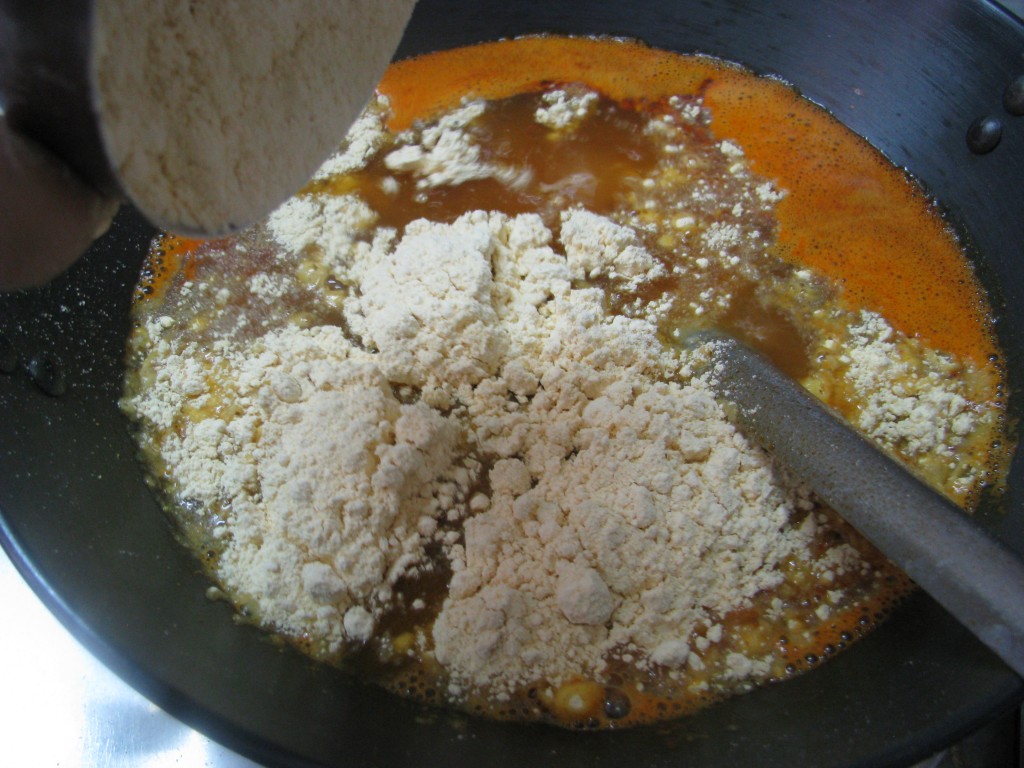
  6. Try to remove the lumps with perforated spoon ( jhara)IMG_1379
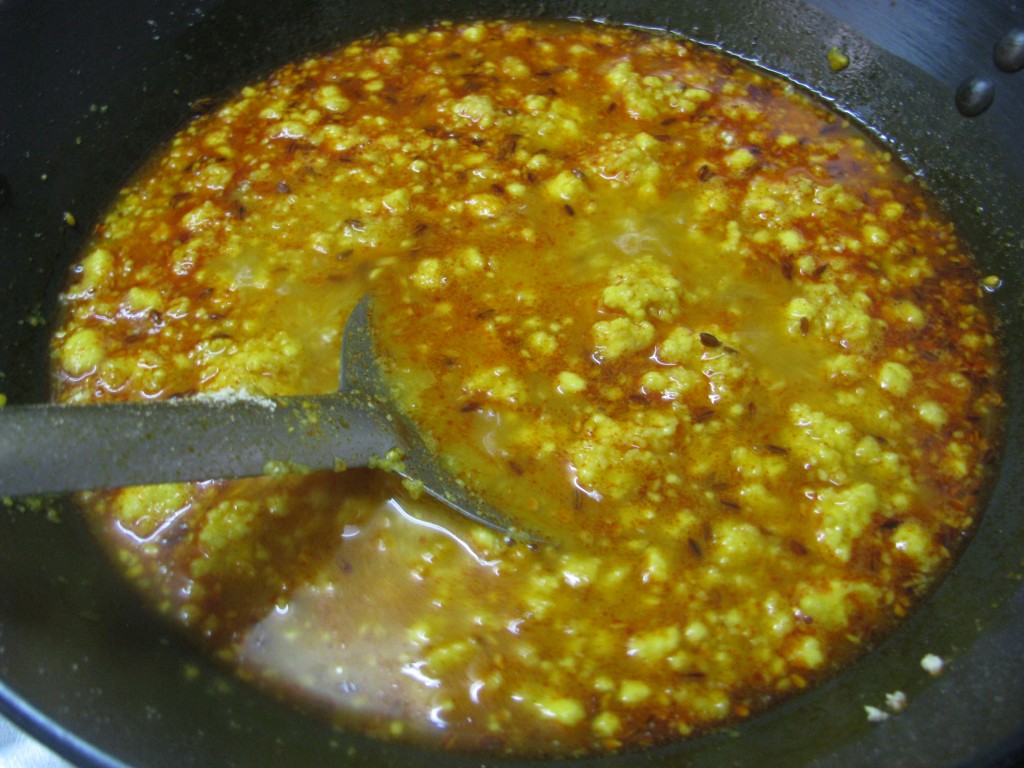
  7. Batter of Patodi shouldn’t be smooth. It should have small granules of besan in it as shown in the photo below.IMG_1380
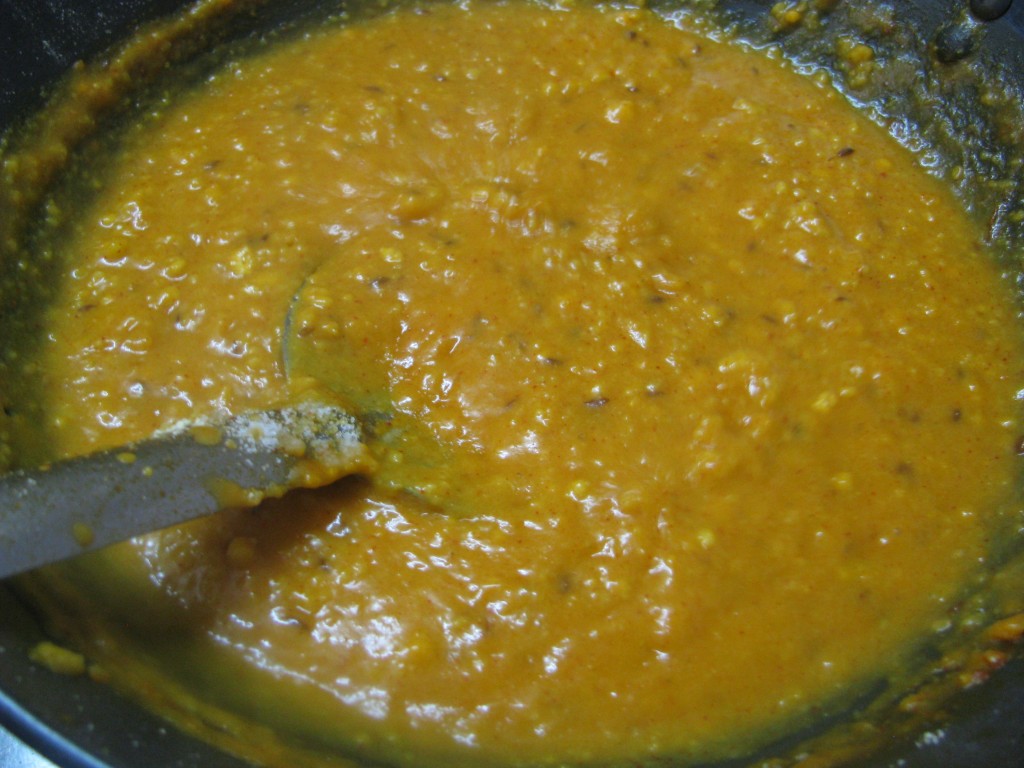
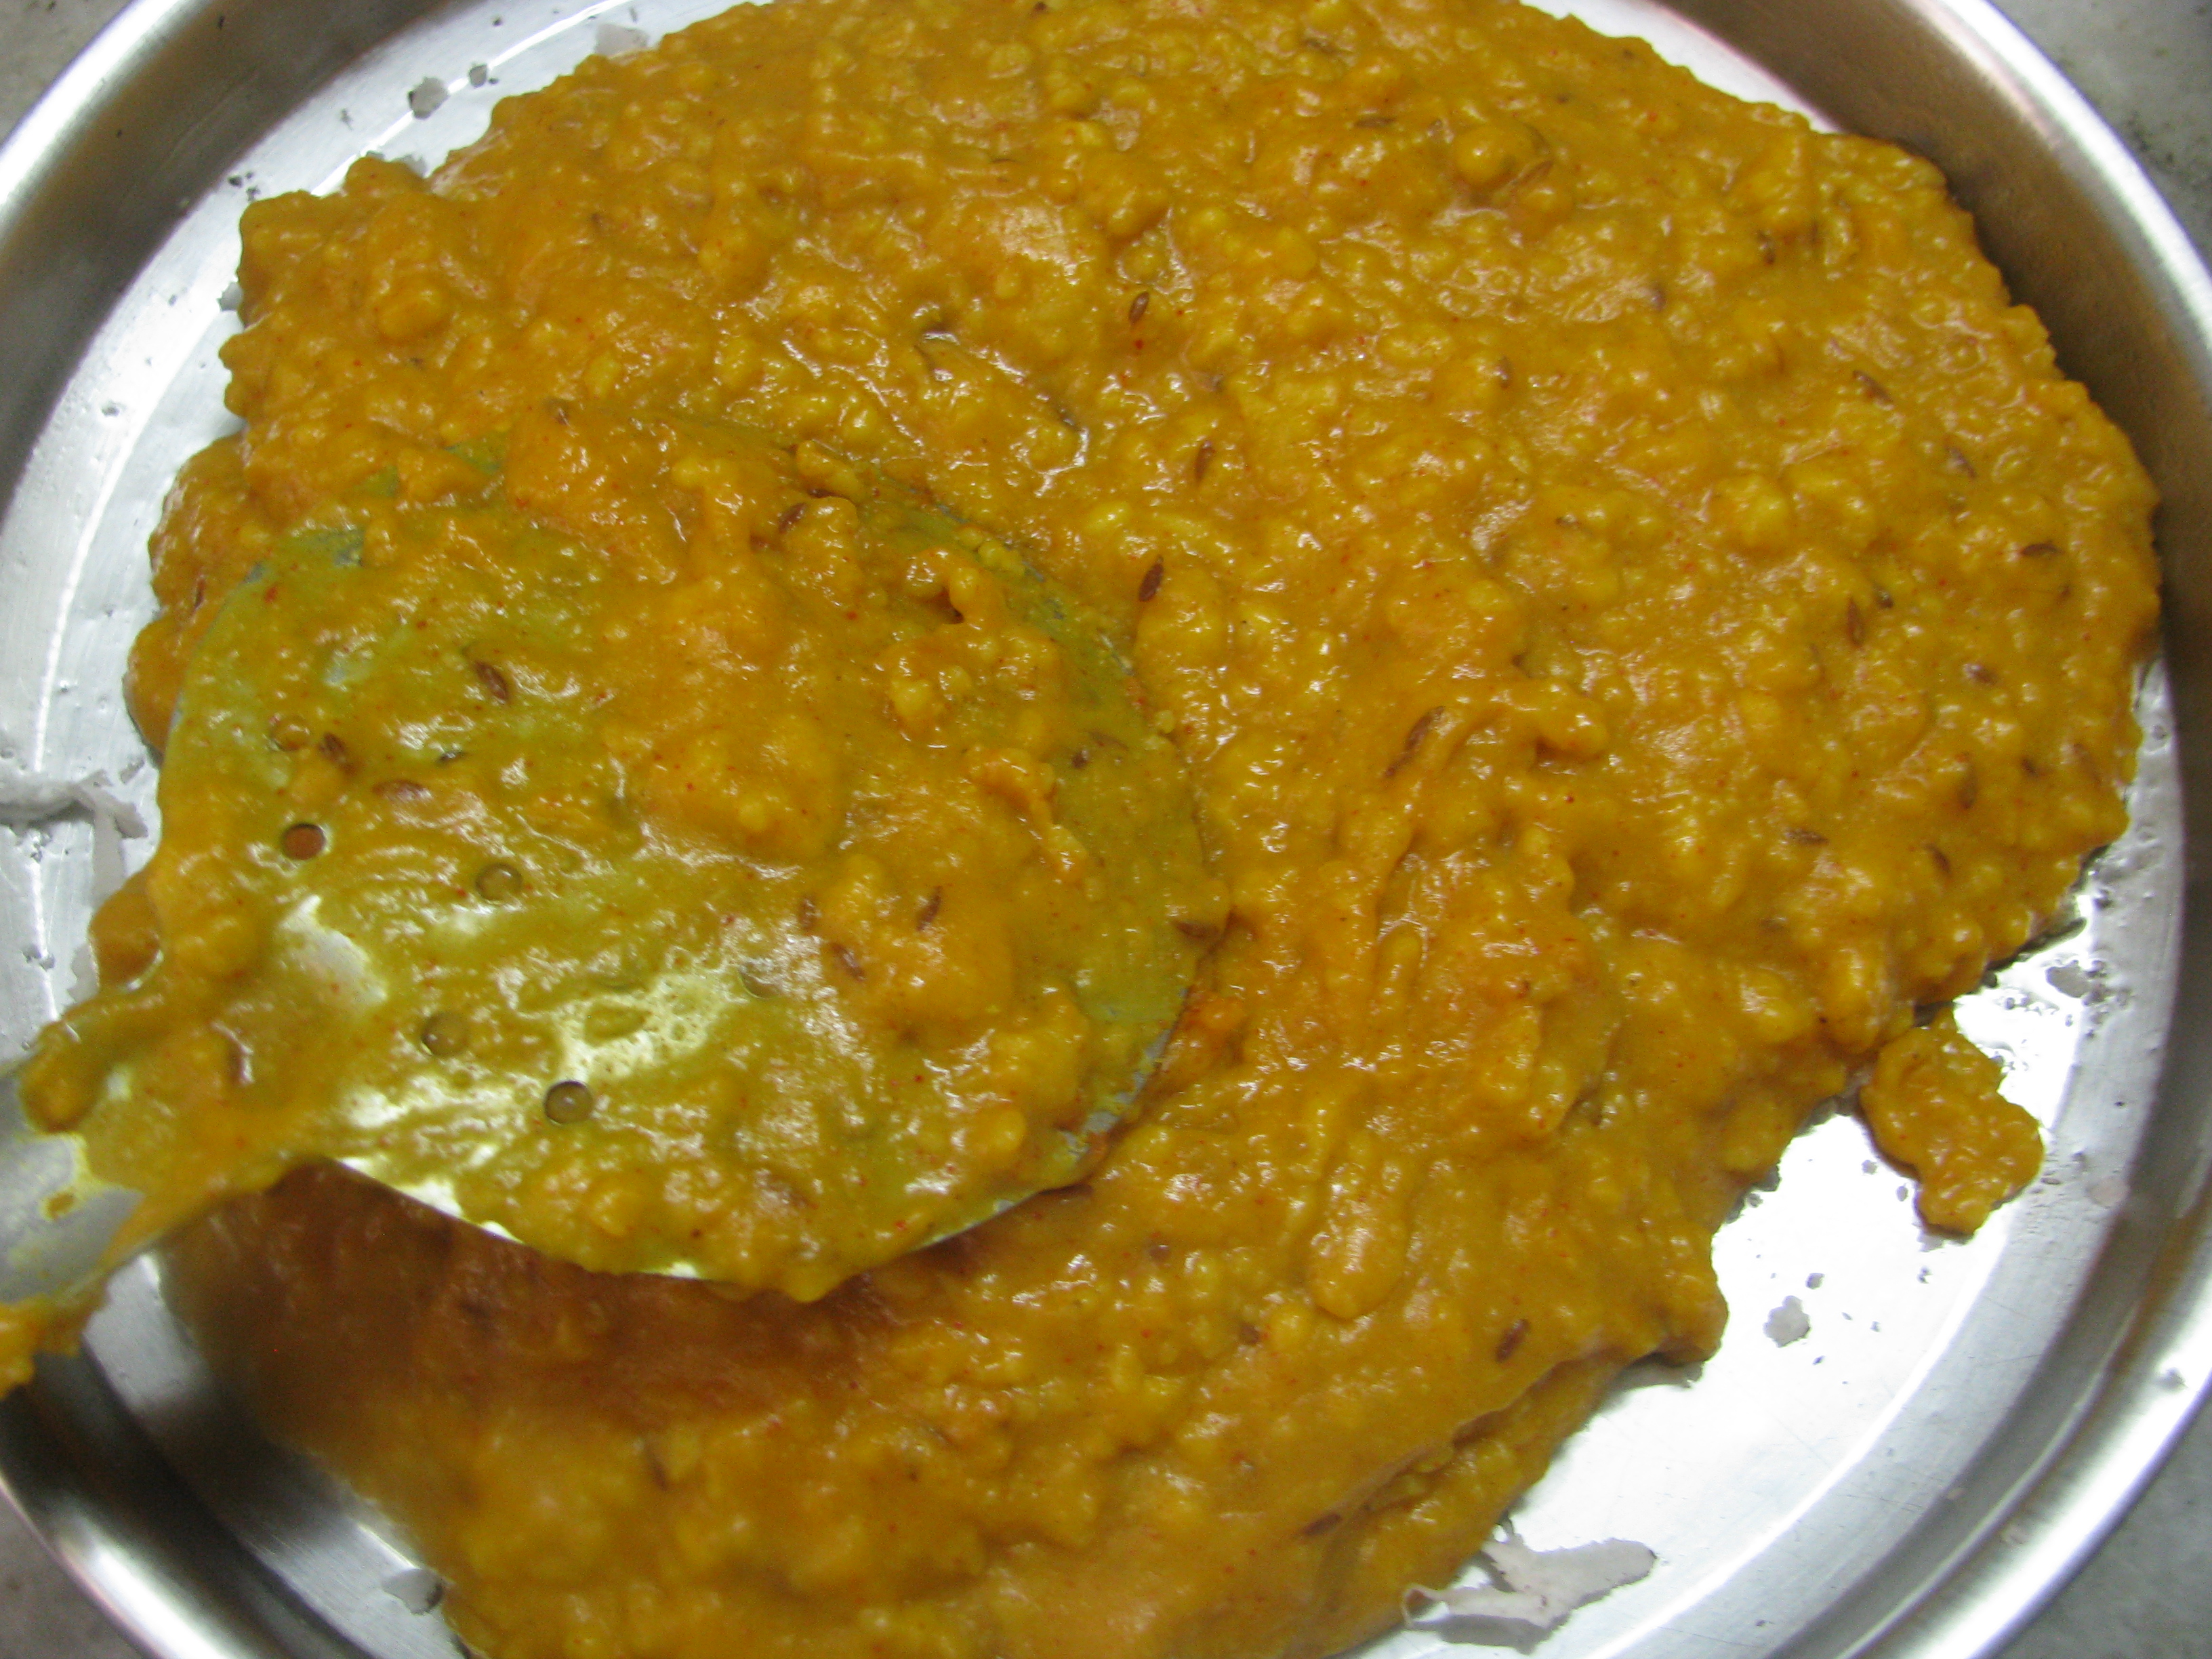
  8. Cover the lid and let it cook for 3-4 minutes. Open the lid, stir it and again let it cook with covered lid for another 3-4 minutes on low flames.patwadi | patodi | pataudi
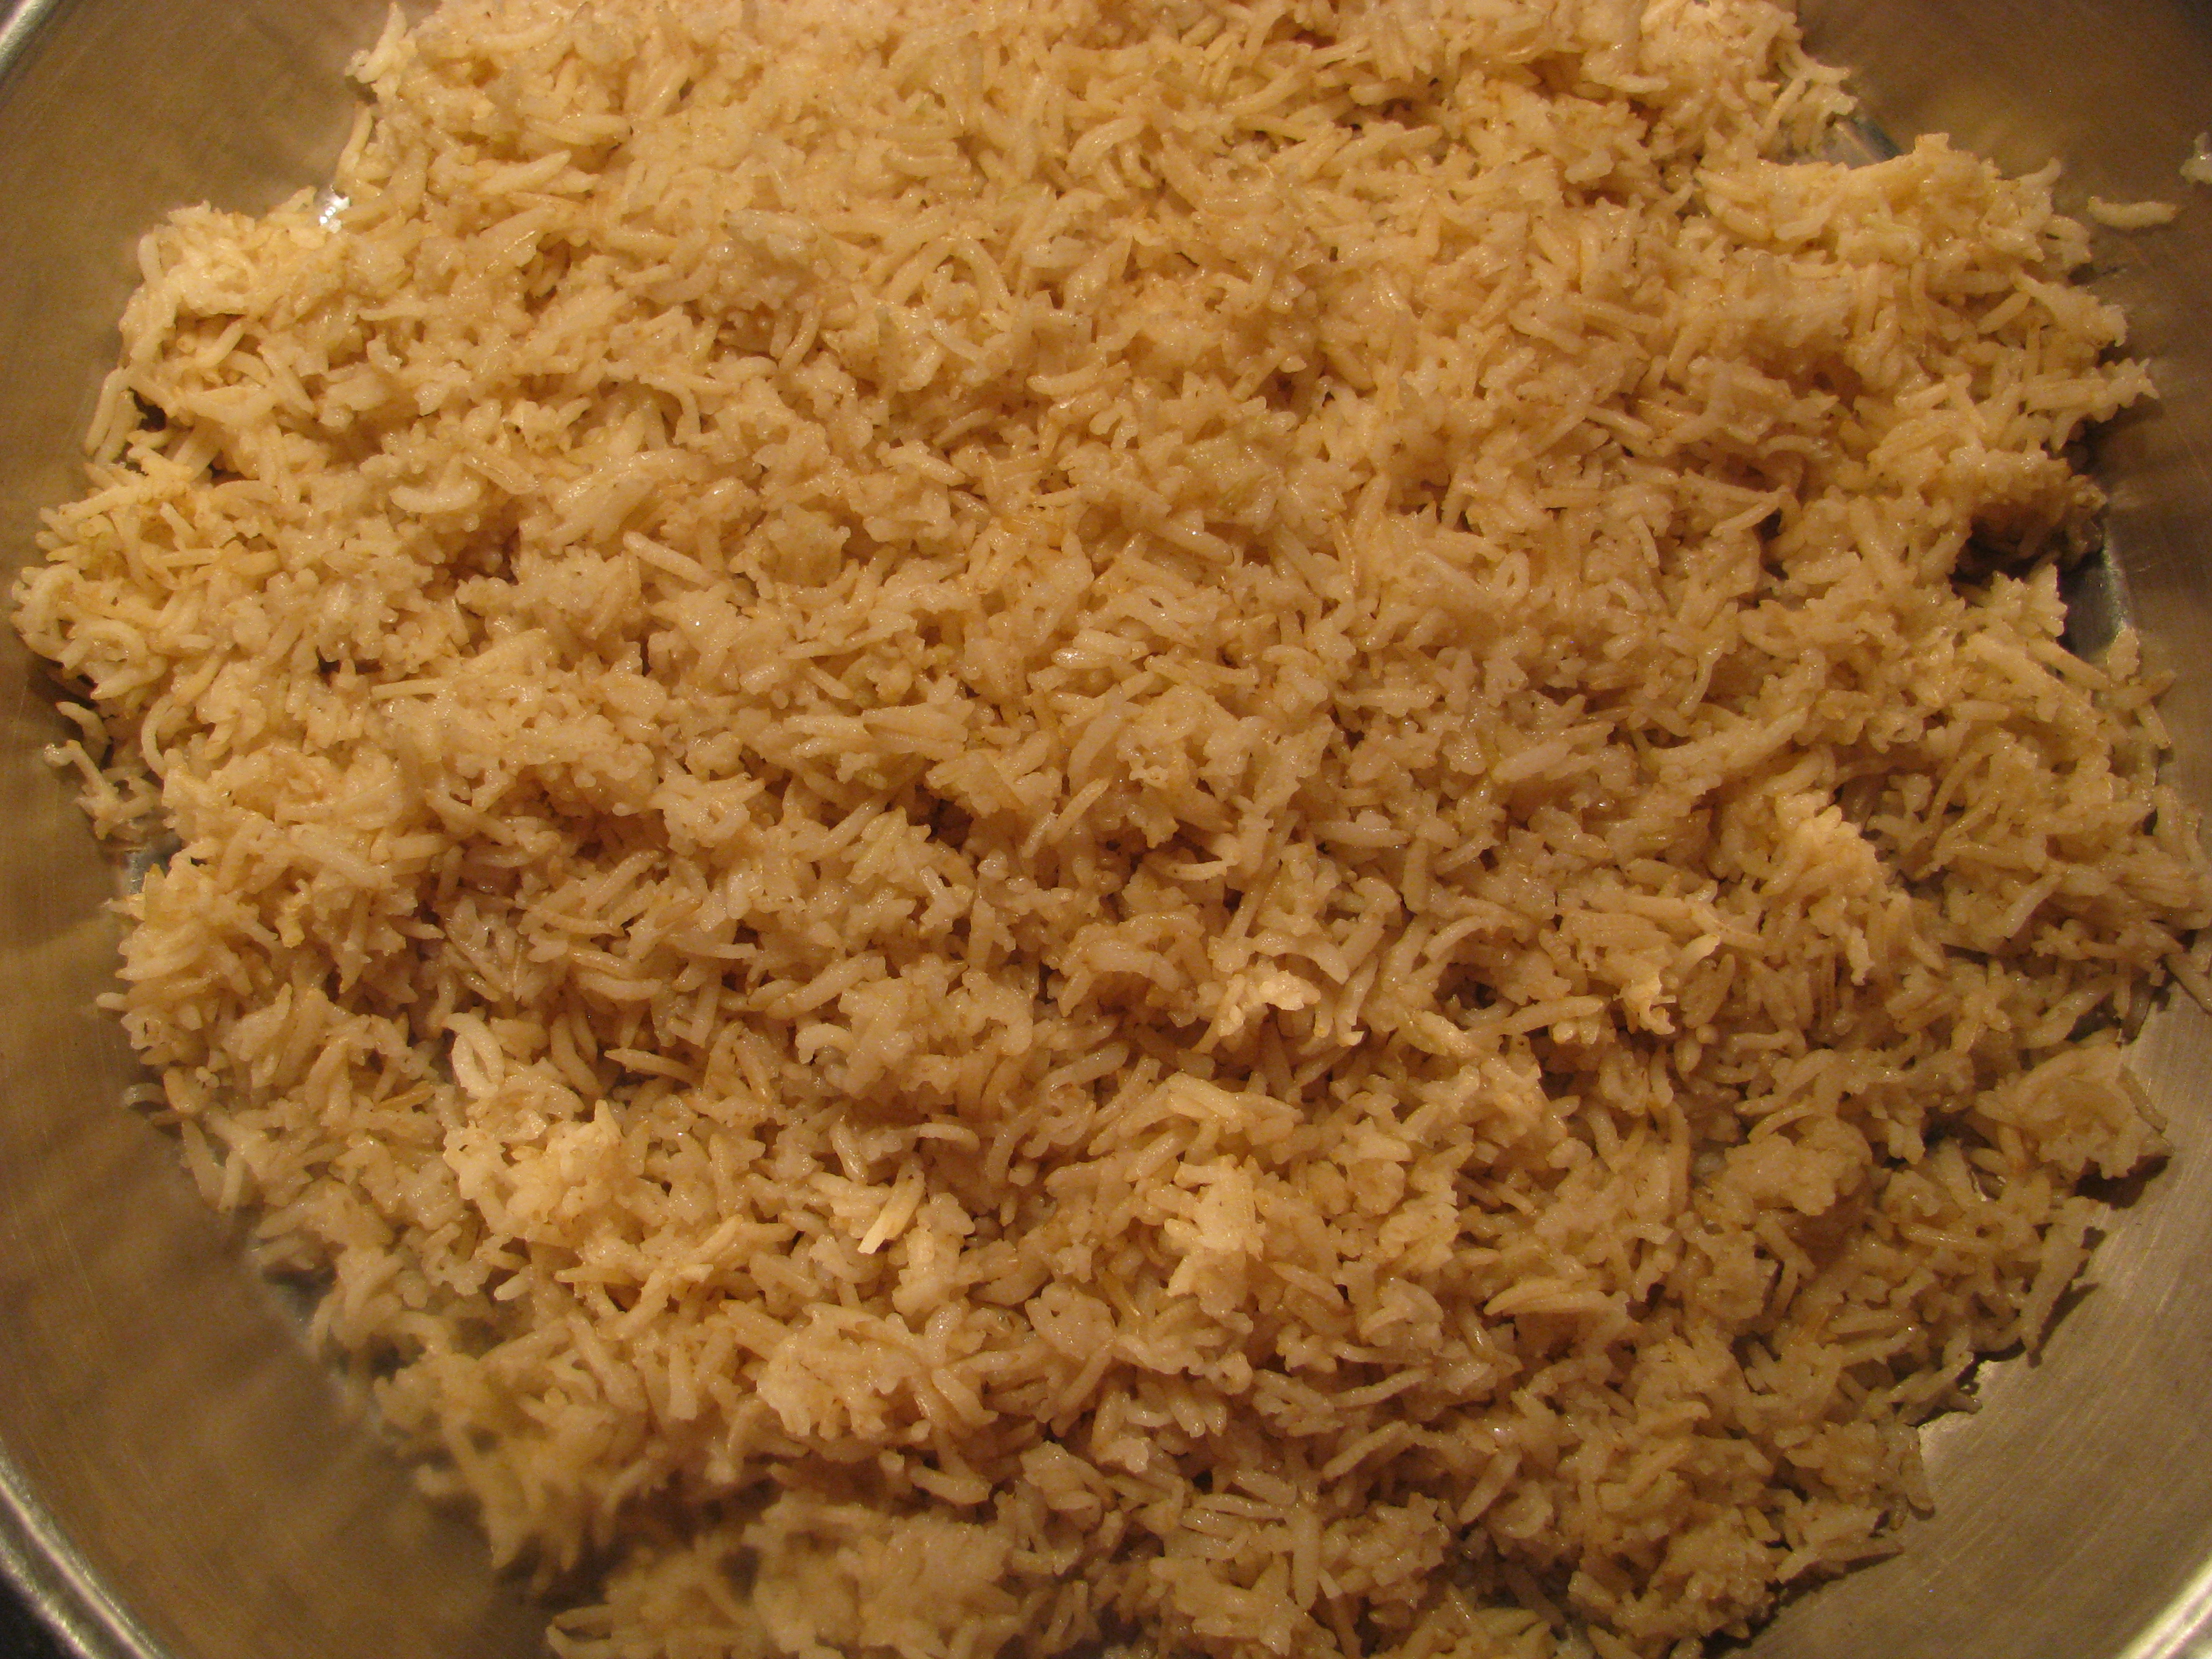
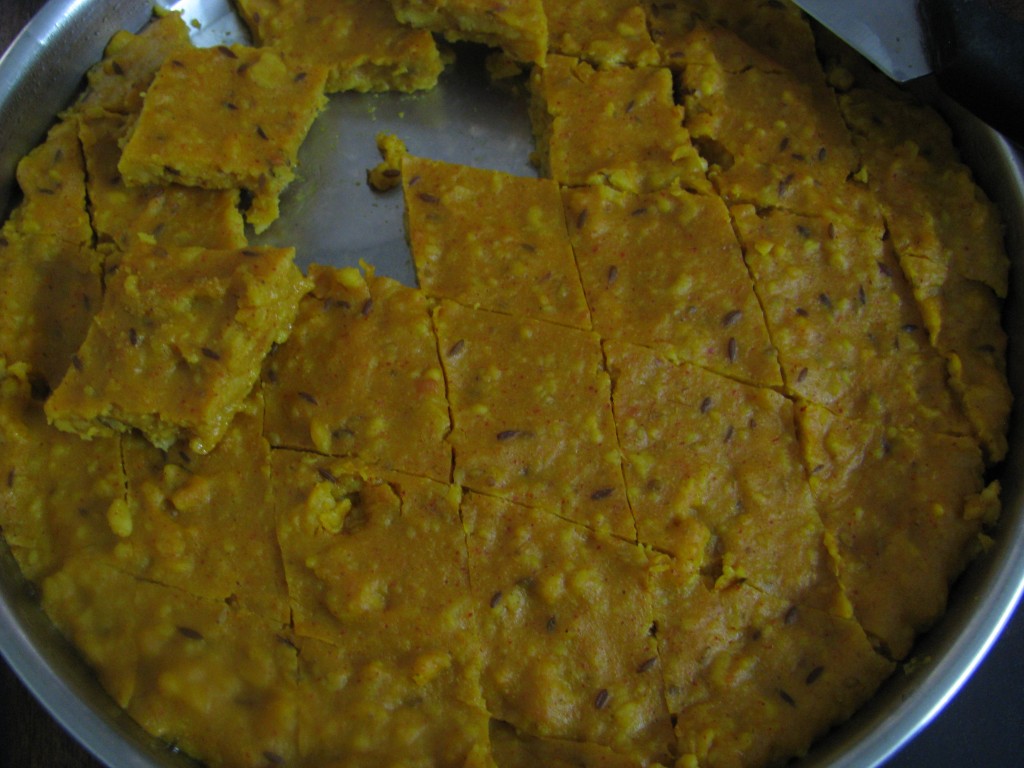
  9. Grease 1 plate with oil and sprinkle some grated coconut on it. Spread cooked Patodi batter on it.
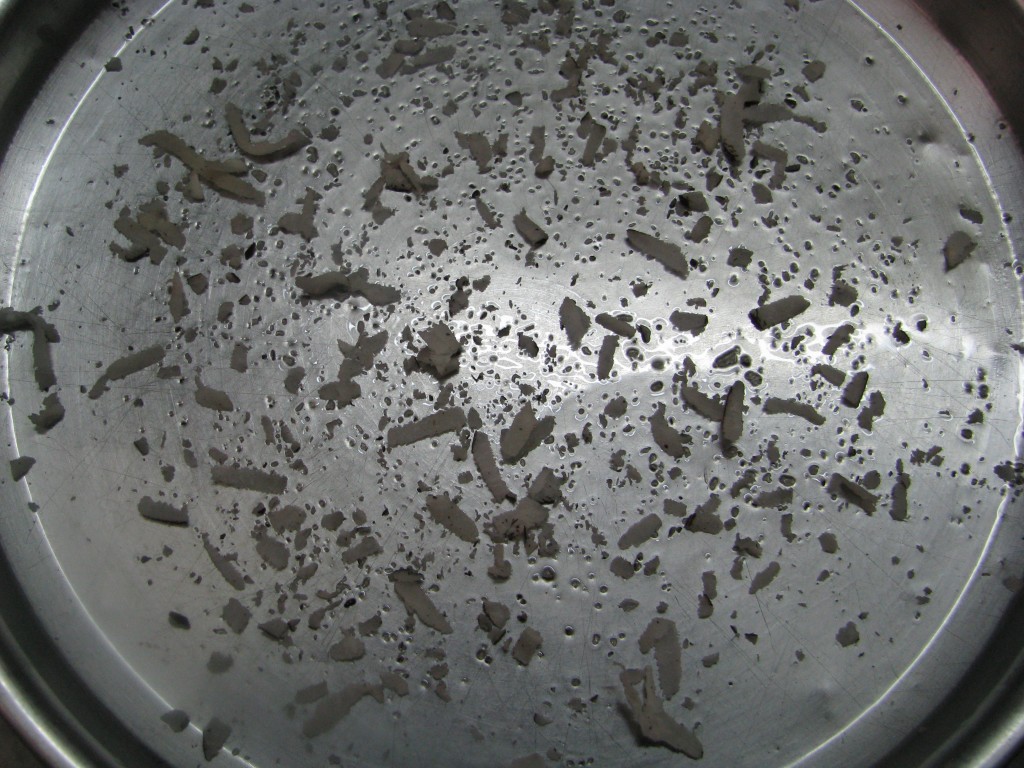
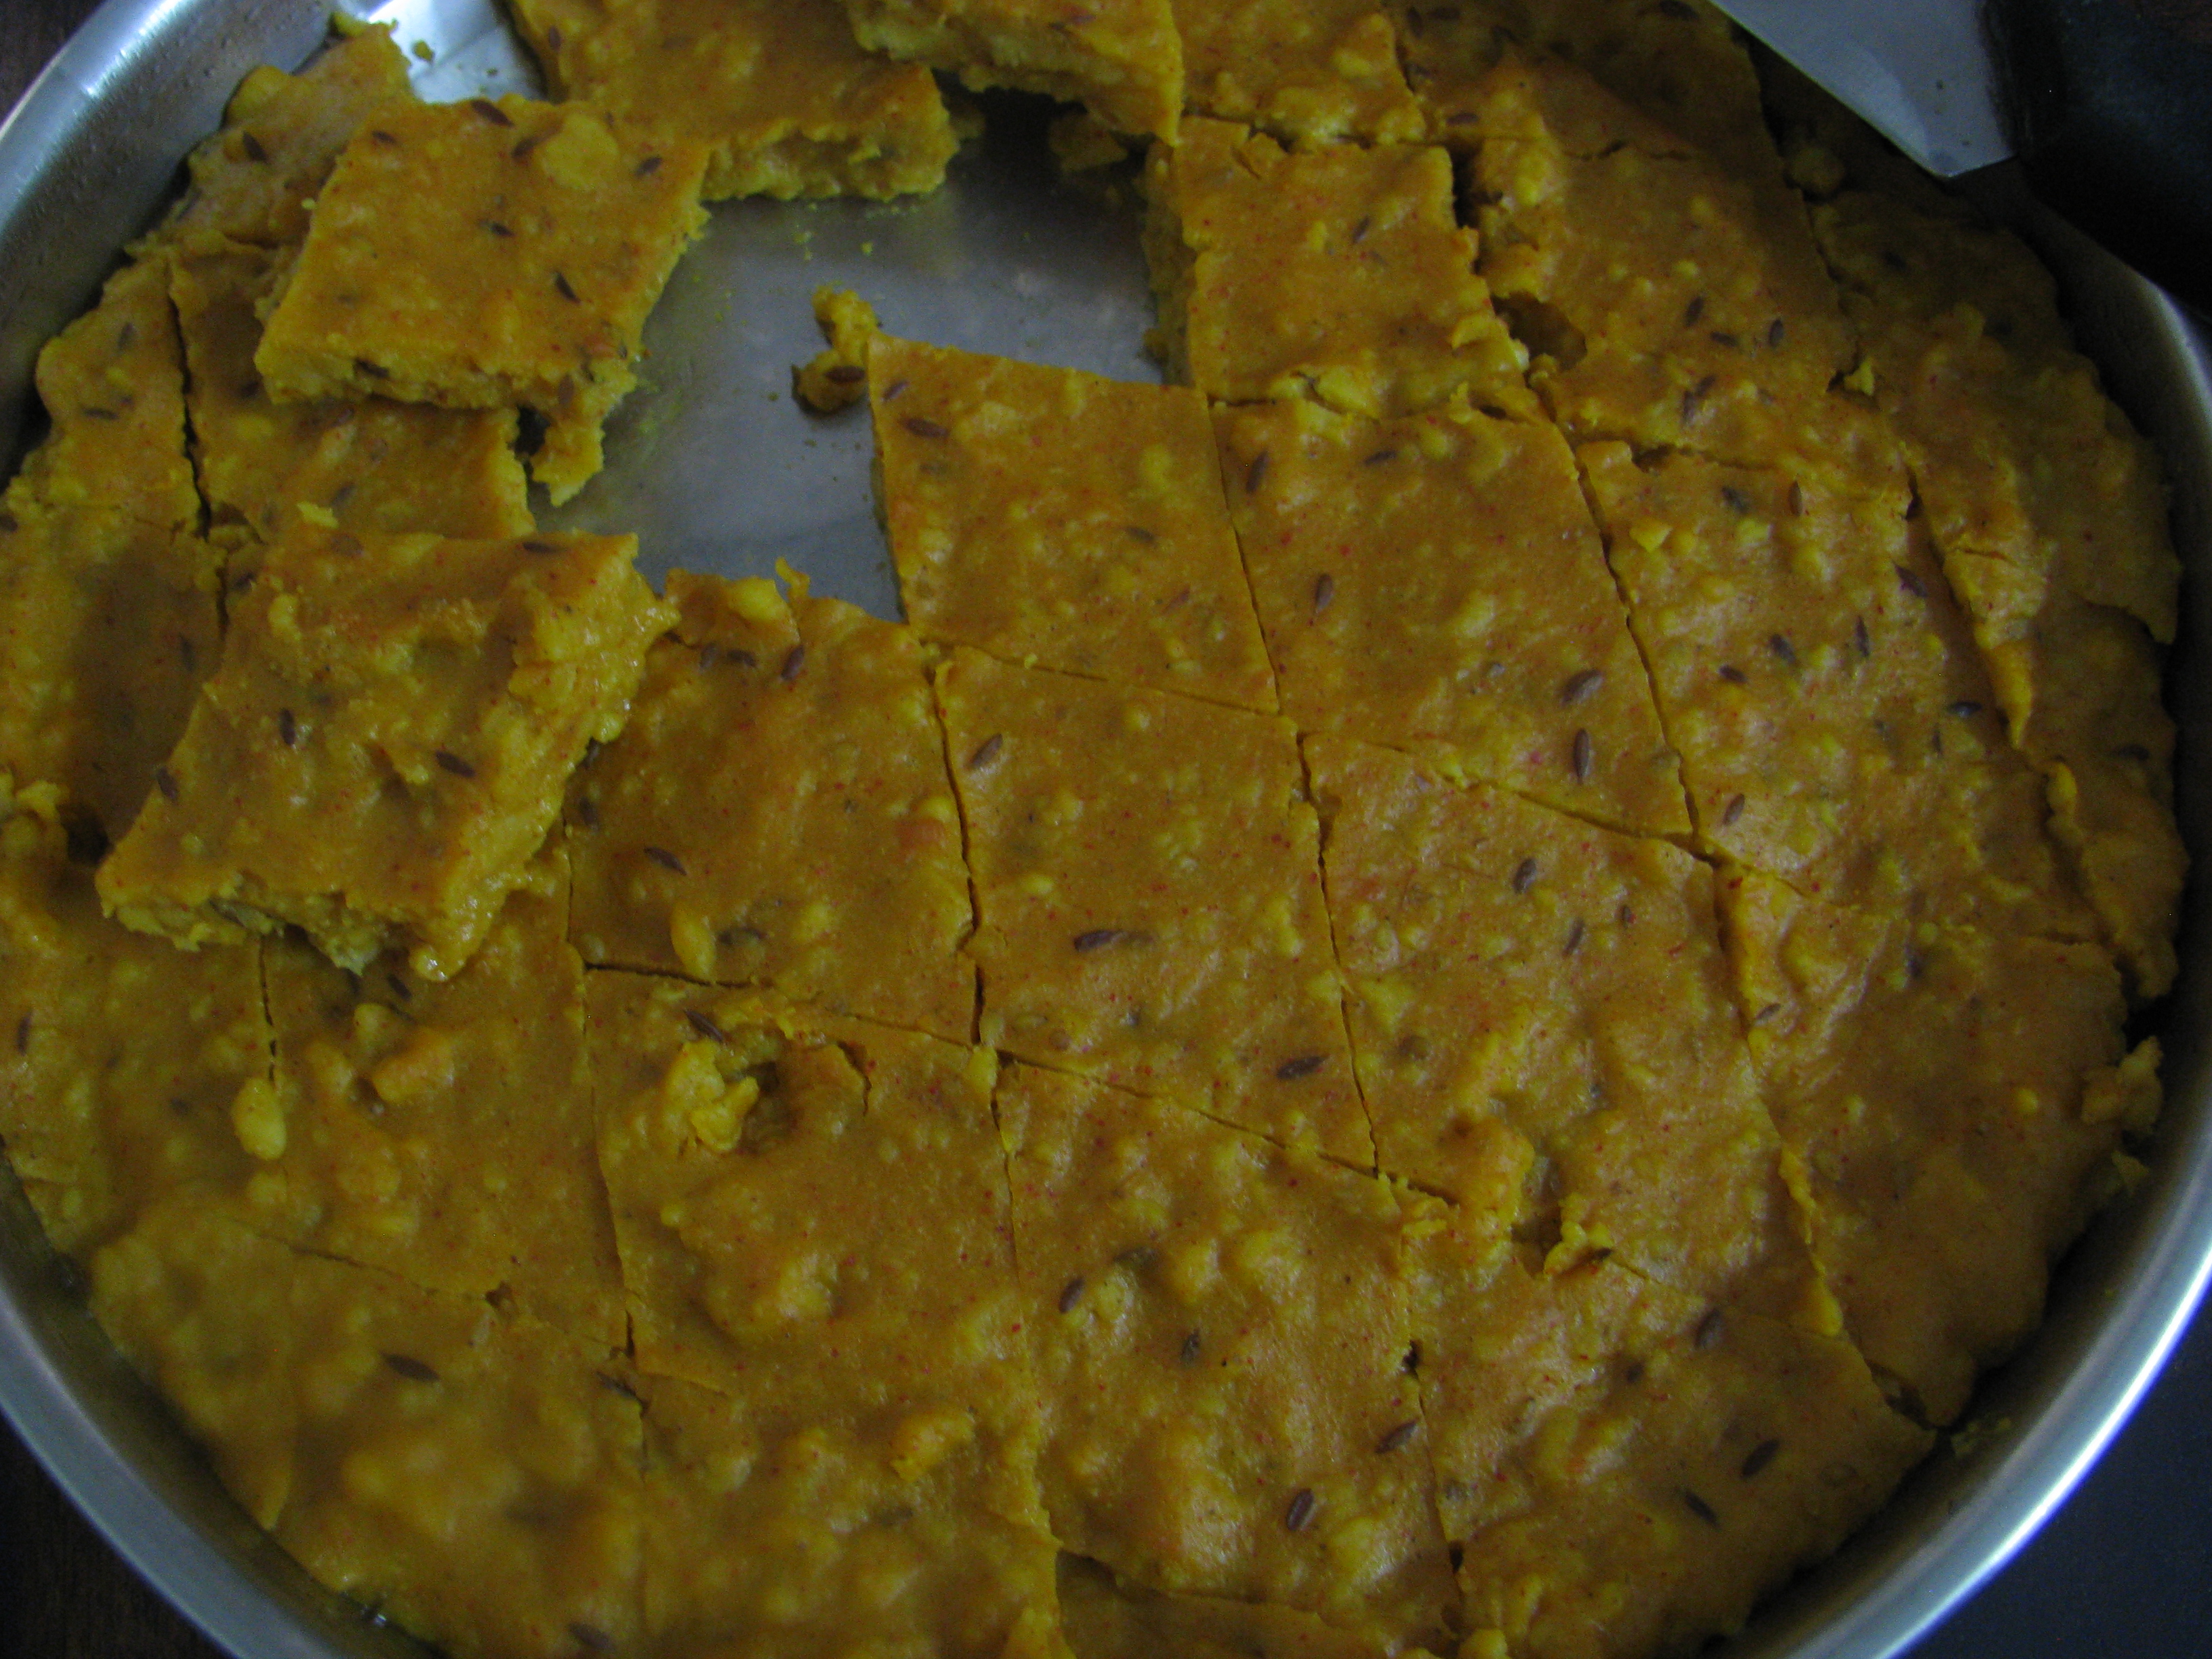
IMG_1386IMG_1390
  10. Let it cool down patodi rassa bhaji | patwadi sabji | pataudi chi bhaji
  11. Cut it into desired shape. I have cut it into diamond shape. Patodi is ready.IMG_1410


Directions to make Patodi (gravy/ rassa)

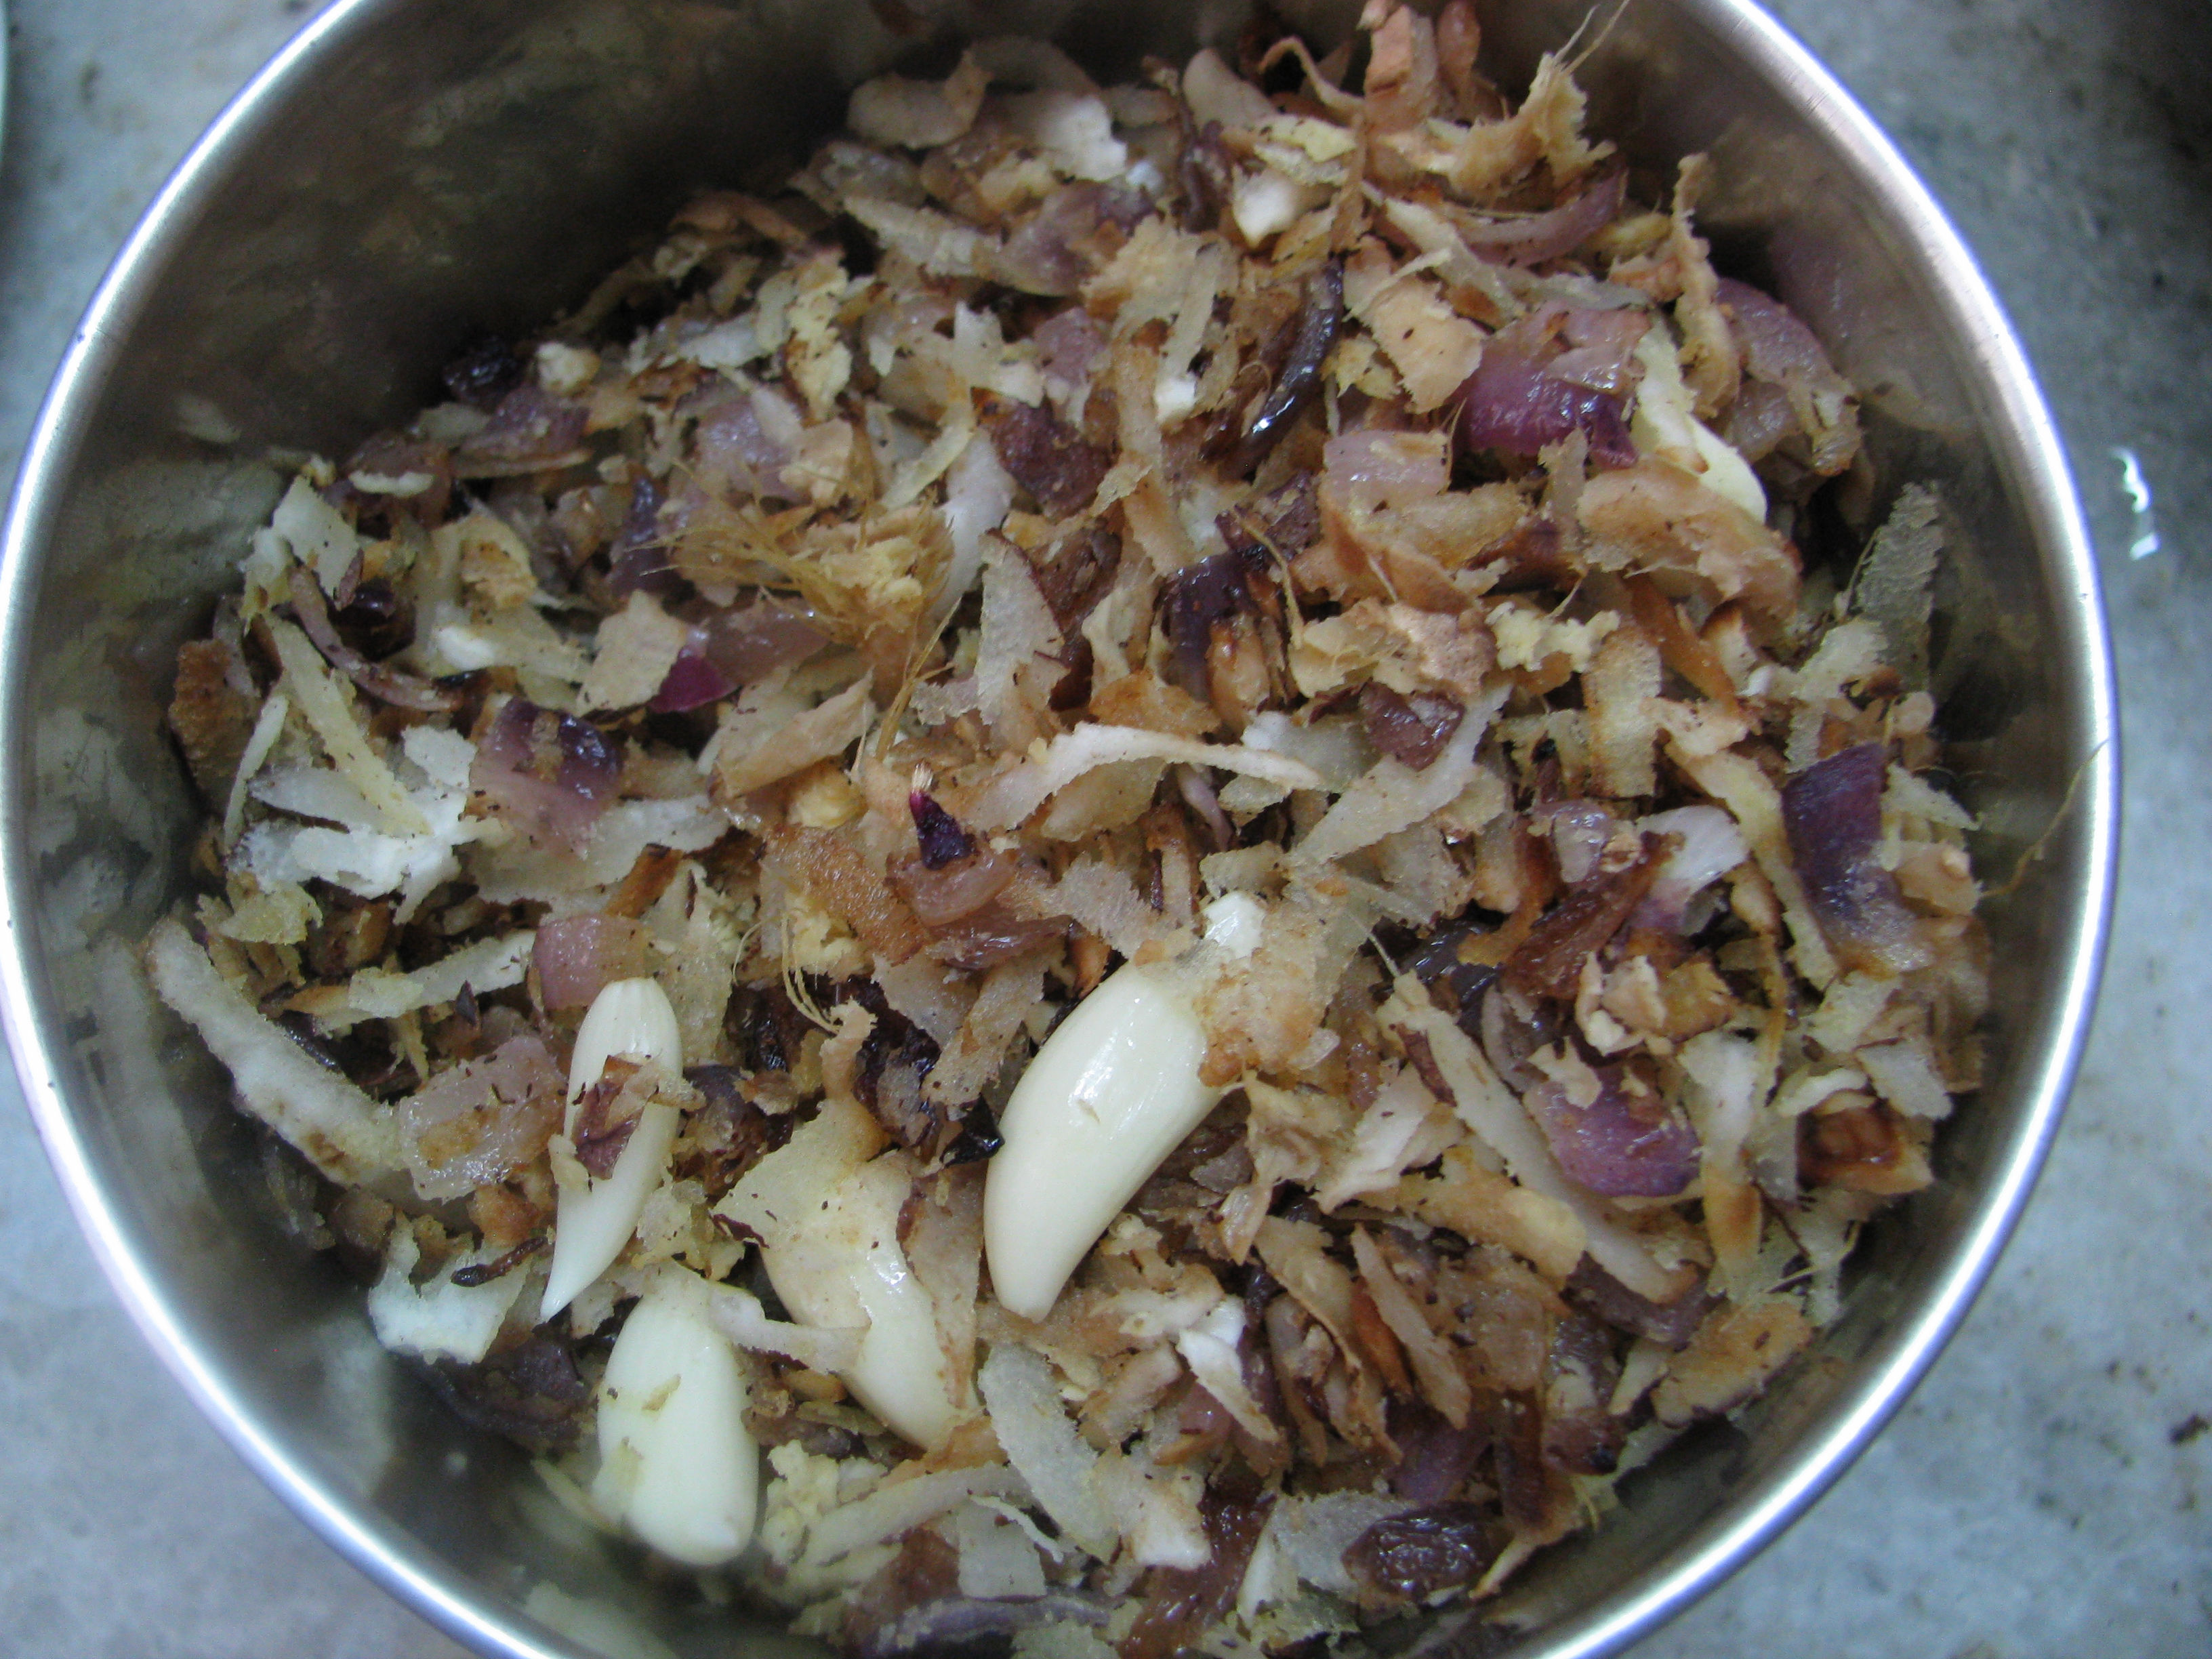
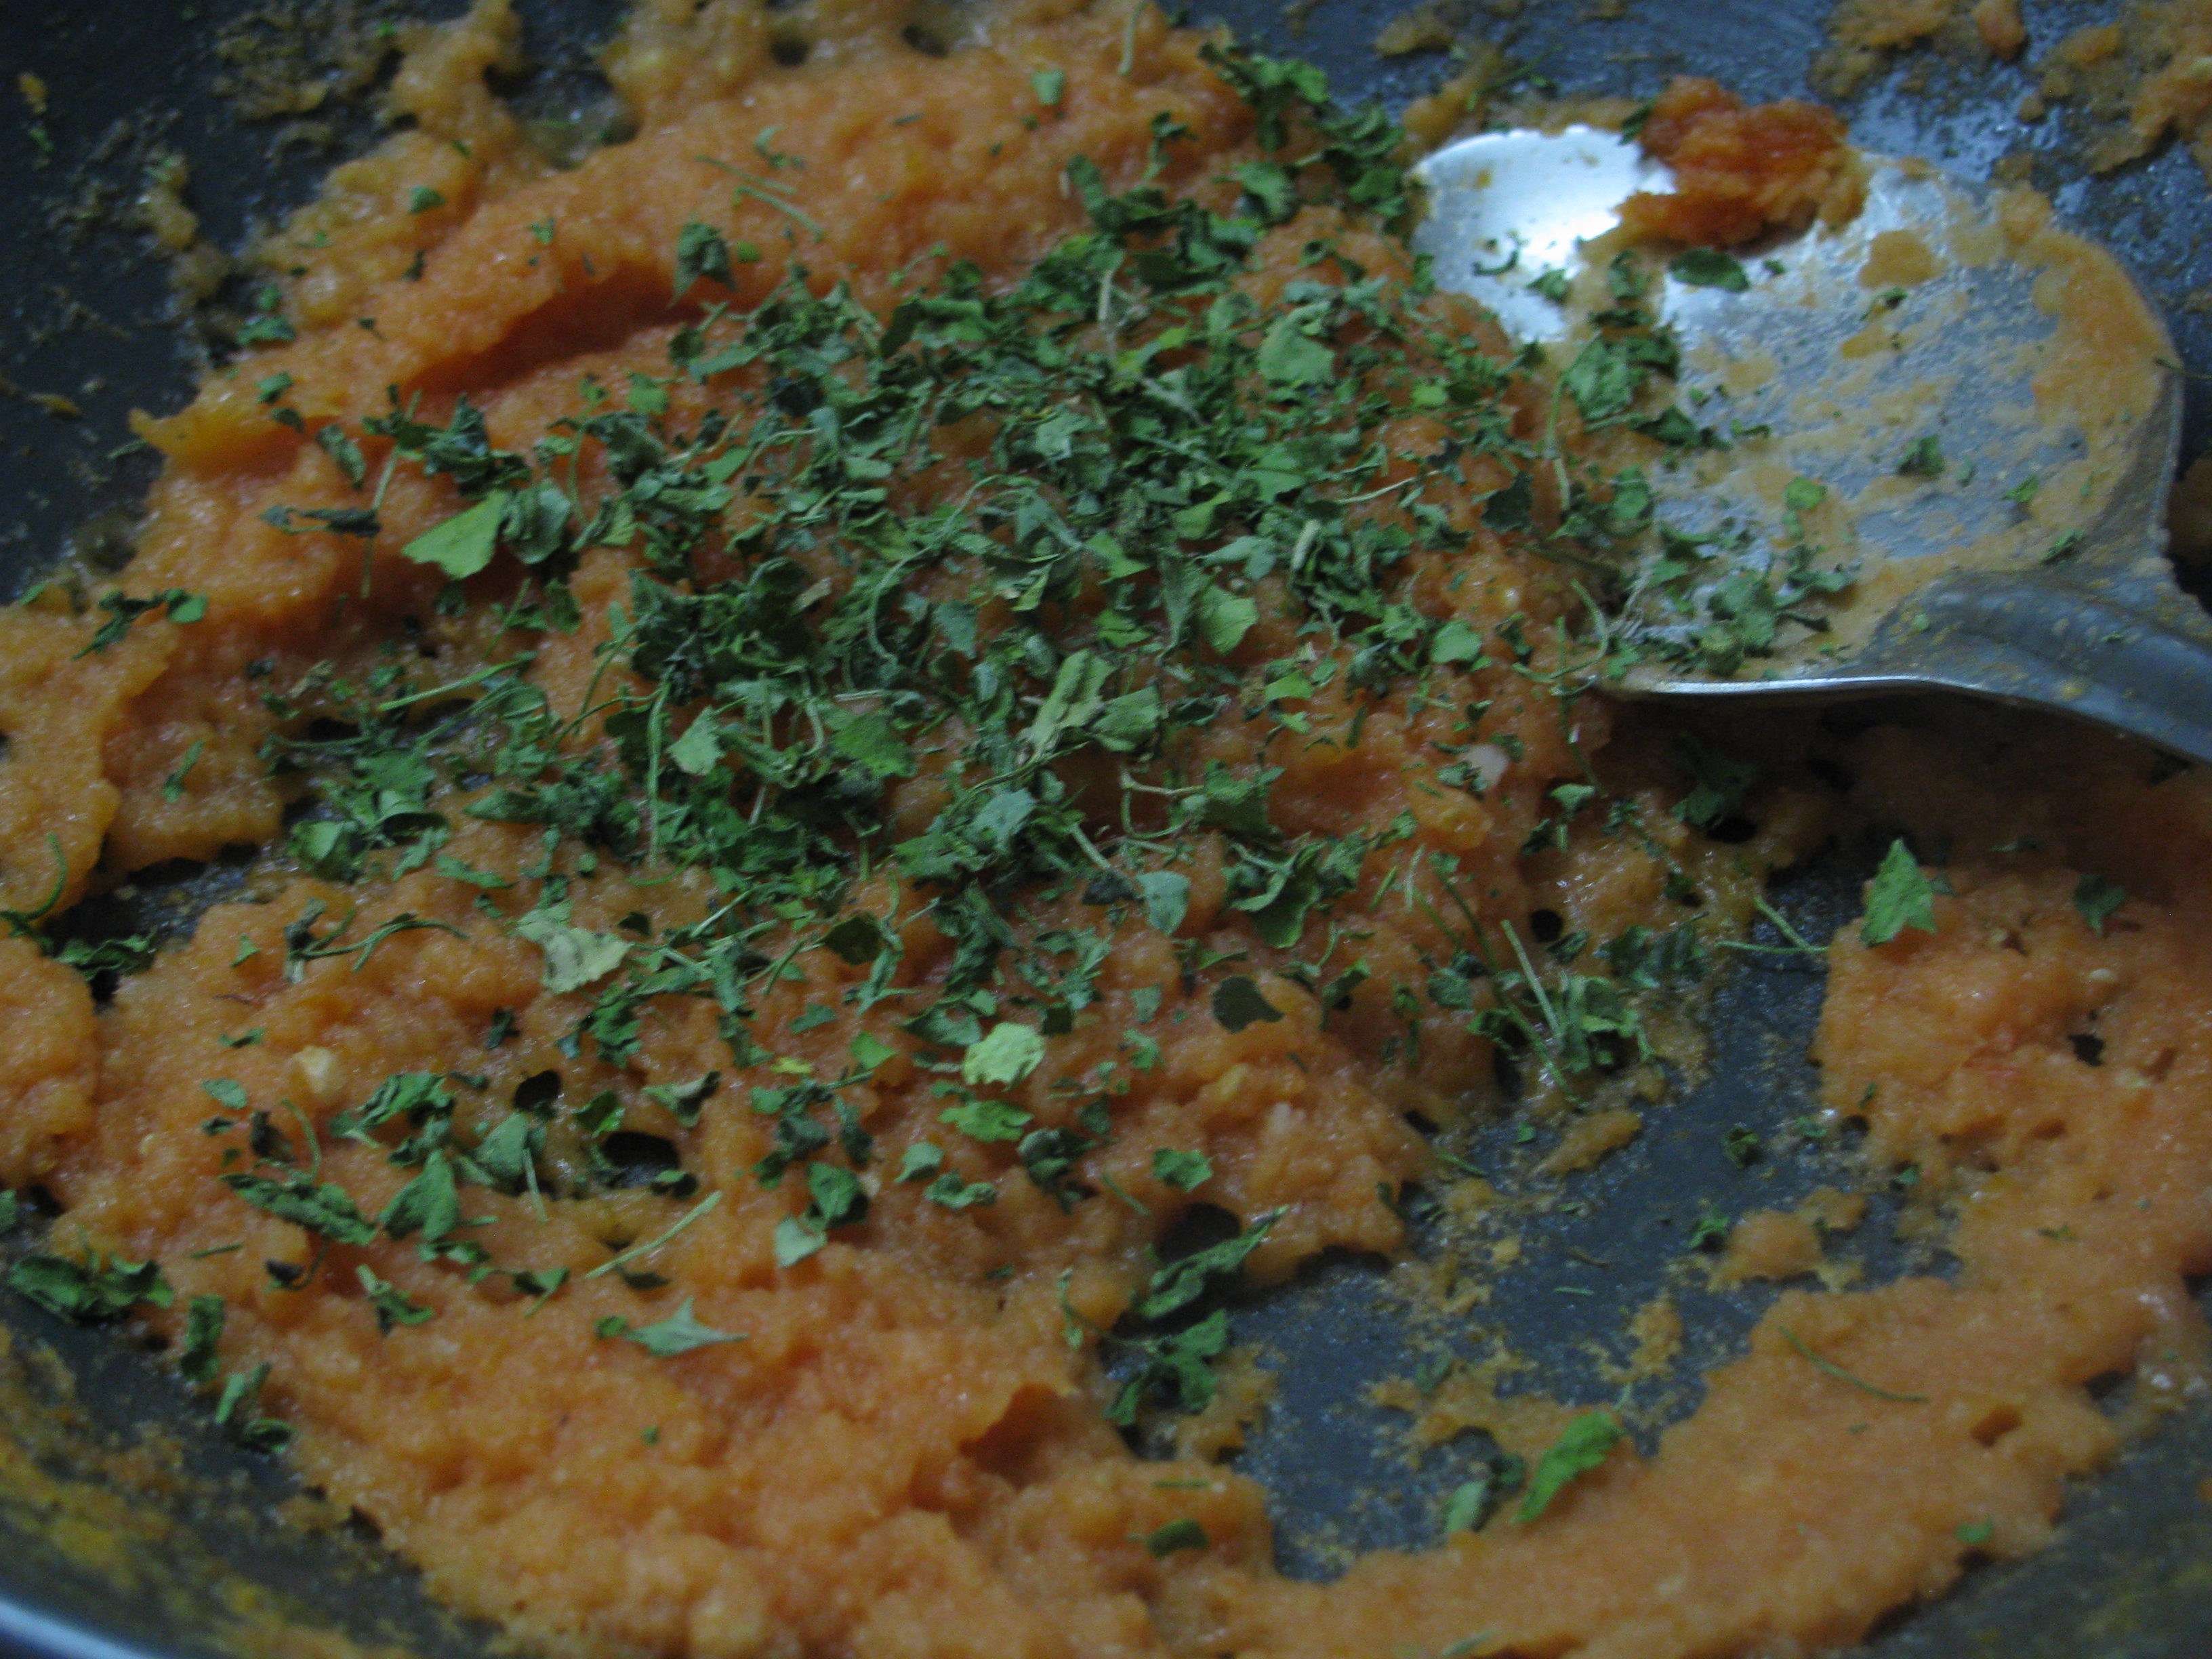
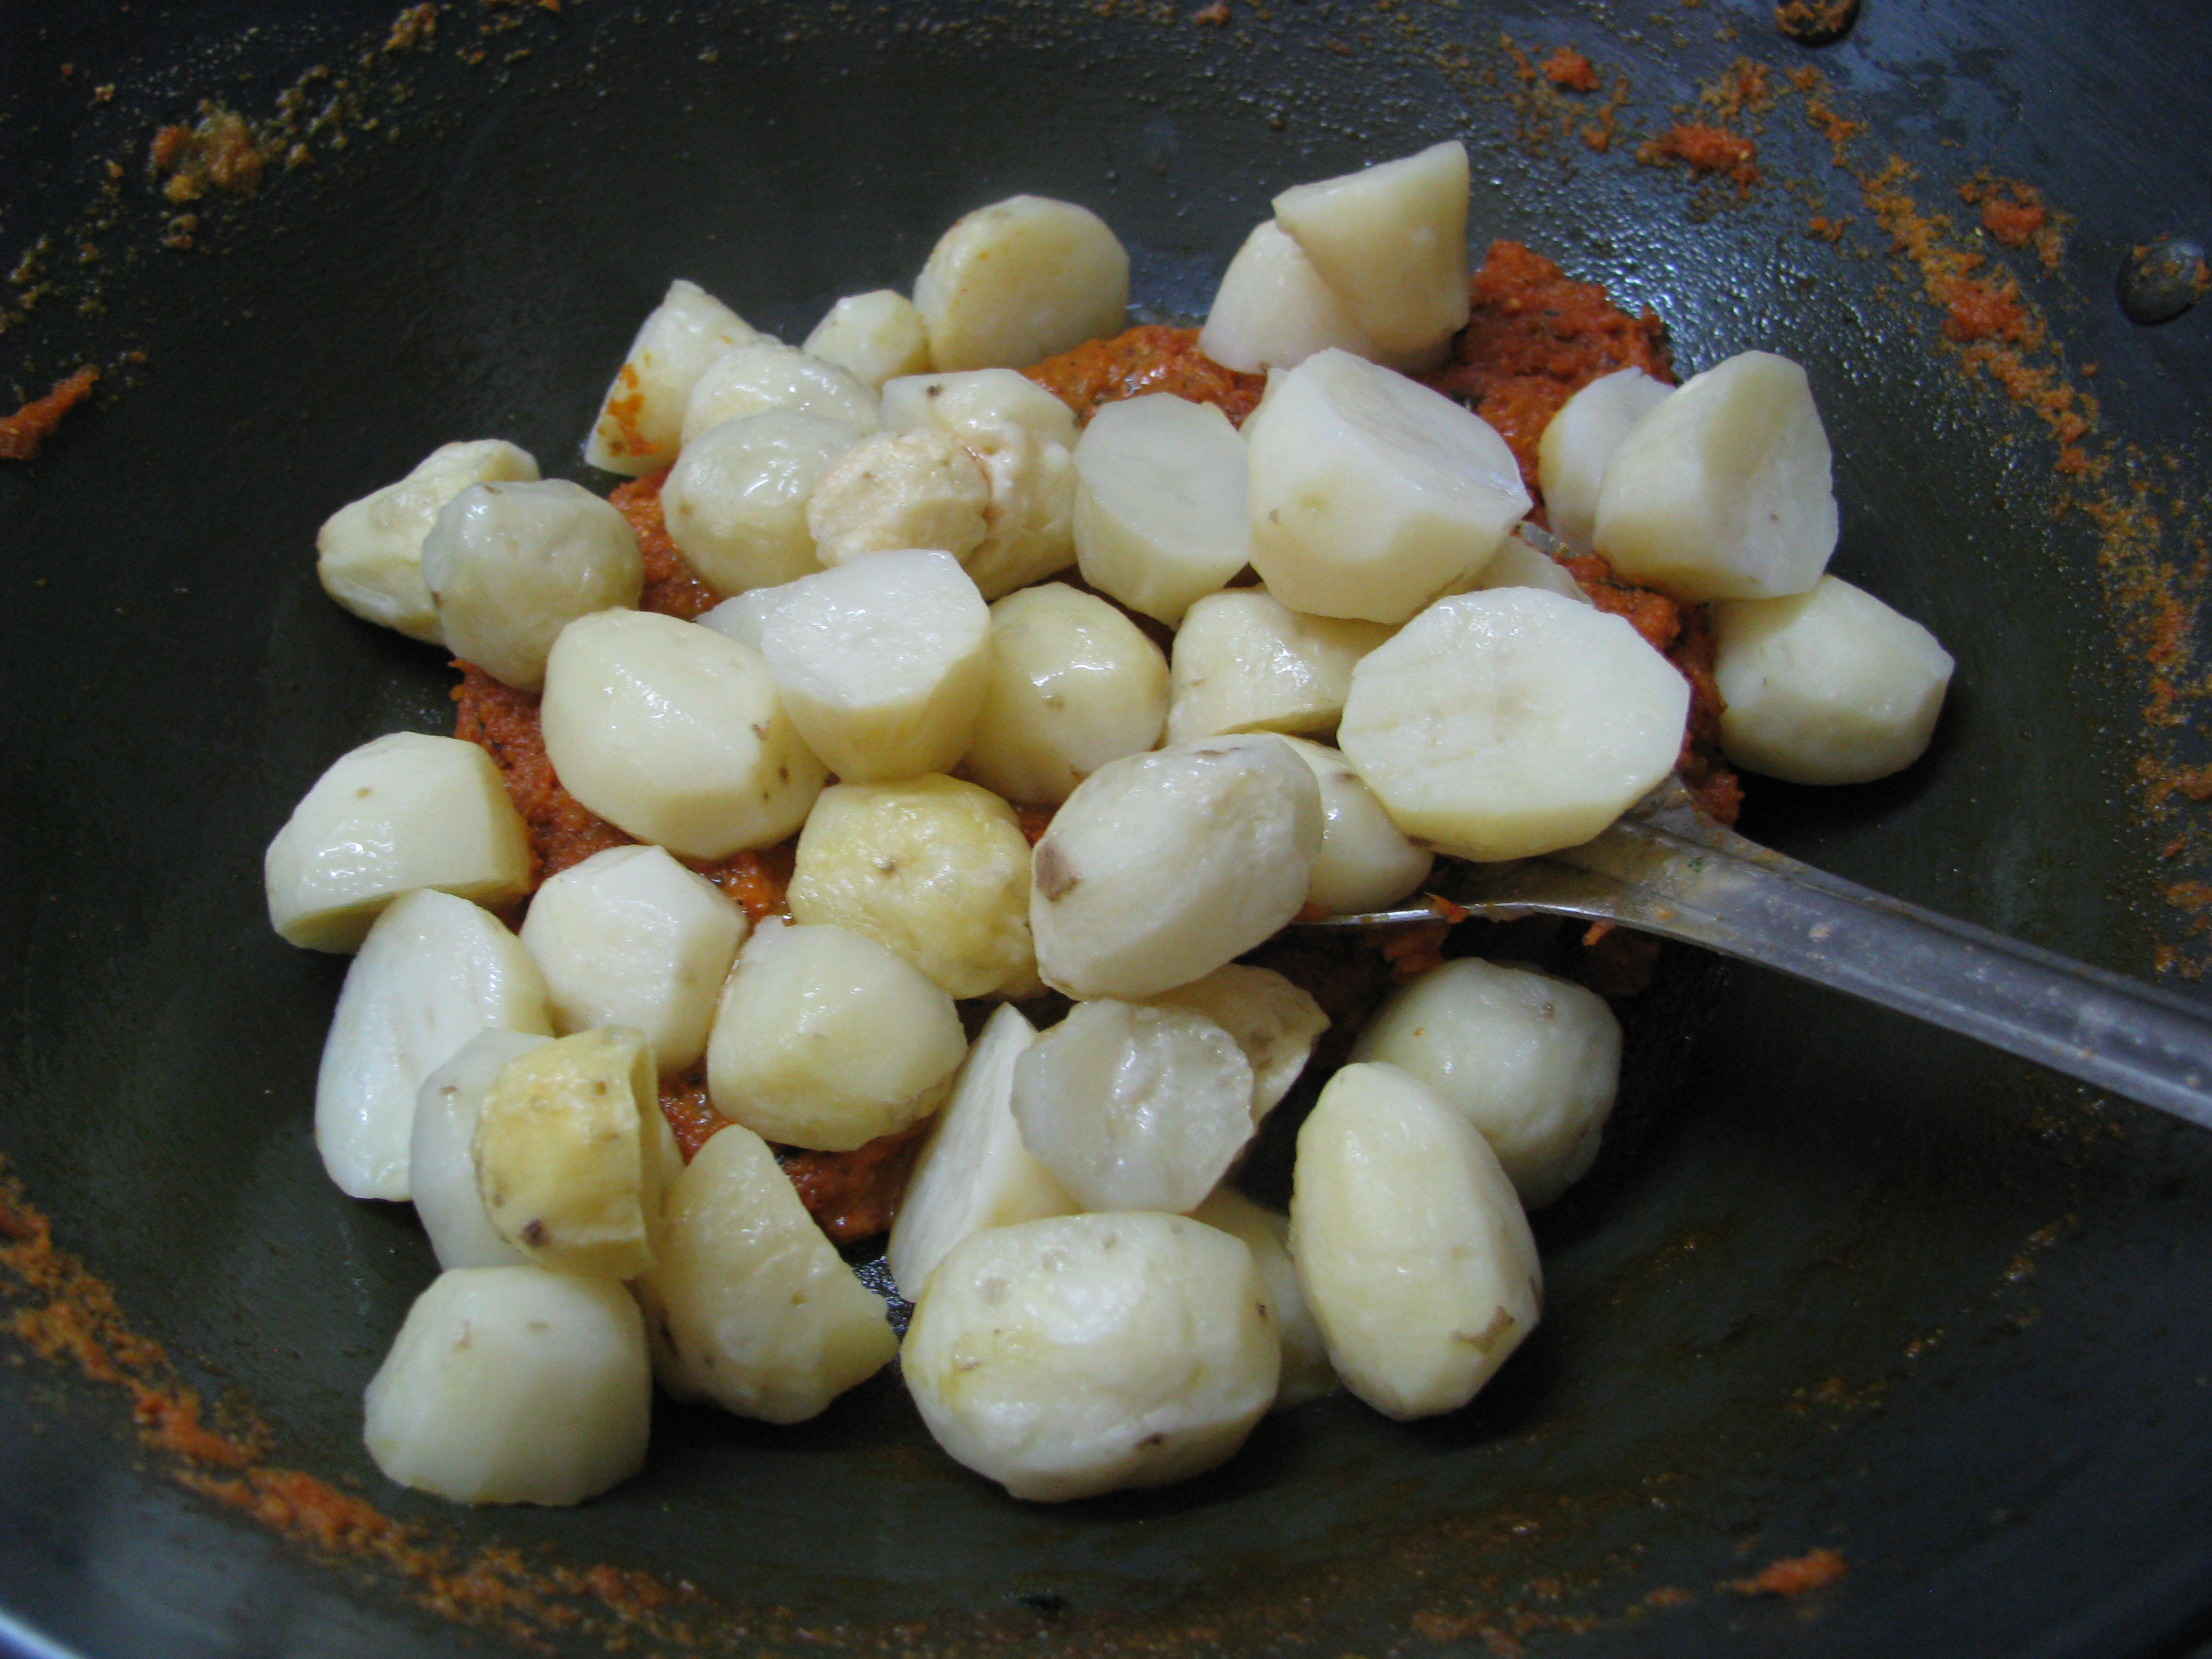
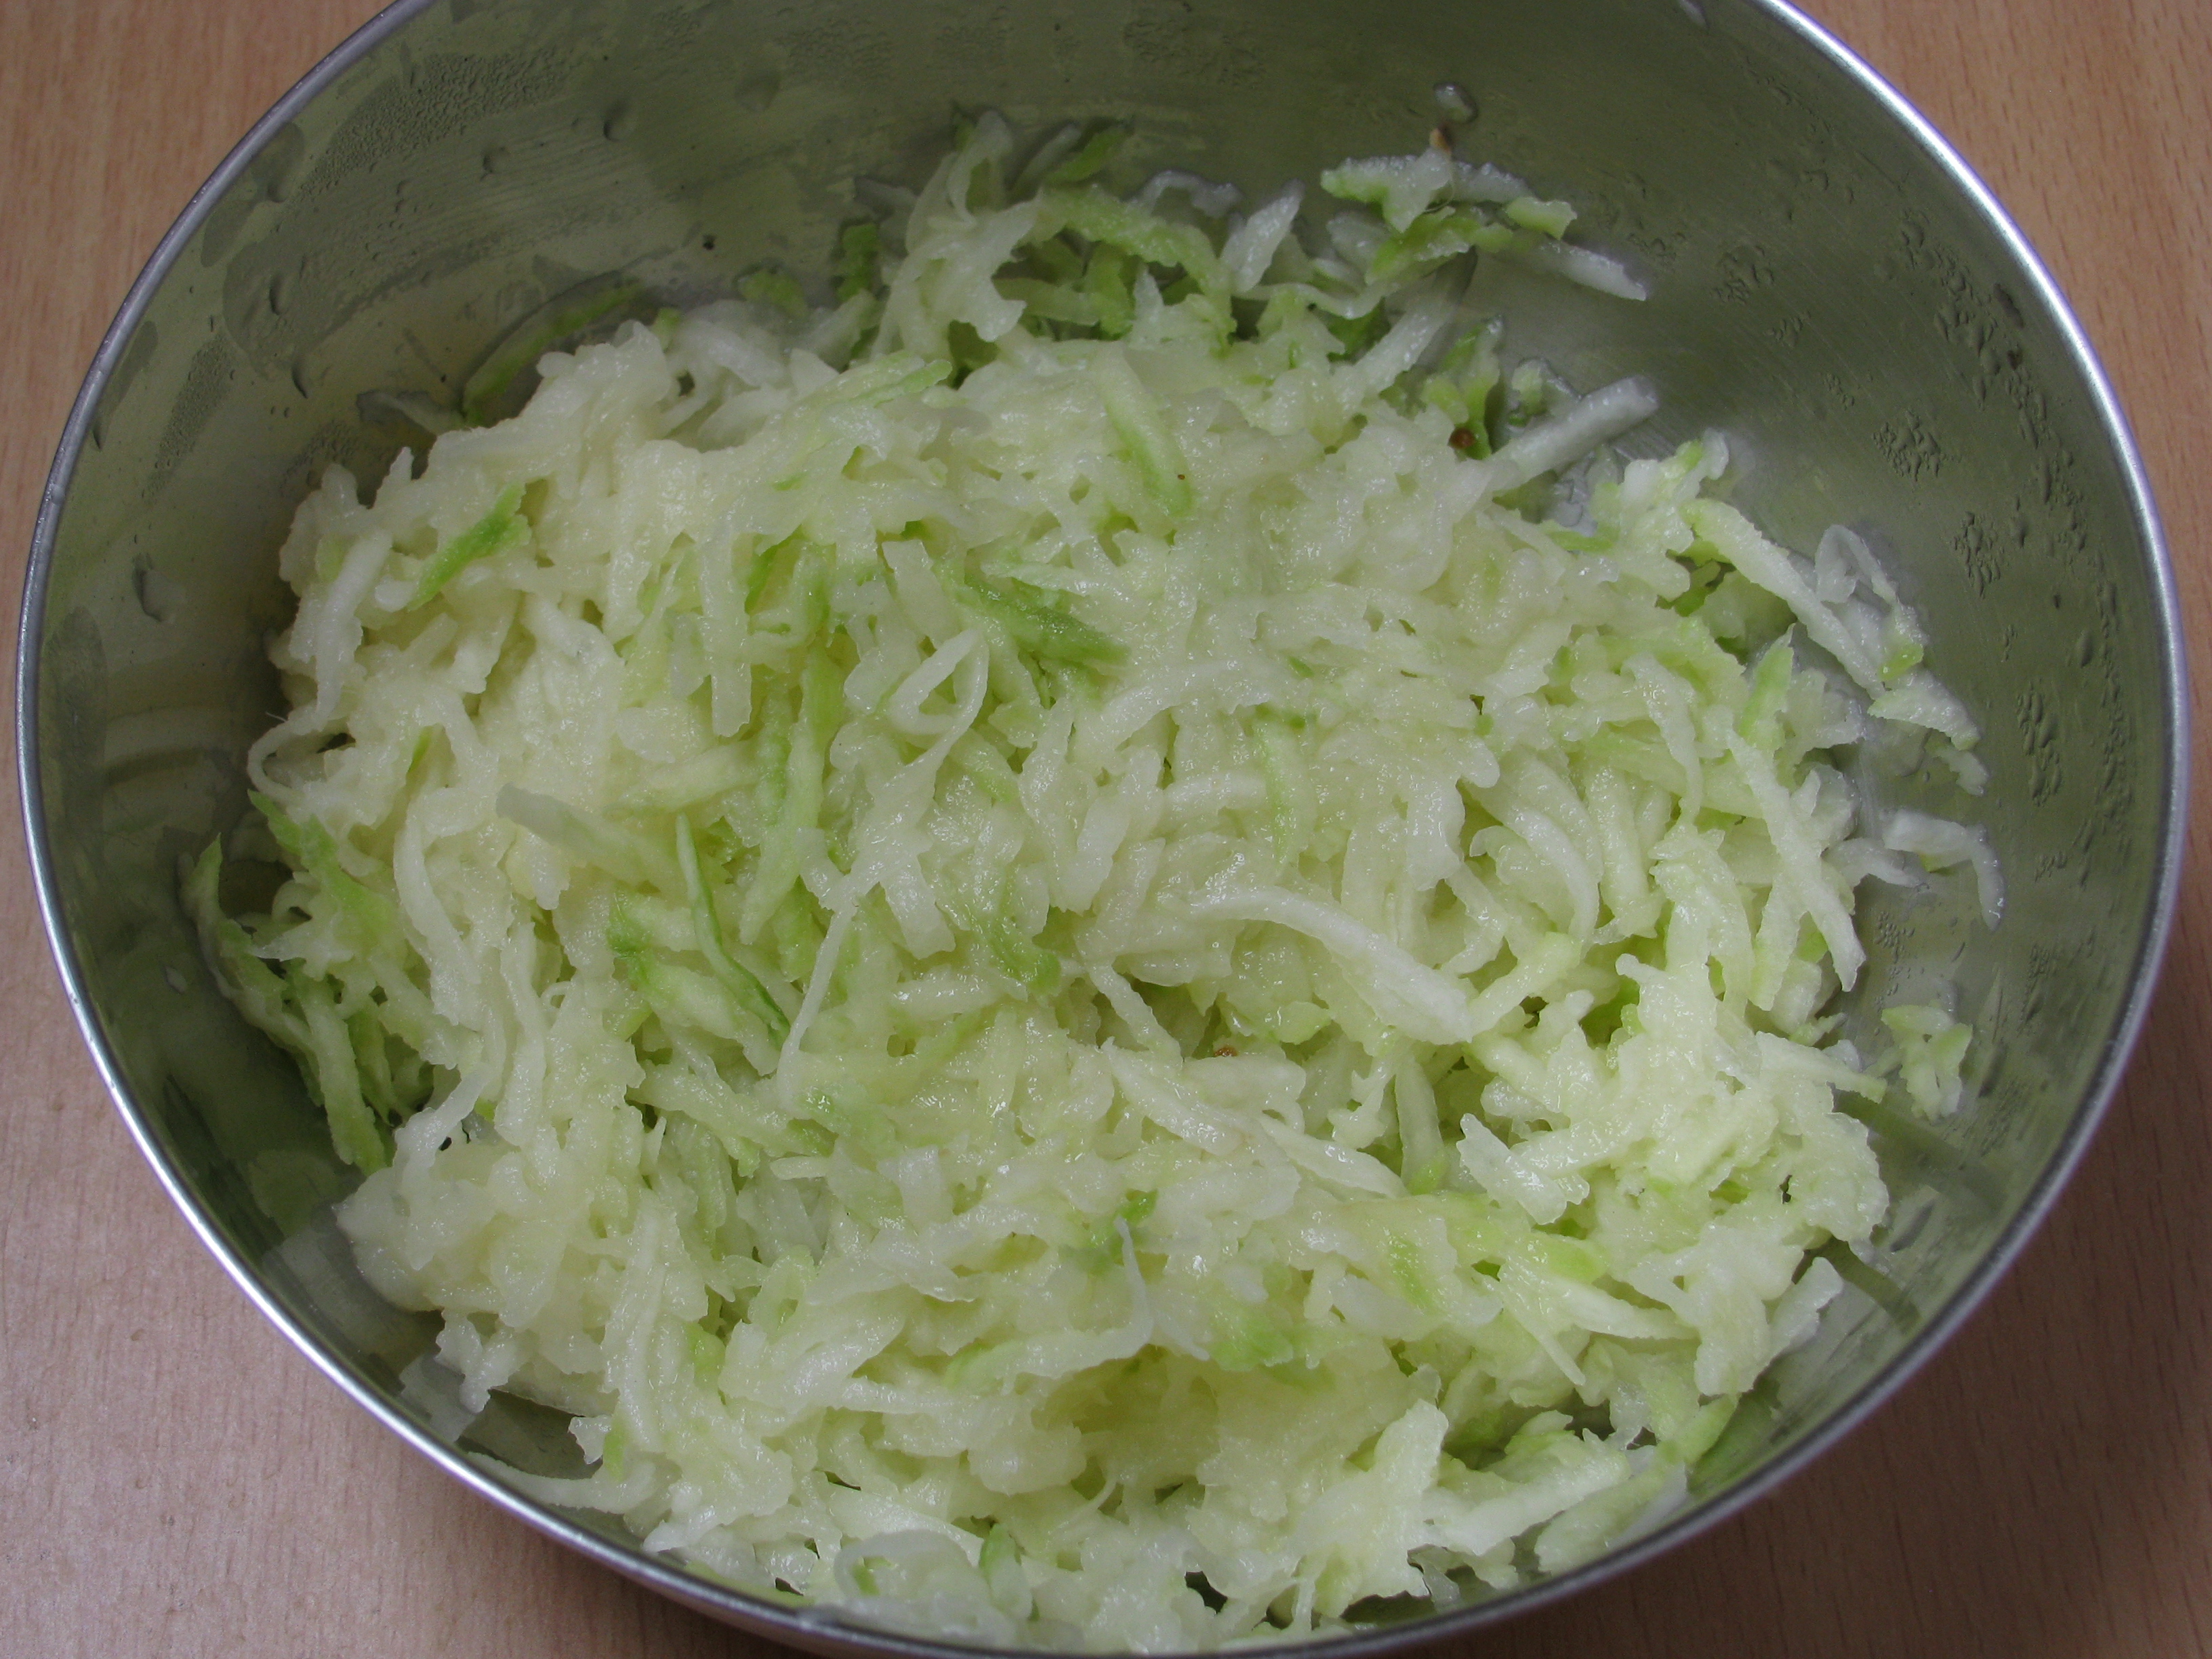
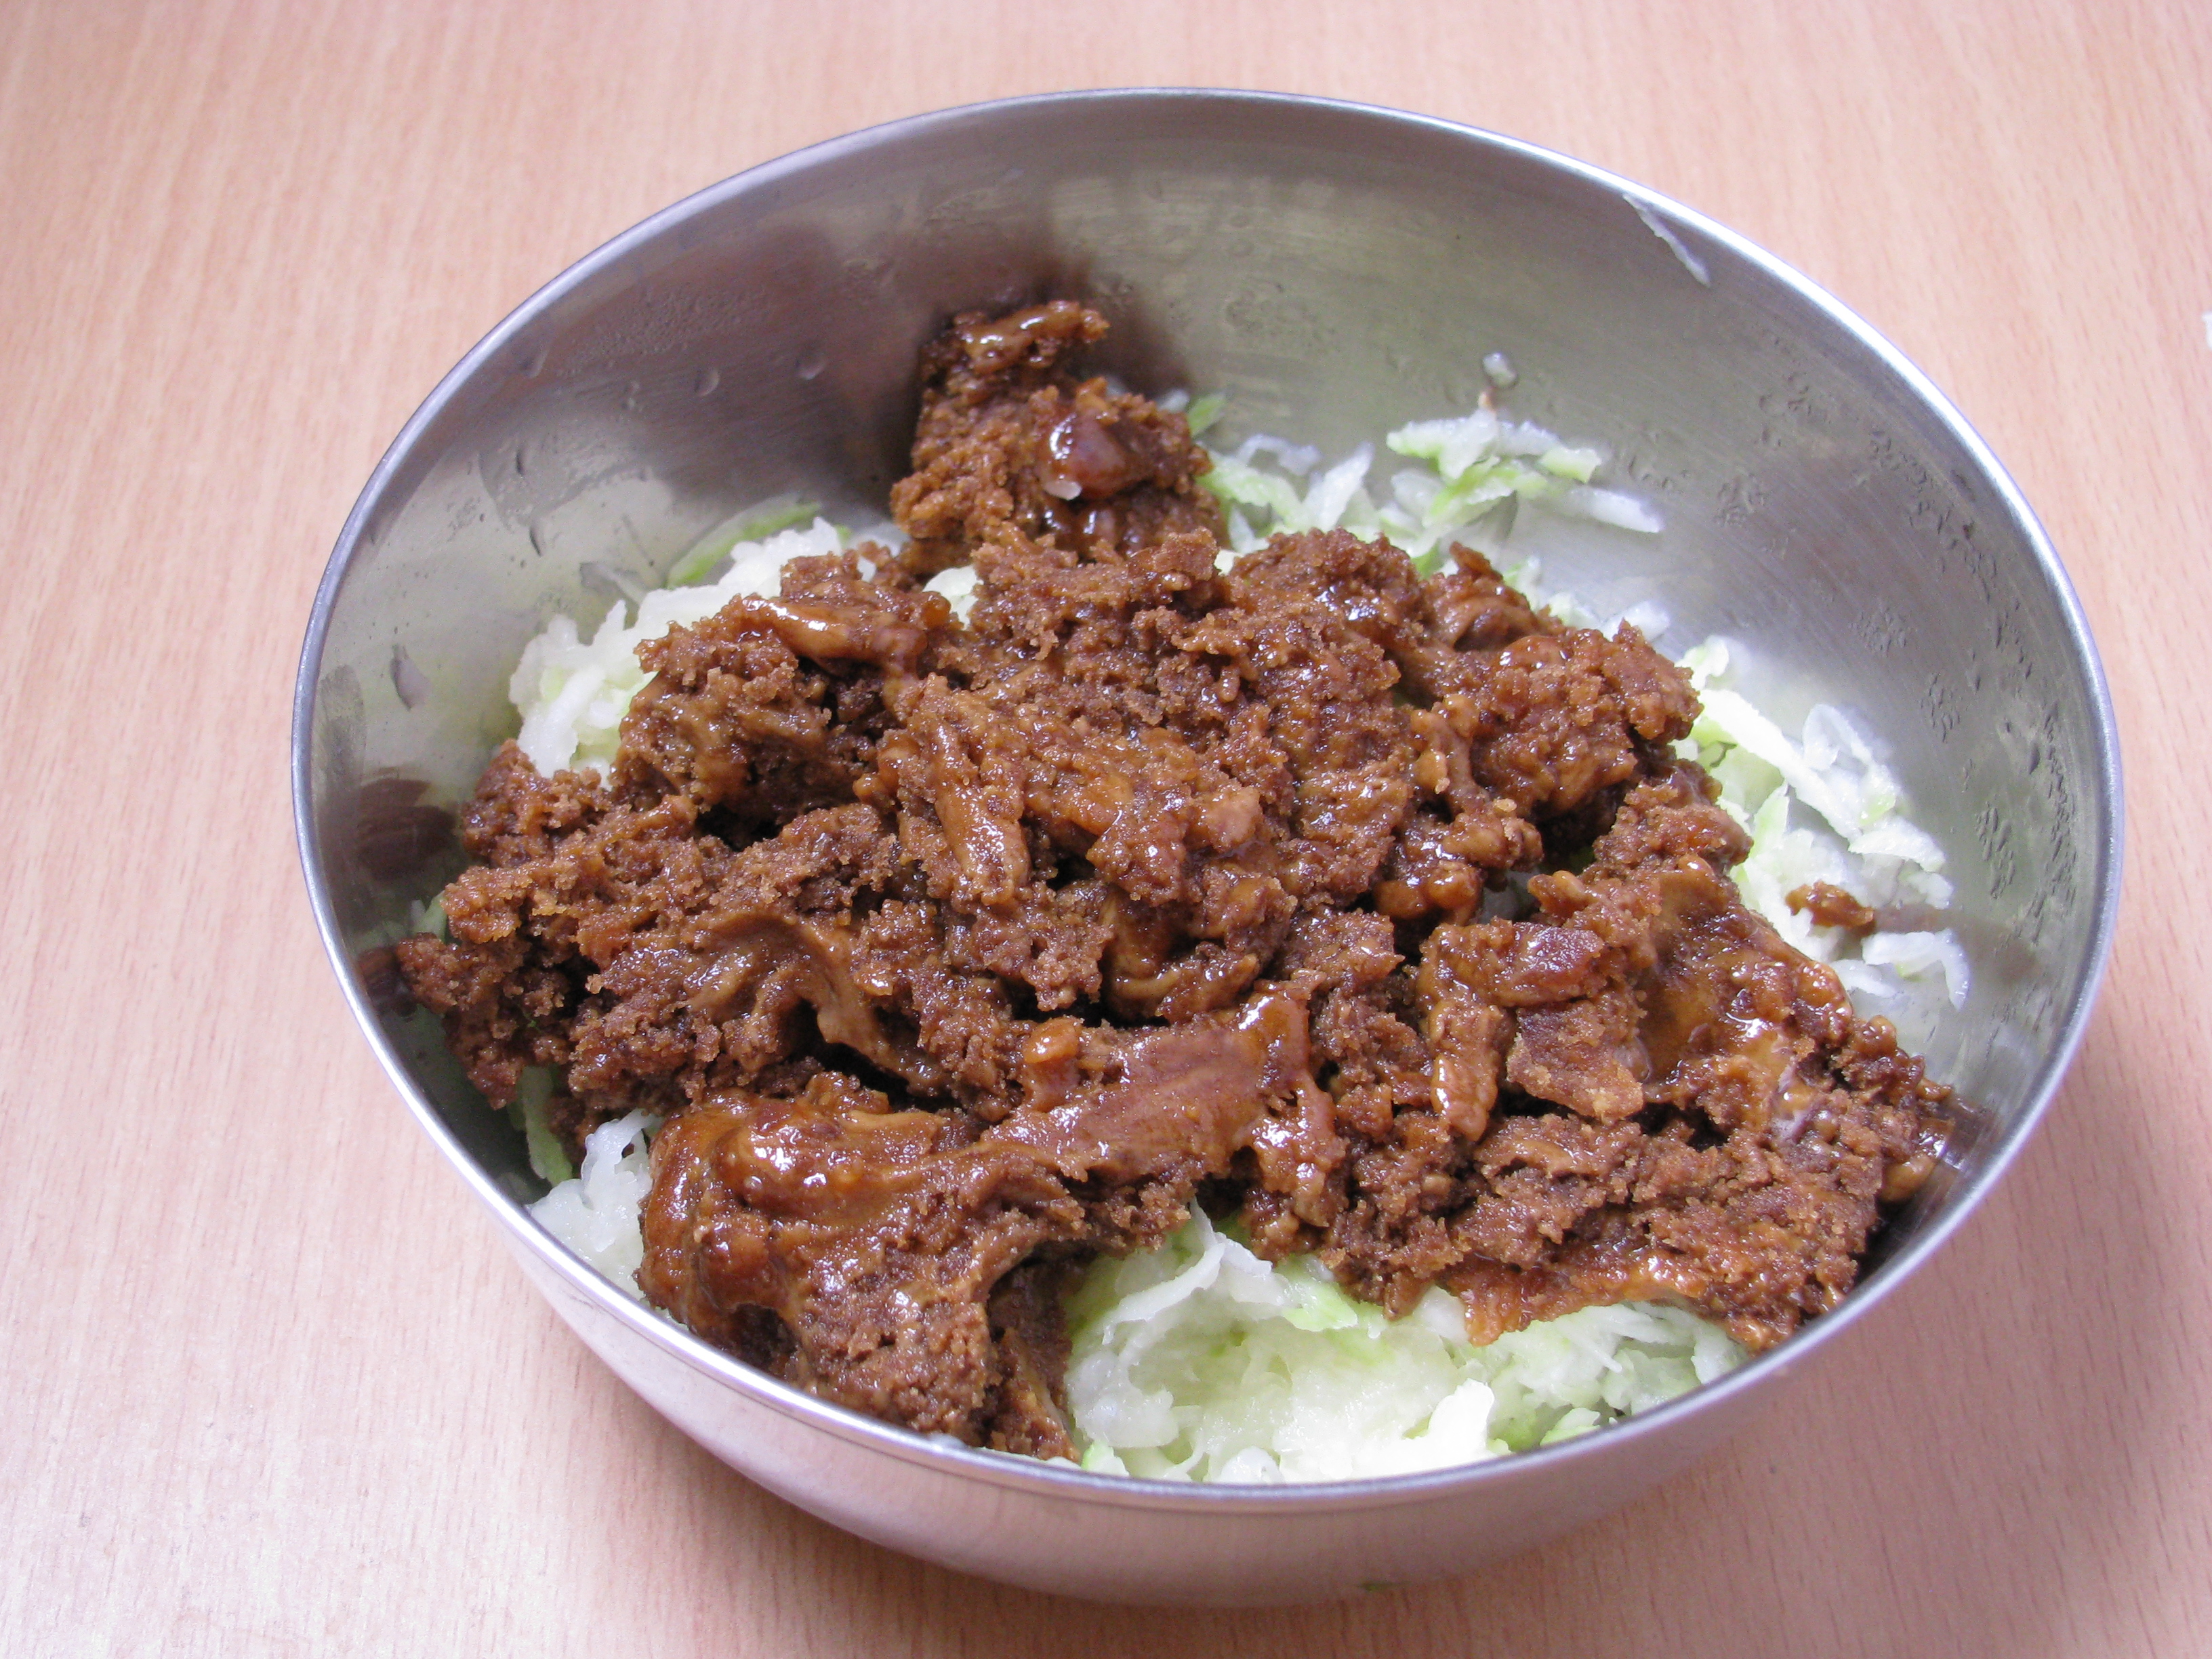
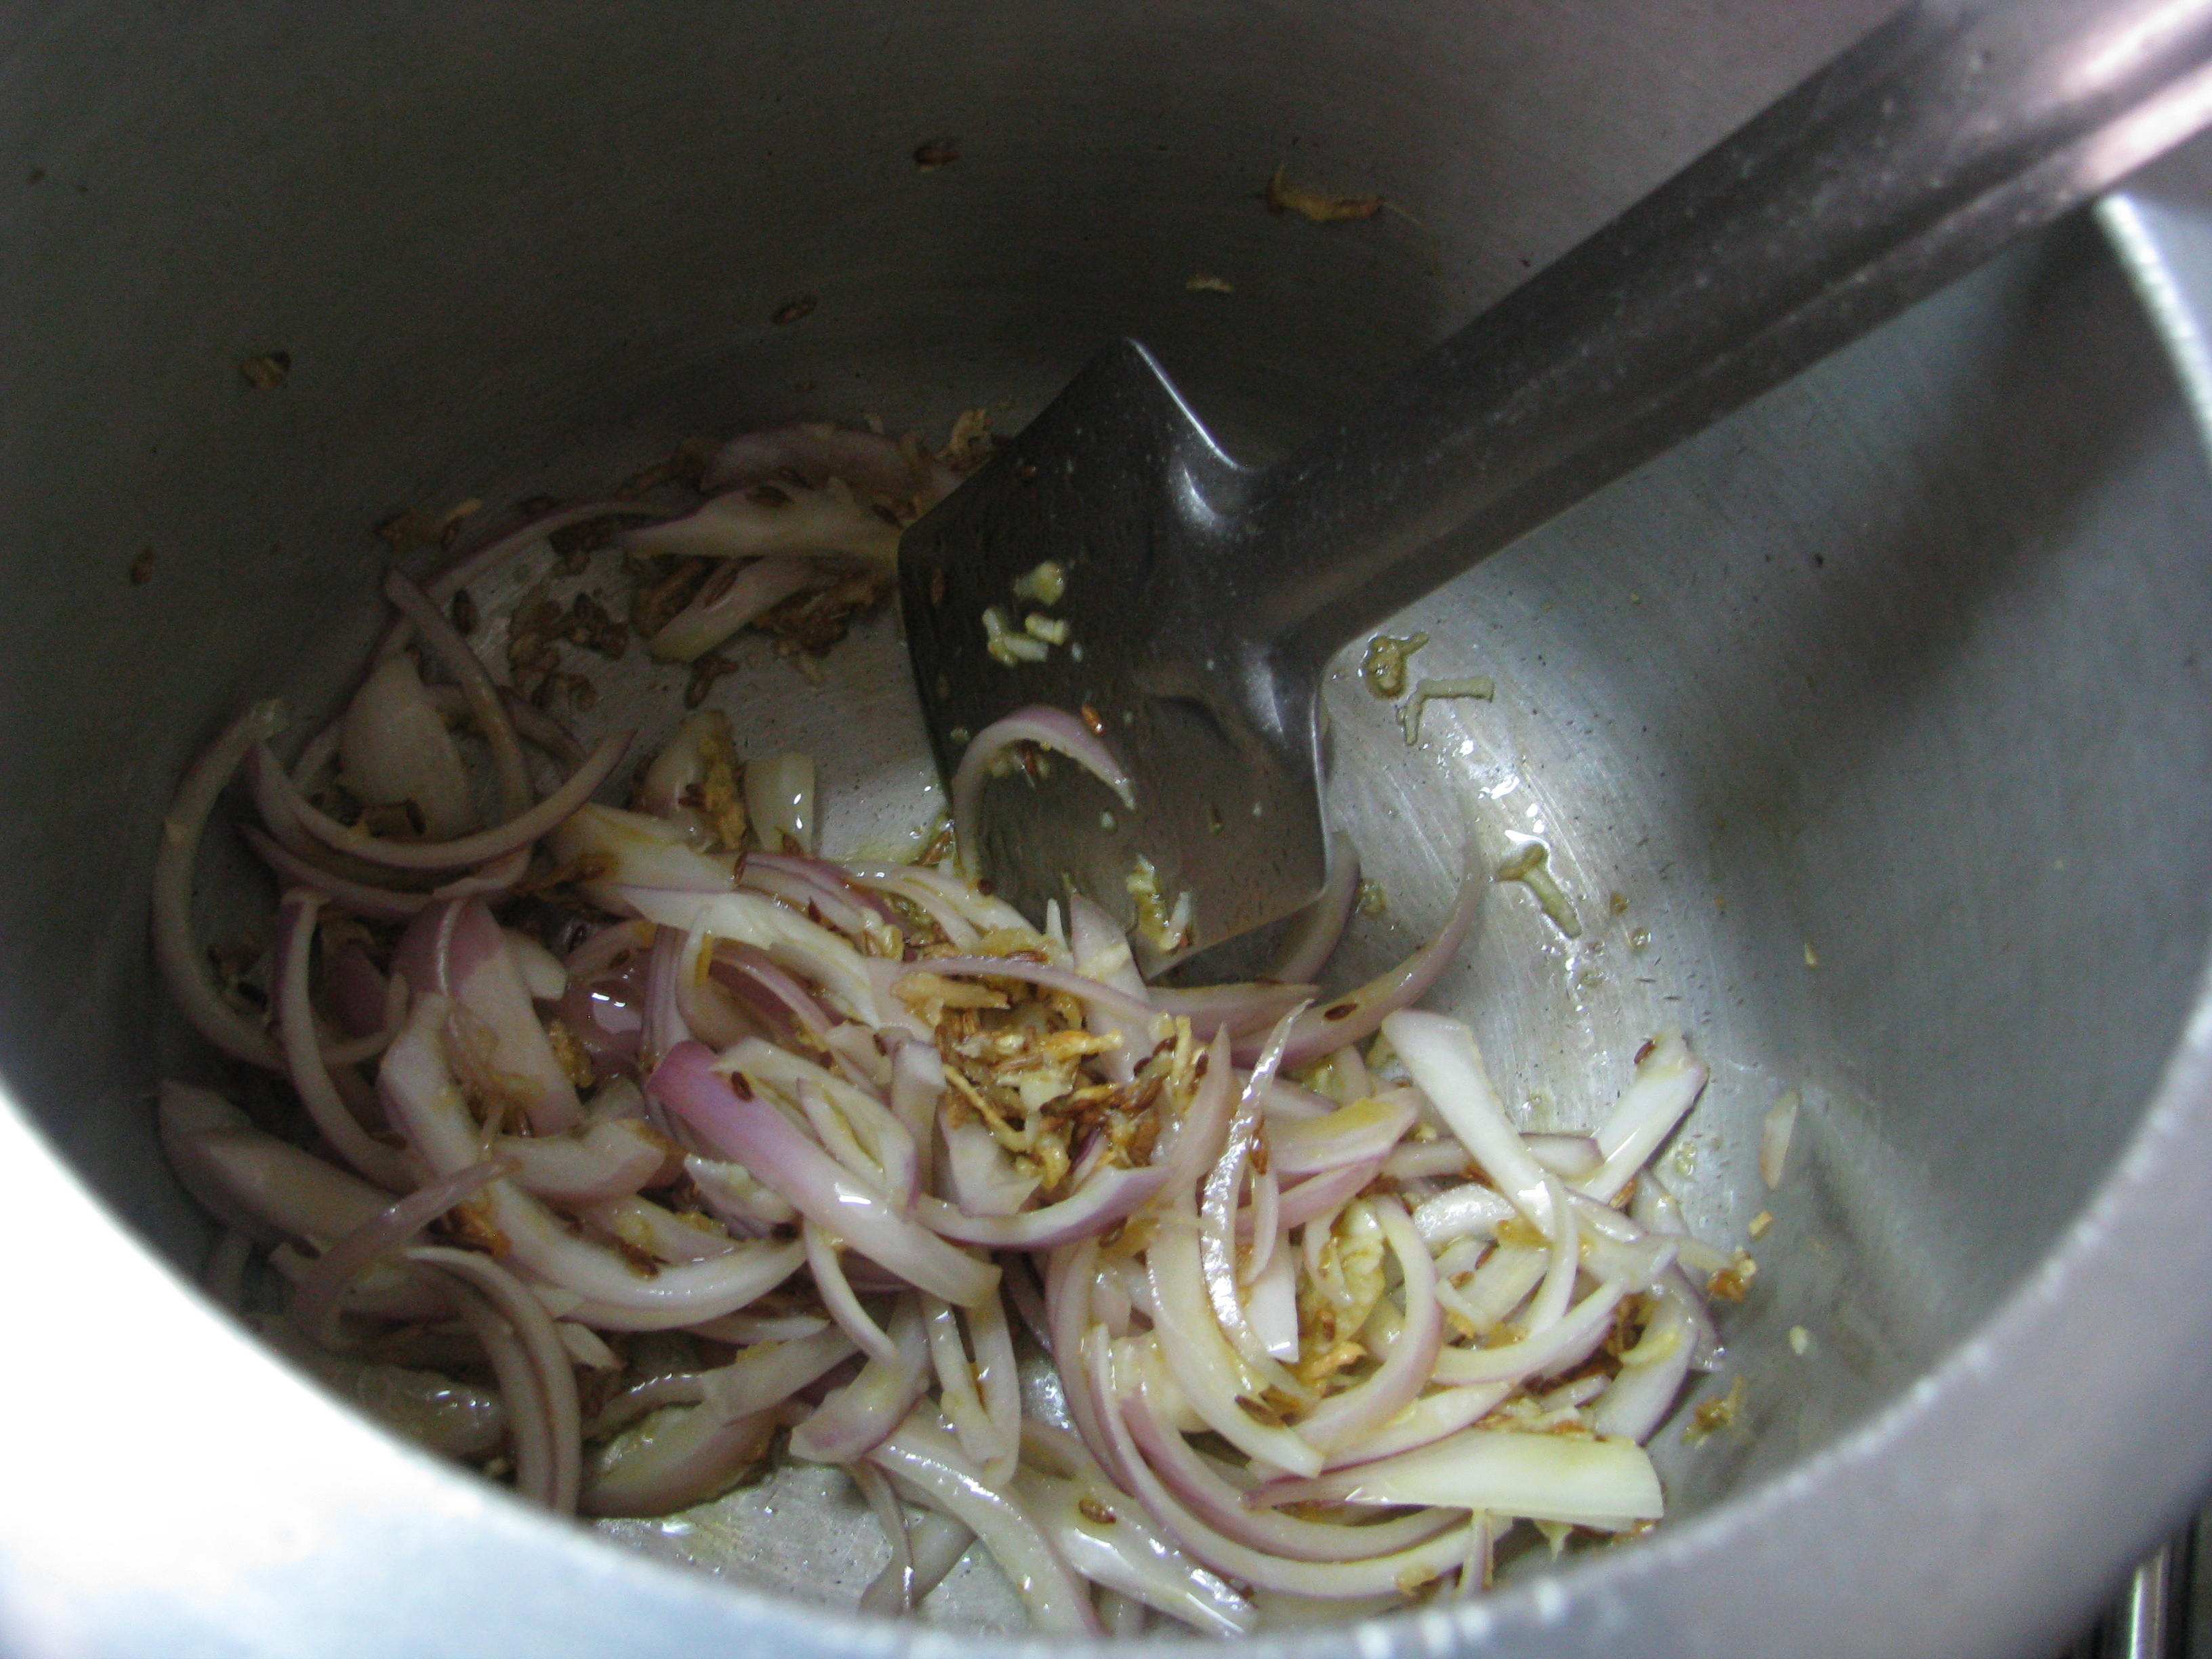
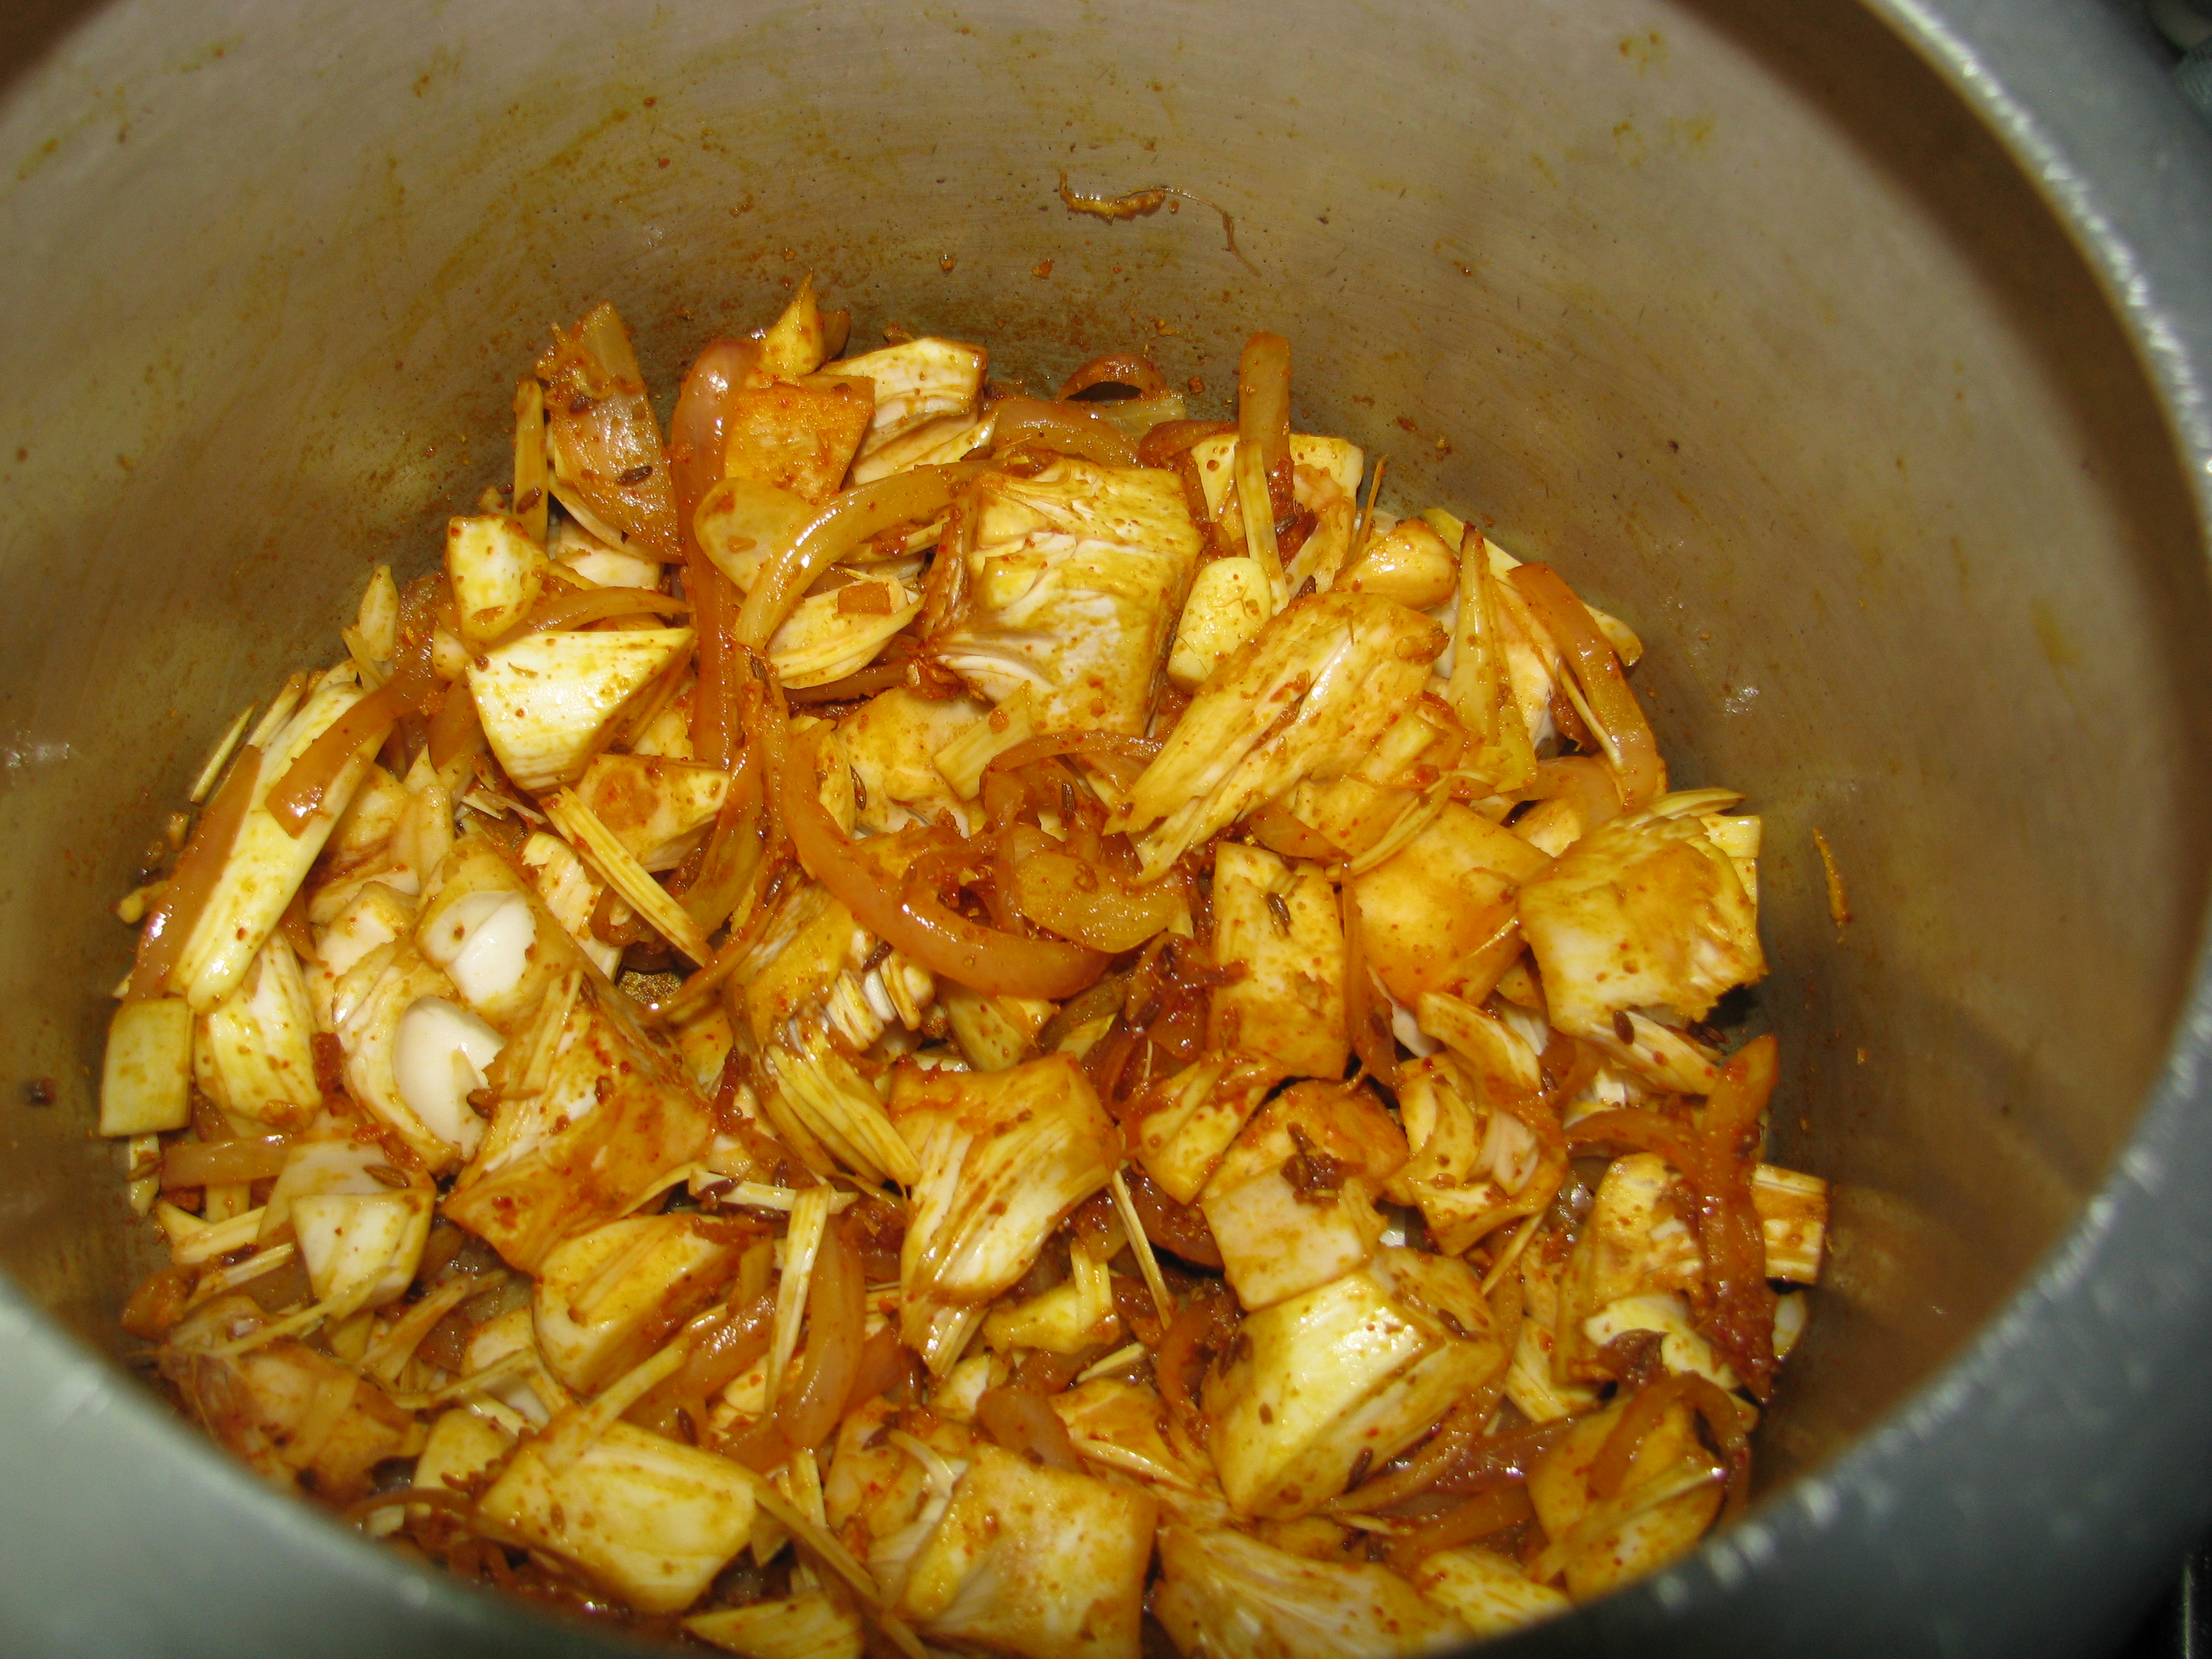
  1. Heat a pan with 1teaspoon oil and roast onion in it. When it becomes light brown add grated dry coconut and roast both onion and coconut to brown color.
  2. If you want to add khus-khus, roast it separately for 2 minutes on low flames add it in roasted coconut onion.
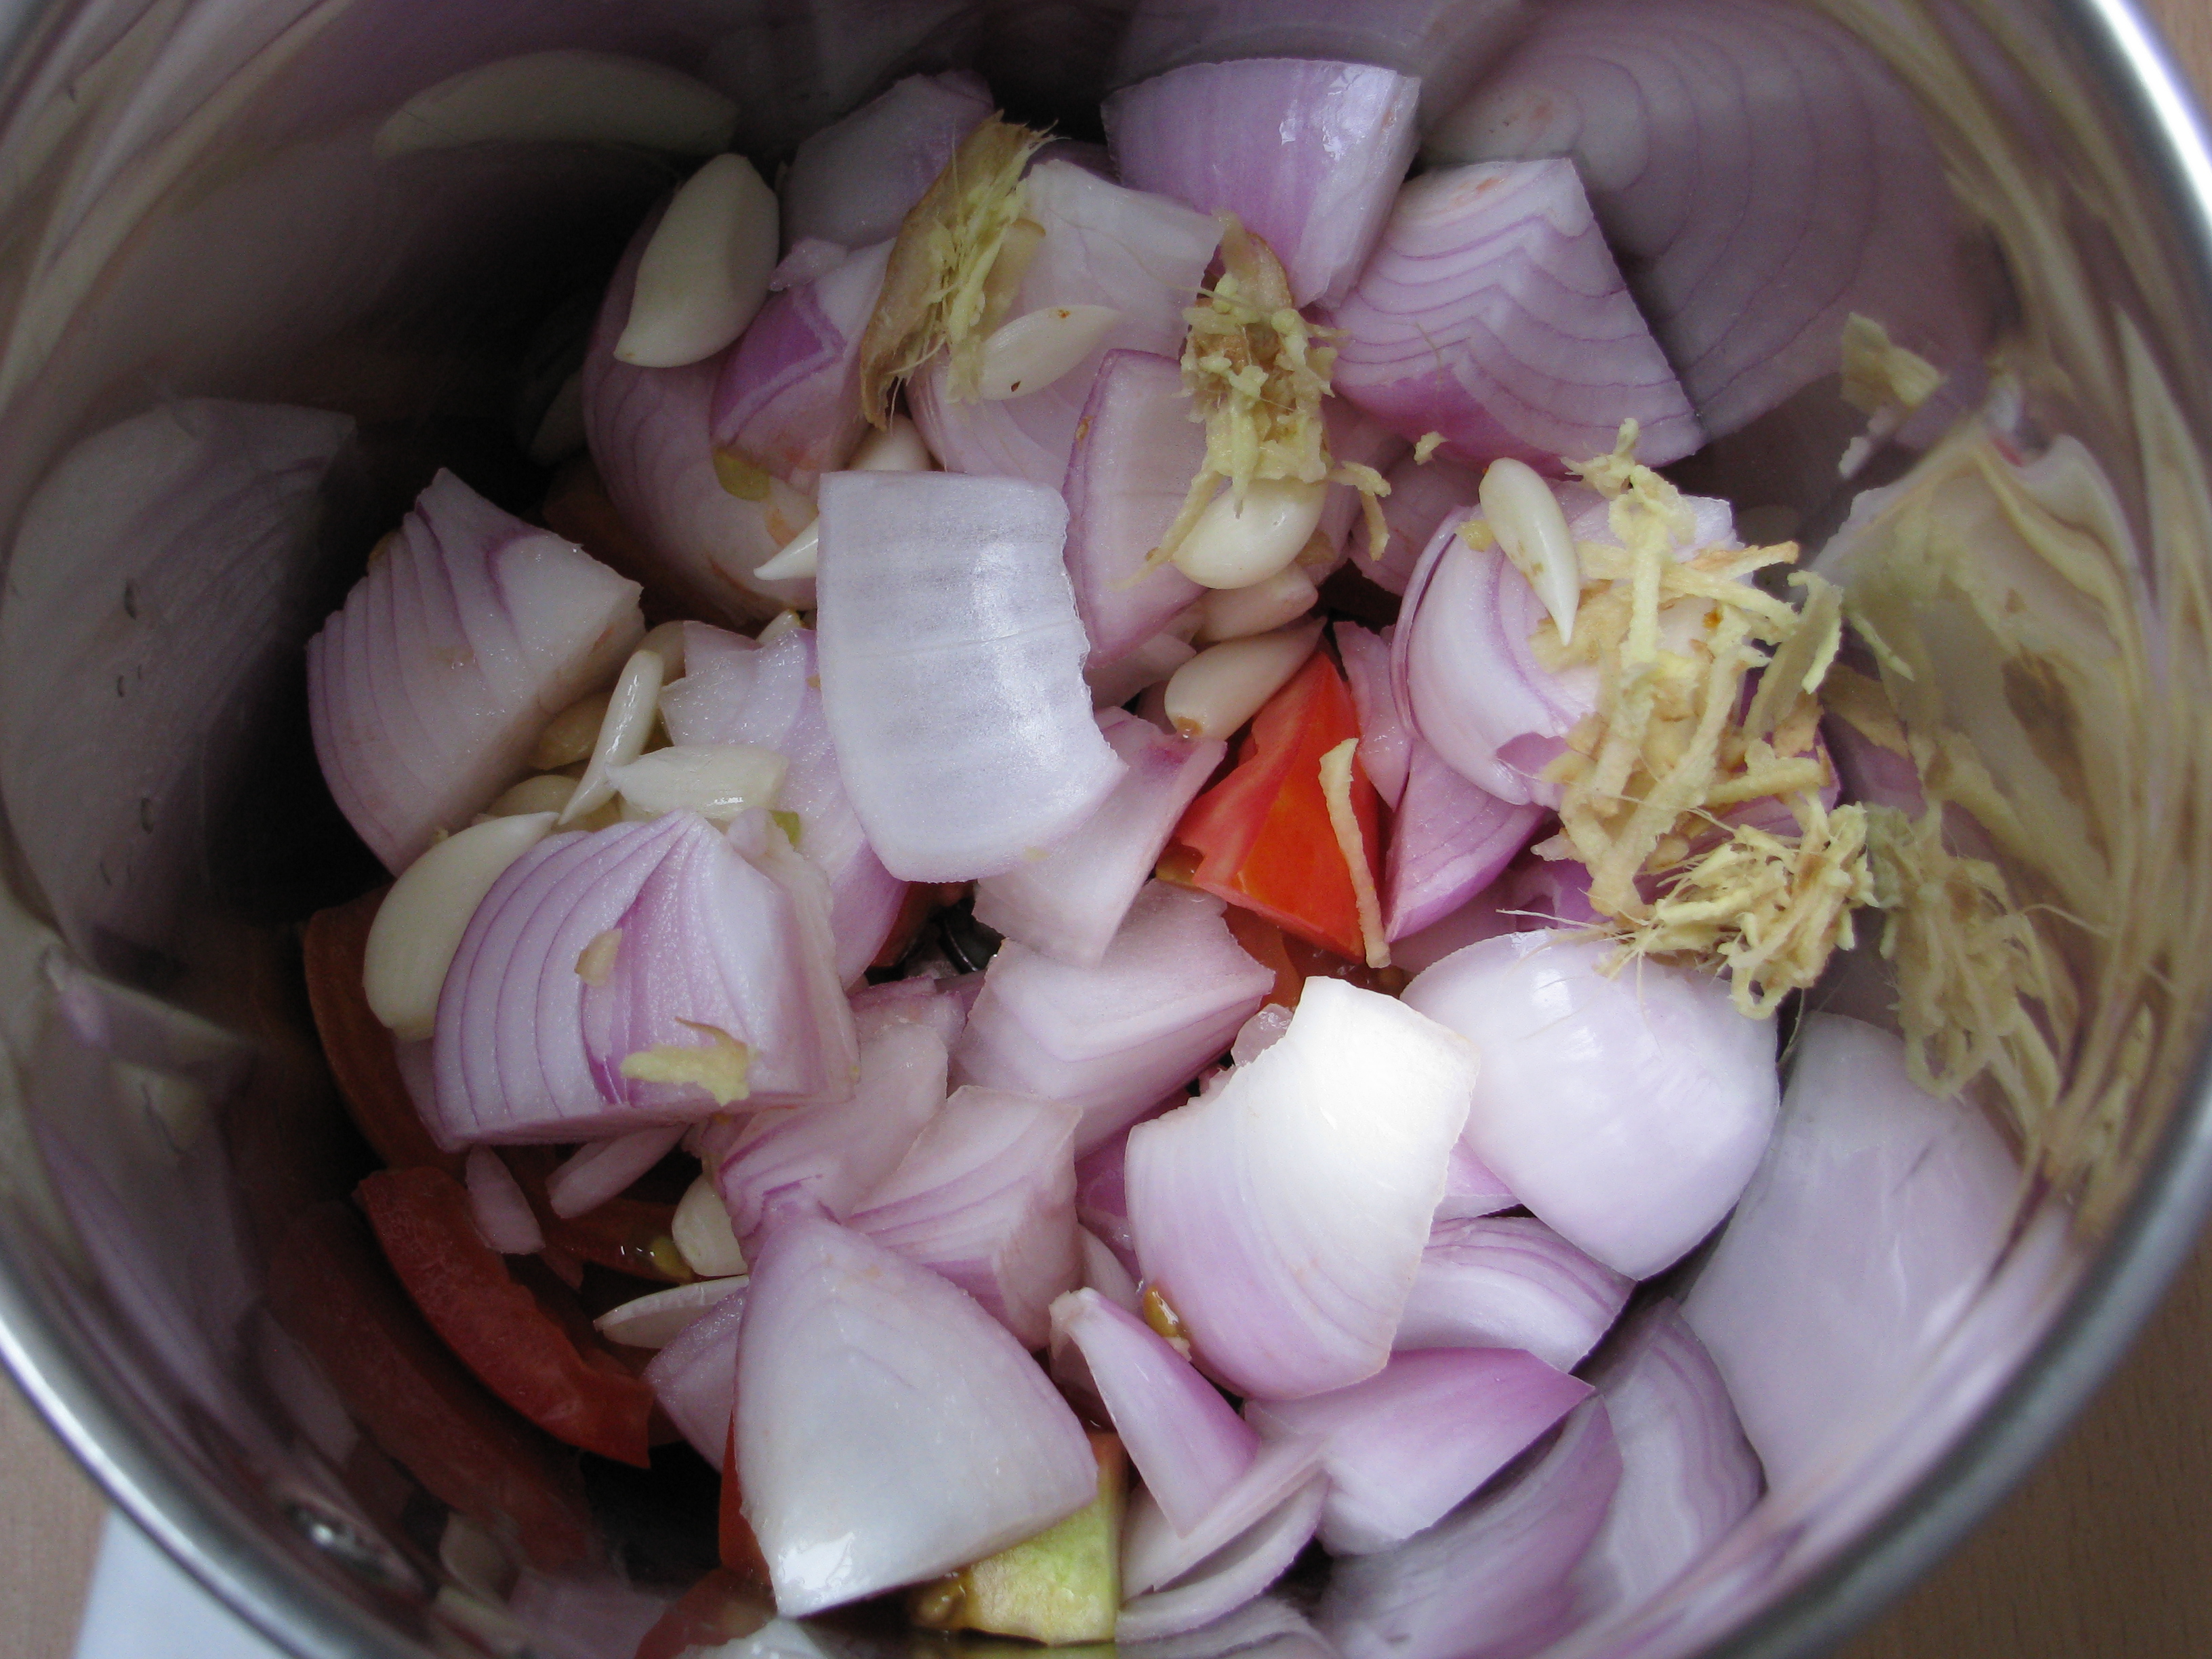
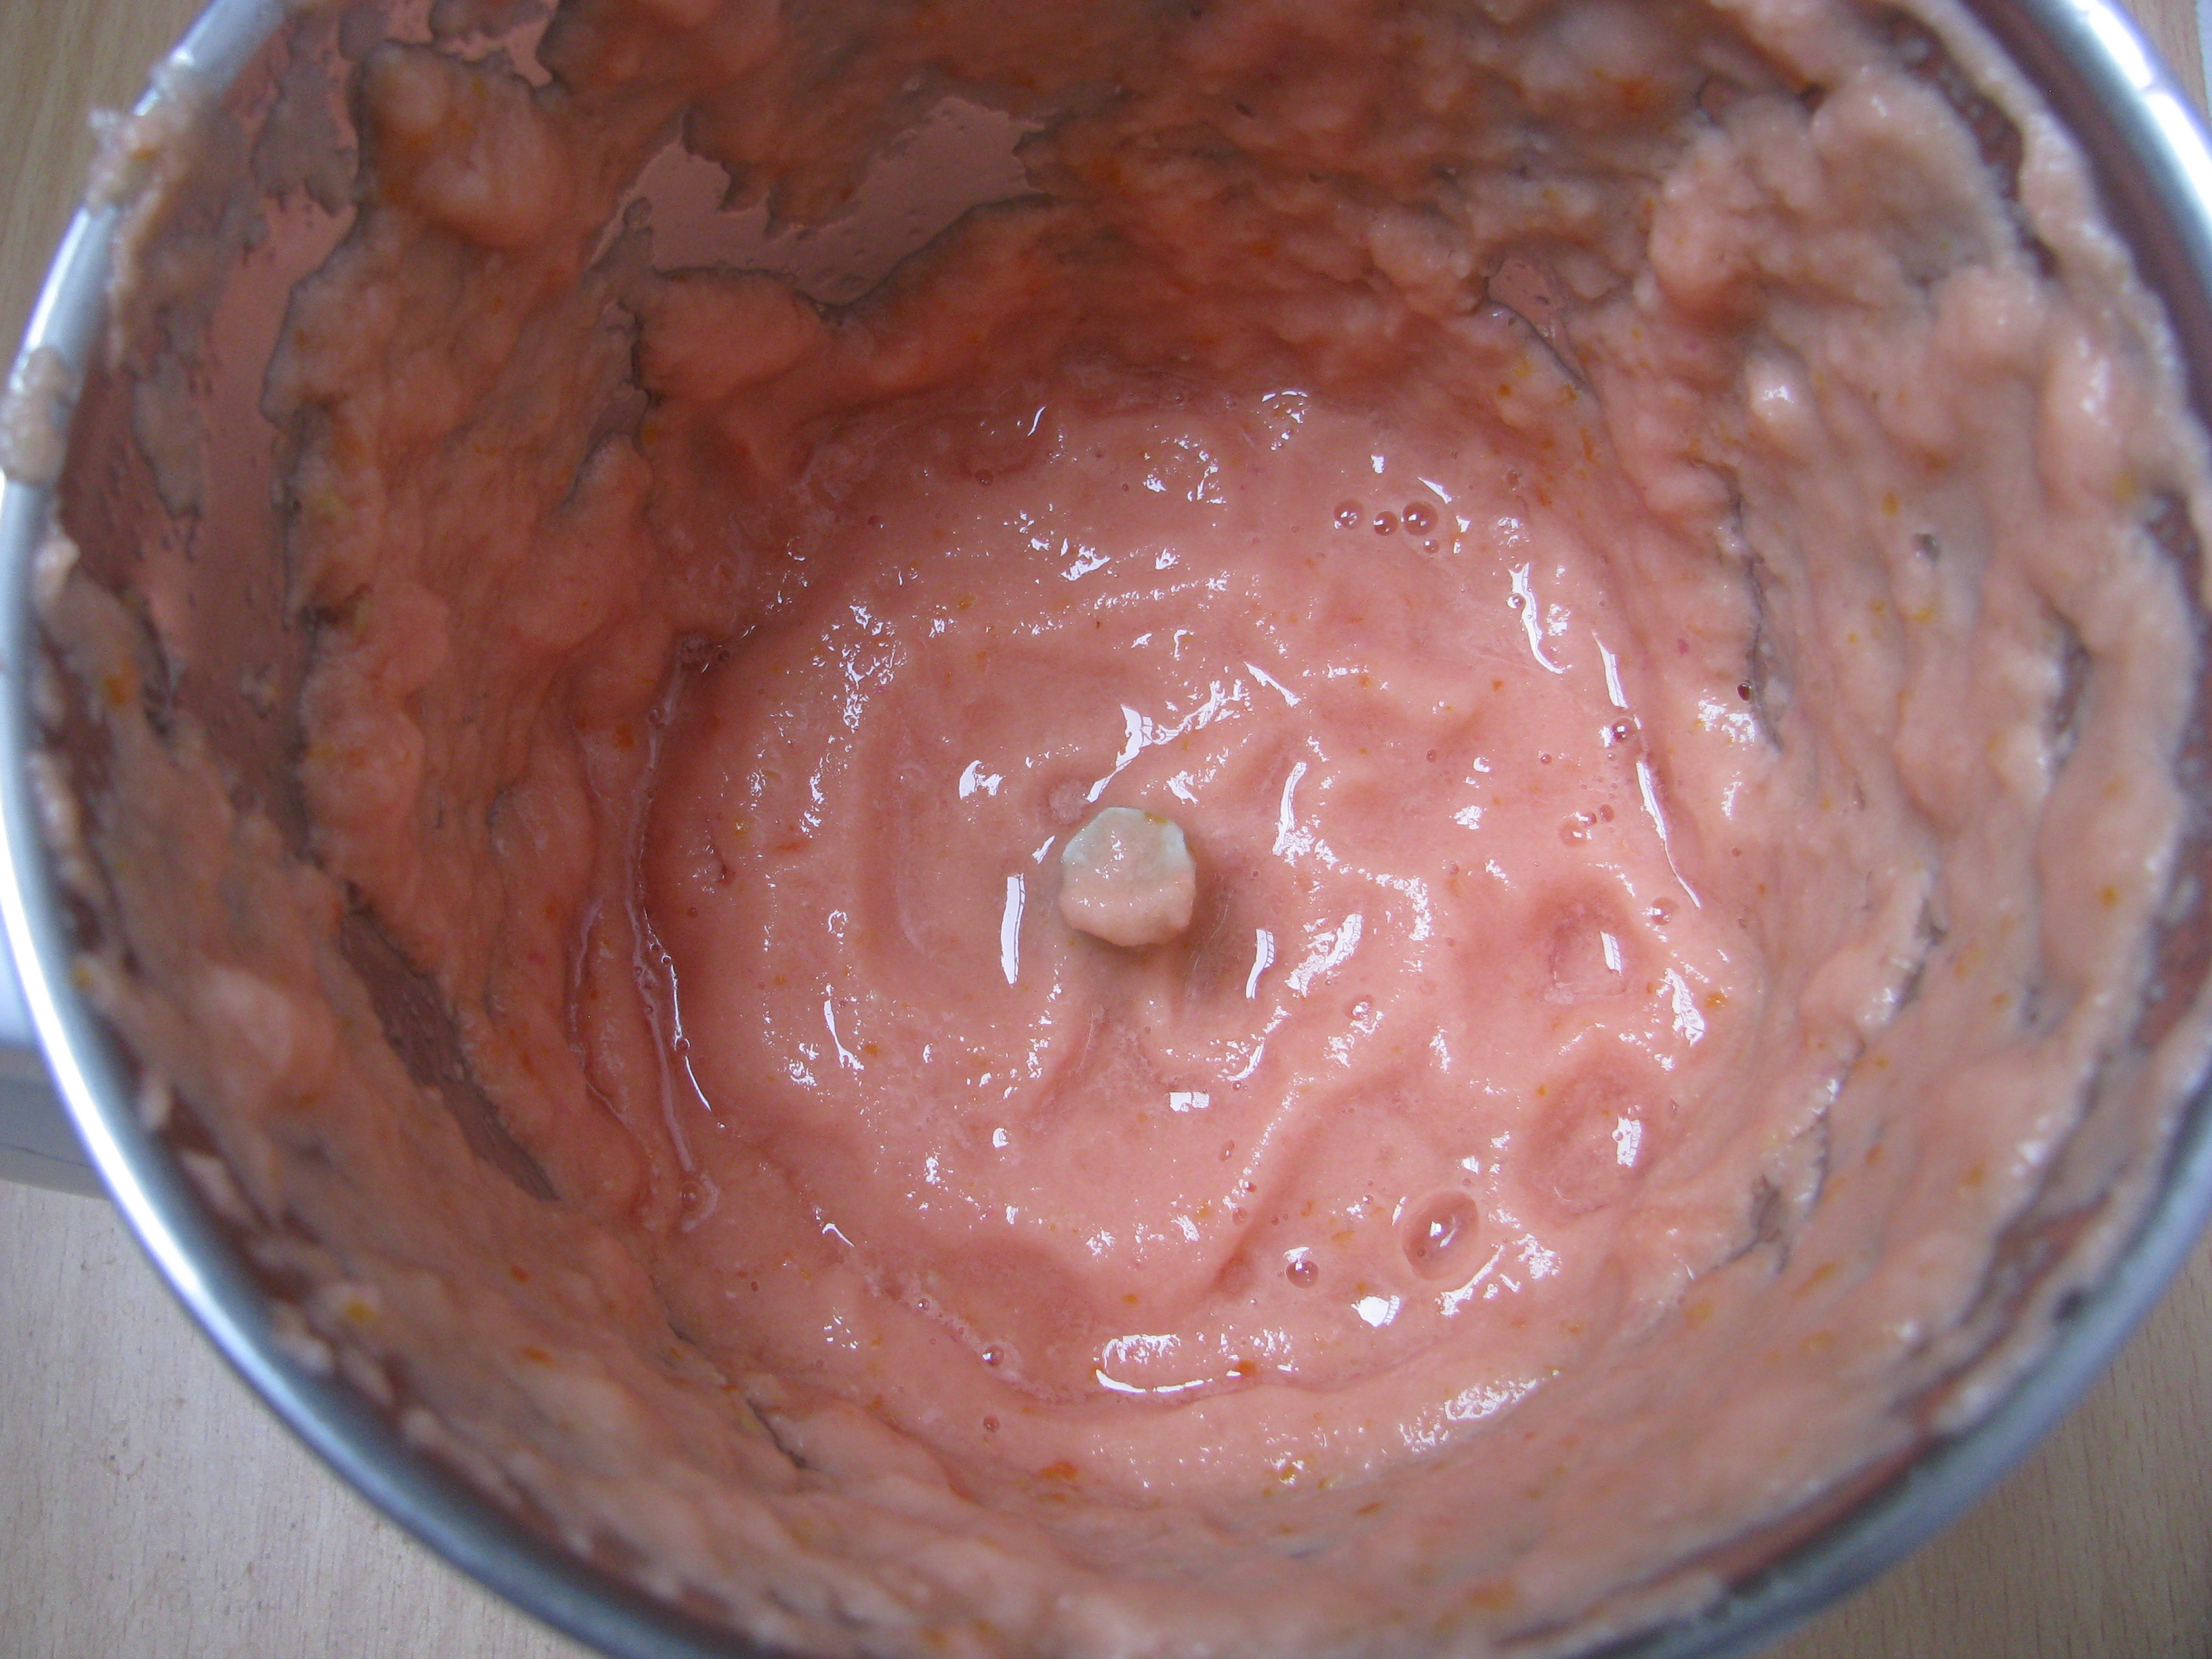
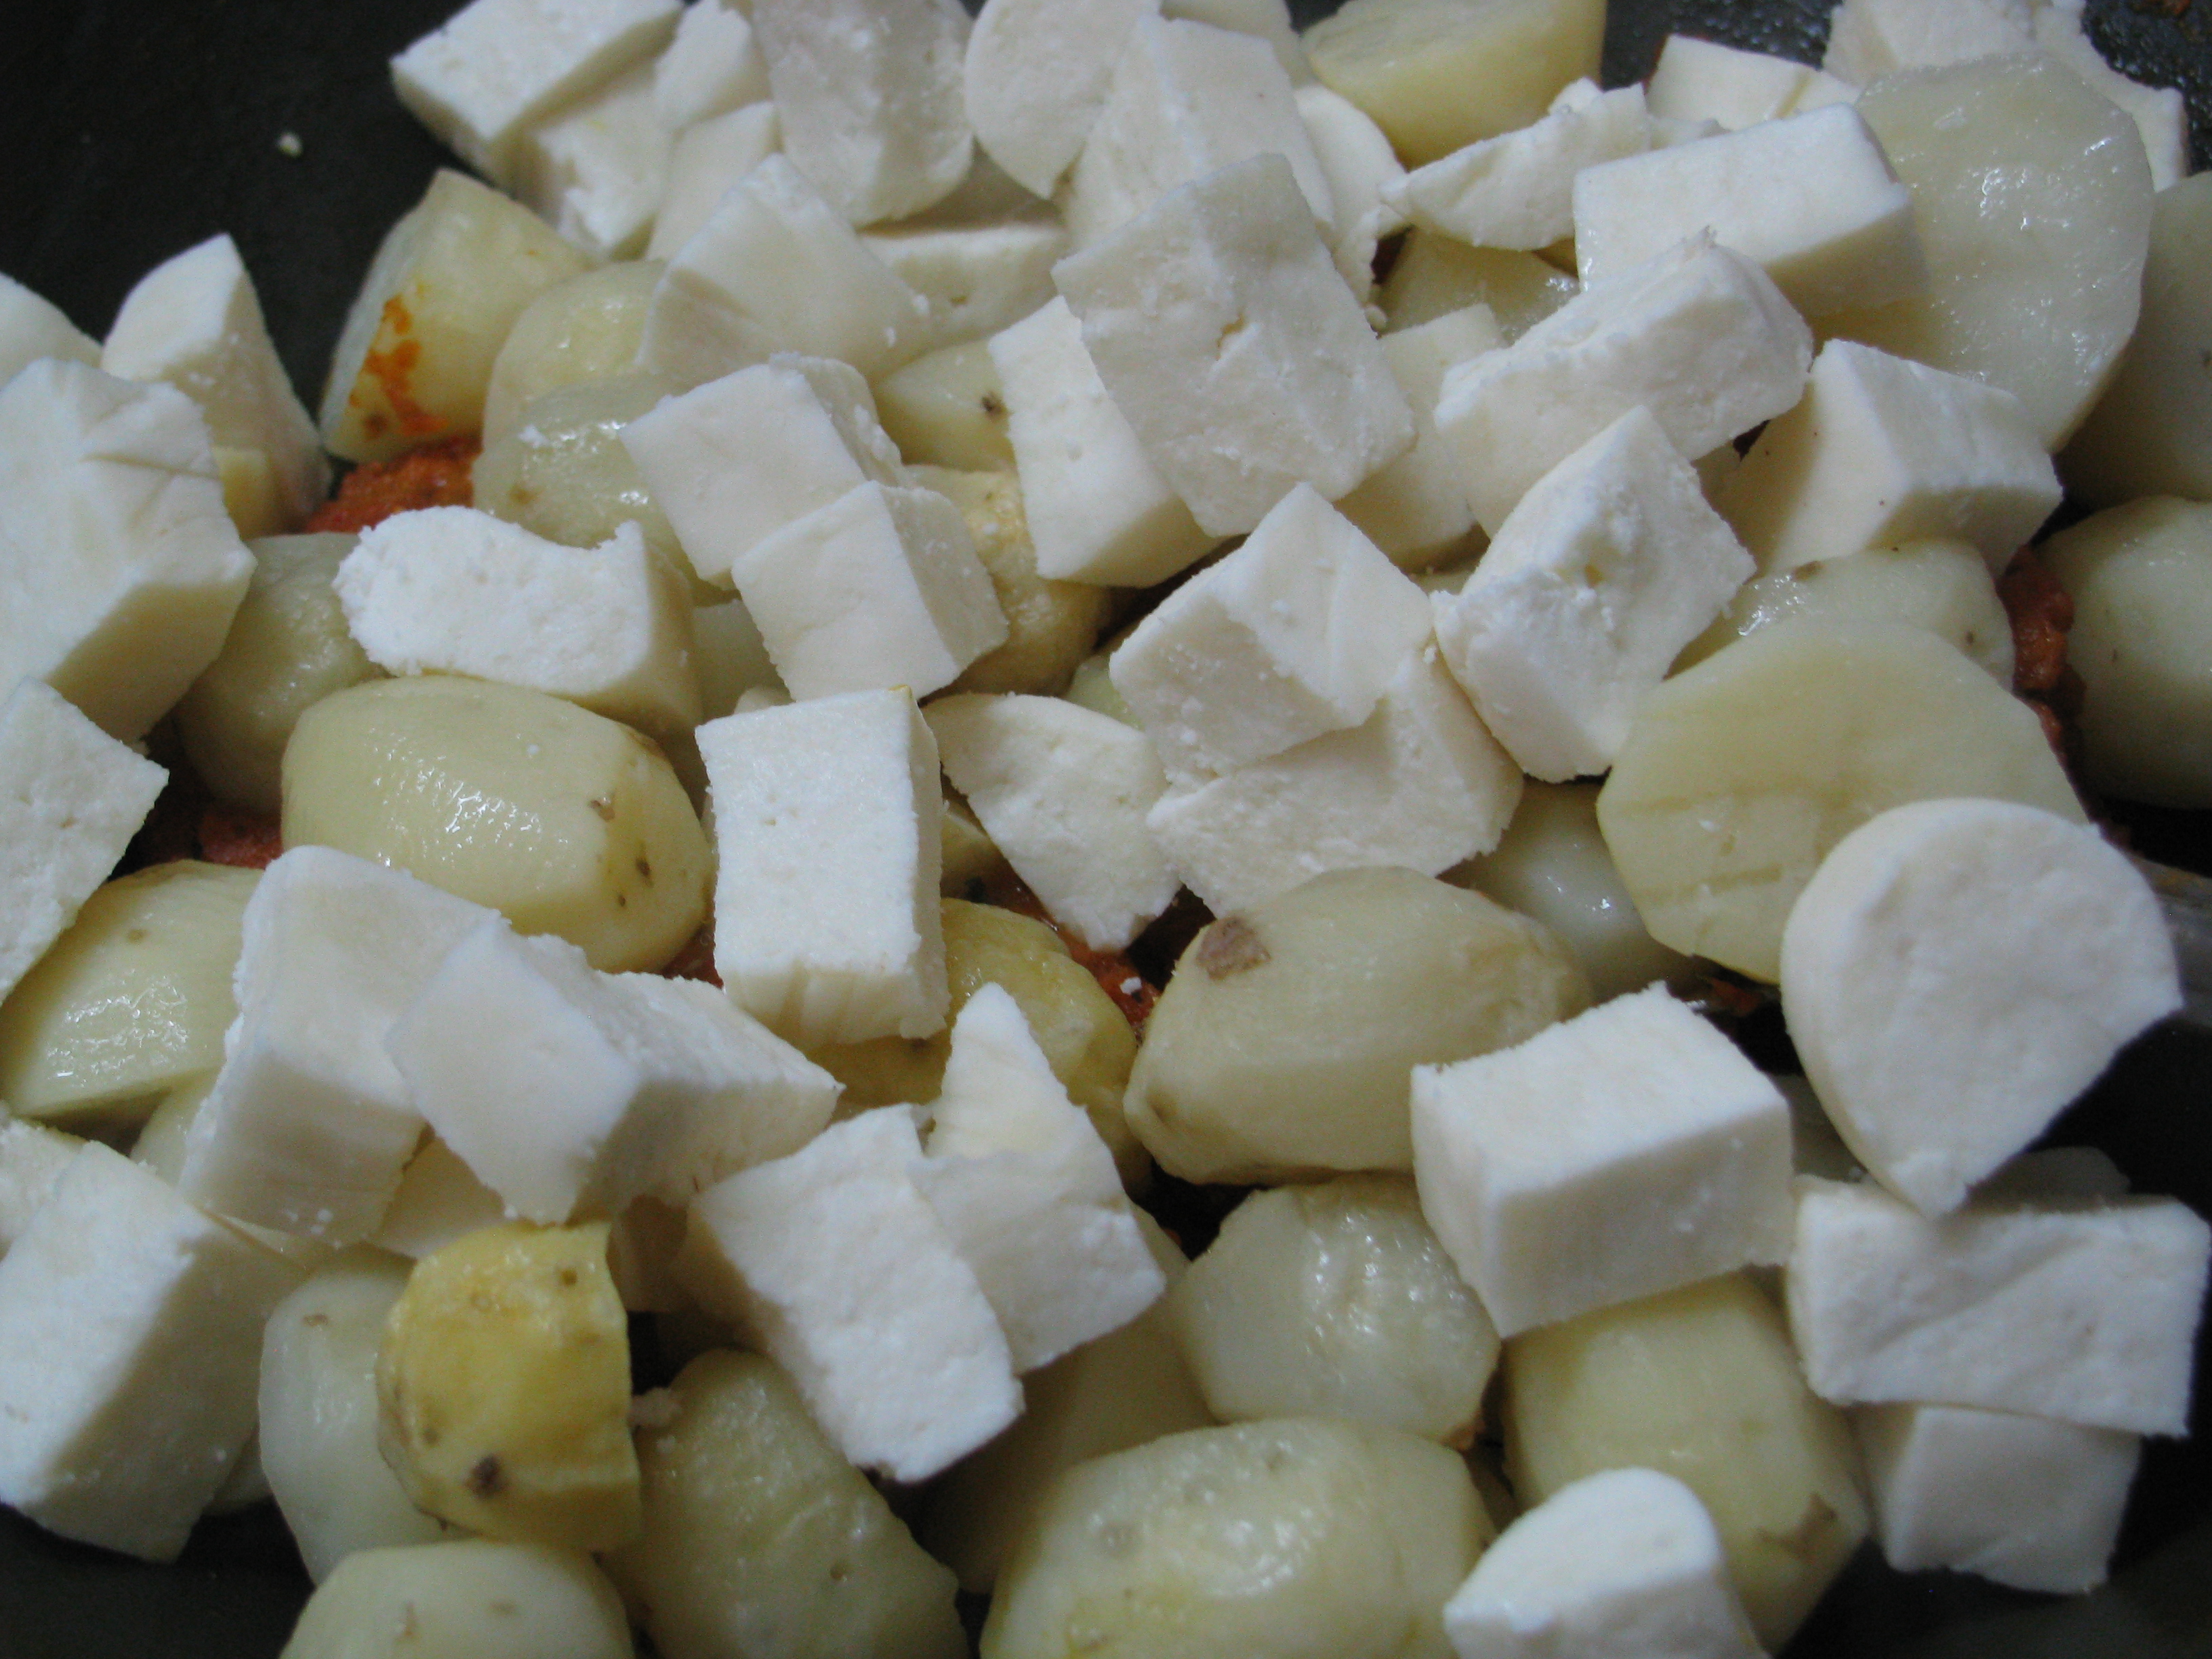
  3. Take roasted onion (khus-khus if you wants to use) and coconut in mixer jar and add ginger and garlic to it. Make a fine paste of it.IMG_1372
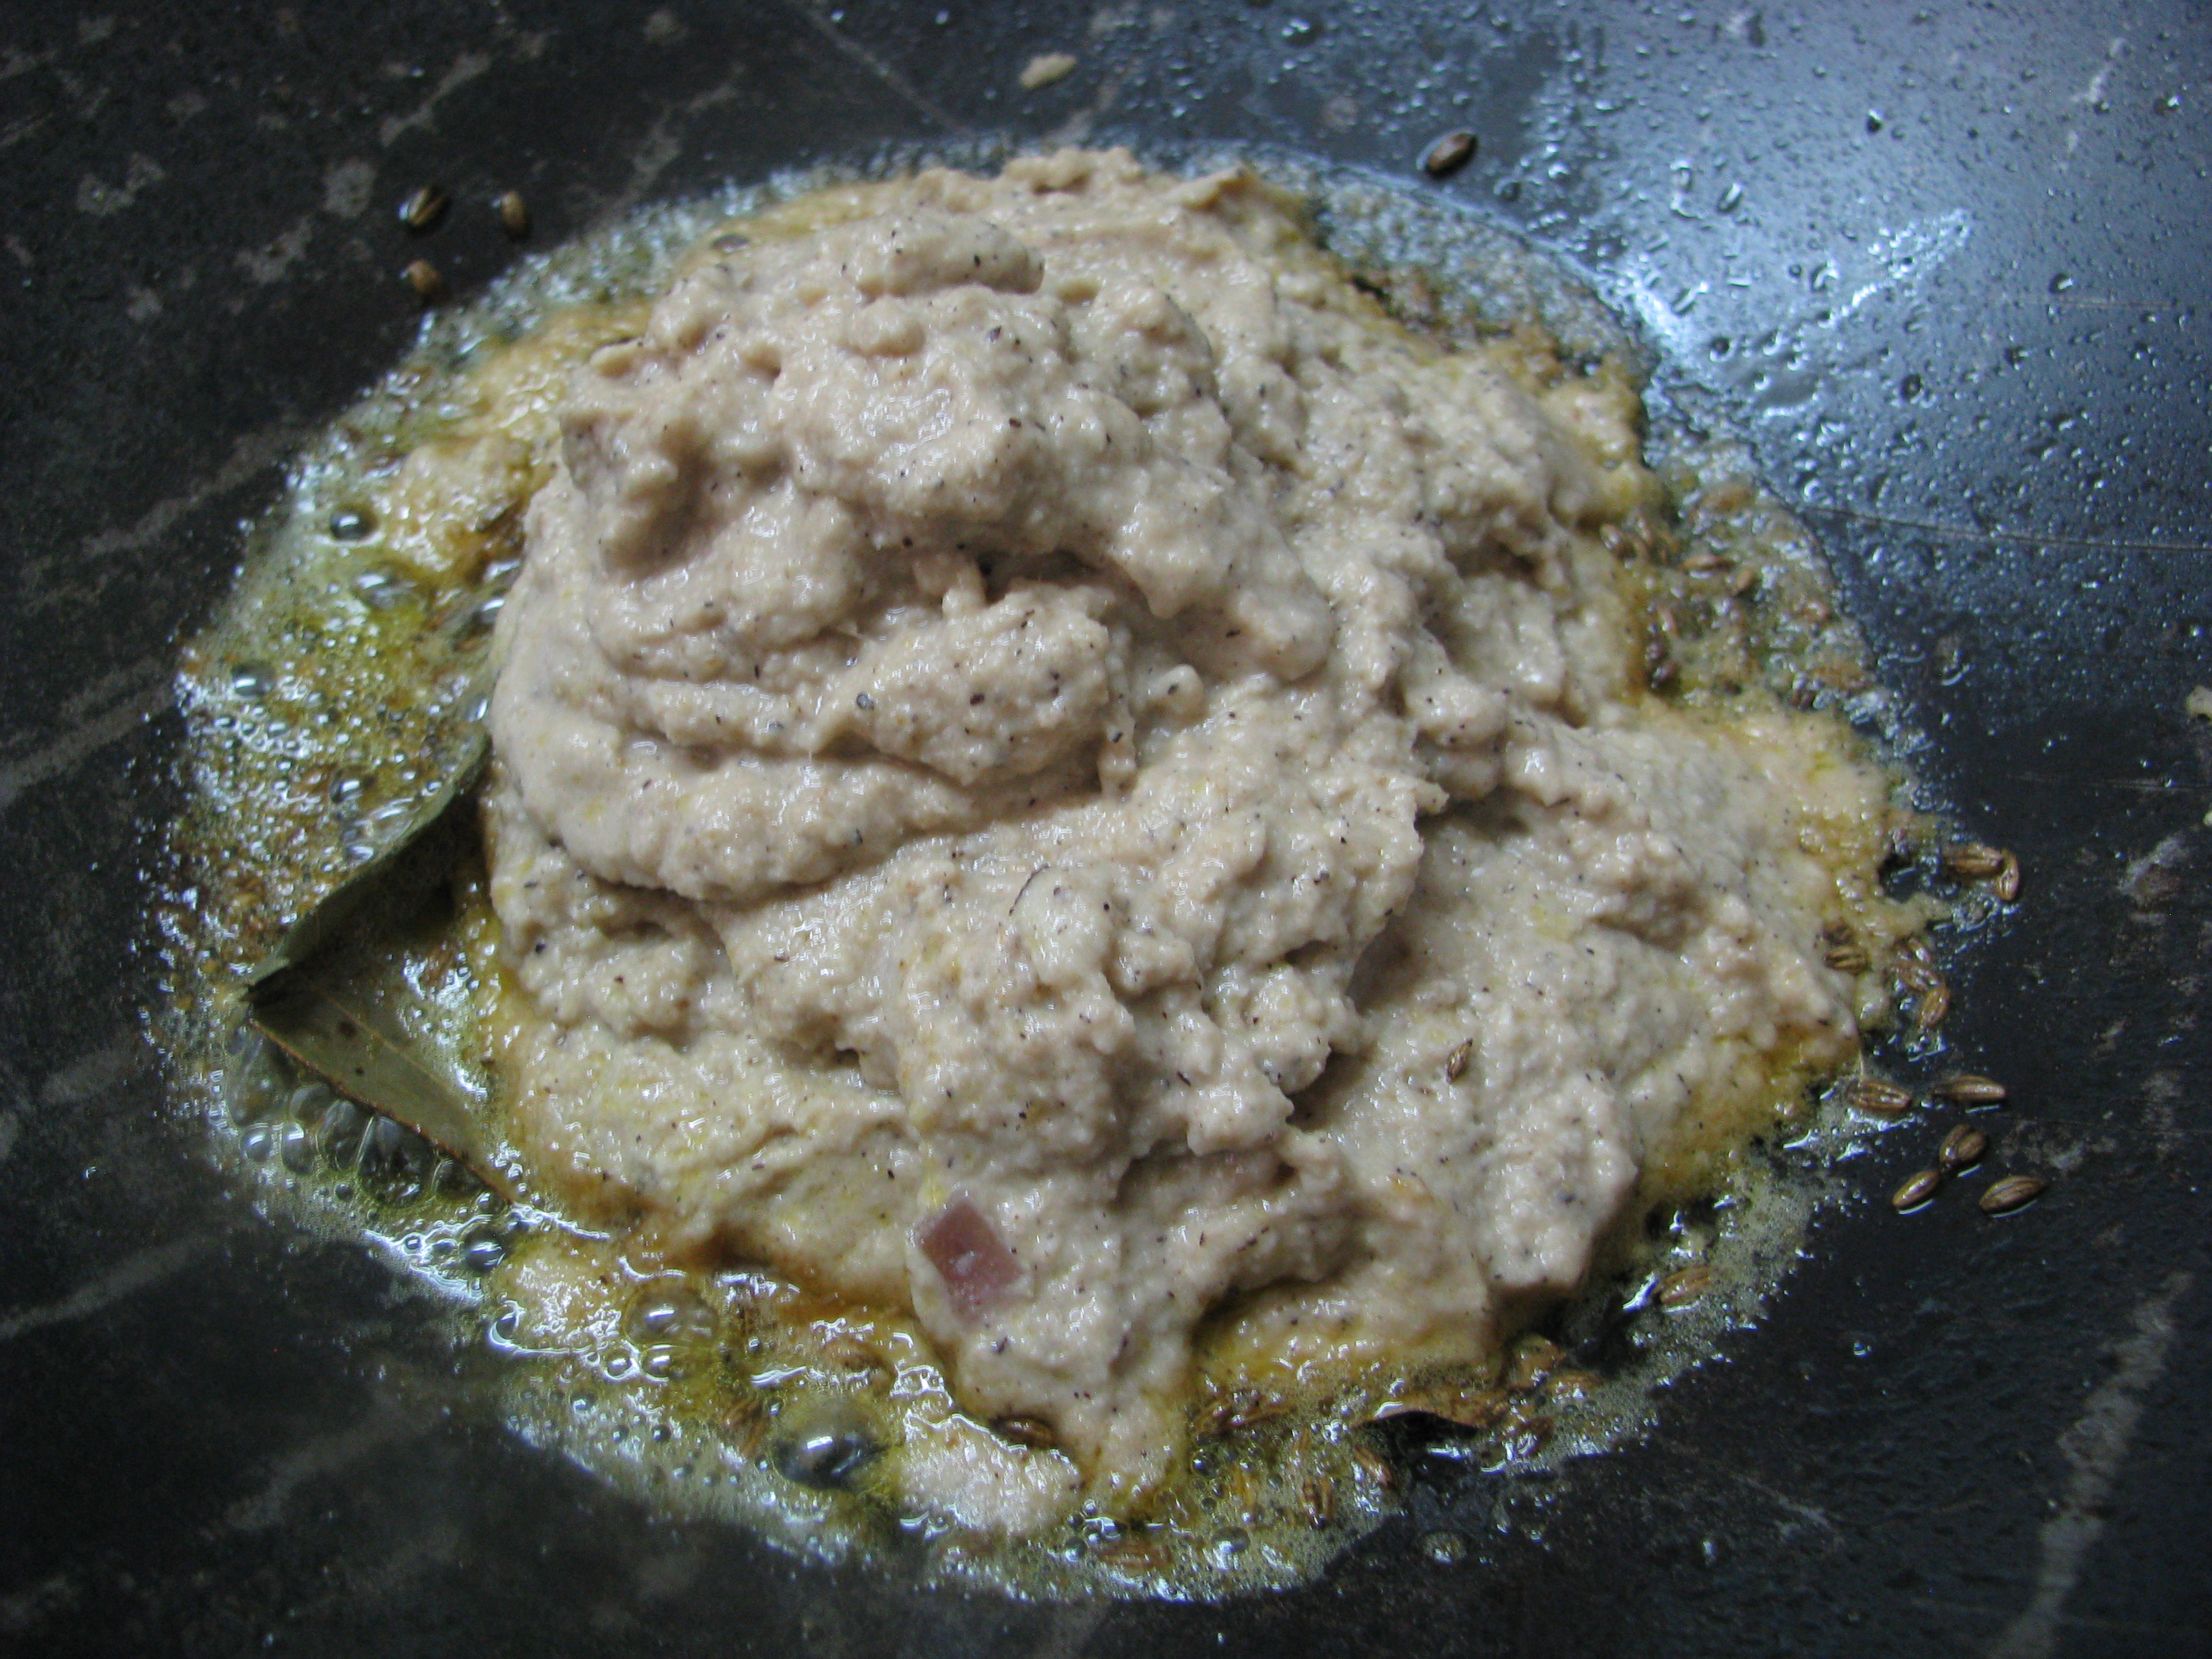
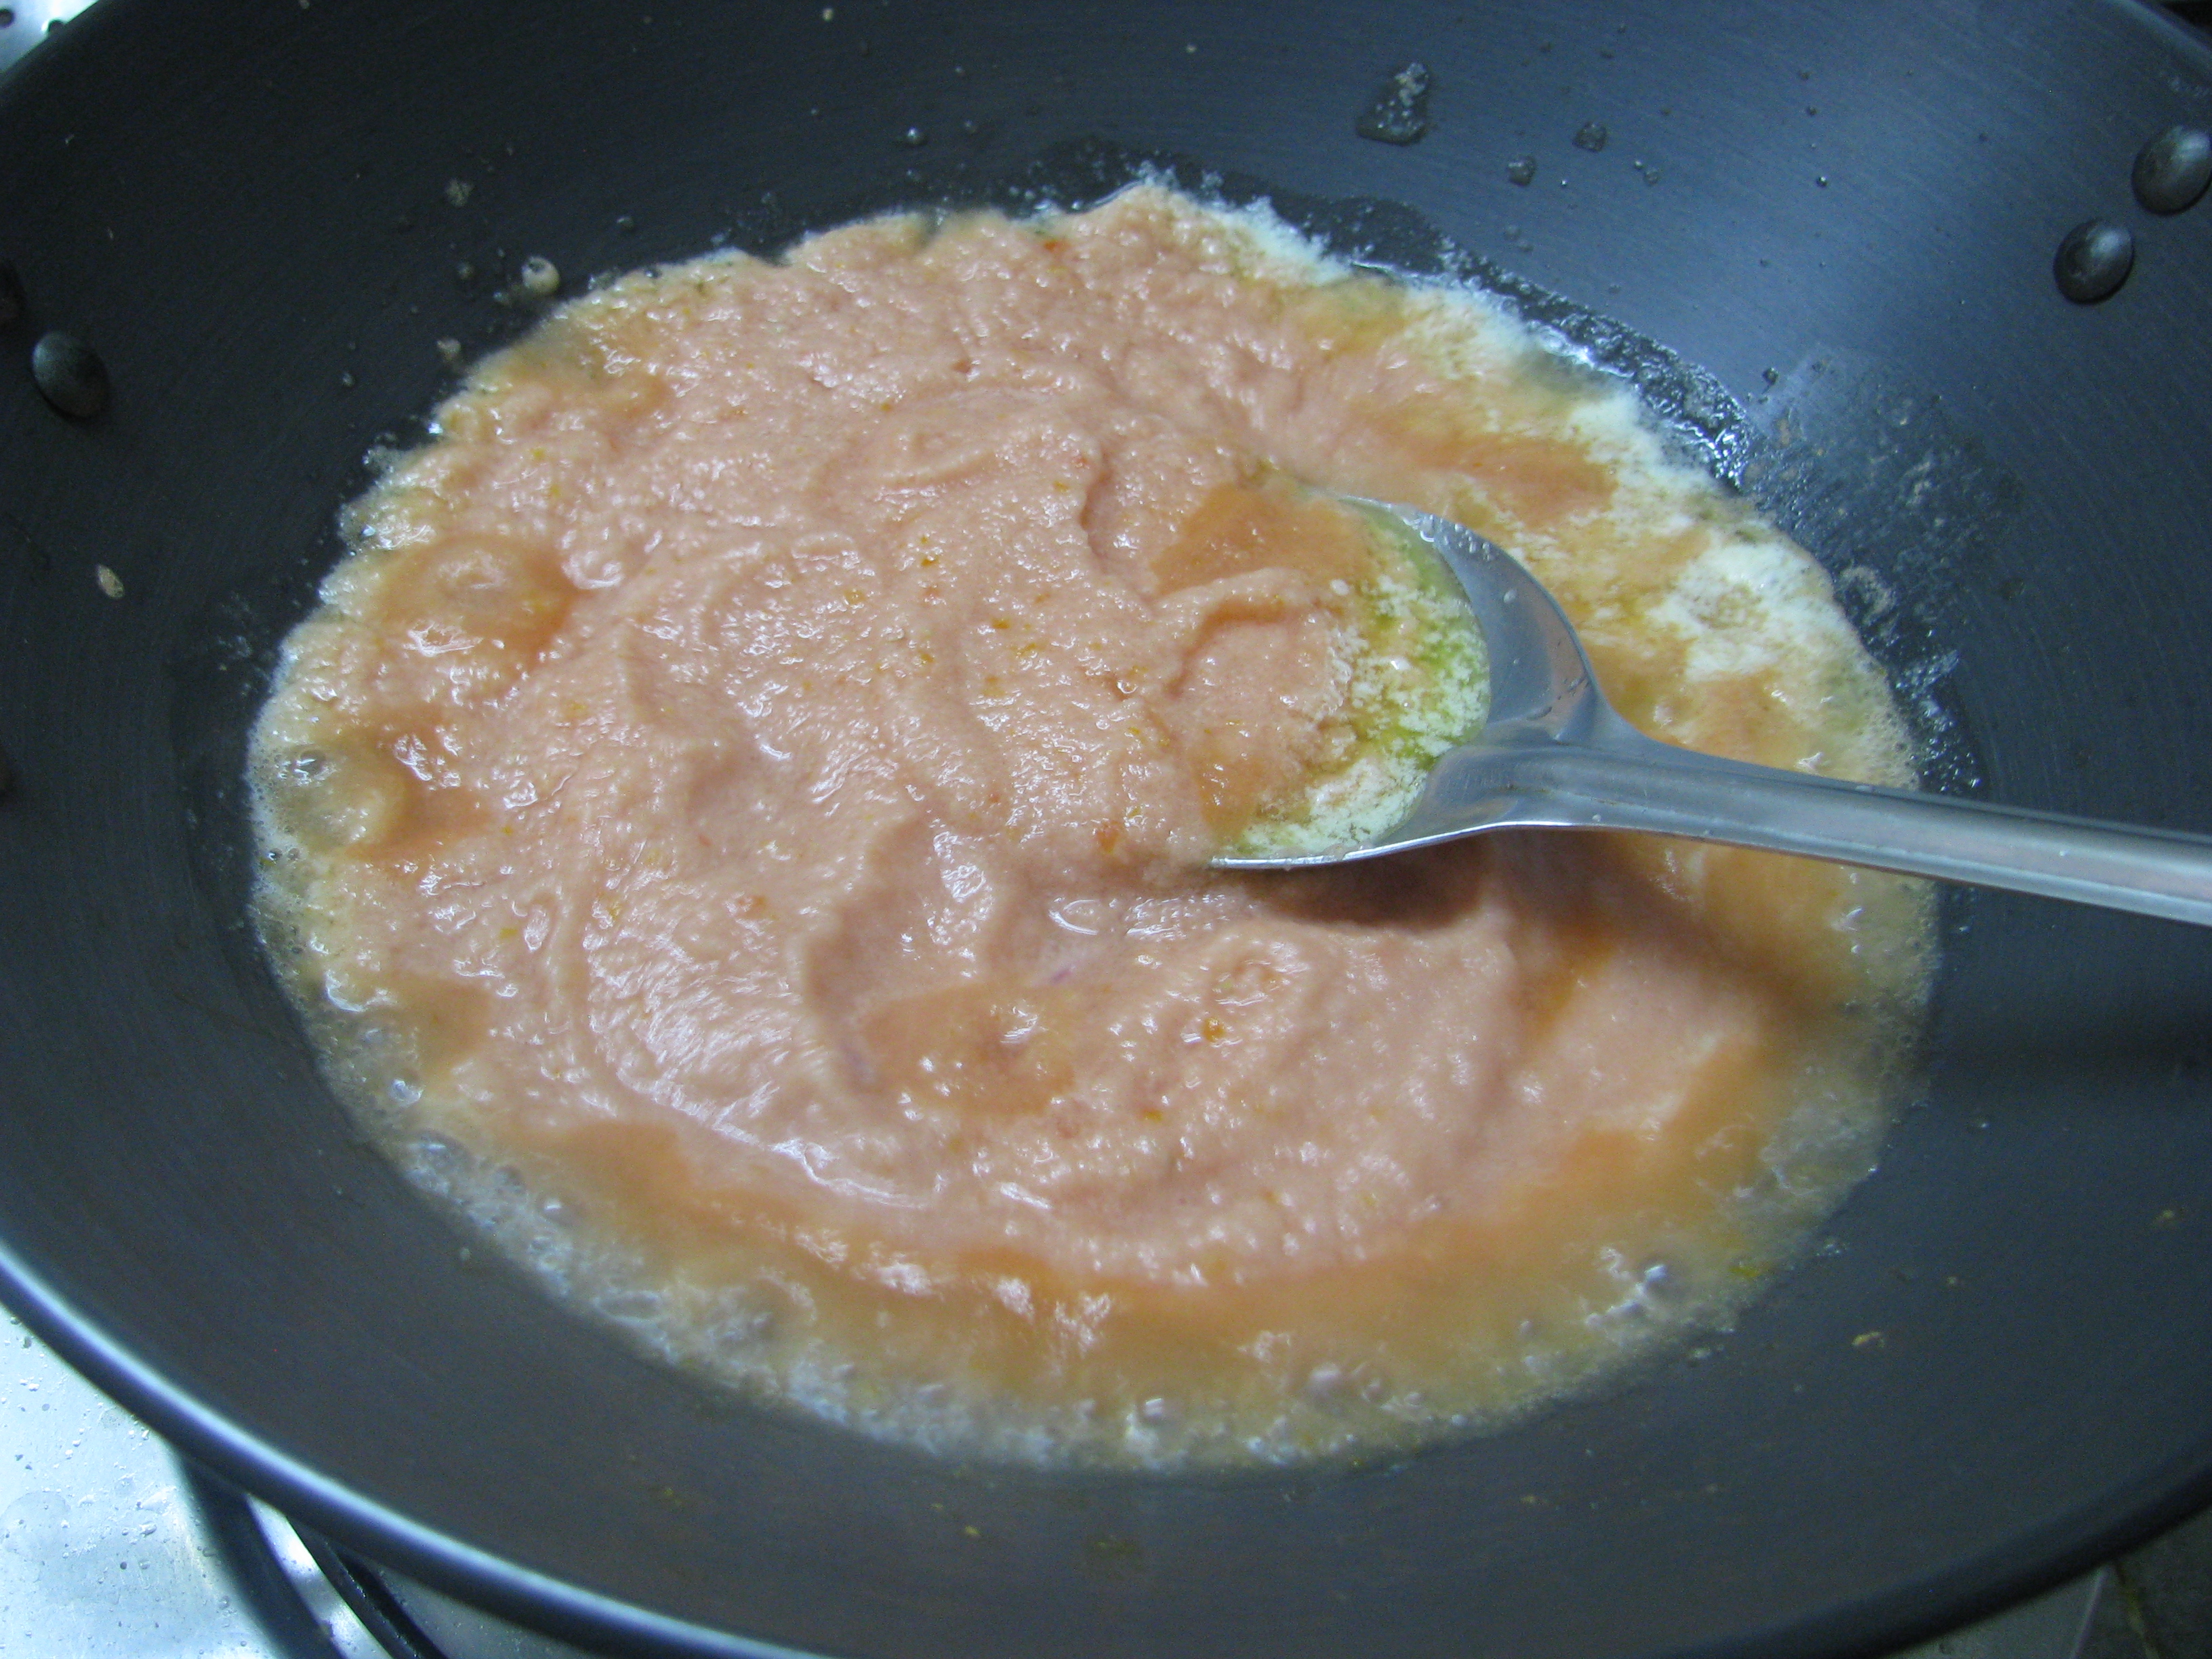
  4. Heat 1 tablespoon oil in a big pan. Add bay leaf and cumin seeds (jeera) to it. If you want tawang (oil floating on gravy/rassa) add more oil according to your taste.IMG_1397
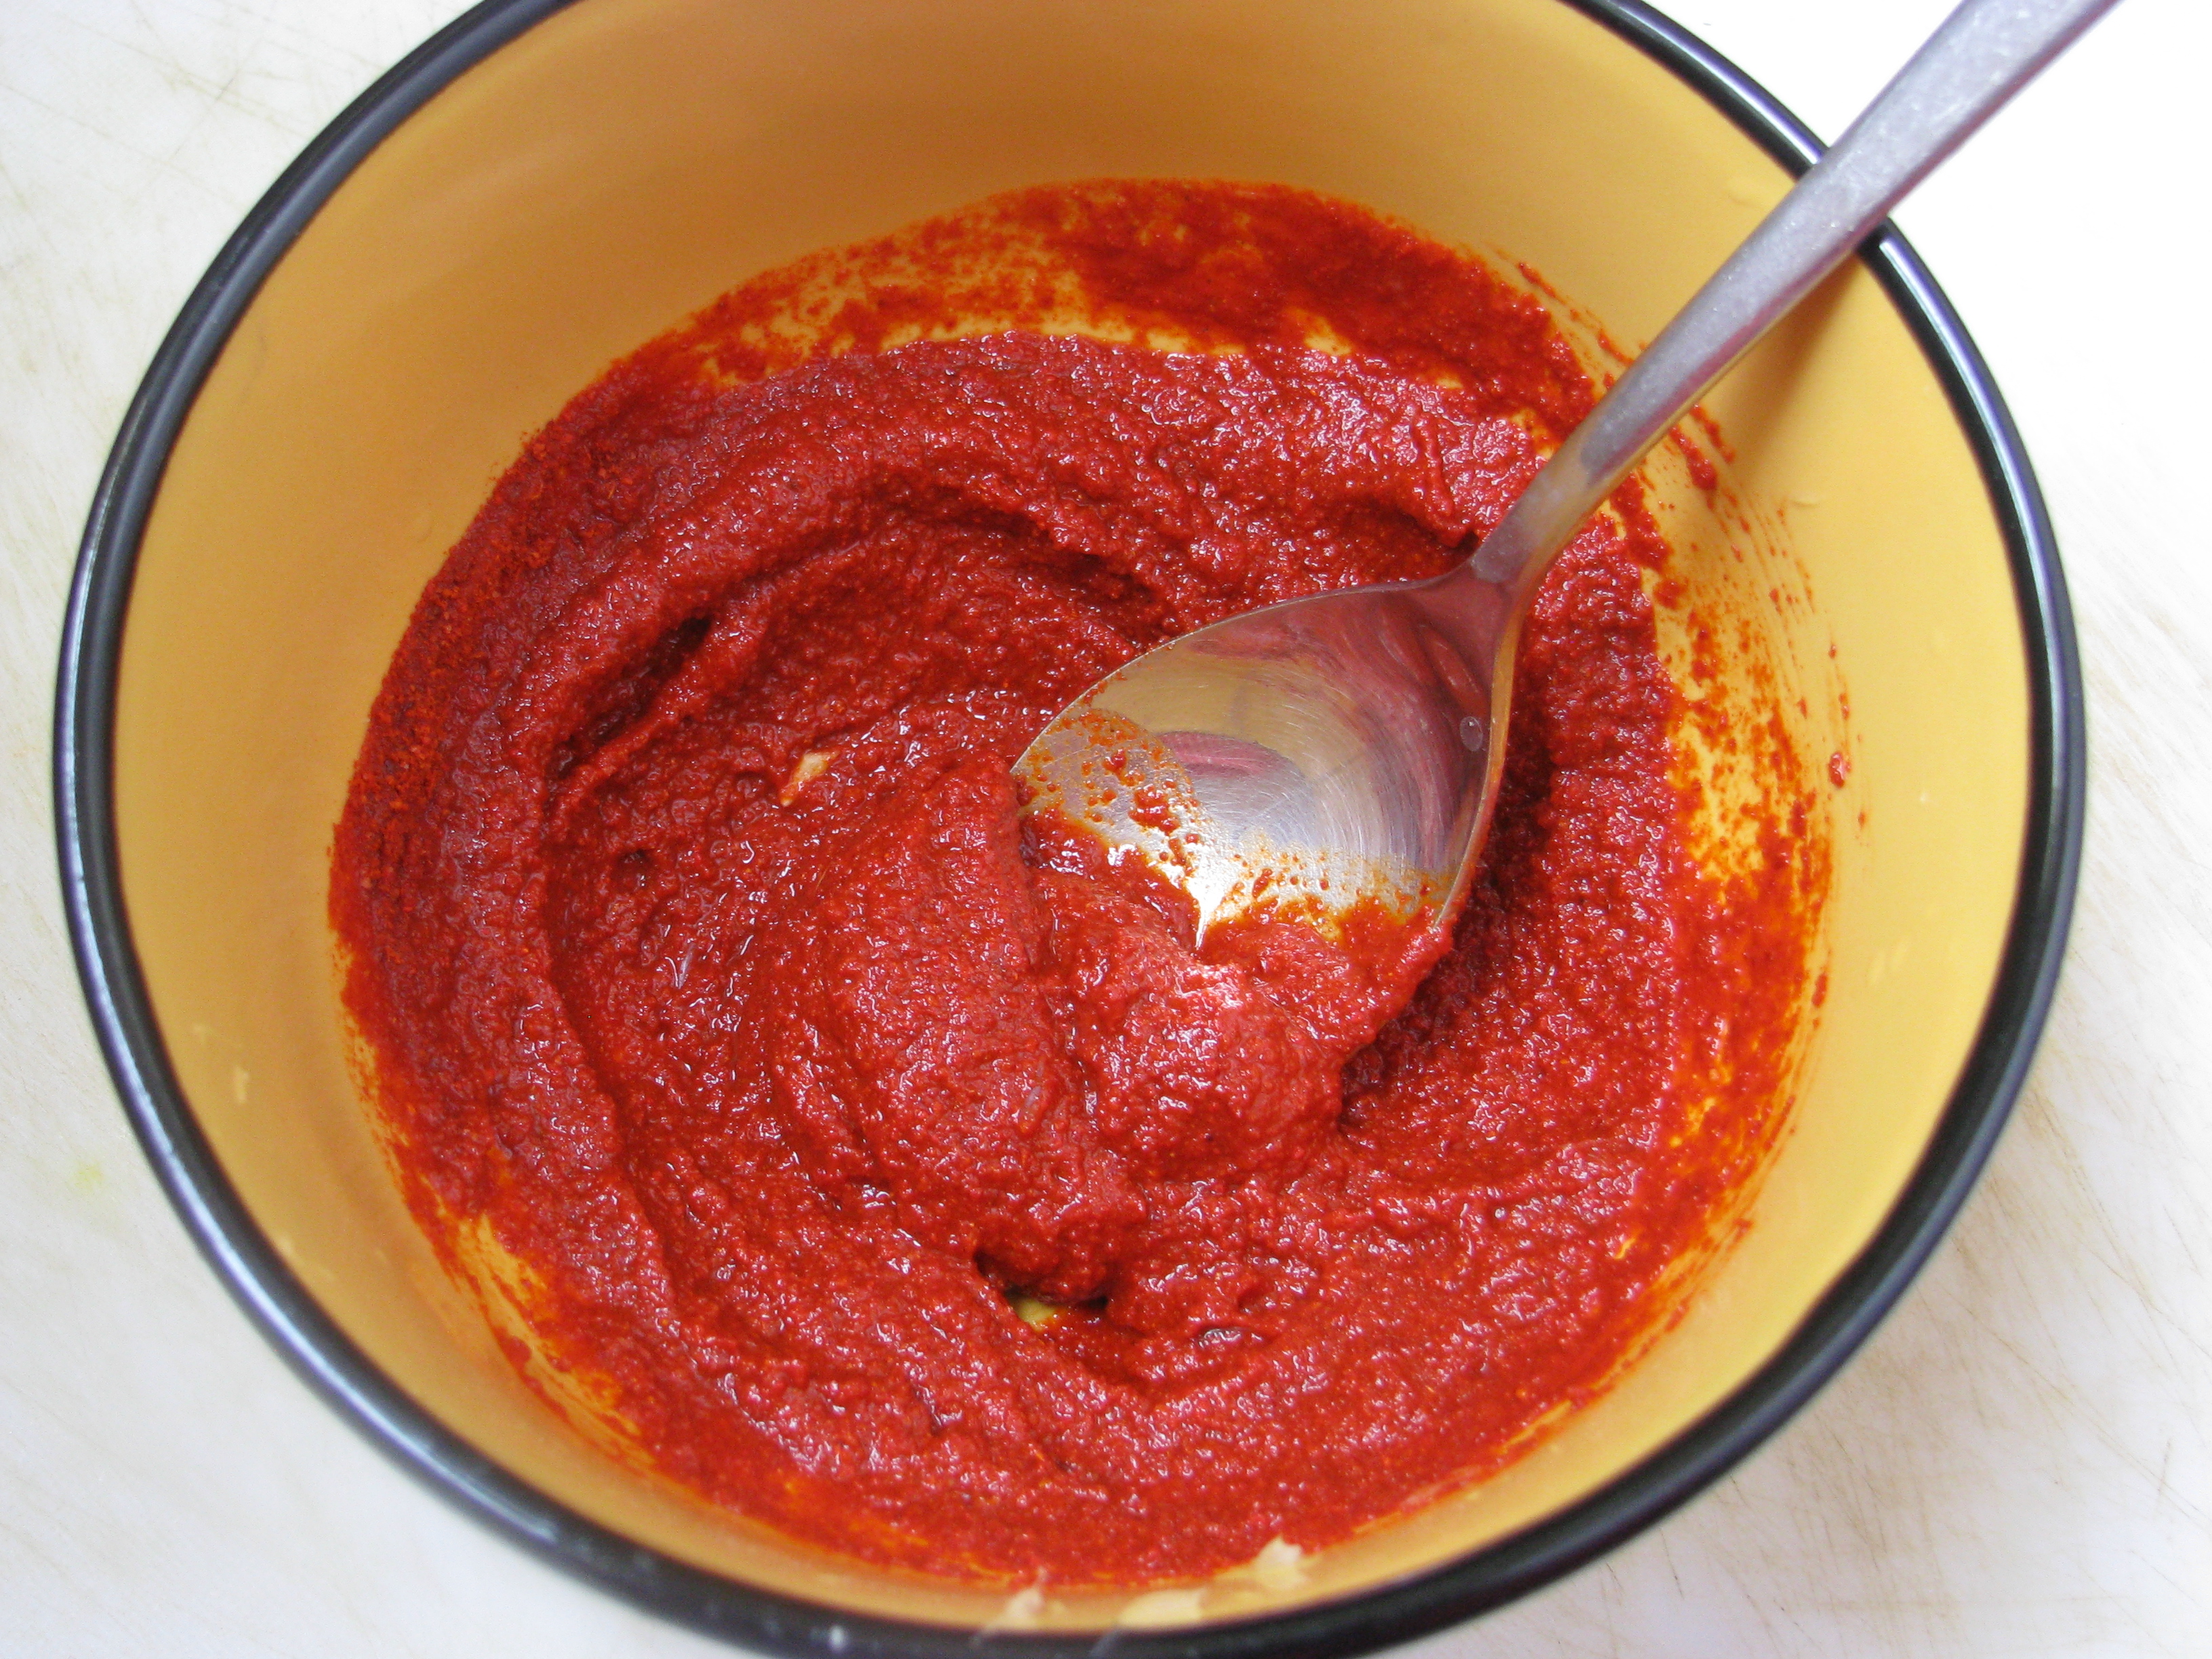
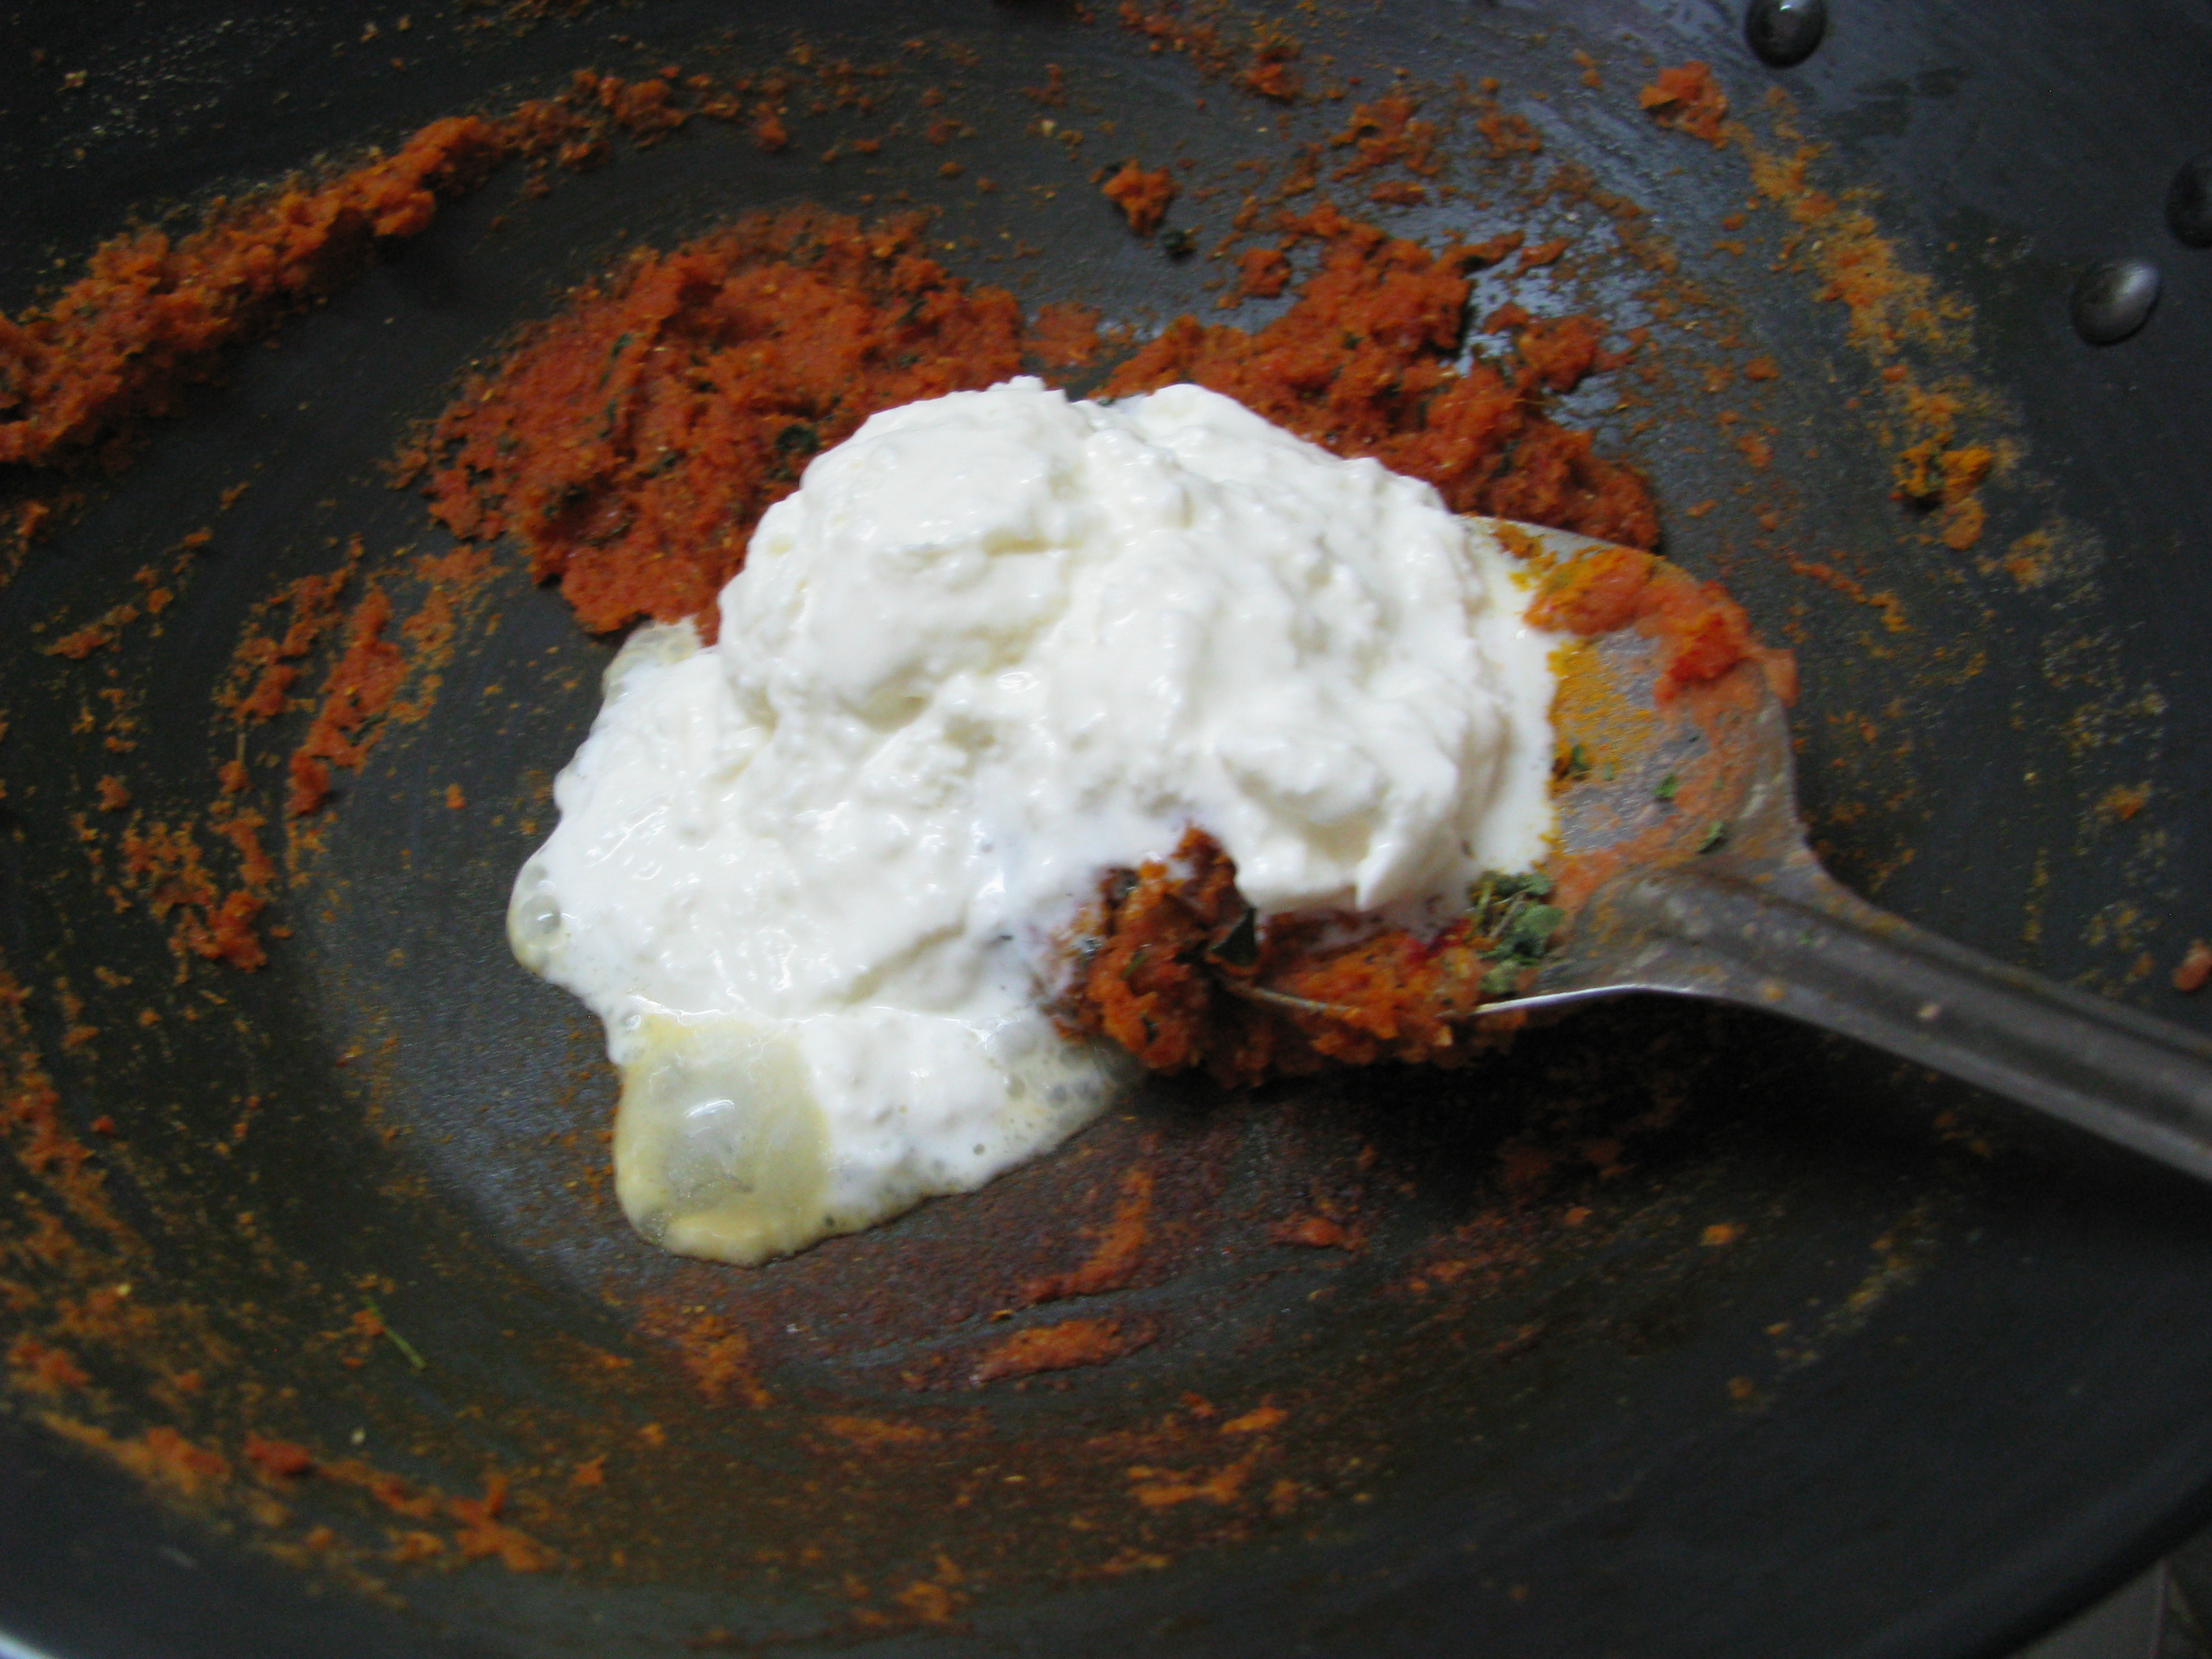
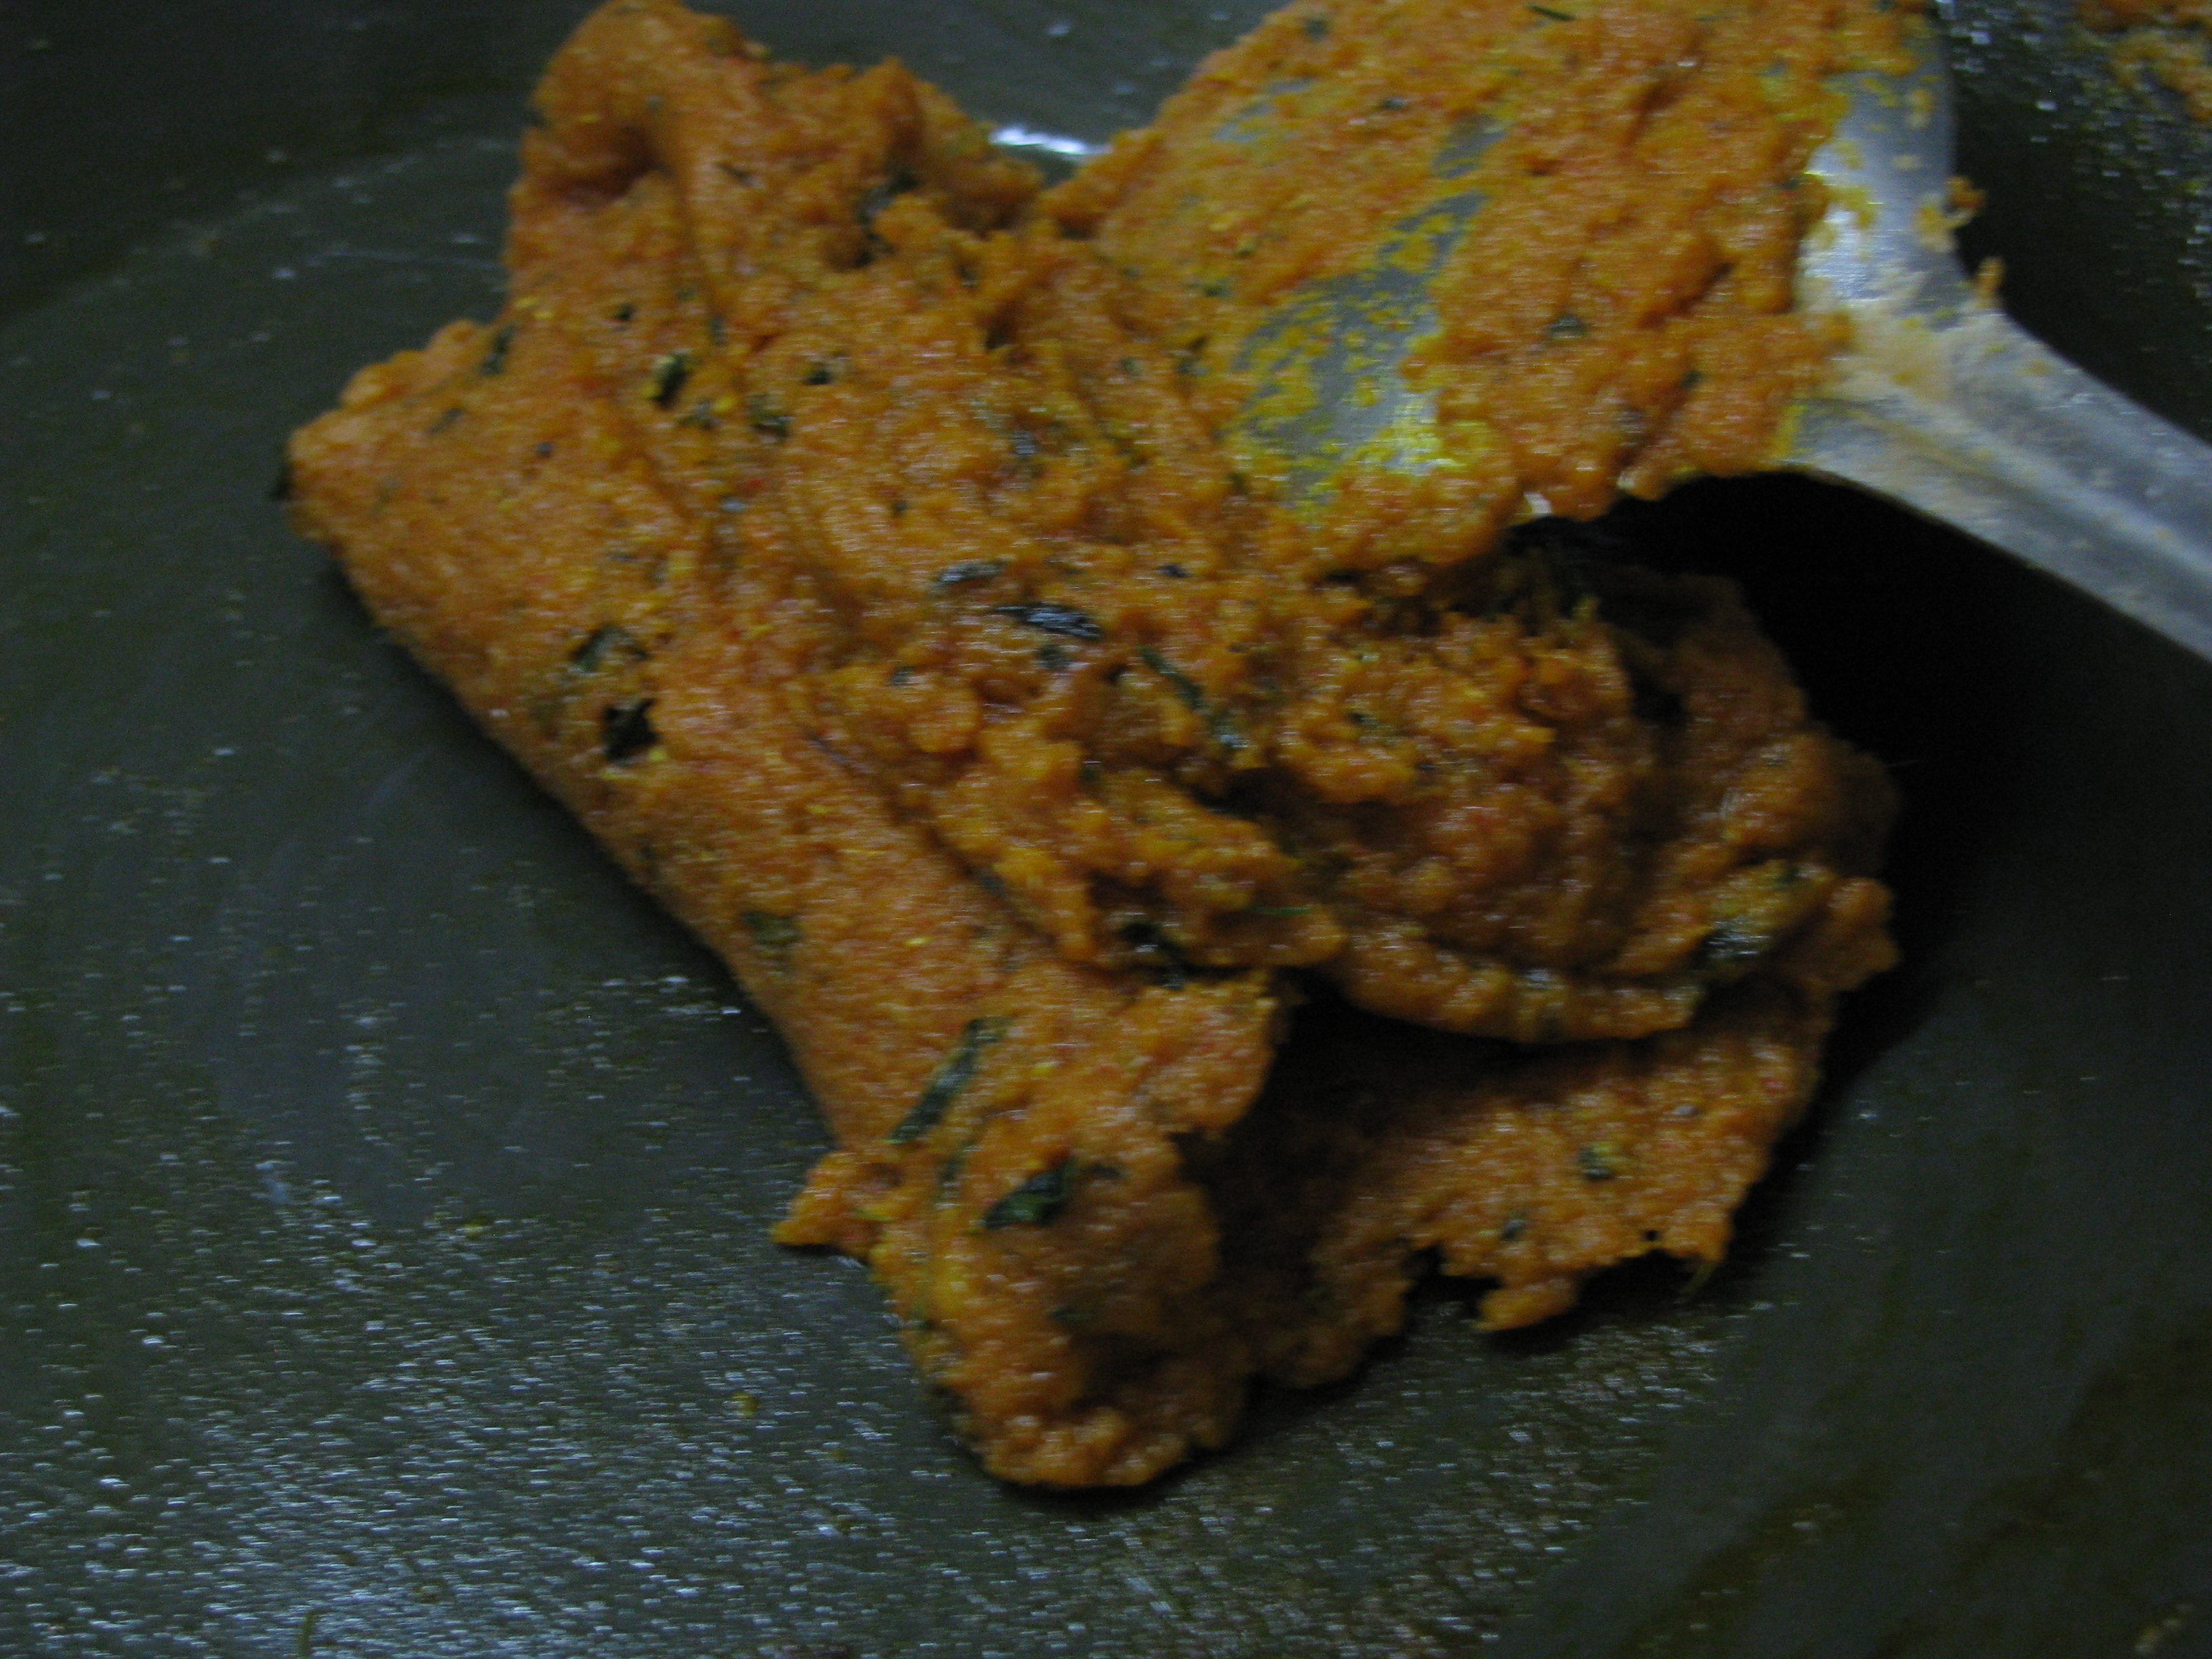
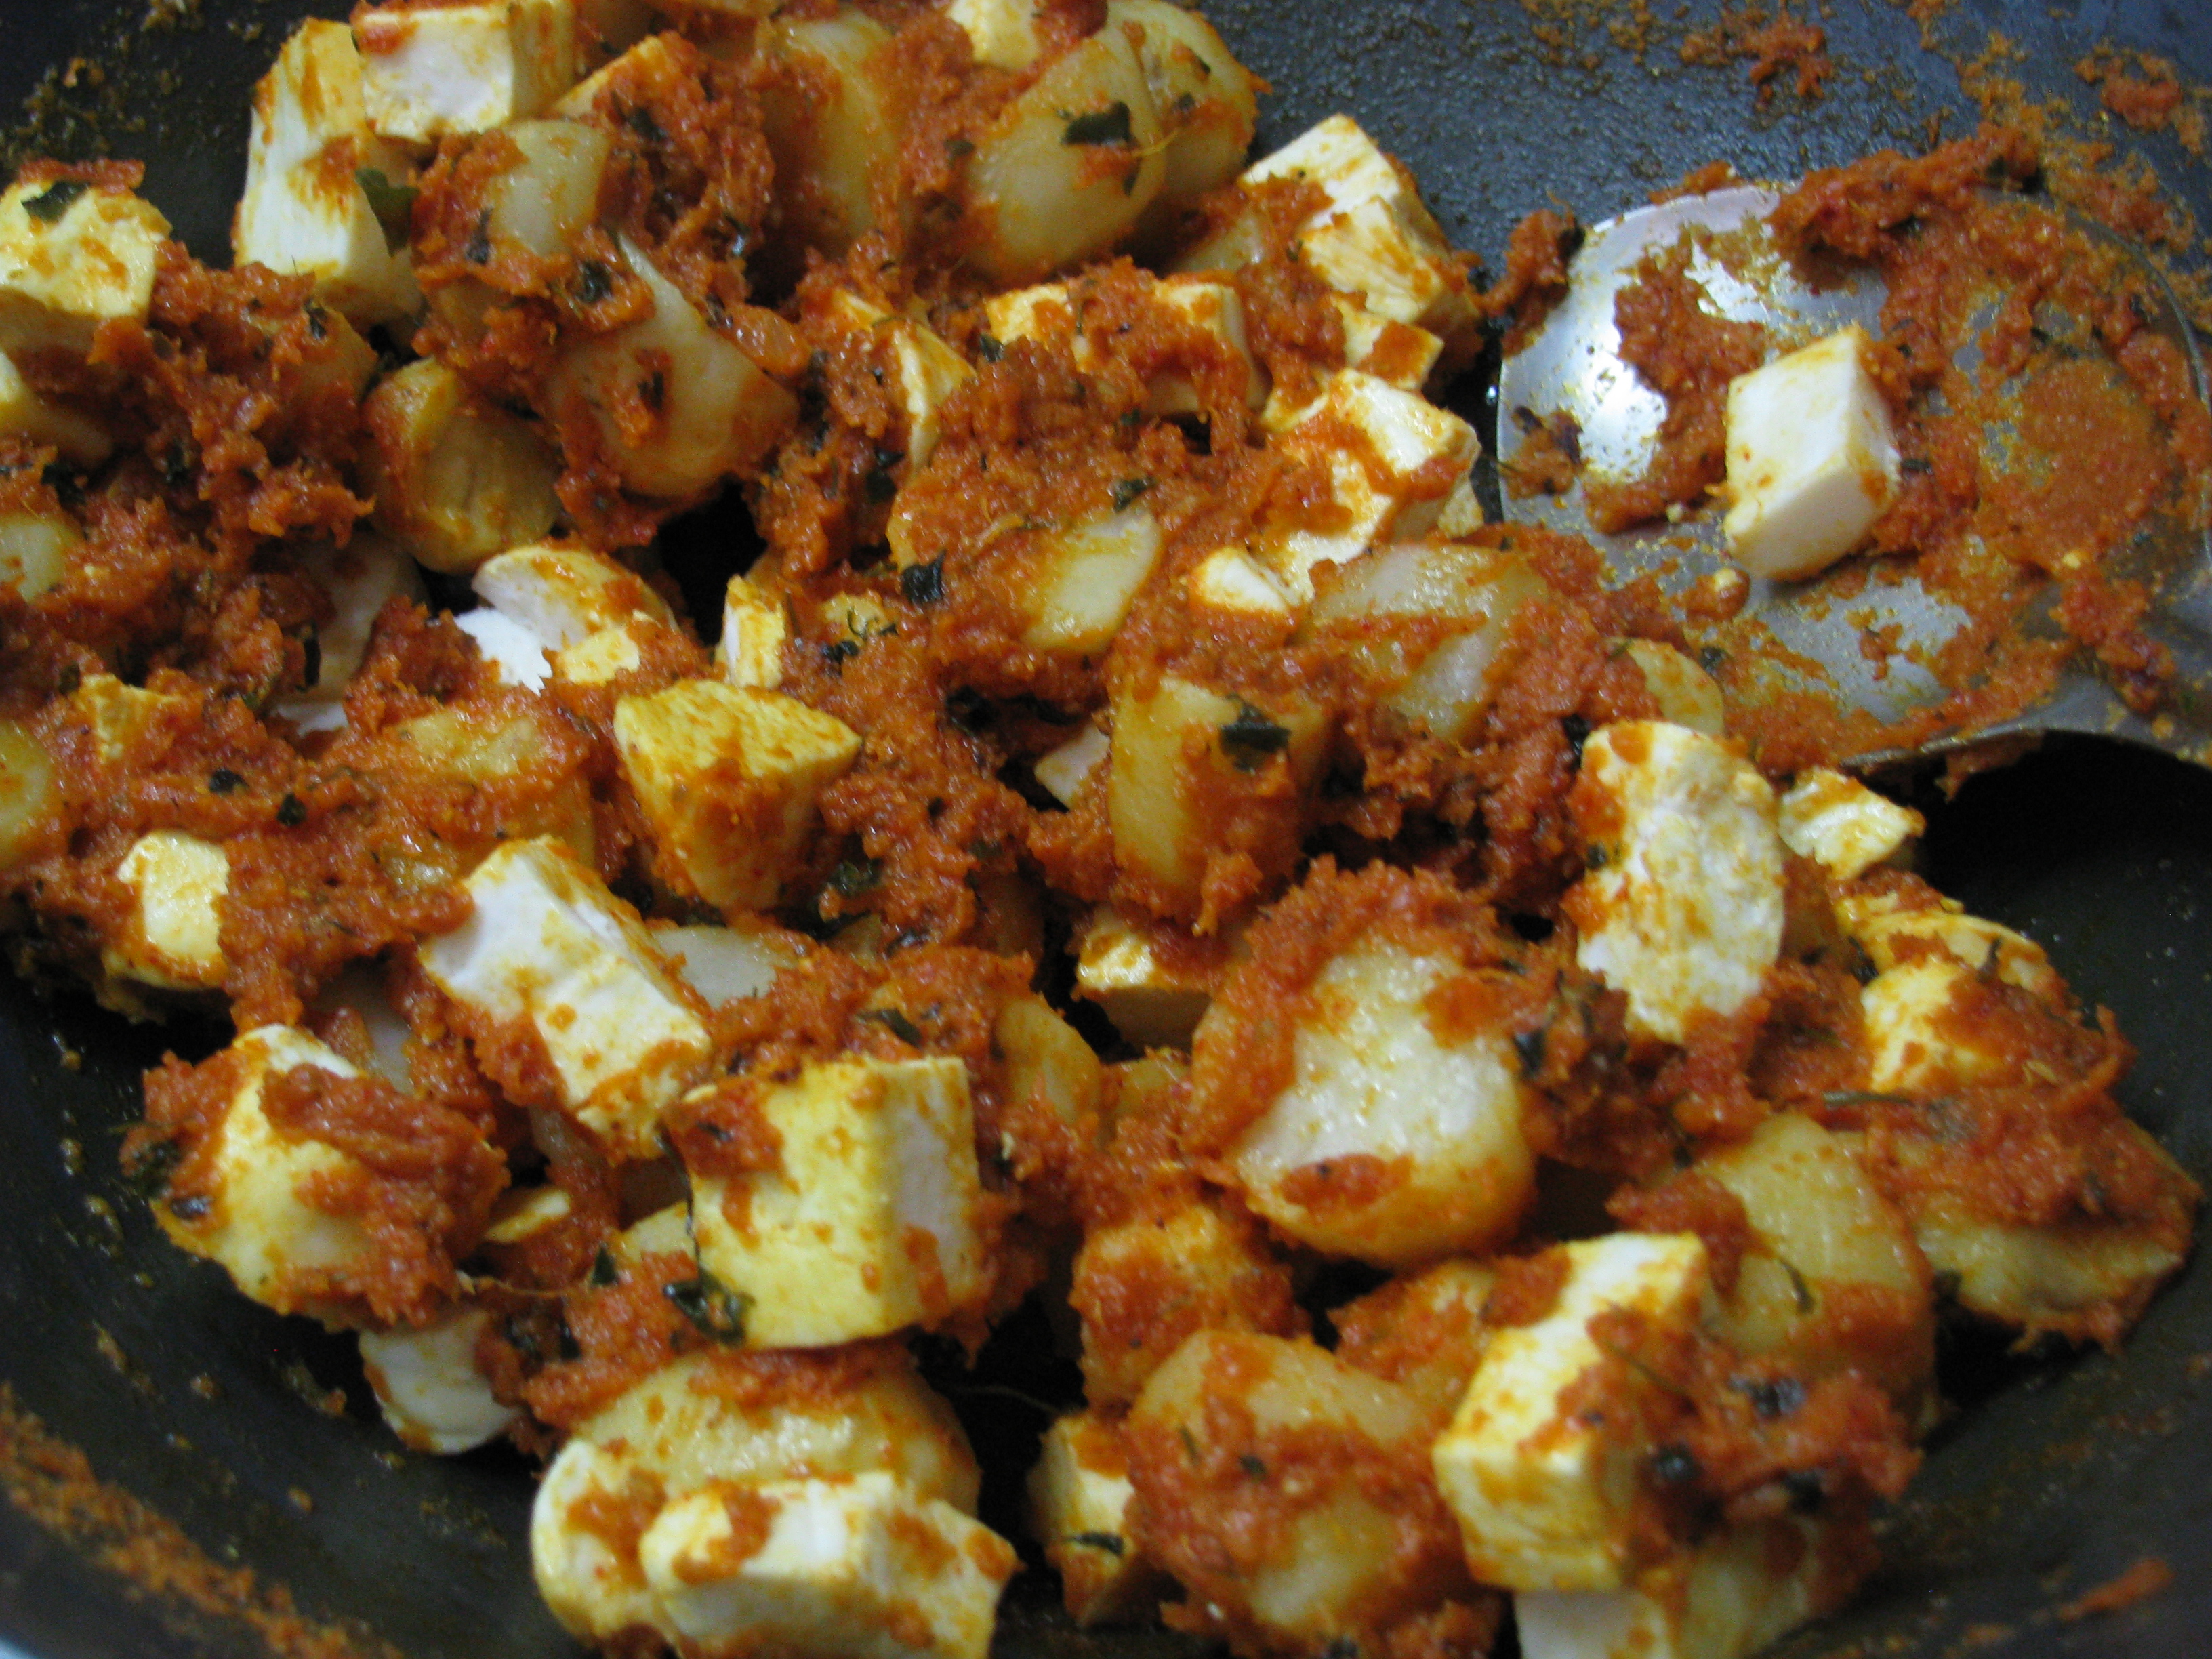
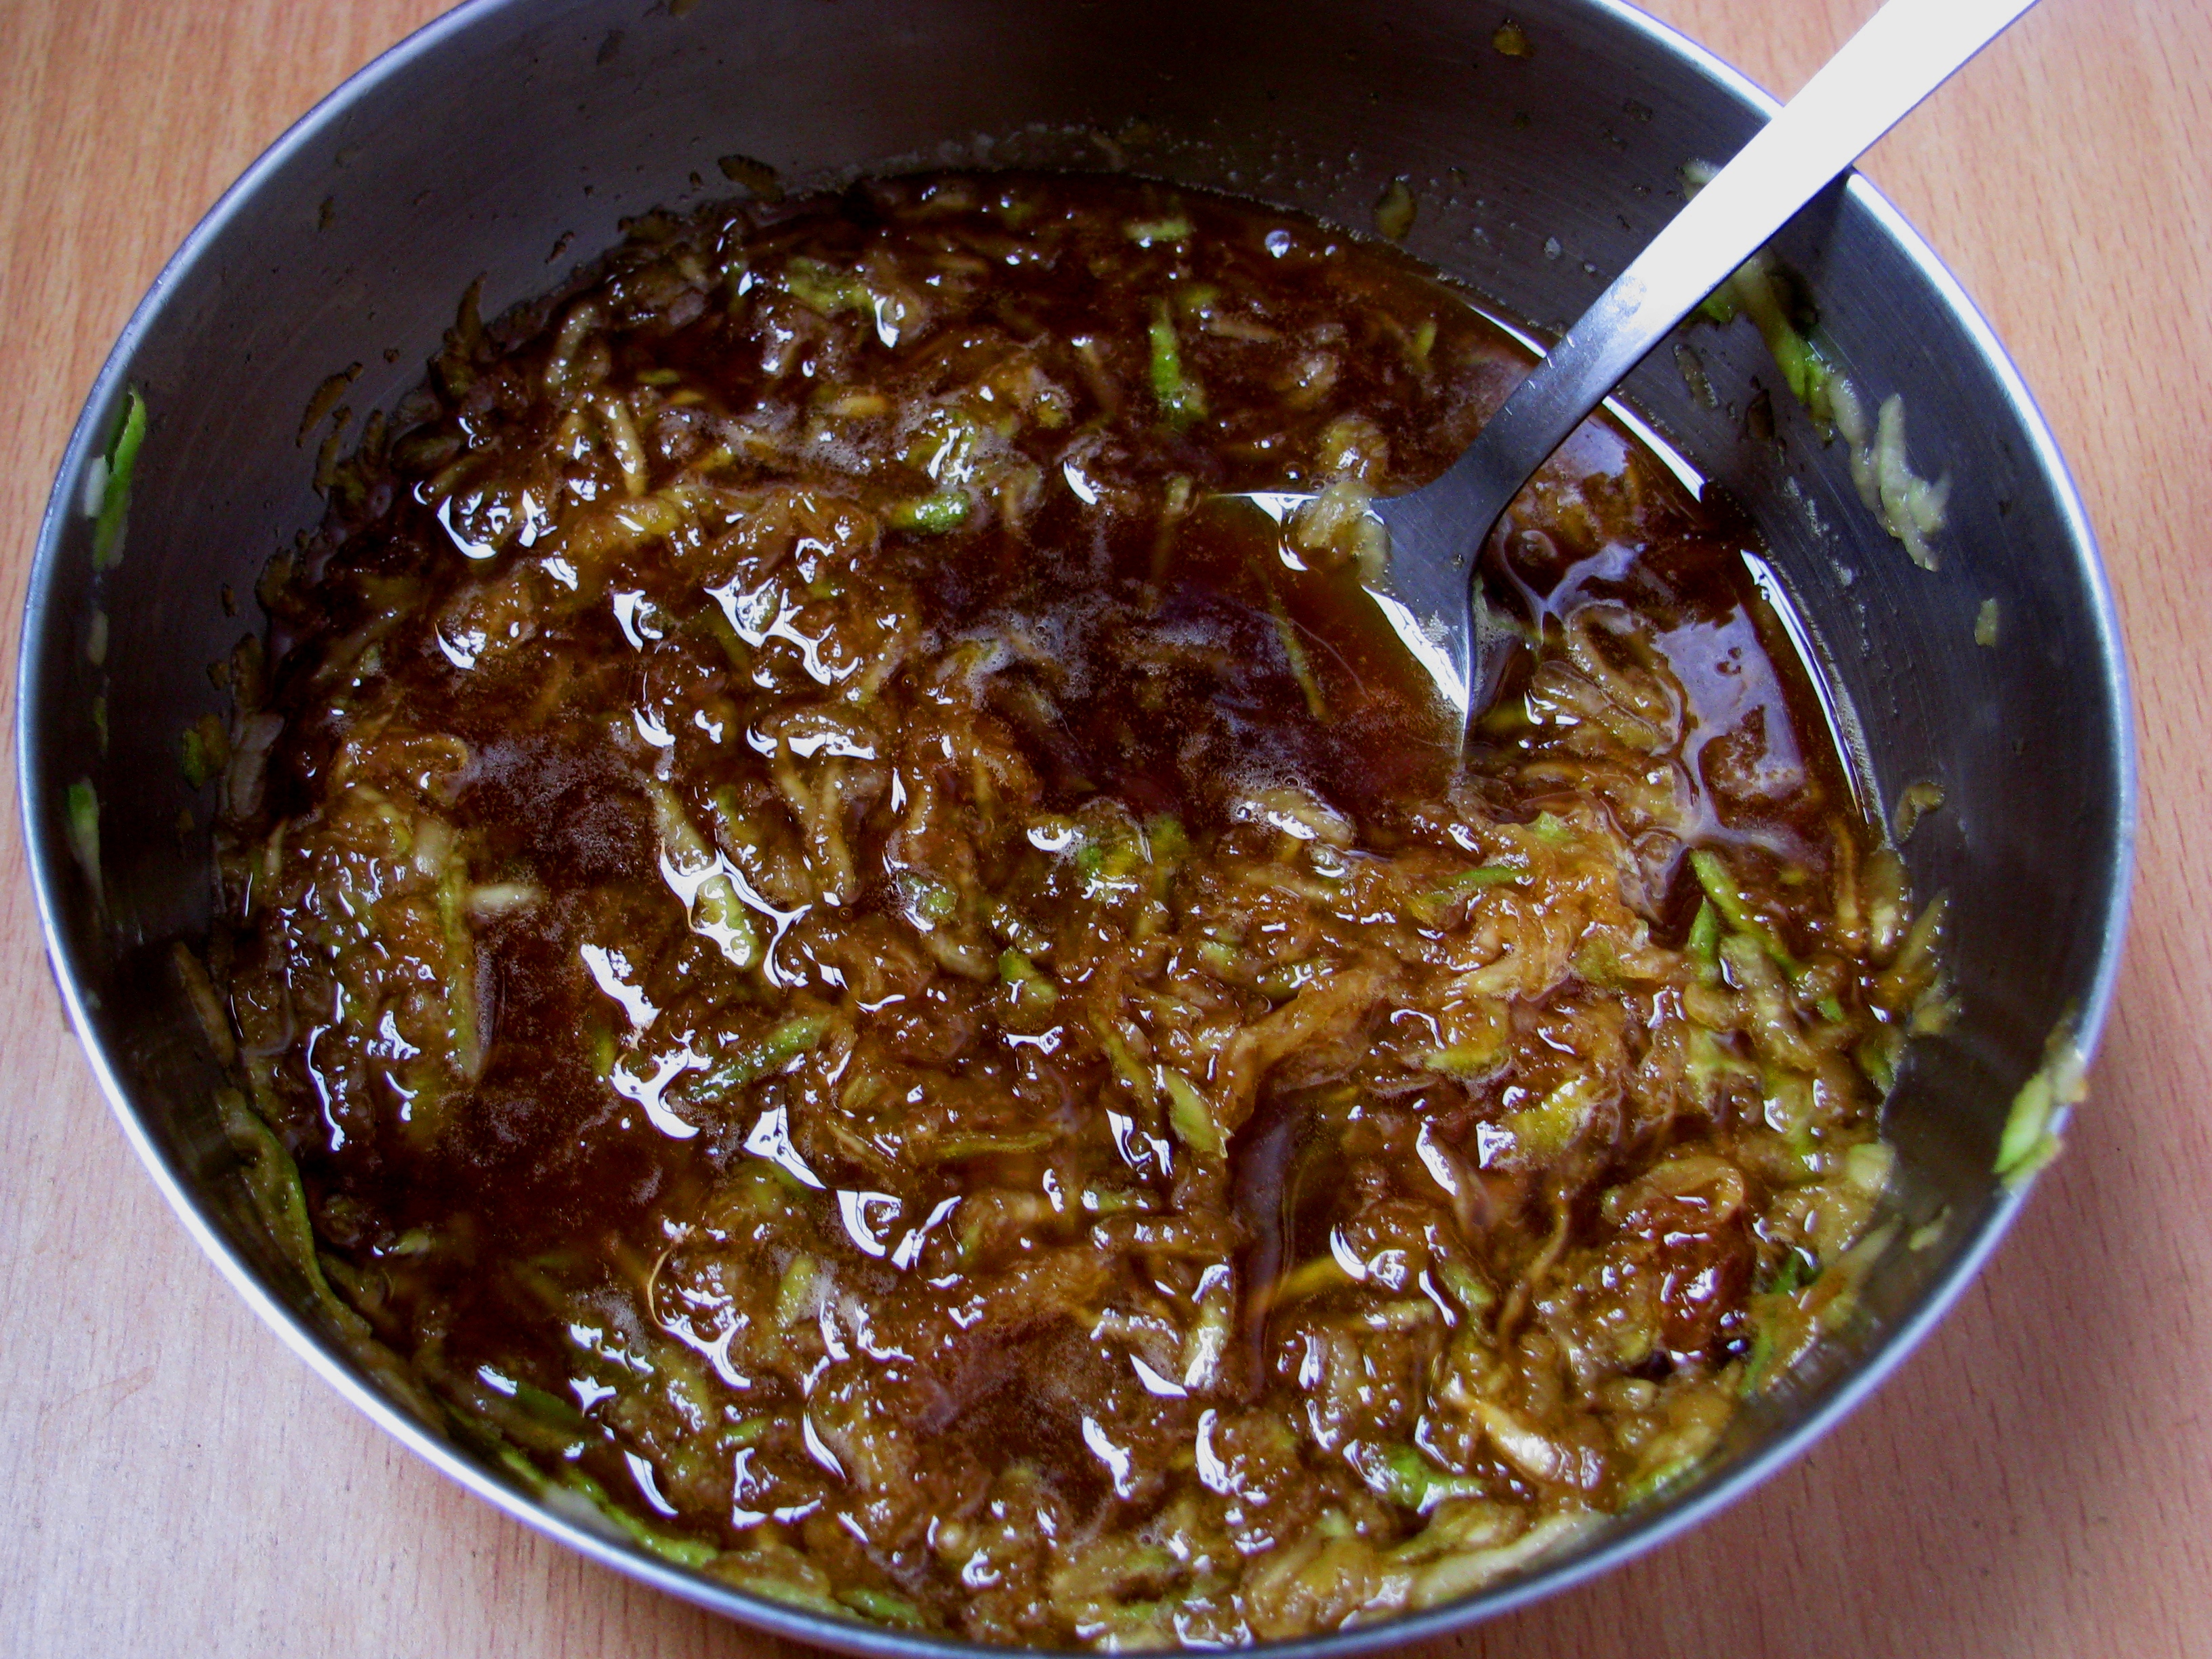
  5. Add onion coconut paste to it and sauté it until oil starts coming out of it.IMG_1398
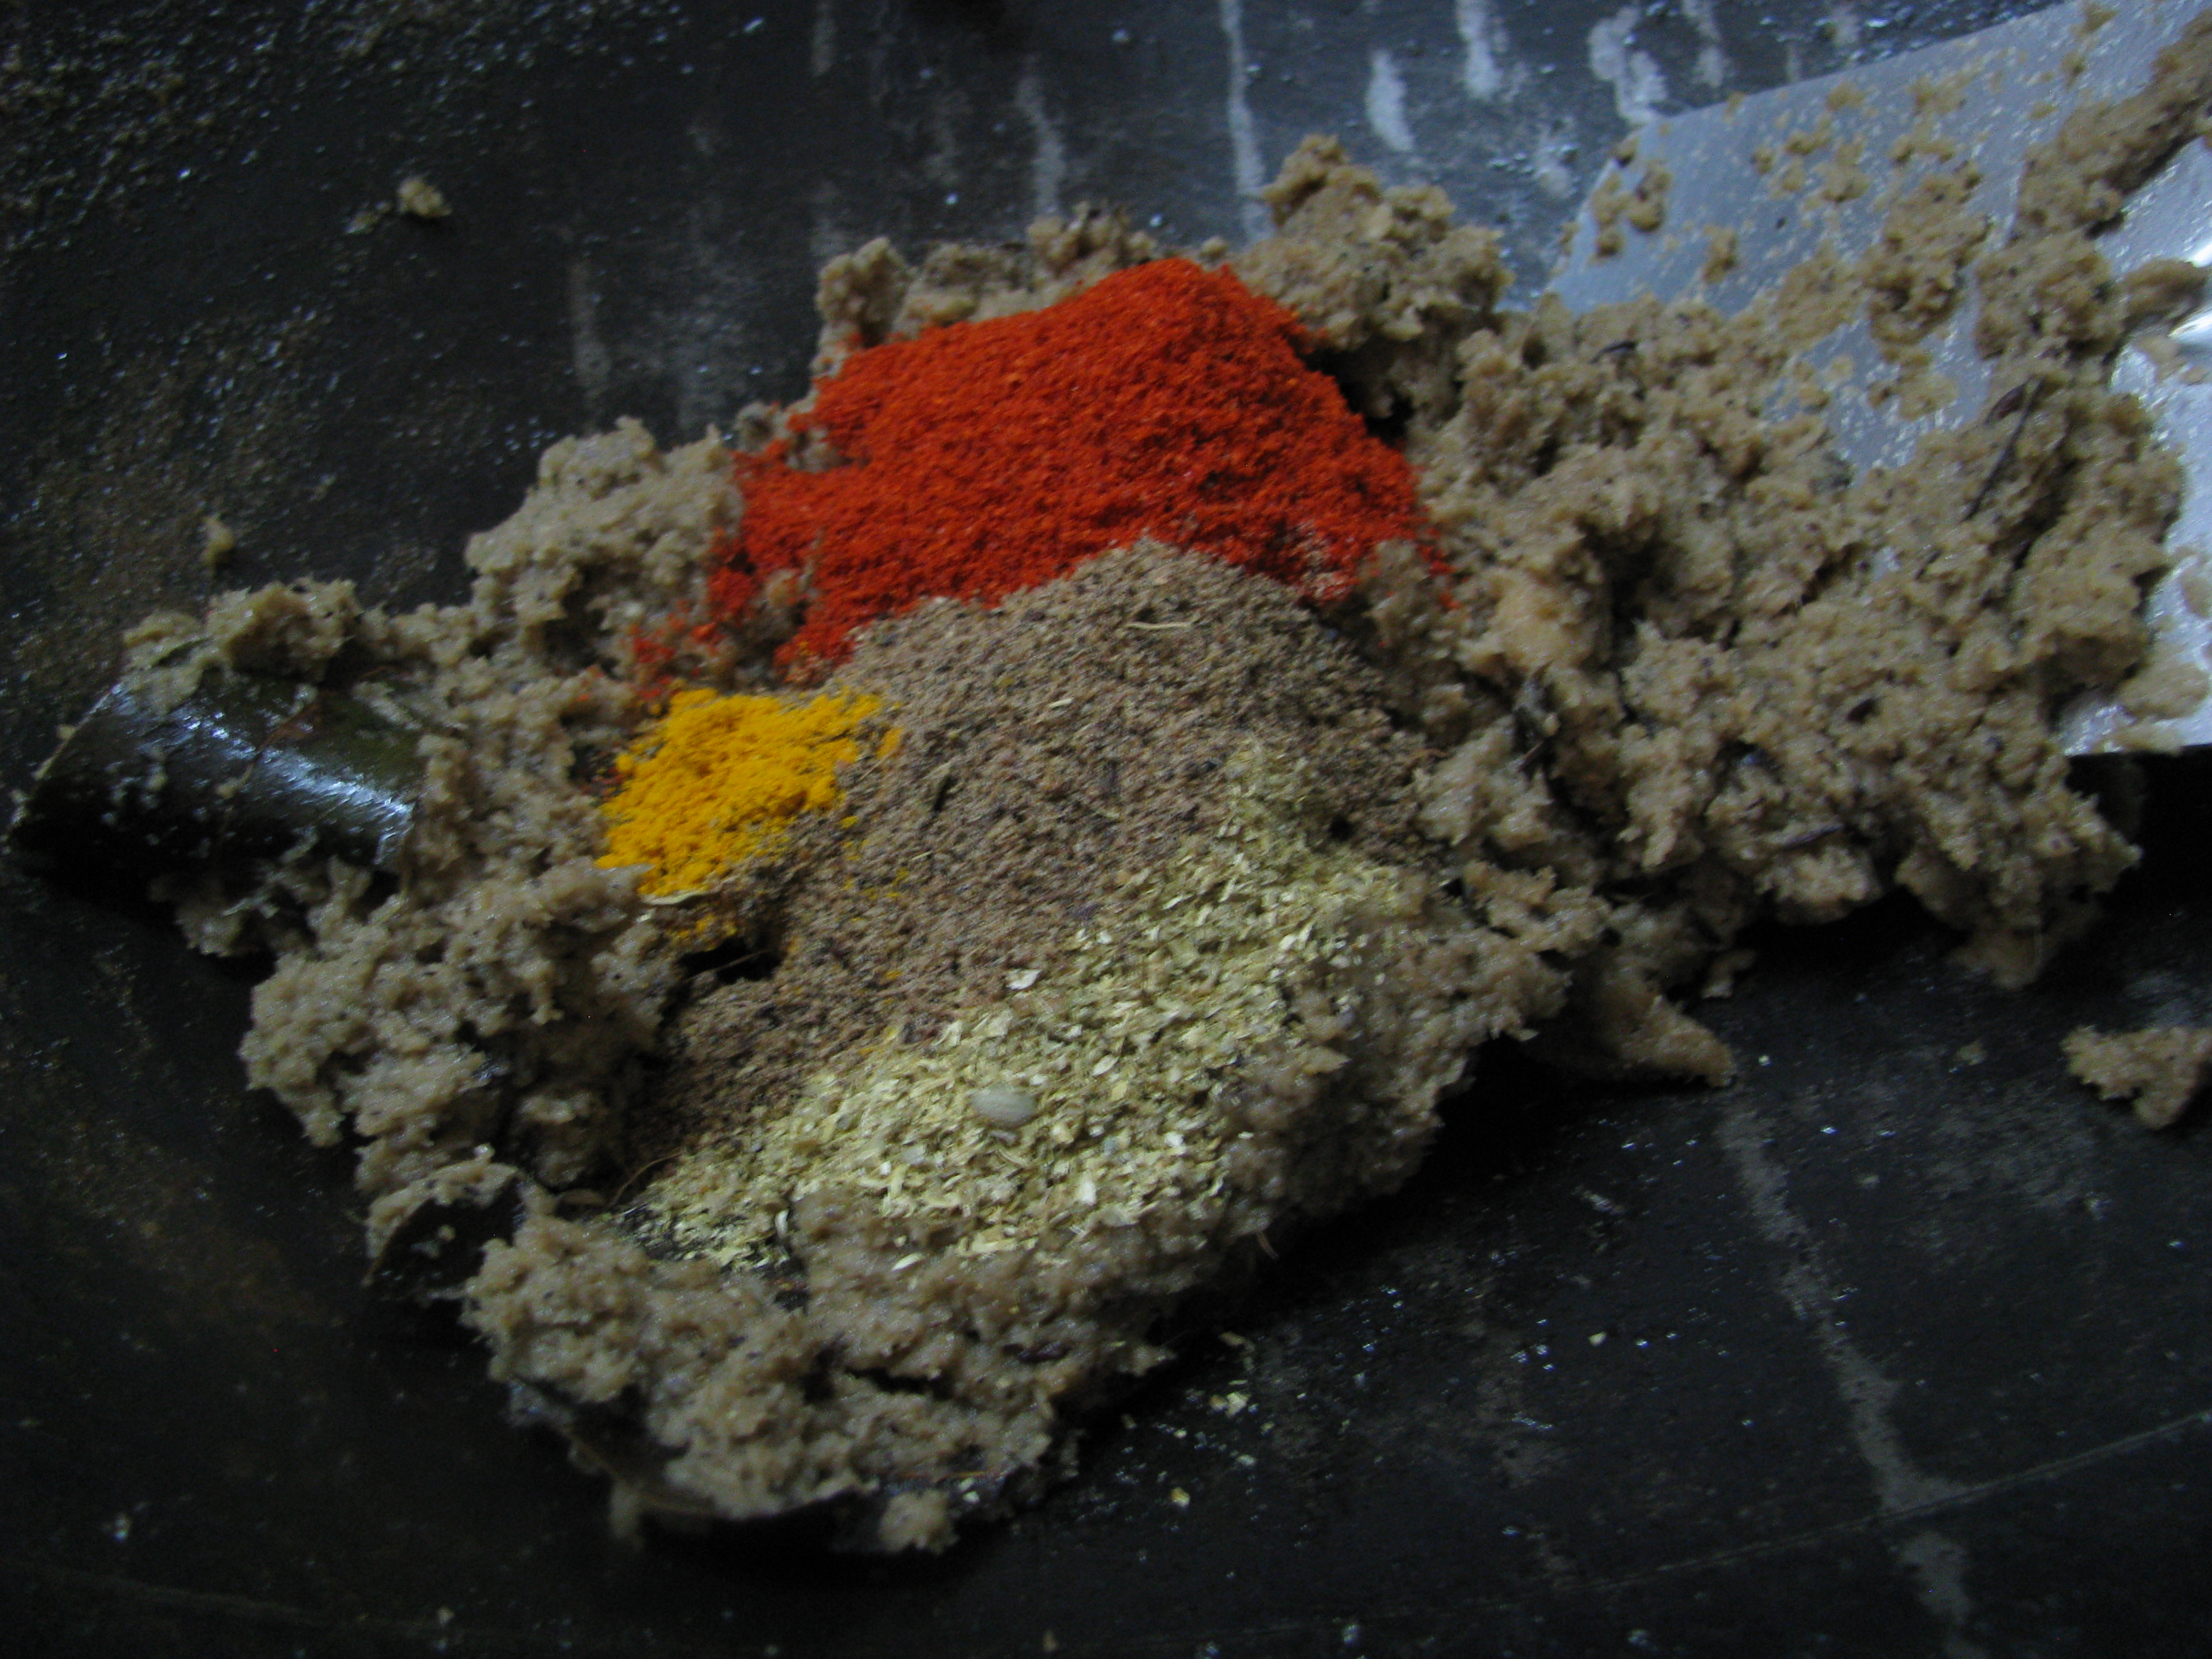
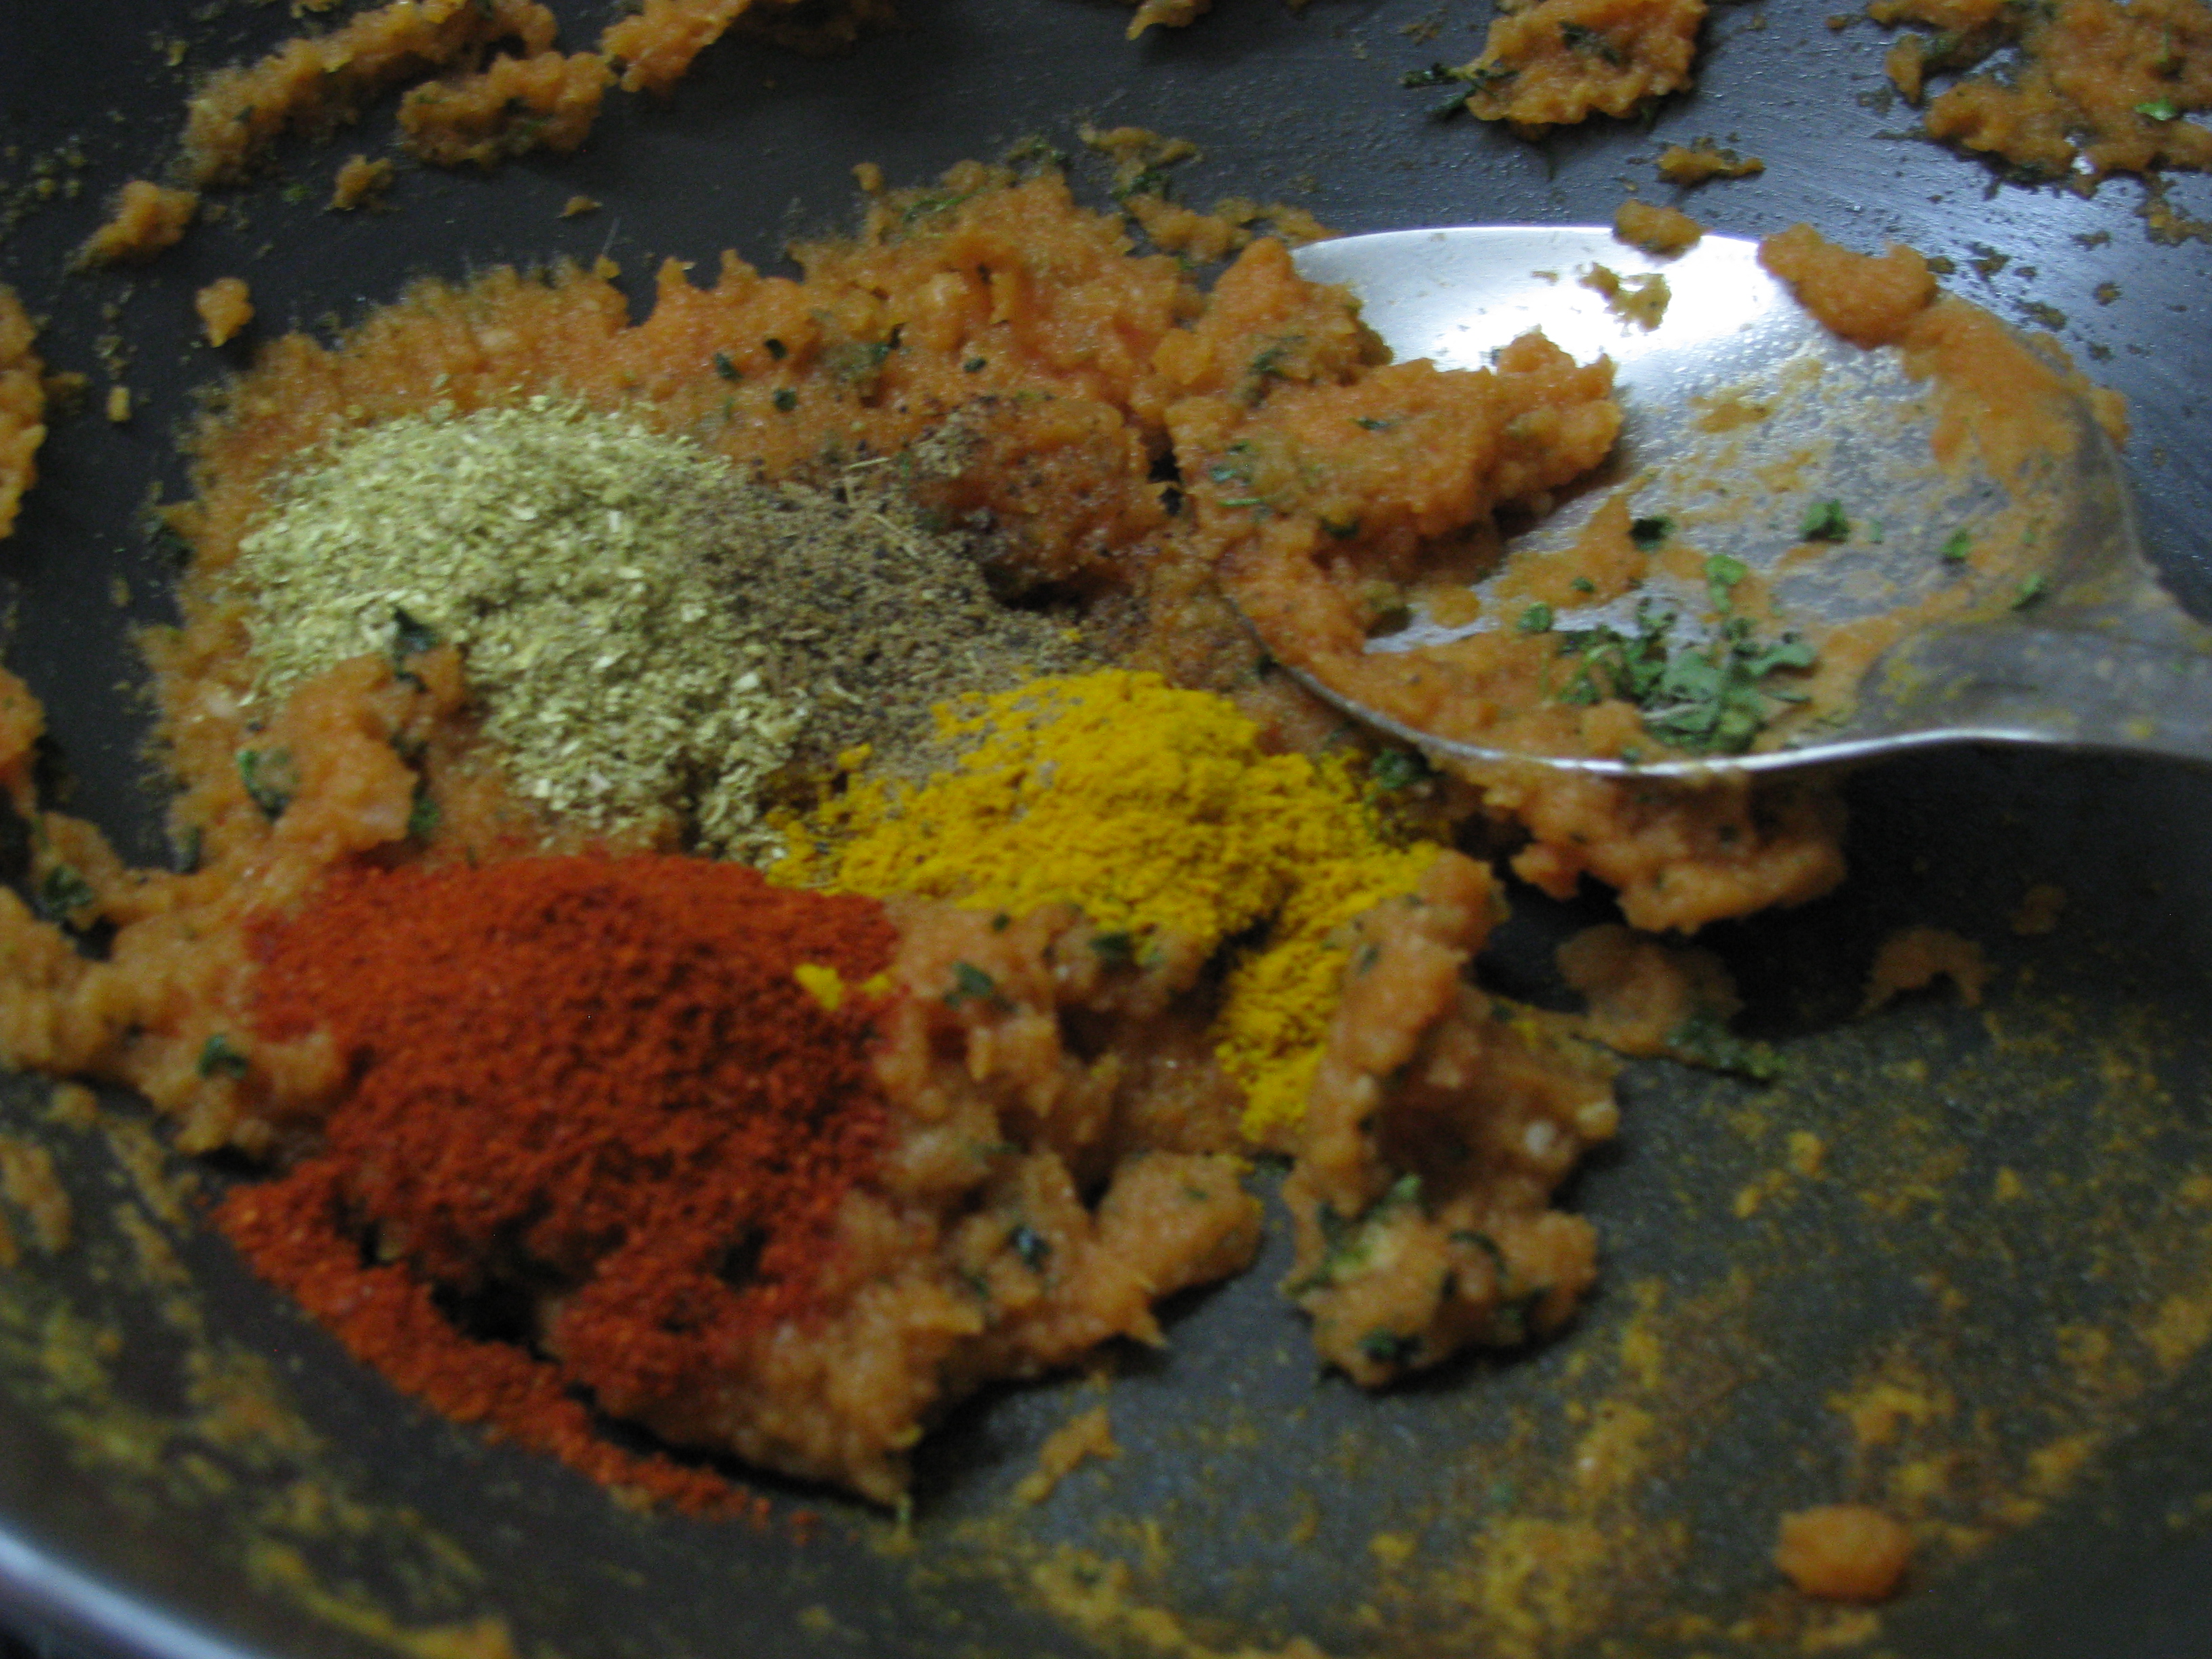
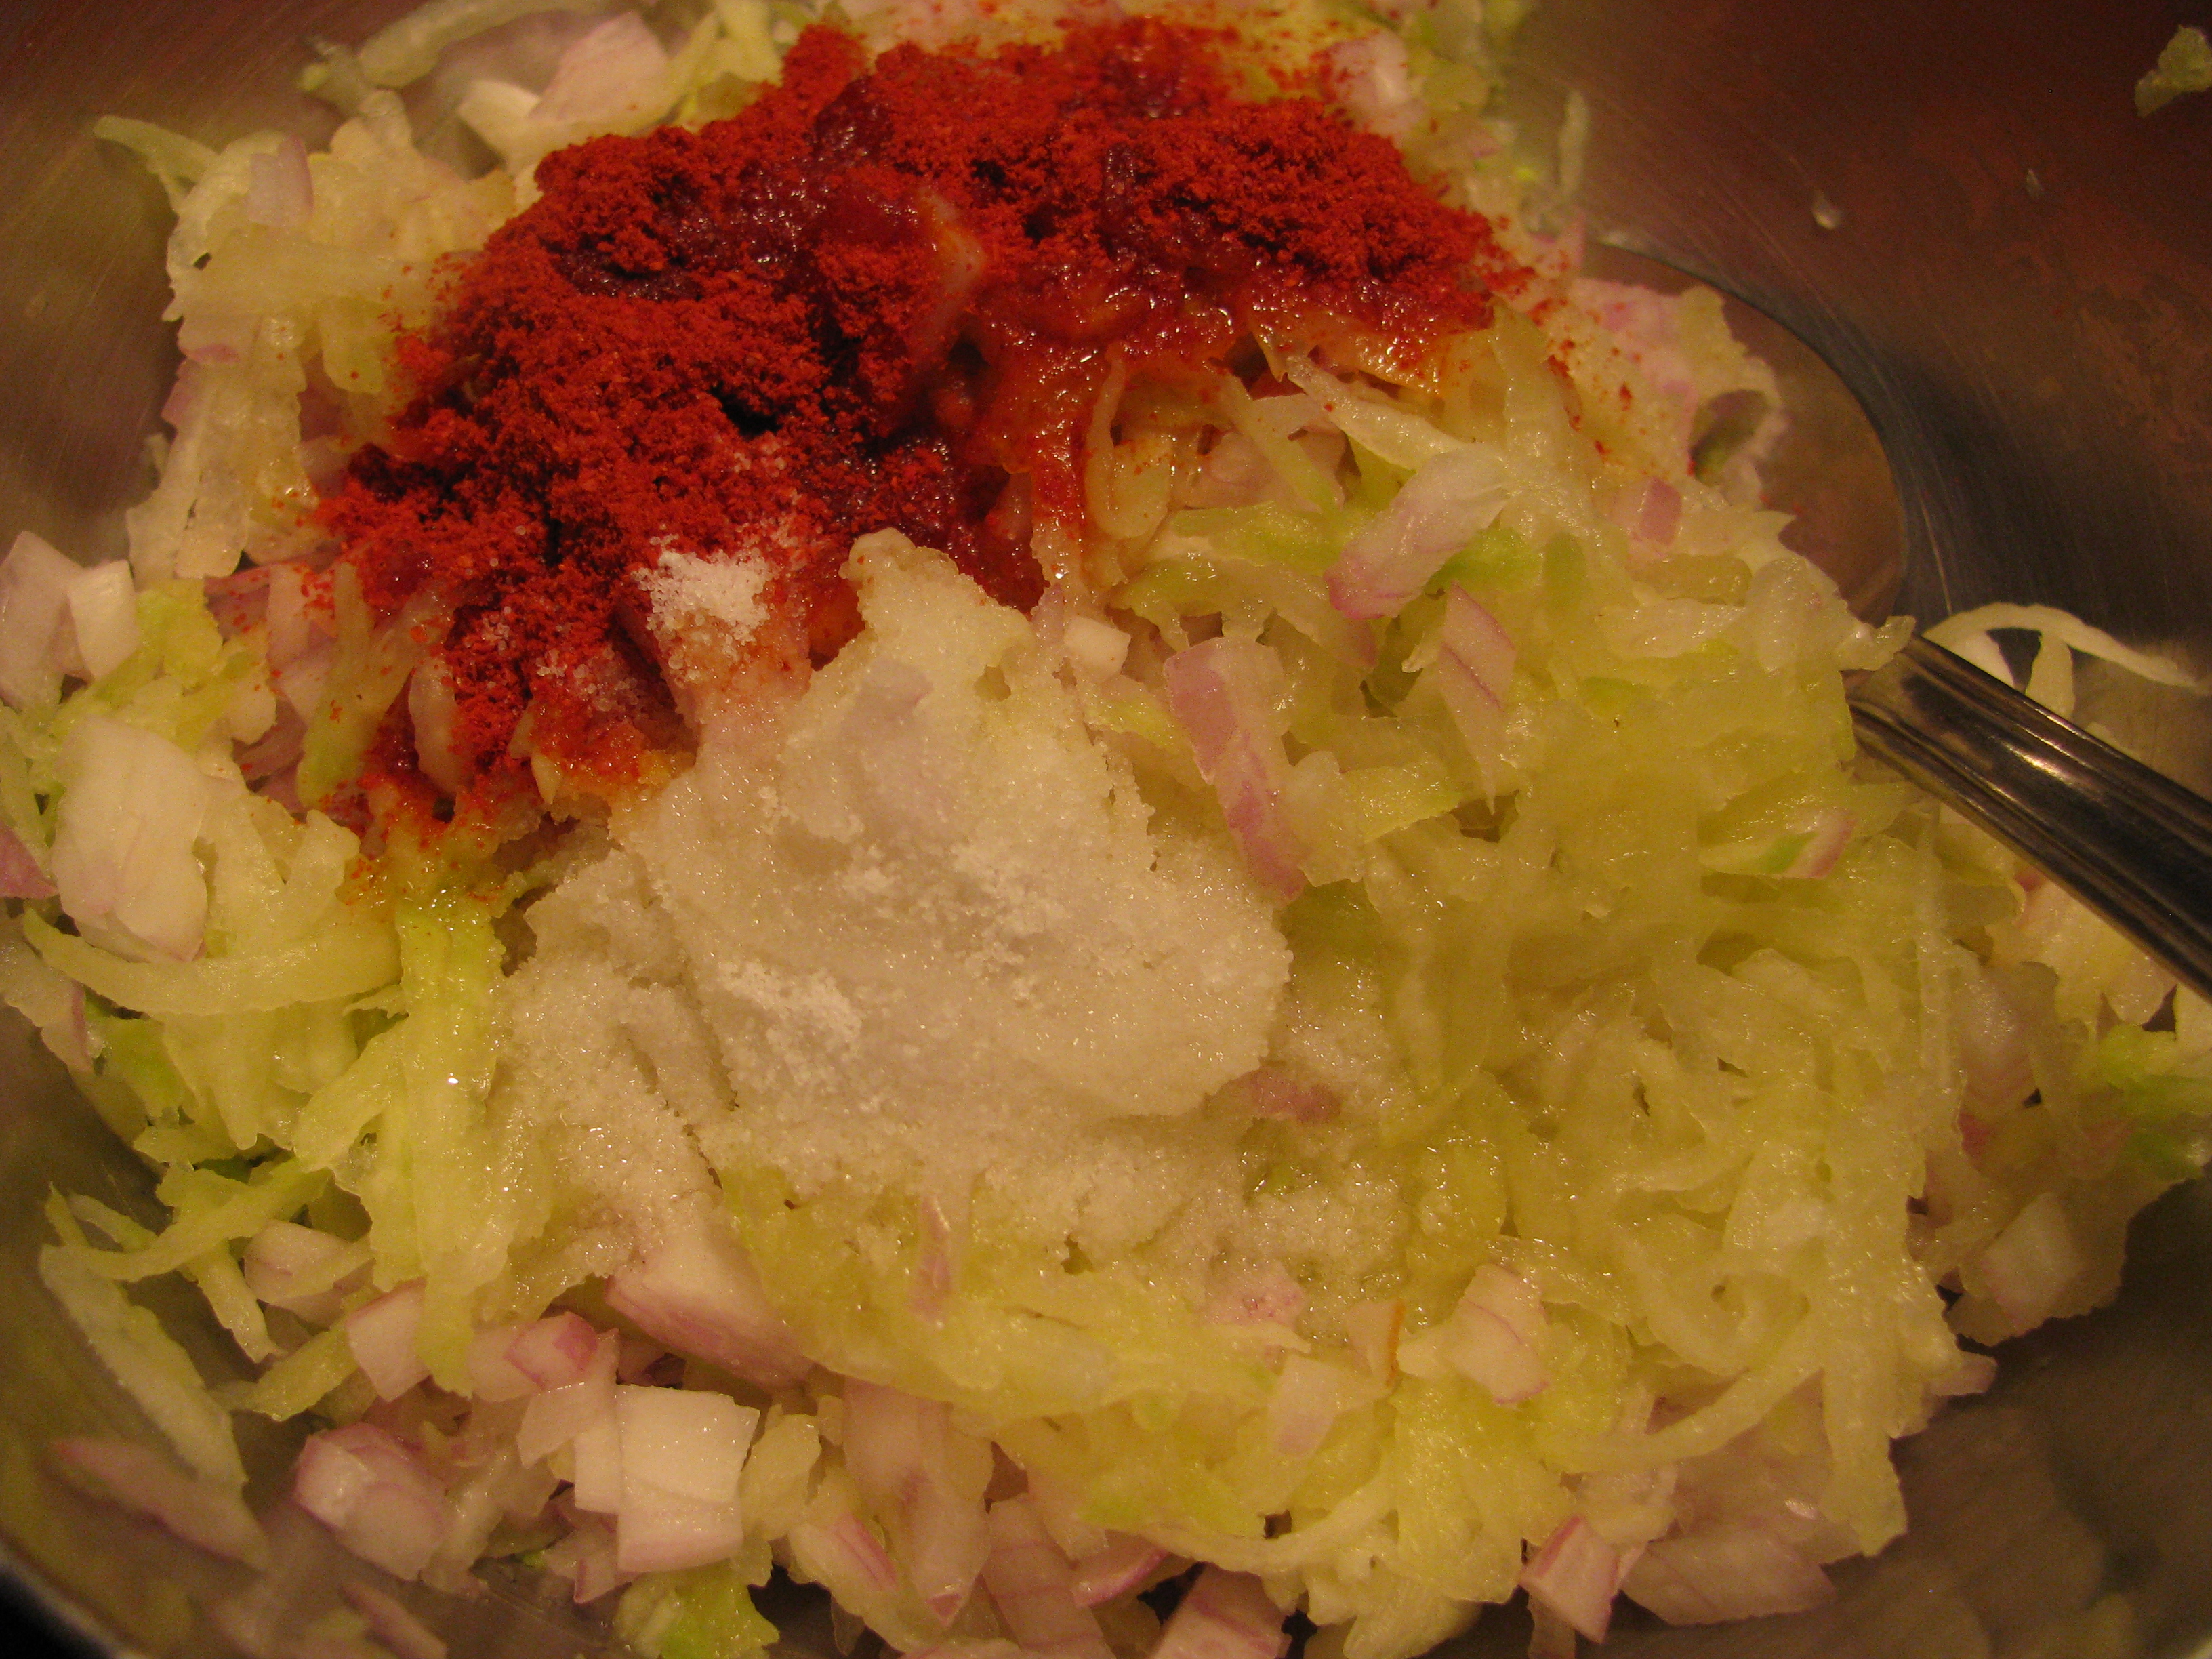
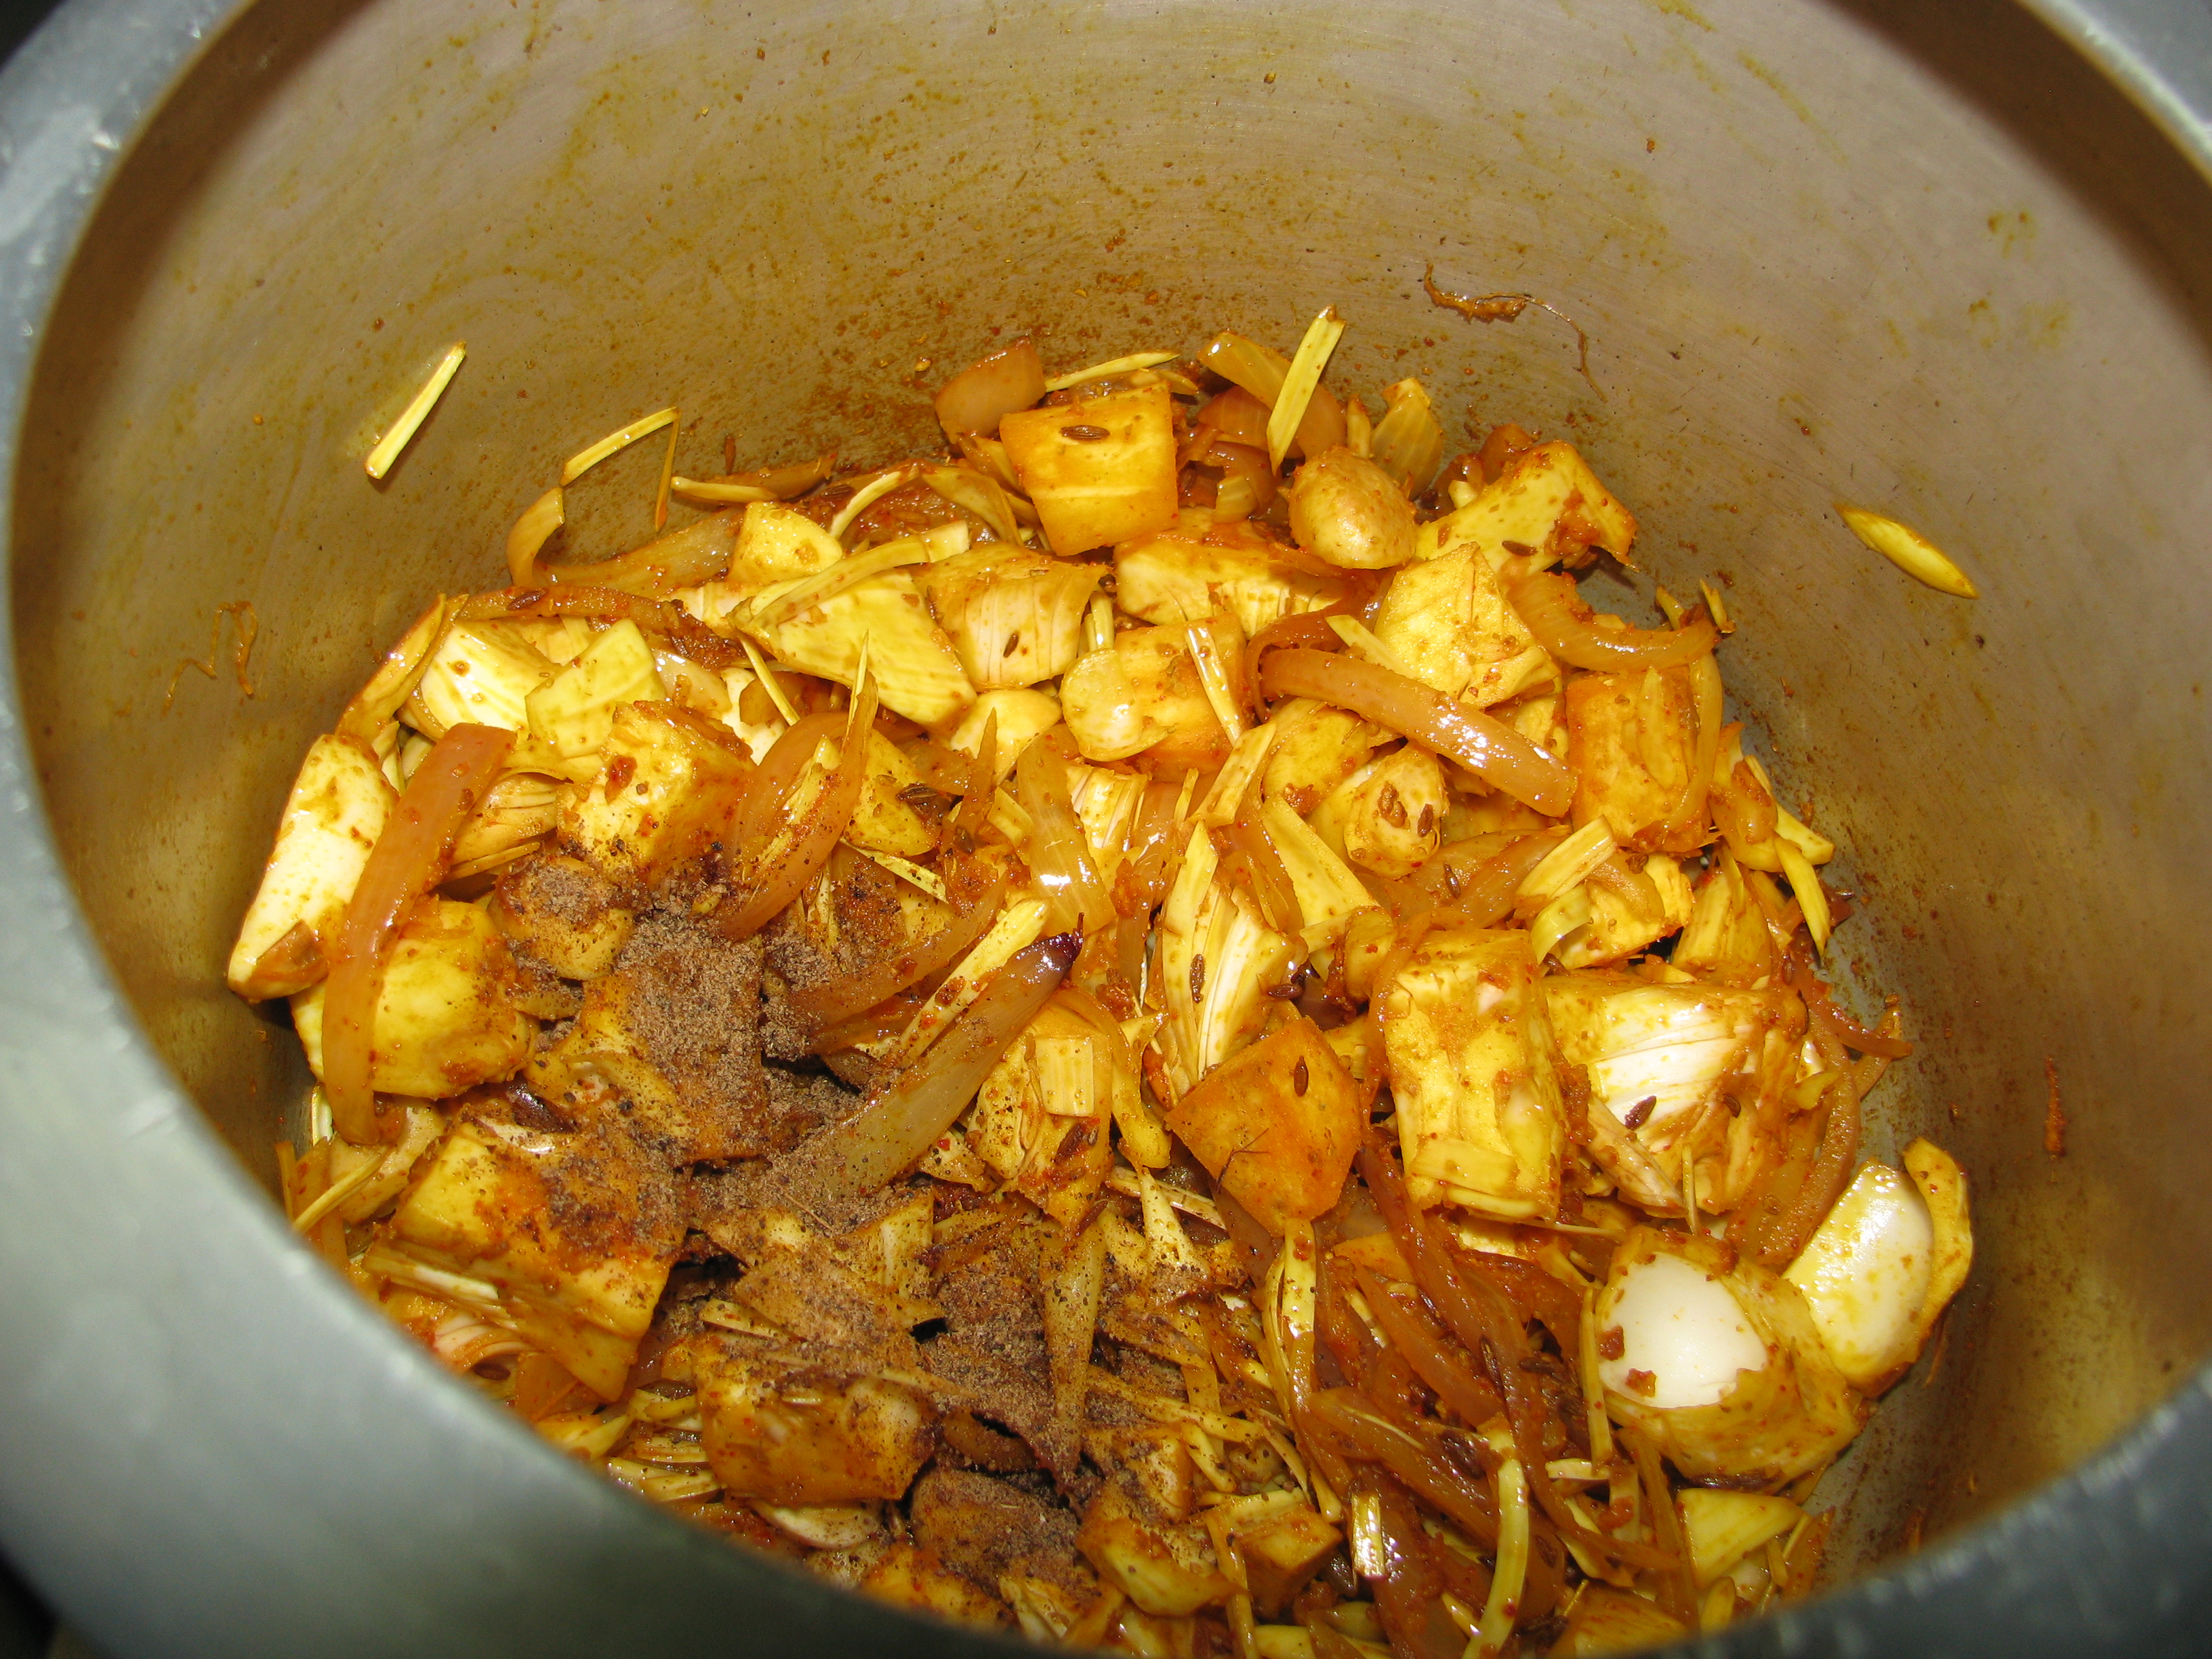
  6. Add red chili powder, coriander powder, turmeric powder and garam masala powder.IMG_1403
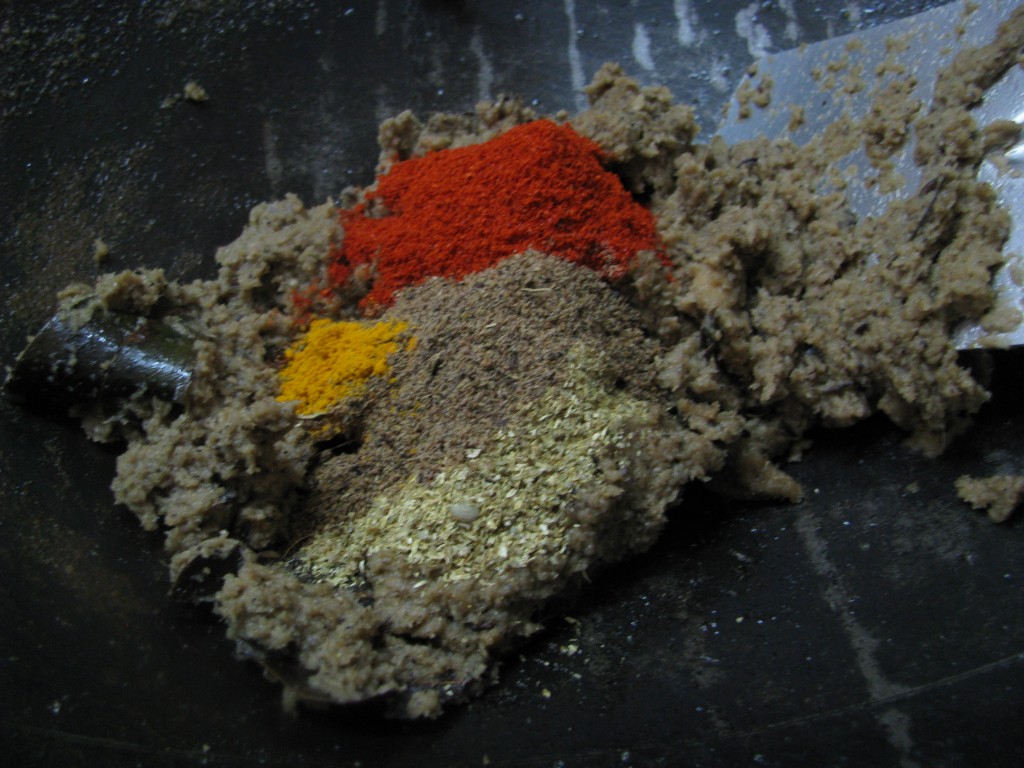
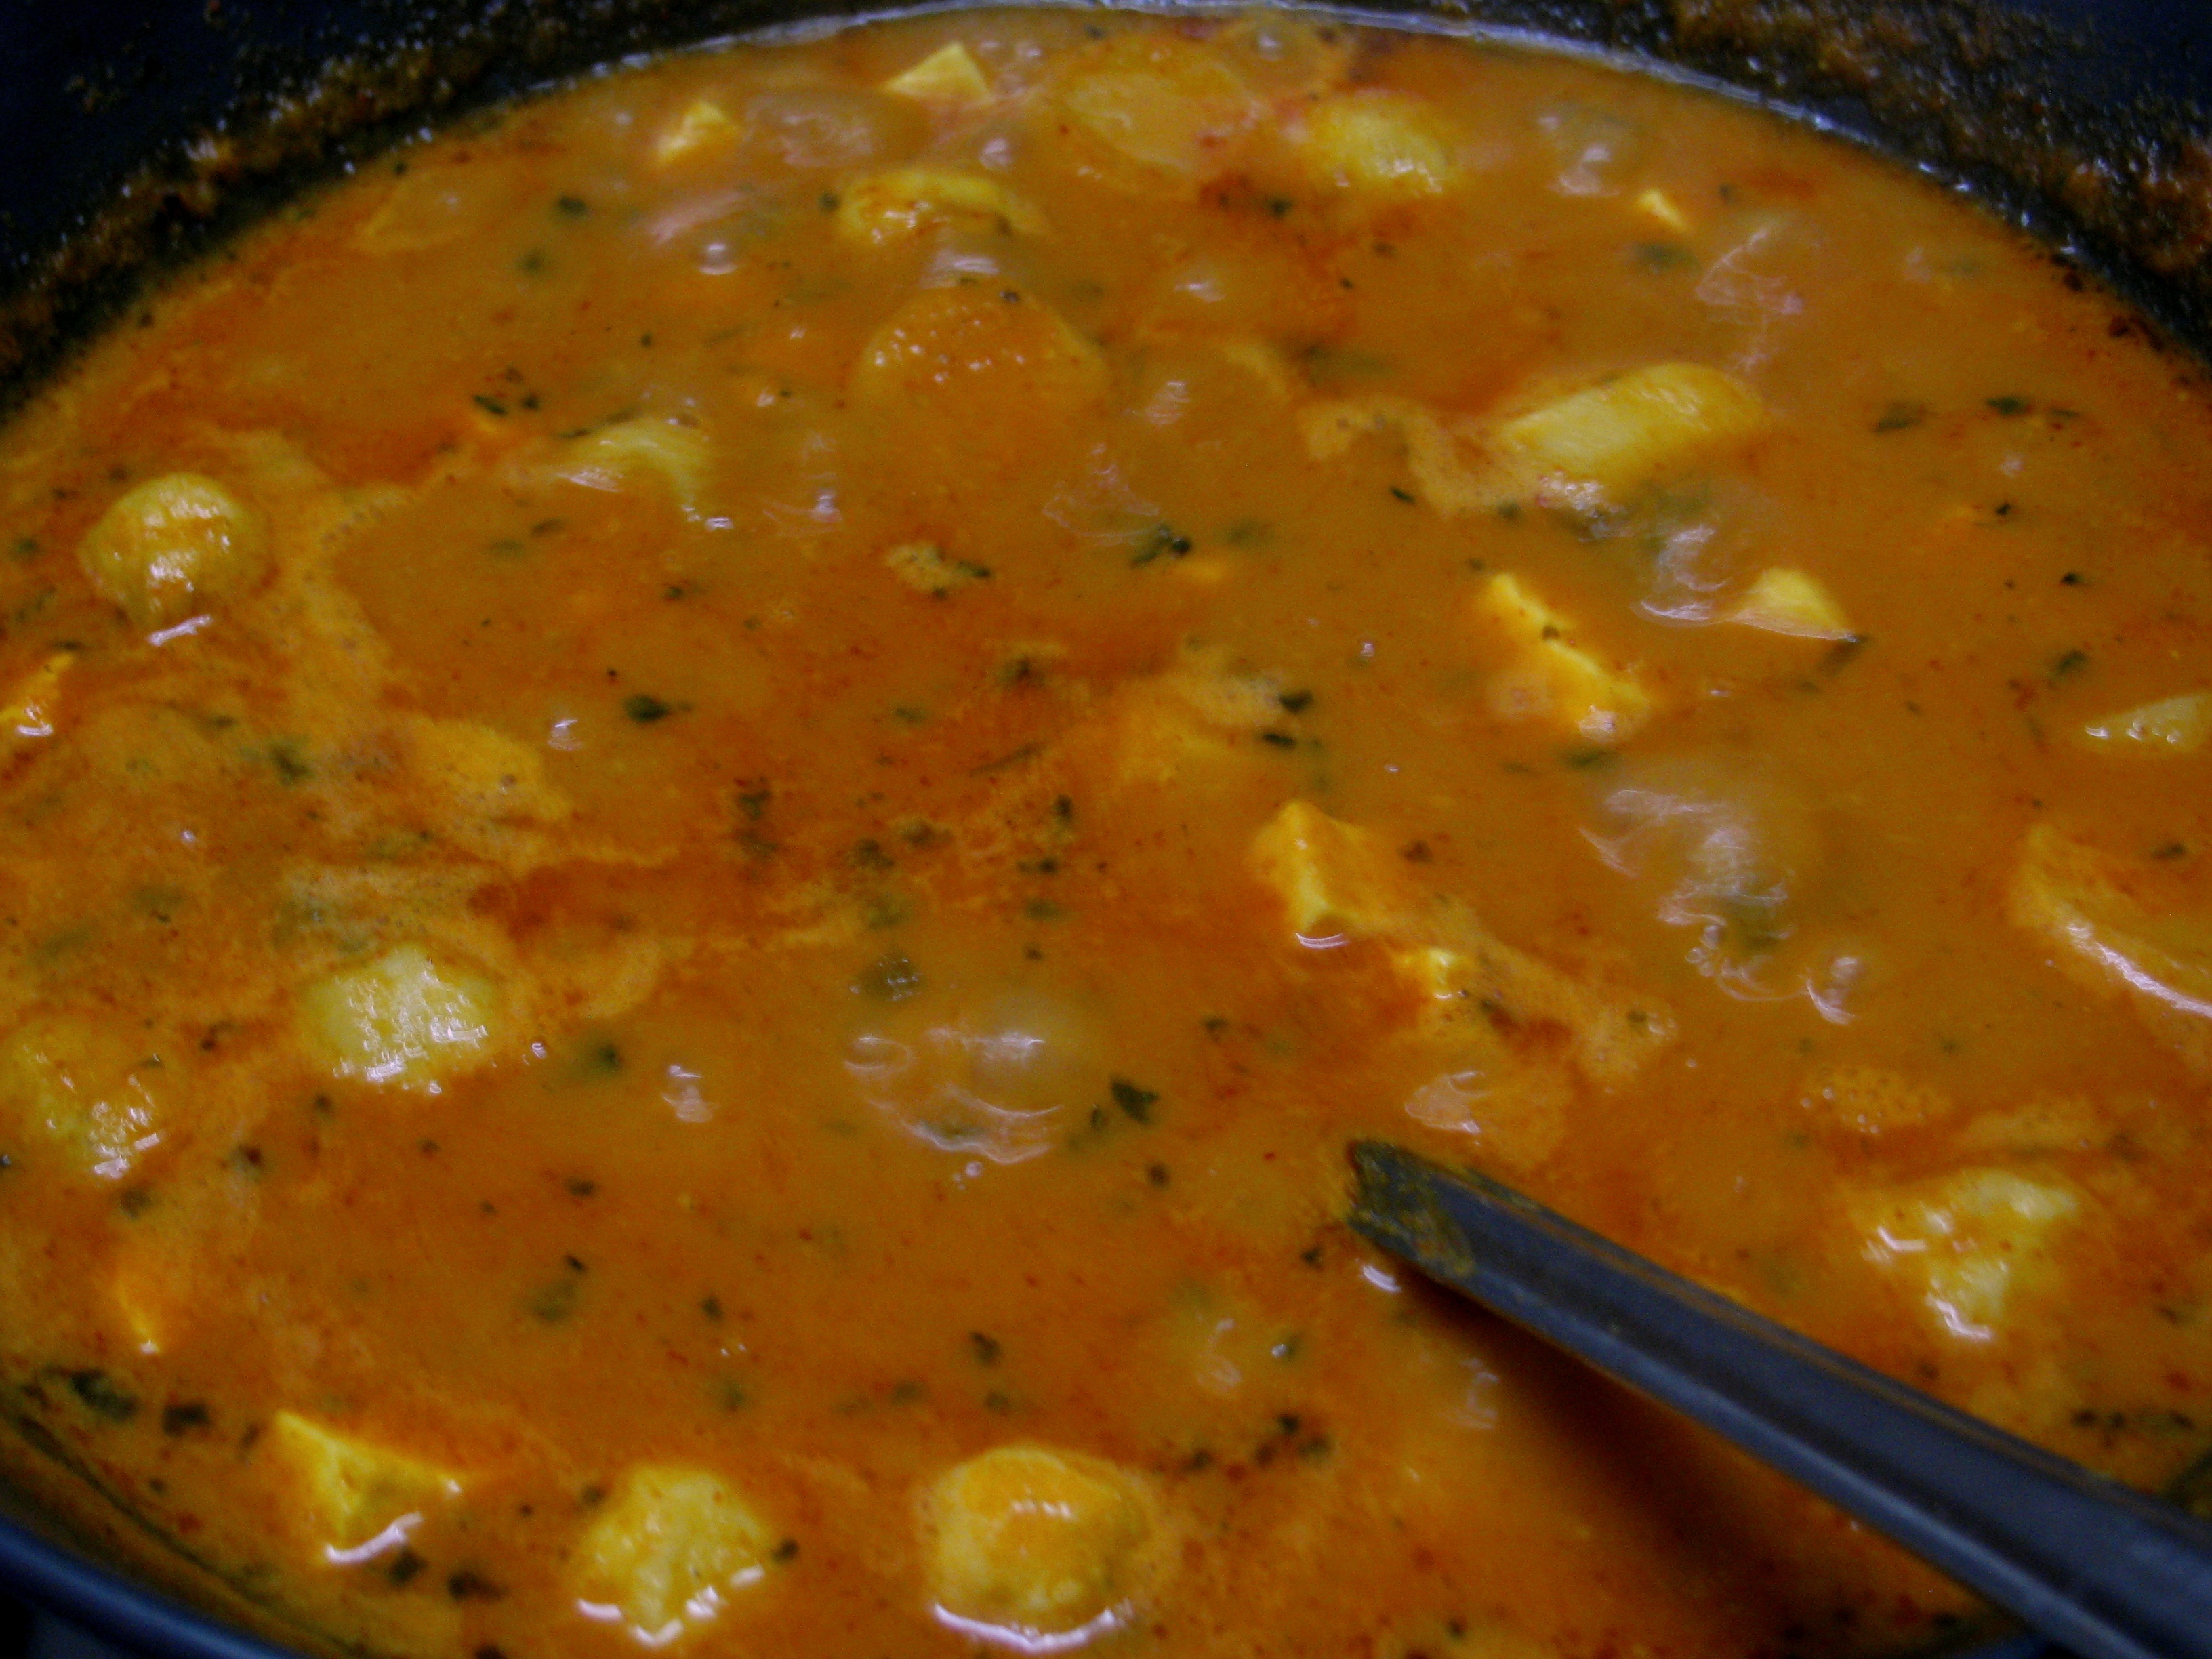
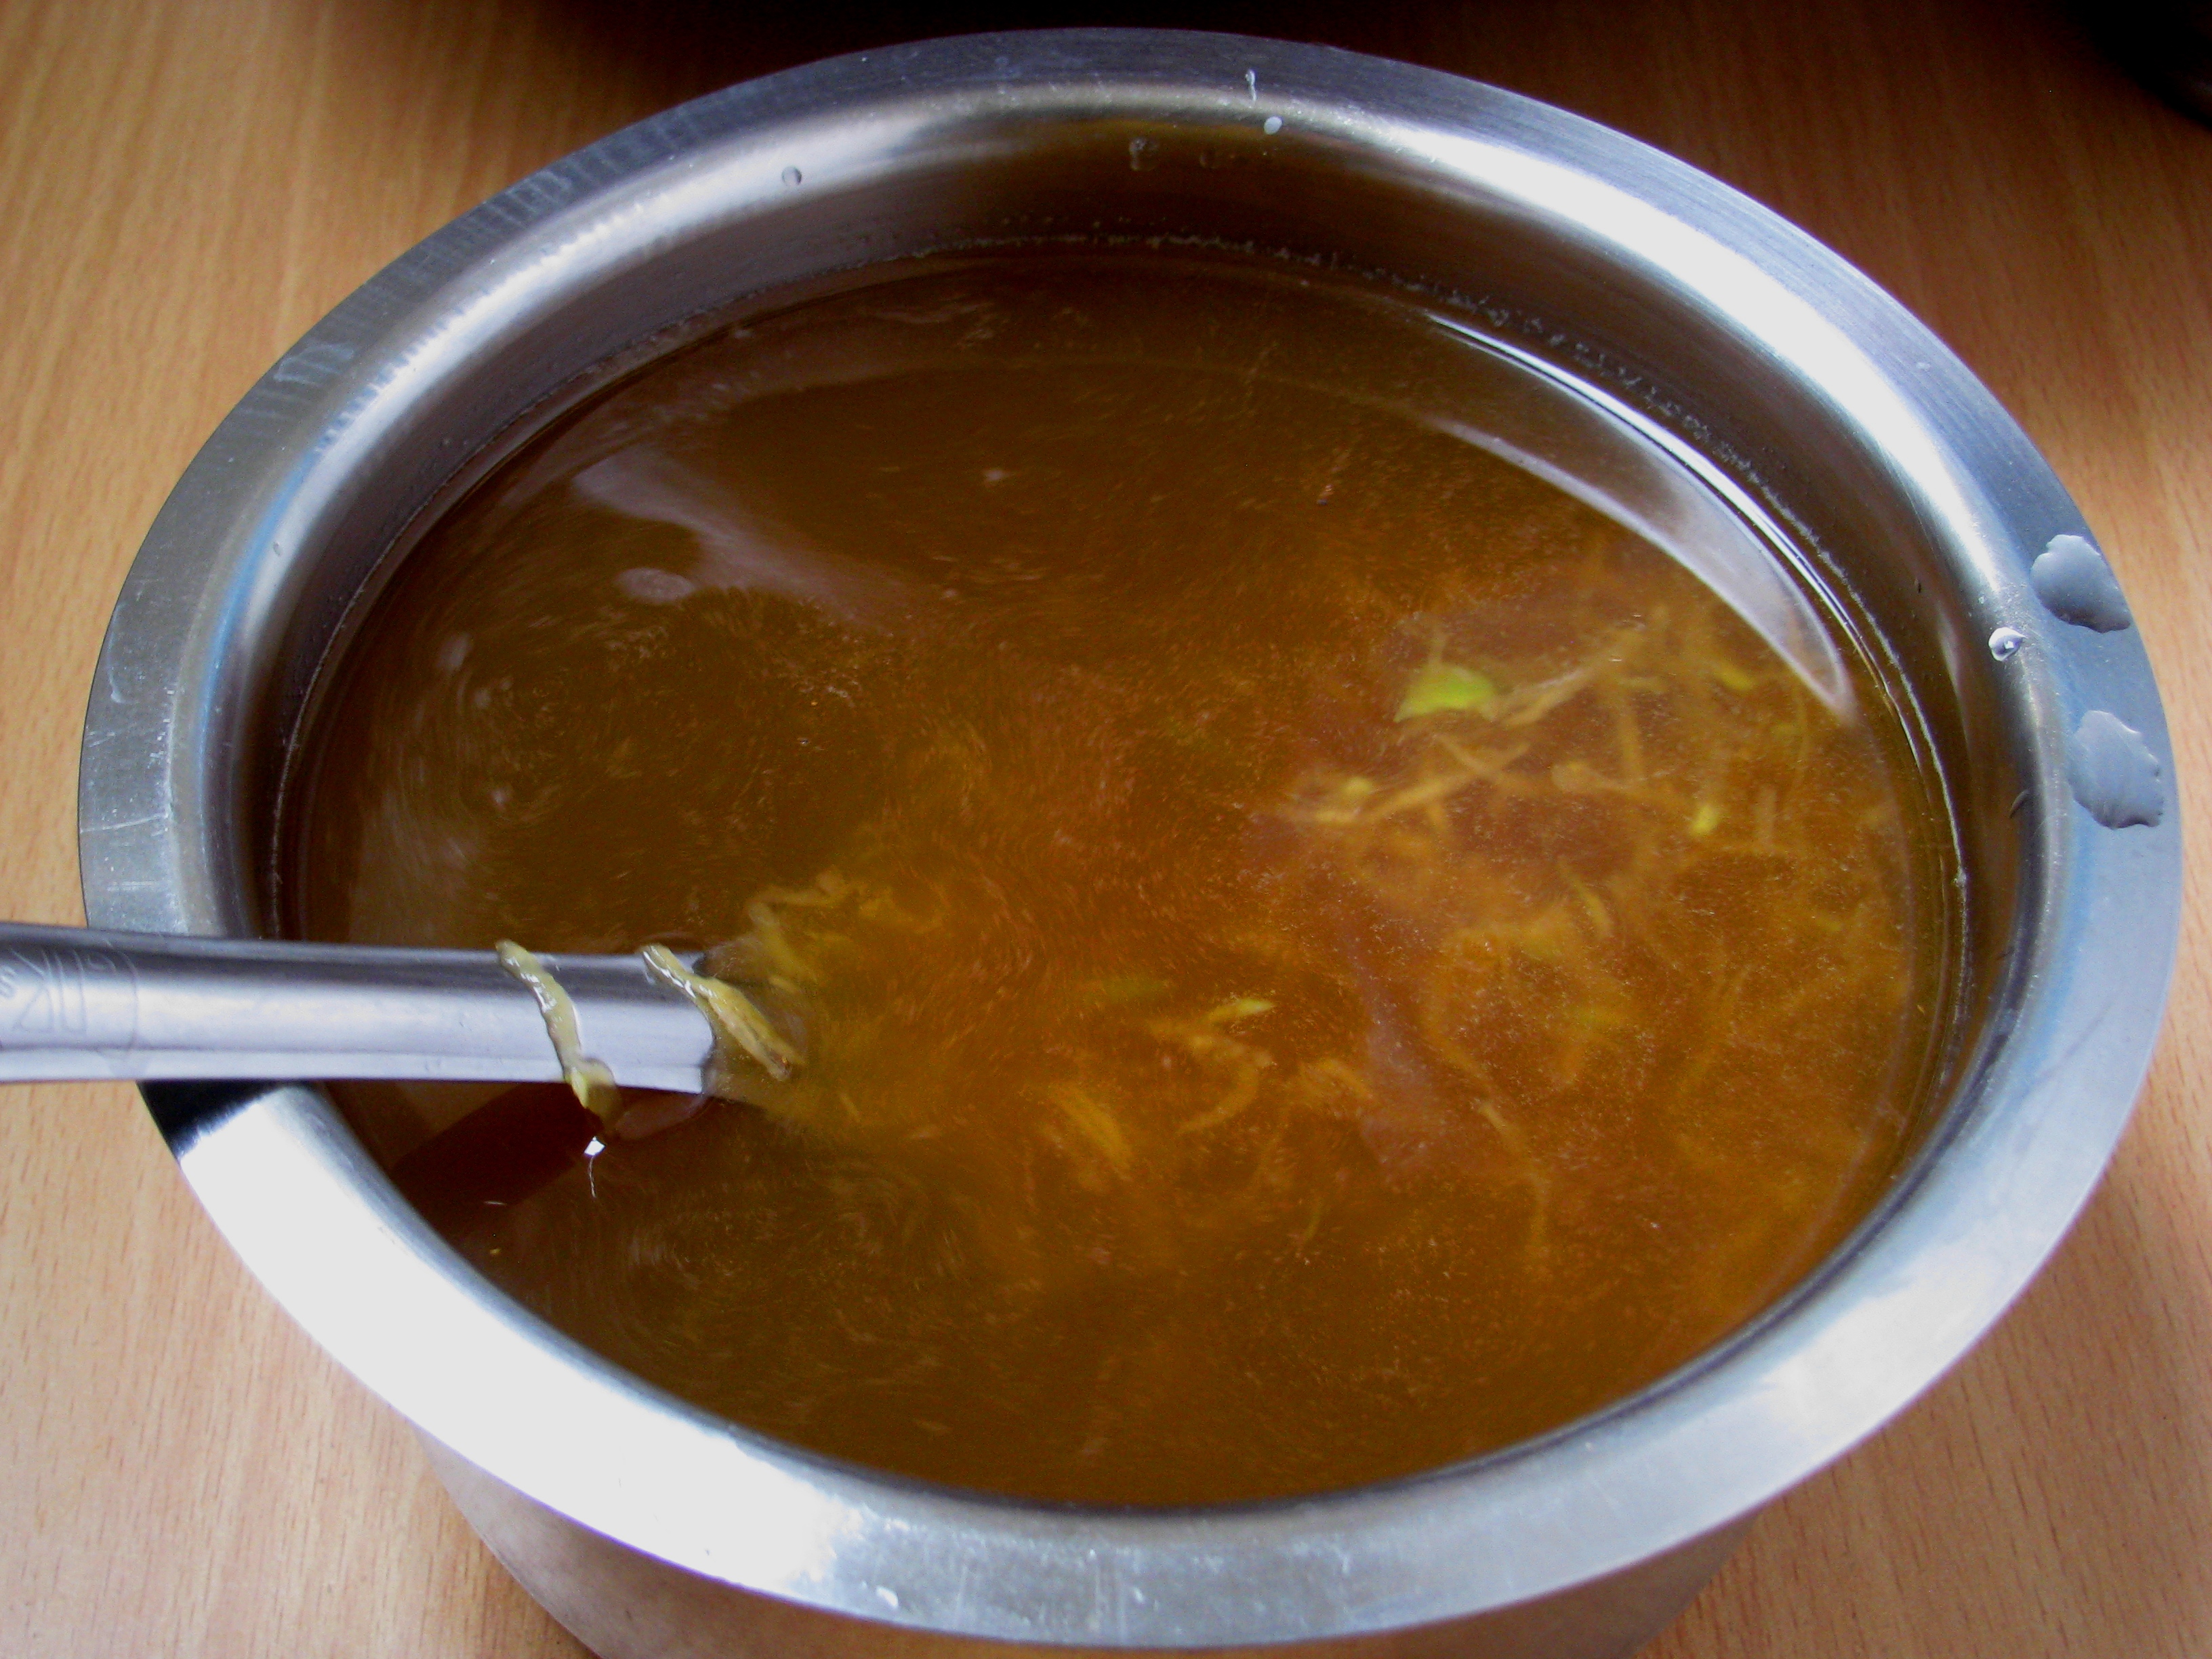
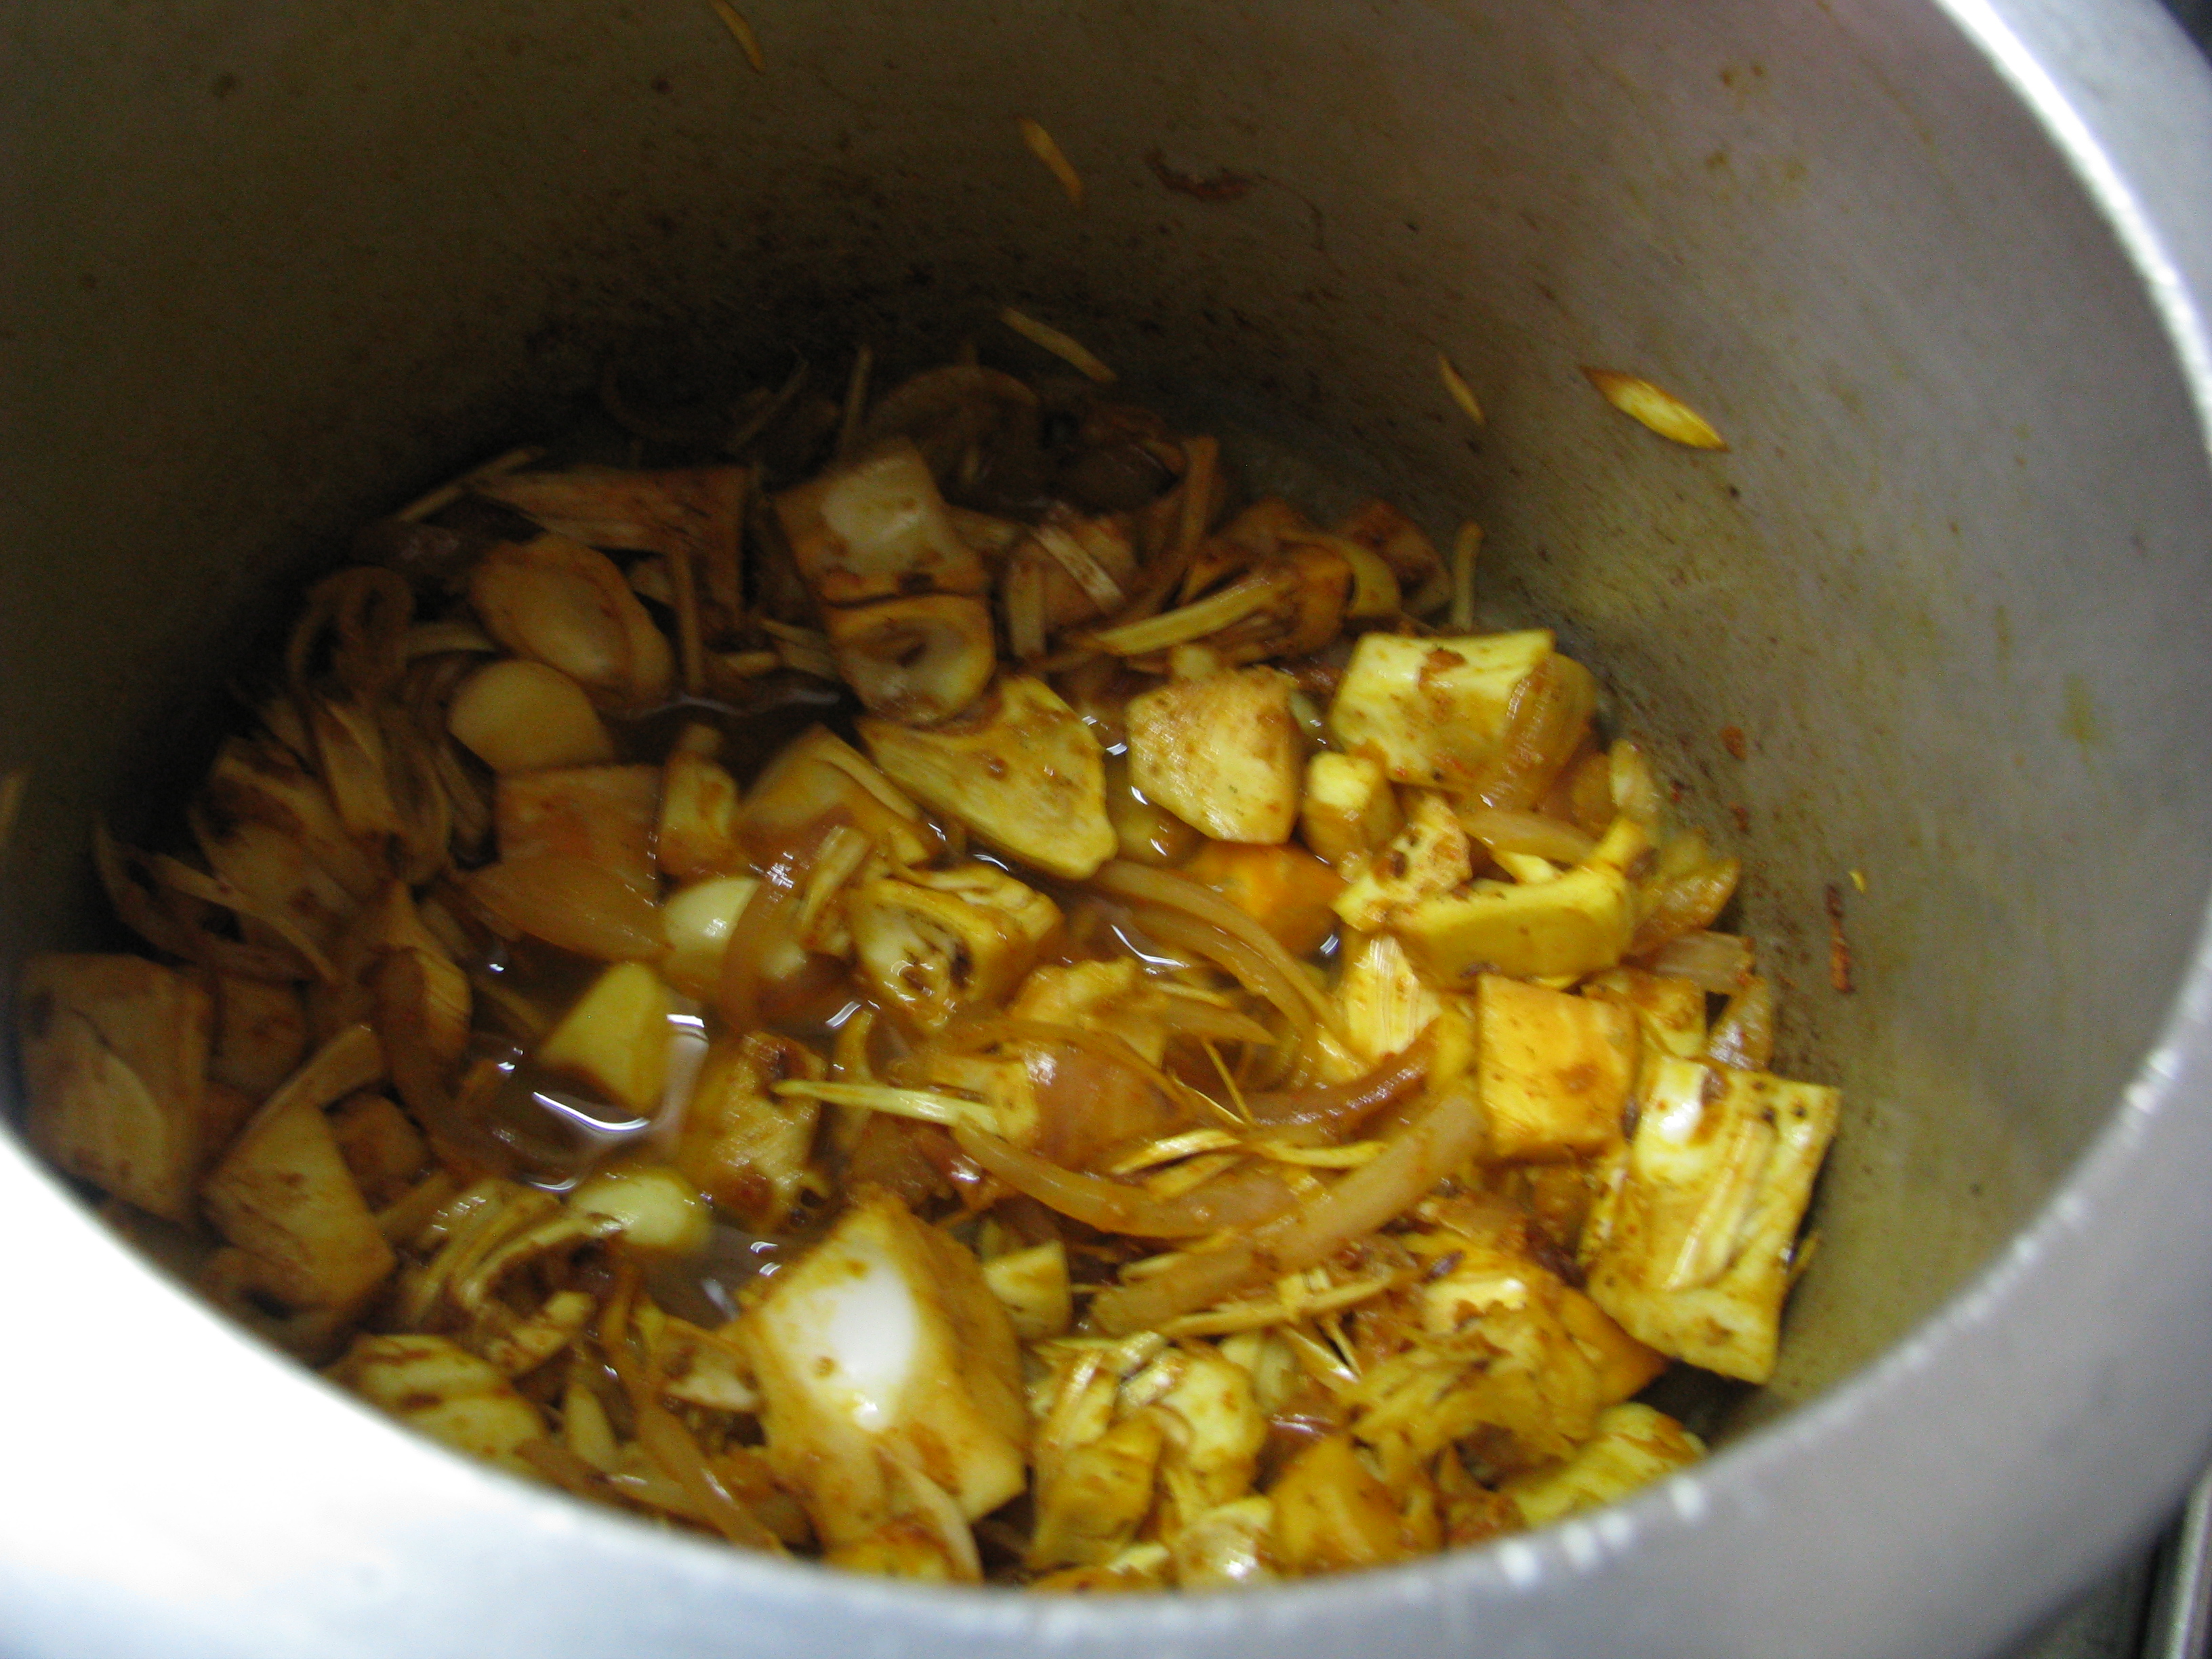
  7. Mix it properly and sauté it for 1-2 minutes. Add 3 cups of water and let it boil. IMG_1409
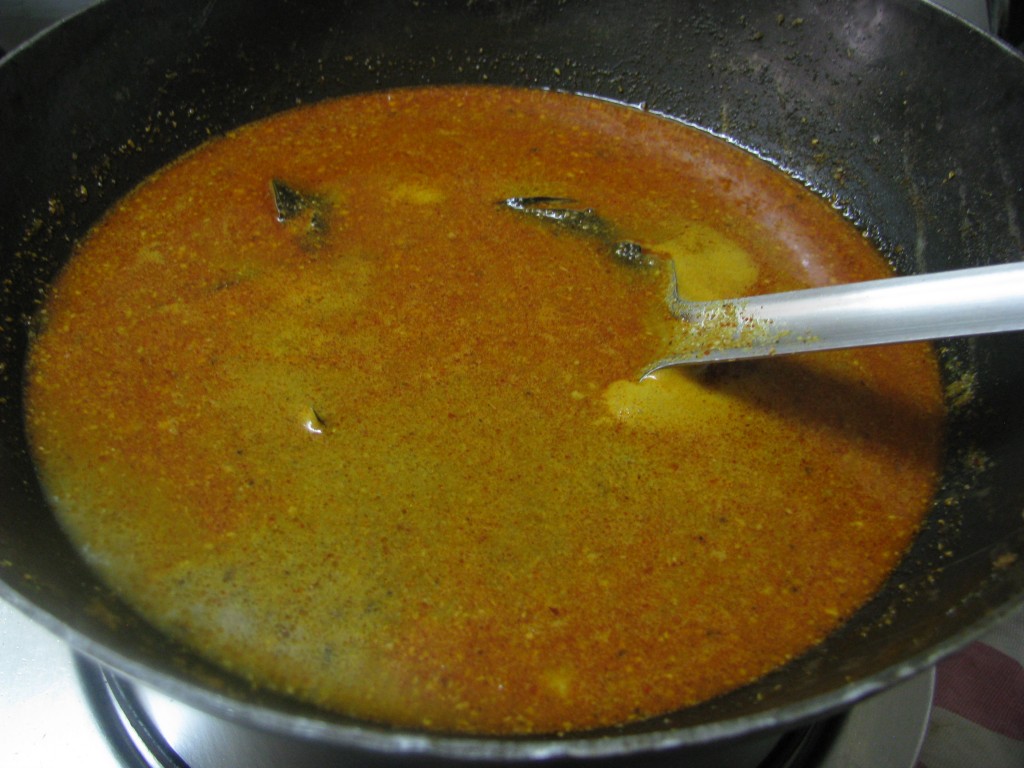
  8. When it starts boiling keep it on low flames for another 3-4 minutes.IMG_1411
  9. Add Patodi pieces in the gravy and let it cook for 2 minutes. Cover it and remove it from flames. IMG_1418
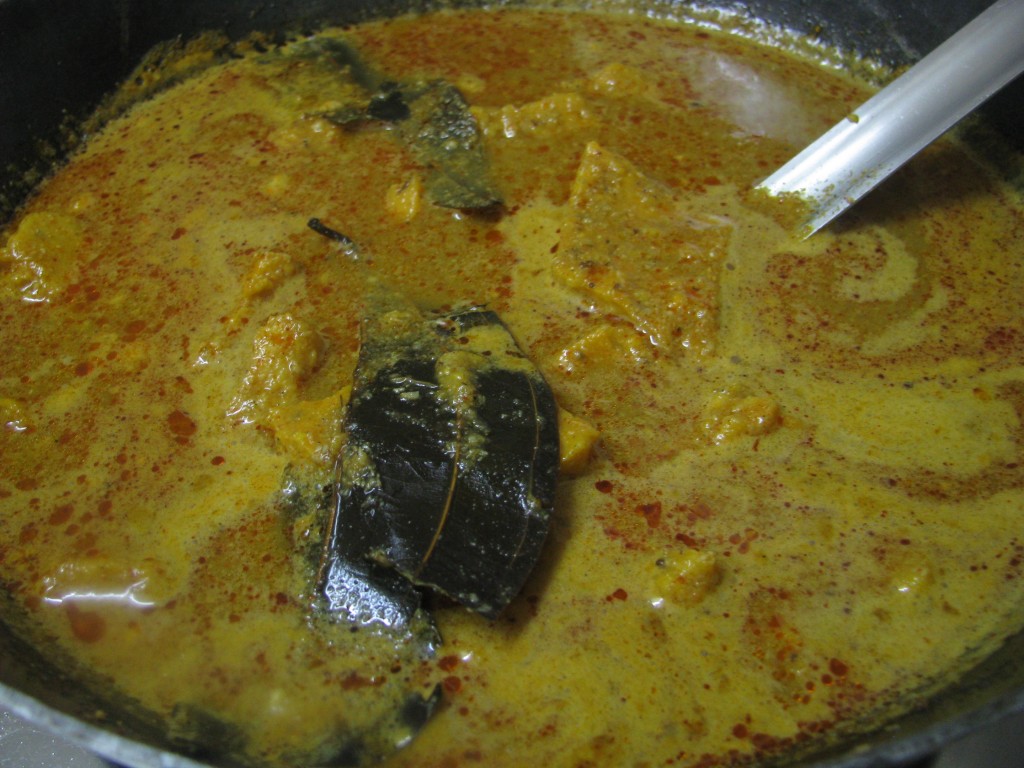
  10. After 10- 12 minutes patodis are nicely mixed with gravy/rasa. Garnish it with coriander.
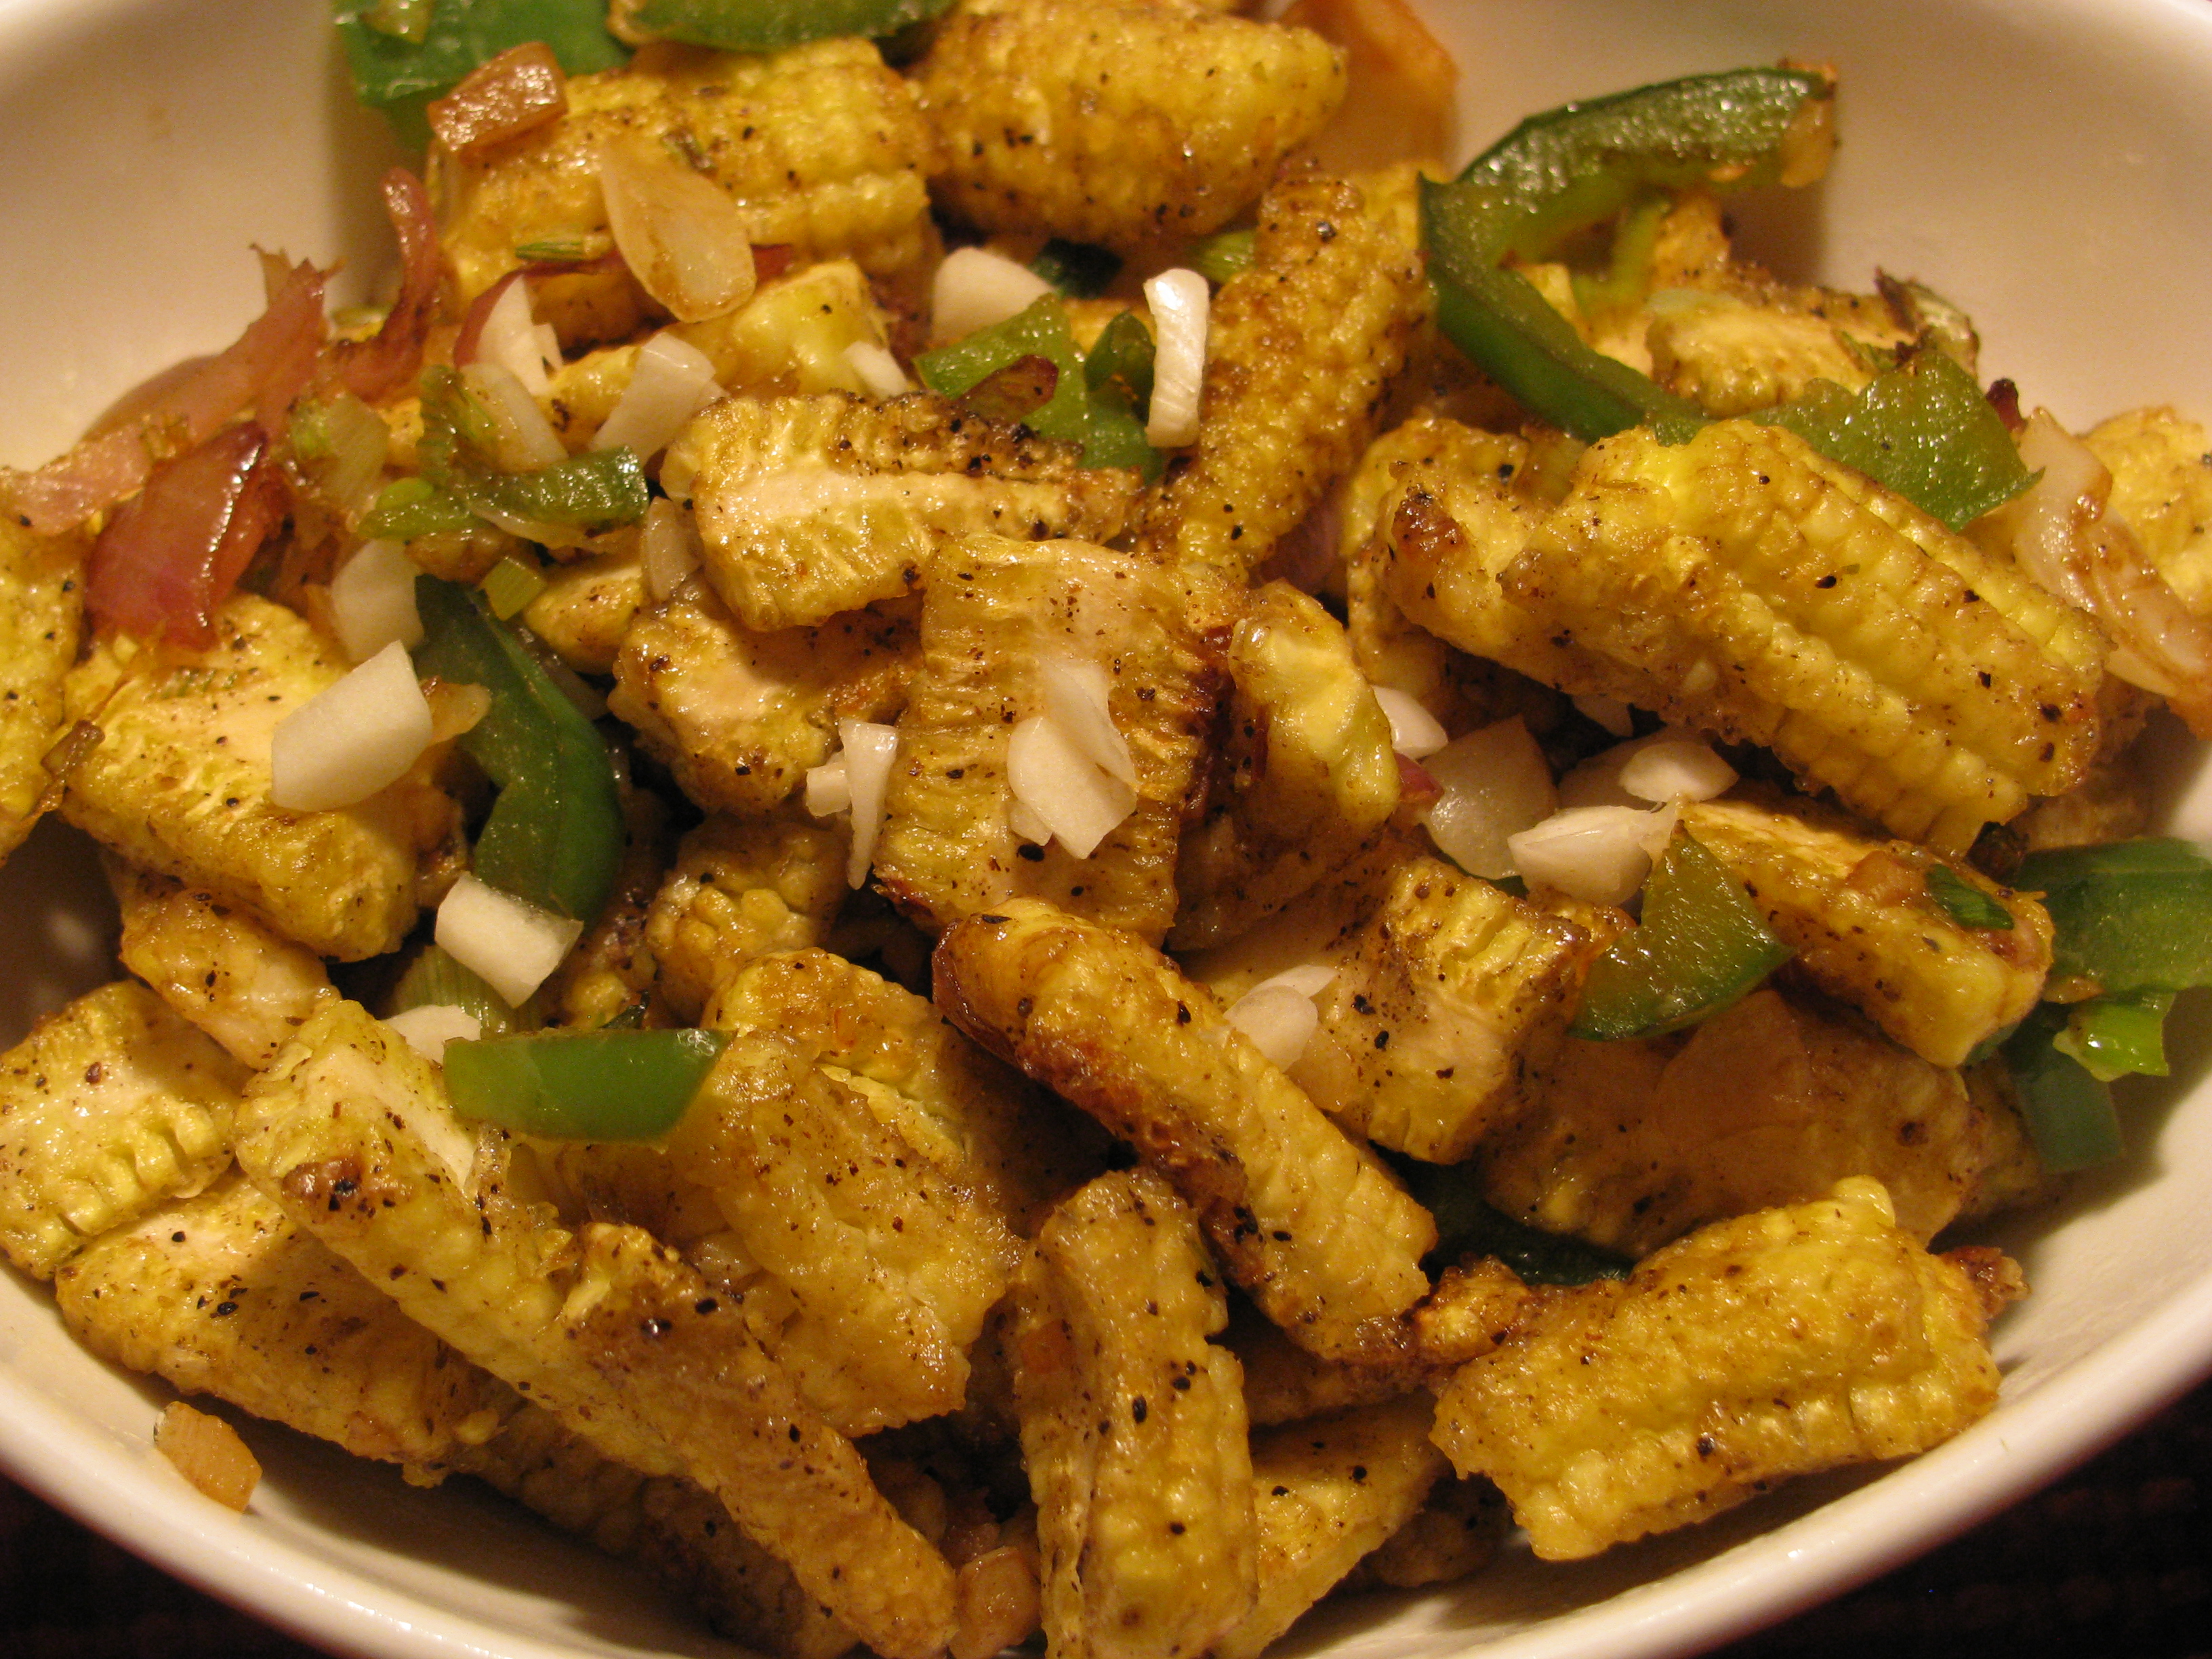
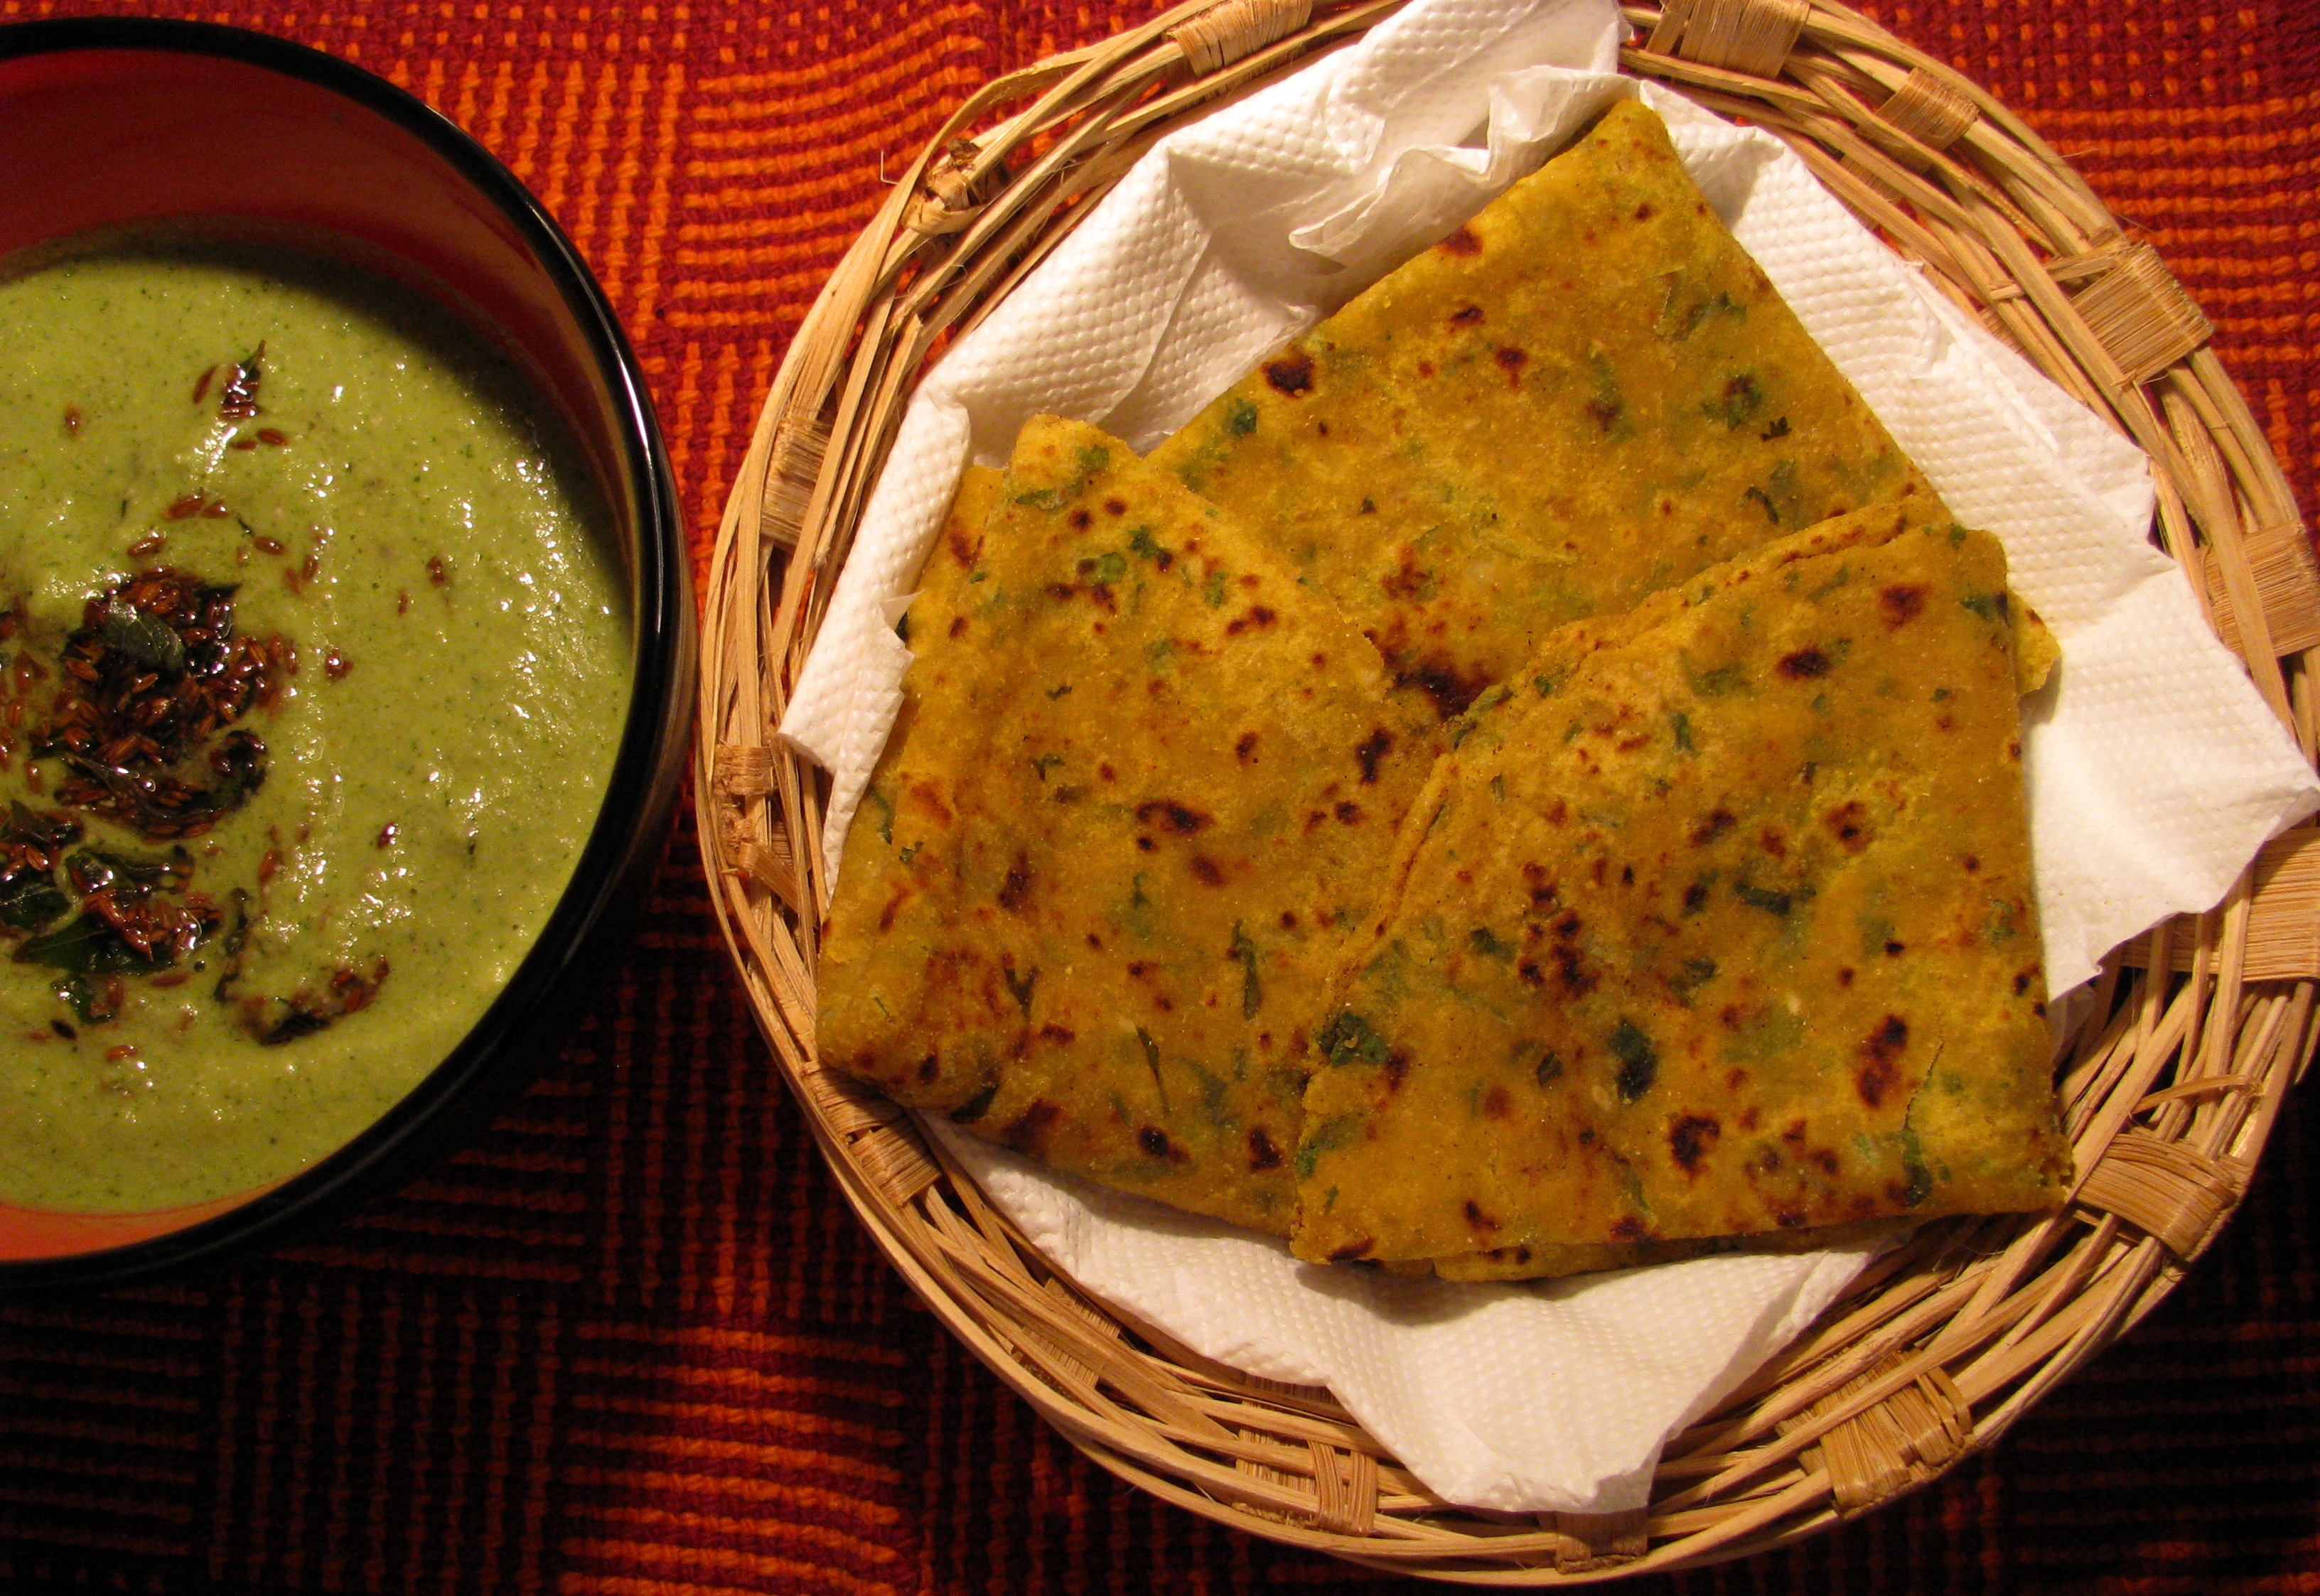
    Pataudi recipe ,patodi curry recipe, maharashtrian patodi recipe, patodi bhaji, patvadi recipe, patodi recipe in marathi, patodi recipe in hindi
    Patodi rassa bhaji
  11. Serve it hot with chapatis, bhakris or phulkis. Don’t forget to serve onion and lemon slices with this meal.
  12. [/directions]
    besan ki sabji
    patwadi rasa bhaji

    Try out this recipe at home someday. And do let me know about your experience. Did your family enjoy it?

Lemon chutney | Spicy red Lemon Chutney recipe

2
spicy red chutney
lemon chutney
spicy red chutney
lemon chutney

This spicy lemon chutney is my grandma’s recipe and I really don’t know who taught her this tasty chutney. It will spice up any bland meal. You can eat this spicy red lemon chutney with parathas, dosa, momos, cheela, ghavan, bhakri / rotla, plain chapatti, plain bread, dal chawal, kulcha, plain khichadi anything . My grandma loved spicy food. Her kitchen shelves always had spicy pickles and ready-to-eat dry chutneys. She made variety of chutneys like garlic chutney, curry leaves chutney, tamarind chutney, spicy tomato chutney, kokam chutney, dry green chilly chutney (thecha) and lots of variety of coconut, pudina (mint), peanut chutneys. I remember, one day she made mint (pudina) chutney with basil leaves (tulsi) and some ingredients and it turned out very well.

[box]Also check –Different types of chutneys [/box]

This chutney is very simple and easy to make. When I was 9 years old, I learnt it from her :-).  You can store it for 3 -4 days at room temperature and in refrigerator for 10-15 days. It can be eaten from second day of its preparation. On first day, it’s very spicy and the taste of red chili powder doesn’t get mixed with lemon juice.

fresh lemon
fresh lemon

Use fresh lemon juice to make this chutney. For 1/2 cup of lemon juice you will need 3- 4 medium size lemon. Just remove the seeds from the lemon and squeeze it to extract the juice .no need to strain lemon juice.

Use dark red chili powder to make this chutney. I prefer Kashmiri mirch powder as it gives very nice thickness as well as it’s little less spicy as compared to other chilli powder. You can use byadagi mirchi powder, kashmiri mirch powder or rasgulla mirch powder to make this lemon chutney. Red chilies which are less spicy can also be used.  If you don’t have this variety of chilies, deseed the dry red chilies and ground it well to use. This chutney should be eaten sparingly even if you get cravings for it!

The amount of oil which is used is little more. Basically it reduces the strong spicy flavor of red chilies, increases its shelf life and enhances the taste. I use groundnut oil or mustard oil. Both of this oil goes very well.

I have explained step by step instructions for the preparation. Do share  your queries or suggestions for this recipe.

[ingredients title=”Ingredients to make Lemon Chutney”]

  • ½ cup lemon juice
  • ⅓ cup red chili powder
  • ¼ cup mustard oil or groundnut oil
  • 1½ teaspoon salt
  • 1 teaspoon cumin seeds
  • 1 pinch Asafoetida

[/ingredients]

[directions title=”Step by Step Directions to make Lemon chutney at home”]

  1. Take ½ cup of freshly squeezed lemon juice .

    lemon juice
    lemon juice
  2. Add red chili powder.IMG_1470
  3. Add salt.IMG_1471
  4. Mix it.IMG_1472
  5. Heat oil.IMG_1473
  6. When it becomes hot add Asafoetida and cumin seeds and remove it from flames.IMG_1474
  7. Add the hot oil along with cumin seeds and Asafoetida  to the lemon chilly mixture.IMG_1475
  8. Mix it properly and keep it for 1 day.IMG_1476
  9. Mix it.IMG_1479
  10. On second day it will get pickled and ready to serve.

    pickled lemon chutney on second day
    pickled lemon chutney on second day
  11. Serve this spicy chutney with your meals

    spicy red chutney
    lemon chutney

[/directions]

Fried Brown Rice Recipe | How to make Fried Rice from Brown Rice and Vegetables

1
brown fried rice
fried brown rice with vegetables and paneer
brown fried rice
fried brown rice with vegetables and paneer

This is an easy and healthy recipe with brown rice. Now a days I am just trying out brown rice recipes which my family will love to have. Last week, I made curd rice from brown rice, a typical south Indian recipe which I made with vegetables and fruits. This week I made this fried brown rice recipe with vegetables and it turned out very well.

Rice has several layers. In brown rice, only the outer husk is removed. However in white rice bran and germ is also removed. Nutritionally, brown rice is better than white rice as it is high in fiber, vitamins and minerals. Brown rice takes longer time to cook. Earlier I had made this recipe the same way as the white rice recipe but it didn’t turned out well. It was very chewy and dry as brown rice has the hard coat of fiber on it. In case of white rice, you don’t overcook the rice and prefer the perfect rice grains. But when you make fried brown rice, it should be cooked very soft. Let it cool down and then use it. Leftover soft cooked brown rice also tastes very good. With lots of vegetables and little oil for frying, you can make it a perfect healthy recipe.

[box]Also check – Curd rice from brown rice [/box]

Make the brown rice recipe with different vegetables like colorful bell pepper (capsicum), cabbage, cauliflower florets, french beans, carrot, green onion, green garlic, mushrooms, boiled sweet corns etc. You can also add pineapple to give it a little tang. Add all the vegetables of your choice or whatever available at home. You can also add tofu (soybean paneer) or milk paneer to make it a complete meal. If you eat egg, add scrambled or boiled egg pieces. Tofu /paneer / egg will make it rich in proteins. I have used chinese ingredients to give it a nice flavor. To make shehzwan fried drice from brown rice add shehzwan sauce.

Do you like this recipe? Are you going to try it out at home? If you do, share your suggestion and queries. I am eager to know if your family liked it!

how to make fried rice
fried brown rice

I have cooked some vegetable like beans, carrot, cabbage  in microwave oven for 1-2 minutes. If the vegetables are half cooked, they give a crunchy taste and it will not change the color of the vegetables. If you want to use less amount of oil (and make it even healthier!), cook it in microwave over.

Tips to follow

  • Soak brown rice for ½ an hour before cooking it.
  • If you are cooking brown rice in a utensil, add 6 cup of water for 1 cup of rice and boil it for 25 minutes to ½ an hour or until the rice  becomes soft. Then drain it using colander and let it cool down for at least ½ an hour.
  • If you want to cook brown rice in pressure cooker, it will get cooked within 10 -15 minutes on low flames. In pressure cooker, for 1 cup of brown rice, add 2¼ cup of water, keep the flames high. When it starts boiling, cover it with pressure cooker lid and cook it on low flames for 10 minutes.
  • Before cooking fried brown rice, make sure that it is completely cooled as it clumps less when it is fried.
  • Leftover soft cooked brown rice can also be used.

I have explained step by step method to cook fried brown rice. In this recipe, I have cooked brown rice in pressure cooker. But you can even cook brown rice in a utensil or use leftover cooked brown rice to make this recipe.

[ingredients title=”Ingredients to cook Fried Brown Rice”]

  • 1 cup brown rice
  • 2¼ cup water
  • 1 teaspoon butter or oil
  • ¼ cup onion chopped
  • 3-4 spring onions finely chopped
  • 1 strand of green garlic finely chopped (optional)
  • 1 cup bell pepper (capscicum)-green, yellow or red
  • ½ cup julienned cabbage
  • ½ cup French beans finely chopped
  • ½ cup panner or tofu pieces
  • 5-6 garlic cloves finely chopped
  • 2 teaspoon chili sauce
  • 1 teaspoon soya sauce
  • 1 /4 teaspoon black pepper for taste (optional)
  • Salt to taste
  • 1 tablespoon oil (preferably sesame seed oil / olive oil)

(You can add vegetables of your choice or whatever available at home for eg. Broccoli florets, spinach, mushroom, peas, zucchini, carrots etc.)

[/ingredients]

[directions title=”Step by Step Directions to make fried brown rice “]

  1. Wash the brown rice with clean water and soak it in 2¼ cup of water for ½ an hour.IMG_1276
  2. Add some water to the cleaned rice and put it in pressure cooker on high flames, add 1 teaspoon oil and 1 teaspoon salt to it.IMG_1430
  3. When it starts boiling, close the lid of pressure cooker and cook it for 7-8 minutes on low flames.IMG_1431
  4. Remove it from heat let the steam release.IMG_1432
  5. Let the rice cool completely in a big plate.IMG_1434
  6. While the rice cools down, chop all the vegetables. Cook beans, cabbage for 2 minutes in microwave. It will make them half-cooked. This step is totally optional but follow it if you want your vegetables crunchy.
  7. Heat the oil in a pan, add ½ of finely chopped garlic and sauté it for few seconds don’t make it brown.IMG_1436
  8. Add spring onion, sauté it for few seconds and then add onion, bell pepper and stir fry on for few seconds.IMG_1291
  9. Add the microwave-cooked vegetables, paneer or tofu and sauté it for a few seconds.IMG_1292
  10. Add chili sauce, soya sauce to it .IMG_1293
  11. Mix it.IMG_1295
  12. Add cooked brown rice. IMG_1438
  13. Mix it and stir fry for 4-5 minutes .IMG_1439
  14. Add chopped garlic and black pepper powder. This step is also optional if you don’t like raw garlic.IMG_1440
  15. Serve fried brown rice hot.

    fried brown rice with vegetables and paneer
    fried brown rice with vegetables and paneer

[/directions]

Do you like it? Give it a try. I am sure your family will love it! And if you are not sure if it will work, share your queries below in comments.


Small potato paneer curry recipe | Aloo paneer curry recipe

1
Aloo paneer curry
Small Potato Paneer Curry
Aloo paneer curry
Small Potato Paneer Curry

I prefer small potatoes (chote aloo) as compared to big ones when I make potato curry. Small potatoes /chote aloo with nice round shape look really good in any gravy. You do not need to think about how to chop them. I add small potoes in variety of gravies like coconut gravy or poppy seed (khus-khus) gravy or onion tomato gravy.  Yesterday I made paneer at home as I had a lot of leftover milk in my refrigerator. I planned to make this small potato paneer curry. I made the gravy with cream (malai), butter and tomatoes in a typical north Indian style . The gravy was very smooth and tasty and it made my small potato recipe very yummy. Paneer curry as such tastes best when it is made with tomatoes and butter.

[box]Also check – Healthy Matar Paneer recipe [/box]

This paneer potato curry is very easy and simple and won’t take much time if all the ingredients are handy. In this recipe I have added small potatoes and paneer without frying. I have cooked small potatoes in microwave oven, if you don’t want to use microwave oven you can cook small potatoes in non stick pan with 1-2 teaspoon oil. In microwave potatoes get cooked fast and there is no need to stir it. In non stick pan you have to stir it on regular intervals but yes it gets cooked nicely. Don’t fry these potatoes as it will add calories to this recipe. If you want you can also bake these potatoes or cook it in pressure cooker and then add it in gravy.

You can eat this paneer potato curry with rice, with chapattis, roti or paratha. This time I served this curry with brown rice. Plain brown rice as such has no taste, but with curry and salads, it tastes much better. Brown rice is more fibrous as compared to white rice so it is better to use it with high calorie gravy as it makes is easier to digest.

There are two ways to cook small potatoes as I decribed earlier – one is to peel it, poke it with fork and then cook it or you can use it without peeling out its skin. Many times I get small potatoes of different sizes. I cut the big potatoes  into 2 slices. If you don’t find small potatoes use normal potatoes to make this recipe. I have added homemade cream (malai) in this curry. Avoid malai if you want to make it low calorie or use fat free cream (available with confectioners or  supermarket). Cream gives nice texture to this curry.

[ingredients title=”Ingredients to make Potato Paneer Curry (Aloo paneer curry)”]

  • 250-350 gm small potatoes (chota aloo)
  • 250 gm paneer
  • 2 tomatoes (Avoid sour tomatoes)
  • 2 medium size onions (kanda / pyaj)
  • 9-10 garlic cloves (lehsun)
  • 1 teaspoon grated ginger (adrak)
  • 1 teaspoon kasuri methi (dry fenugreek leaves)
  • 1/3 cup fresh cream
  • 2-3 teaspoon red chili powder
  • 2 teaspoon coriander powder (dhaniya powder)
  • 1 teaspoon garam masala (optional)
  • Salt to taste
  • 1 tablespoon butter

[/ingredients]

[directions title=”Step By Step Directions to make Aloo Paneer curry with Small potatoes”]

You have two options to cook baby potatoes

  1. Prick the potatoes with fork, pressure cook the potatoes till they are soft and then peel the skin. This will give the boiled taste to the potato.
  2. The other method to cook potato which I have used as I wanted the fried taste of baby potatoes without frying it. Microwave the baby potatoes with 1 teaspoon oil and little salt, it will give you the same fried potato taste without frying.This procedure is little time consuming but when it comes to taste why rush 🙂small potato peeled
  3. Put it in microwave safe bowl add 1 teaspoon oil and ½ teaspoon salt and then toss it with spoon and microwave it for 6-7 minutes.
    Potato with oil and salt
    Potato with oil and salt


  4. microwave cooked potatoes
    microwave cooked potatoes

    Take tomatoes, onion, ginger & garlic in a mixer jar and make a fine paste.IMG_1008IMG_1009

  5. Heat butter in a pan, add the tomato onion paste to it. Sauté it for a while.IMG_1010IMG_1011
  6. Add kasuri methi and sauté it until it becomes dry and ghee starts coming out of it.IMG_1014
  7. Now add dhaniya powder, garam masala, red chili powder, turmeric powder (haldi) to it.IMG_1017
  8. Mix it and add fresh cream. Well this step is optional if you don’t want to add cream.IMG_1018
  9. Sauté it for 1- 2 minutes.IMG_1019
  10. Add cooked potatoes and paneer to it and mix it properly.IMG_1021IMG_1022IMG_1023
  11. Add water to get a desired consistency. Add salt to taste.IMG_1024
  12. Boil it for 1-2 minutes, remove it from flame.IMG_1025
  13. Serve this tasty small aloo paneer masala curry with rice, chapattis or phulkis .

    Aloo paneer curry
    Small Potato Paneer Curry

[/directions]

Tips to make Aloo Paneer  Recipe

  1. If you don’t want to add red chiliy powder in curry, you can use green chilies while grinding the tomato onion masala .
  2. If you want this aloo paneer dry add ½ cup of water while making curry.
  3. If you don’t want to use microwave oven to cook potatoes, shallow fry it with little oil on non stick pan . Or bake it in oven.

Raw Mango Juice Recipe | Kacche aam ka Sharbet

4
kairi ka paani
kacche aam ka paani | raw mango juice
kairi ka paani
Raw mango juice |kacche aam ka paani

Raw mango juice is a cool refreshing energy drink to satisfy summer quench. Raw mangoes are available in summer and it has loads of nutrition to beat summer related problems like heat stroke ,dehydration etc.

There are lots of benefits of raw mango juice.

  • Raw green mangoes contains lots of vitamin c which helps to boost our immune system during summers
  • As sugar or jaggery or glucose is present in raw mango juice it gives instant energy when you feel weak during summers.
  • It also improves digestive system.
  • Raw mangoes also prevent heat stroke during summers

I love this recipe as it doesn’t take lot of preparation time and is very easy to make. This raw mango juice is different from Raw Mango panna /panha as it doesn’t require cooking of raw mango. You can make this recipe by adding jaggery /sugar / glucose. If you want to store the raw mango juice concoction for more than 10 days use sugar. Raw mango juice concoction made from jaggery or glucose has less shelf life as compare to that made from sugar.

[box]Also check–-Raw mango salad for summers [/box]

Kids love this healthy drink and you can give them when they come back from school. I don’t add ice cubes when I serve it to my kids, I keep it in small mud pot and serve it when Anagh (my son) comes back from school. I keep both raw mango juice concoction and raw mango panna concoction ready in refrigerator during summers.

I have explained how to prepare this healthy energy drink from both sugar as well as jaggery; you can also add glucose in place of sugar or jaggery. Share your queries and suggestions for this recipe in comments below.

[ingredients title=”Ingredients for Raw Mango juice”]

To make raw green mango juice concoction 

  • 1 cup peeled & grated raw mango

    kaccha aam
    peeled and grated raw mango
  • 1 cup sugar / 1 cup grated jaggery
  • 1 teaspoon cardamom powder / chat masala

[/ingredients]

[directions title=”Step by Step Directions to make raw mango juice”]

  1. Mix all the ingredients and keep it in refrigeratorIMG_0870
  2. After 1 hour sugar / jaggery will dissolve in juice diffused by raw mango. This is the raw mango juice concoction which you can use anytime to make juice.

    IMG_0884
    raw mango juice concoction

To make raw mango juice 

  1. Add four glass of water in raw mango concoction mix and strain it ,straining is optional as the grated mango strands also tastes good. If it is not sweet enough, add glucose or sugar as requiredIMG_0887

    kairi ka paani
    kacche aam ka paani | raw mango juice

[/directions]

Tips for making raw mango juice

  • Don’t use very sour mangoes for making raw mango juice .
  • Remove the sap and skin of raw mangoes, this generally cause skin and throat allergy.
  • Avoid water from refrigerator during summers, use traditional mud pot to keep water cool during summers.
  • Raw mango should be avoided if you are already suffering from throat infection.
  • Avoid having more than one raw mango in a day

[box]Also check–Raw mango mint chutney [/box]

Green Mango Salad | Kachumber Salad Recipe With Raw Mango

2
raw mango summer recipe
raw mango kachumber | kairi kachumber /koshimbir

Making kids love food is a difficult task for any parent. And my son Anagh is no different. Yesterday I promised him that if he finishes his studies on time, I will surprise him with a tasty dish for dinner. But as usual I wanted to make something different but healthy.

Summer has already started and raw mangoes are now easily available. I bought a couple of them in the evening and decided to make a kachumber.

This is easy to make kachumber or koshimbir which you can serve as companion dish with pulav, biryani, khichadi or with any other meal. This recipe is generally made in Gujarat and Maharashtra during summers. This tasty raw mango recipe will electrify your taste buds!

[box] Also check – Kachumber recipes | koshimbir recipes | salad recipes  [/box]

Benefits of eating Raw mango (kairi / kacha aam) during summer season 

  • Onion has lots of useful properties which are good for summer season.
  • Onion juice is used as medicine for heat stroke. It’s good to use raw onion in summers.
  • Raw mango has lots of vitamin c which helps in boosting the immune system during summers. It also protects us from sun stroke.

I have added small amount of spices to make this recipe. Don’t add extra spices to it as sour taste of the raw mango with a dash of peanut or mustard oil dressing gives nice taste to this recipe. In a typical Guajarati and maharashtriyan style, kachumber mustard oil is not used in this recipe. But when I add mustard oil, it gives a nice pickle taste to this recipe. You can add any oil according to your taste.

[ingredients title=”Ingredients For Raw Mango Salad or Kacche Aam ka Kachumber”]

  • 1 cup peeled grated raw mango (kairi / kaccha aam)
  • 1 /2 cup finely chopped onions
  • 1 – 2 teaspoons red chilli powder (I use kashmiri or bedgi mirch powder)
  • 1 teaspoon salt
  • 1 teaspoon peanut / mustard oil

Note –if you’re using mustard oil, heat it to remove the bitterness; let it cool down and then add in kachumber.

[/ingredients]

[directions title=”Step By Step Directions to make Raw Mango Salad or Kacche Aam ka Kachumber”]

Mix all the ingredients and serve it.

ingredients of kachumber


kachumber recipe
kachumber recipe

[/directions]

Tips for making Raw mango salad  / Kairi Kachumber 

  • Don’t use very sour raw mangoes, there are many varieties less sour raw mangoes available in market like Rajapuri, totapuri. Use less sour mangoes to making  salad or juice. Extreme sour varity of mangoes causes throat irritation.
  • Don’t eat more than one raw mango daily.
  • Don’t drink water after eating raw mango, it may cause throat irritation.
  • Remove the sap of raw mango before eating it .
  • Don’t eat raw mango when you are suffering from throat infection; it may worsen the condition of your throat.
  • If you have sour teeth issue avoid eating raw mangoes.


Dry Baby Corn Manchurian Recipe without Frying | Easy non fried Baby Corn Snacks

2
manchurian recipe
baby corn manchurian recipe in microwave
healthy baby corn recipe for snacks
dry baby corn Manchurian recipe in microwave

This recipe is for those food lovers who want to eat dry veg Manchurian without worrying about the number on the weighing scale. I tried to make baby corn Manchurian without frying, not even stir frying. I used microwave oven to make this dry Manchurian recipe and it turned out very well. I have tried to reduce lots of calories from the original fried Manchurian recipe but there is absolutely no change in its taste.

[box]  Also Check –Healthy breakfast and snacks recipes  [/box]

It is easy to make baby corn snacks with very less efforts.  You can make this recipe with or without ajinomotto; personally I don’t prefer ajinomoto in any of my Chinese recipes. It hasn’t been proven scientifically but it is said that ajinomotto has lots of side effects . Well during pregnancy and for kids it’s better to avoid ajinomoto .

I have shared step by step recipe of baby corn dry Manchurian without deep frying at home. Share your suggestions and queries for this recipe.

[ingredients title=”Ingredients to make Baby Corn Manchurian”]

  • 1 ½ cup baby corn (slit lengthwise and cut it into 2 inch slices as shown in the pic)Baby corn pieces for manchurian
  • 2 tablespoon corn flour
  • ½ teaspoon black pepper powder
  • 2 -3 teaspoon green chili sauce
  • 1 teaspoon soya sauce
  • 2 tablespoon capscicum finely sliced
  • 1 teaspoon vinegar
  • 8- 10 finely chopped garlic cloves
  • 1 tablespoon finely chopped green onion
  • 1 tablespoon onion slices
  • 1 tablespoon oil (sesame seed oil/olive oil)

[/ingredients]

[directions title=”Step By Step Directions To Make Baby “]

  1. Add corn flour, black pepper, 2 teaspoon oil and salt to baby corn slices.Baby corn marinated for manchurianIMG_0415
  2. Mix it and arrange it on microwave safe dish.IMG_0416
  3. Cook it for 6 minutes on high power in microwave oven.IMG_0418
  4. Remove it from microwave and gently separate each slices using spoon.
  5. Heat oil in a pan and add ½ of chopped garlic to it and sauté it for 5-10 secondsIMG_0419
  6. Add onion slices, green onion and capsicum to it and sauté it for 1 minute.IMG_0420
  7. Add green chilli sauce, soya sauce and vinegar to it and mix it.IMG_0421
  8. Add cooked baby corn slices to it, mix it nicely, add remaining finely chopped garlic and remove it from flame and serve it .IMG_0422IMG_0440

[/directions]

Tips for making non fried baby corn Manchurian

  • Raw garlic added in the last gives nice flavor to the recipe
  • Use fresh baby corn to make Manchurian.
  • After marinating baby corn with corn flour, salt,oil and blackpepper immediately keep it in microwave for cooking otherwise it will become watery

Kathal ki Sukhi Sabzi | Fanas chi dry bhaji | Dry Spicy jackfruit recipe

7
raw jackfruit cooked in indian style
kathal ki dry sabzi | fansa chi dry bhaji
raw jackfruit cooked in indian style
kathal ki dry sabzi | fansa chi dry bhaji

This jackfruit (kathal / fanas) recipe is quick and easy to make.Kathal ki sukhi sabzi is a typical north Indian style recipe which is cooked in mustard oil. Well filtered groundnut oil also works nicely with it.  Use raw jackfruit to make this sabji.

[box]Also check — Kathal ki gravy | Raw jack fruit gravy  [/box]

Now a day’s peeled sliced raw jackfruit is available in the market, you just need to wash ,make slices of your choice and proceed for cooking it.

If you won’t get this processed jackfruit here are few Tips to cut jackfruit at home

  • Use glows or plastic bag to cover your hands before cutting jackfruit Or apply oil to your hands before cutting it
  • Take lemon slice and apply it on knife while cutting jackfruit this avoids stickiness of jackfruit to stick on knife.
  • Applying lemon slice on knife and jackfruit also avoids it from getting brown in color.

This is non fried jackfruit recipe, I hope you will enjoy it. Do Share your queries and suggestions for this recipe .

[ingredients title=”Ingredients for Kathal / Fanas / Jackfruit  dry Sabji “]

  • 2 cup jackfruit /kathal /fana sliced (preferably 1 inch, smaller slices cooks fast and it gives consistent taste)
  • 1 medium size onion sliced
  • 1 teaspoon grated ginger
  • 1 teaspoon grated garlic
  • 1 -2 teaspoon chili powder (lal mirch powder)
  • 1 teaspoon garam masala
  • 1 teaspoon coriander powder (dhania powder)
  • 1 /2 teaspoon turmeric powder
  • 1 teaspoon lemon juice (optional)
  • 1 teaspoon jeera
  • Salt to taste
  • 1 tablespoon mustard oil / groundnut oil

[/ingredients]

[directions title=”Step By Step Directions to make Kathal / Fanas / Jackfruit  dry Sabji “]

  1. Wash jack fruit and keep it aside
  2. Heat oil in pressure pan (cooker) and add jeera (cumin seeds) to it .IMG_0186
  3. Add grated ginger and garlic and sauté it for few secondsIMG_0187
  4. Add onion and sauté it until it becomes soft.IMG_0190
  5. Add turmeric powder, coriander powder and red chilly powder.IMG_0192
  6. Add jackfruit slices and mix it. Add garam masala powder and salt to it .IMG_0193IMG_0194
  7. Add 2 tablespoon of water and cover the pressure pan with the lid let it cook on low flame fr 10 -12 minutes.IMG_0196
  8. Add lemon juice to cooked kathal or jackfruit sabzi . Serve this recipe hot with roti or rice.

    raw jackfruit cooked in indian style
    kathal ki dry sabzi | fansa chi dry bhaji

[/directions]

How to eat Flax seeds with Daily vegetable salad | Kachumber with flax seeds

4
flax seed salad recipe
mix vegetable salad with flax seed topping
flax seed salad recipe
mix vegetable salad with flax seed topping

In my earlier post I have explained how to make flex seeds chutney. I use flex seed chutney in many salad and this is the easy mix vegetable salad which I have made little more tasty and nutritious by adding flax seed, sesame seed chutney to it. This salad is also called as vegetable kachumber which is served with any rice recipe like biryani ,pulav, or even as a side dish with meals.

[box] Also check –Flax seeds sesame seed chutney recipe [/box]

Flax seed chutney is the easy way to eat flax seeds.Flax seed chutney is little spicy with nice garlic flavor so there is no need to any extra spicy ingredients. I have used oil seeds i.e. flax seeds, sesame seeds and peanuts to make this chutney so after adding it on salad there is no need to extra oil for salad dressing.

[ingredients title=”Ingredients to Make flax Seed salad”]

  • ½ Chopped Cucumber
  • ½ cup chopped tomatoes
  • ¼ cup finely chopped onion (optional)
  • ½ cup grated or chopped beetroot
  • ½ cup grated or chopped carrot
  • 1 tablespoon lemon juice
  • 1teaspoon salt
  • 3-4 teaspoon flaxseed chutney

[/ingredients]

[directions title=”Directions”]

Mix all the ingredients and serve this healthy salad with meal

[/directions]

Aloo Paratha Recipe | How to make Aloo Paratha without Stuffing

7
bataka na thepla
aloo paratha
easy aloo paratha or thepla
aloo ka paratha

This recipe is easy to roll Aloo Parantha or Thepla without mess of stuffing.  To roll stuffed Paratha is difficult task and most of the time lot of filling comes out of it, especially for those who are new in kitchen.  This Aloo Paratha recipe which I have explained tastes same as stuffed Aloo Paratha and good part is the stuffing ingredients tastes in each and every piece of Aloo Paratha .

I have added all the stuffing ingredient of Aloo Paratha in whole wheat flour (gheu ka atta) and make soft dough of it .I have not used onion in this recipe but you can add finely chopped onion in Aloo patha dough. You can use lot of healthy options to make Aloo Paratha healthy, nutritious with low calories.

[box]Also check – Tasty Beetroot Paratha Recipe[/box]

Tips to make Aloo Paratha healthy for morning breakfast

  • Use curd in place of water to make Aloo Paratha dough. This Paratha tastes good
  • Add 1 tablespoon wheat bran in 1 cup wheat flour to make Aloo Paratha dough. By this you will increase more fibre content of all Paratha.
  • You can also add grated carrot (gajar), bottle gourd (lauki), beetroot or finely chopped methi (fenugreek leaves) to make it more nutritious and low calorie.
  • Roast Aloo Paratha with little or no oil to make it low in calories.
  • Eat healthy side dish like Raita ,Salads ,Kachumber ,mint / pudina chutney low fat curd etc with Aloo Paratha

[box]Also check—Side dish Recipes with Aloo Paratha [/box]

You can also make Aloo Paratha from leftover dry Aloo Sabji. Smash the dry Aloo Sabji nicely with hands or potato smasher. Mix 1 cup dry Aloo Sabji with 1 ½ cup of whole wheat flour add little salt and make a soft dough of it . This Paratha tastes same as the Aloo Paratha made from Aloo Sabji stuffing. Simply roll the Paratha into small disc and roast it with little or no oil.

I have explained step by step recipe to make Aloo Paratha from scratch. You can any ingredients which I have mentioned above in tips while making dough.  Share your queries, suggestion and let me know how the recipe worked for you in comment box.

[ingredients title=”Ingredients required to make Aloo Paratha”]

  • 2 cups whole wheat flour (gheu ka atta)
  • 1 cup mashed boil potatoes (2 medium size potatoes)
  • 1 teaspoon salt to taste
  •  1tablespoon  coriander powder (dhaniya powder)
  •  1teaspoon amchur powder (1 ½ teaspoon lemon juice)
  • 1 teaspoon dhaniya powder (coriander seed powder)
  • 1 teaspoon jeera powder (cumin seed  powder)
  • 2 green chilies + 4-5 garlic cloves + pinch of salt and make coarse paste of it
  • 1 teaspoon sesame seeds/ til (optional)
  • 1 teaspoon carom seeds (ajwain)
  • ½ teaspoon turmeric powder
  • 1 tablespoon finely chopped coriander leaves (dhaniya patta/ kothimbir)
  • Oil/ghee for roasting paratha

[/ingredients]

[directions title=”Step by Step Directions to make Aloo Paratha Without stuffing”]

  1. Combine all the ingredients except oil / ghee and keep it aside for 5 – 10 minutes .
  2. Now add little water / curd / butter milk to make soft dough of it .

    aloo paratha dough
    aloo paratha dough
  3. Make 6-7 balls of this dough and roll it into circle discs   .
  4. Roast paratha on girdle or tawa from both side with little or no oil . u can also roast it with butter or ghee . serve it with pudina chutney  or raita .

    bataka na thepla
    aloo paratha

[/directions]