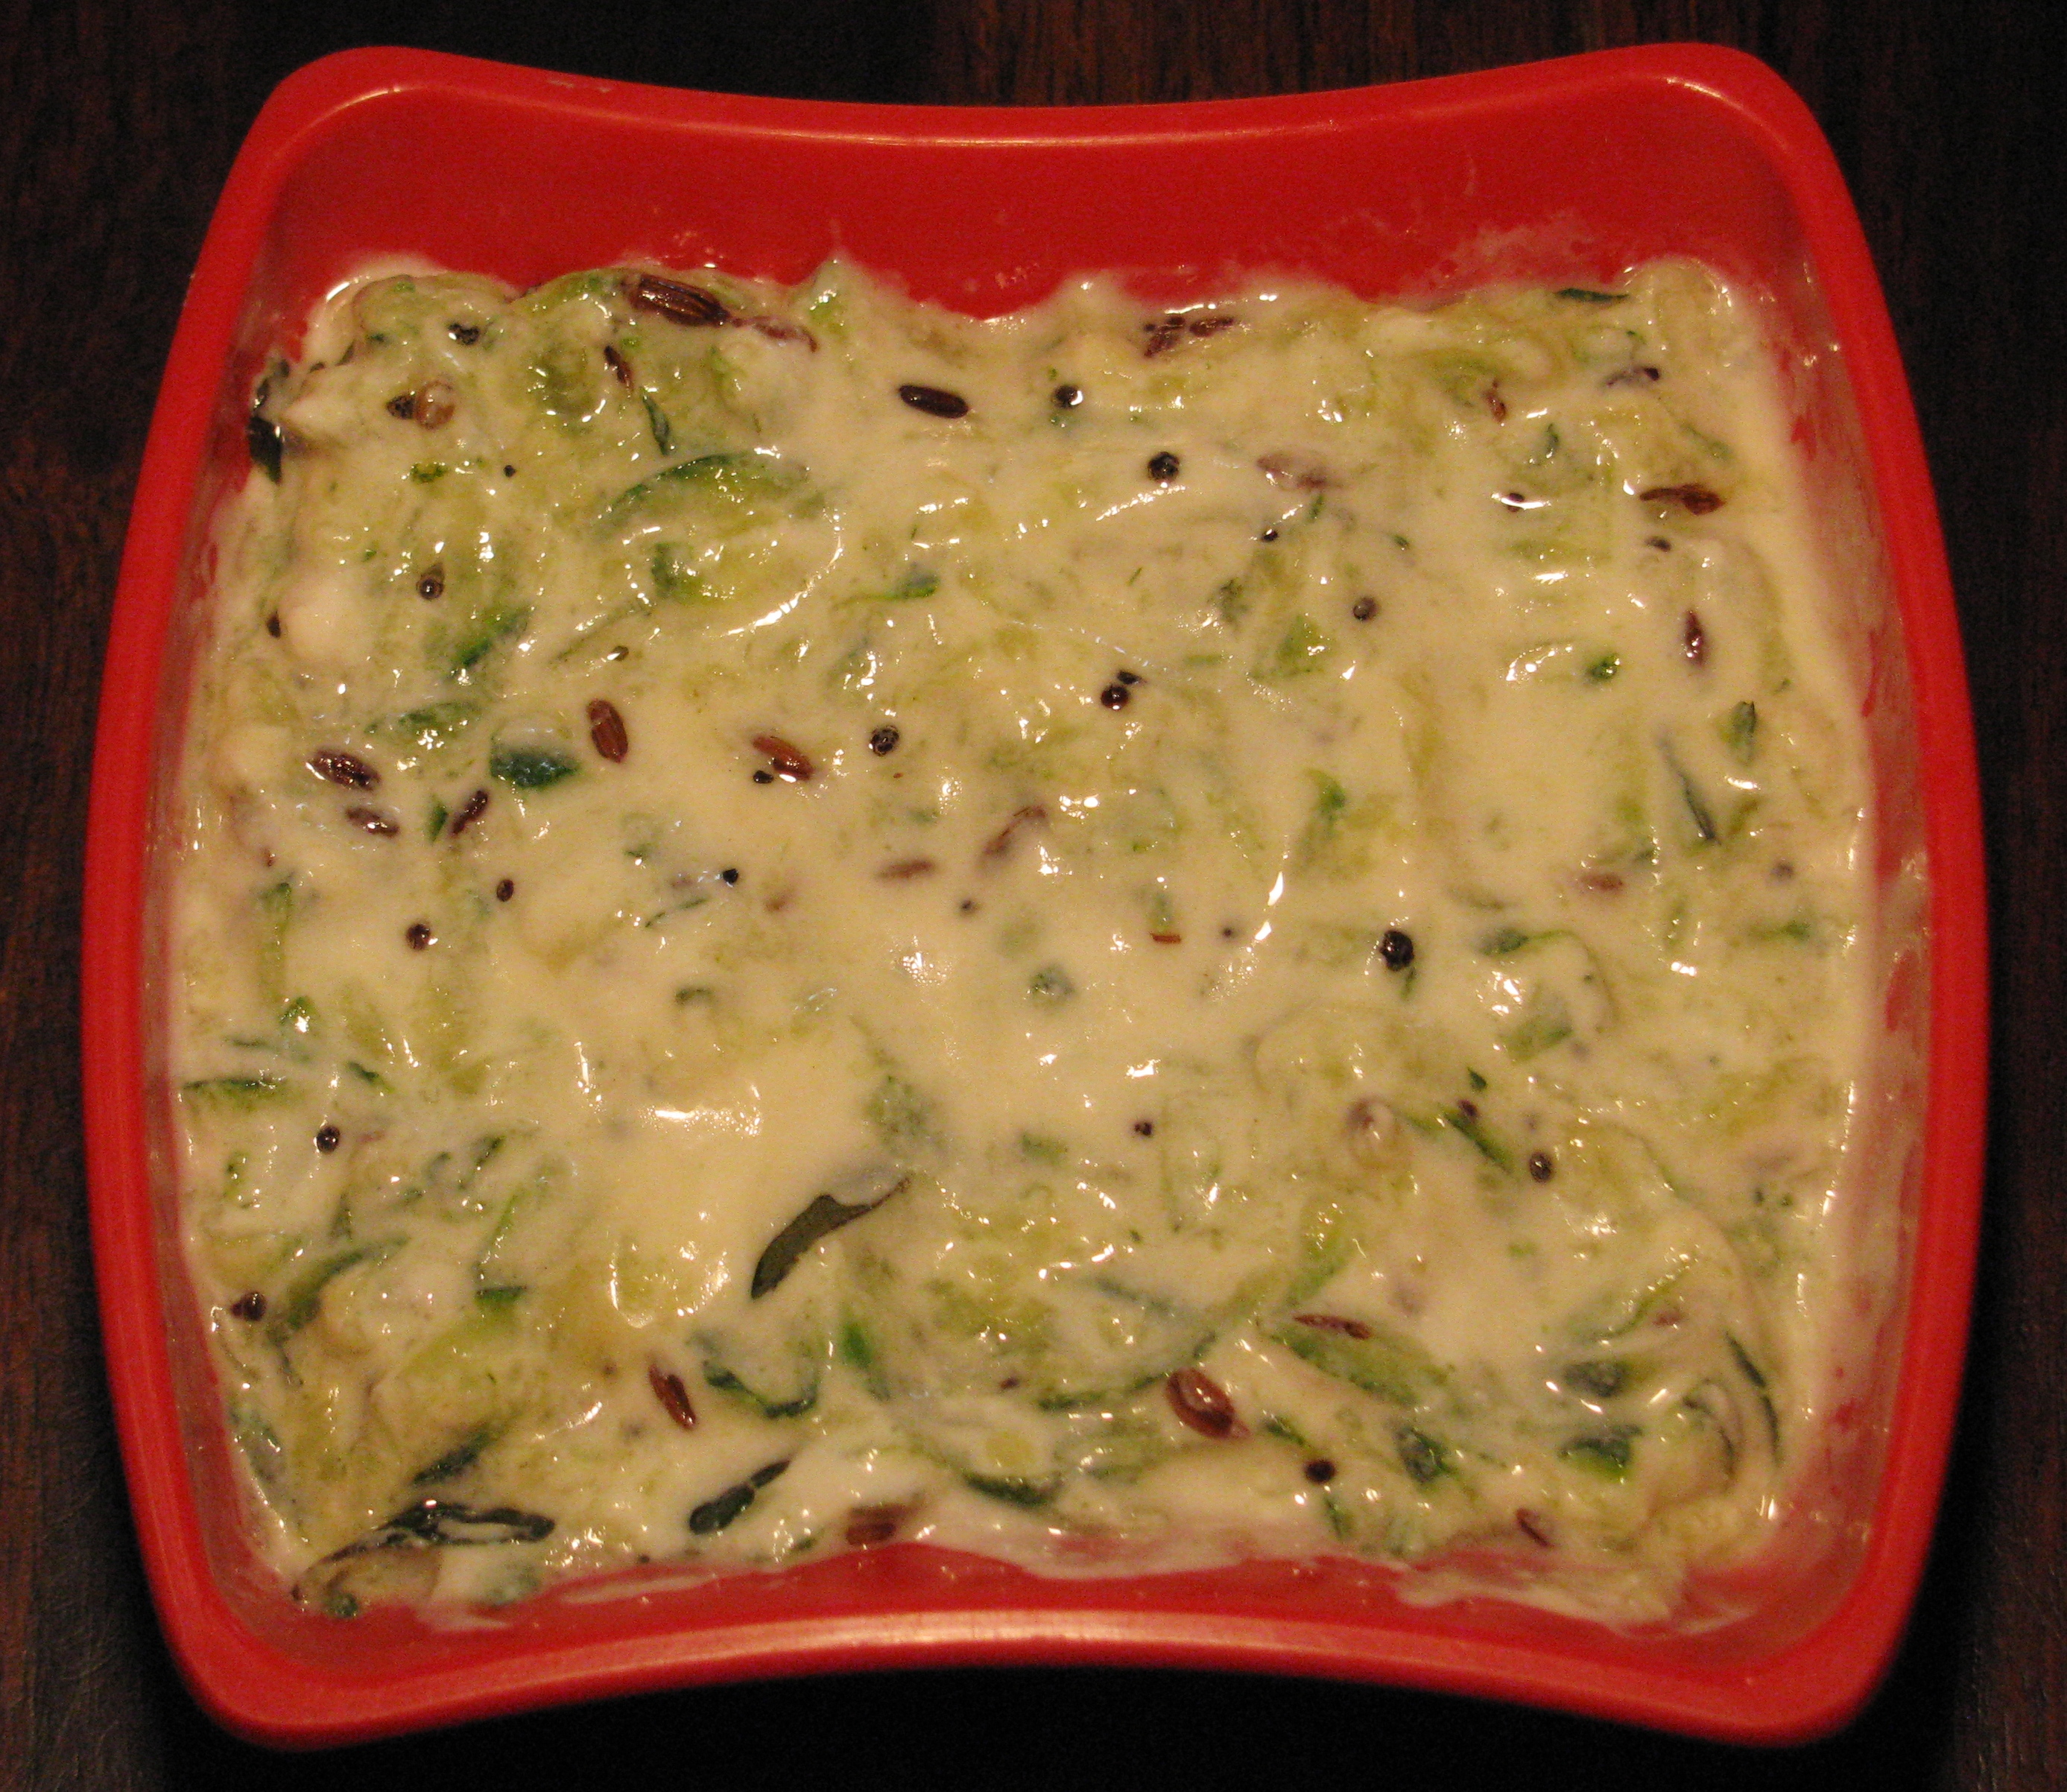
Zucchini has lots of health benefits.This recipe is a healthy zucchini side dish. I always make raita from bottle gourd (doodhi /lauki) /cucumber (kakdi /kheera)/ tomatoes / onion /spinach (palak ) / bathua (chakwat) . When I tasted zucchini first time i was pretty sure that this vegetable will nicely go with my raita recipe.
I have shared this zucchini raita to many of my friends which are on strict diet plans or have health issues like diabetes and they really loved this recipe .there is little variation in this raita recipe if your diabetic or on strict diet plan ; use probiotic or fat free curd and add sugar free in place of sugar . You can eat this zucchini raita with paratha , roti ,plain fulki or any rice dish .
2 teaspoon sugar / sugar free natura / demerara sugar
For tempering (optional)
1 teaspoon oil
1 teaspoon mustard seeds
1 teaspoon cumin seeds
1 teaspoon black split grams (urad dhuli / urad dal)
1 green chilly
10 –15 curry leaves
1 teaspoon salt
2 teaspoon sugar / sugar free natura / demerara sugar
For tempering (optional)
1 teaspoon oil
1 teaspoon mustard seeds
1 teaspoon cumin seeds
1 teaspoon black split grams (urad dhuli / urad dal)
1 green chilly
10-15 curryleaves
[/ingredients]
[directions title=”Directions”]
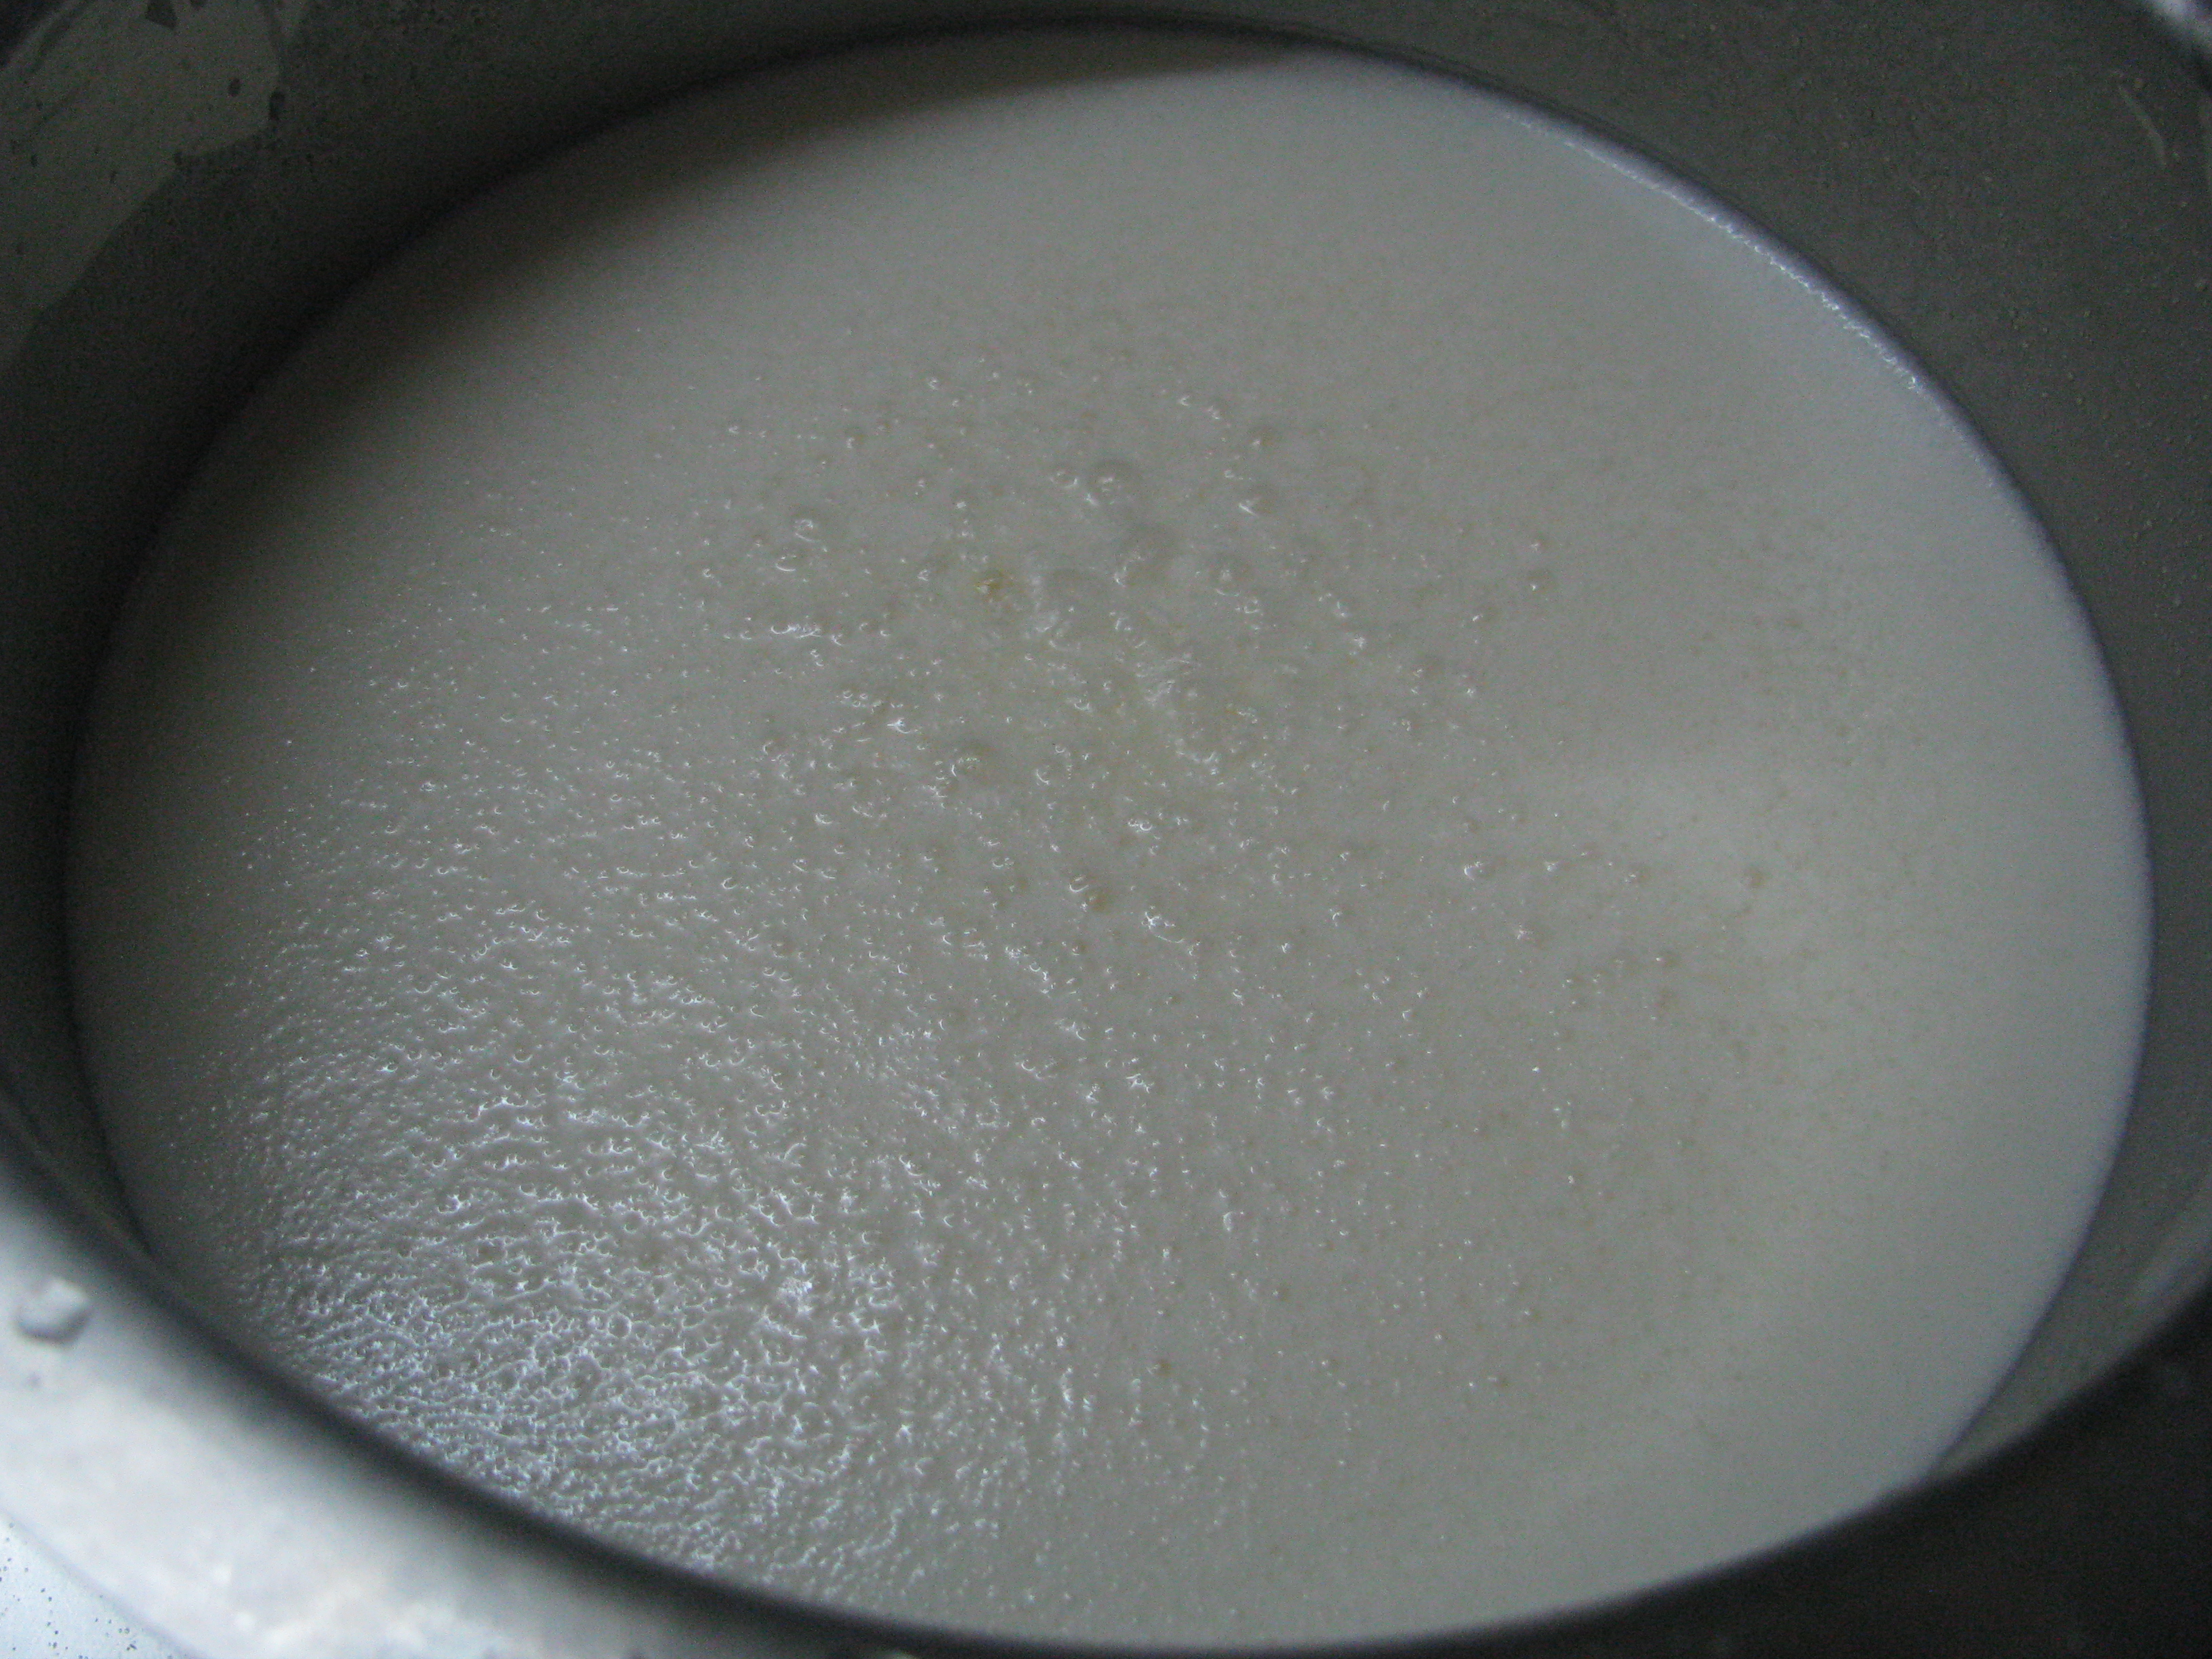
Cook grated zucchini in microwave or in pressure cooker. if your using microwave cook it 4-5 minutes , if you’re using pressure cooker cook it for 5 minutes with one teaspoon water on medium flame. I prefer to use microwave as it gets cooked very nicely. Let it cool down
Add curd, sugar and salt in cooked zucchini and mix it nicely. if you don’t want to add tempering in your raita serve it by adding finely chopped green chilies in it . Well chilies are optional. I prefer my raita with tempering.
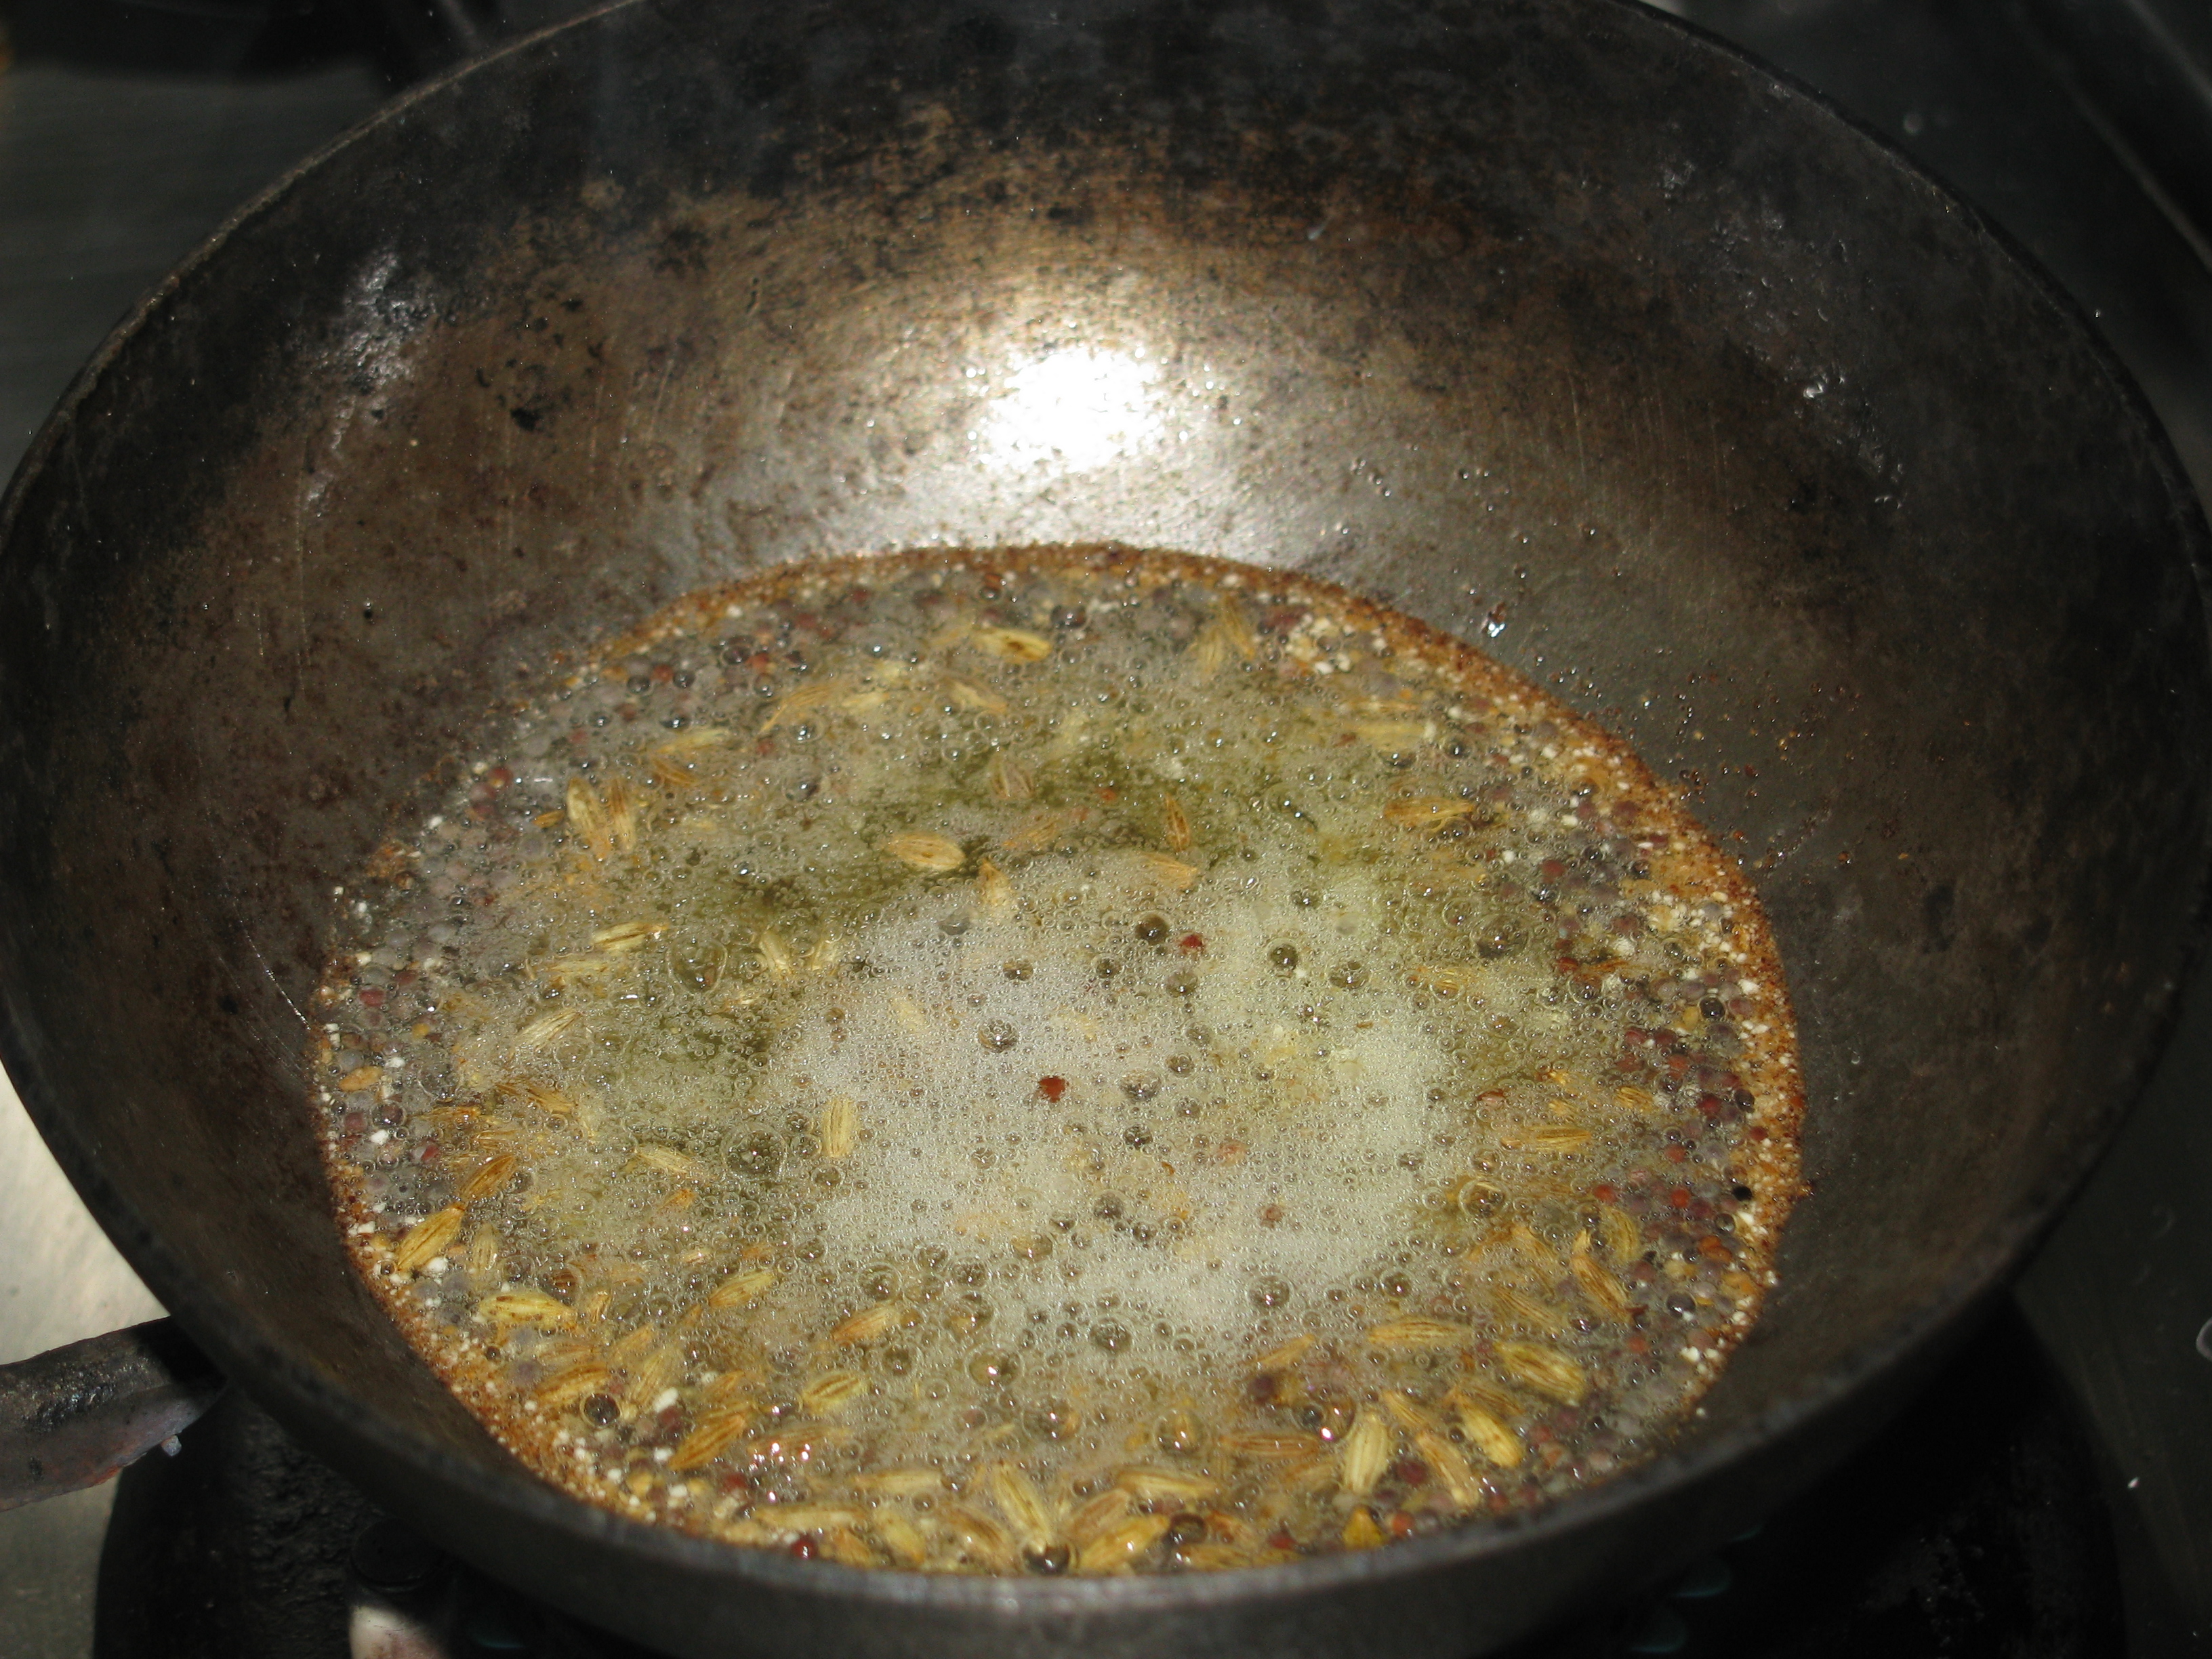
For tempering heat oil in a frying pan and add mustard seeds to it. When it starts crackling add urad dal to it when it get little golden add cumin seeds, green chilies and curry leaves to it. Roats it for few seconds until the curry leaves becomes crispy.
Add this tempering in raita and serve it with your breakfast or lunch or dinner.
Bharela marcha / Bharli mirchi / Stuffed green chilies
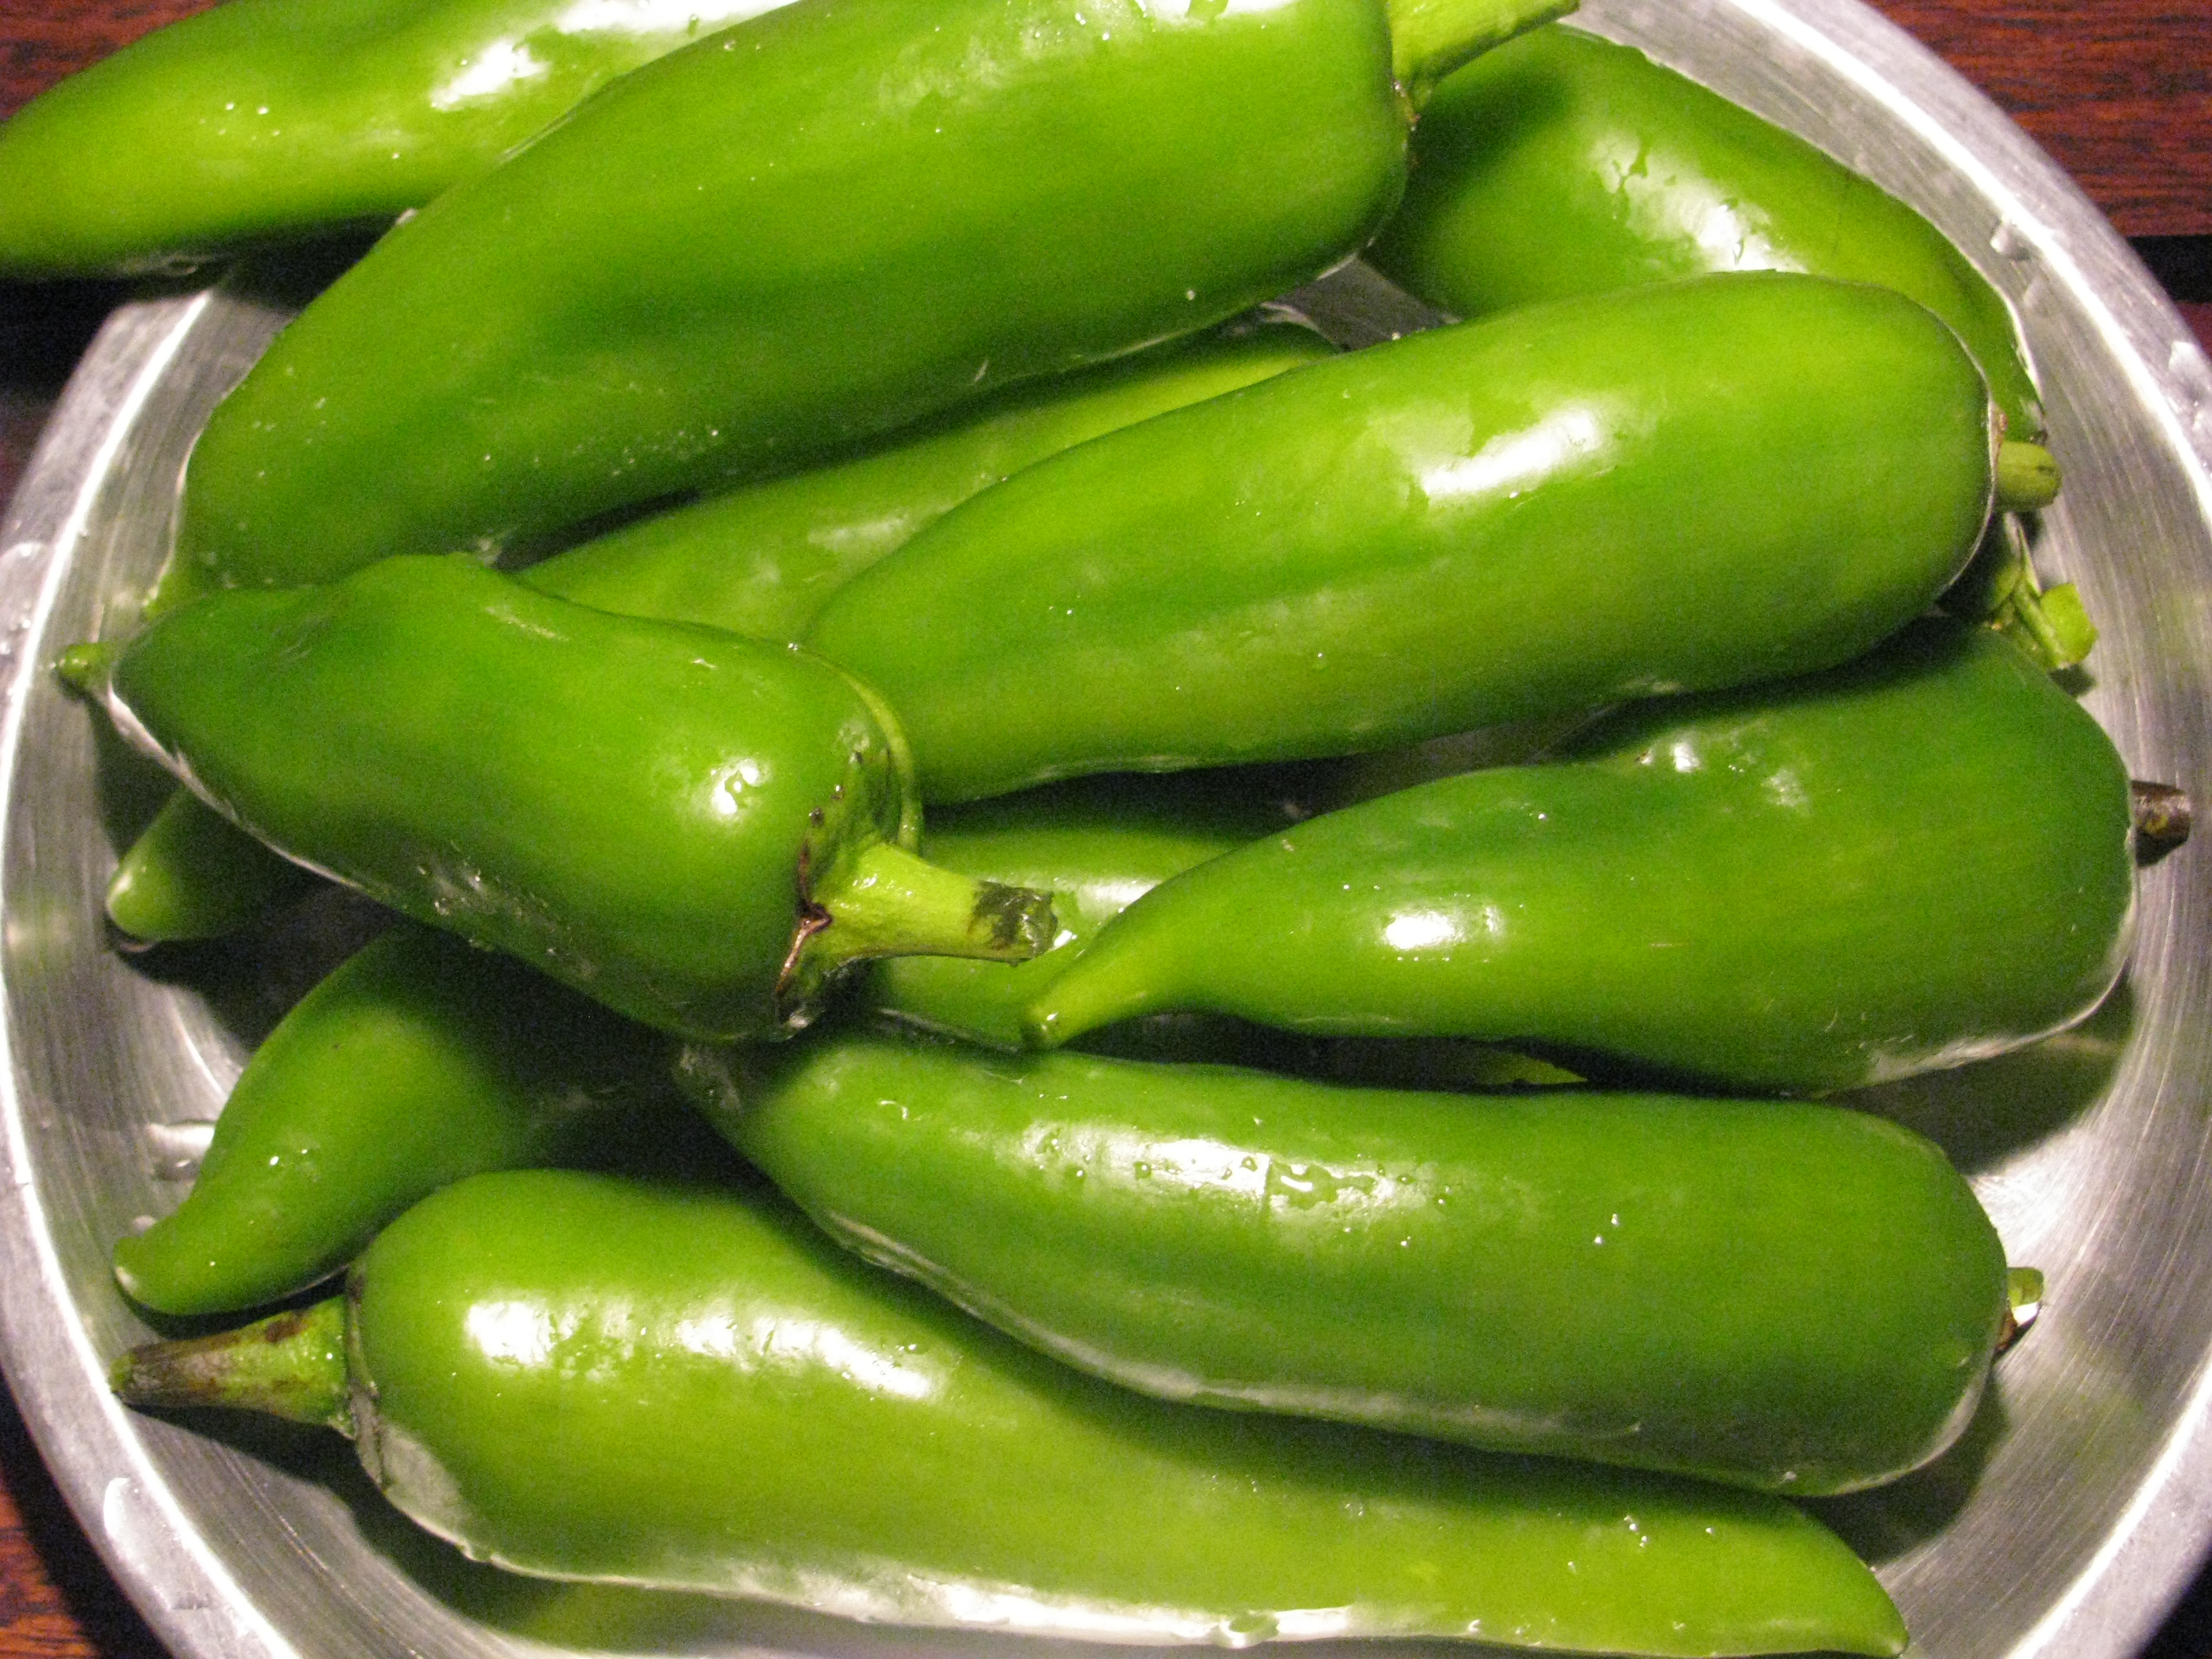
Stuffed green chili is a tasty recipe which is made in variety of ways in different parts of india. in hindi this stuffed chili recipe is called as bharwa mirch , in Marathi it is called as bharli marchi or bhareleli mirchi & in gujarati it is called as bharela marcha. This recipe varies as you travel in different parts of india . In Maharashtra and Gujarat bhavnagri mirch (chili) is used to make this stuffed chili recipe . Generally besan (gram flour) , grated coconut , and crushed peanut is mixed with different spices and tang of lemon juice , amchur or imli is added to it .This stuffed pepper is a tasty veg recipe . The sourness of lemon, imli (tamarind) or amchur (dry mango powder) reduce the bitterness of chili and makes it more tasty. I have variety of bharli mirchi / bharela marcha made by my mom and grandmother. My grandmother was more interested in “bharela marcha na bhajiya” i.e pakoda or bhaji made from stuffed chili. Well this recipe soaks lots of oil but was very tasty. Finally mom started making this fusion of gujarati and Marathi style stuffed chilli with the same basic ingredients and this recipes taste is almost same as stuffed mirch pakoda . I love this particular stuffed chili recipe . this stuffed mirch recipe is nice treat for your taste buds, you can eat it with plain dal chawal (waran- bhat /daal bhaat ) or kadhi chawal or kadhi khichadi or as a side dish with dal chawal sabj roti meal .
It’s not at all spicy as I have used thick bhavnagri Mirchi to make this recipe .this chilies are thick with juicy skin, they r not much spicy and if you don’t like spicy food just remove the seeds from it . to make this recipe pick fresh bhavnagri or thick chili . it should be unripe and look for crisp unwrinkled chili to make this recipe. When my mom made this recipe, she use to add lot of oil in her iron kadhai to make this stuffed mirch . it was very tasty but very oily .when I bought my microwave oven I was trying to make stuffed vegetable recipe and bhari mirchi / bharela marcha turned out really well .i have shared both microwave cooked version and frying pan version of his recipe . if your not using microwave oven you can cook this recipe in non stick pan with very less oil .
The advantage of using microwave oven to cook this recipe is –
Very less oil required to cook this recipe.
There is no need of continuous stirring of this recipe
[ingredients title=”Ingredients required to make Vegetarian Stuffed peppers | Bharli mirchi | Bharela marcha”]
250 grams big long bhavnagri mirchi / long big green chili pepper
1 teaspoon salt to rub inside green chilies
2 teaspoon oil for roasting bharli mirchi if you’re cooking in microwave / 2 tablespoon oil if you’re cooking in pan
1 teaspoon jeera (cumin seeds)
¼ teaspoon hing (Asafoetida)
For filling
½ cup roasted peanuts (shenagdane / moongphalli)
2 tablespoon besan
¼ cup grated dry coconut
½ big size lemon juice/1 teaspoon amchur (dry mango powder)/ t tablespoon grated raw mango
1 teaspoon fennel seeds powder (badishop powder)
1 teaspoon coriander powder
1 teaspoon red chili powder (if the chilies r not at all spicy)
1 medium size onion finely chopped
1 teaspoon salt for stuffing
[/ingredients] [directions title=”Directions to make stuffed chili “]
Wash the chilies and trim its stem.
bhavnagri mirch / marcha / mirchya
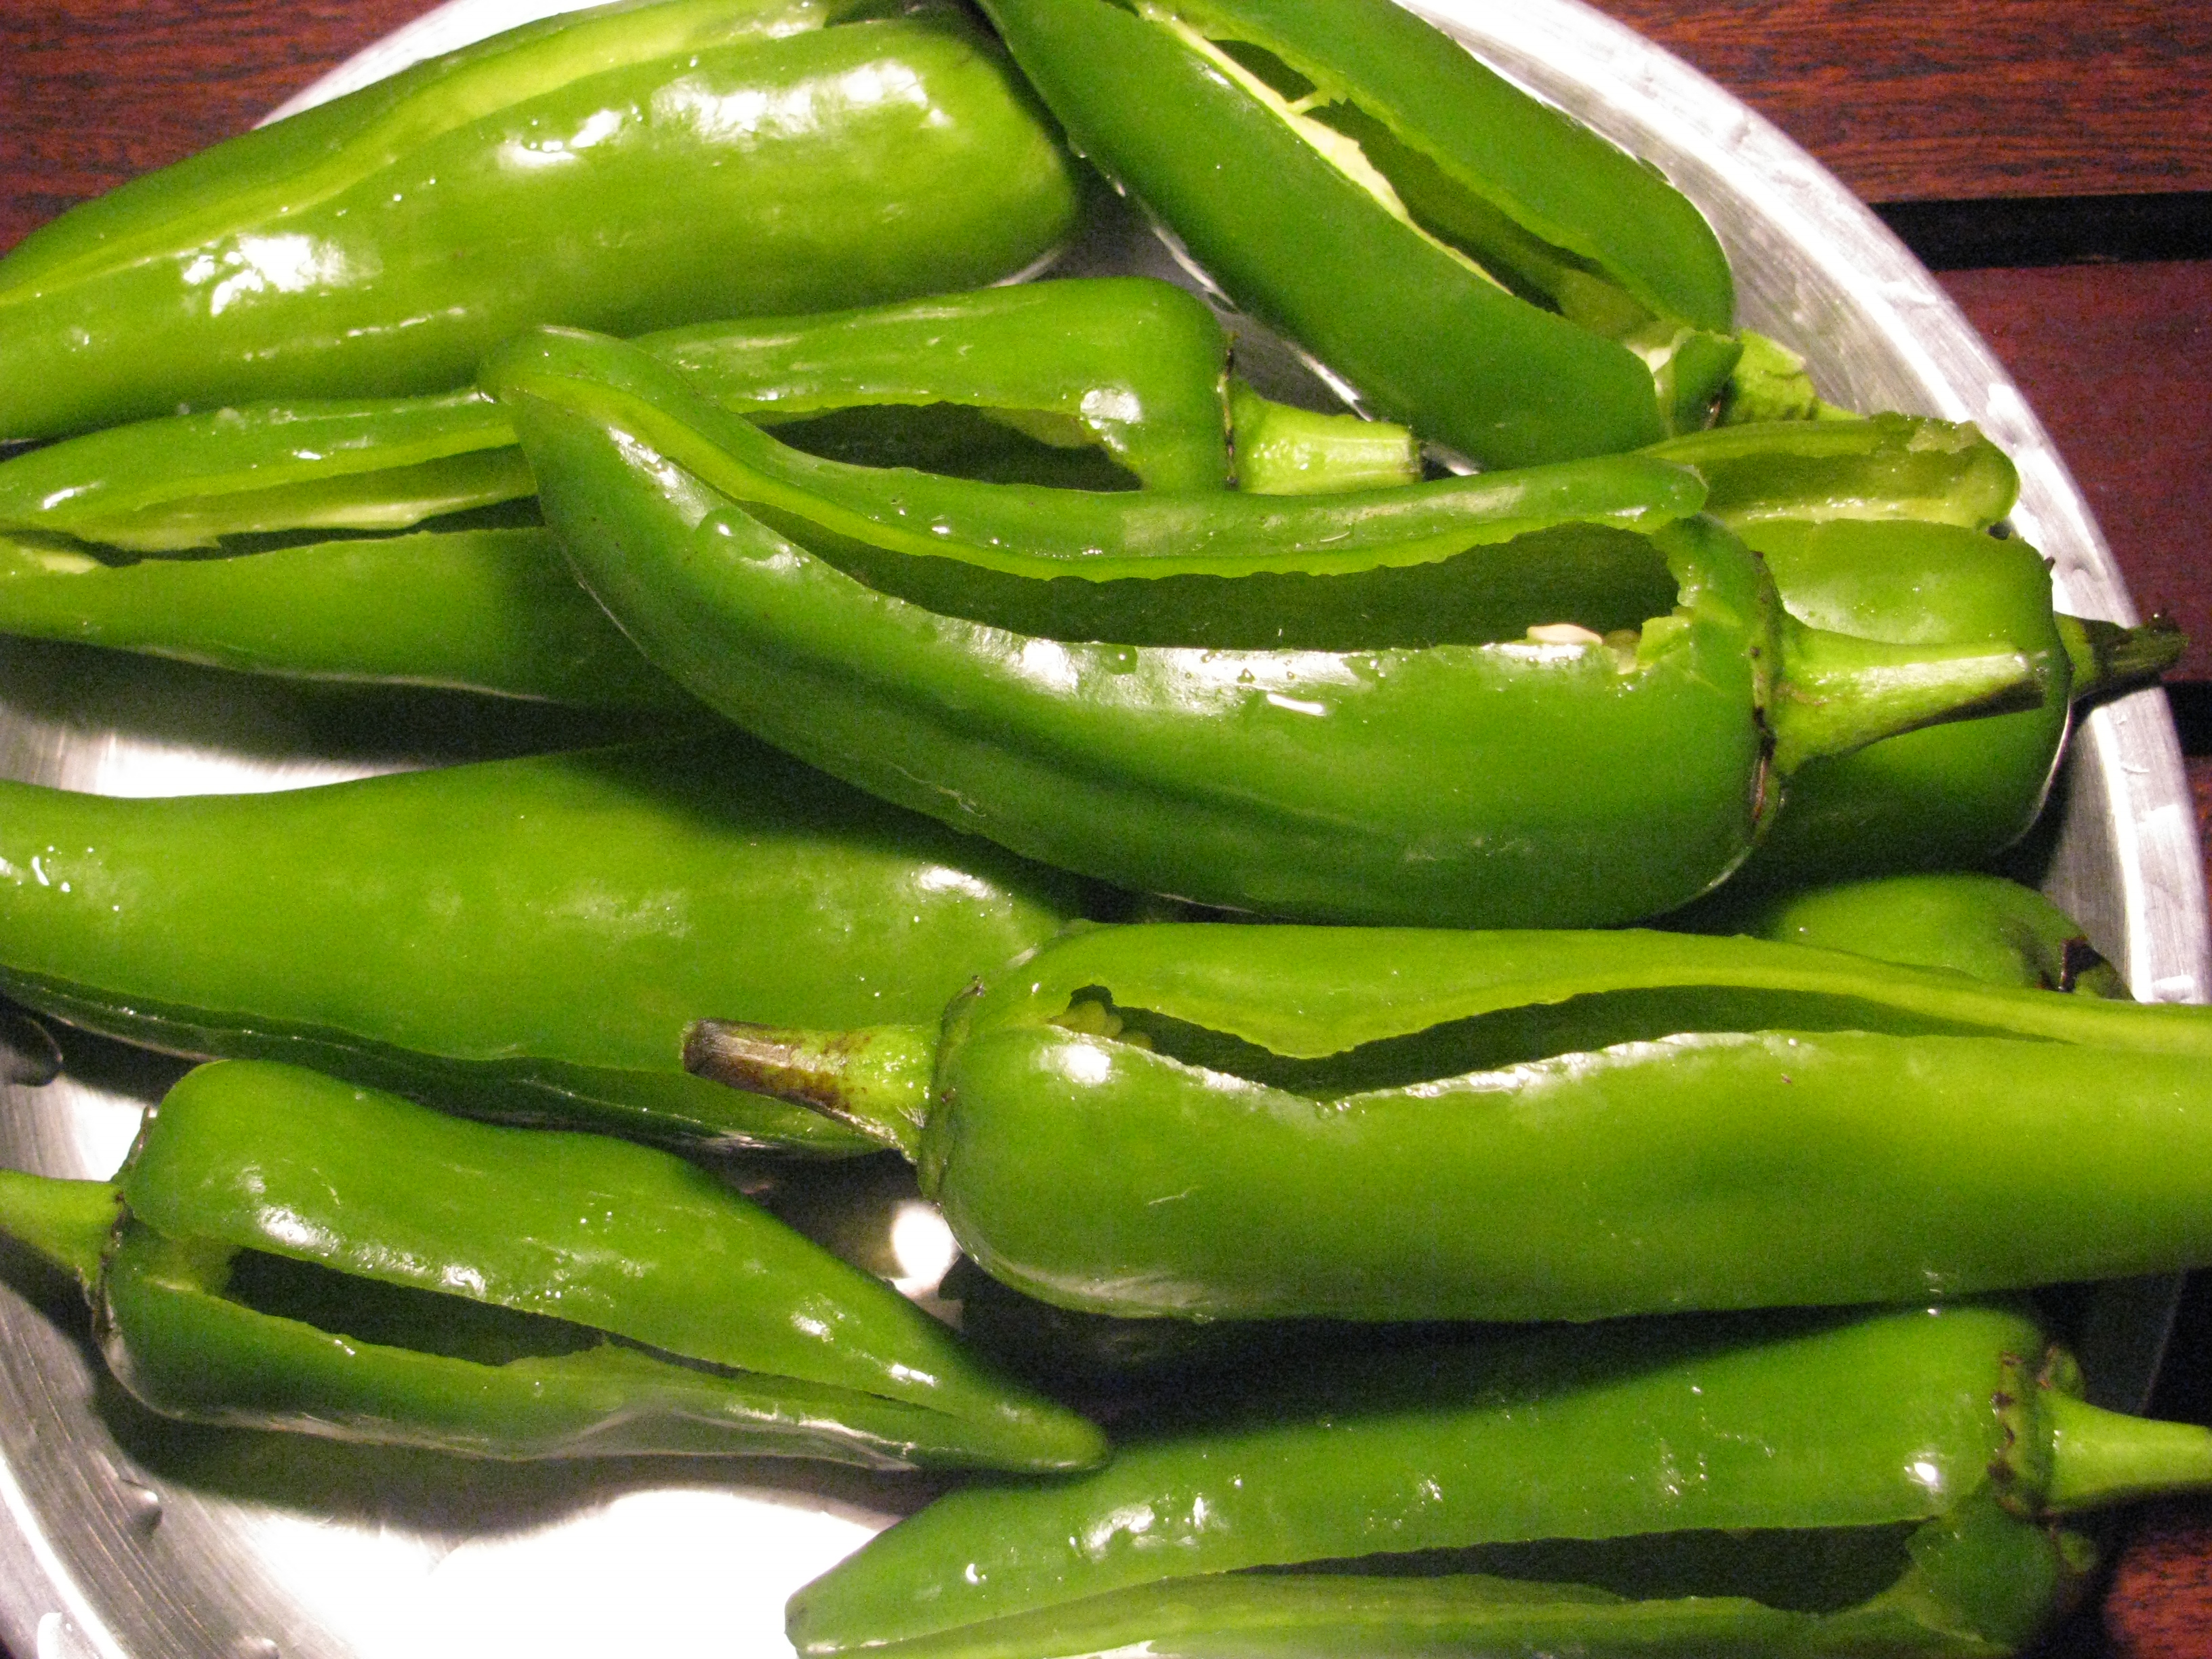
Slit the chilies as shown in the picture. Don’t cut right through them, scoop out the seeds and discard them. Sprinkle little salt inside each chilly and keep it aside for half an hour.
Grind peanuts and grated coconut.
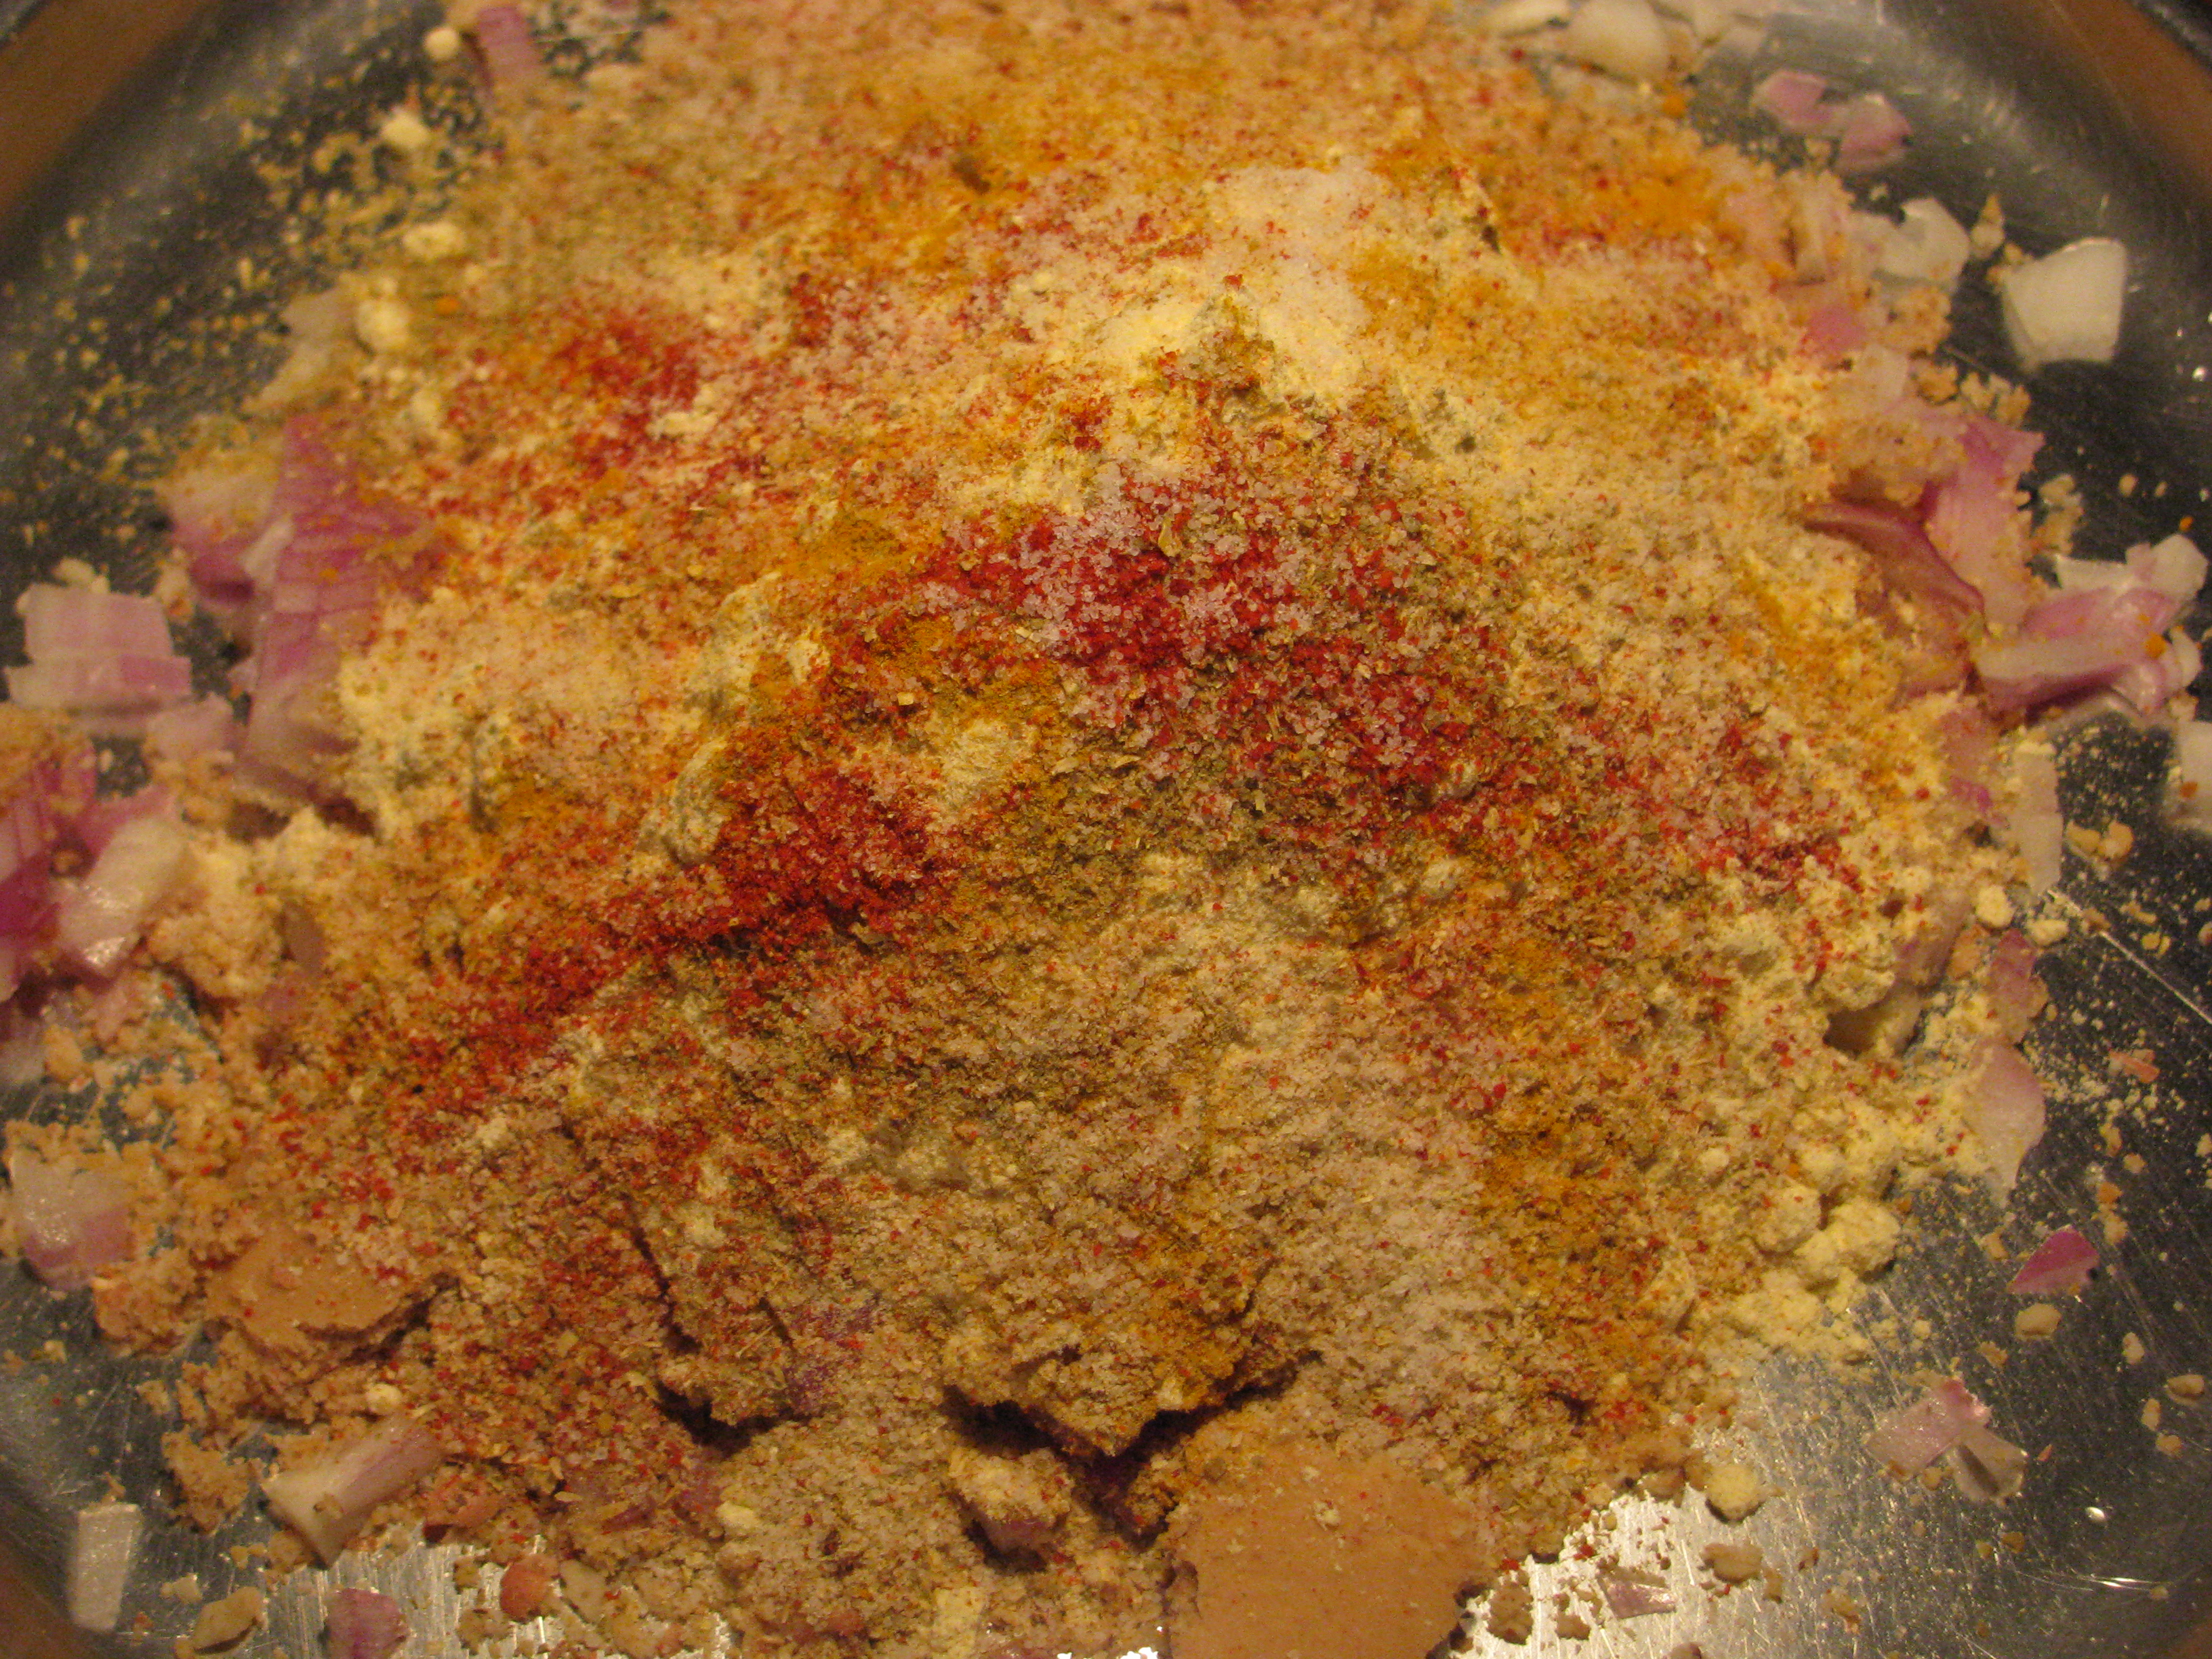
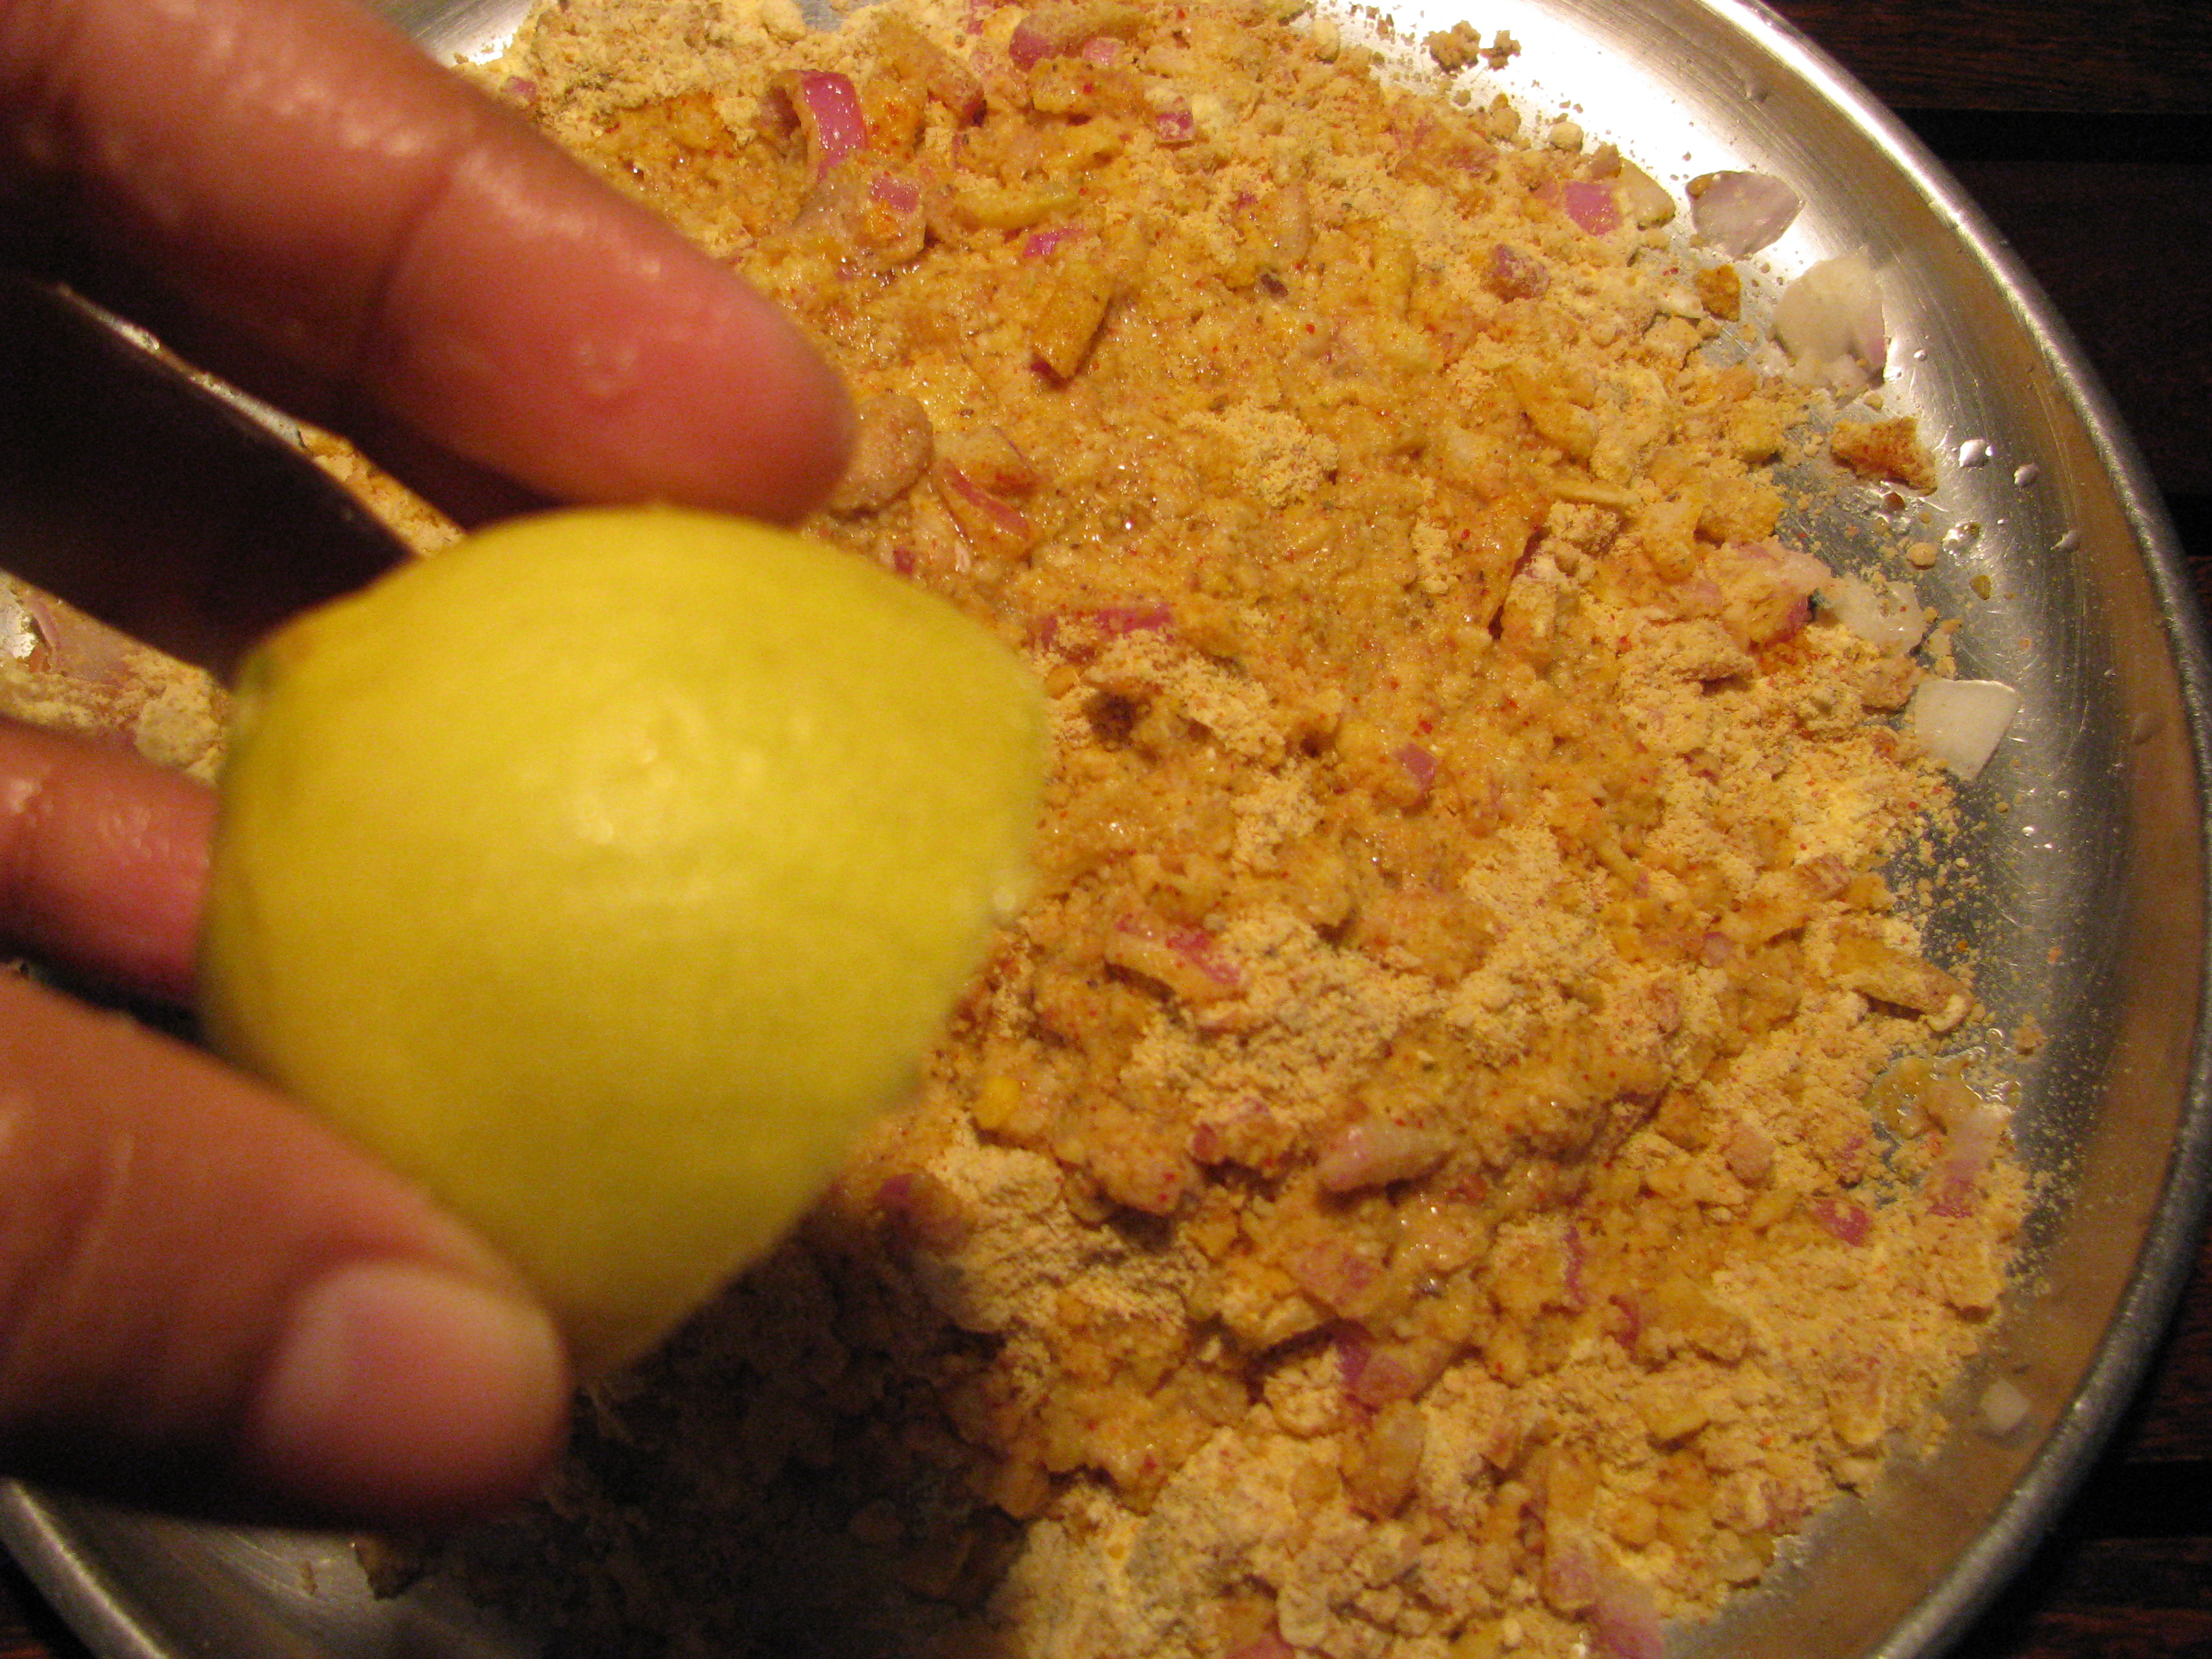
Mix the peanut coconut powder with the entire filling ingredient, lemon juice will make this filling wet
mix all stuffing ingredients with peanut coconut powder
Add lemon juice/ amchur/ grated raw mango in stuffing
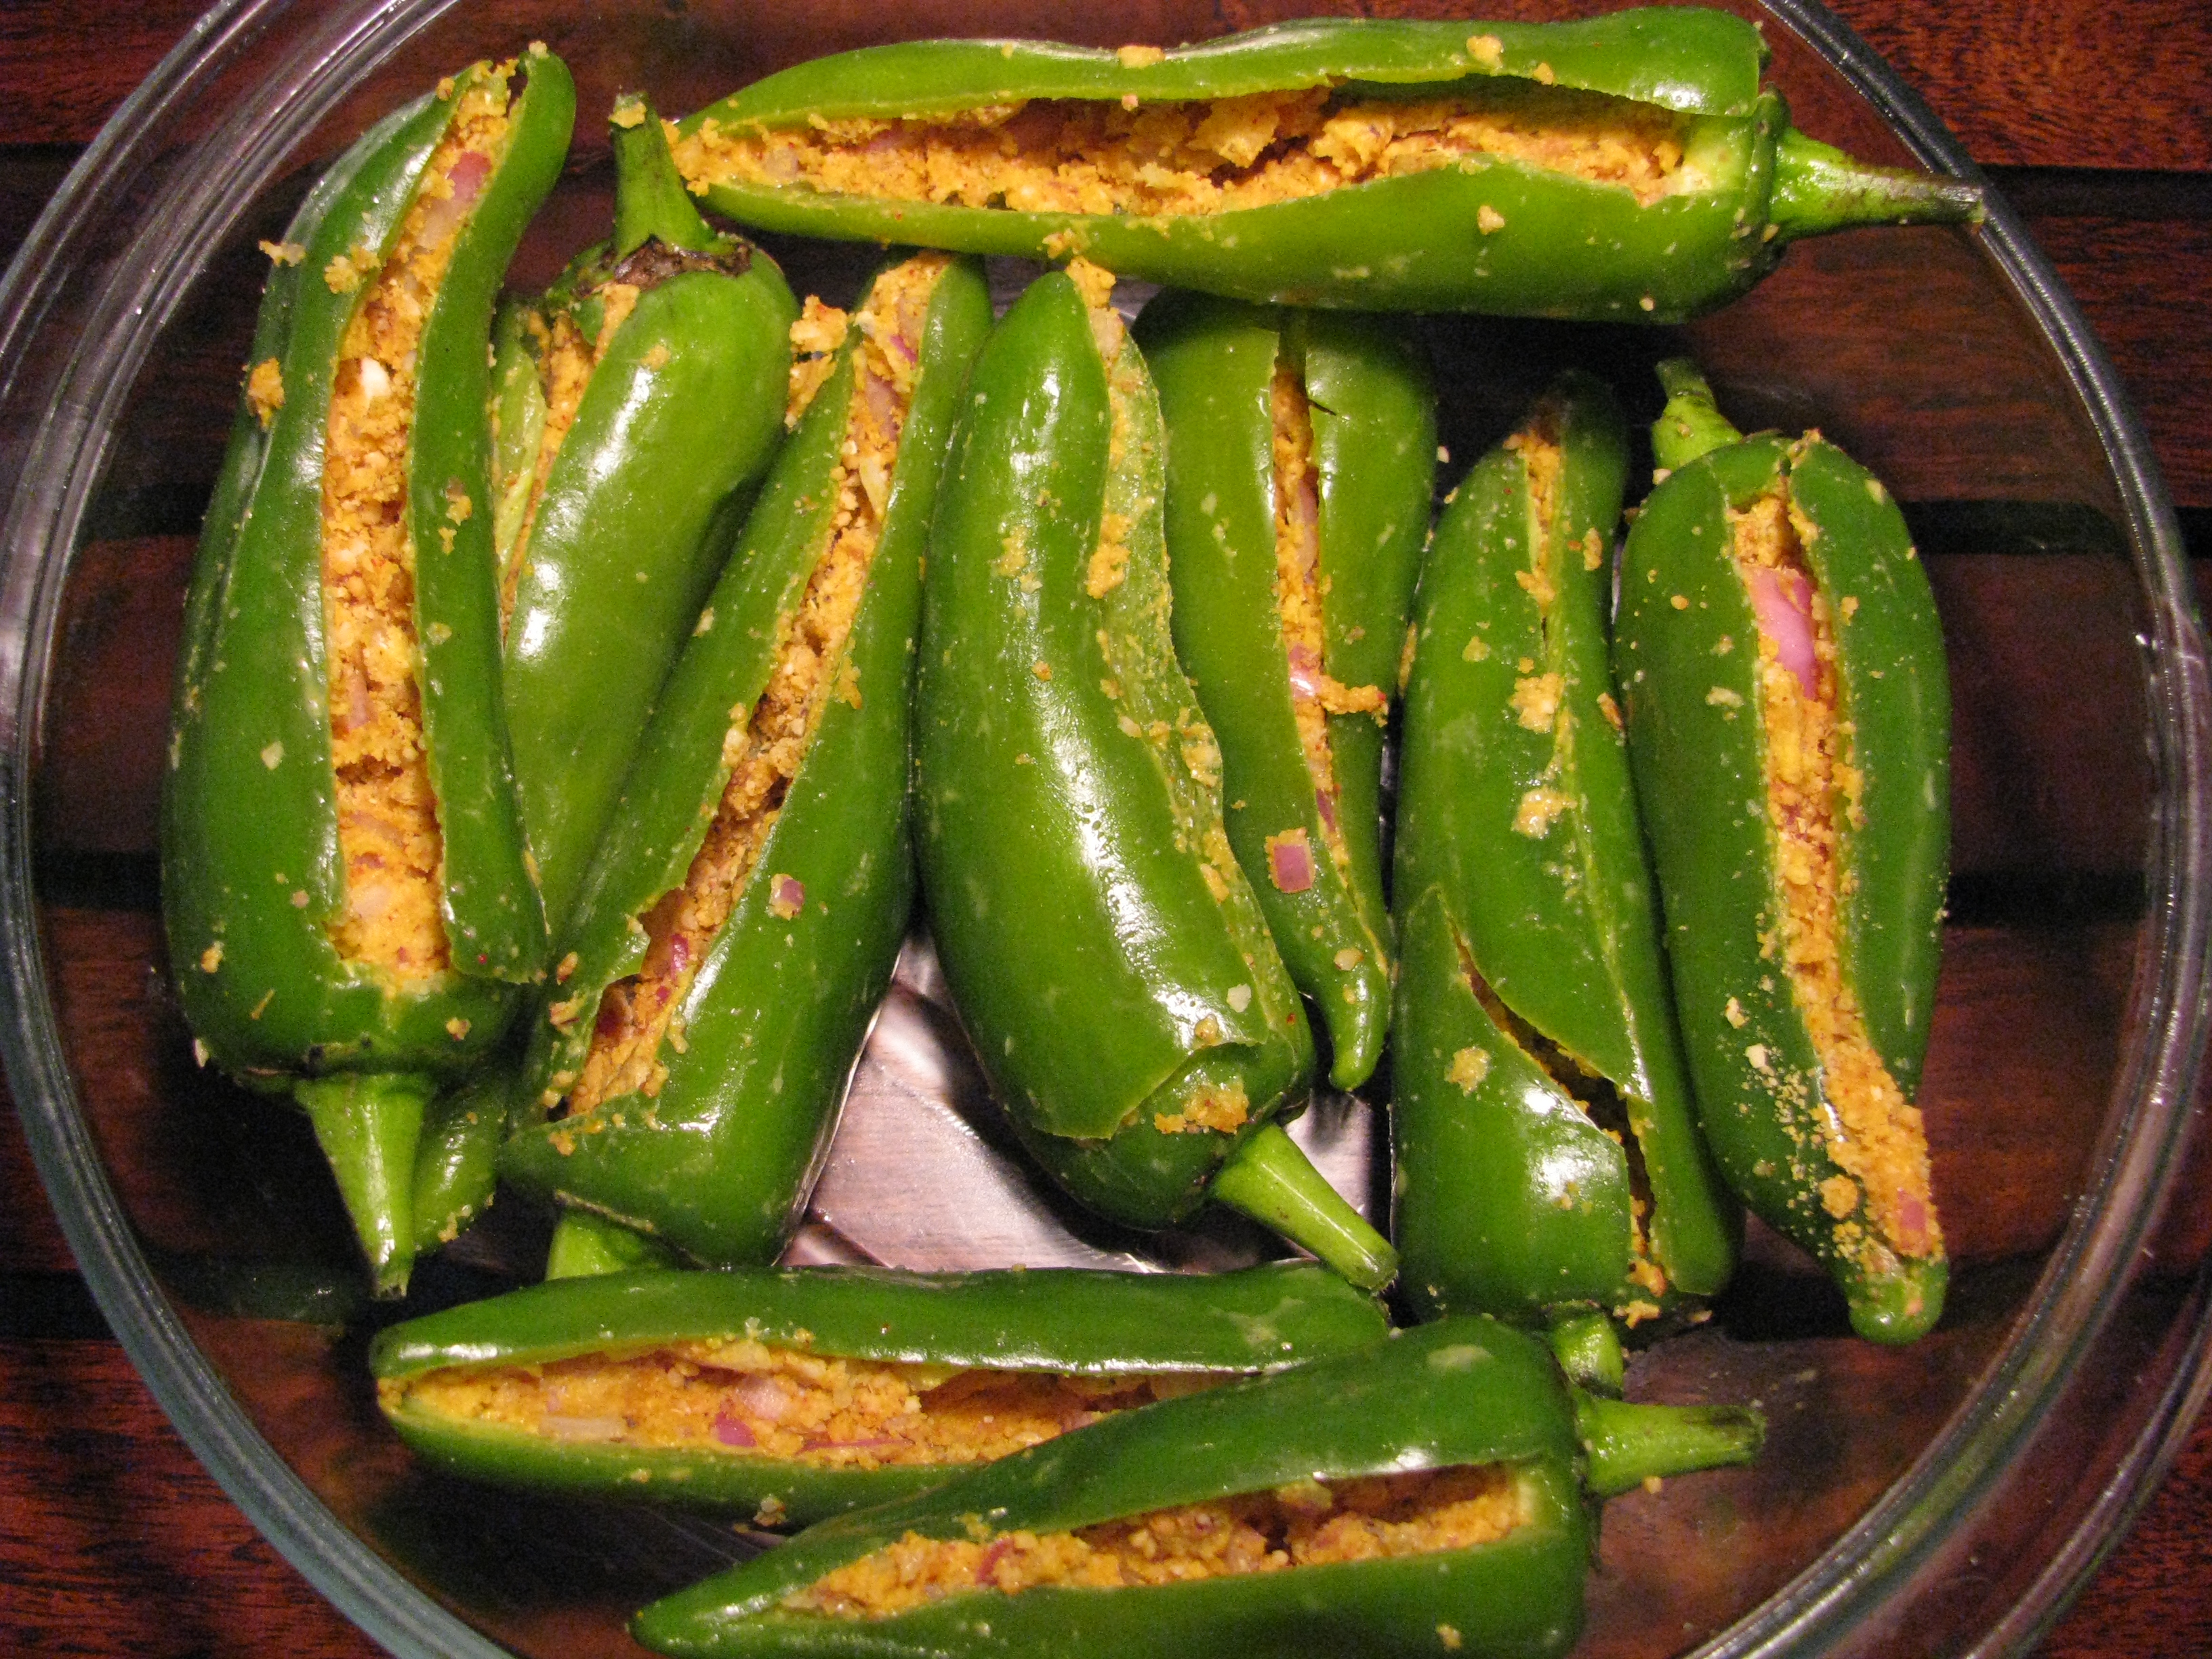
3. Stuff the filling in each chili
Stuffed green chilies (bhavnagri mirch)
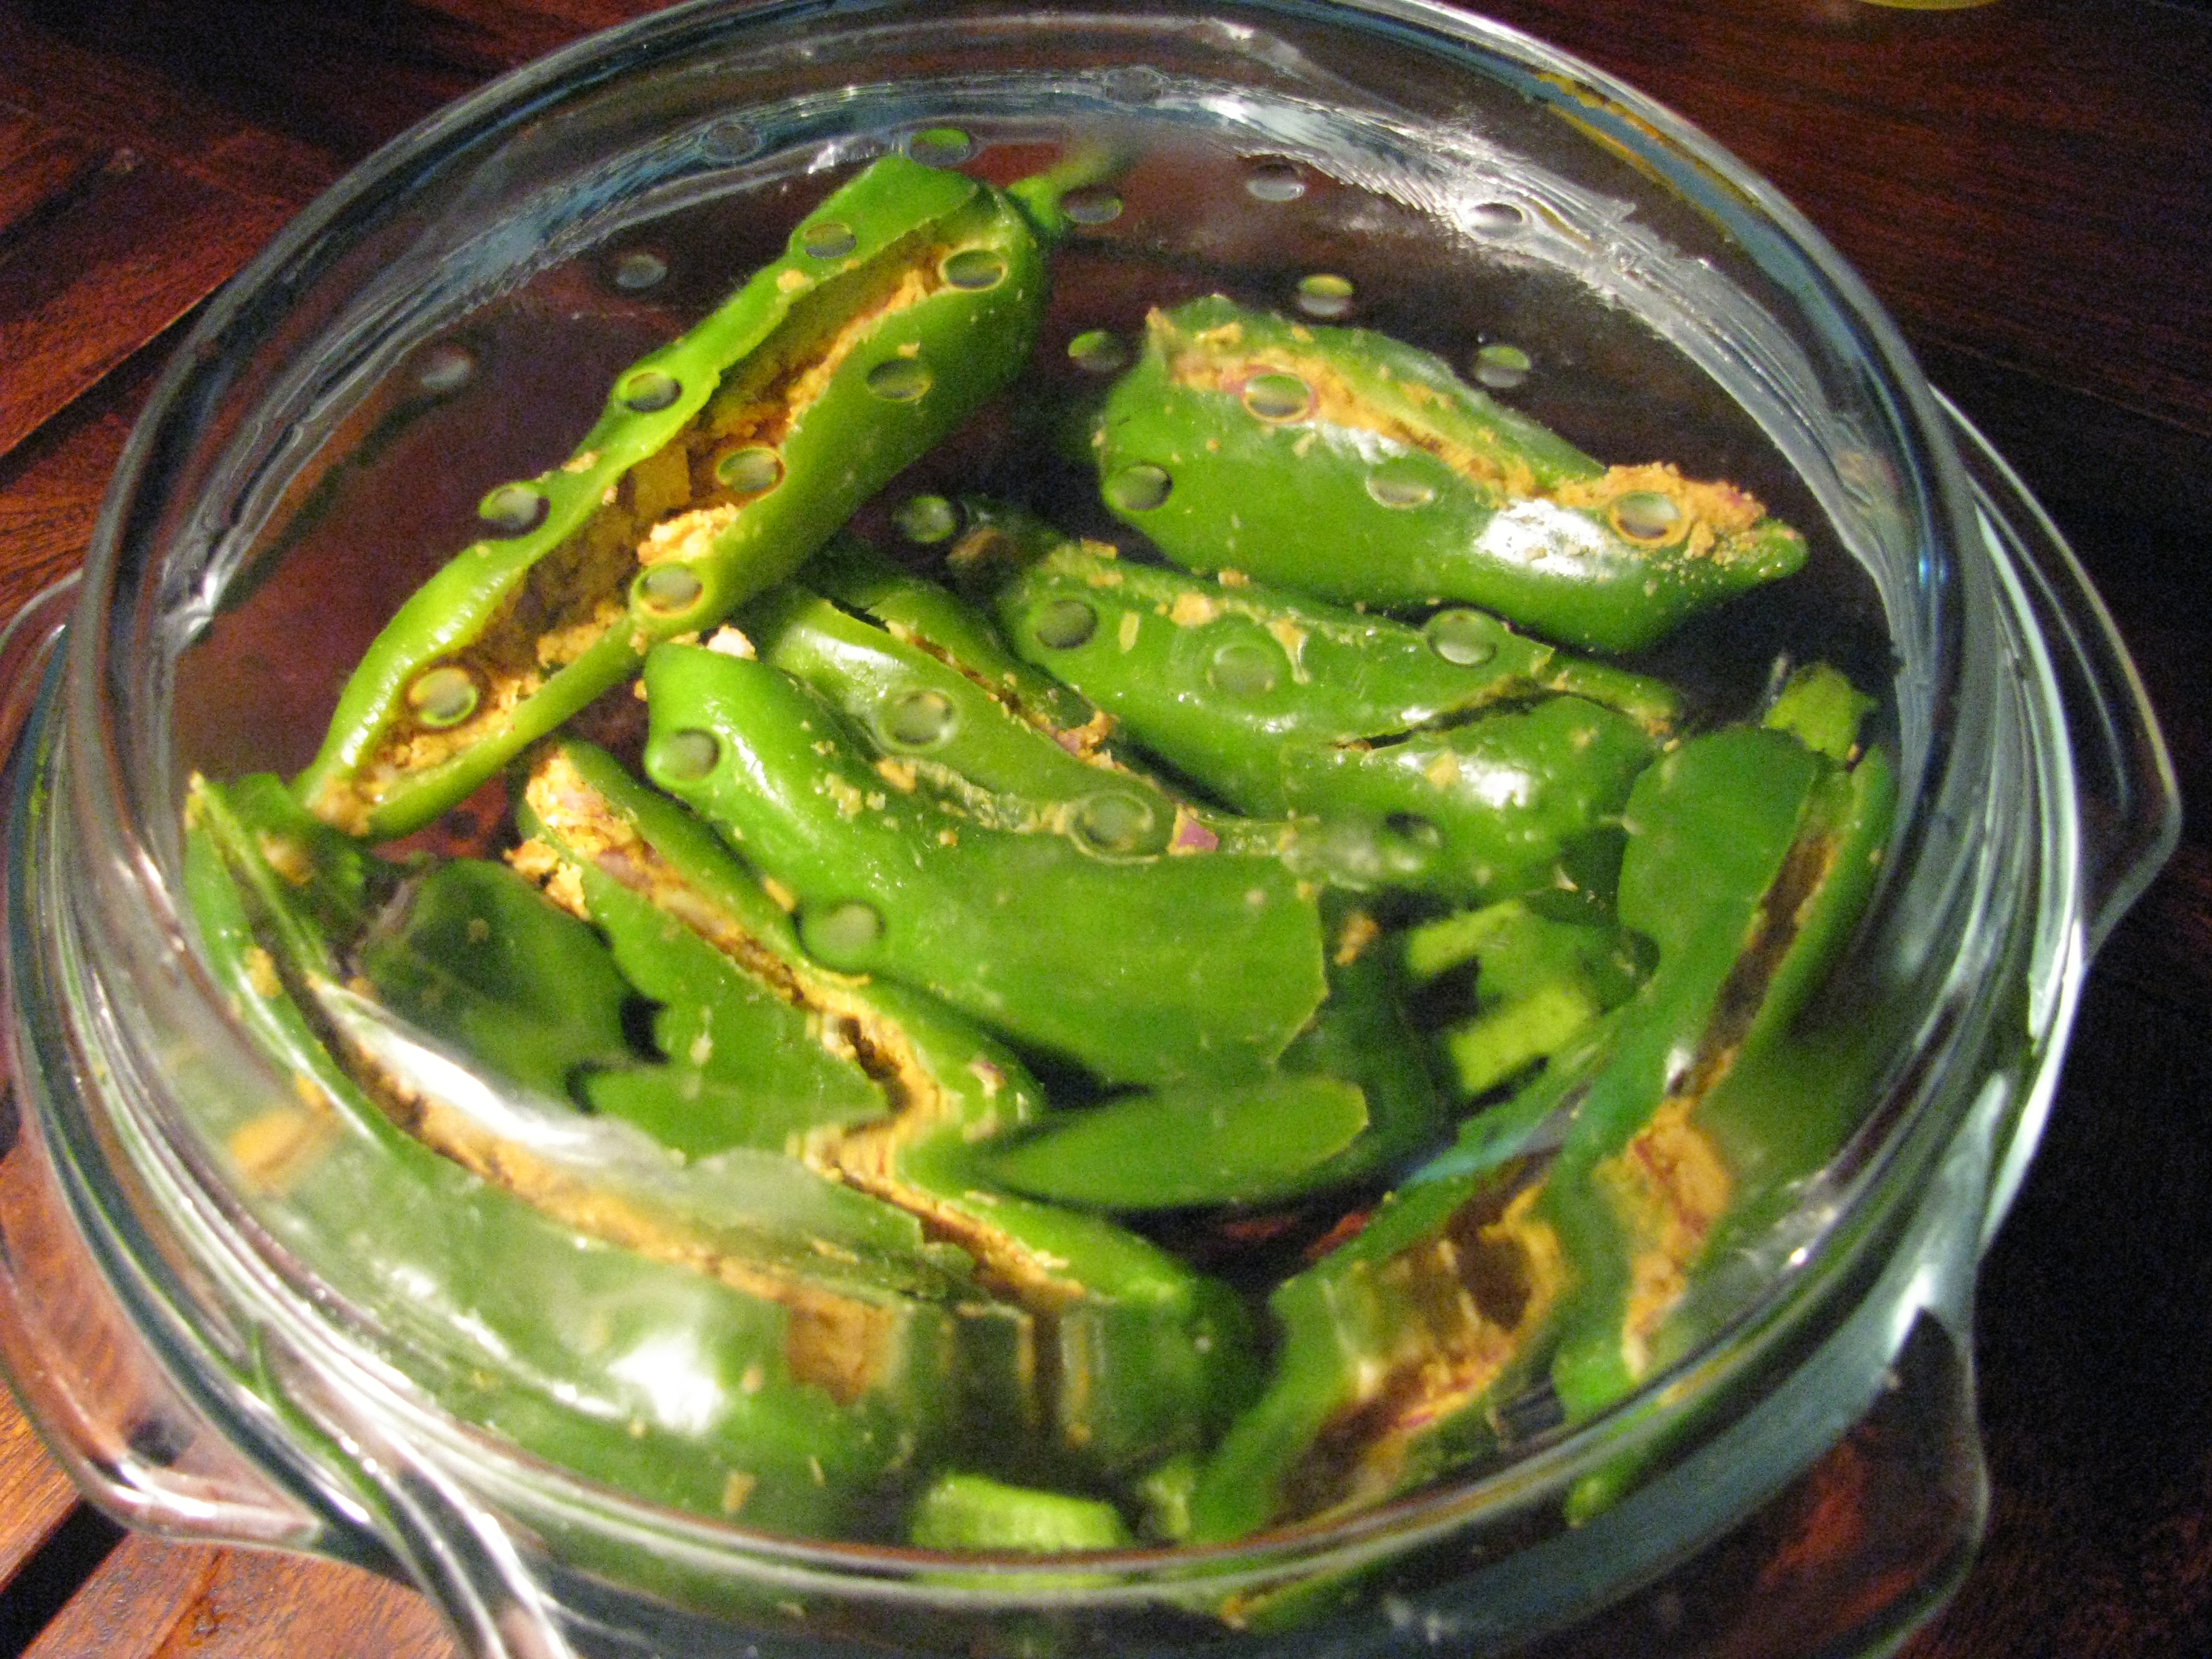
If you’re using microwave
Take all stuffed chilies in microwave safe bowl, close the lid and microwave it for 6 minutes.
stuffed marcha/mirchi/chilies/mirch in microwave safe bowl with its lid closed
Cooked stuffed marcha /mirchi /mirch in microwave
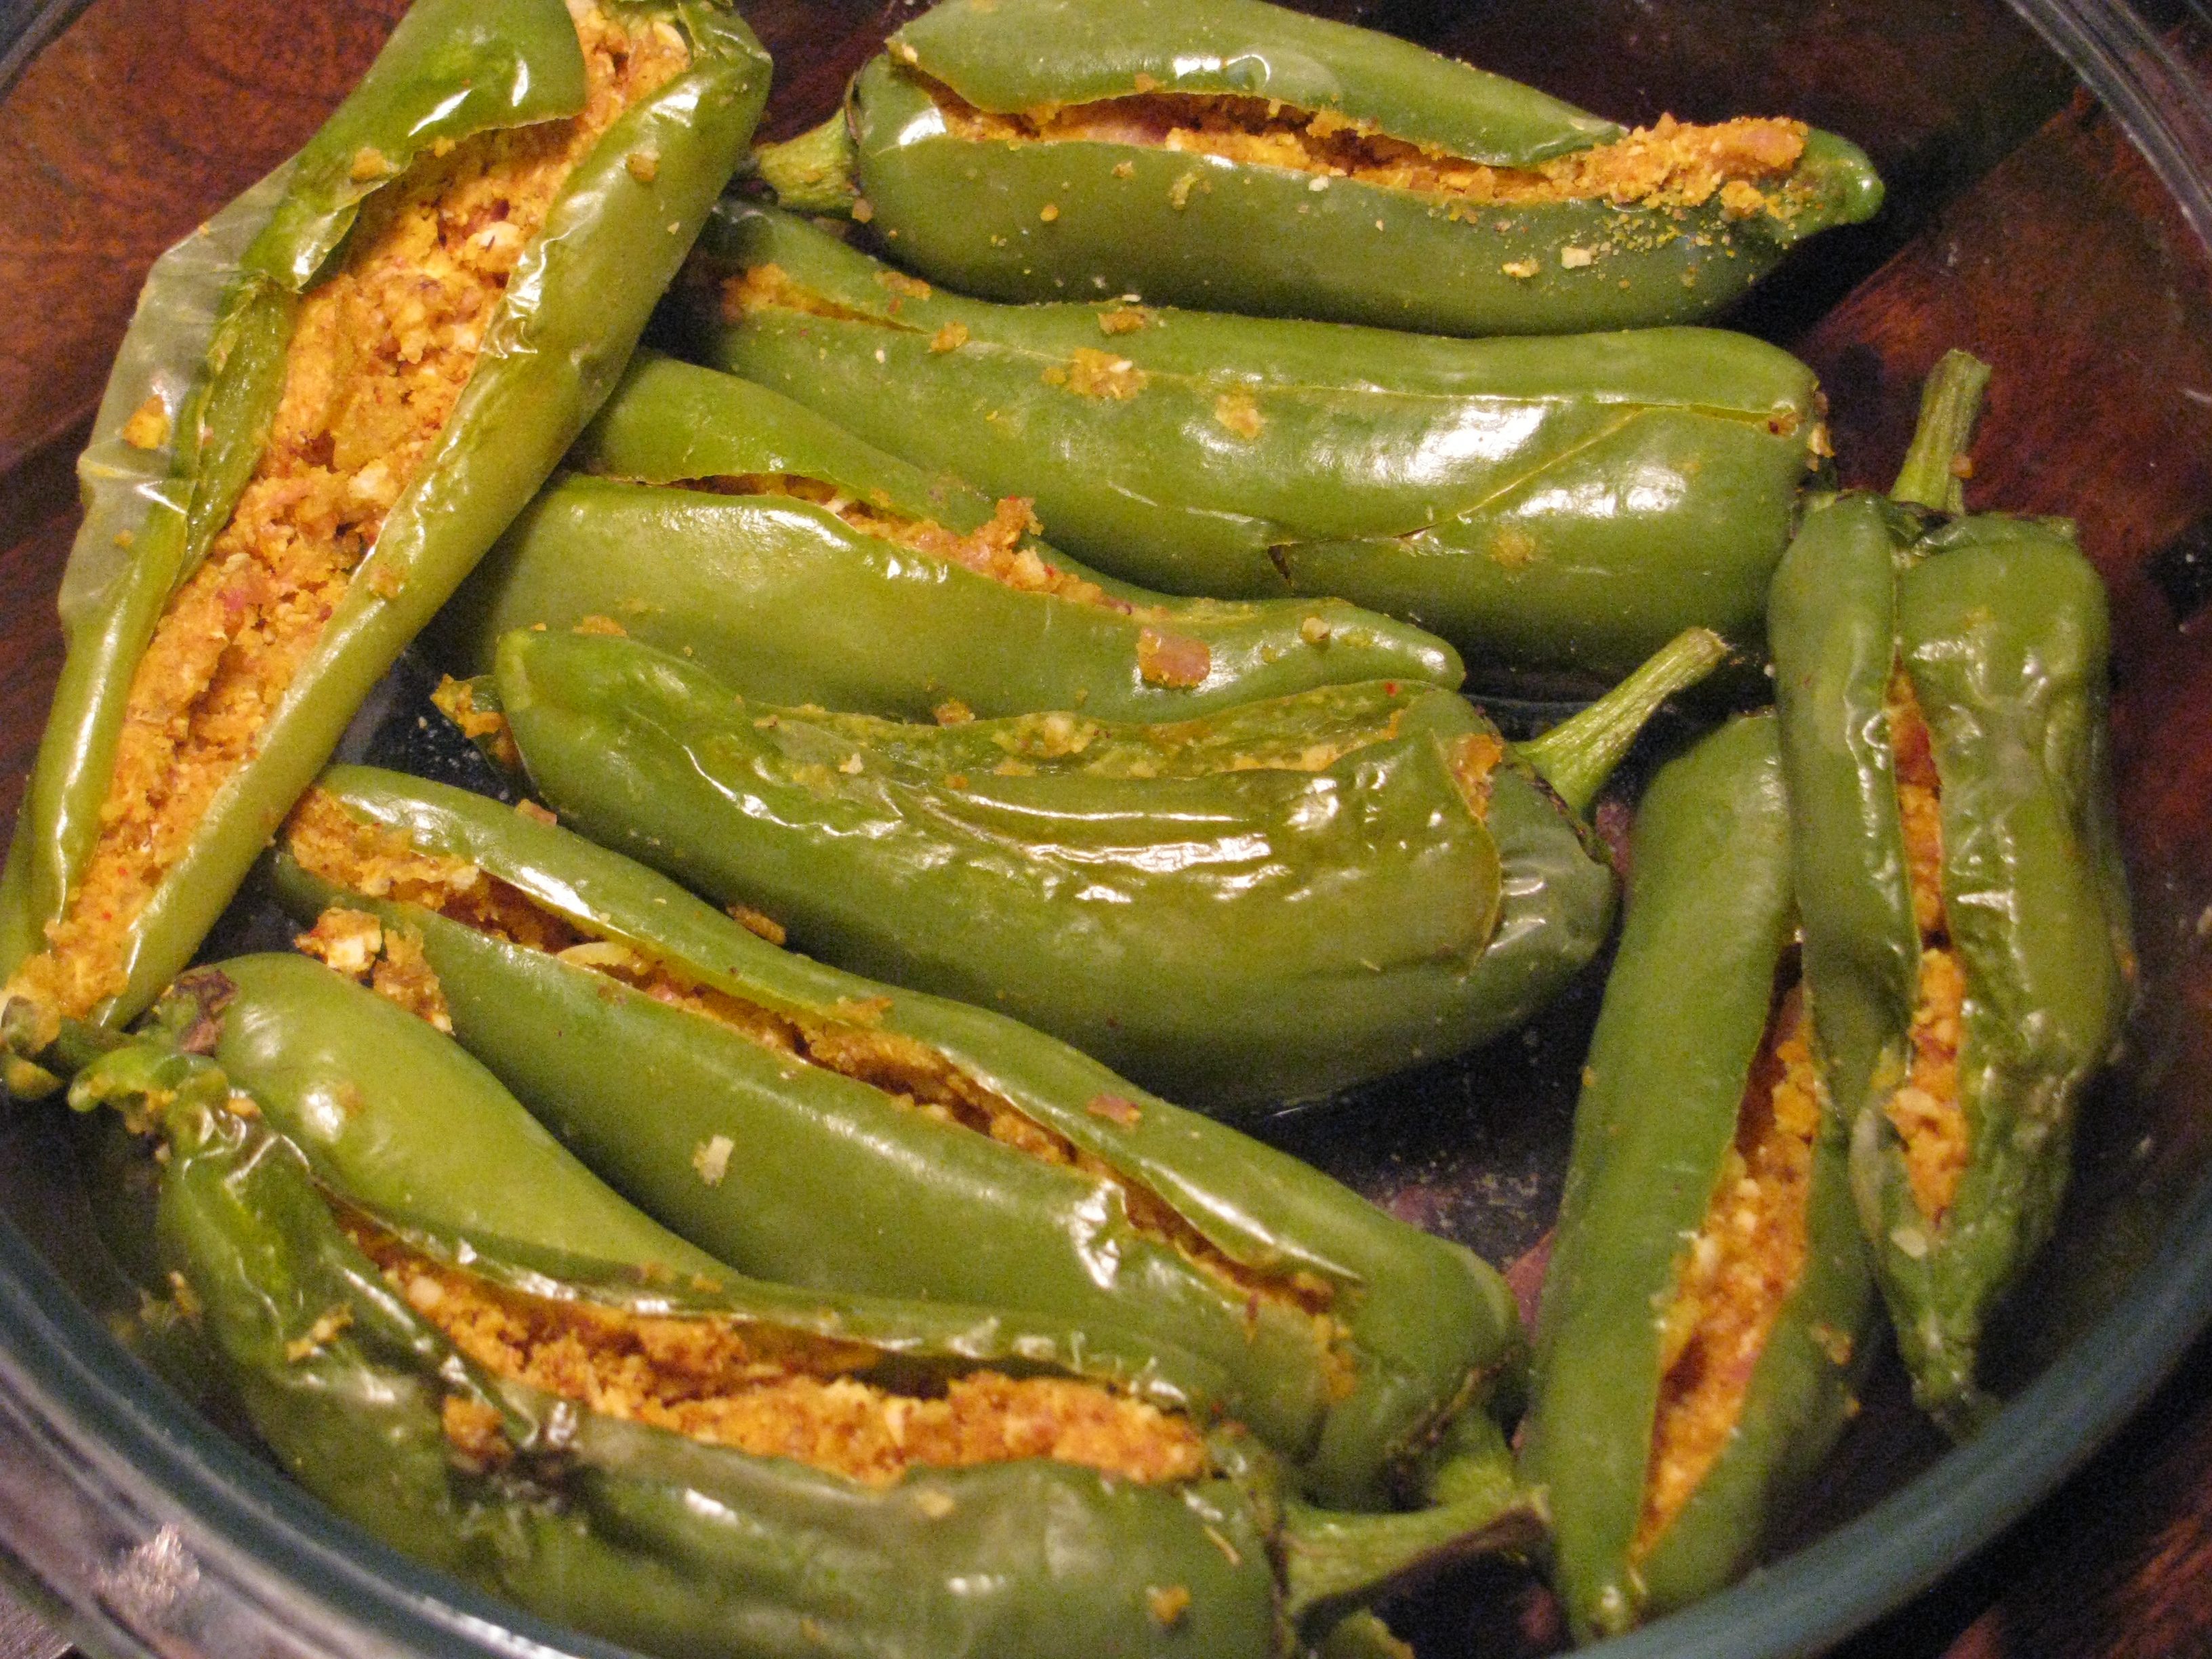
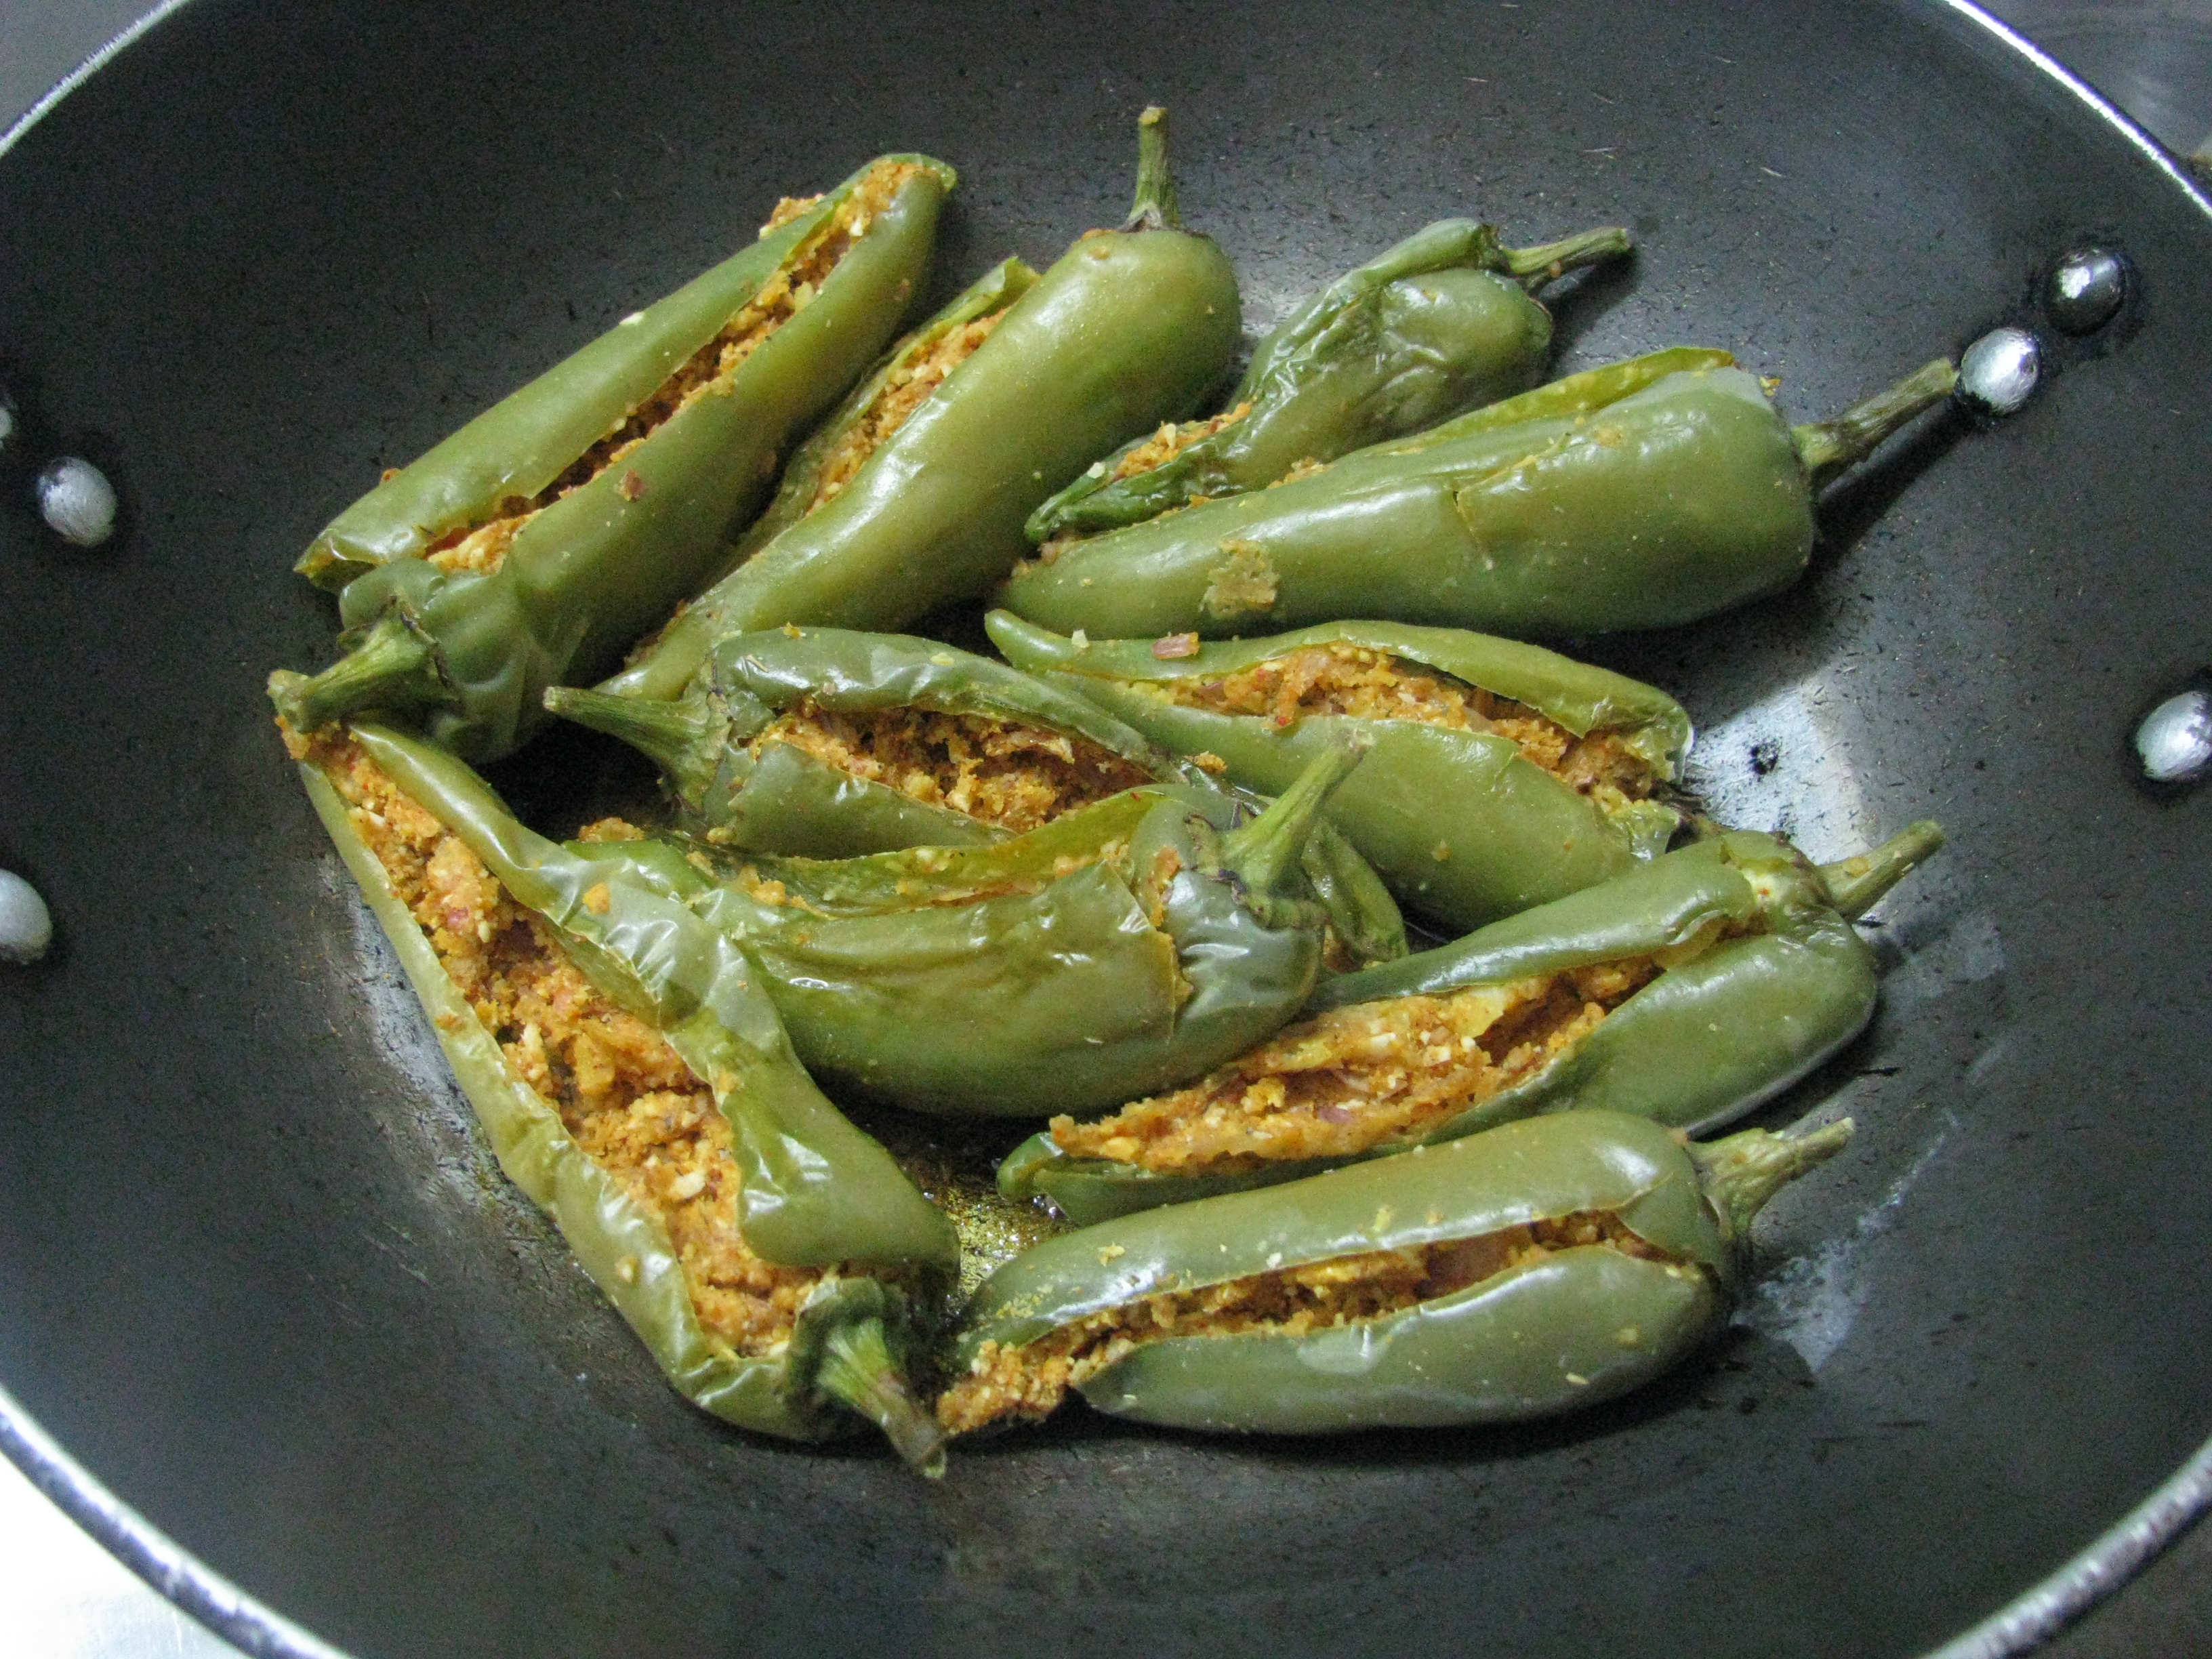
Heat the oil in a frying pan add cumin seeds and Asafoetida to it and then add stuffed microwave cooked chilies in it , roast it for 5 minutes and remove it from heat.
Roast cooked stuffed mirch/ marcha / mirchi in oil cumin seeds / asfoetidia
Bharela marcha / Bhareli mirchi /Stuffed chilies
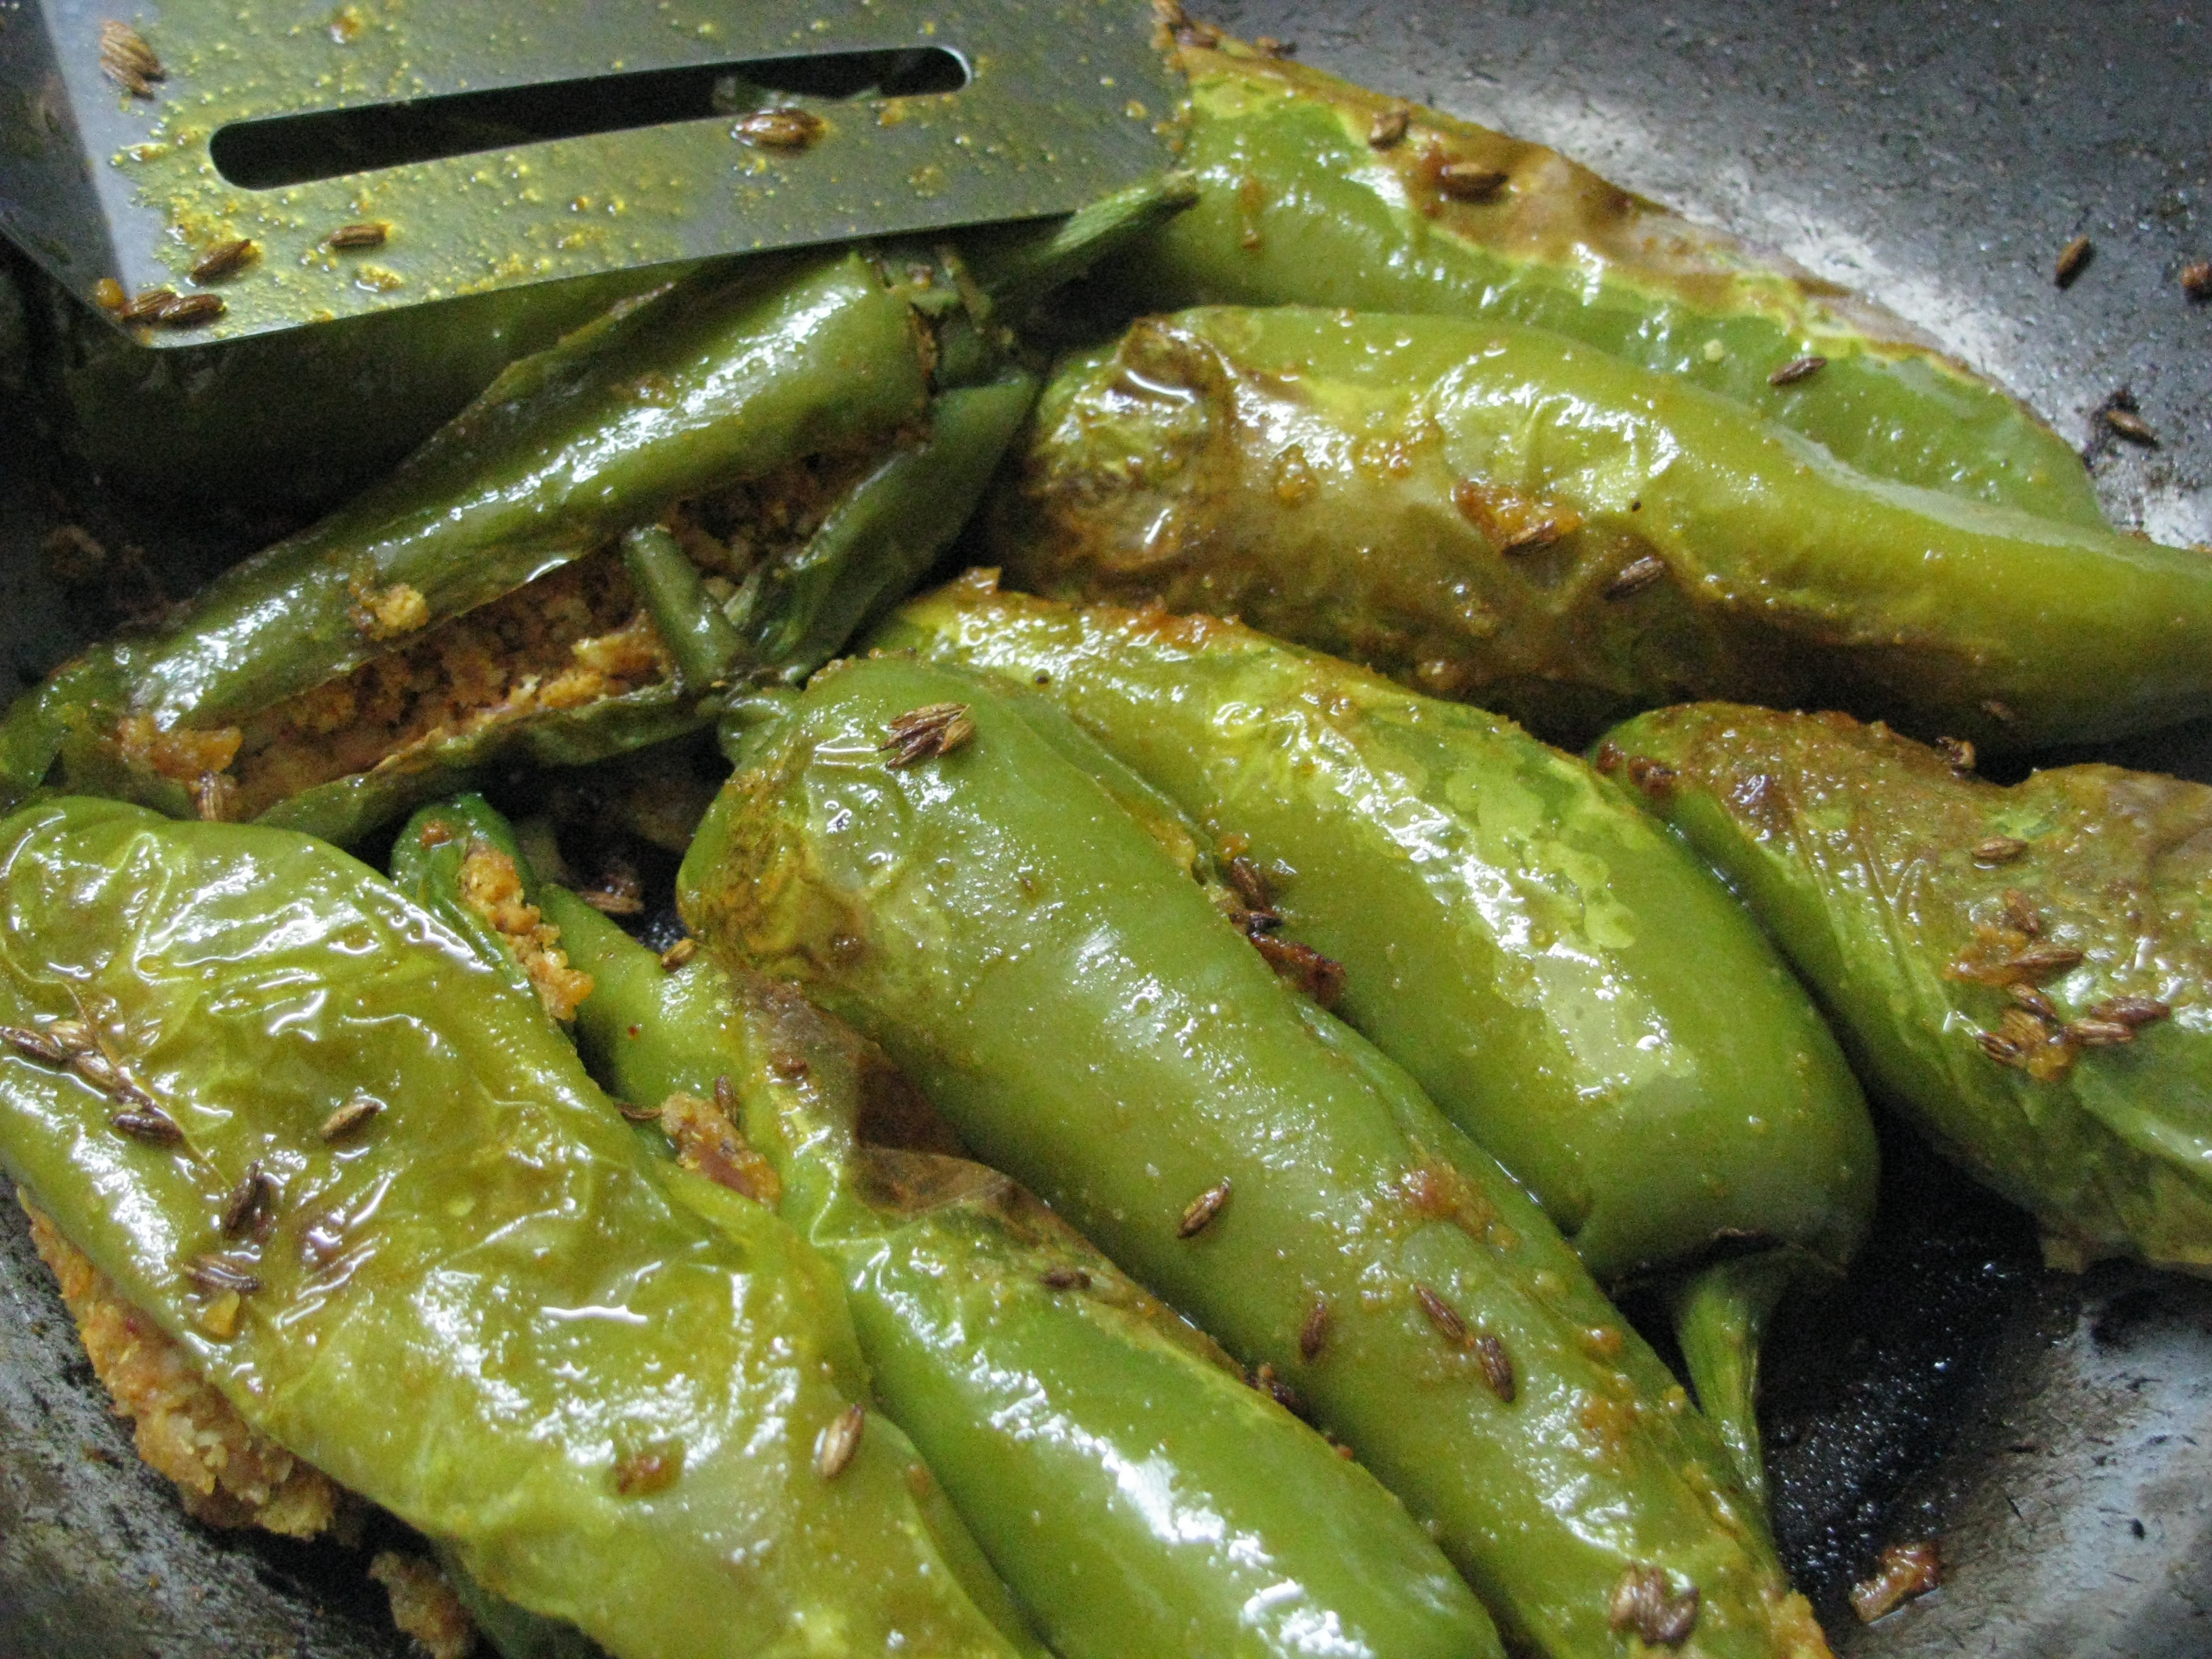
If you’re not using microwave
Heat the oil in the pan (preferably non stick pan if you want to use less oil) and add cumin seeds and Asafoetida to it then put all the stuffed chilies in it roast it on high flame and then cover it and cook it on low flame for 5 -6 minutes again turn all chilies and close the lid for 5 -6 minutes and let it cook on low flame. Cook it until the chilies are cooked.
Serve this tasty bharli mirchi/ bharela marcha with plain dal chawal (waran bhath), kadhi khichadi,or your any meal as a side dish
Also check how to makeGujrati kadhi recipe this goes really well this bharela marcha/bharli mirchi .
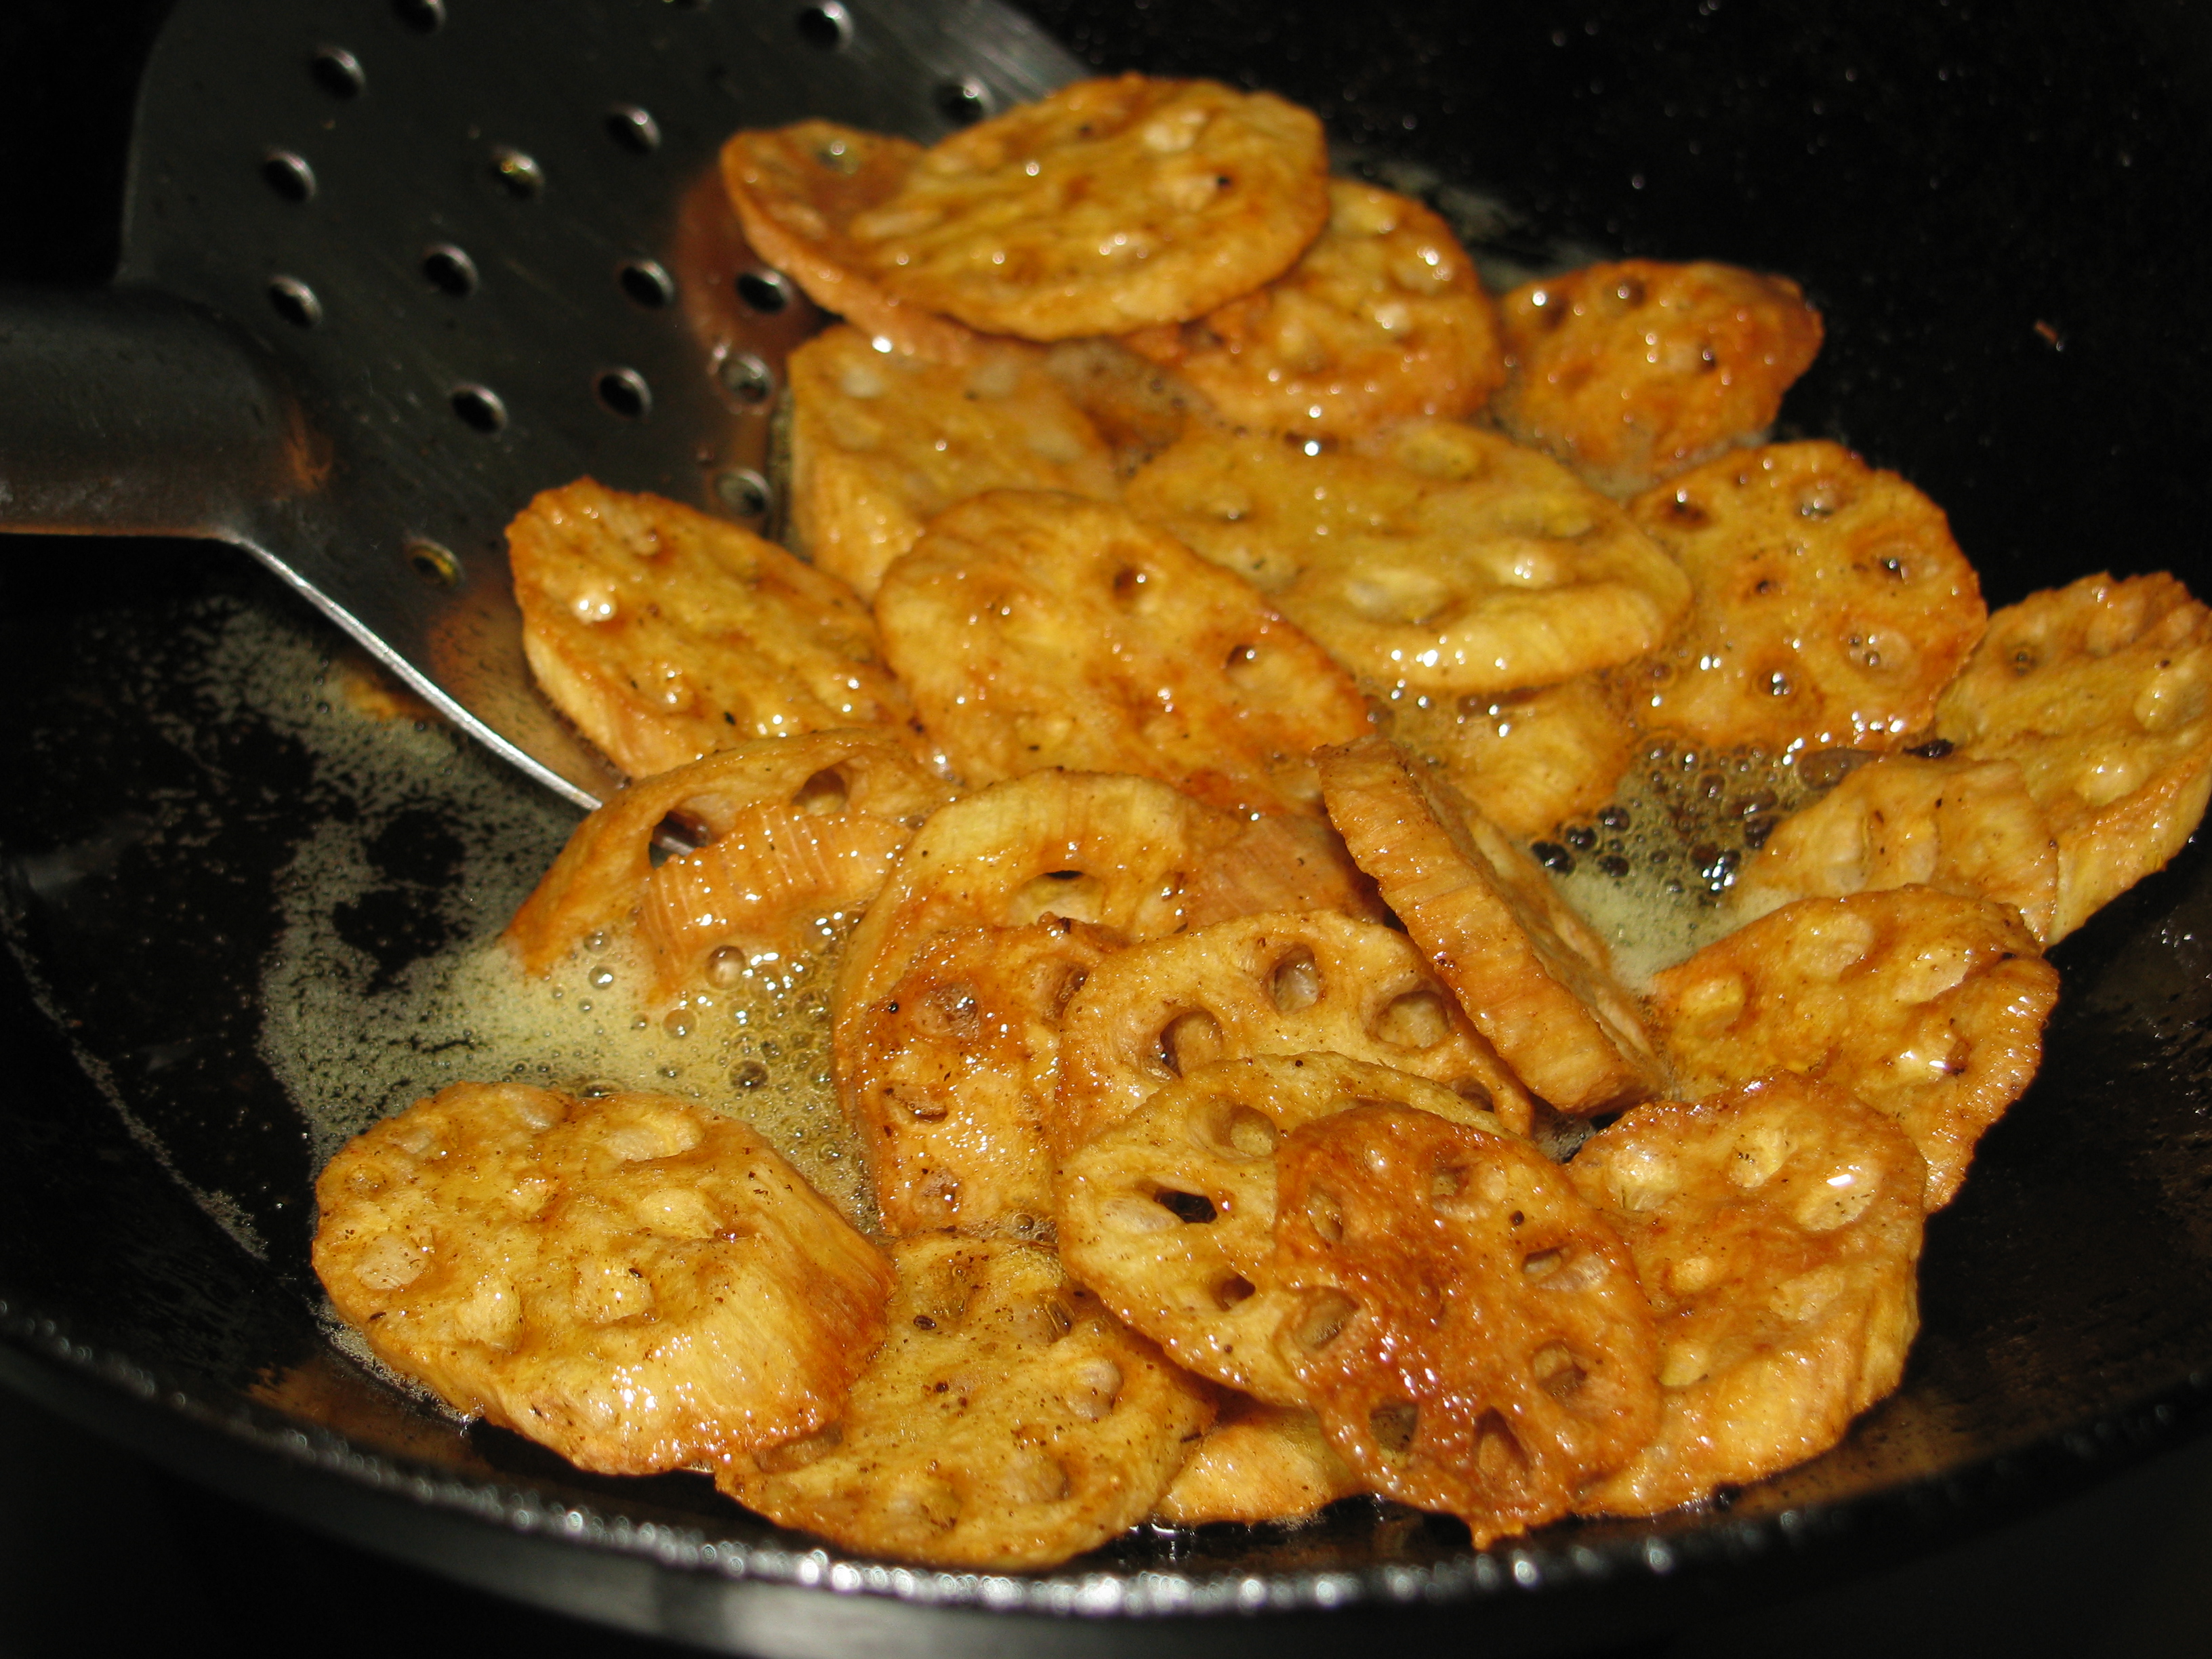
Lotus stem / kamal kakdi chips taste best and look good; it’s a nice kamal kakadi recipe which kids love to have it in their snacks. I have cooked kamal kakdi in microwave and then I have fried it, if you fry it directly it will become soft and you have to fry it two times to make it crispy. When you cook it in microwave it gets enough dry and cooked for frying, there is no difference in taste by both methods.
[ingredients title=”Ingredients”]
250gms Lotus stem / kamal kakdi
½ teaspoon salt
Oil for frying
For seasoning
½ teaspoon red chili powder (optional)
½ teaspoon black salt
½ teaspoon chat masala (optional)
[/ingredients]
[directions title=”Directions”]
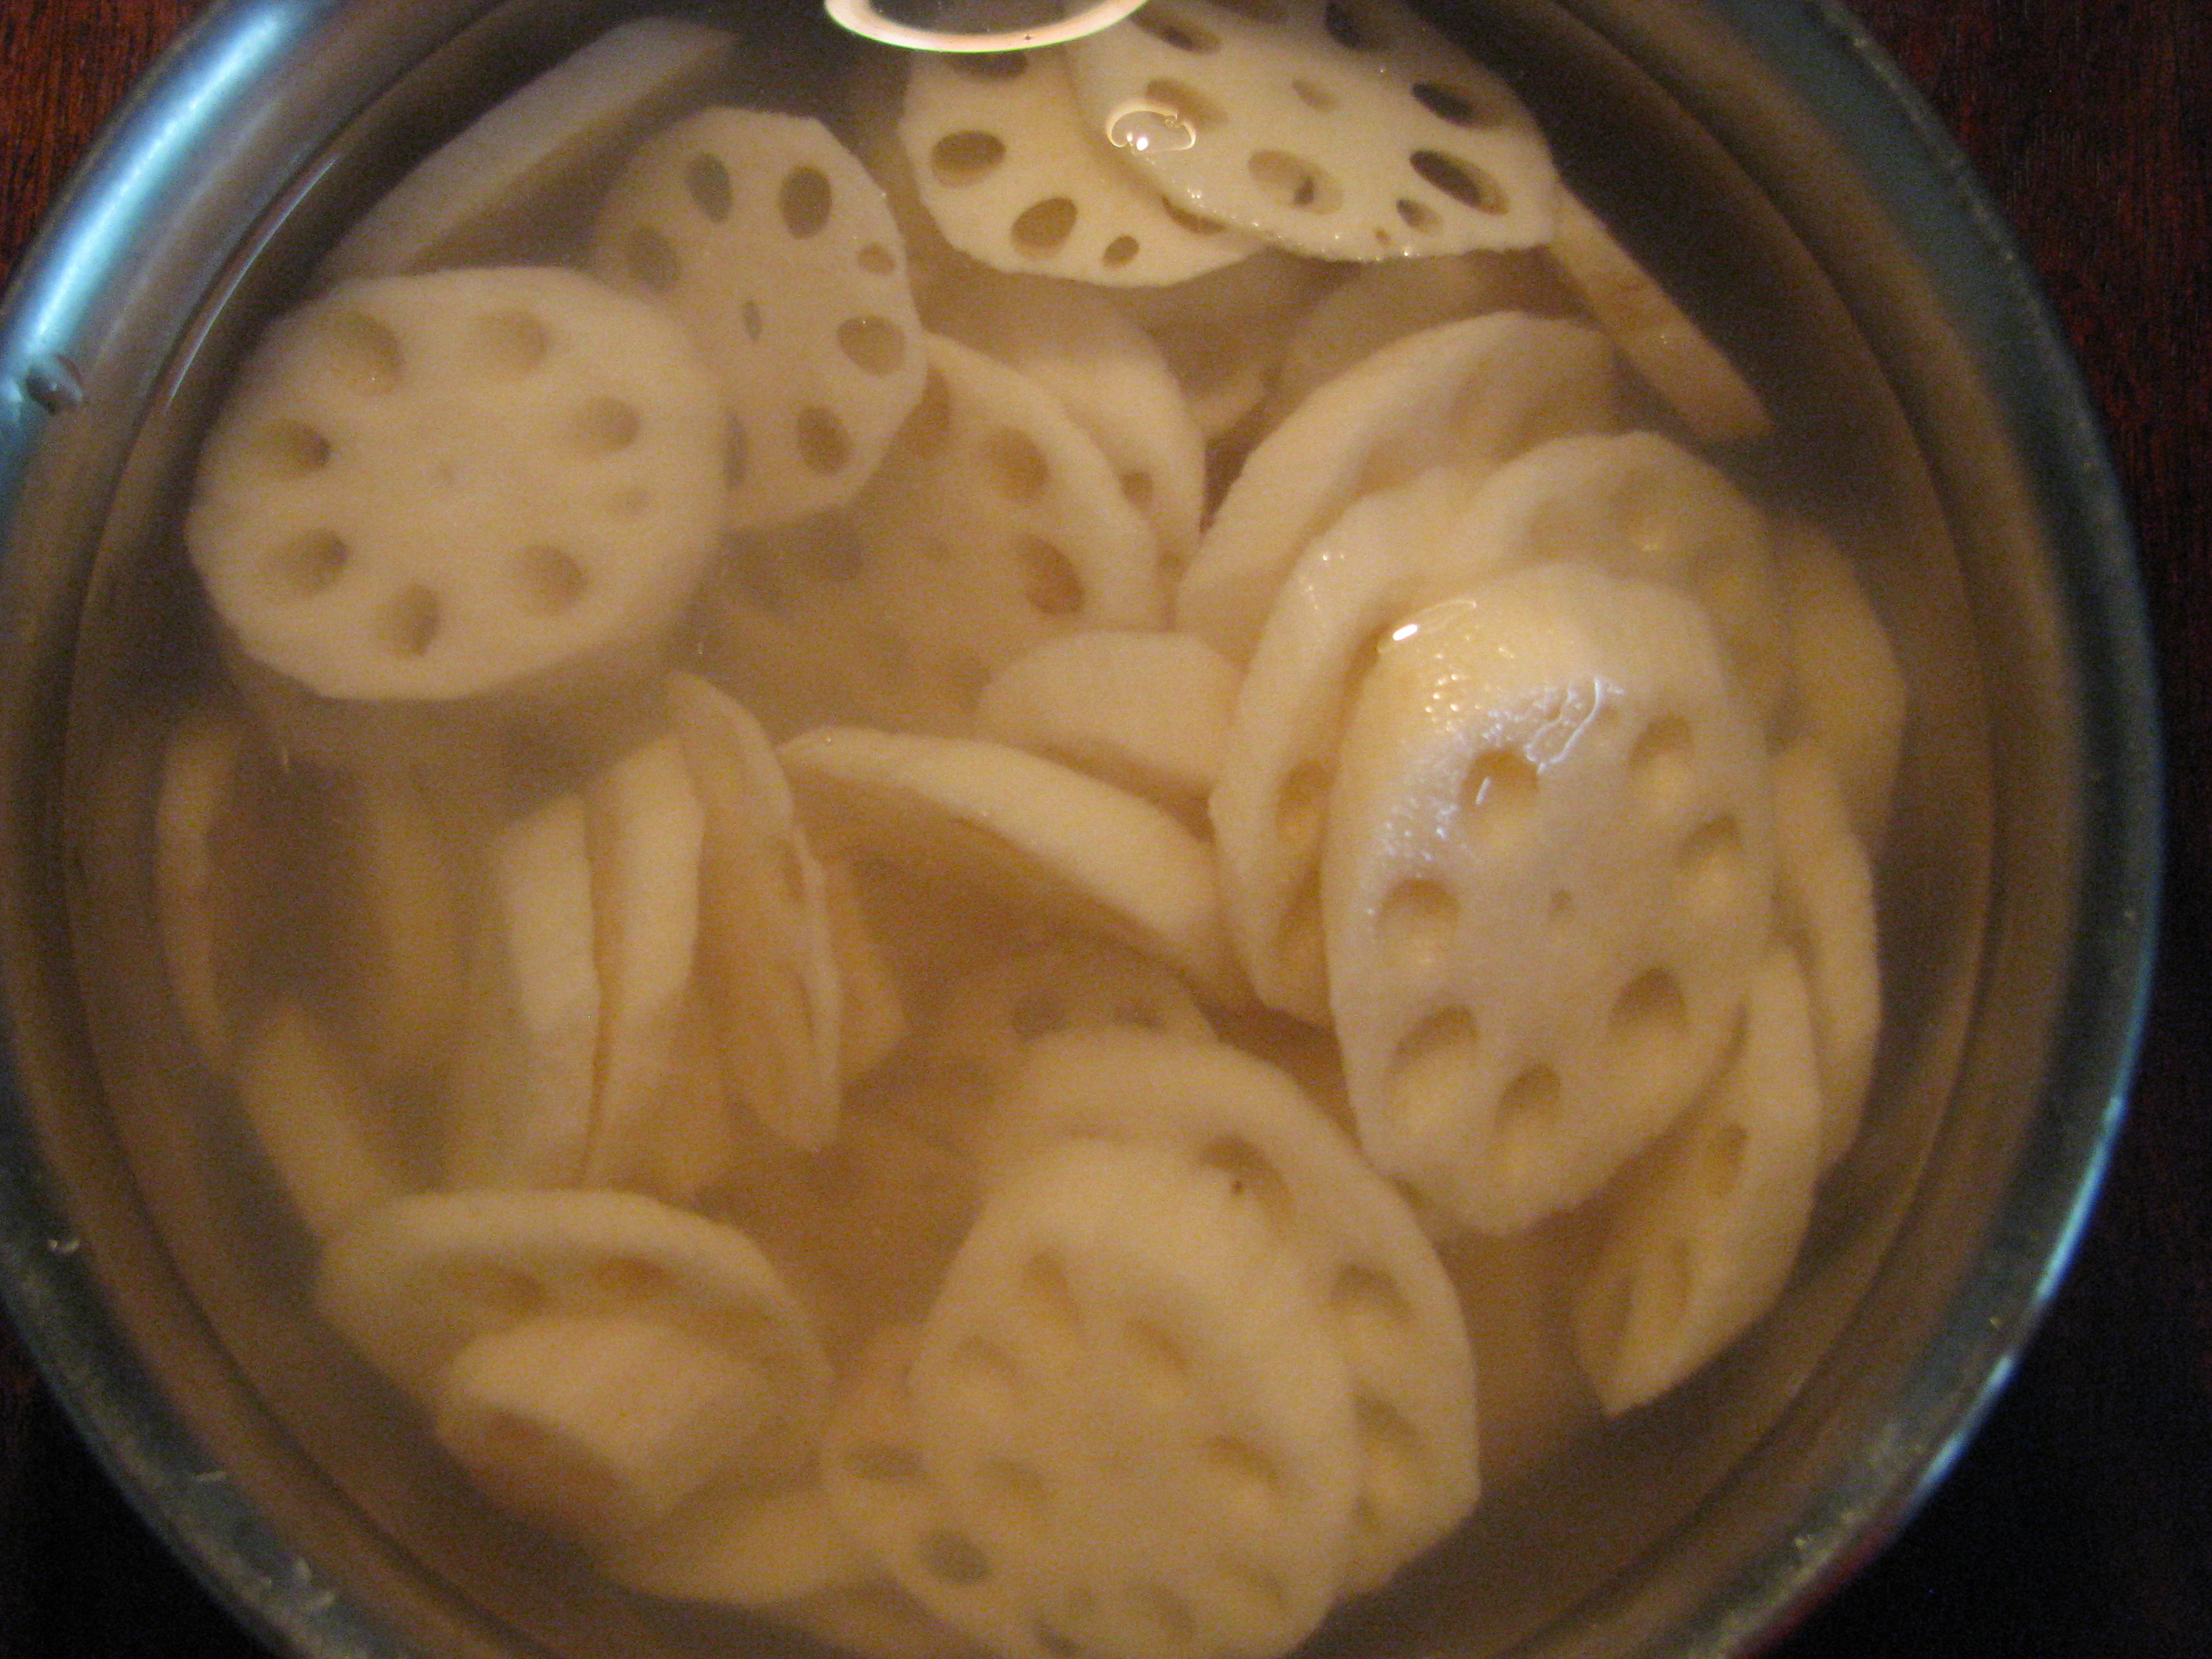
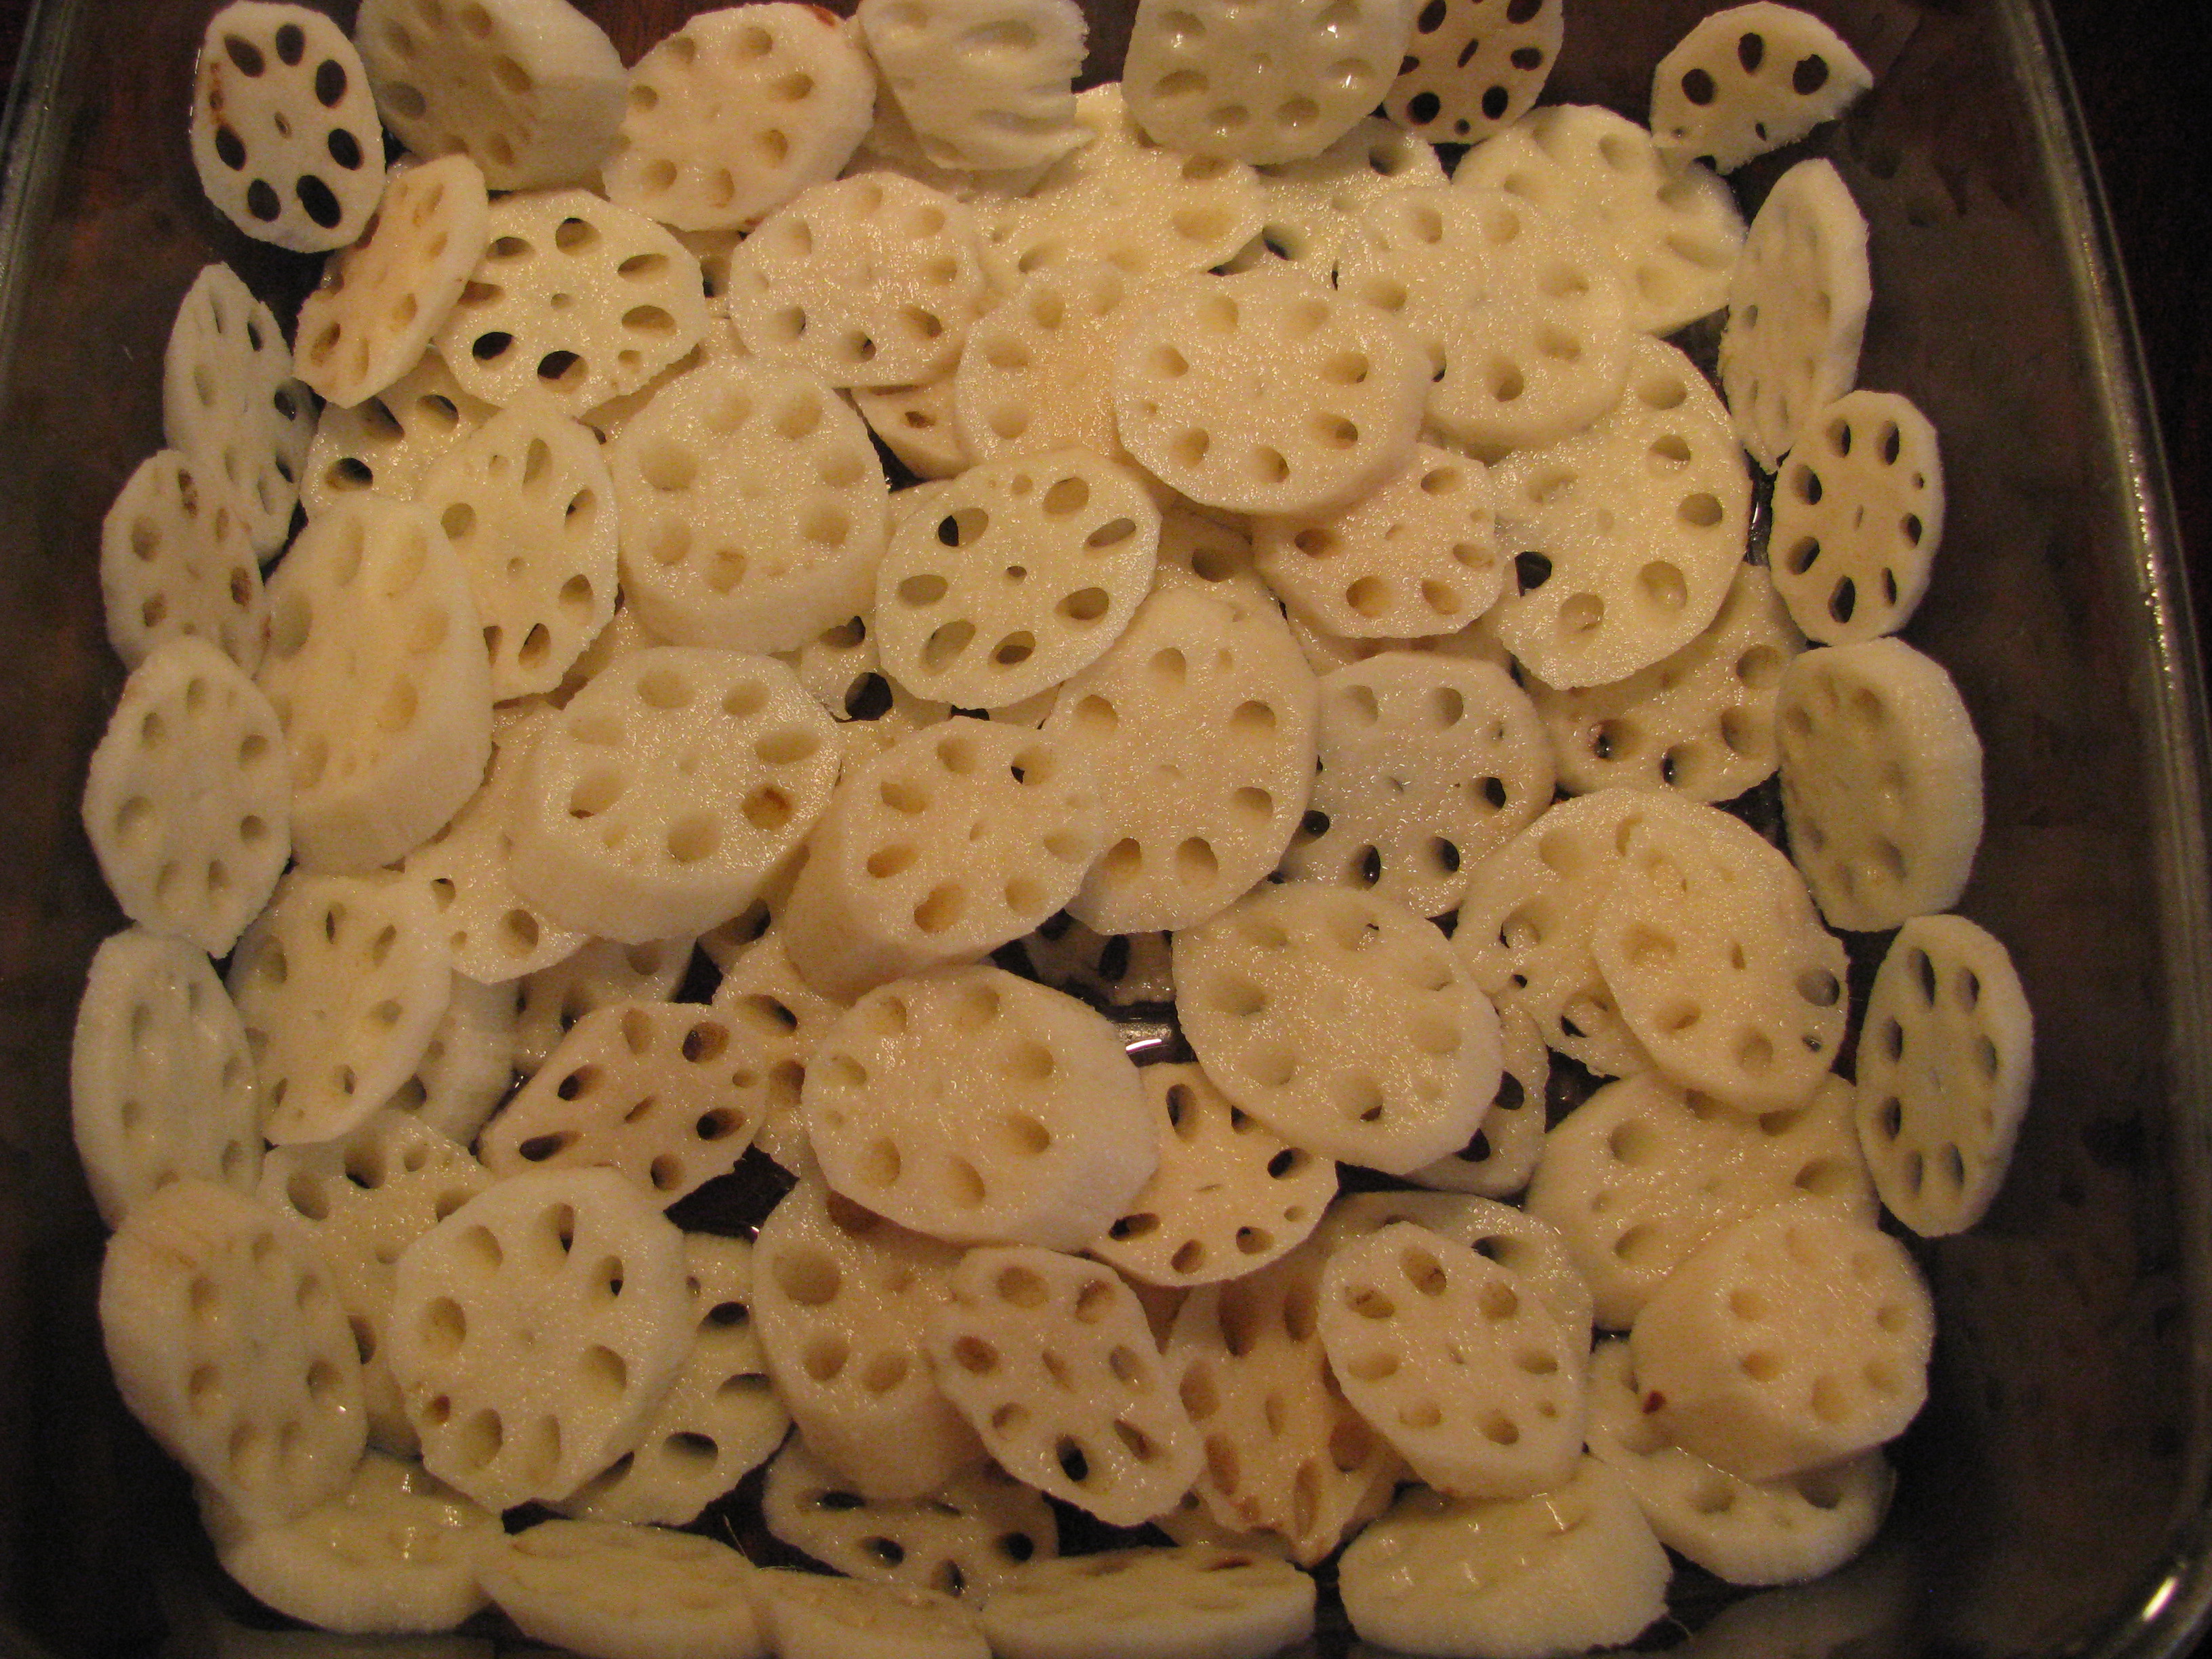
Wash kamal kakdi (lotus stem) with clean water. And cut it in ½ cm thin slices, wash this slices if you see mud particles in it.
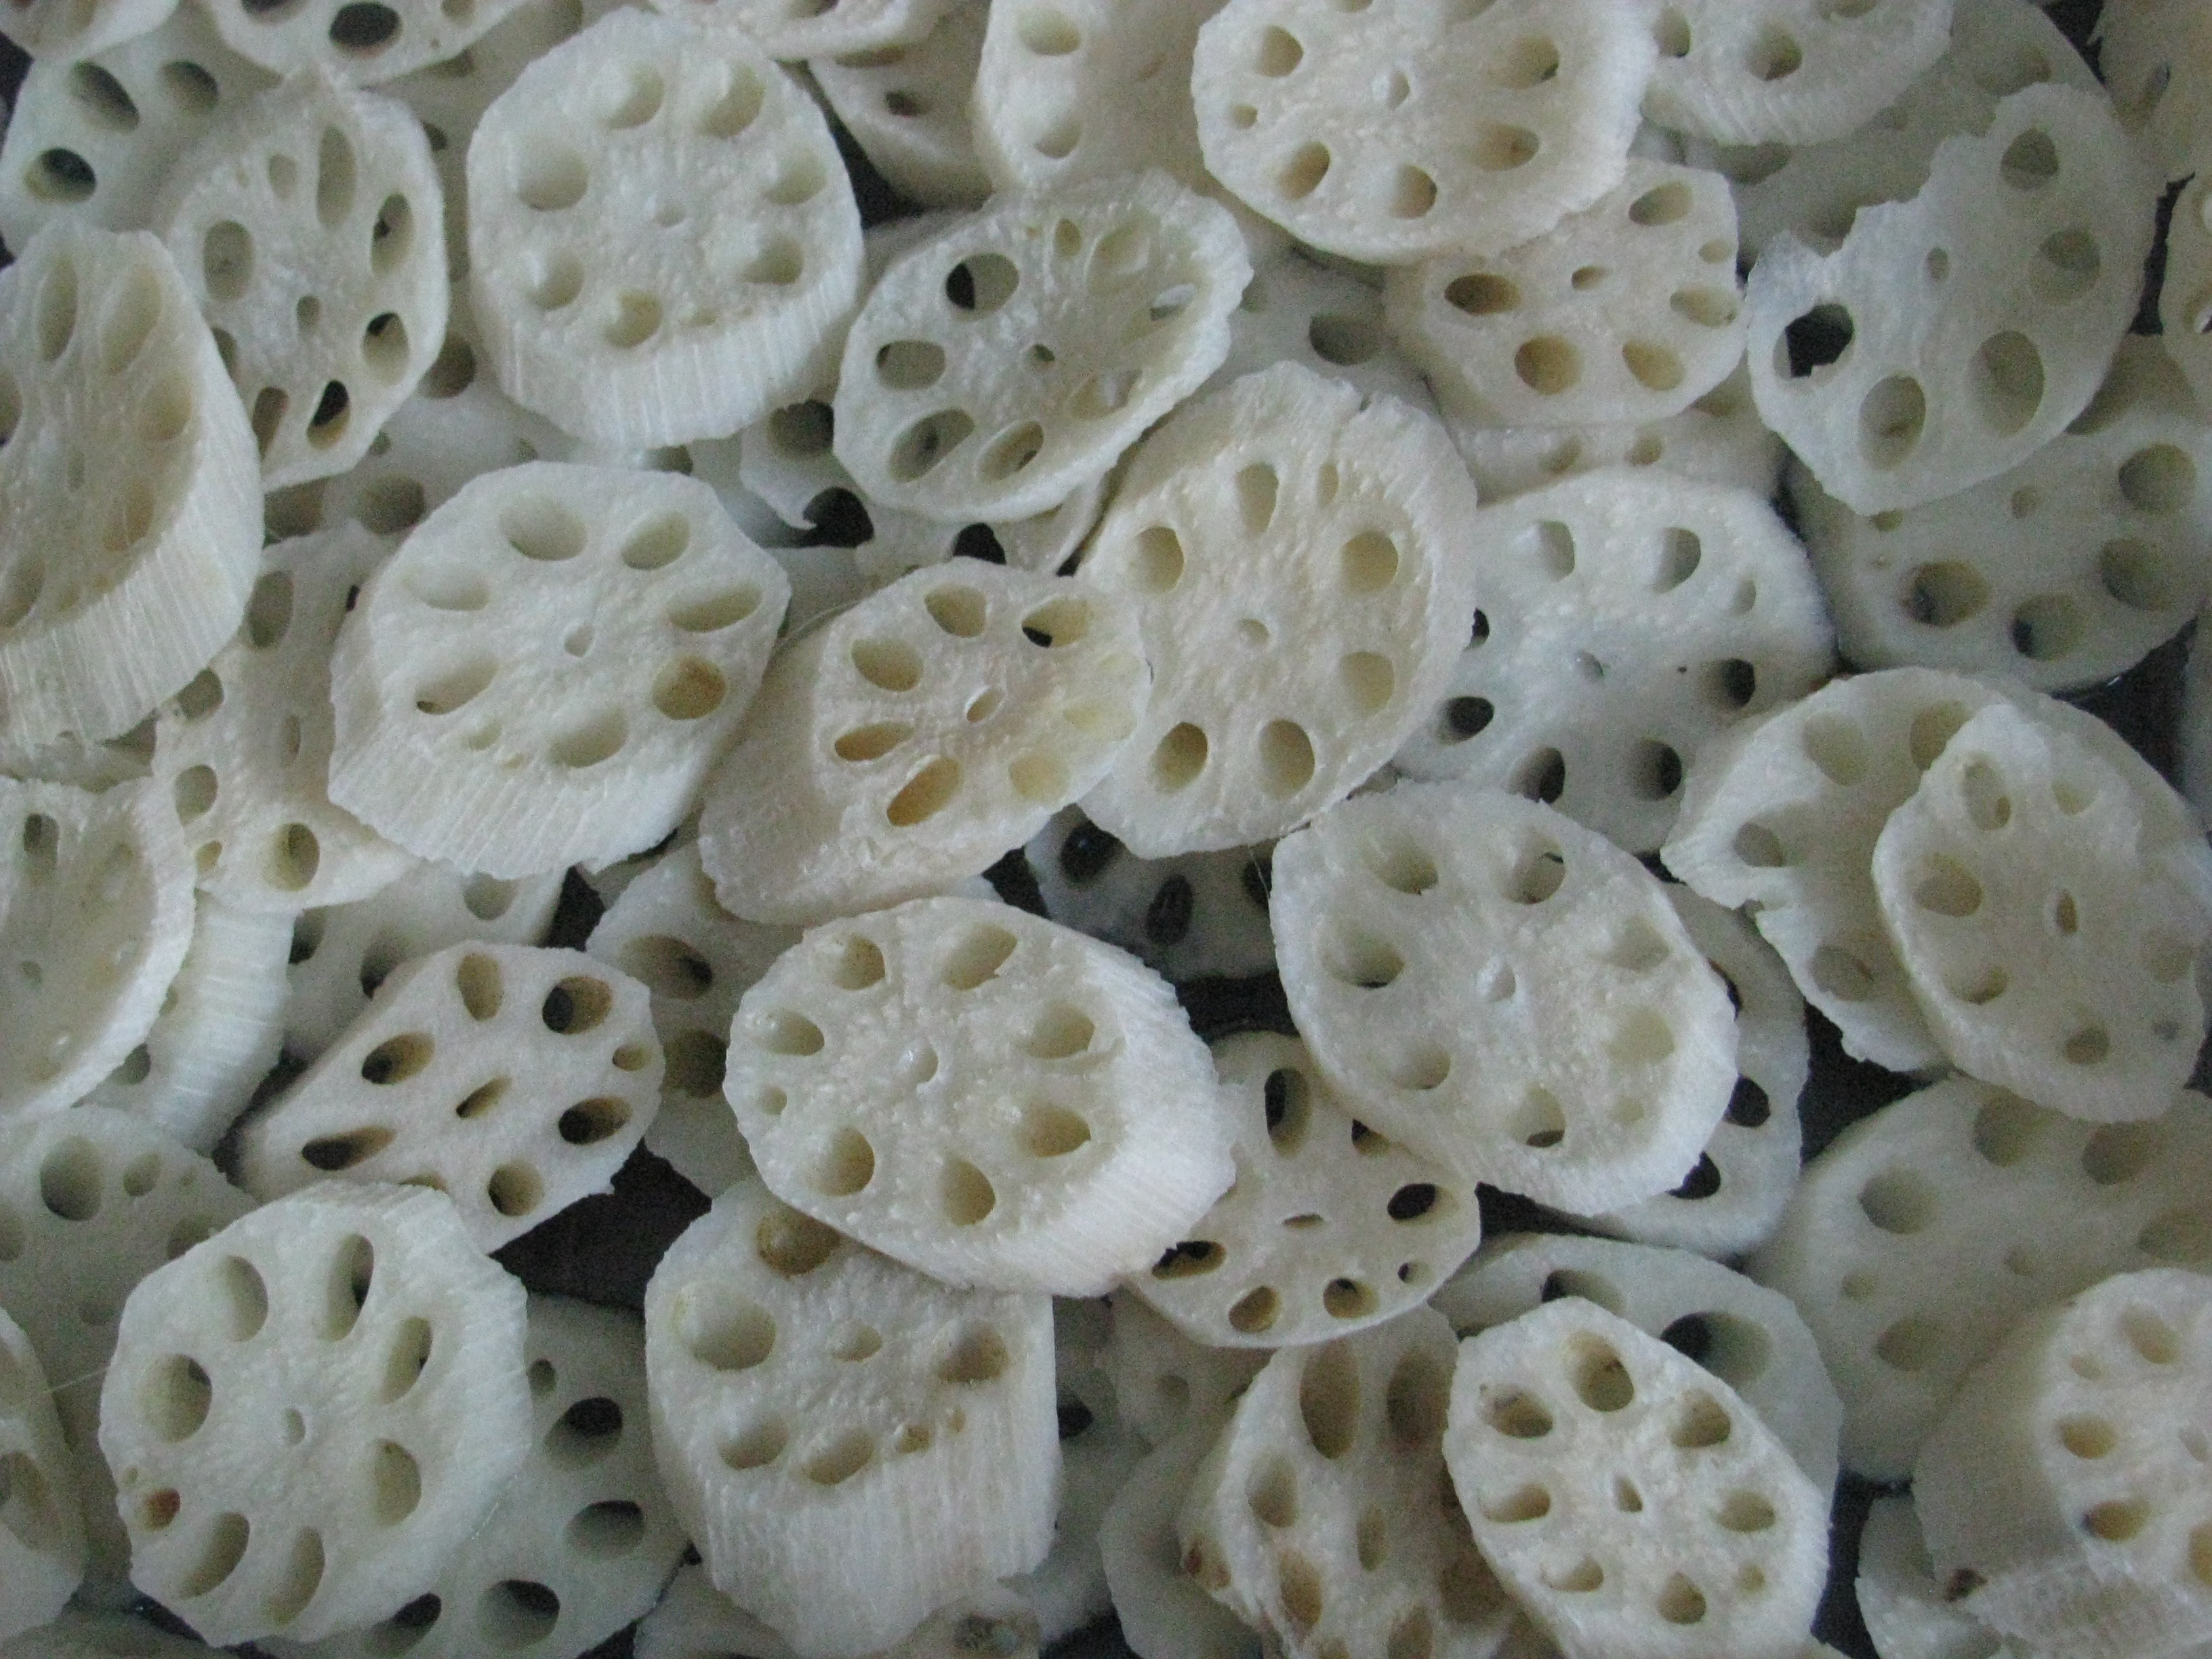
Take all the slices in microwave safe bowl, add salt to it mix it nicely and cook it for 10 minutes on high power in microwave oven, let it cool down.
kamal kakdi slices in microwave safe bowl
kamal kakdi cooked in microwave
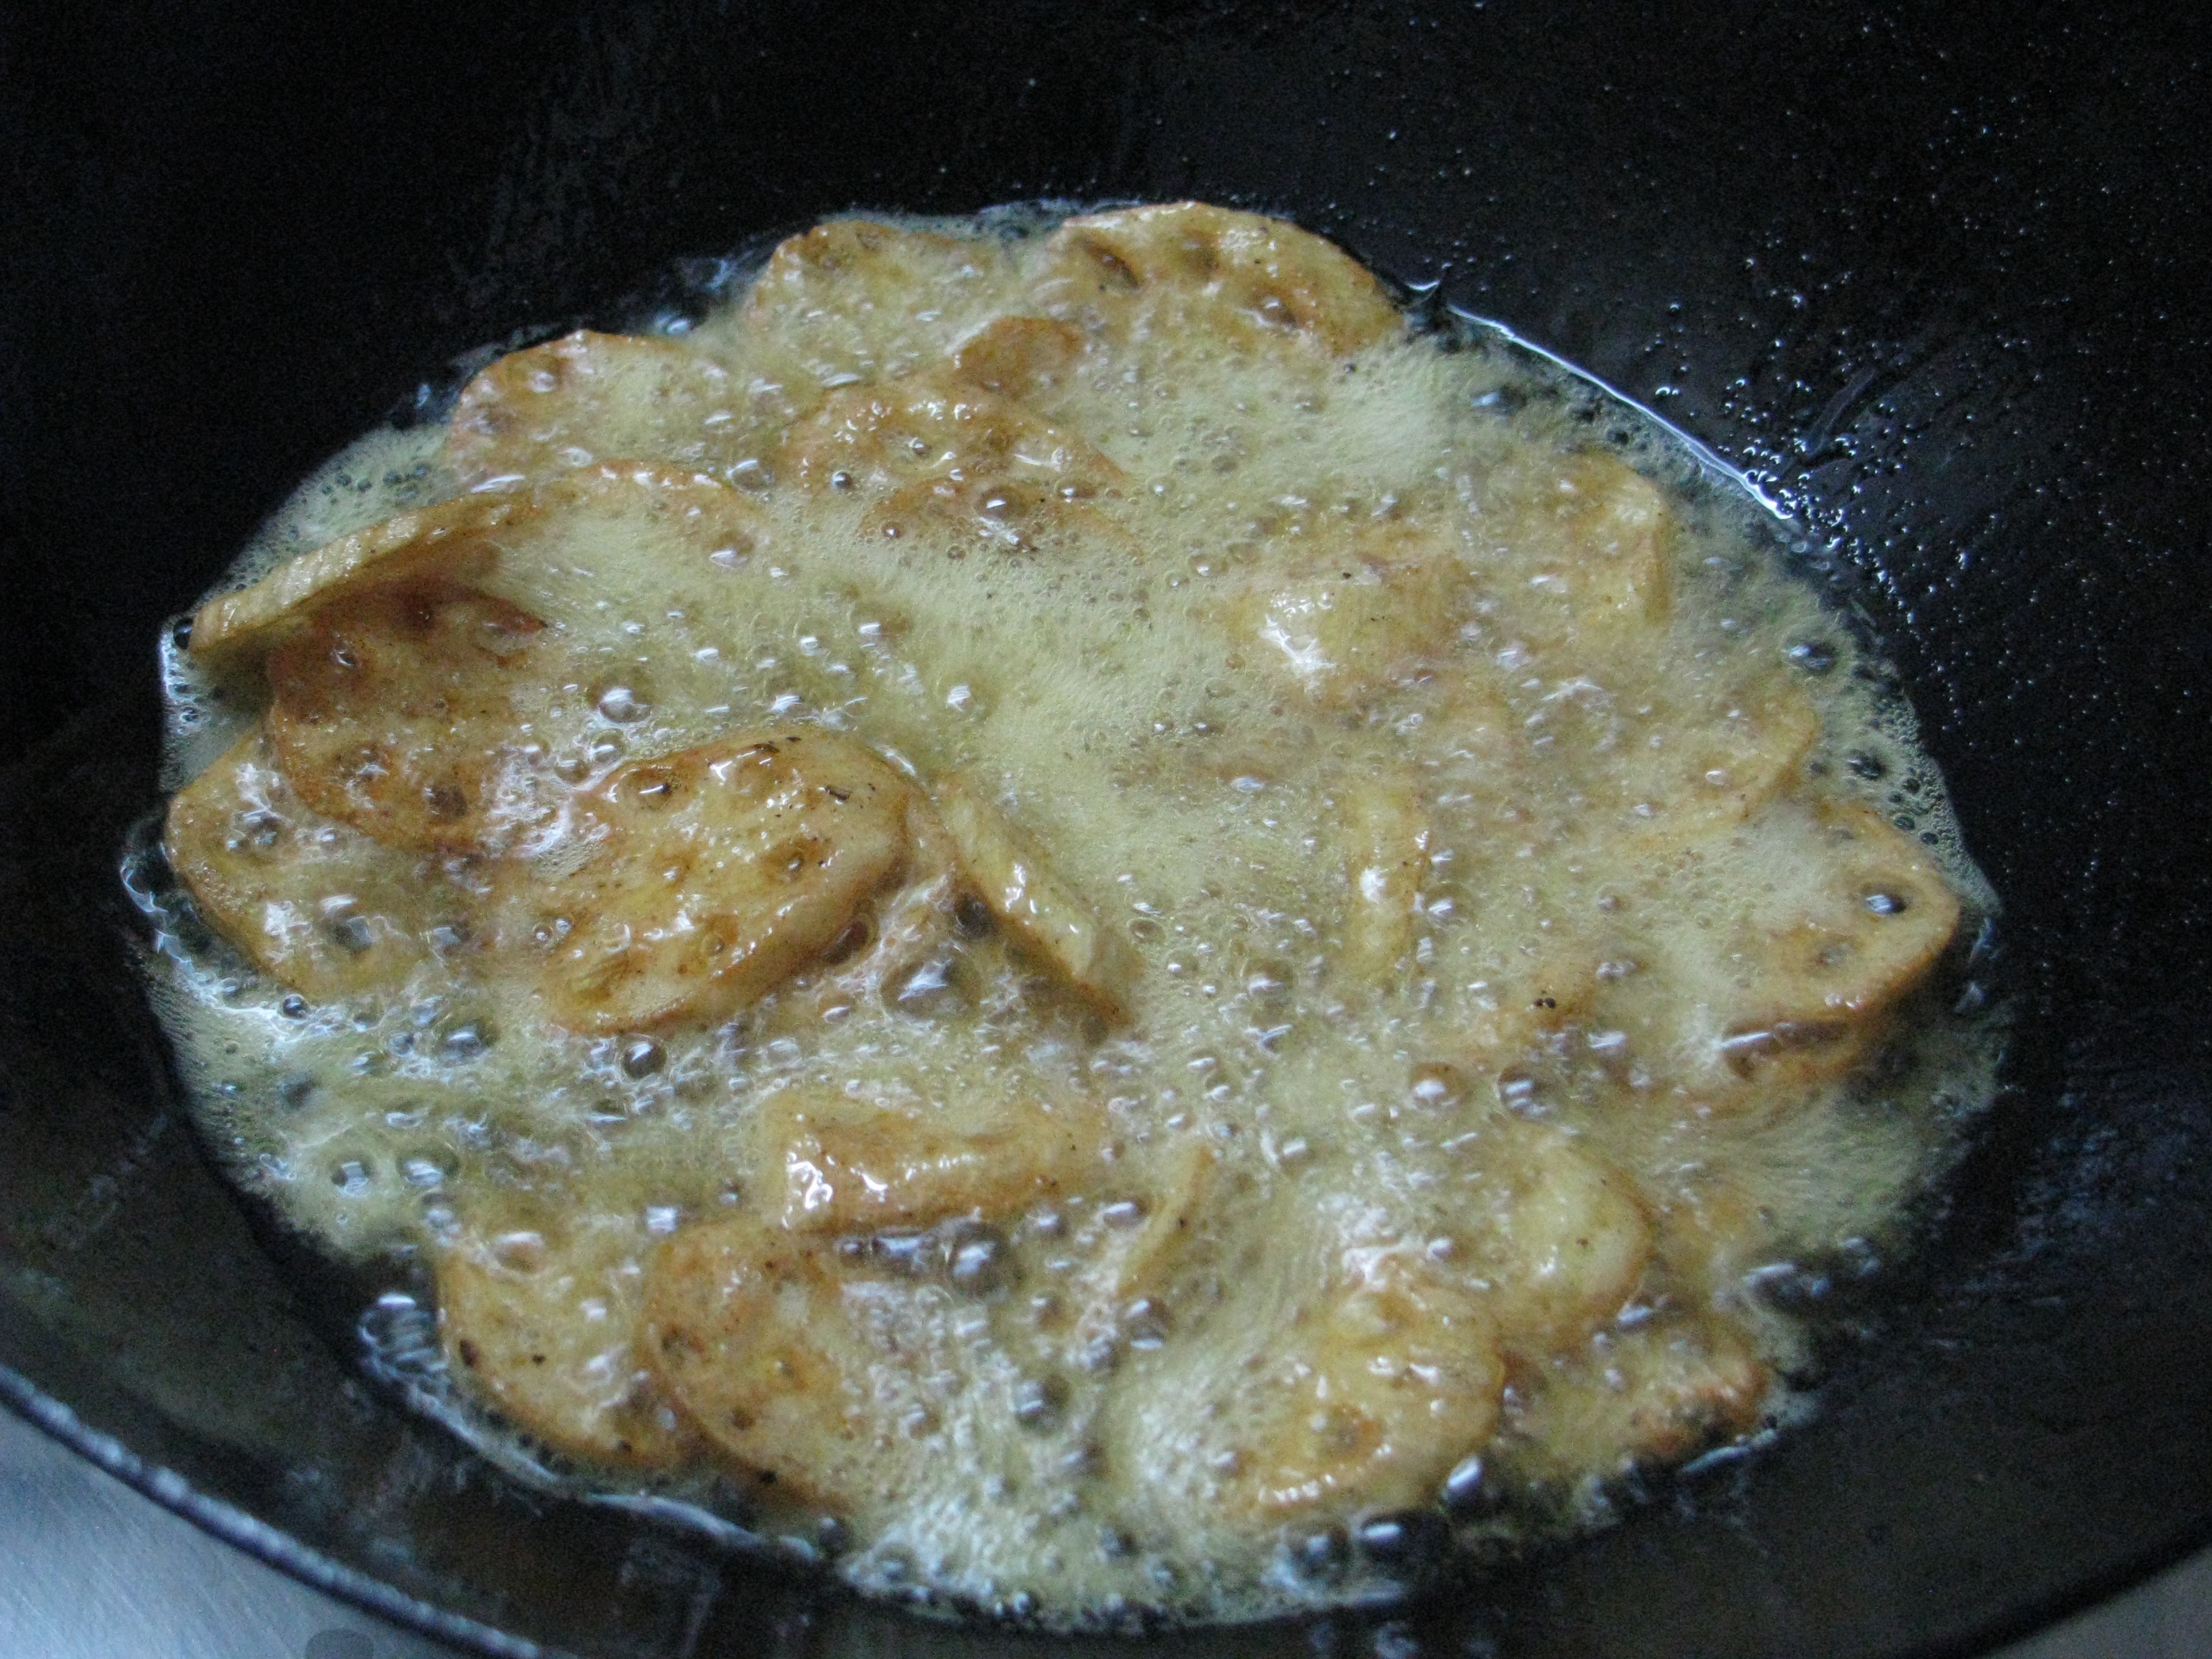
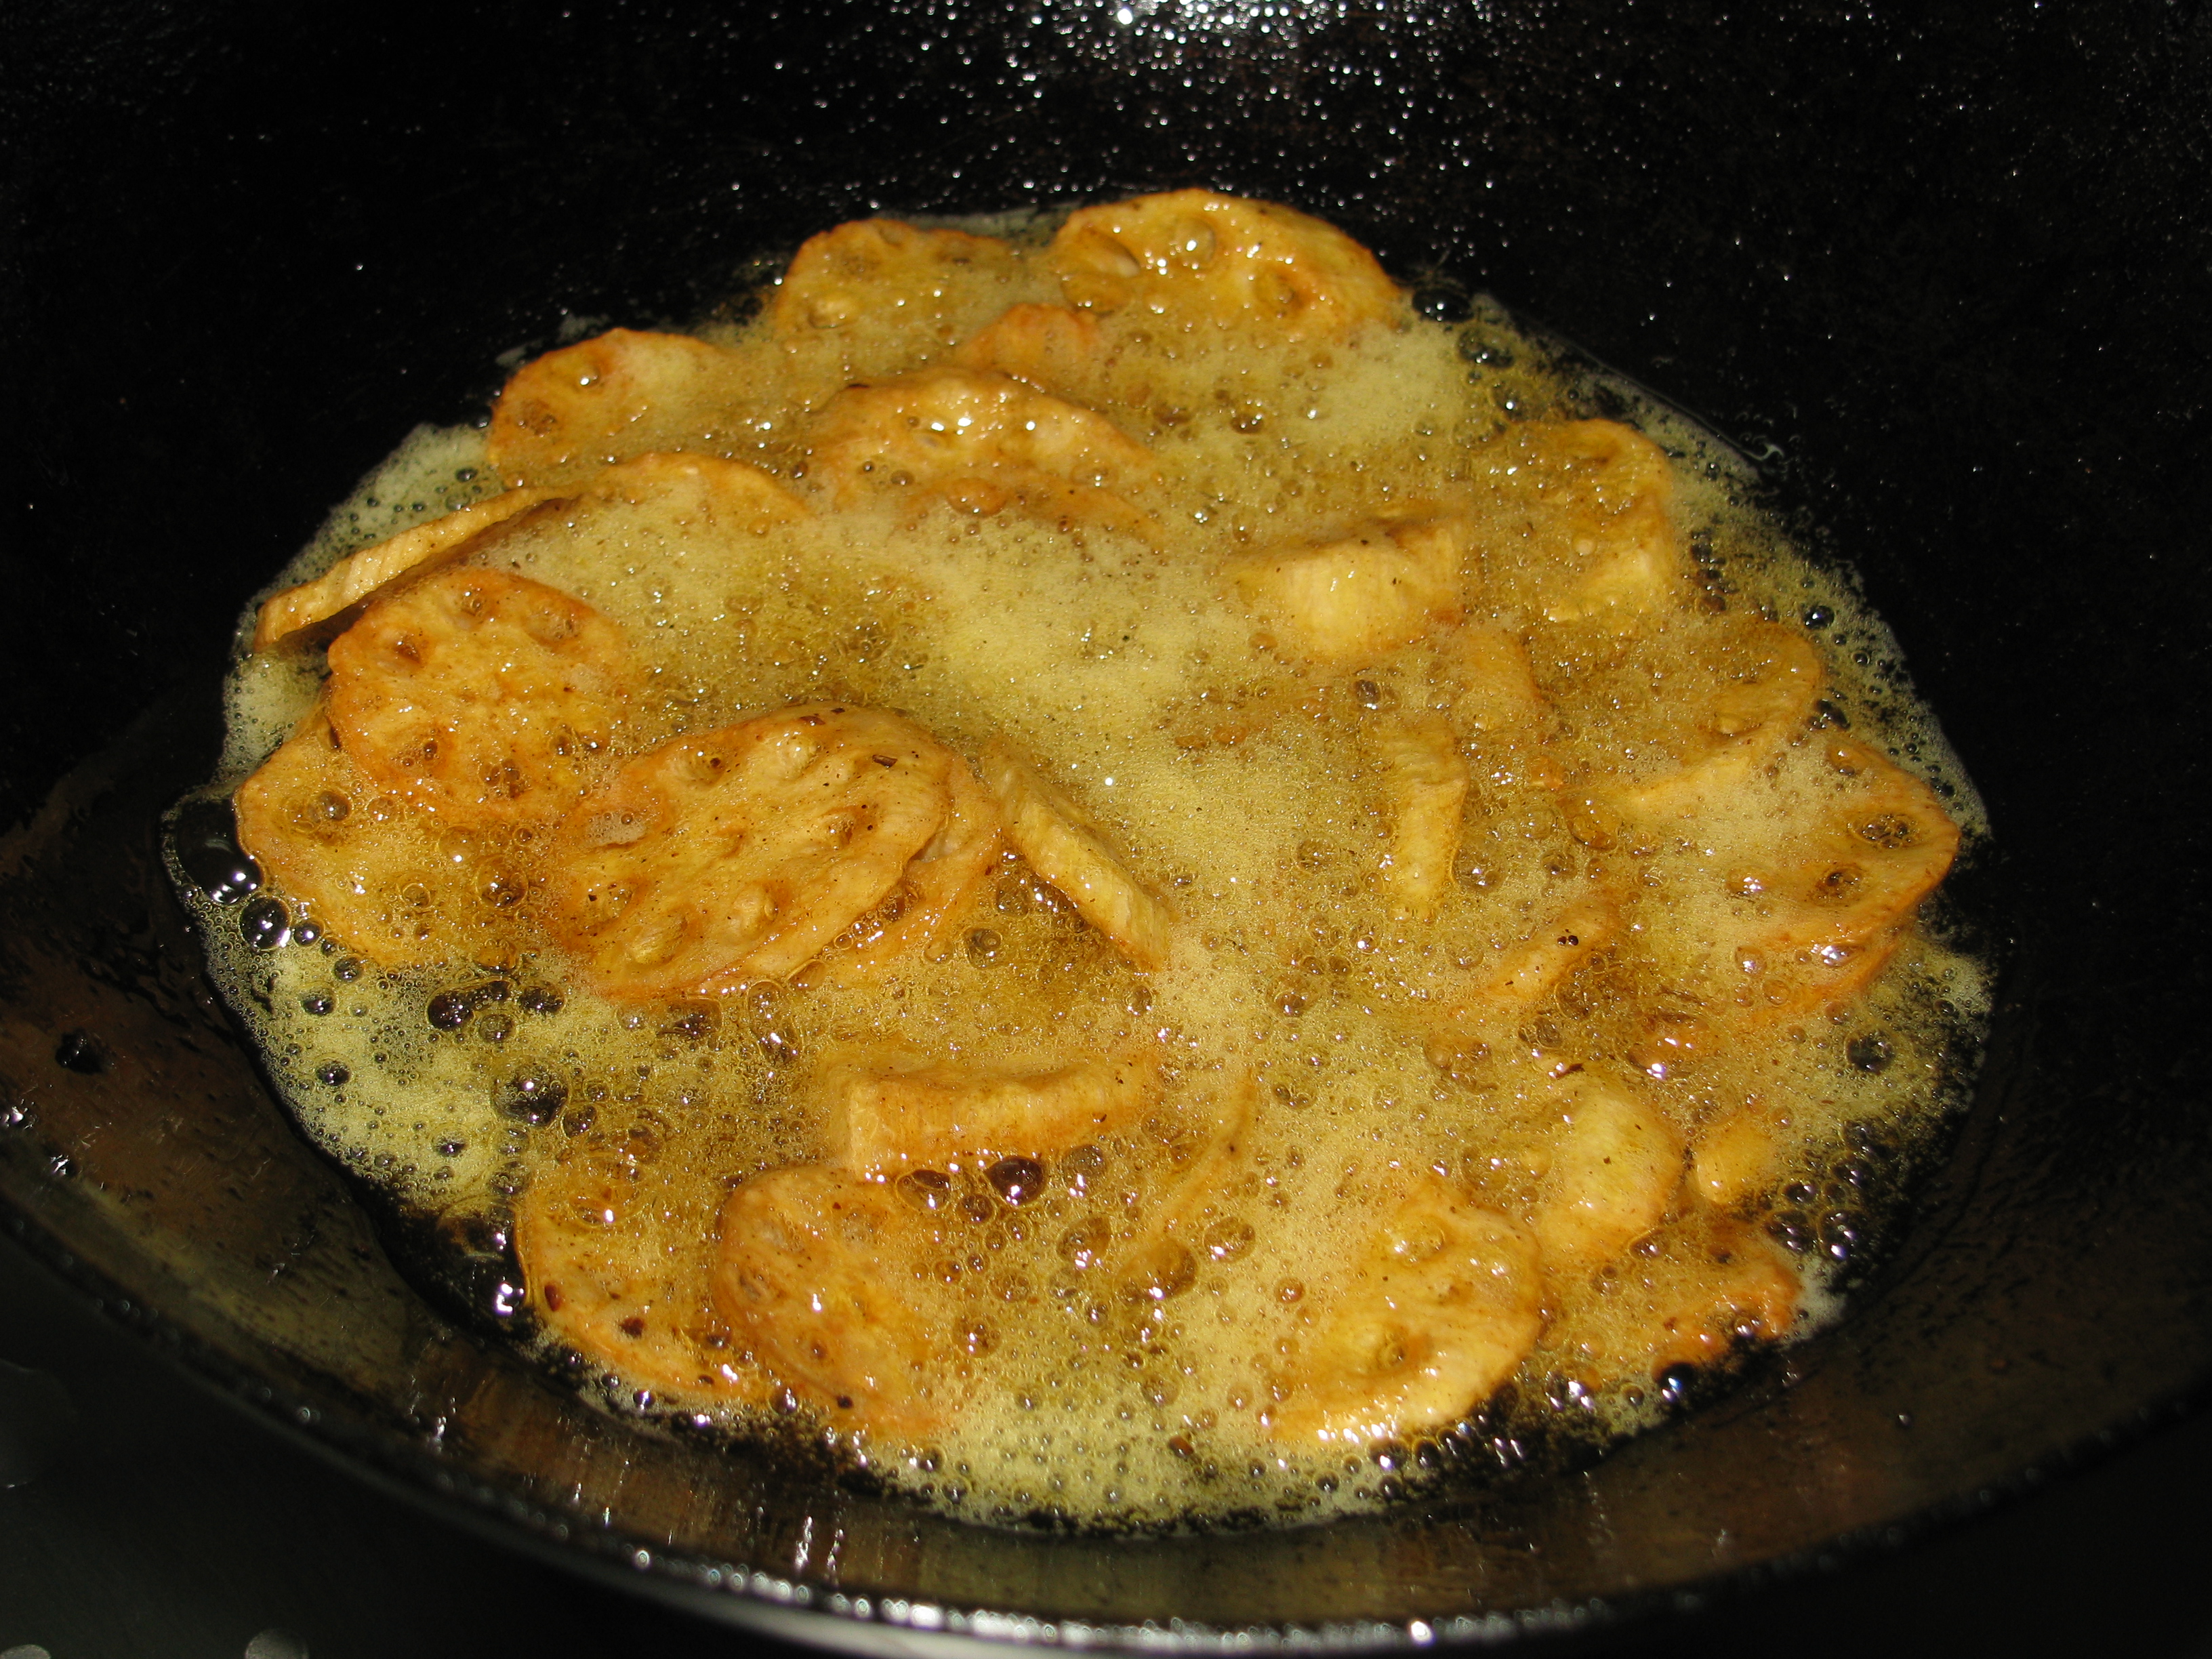
Heat the oil in a frying pan and fry this kamal kakdi chips on low flame. Put kamal kakdi chips few at a time in a frying pan , so they don’t overlap on each other .
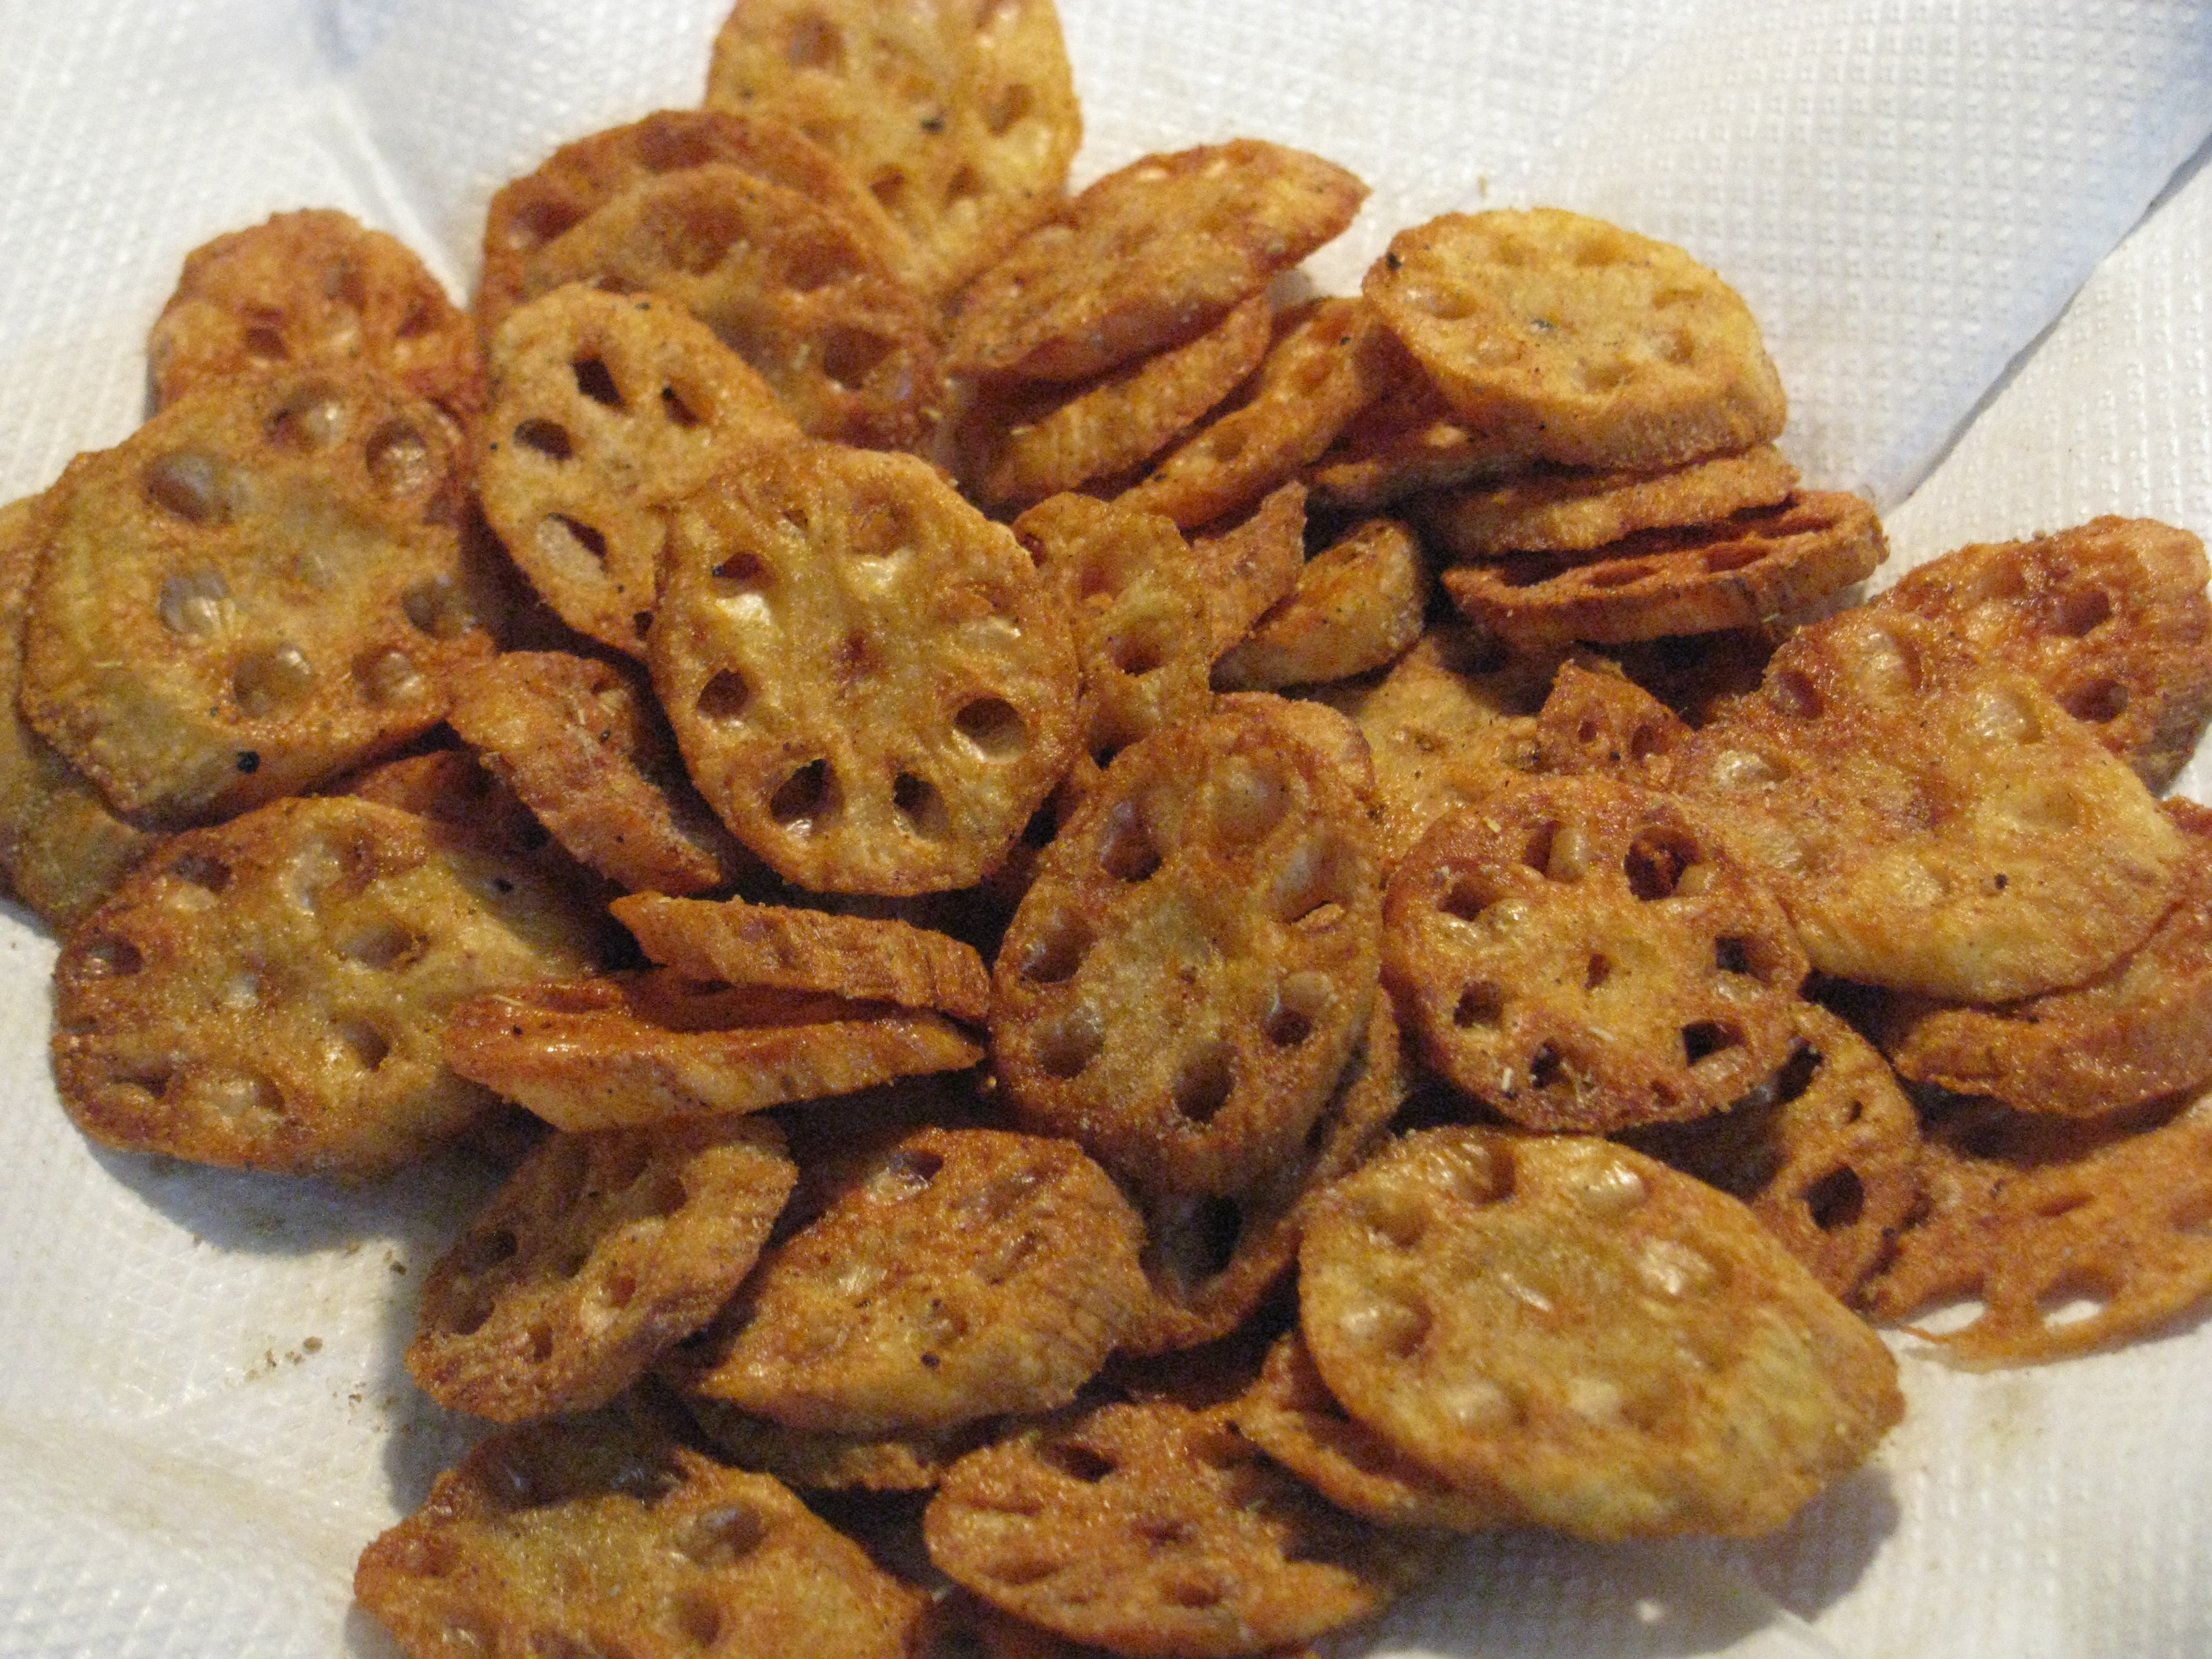
Fry the chips until it becomes golden brown on both side , once it’s done remove it on paper towel to absorb the oil and seasoned it immediately with red chili powder, black salt ,chat masala and serve it.
South Indian recipes such as varieties of idli and dosa are mostly eaten with coconut chutney. I make coconut chutney foridli or dosa with fresh coconut. This chutney is very easy to make. With coconut I add little peanuts to this chutney for nice smooth texture, thickness and a really good taste. You can also serve this spicy coconut peanut chutney with bhakri / rotla (jawar / bajra roti ) , makki ki roti , any paratha. Do share your comment and queries regarding this chutney in comment box at the end of this page.
[ingredients title=”Ingredients”]
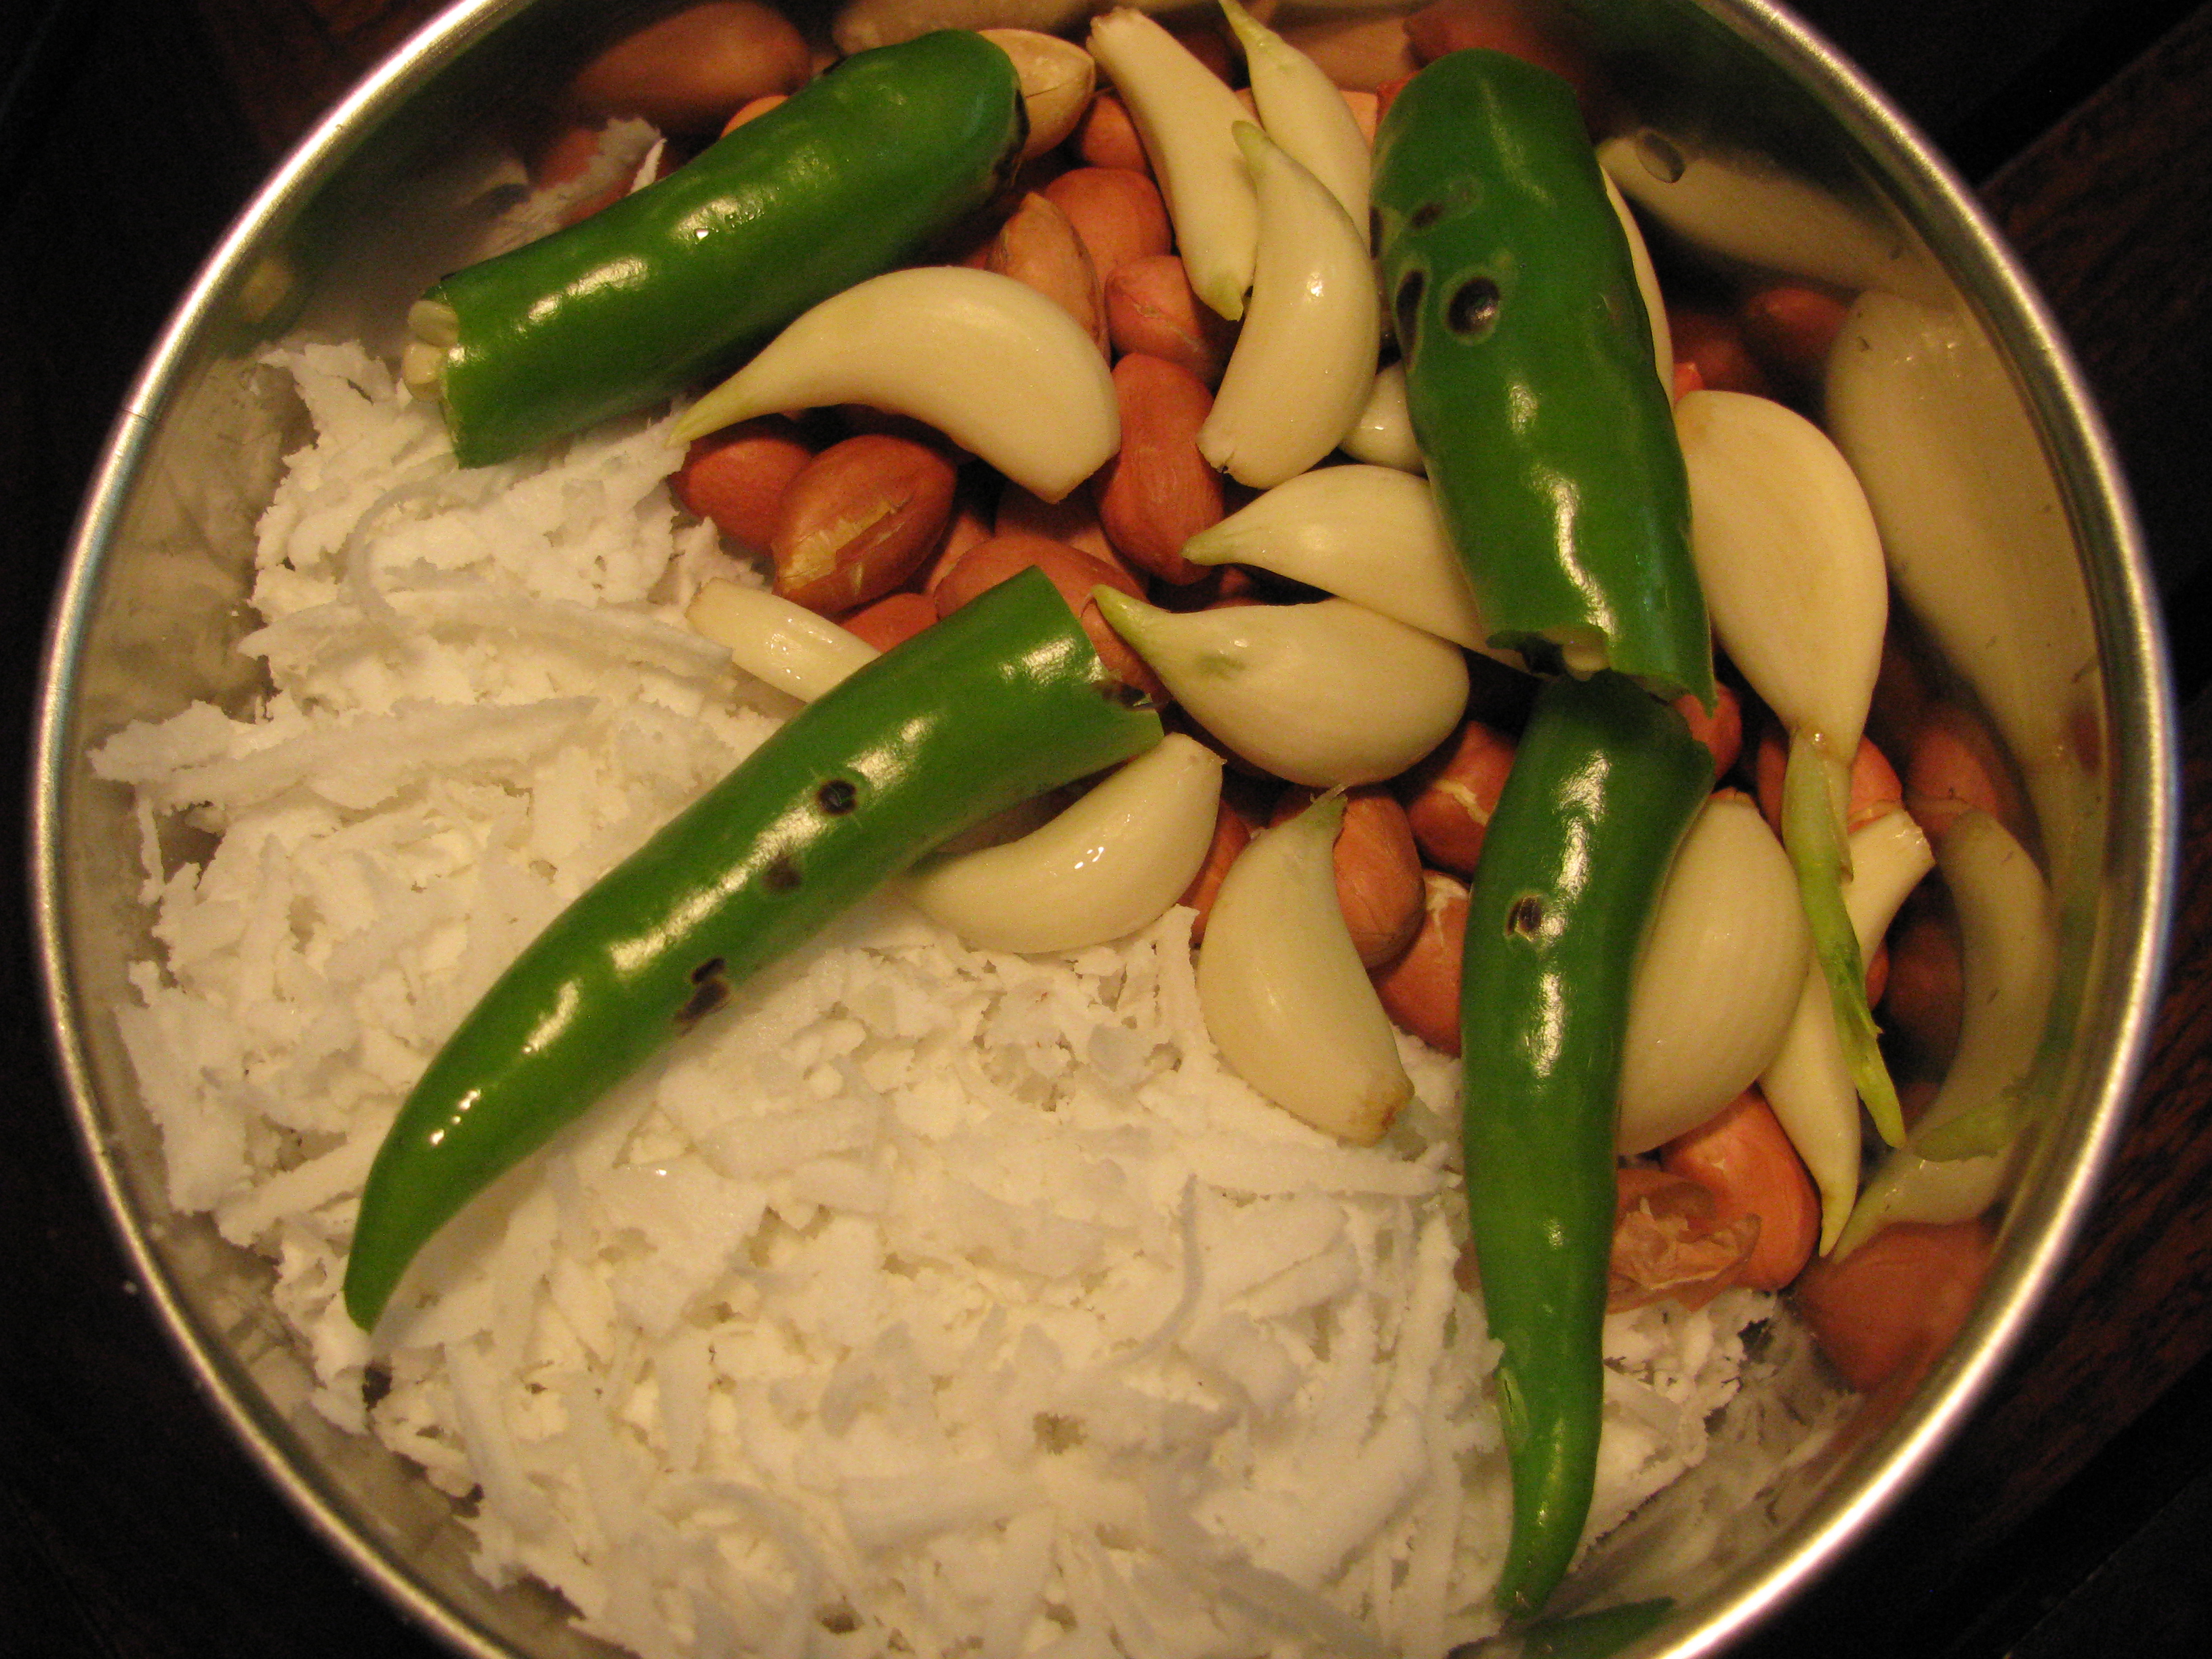
Ingredients for coconut chutney
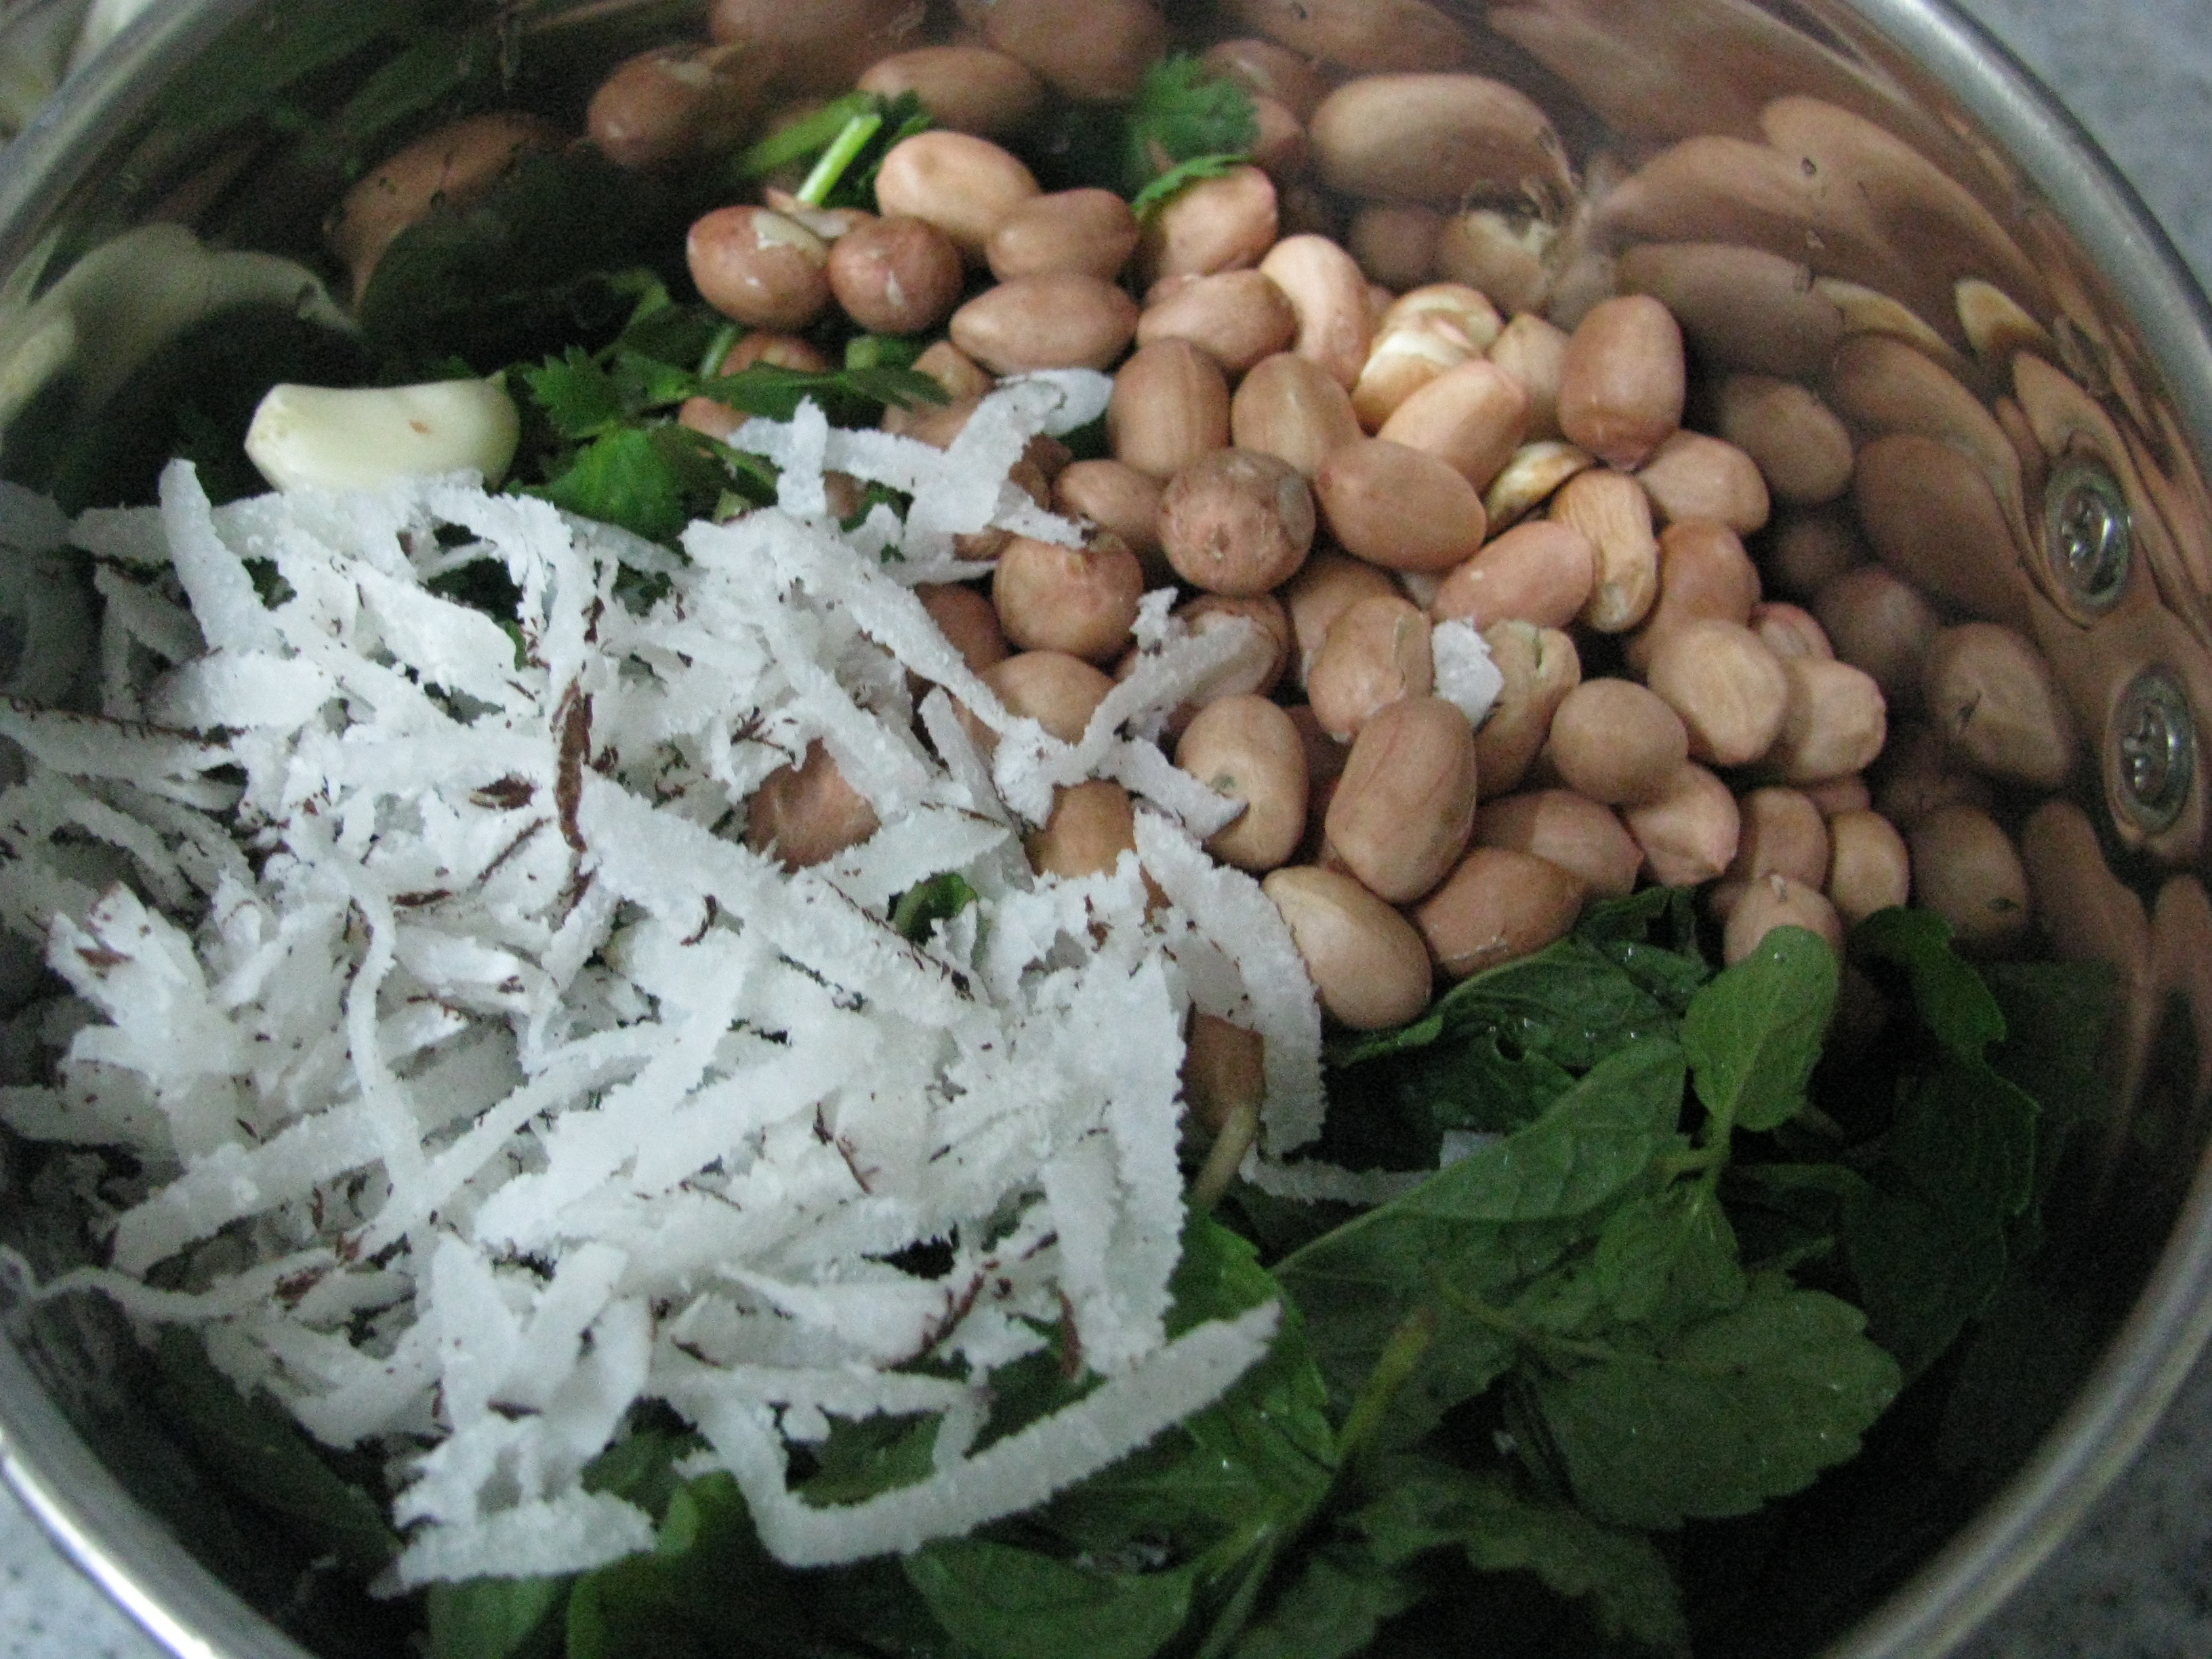
1 cup grated fresh coconut
1/ 2 cup roasted peanuts (shengdane/ moongphalli)
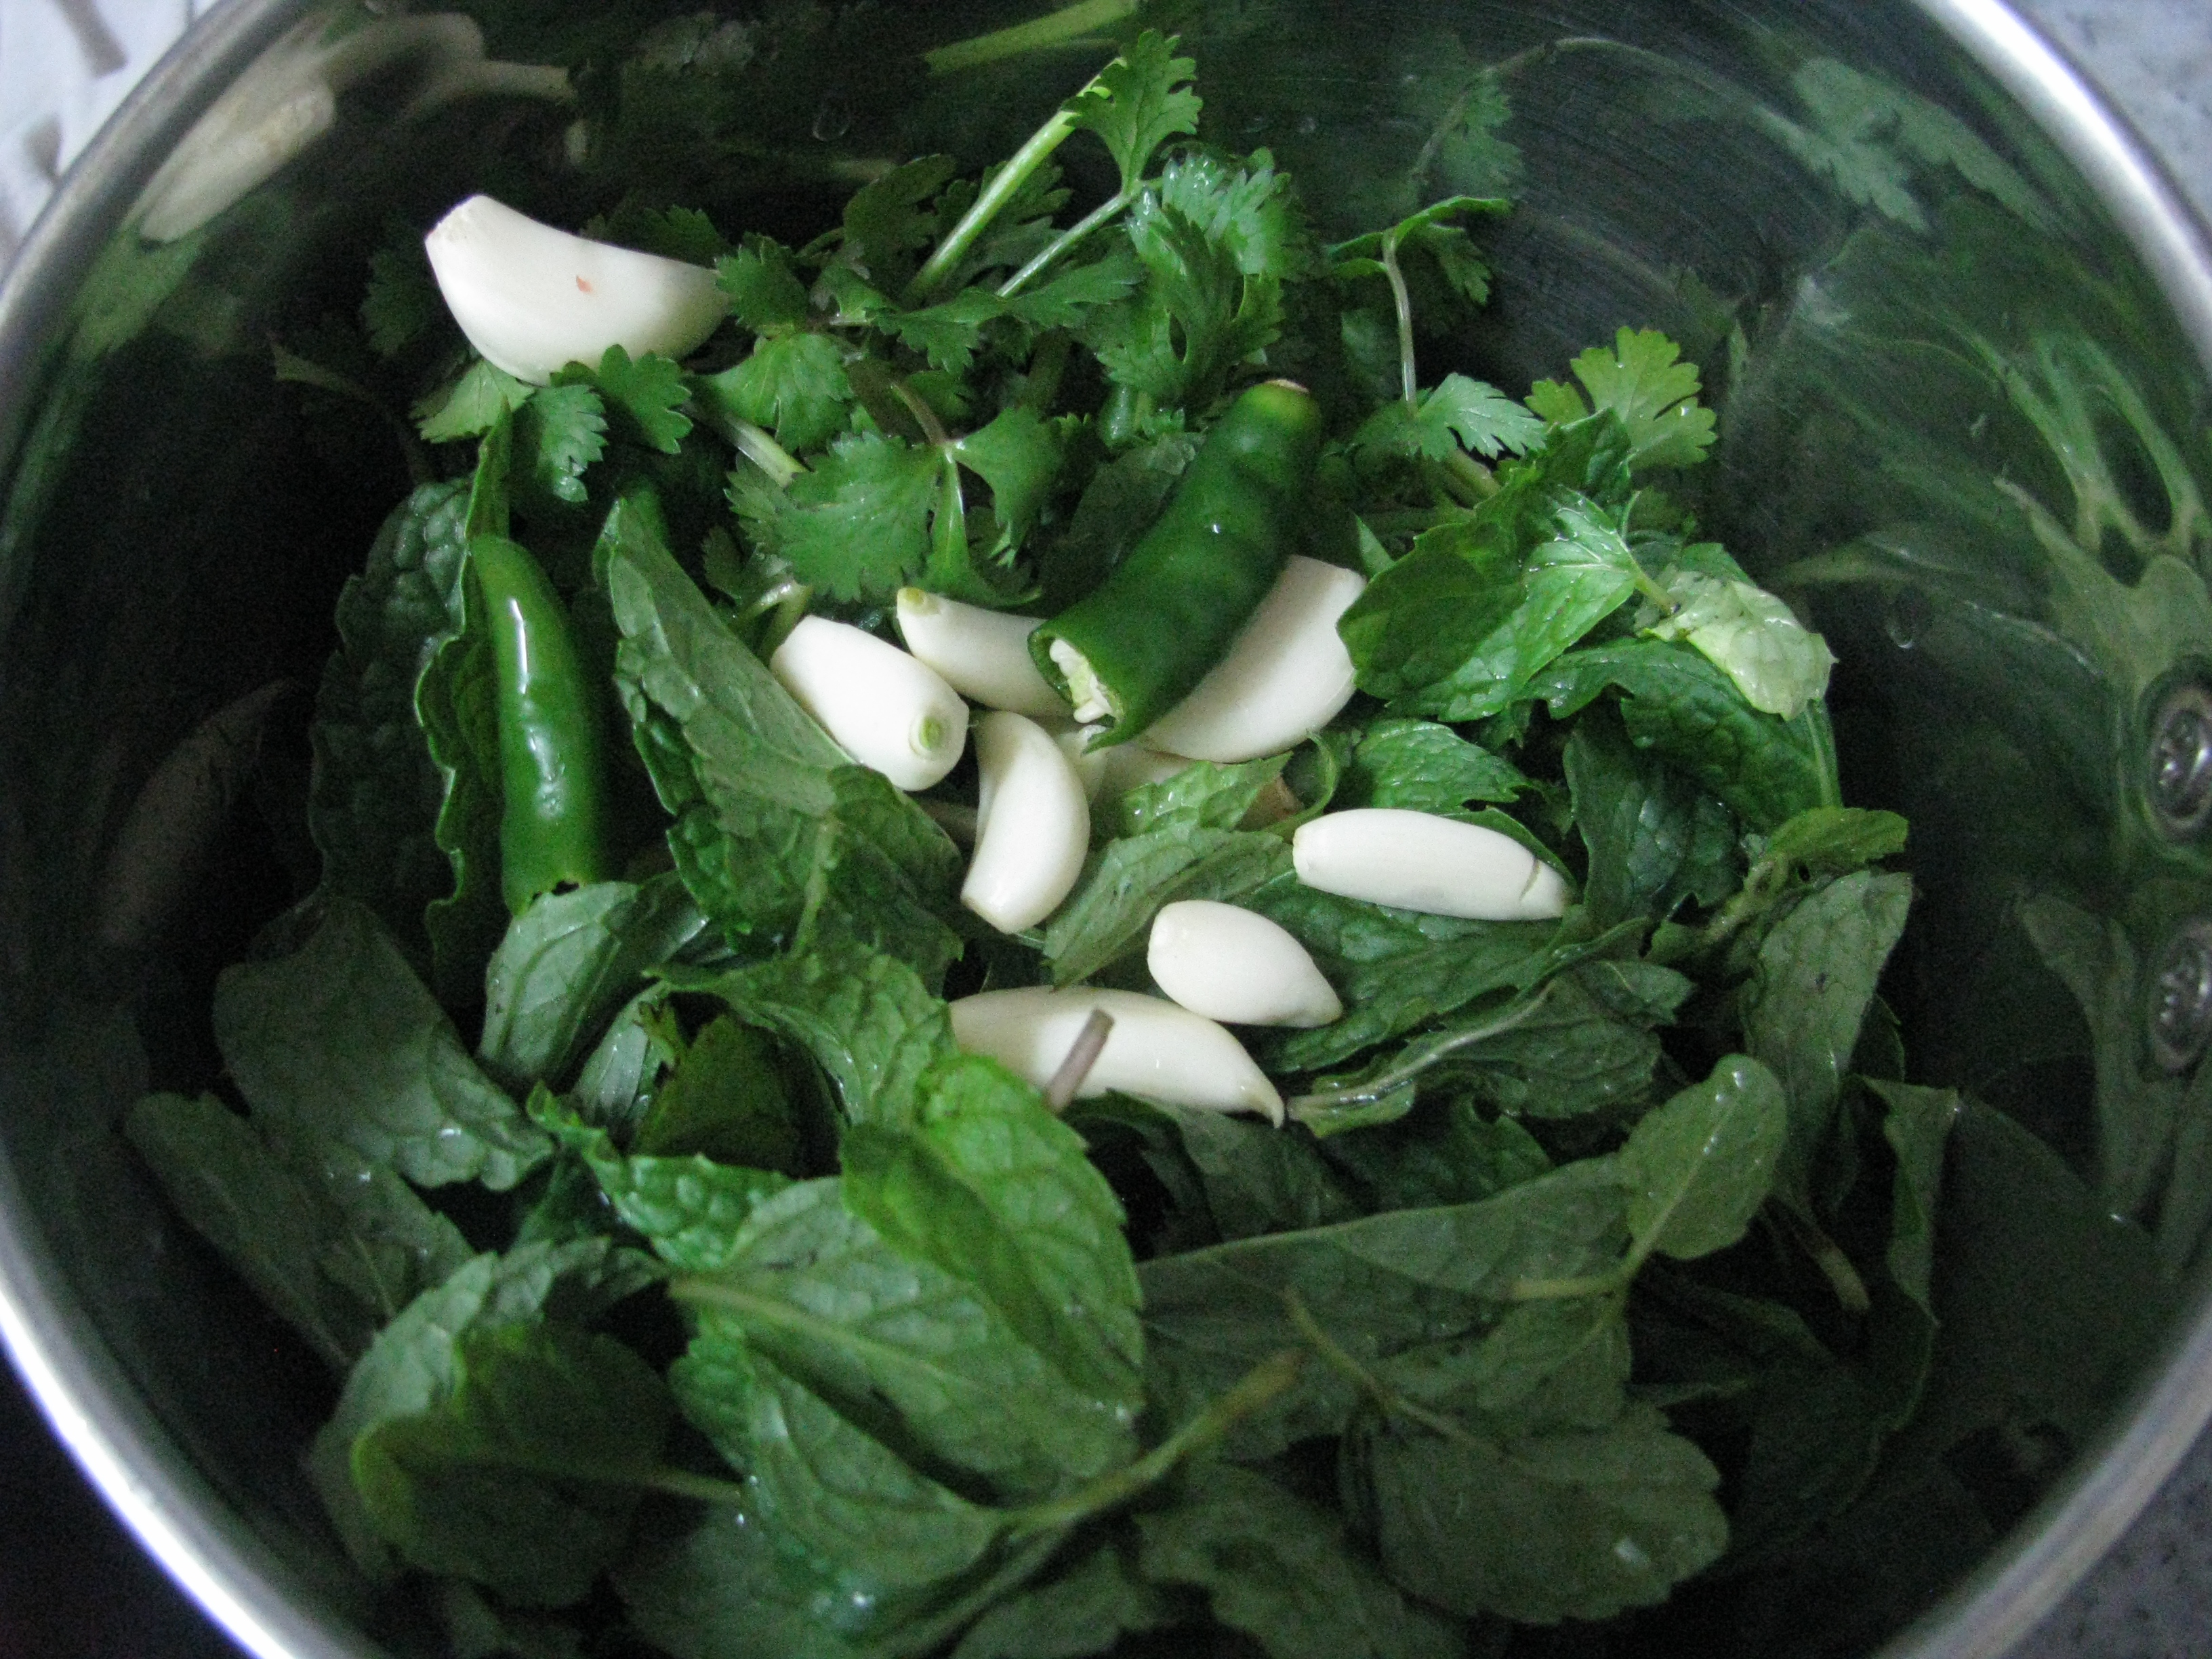
2-3 green chilies (according to taste)
8-9 garlic cloves (lehsun)
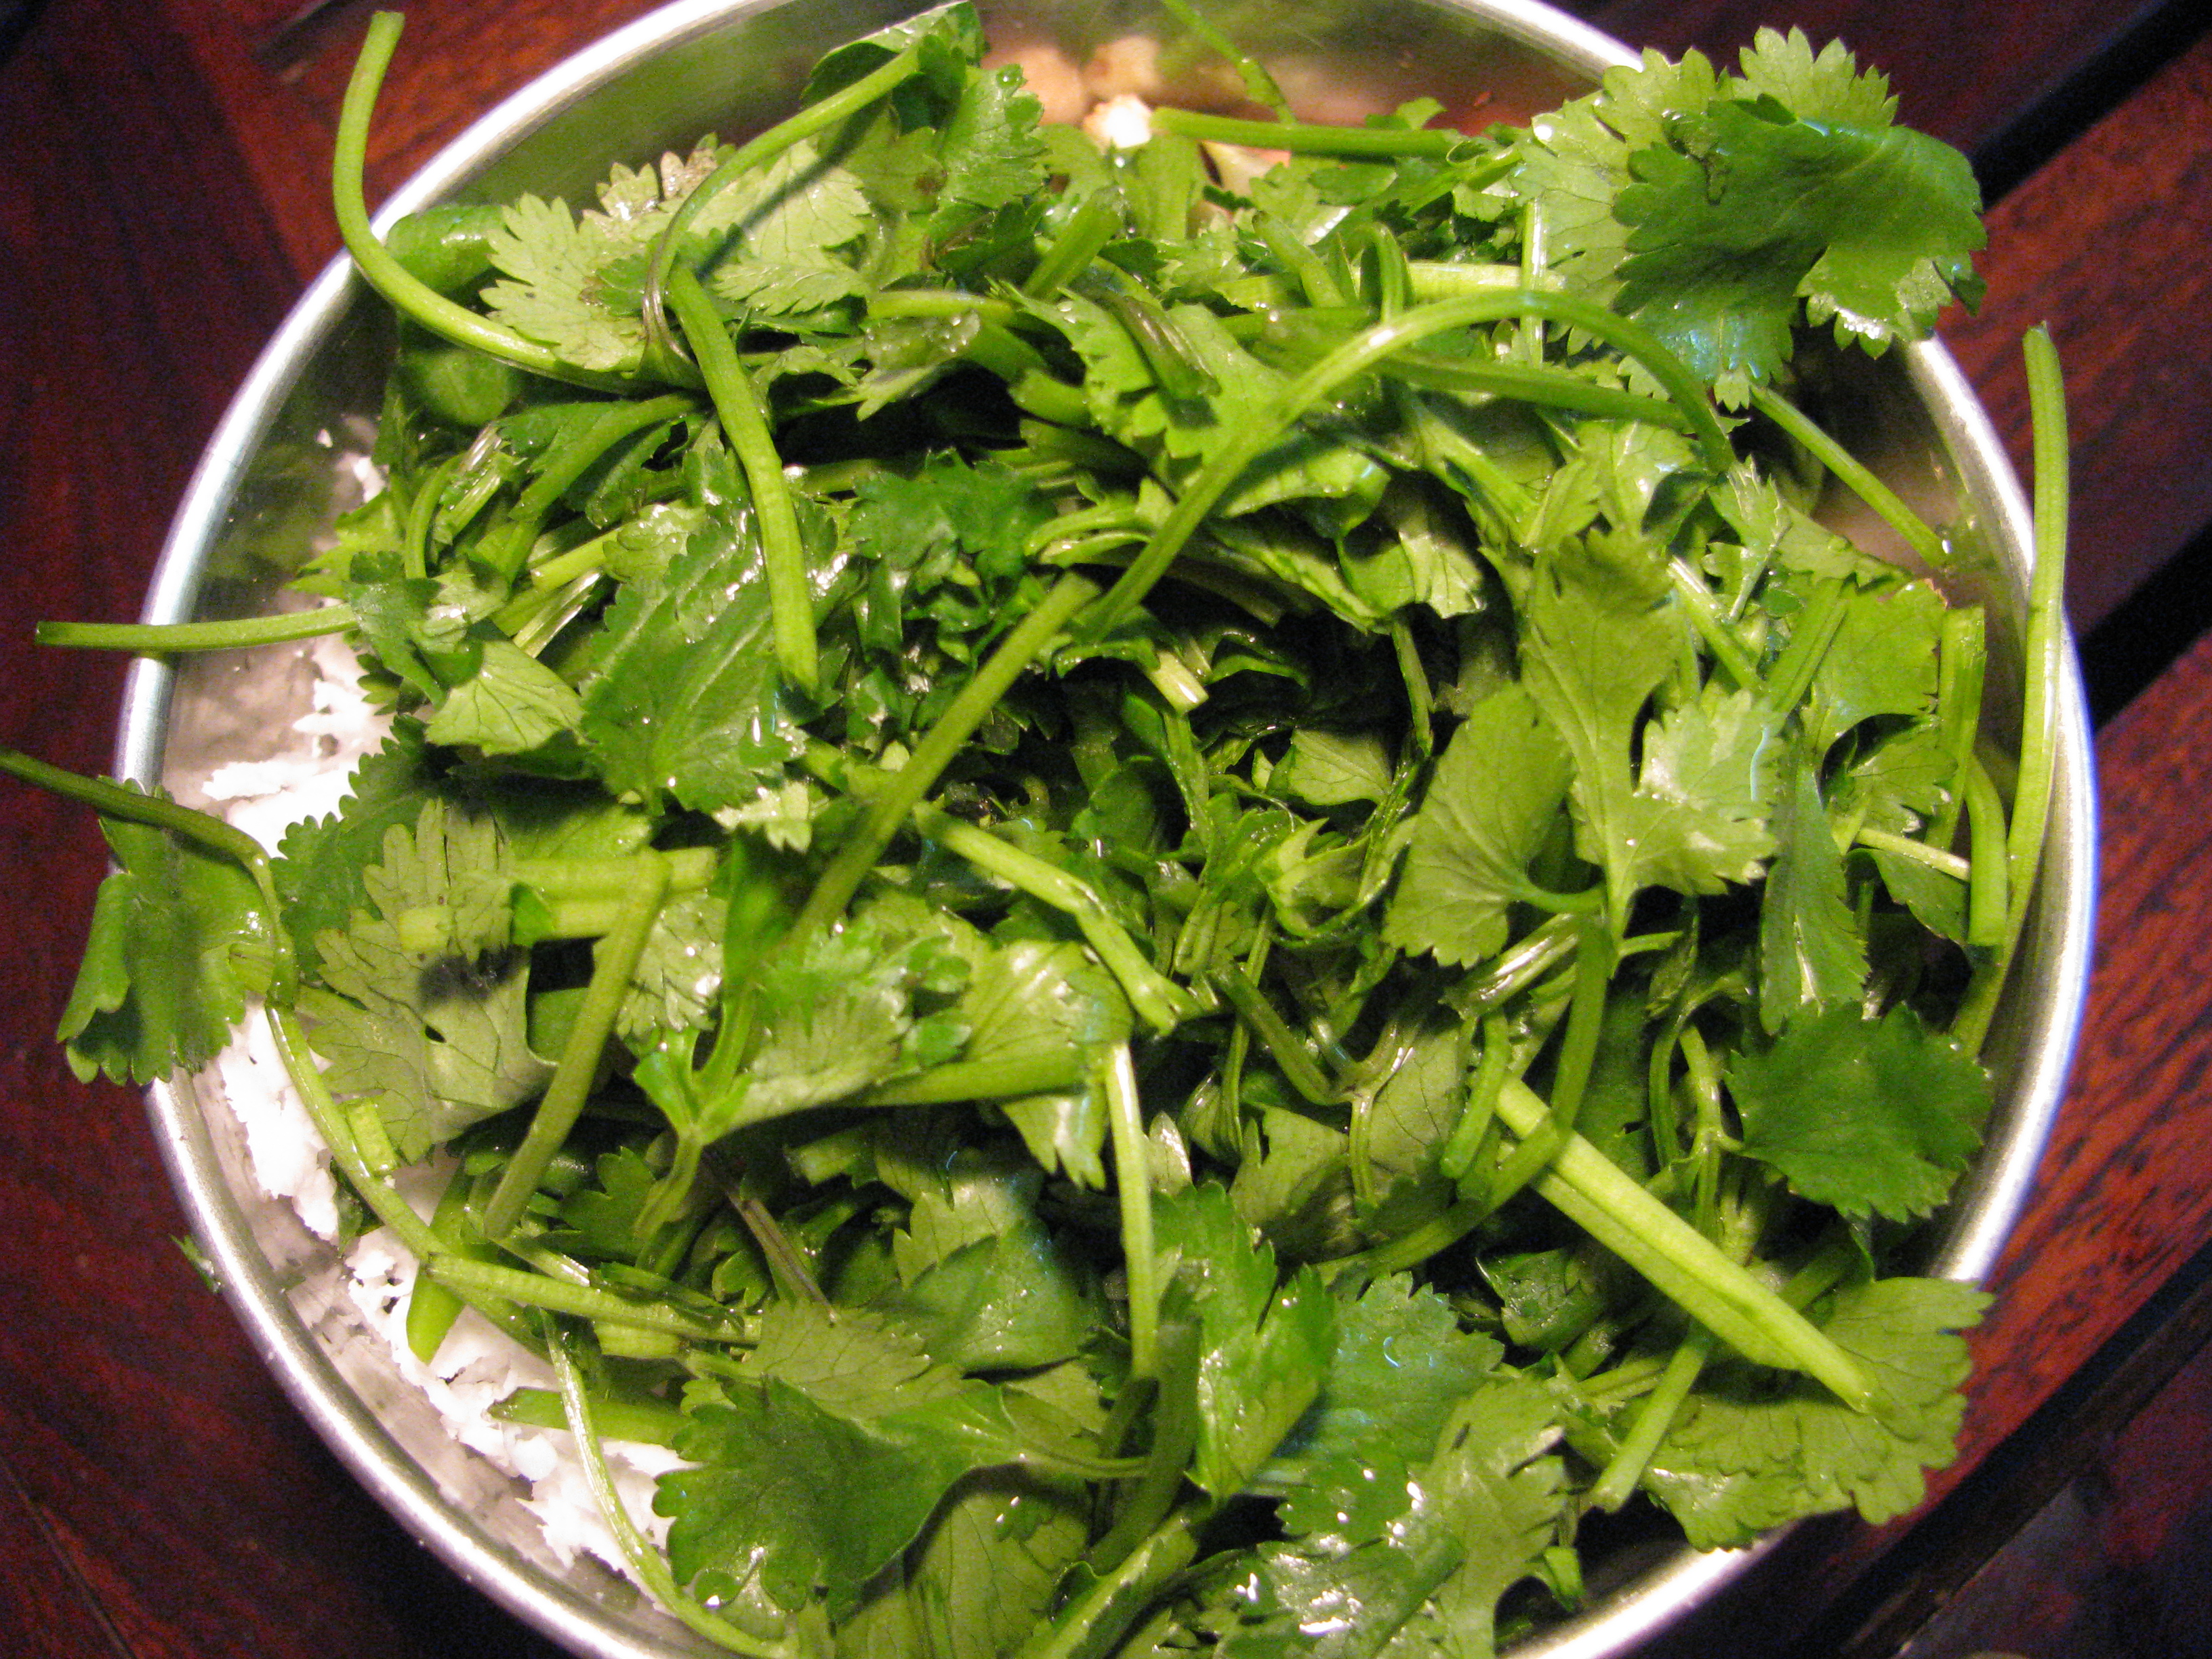
1 cup fresh coriander leaves
Salt to taste
For tempering of coconut chutney
2 teaspoon oil
1 teaspoon mustard seeds(rai)
1 teaspoon cumin seeds (jeera)
15-20 fresh curry leaves
1 pinch Asafoetida
[/ingredients]
[directions title=”Directions”]
Roast green chilies directly on flames or on tava or pan
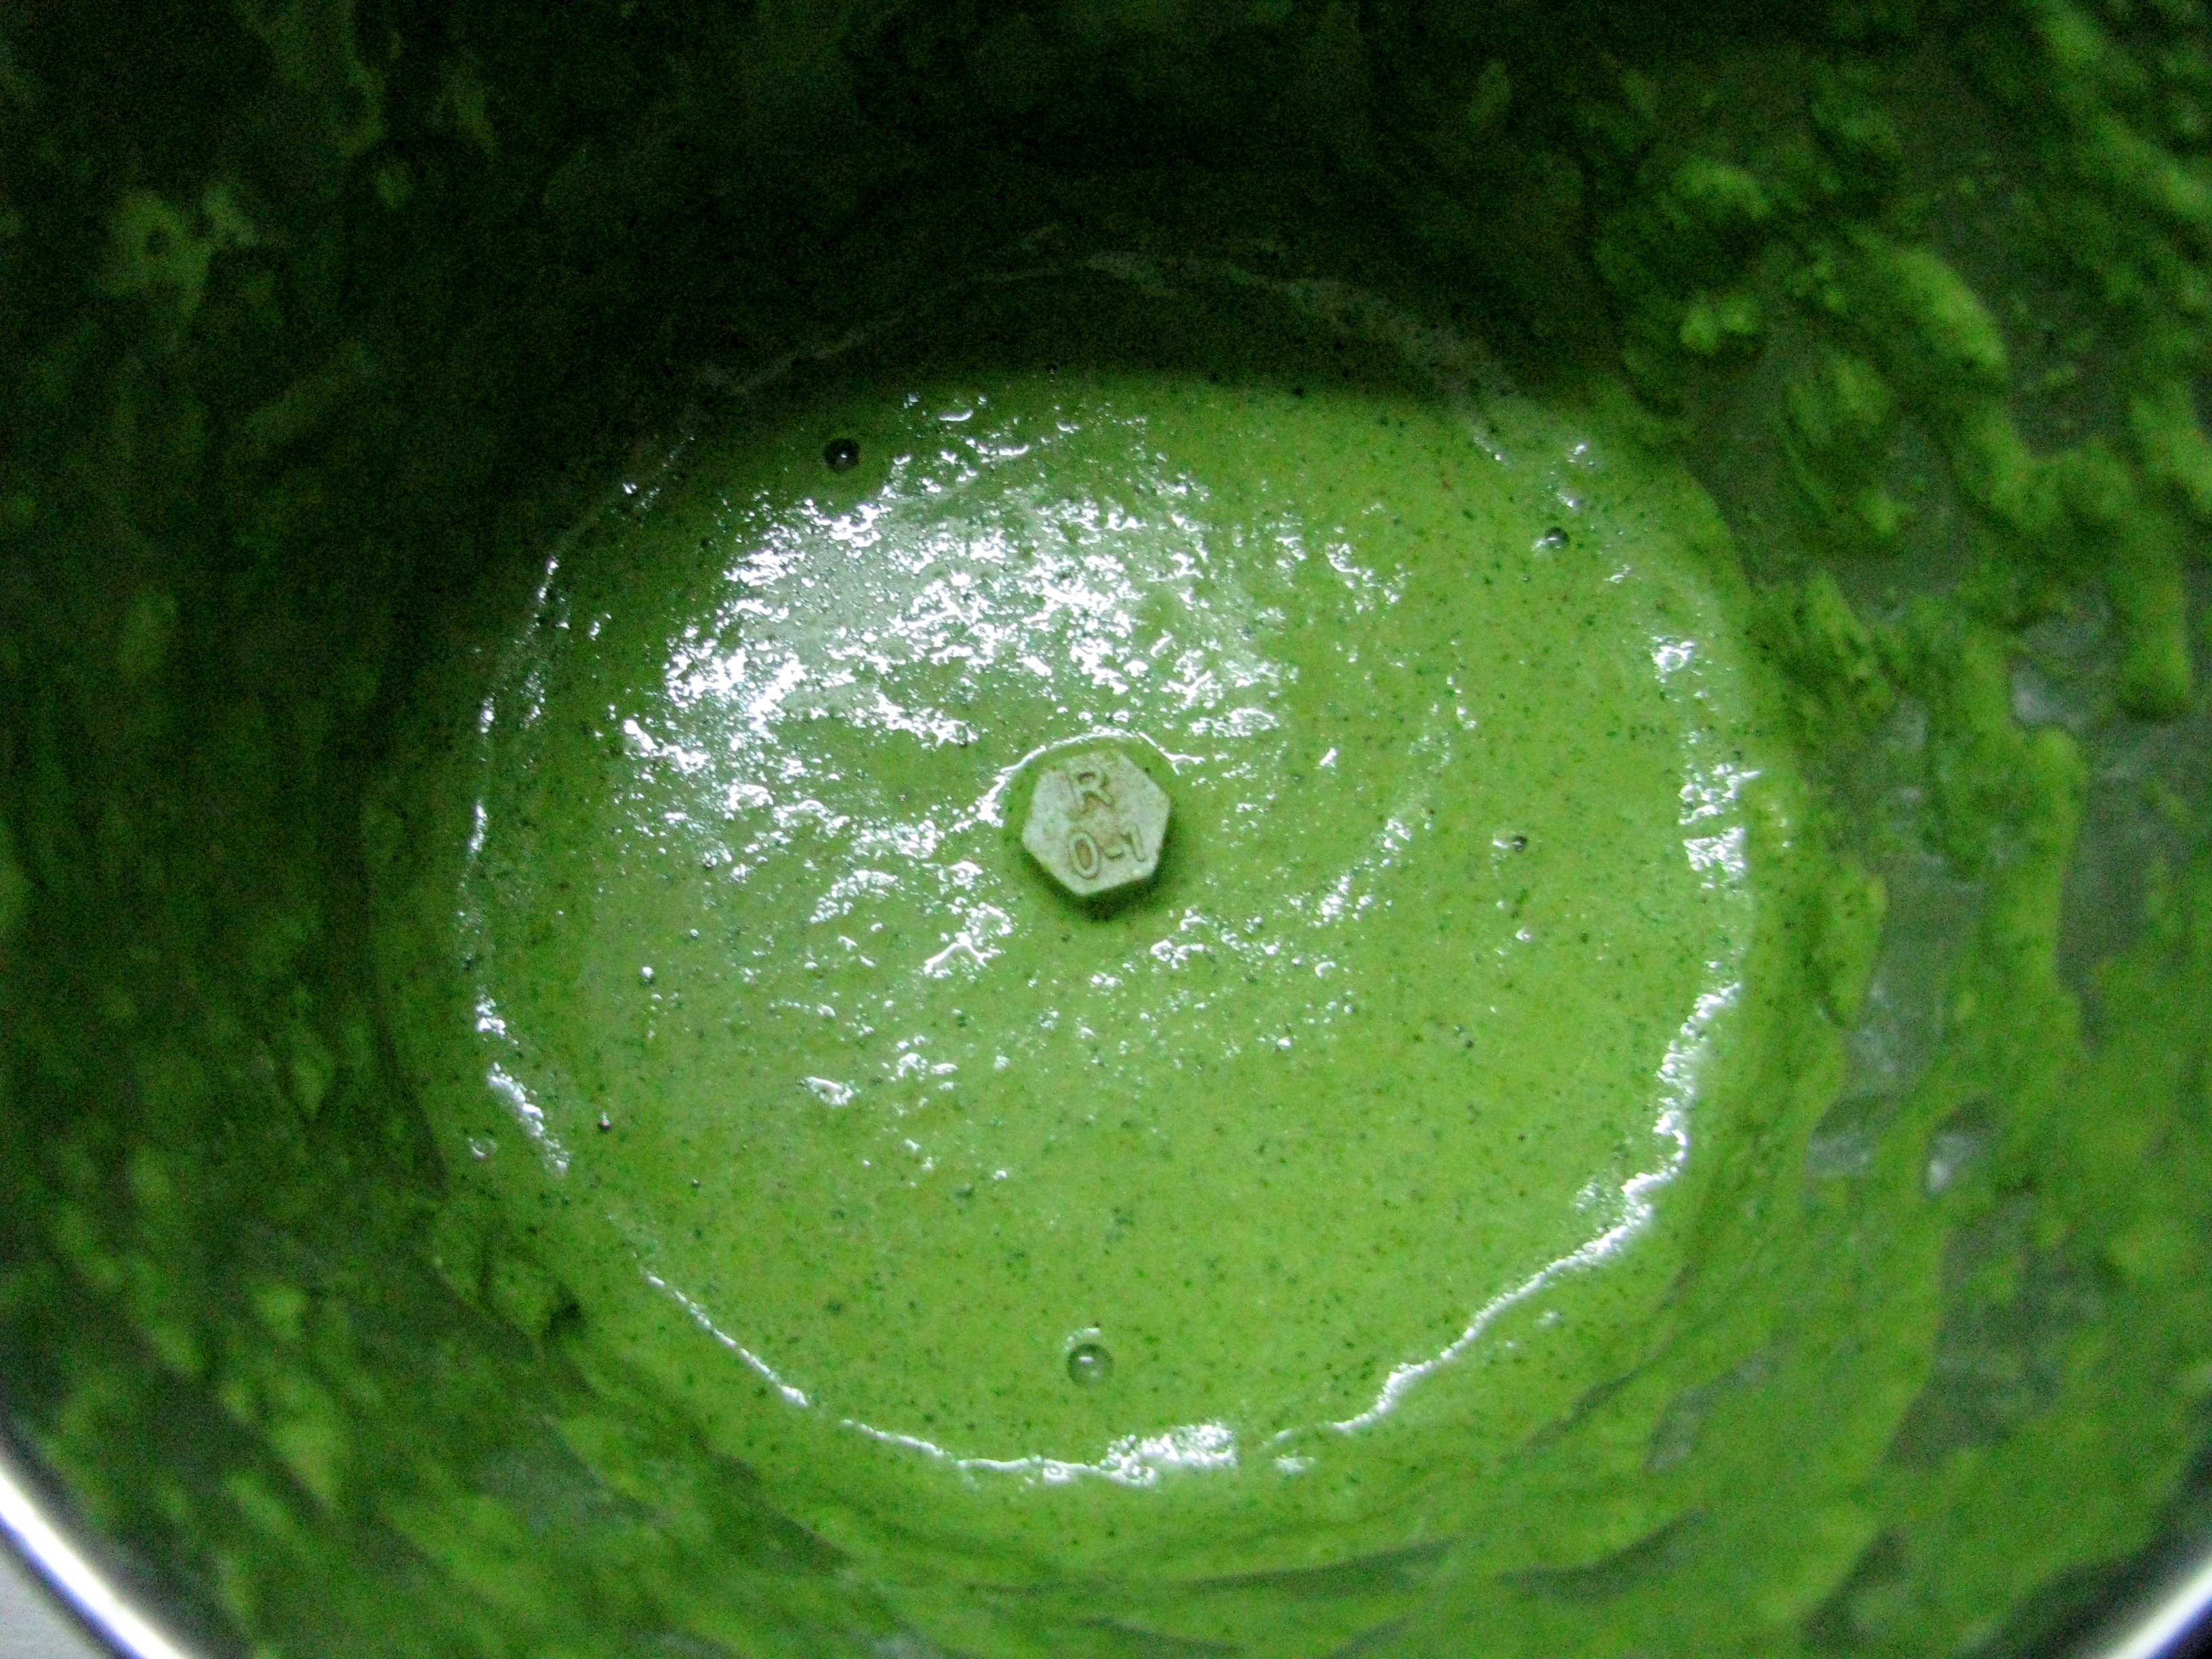
Mix all the ingredients of coconut chutney and make a fine paste of it by adding water to it .
For tempering of coconut chutney, heat the oil in a small frying pan and add mustard seeds to it . when mustard seeds(rai) starts crackling add jeera (cumin seeds),then curry leavesand Asafoetida to it . Add this tempering in coconut chutney . Serve this tasty coconut peanut chutney with any type of dosa idlies or even with bhakri / rotla (jawar / bajra roti ) , makki ki roti , any paratha.
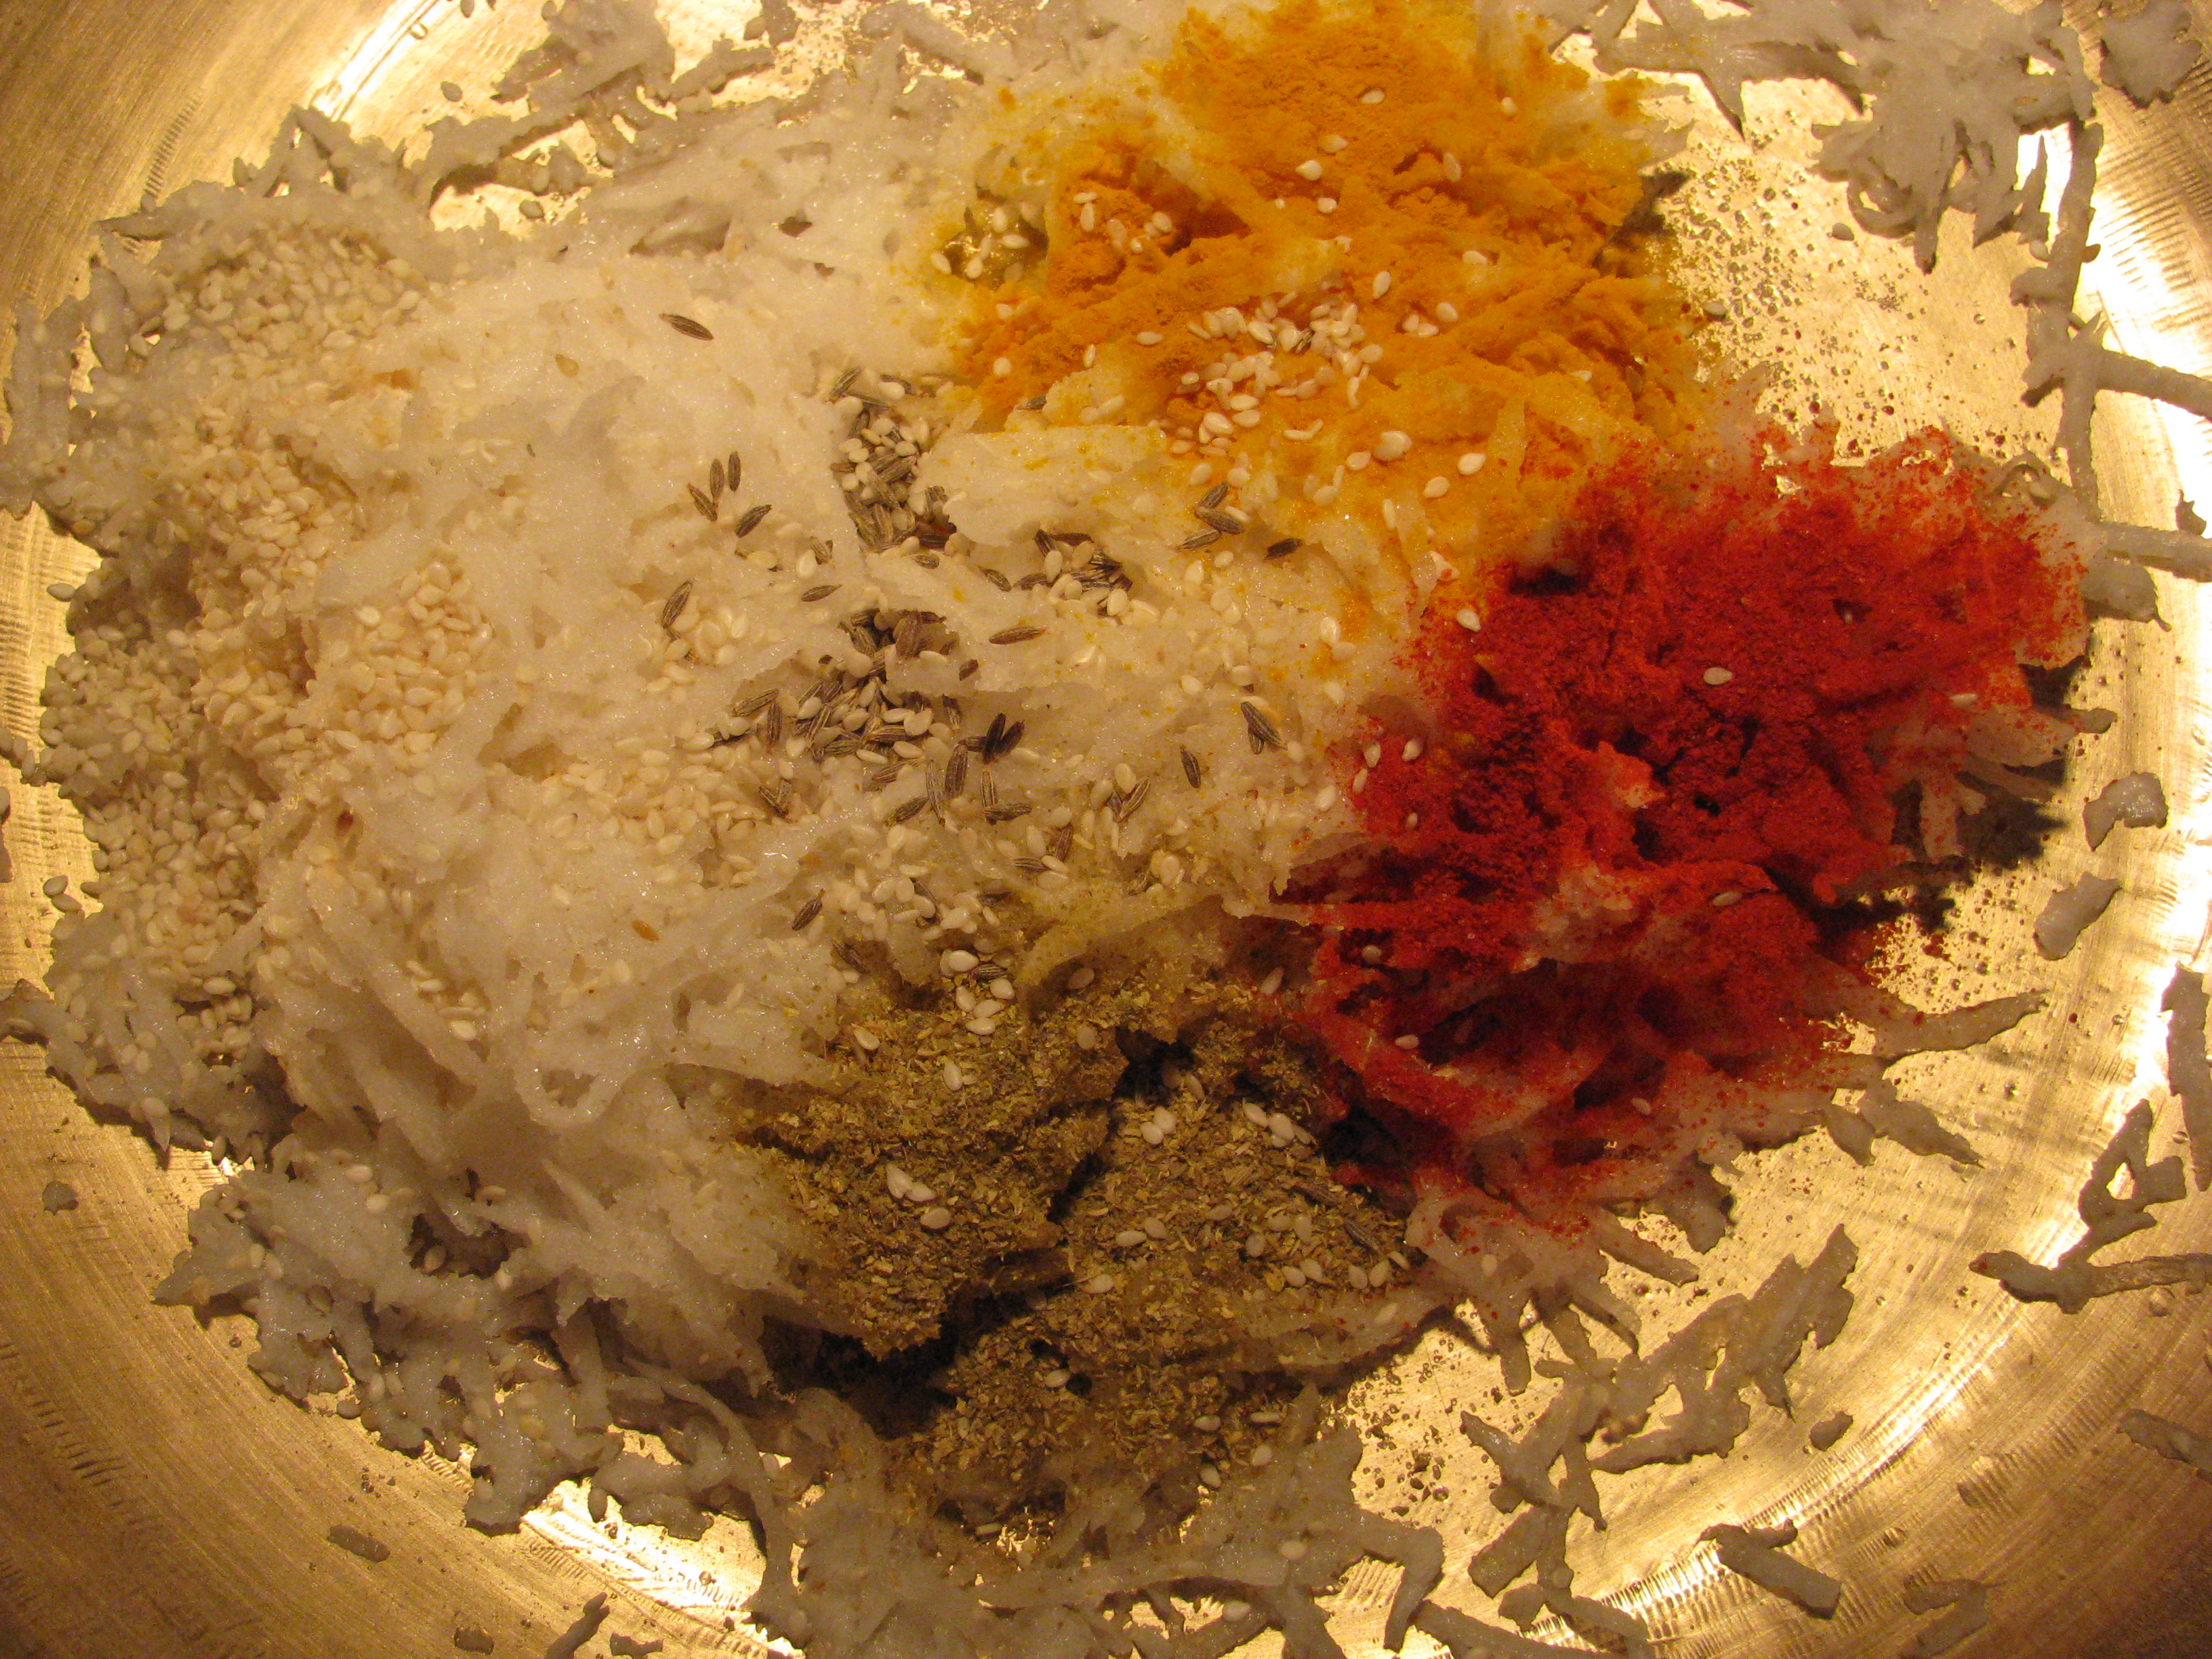
Paratha in morning with raita /jam /chutney /butter/ curd is a healthy Indian breakfast . Mooli (radish) Paratha is a healthy Indian breakfast recipe . You can make this Parathas with multi grain mix flour like wheat flour (gheu ka atta), barley flour (jau ka atta), chickpea flour (chane ka atta), maize flour (makki ka atta) , ragi flour etc. You can use any flour with whole wheat flour (gheu ka atta) to make this Paratha ,to make it a complete breakfast with all carbohydrates , proteins ,vitamins and good fats . With right spices Mooli ka Paratha tastes really good.
Don’t throw radish juice while making this Paratha, knead Mooli ka Paratha dough with radish juice only. I have added little smash potoes to make this Parathas soft.
[ingredients title=”Ingredients”]
1 cup grated Mooli / radish
½ cup grated boiled potato
1 teaspoon red chili powder
½ teaspoon turmeric powder
1 teaspoon coriander powder
1 teaspoon amchur
1 teaspoon sesame seeds
2 cup whole wheat flour (gheu ka atta) / multigrain flour
¼ cup besan (optional)
1 ½ teaspoon salt
Oil to roast Paratha
[/ingredients]
[directions title=”Directions”]
Mix all the ingredients except oil to make Mooli ka Paratha dough and keep it aside for 15-20 minutes.
ingredients for mooli ka paratha
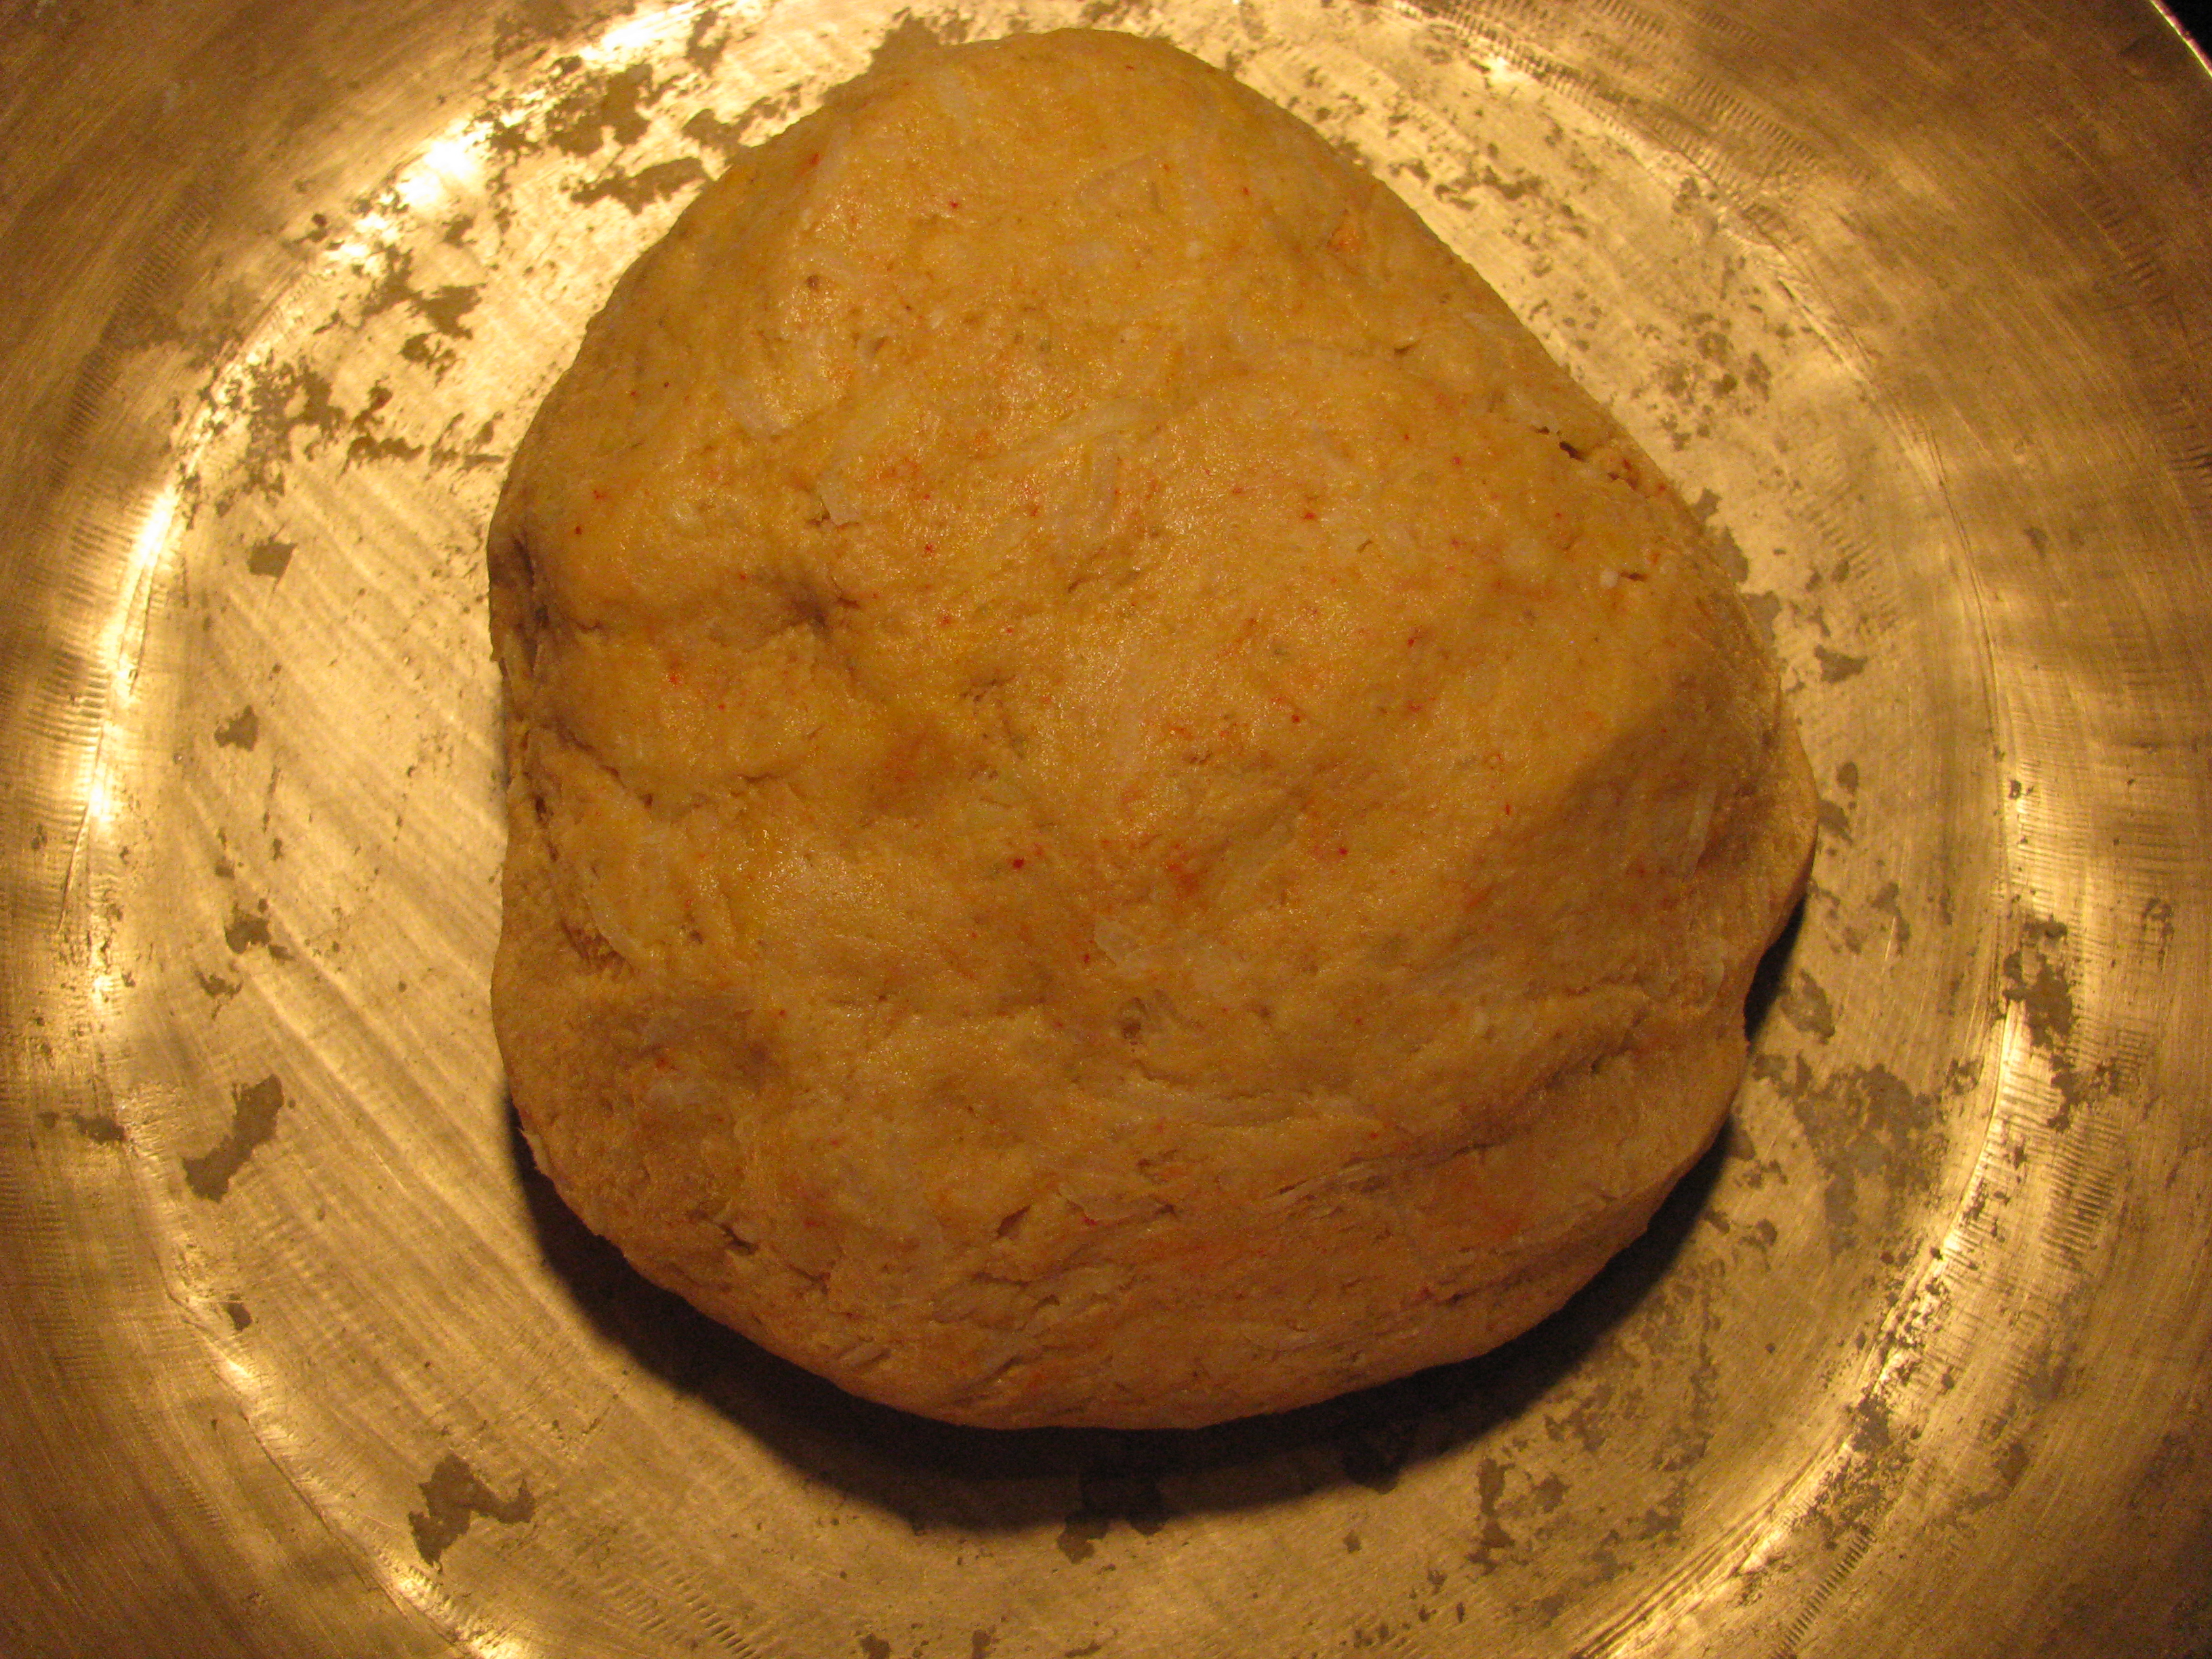
After 15- 20 minutes Mooli /radish will start diffusing water in the flour and the flour will become enough wet to make a nice dough . if you find the dough little watery add little wheat flour to make firm .
Dough for mooli ka paratha
Divide the dough in 7-8 equal balls and make Parathas from it.
Roast the Paratha on both sides with or without brushing oil to it.
Serve it hot with raita / pudina chutney / peanut chutney /curd /jam with lots of salad
Turmeric / haldi have lots of medicinal values. In most Indian recipes turmeric/ haldi is used as a spice. It has slightly bitter flavor .It said to have potential value of fighting disease like cancer, diabetes, sore throat allergies, Alzheimer’s disease etc. there are loads of benefits from turmeric.
Achar /pickles are always served in typical Indian thali. In my mom’s kitchen garden, raw turmeric was available round the year .she use to make turmeric pickle .during winters. This kachi haldi ka achar / turmeric pickle recipe is very easy, healthy and good for health .
[ingredients title=”Ingredients”]
Raw turmeric-250gms
1 ½ teaspoon salt
½ cup lemon juice
1 tablespoon oil (peanut/mustard oil)
6-7 Black pepper kernel (kali mirch / miri)
½ teaspoon asafoetida
[/ingredients]
[directions title=”Directions”]
Wash fresh raw turmeric nicely and peel its skin with peeler .
Grate this raw turmeric and add salt &lemon juice immediately to it (if you don’t add lemon juice immediately turmeric will change its color)
Heat oil in a pan and add black pepper kernel (kali mirch / miri) to it , when pepper starts swelling add asafoetida and remove it from the flame
Let the oil cool down and then mix it in the grated turmeric mixture, mix it nicely. Serve this pickle with your meals
Pudina chutney / Mint chutney is spicy dip which is served with various Indian appetizers or snacks like tikkas , kebabs ,samosas ,kachori , dhoklas and even with south indian foods like dosas and idlis . Pudina chutney is also served with lot many chats , it gives nice ting to chat items like raj kachori ,aloo ki tikki ,papdi chat ,dahi bhalla etc .
I make Pudina/Mint chutney in many ways-
If I am serving it with tikkas or kebabs or sandwiches I make it with curd.
pudina chutney for appetizers
If I am serving this chutney with samosas or dhoklas or kachori or for chat items I make it little chatpatti by adding lemon juice sugar etc.
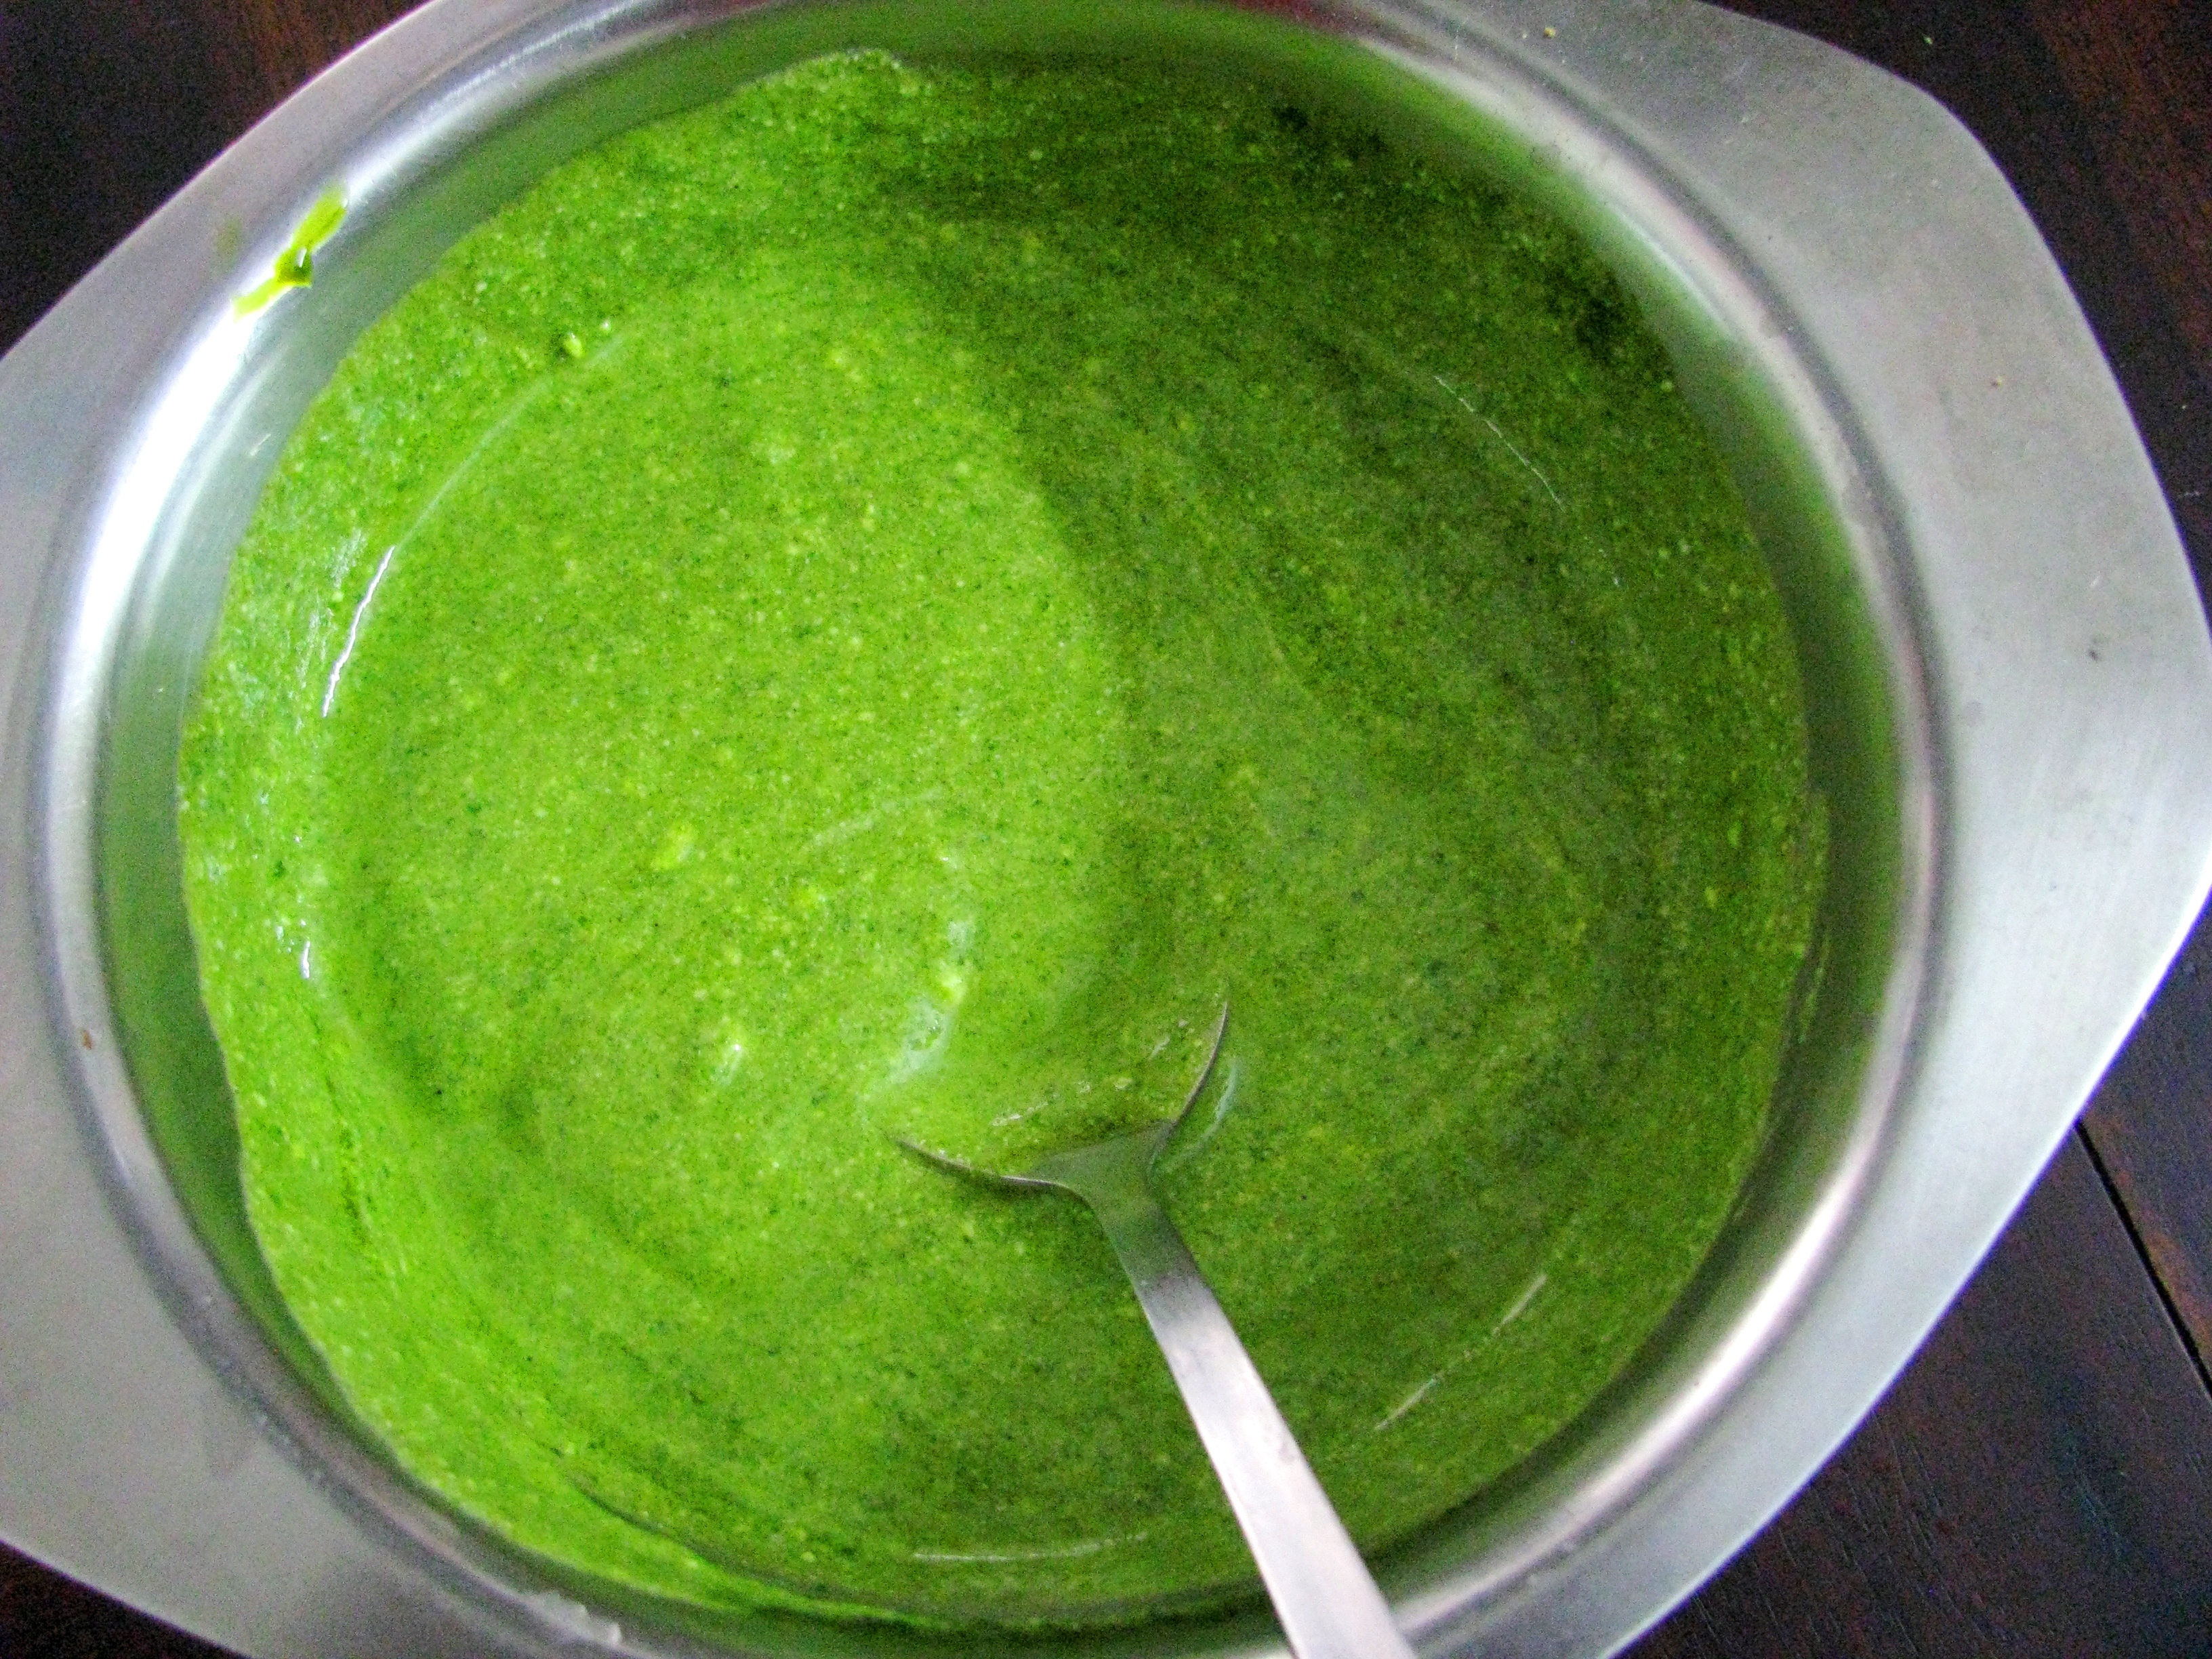
if am serving pudina chutney with dosas or idlis I add coconut and peanuts .roasted peanuts gives very nice texture to pudina chutney as compare to roasted chana dal (dalya / chutney wali dal/ pottukadalai)
coconut pudina chutney for idli dosa
I am sharing my tips for making pudina chutney green at the end of these recipes. I like my pudina chutney green in colour, as it looks very tempting when it’s green.
How to make Pudina chutney/Mint chutney for veg or non-veg kebab or tikkas or with sandwitches
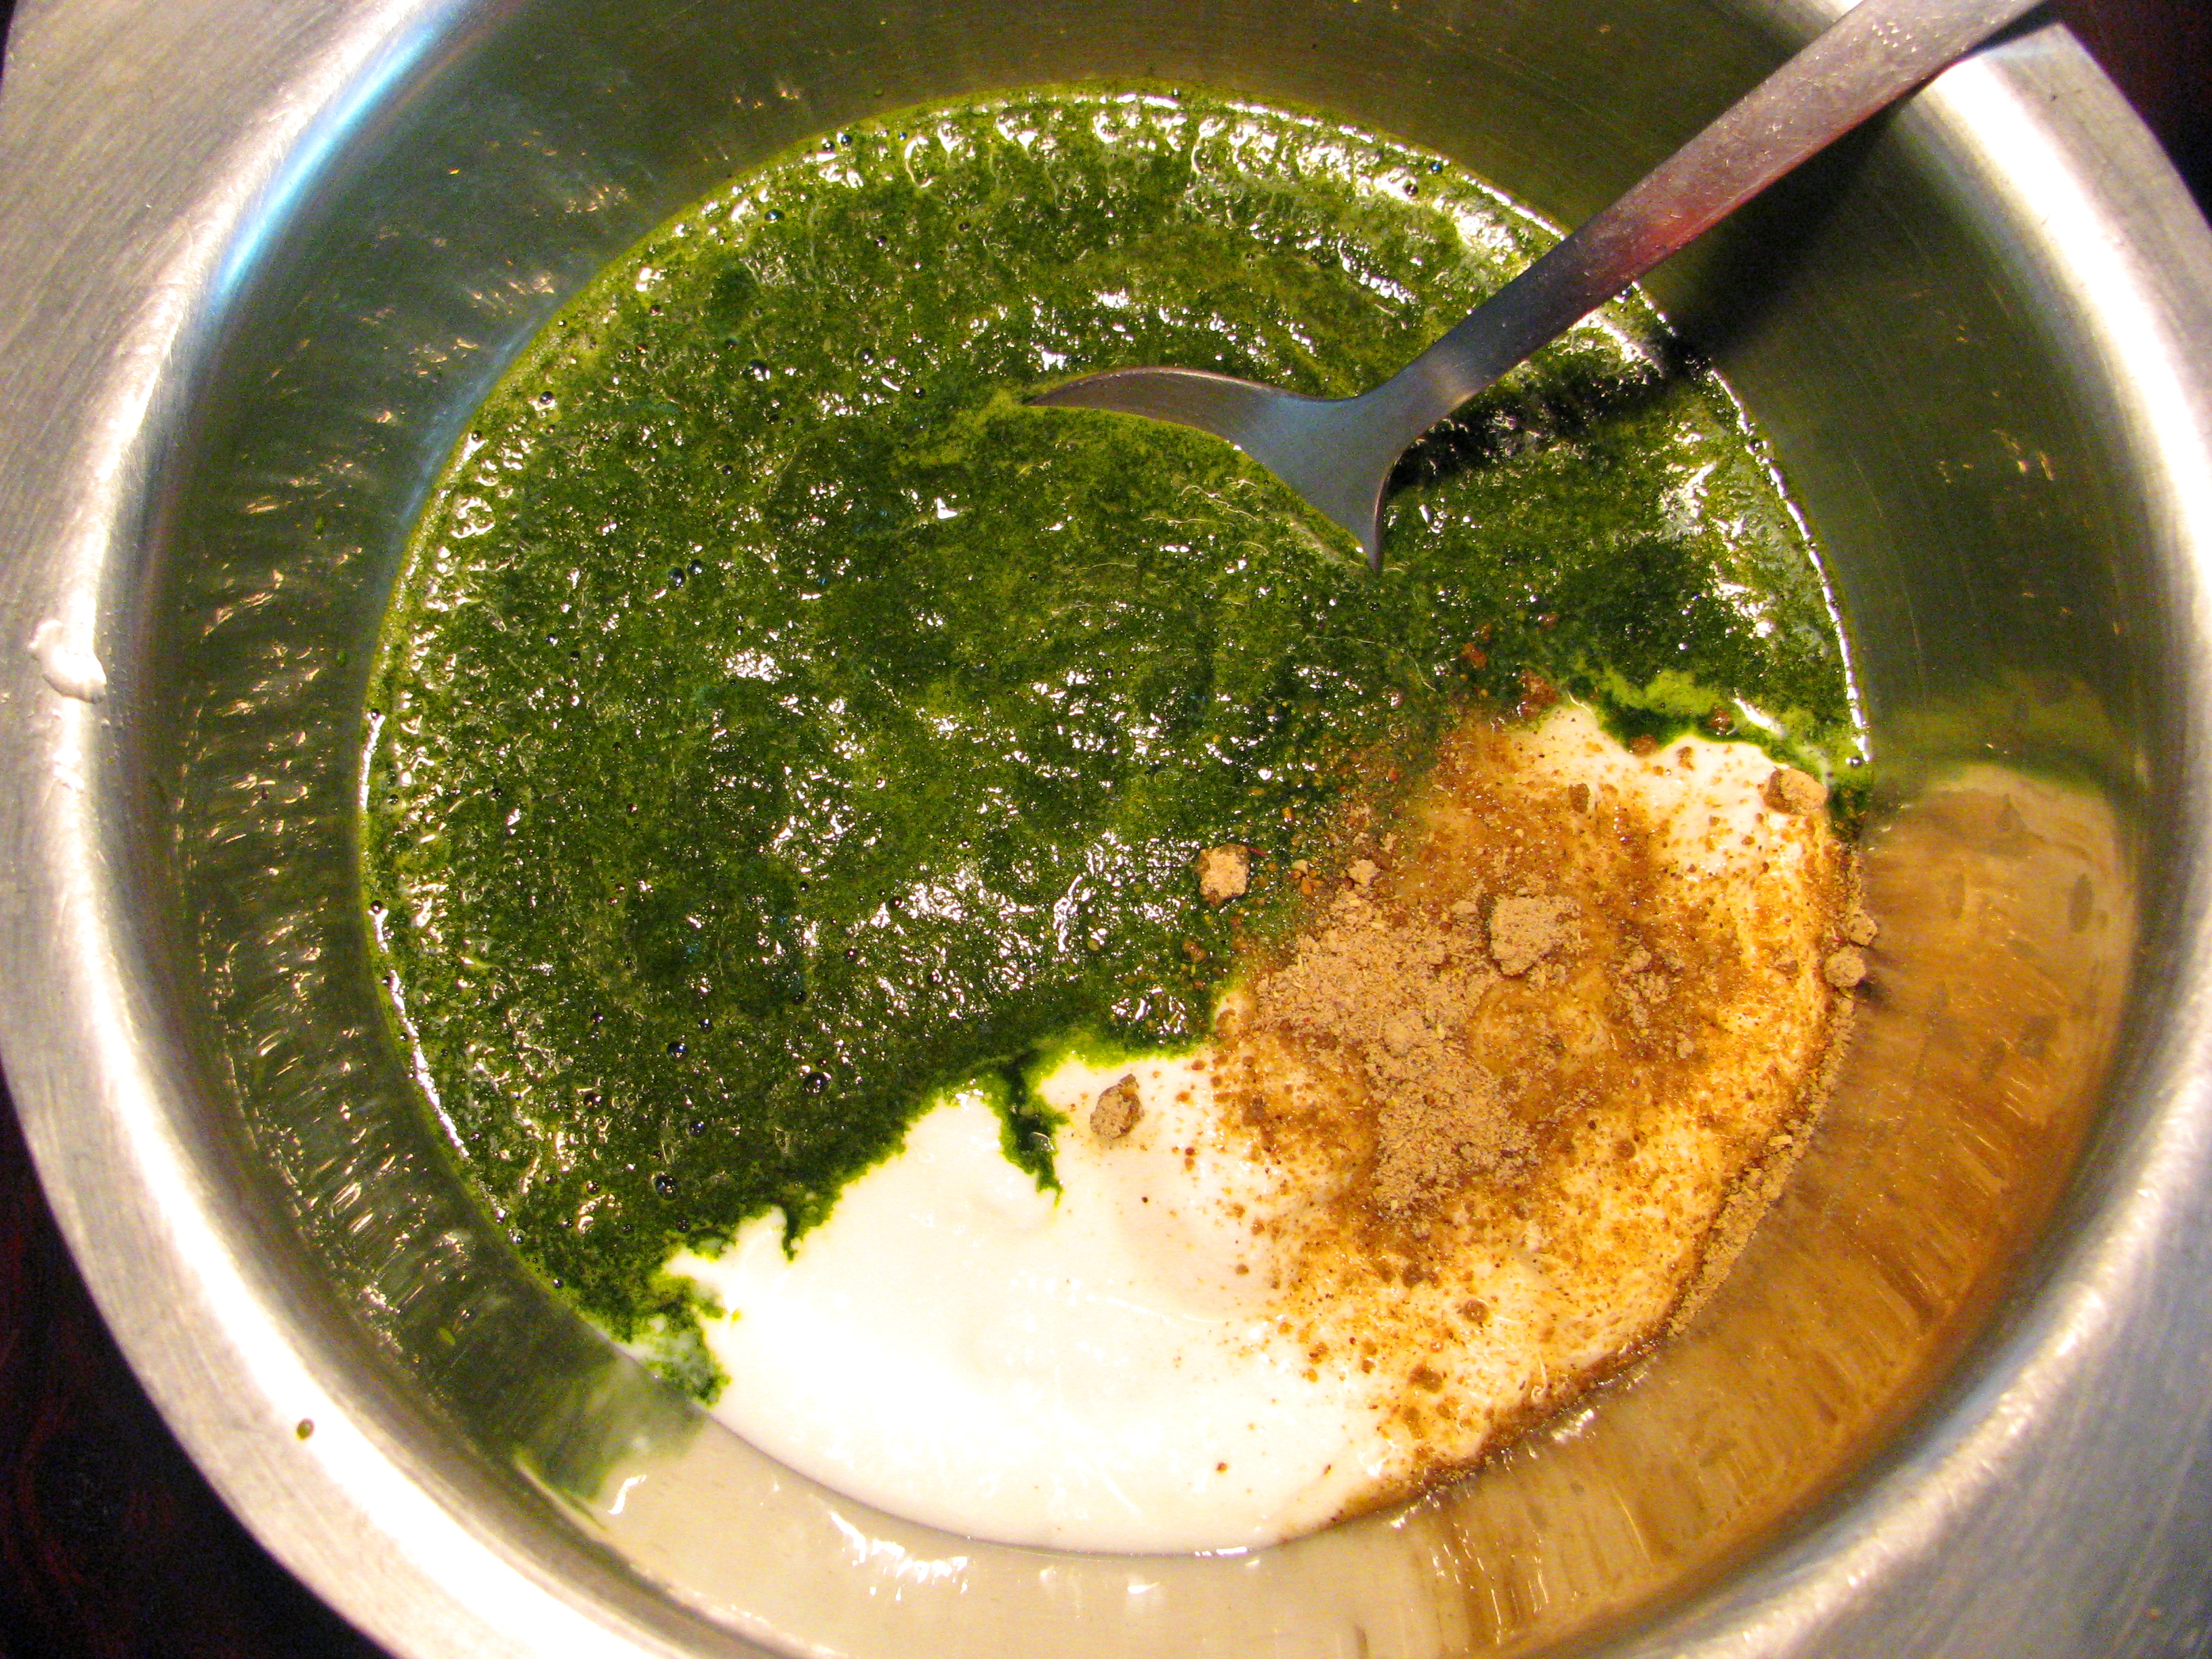
This pudina chutney is same which is served in restaurants with many veg and non veg appetizers like tikkas and kebabs. This chutney is little spicy and the thick texture comes with thick fresh curd .
pudina chutney for appetizers
[ingredients title=”Ingredients”]
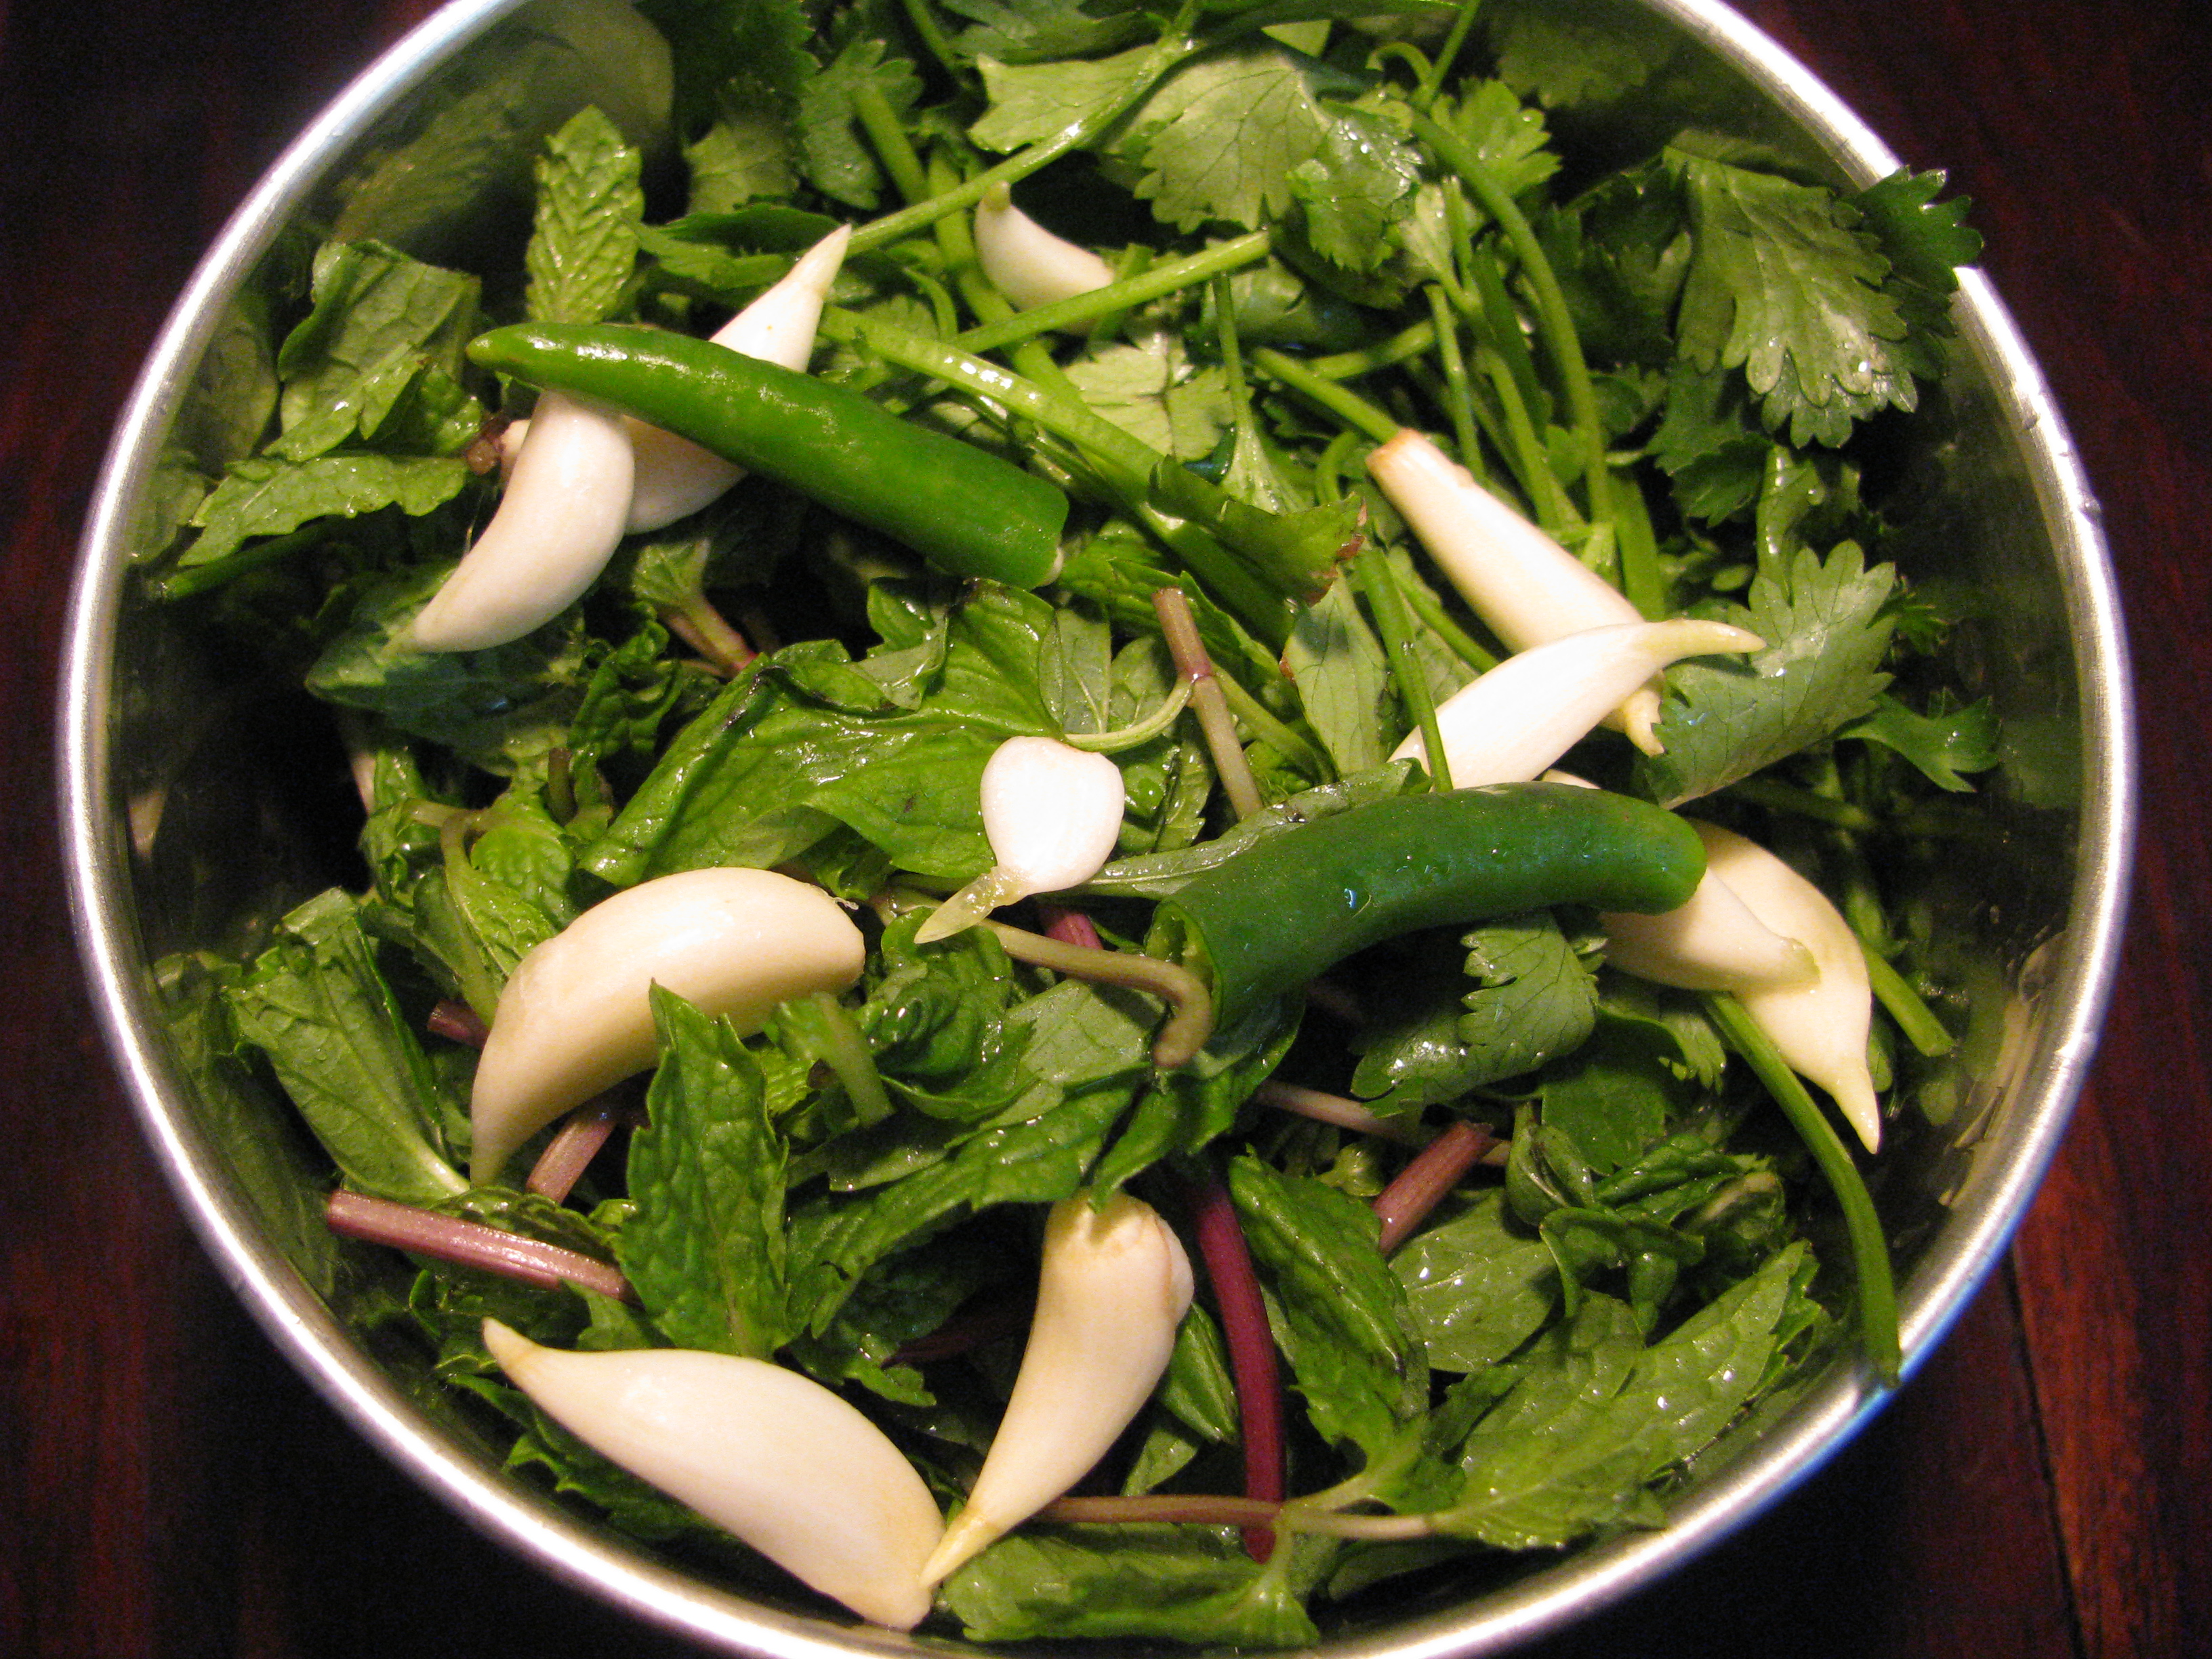
1 cup pudina / mint leaves
½ cup coriander leaves
1 teaspoon roasted cumin seeds
1cup fresh curd (use whole milk curd or use curd which comes in tetra pack)
1 teaspoon chat masala
1 green chili (take it according to your taste )
6-7 garlic cloves
Salt to taste
[/ingredients]
[directions title=”Directions”]
Wash pudina and coriander nicely with water .take it in mixer jar .add garlic cloves, green chili and roasted cumin seeds in it and by add ing little water make a fine paste of it.
Take curd chat masala salt in a bowl and whisk it nicely and add fine paste of pudina ,coriander, garlic ,green chili and cumin seeds in it mix it nicely and serve it with any appetizers of your choice .
pudina chutney for appetizers
[/directions]
How to make Tangy Pudina / mint chutney for dhoklas ,kachoris ,samosas ,pakoras or any chat recipe
[ingredients title=”Ingredients”]
1 cup pudina / mint leaves
½ cup coriander leaves
1 medium onion (cut it into pieces)
½ inch ginger piece
1 green chilly
1 tablespoon lemon juice /raw mango pieces (kacha aam)
1 teaspoon chat masala (optional)
1 teaspoon roasted cumin seeds
2 teaspoon sugar
Salt to taste
[/ingredients]
[directions title=”Directions”]
Wash mint leaves and coriander leaves nicely and take it mixer jar & add all the ingredients except salt and chat masala to it . Make a fine paste of it by adding little water .
Remove it in a bowl and salt and chat masala and mix it nicely. Serve this tangy pudina chutney with dhoklas ,kachoris ,samosas ,pakoras or any chat
[/directions]
How to make pudina / mint chutney with dosas or idlis or parathas
As I said earlier I make this chutney with coconut and peanuts . I use peanuts in place of roasted gram (dalya/chutney wali dal/ pottukadalai) as it gives nice texture to this chutney but if you want you can add roasted gram (chutney wali dal / daliya) in place of peanuts .
Wash pudina leaves and coriander leaves and take it in a mixer jar, now add all the ingredients except salt and tempering ingredient to it and make a fine paste by adding little water to it
Take this fine paste of pudina chutney in bowl and add salt to it and mix it nicely
In a frying pan heat oil and add mustard seeds and cumin seeds let it crackle, now add curry leaves and asfoetidia to it .pour this tempering on pudina chutney. Serve it with idli dosa or even in your meals.
[/directions]
coconut pudina chutney for idli dosa
3 Tips for making pudina / mint chutney green
Never grind pudina chutney with salt. Add salt after you grind pudina chutney.
Add lemon juice or curd or raw mango in pudina chutney to keep it green in color.
Add coriander leaves with pudina to make your chutney green.
Coconut modak recipe with carrot is a modified version of my Gajar ka Halwa, I have added grated coconut in gajar ka halwa to make this modak . Goodness of carrot and coconut makes this modak very healthy and nutritious . This modak has very nice flavor of coconut and carrot. You can use carrot coconut proportion according to your taste. I have used carrot and coconut in 2:1 ratio .
In a big pan heat ghee and add grated carrot and coconut to it and roast it for 5 minutes.
Now add milk to this roasted coconut carrot and bring it to boil. Stir it occasionally.
Cook this mixture until it becomes dry and starts releasing ghee from it , now add sugar to it and stir it until it mix nicely in it .then add cardamom powder and remove the mixture from heat.Now add chopped dry fruits to it (I have added roasted dry fruits). Carrot coconut halwa mixture is ready for modak . Let it cool down.
Now take a modak mold and fill it with this coconut carrot halwa mixture & unmold your coconut carrot halwa modak is ready. Make all modak from this carrot coconut halwa in this way . Your coconut modak Prasad (Prasadam) is ready for lord Ganesha
[/directions]
If you don’t want to add coconut you can even make modak from Gajar ka Halwa recipe
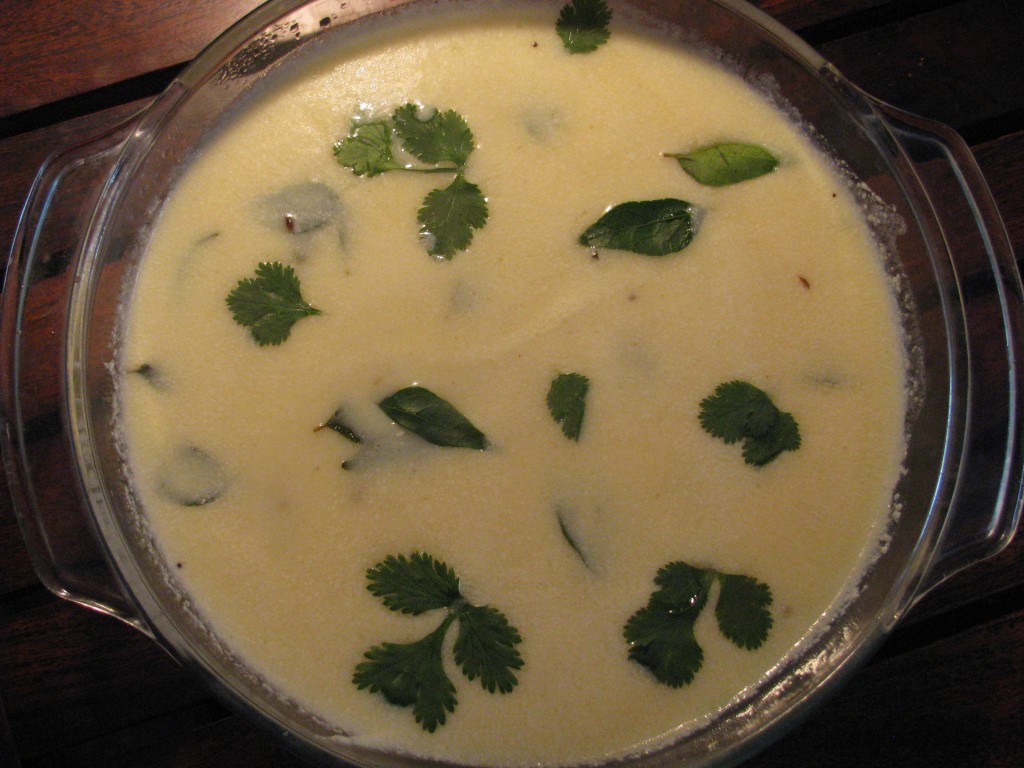
Gujarati Kadhi Khichadi at dinner time is a typical Gujarati menu. All Gujarati homes have different styles of making kadhi as gujarati thali is incomplete without kadhi,they add different spices like cinnamon (dalchini) , cardamom (elaichi) , cumin seeds (jeera )etc in there kadhi recipe. My Ba (grandmother) use to make kadhi in mud pot, this kadhi has the very nice flavor and it tastes best ,she never added lots of spices in her kadhi. Well this is her Gujarati kadhi recipe but not in mud pot!
This is easy Gujarathi Kadhi Recipe . I have explained step by step method to make this sweet white Gujarati kadhi from yoghurt / curd / dahi.
Mix all the ingredient except the tampering ingredients. Whisk them well with hand blender or spoon or mathani /churner /ghotni and bring it to boil while stirring it continuously .
For tempering Heat ghee in small frying pan add mustard seeds in it when it starts crackling add jeera & fenugreek seeds fry it for 2-3 seconds and then add asfoetida , finely chopped ginger ,green chilly pieces and curry leaves to it and fry it nicely .
Pour this tempering over the boiling kadhi .Cook the kadhi 2-3 minutes on low flame and stir it continuously.
Garnish it with coriander .Serve this Gujarati kadhi hot with khichadi or simply sip it with your meal.
Lemon rice is a fried rice with lemon juice. This fried rice is the authentic recipe of south India. Rice is the staple food of south india and variety of rice recipes are made in this region. Southindian rice recipes are always in demand in all parts of India . When i come to Delhi i saw many of my northindian friends love southindian recipes and they specially go out to eat it . Lemon rice is called as nimbu chawal in hindi .This recipe has very refreshing taste because of fresh lemon juice.
I generally make lemon rice with leftover rice or I make rice 6-7 hours before I prepare this recipe ,the basic reason for cooking this rice before is each strands of rice gets separated after 6-7 hours ,the stickiness also disappears and while preparing lemon rice we should add lemon juice in rice when it’s cold . In lemon rice the rice particles should be soft and at the same time it should be separate. Lemon juice and Asafoetida (hing) gives very nice flavor to this rice recipe .
2 teaspoon finely chopped ginger (optional, in winters i add ginger in lemon rice)
20-30 roasted peanuts
1 tablespoon oil
[/ingredients]
[directions title=”Directions”]
Gently separate strands of cooked / leftover rice in a mixing bowl with your fingers and add lemon juice , salt and sugar in it and mix it nicely .
Heat oil in a pan and add asasfoetida and mustard seeds in it when the seeds starts crackling add urad dal , chana dal to it and roast it until it it turns light brown. Now add dry coconut pieces & ginger pieces to it, when coconut starts turning light brown add green or red chili pieces roast it for 2 -3 seconds . your tempering is ready for lemon rice
Add this tempering in rice and mix it nicely. Your lemon rice is ready to serve
[/directions]
Tips for making lemon rice
Cook rice at least 6- 7 hours before or use leftover rice to cook lemon rice.
If your using leftover rice use it if its cooked 7- 8 hours before, not more than that and after making lemon rice from it serve it immediately. As we are not reheating the rice . the reason behind this is rice gets spoiled after that . if you want to use leftover rice after more than 7- 8 hours refrigerate it and make Chinese fried rice or Fried rice with onion garlic flavor
If your cooking rice for lemon rice purpose add 1 teaspoon oil and salt while cooking rice.
Add lemon juice when the rice is normal at room temperature don’t add lemon juice in hot rice it makes the rice slightly bitter in taste


