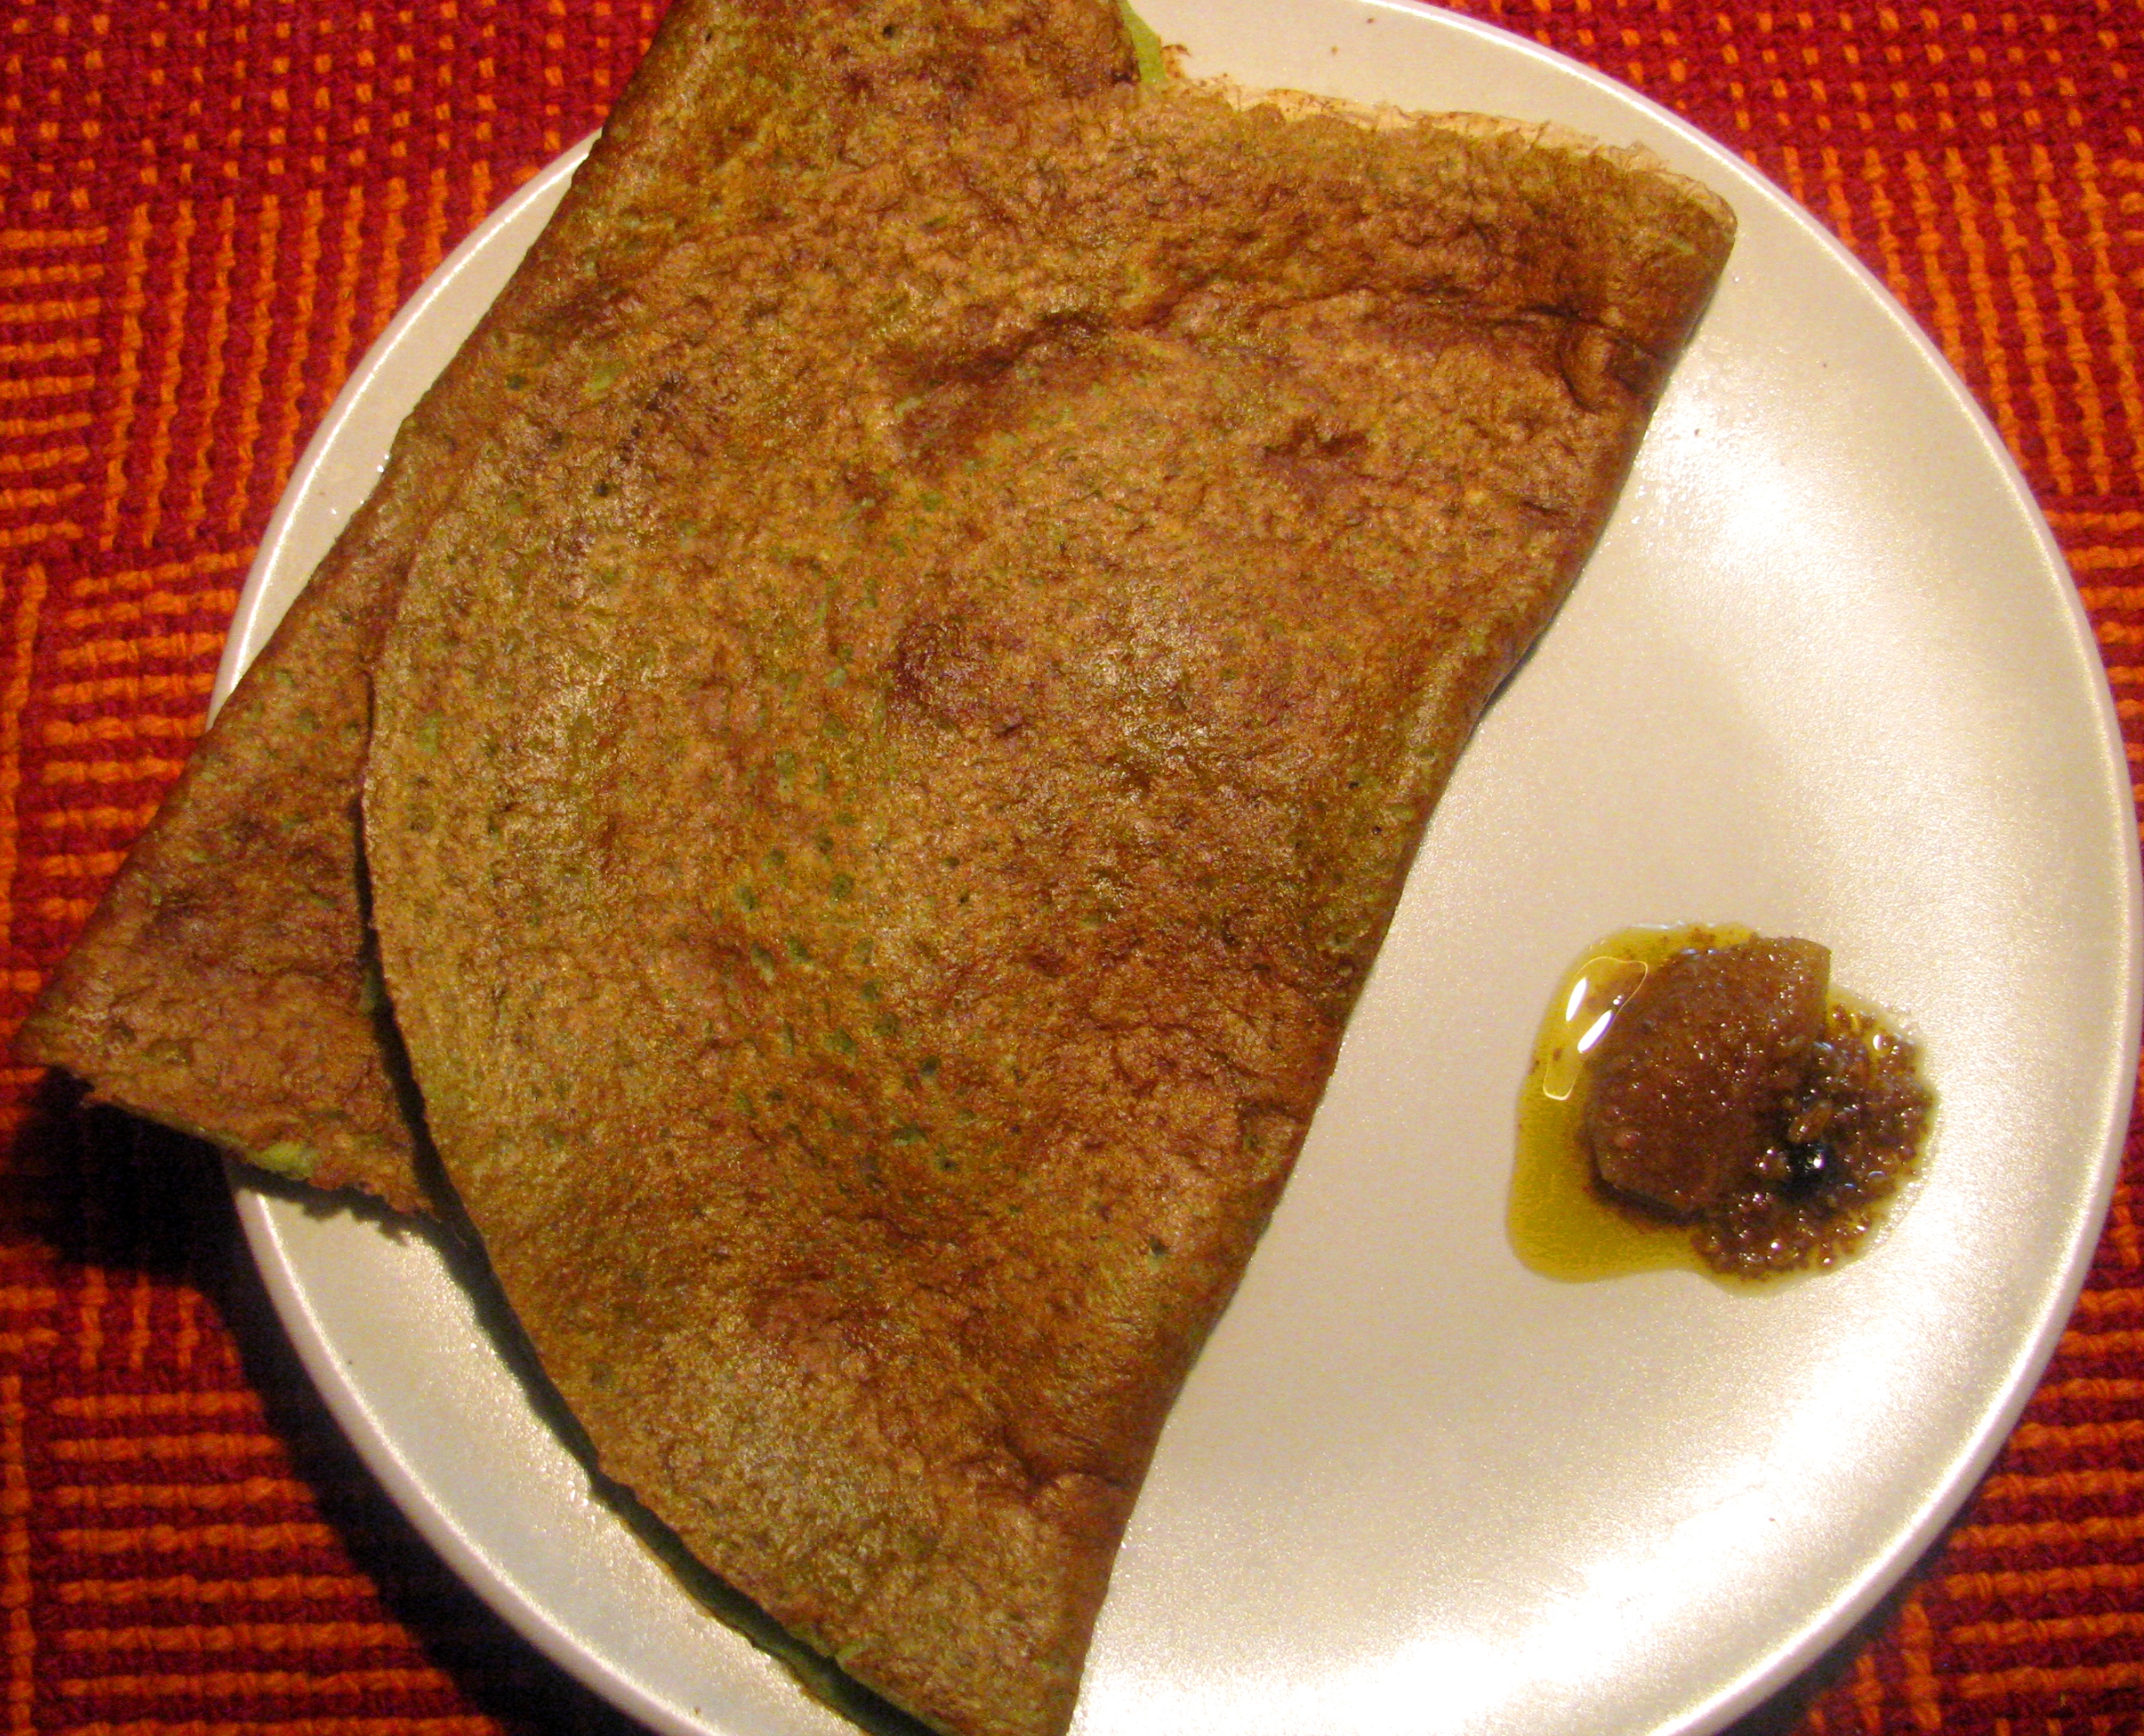
Moong ka cheela or moong ka dosa is very healthy breakfast .I make moong cheela in variety of ways. I don’t use only moong (green gram) to make this cheela or dosa. In summers I add rice flour to make moong dosa and during winter I add maize flour (makki ka atta) to make moong ka cheela. I use Maize flour mostly during winters. Rice is easy to digest, so I prefer rice flour in moong cheela during summers. Well there is no need to add any flour to make moong cheela but by adding flour it makes the complete breakfast as both protein and carbs are present in it. I also add curd/ yogurt to make this cheela batter; which completes the calcium demand. Well if your vegan you can add water to make cheela batter .
In regular dosa batter lot of time required for soaking and fermentation. In moong dosa or cheela there is no need of fermentation. I use moong chilka (green gram split) or moong sprouts (green gram sprouts) to make cheelas. Moong dal sprout chilas are very nutritious, it takes time for moong to get nice sprouts, so if you’re in hurry just soak whole moong or moong chilka (split green gram) to make this chila or dosas . I add finely chopped onion and green coriander to my cheela or dosa to make it moong uttapa, but when I make it for kids I grind both onion and coriander in batter only.
3 cups moong sprouts / or soaked moong chilka / soaked moong (green gram)/ moong dal (moong dhuli)
1 cup fresh maize flour (makki ka atta)/ rice flour / buck wheat flour (puttu ka atta)/semolina(sooji/rava)
2 cups fresh curd / water
2 -3 green chilies
1 inch garlic
1 medium size onion /7-8 garlic cloves
1 teaspoon jeera
Salt to taste
1 cup coriander leaves
Oil/ghee for making dosa /cheela (well oil is optional if your on diet and using non stick pan )
[/ingredients]
[directions title=”Directions”]
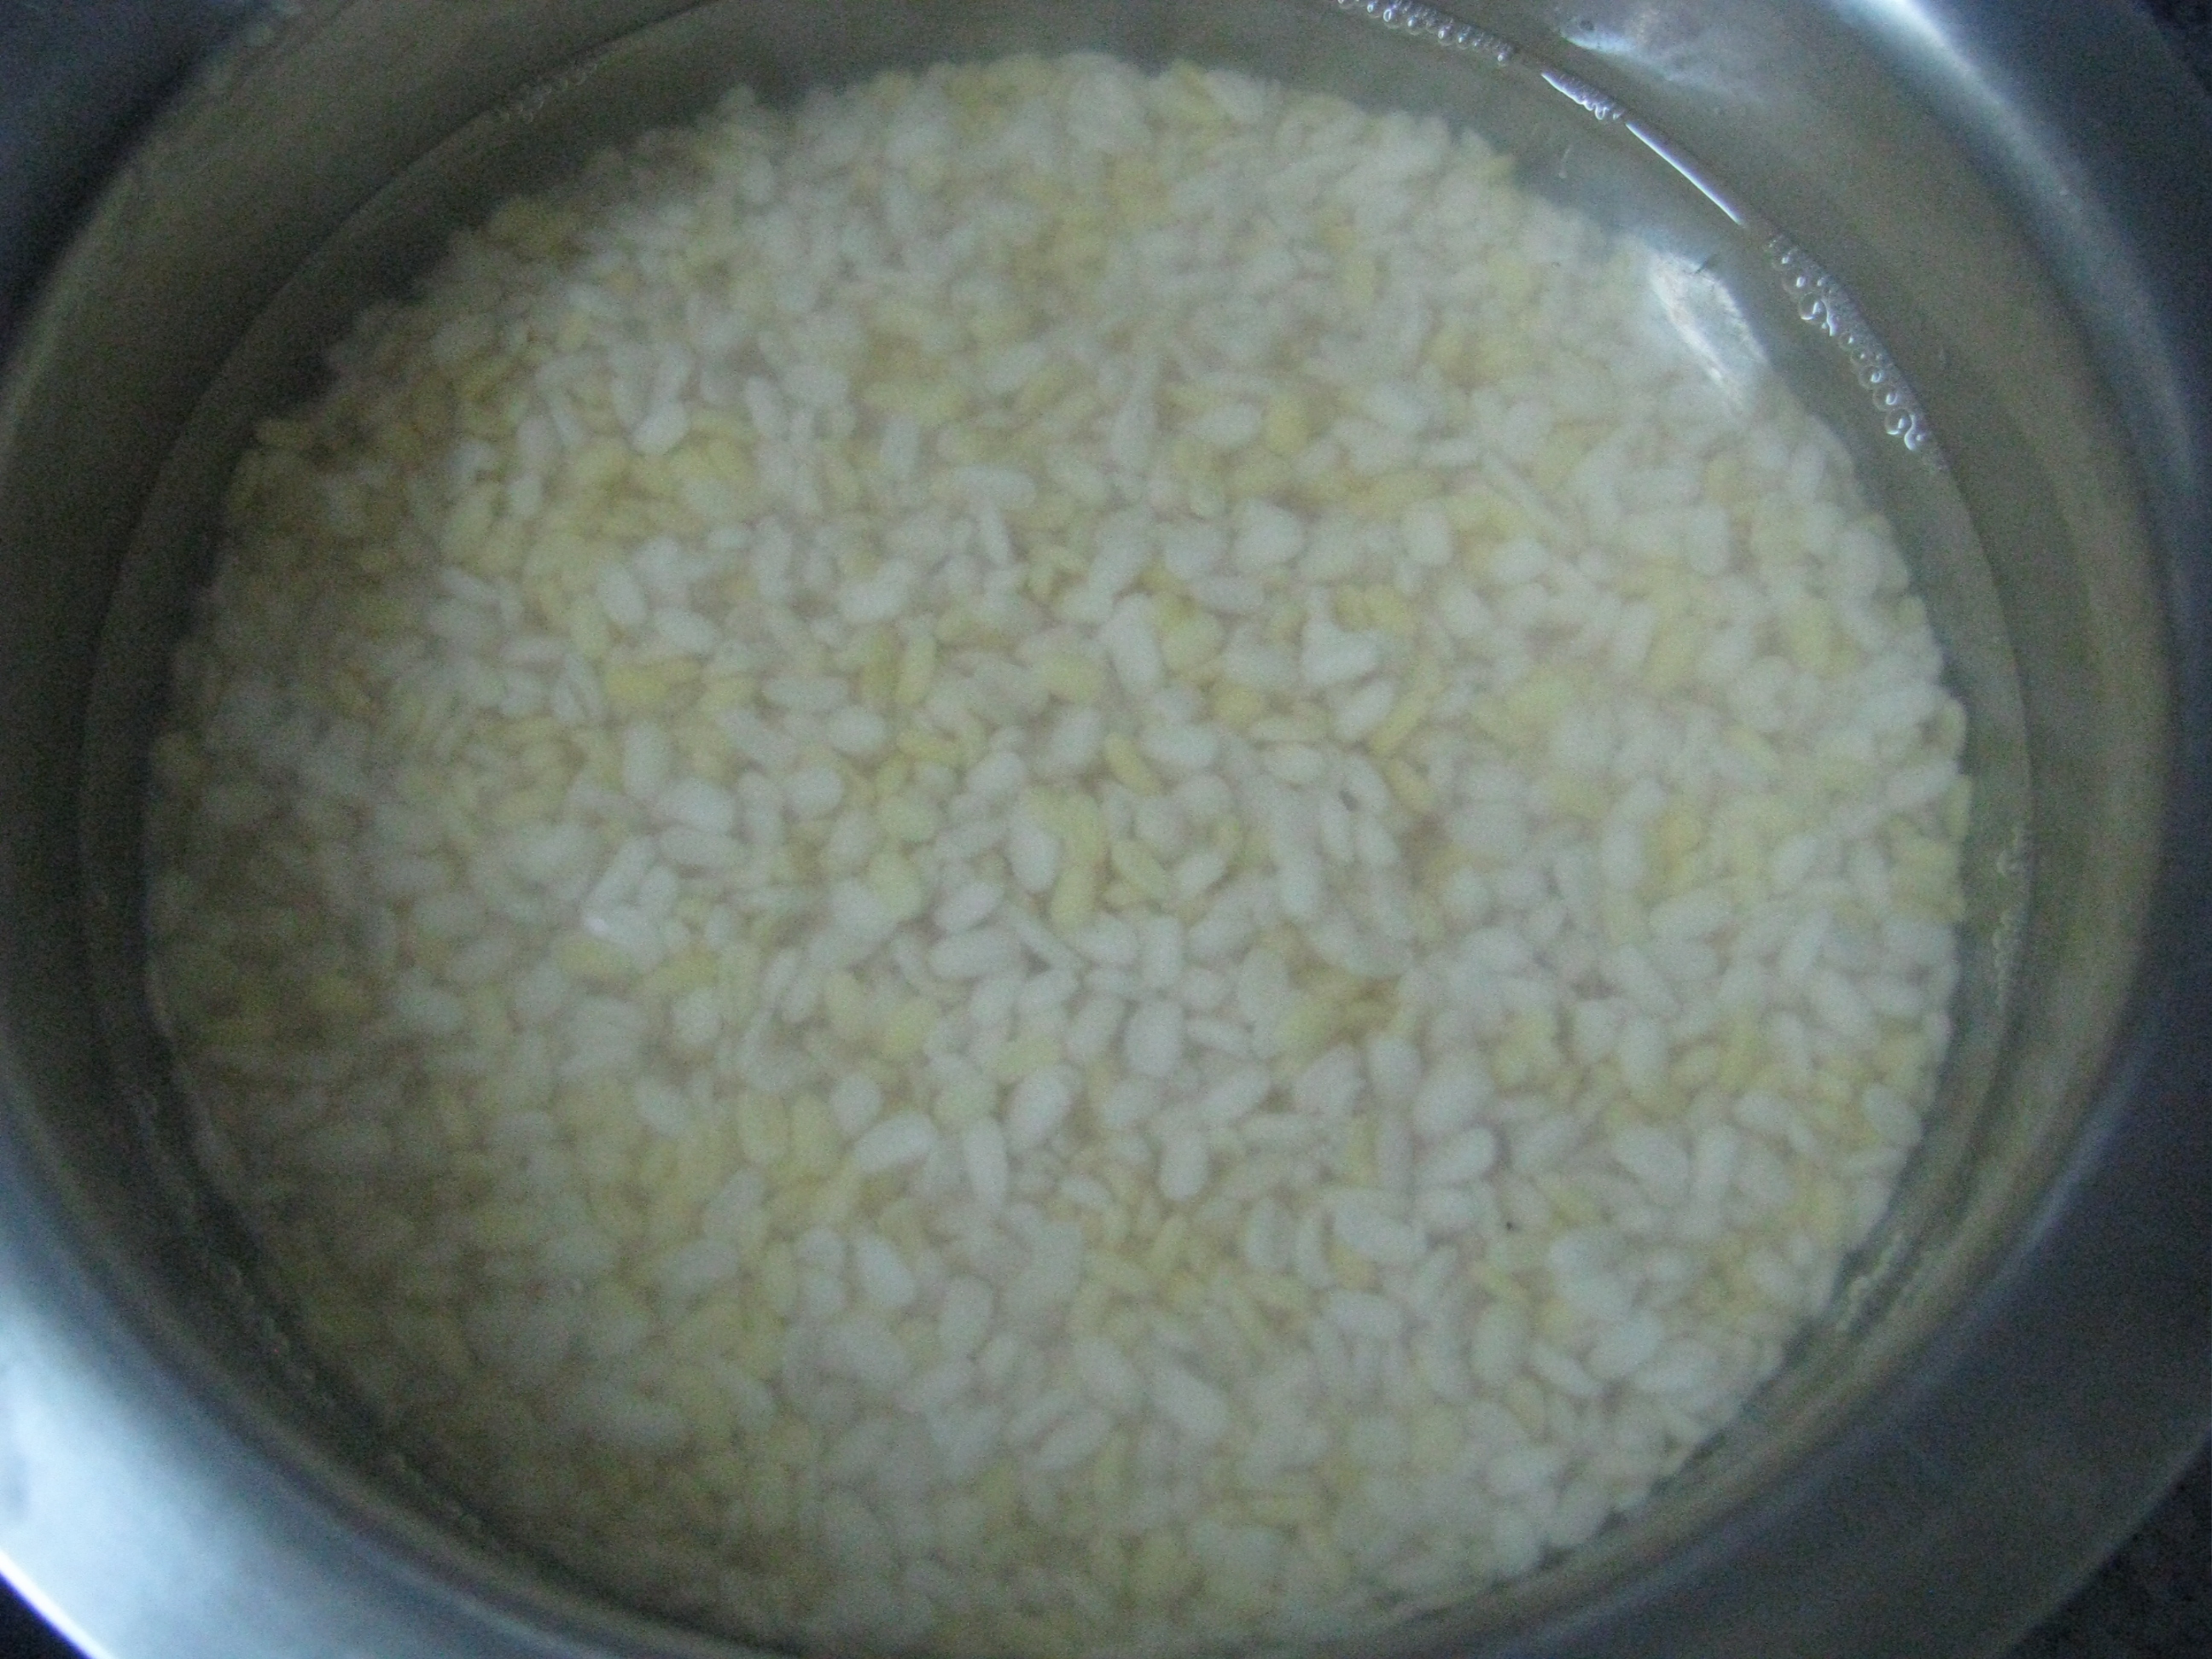
Wash moong or moong chilka or moong (dhuli) dal nicely and Soak it in clean water for 4-5 hours (during summer 7-8 hours during winters).
If you want to make sprouts of moong keep it in clean muslin cloth or / colander to make sprouts .
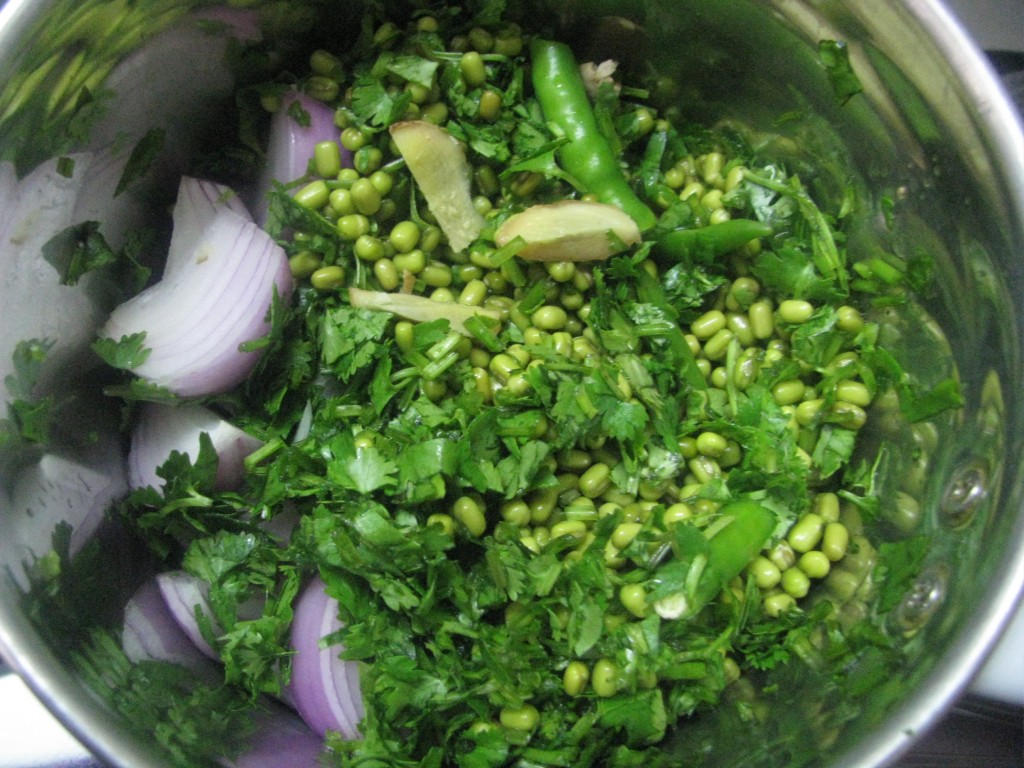
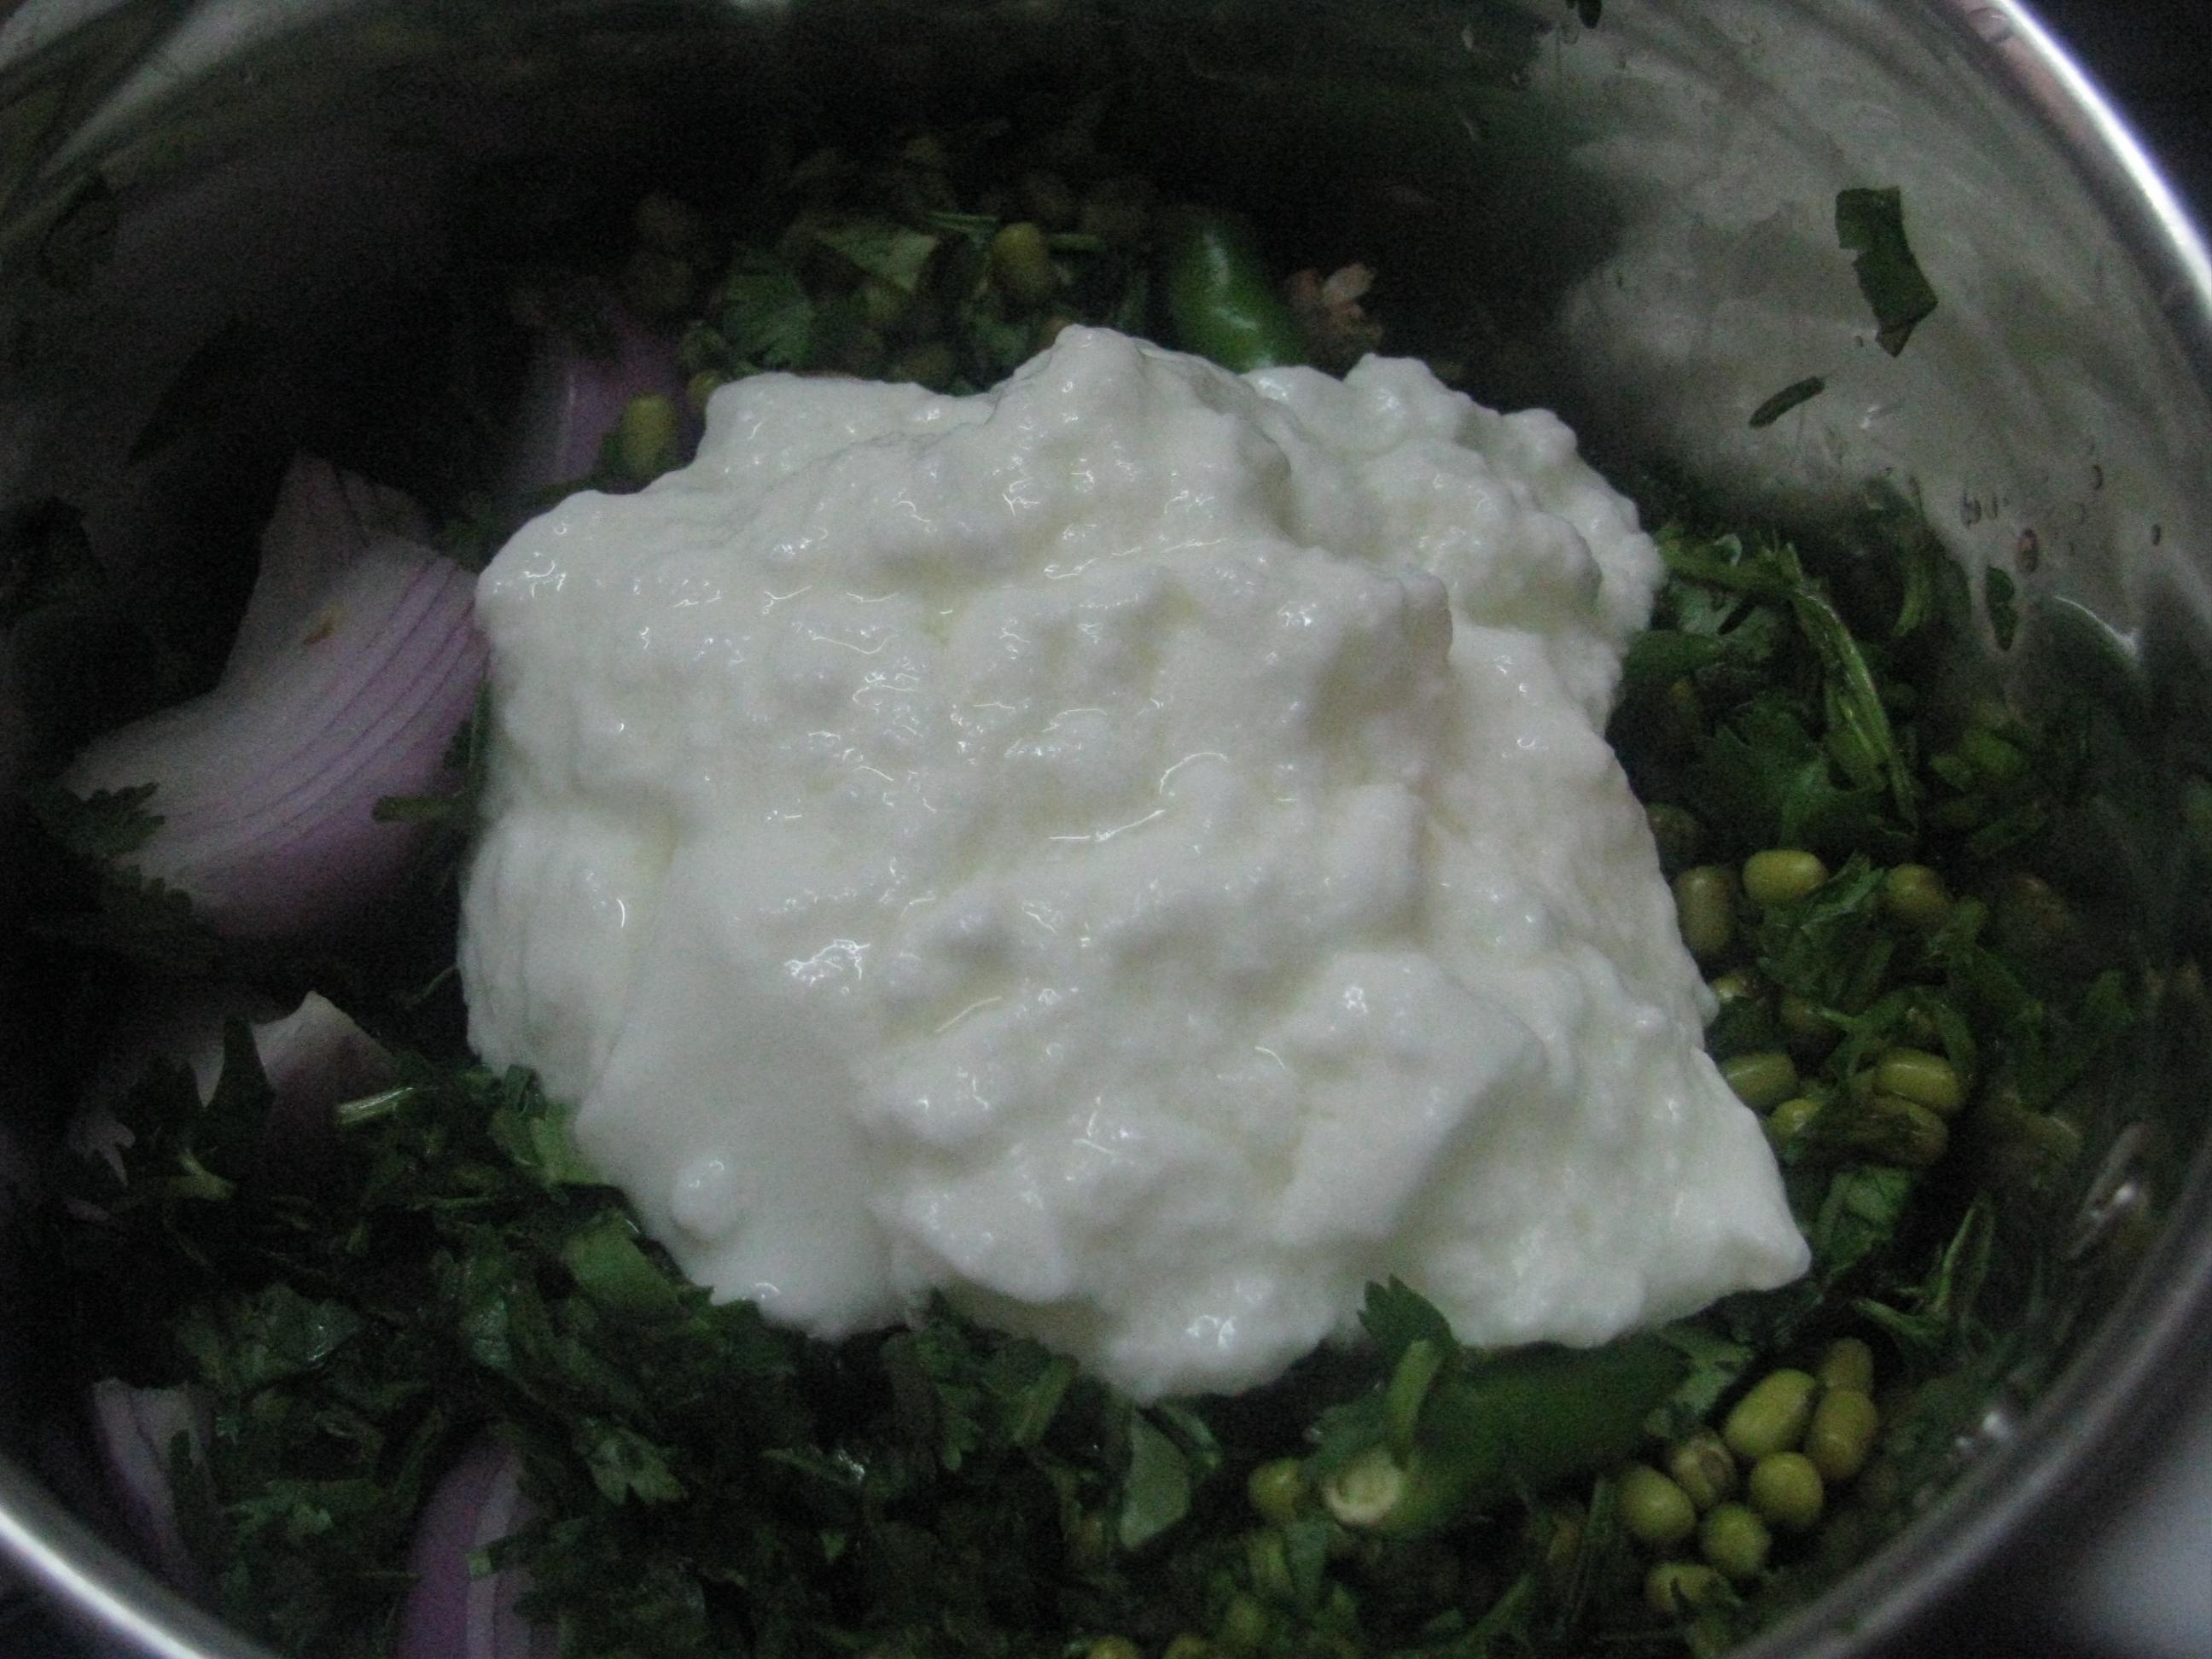
Take moong sprout /soaked moong chilka / moong in grinder jar, add green chilies ,ginger ,garlic / onion coriander leaves, jeera & salt to it .
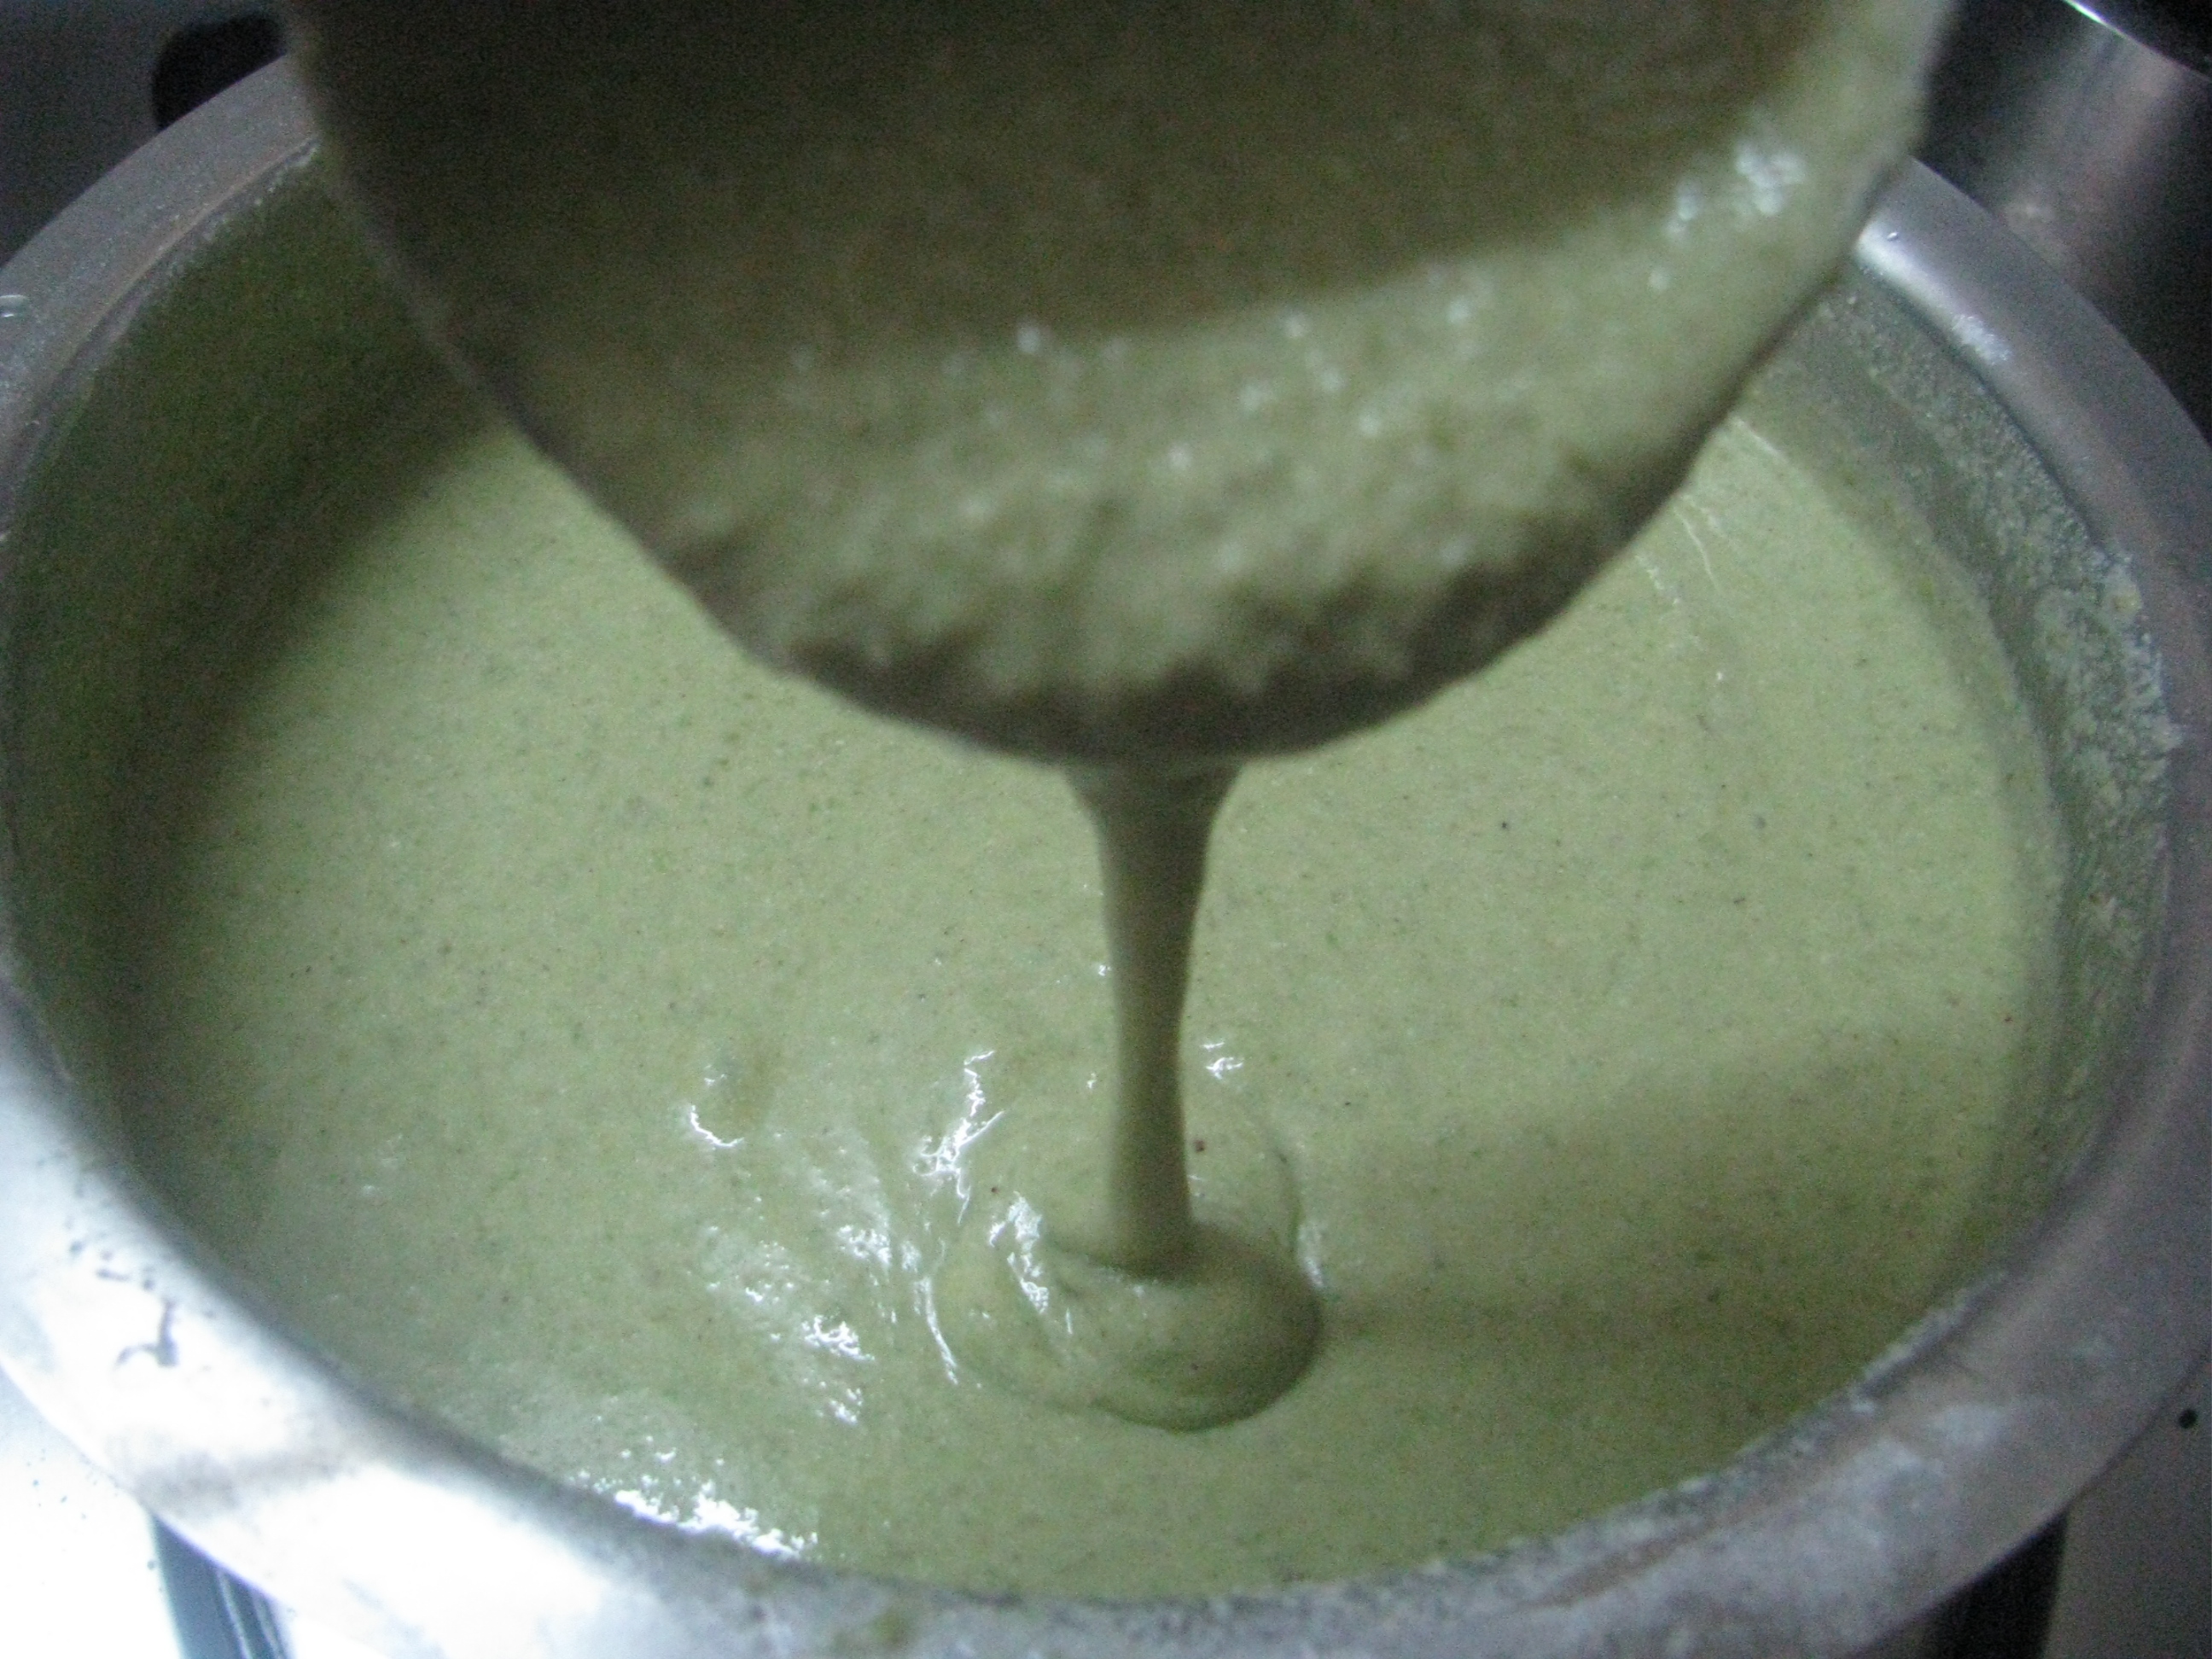
Add little curd or water to make fine batter of it .
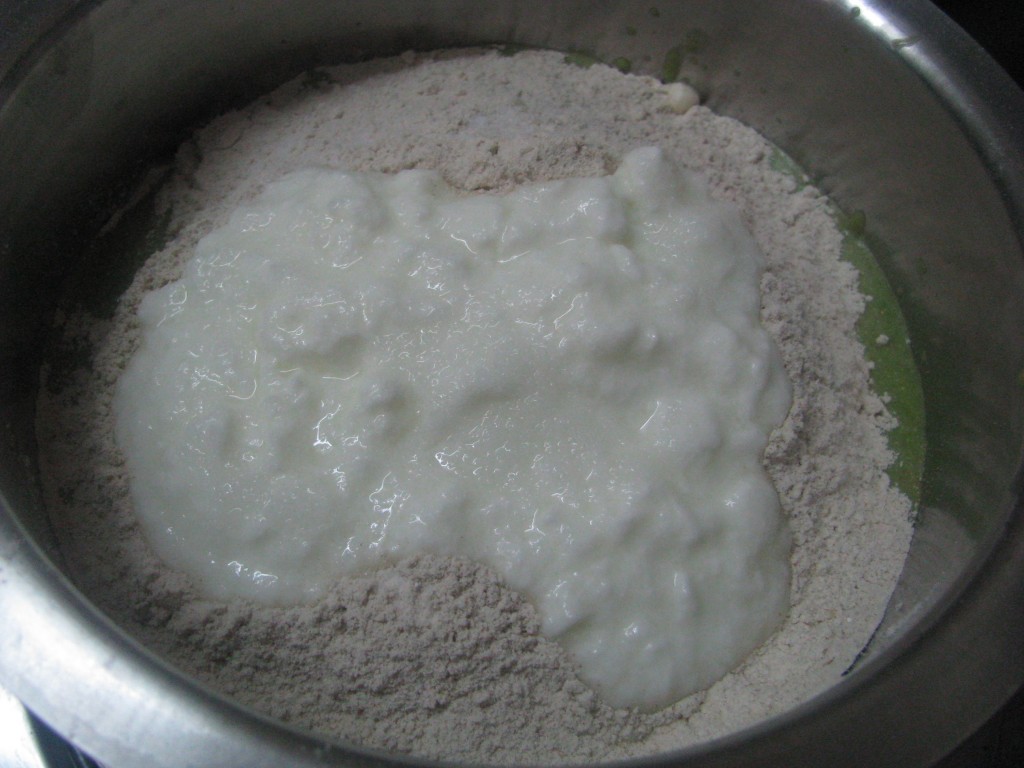
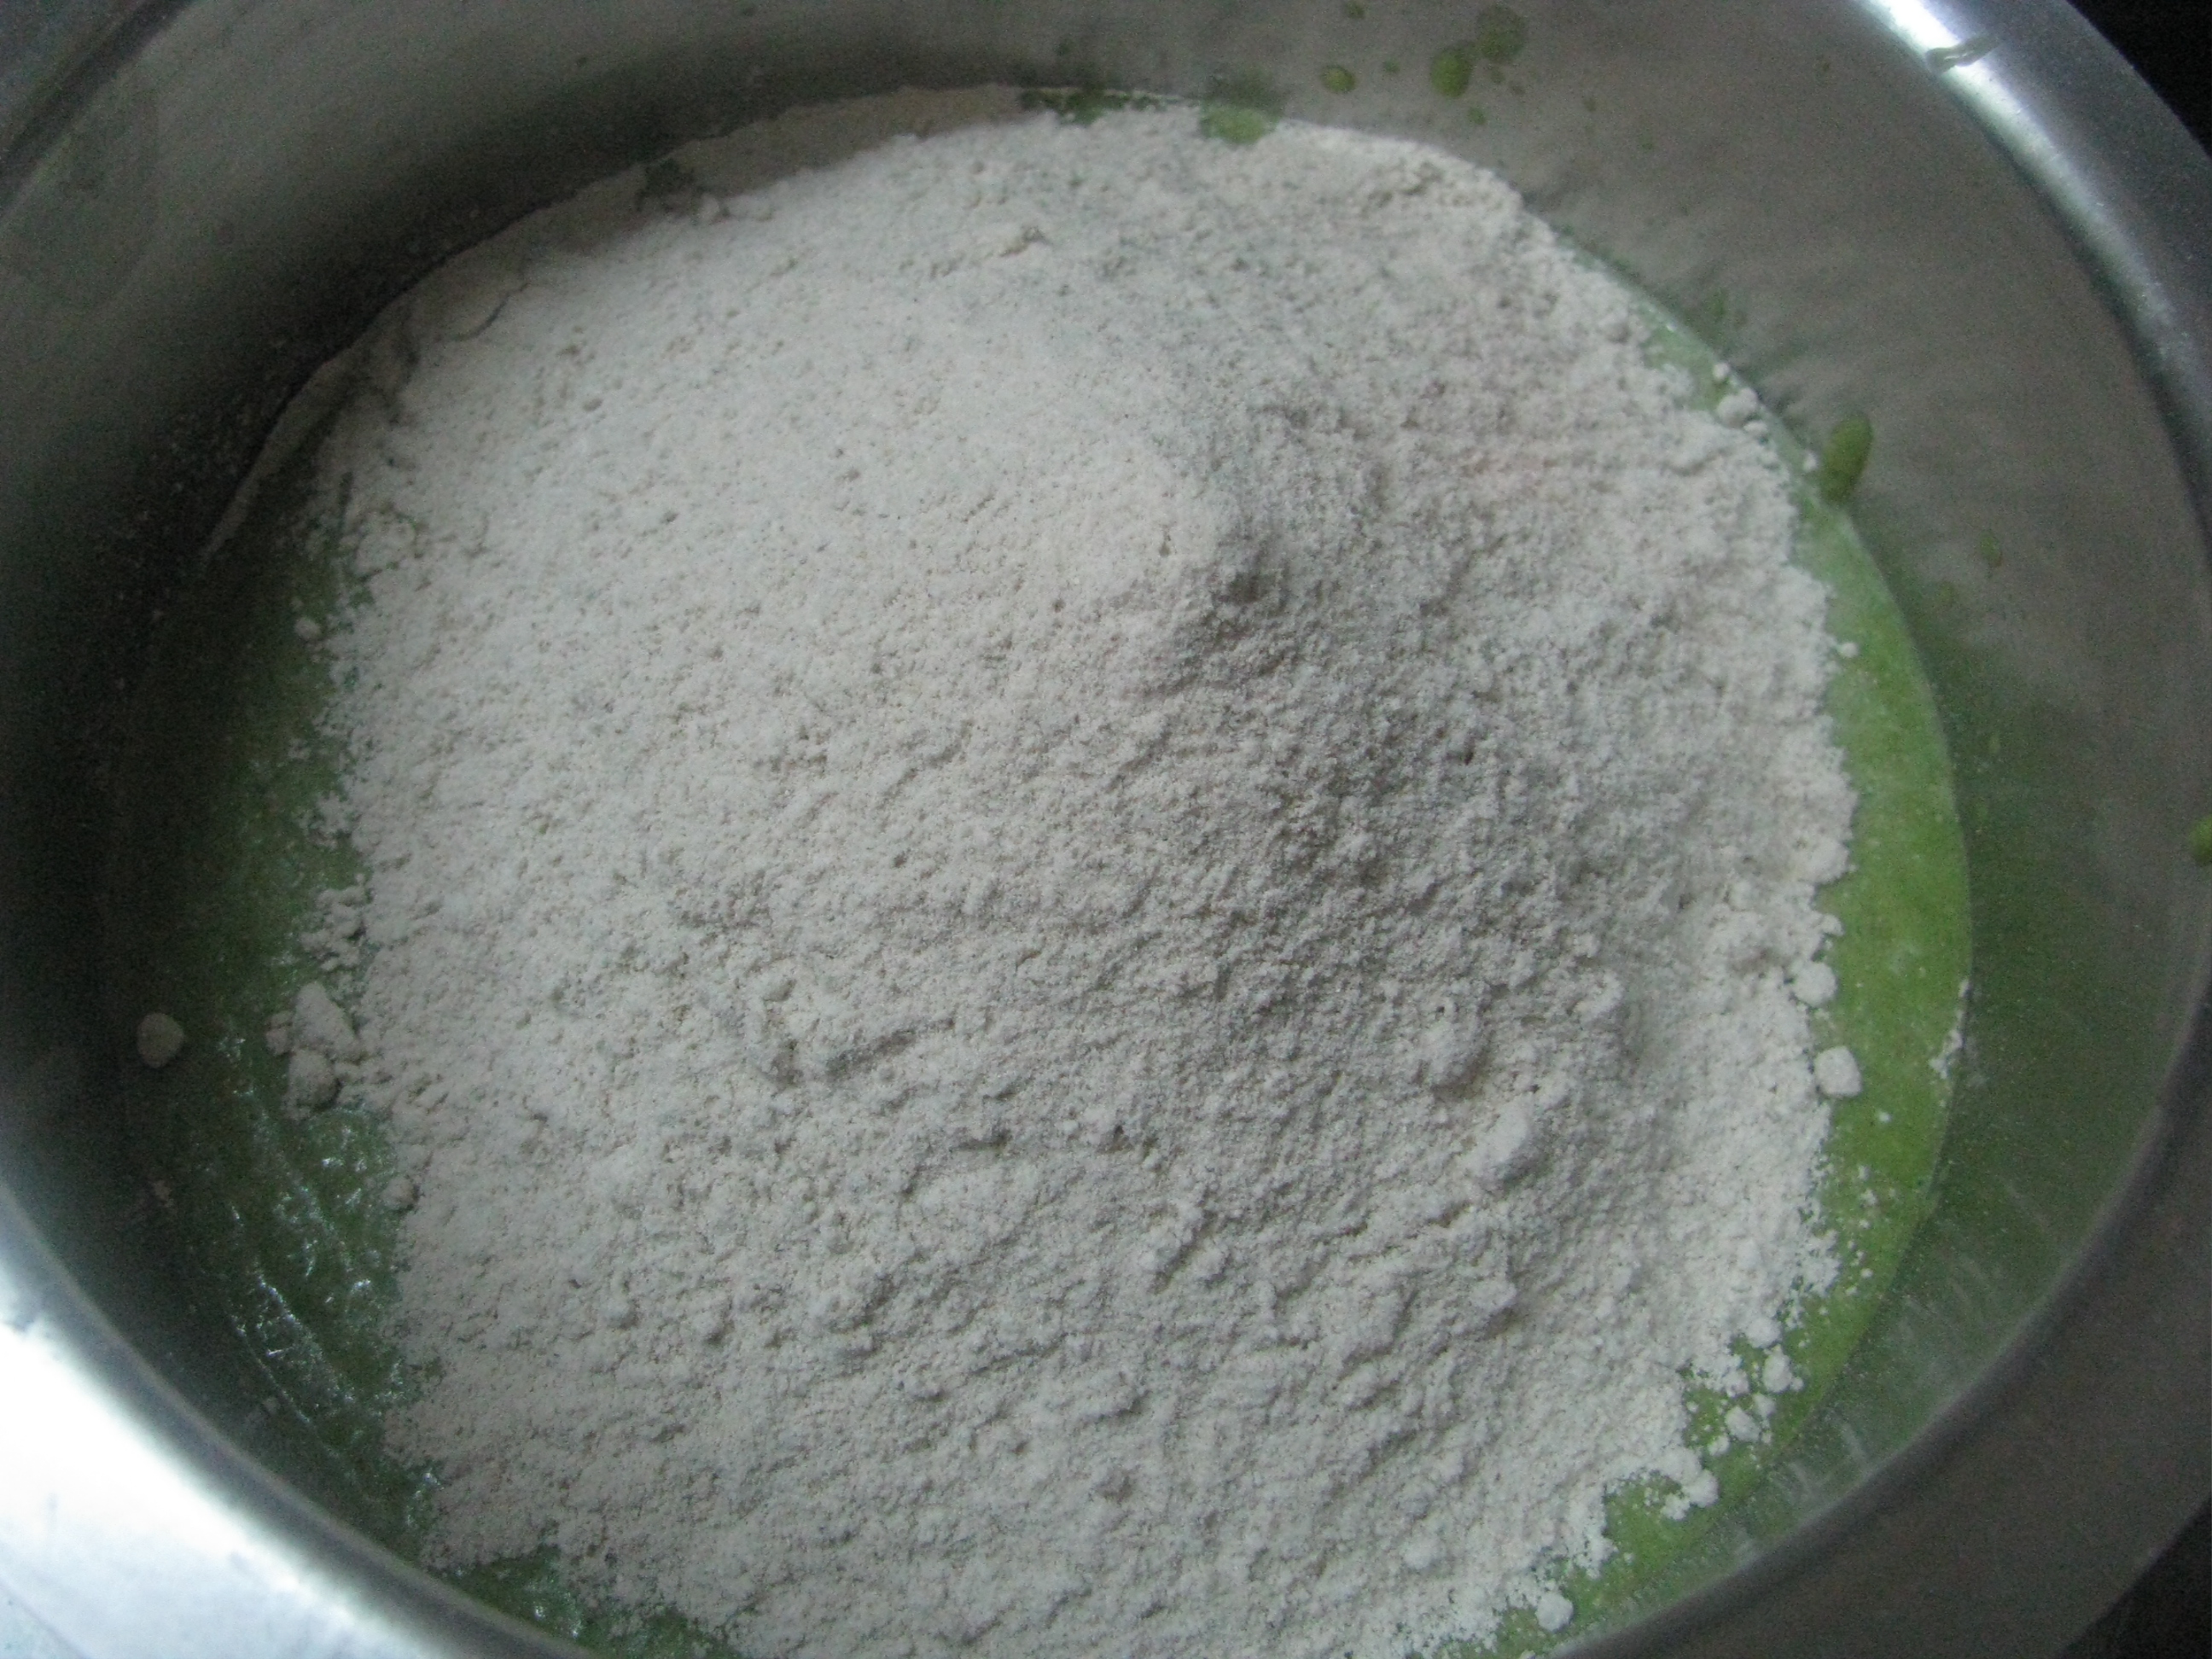
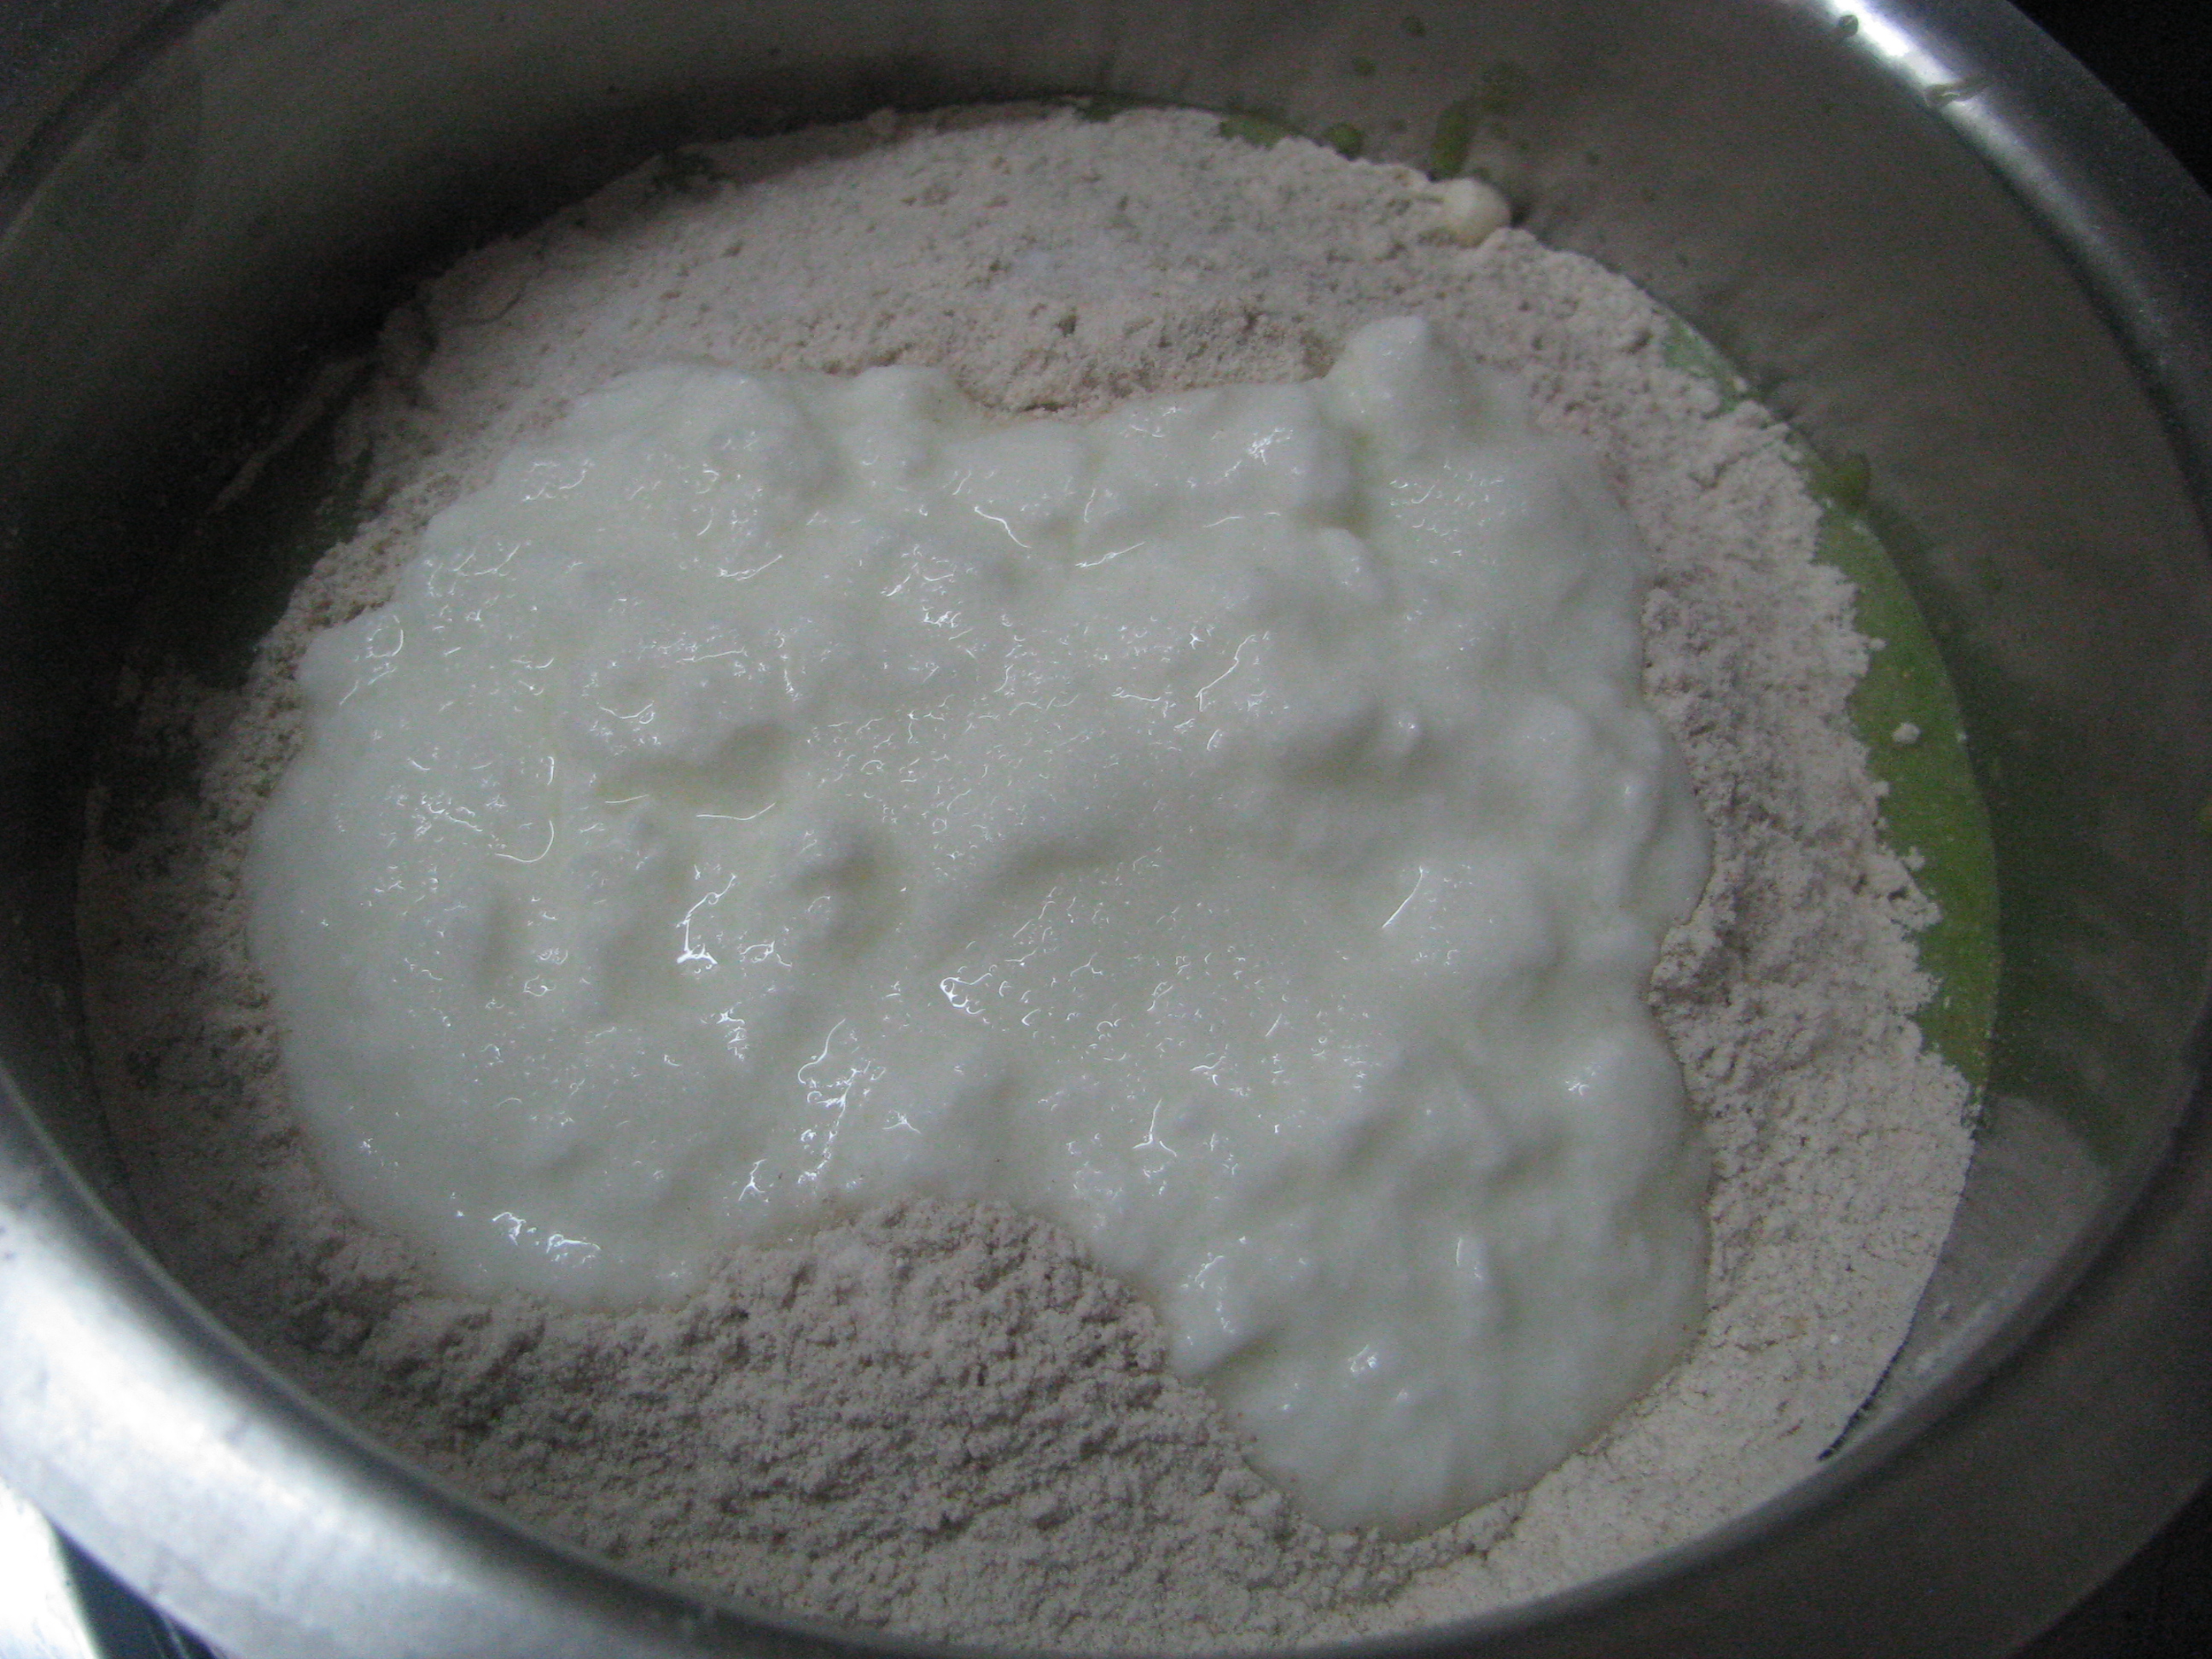
Now add sooji / rice flour / maize flour and curd in this batter and mix it nicely. Keep this batter aside for 1 hour. Well this step is optional if you don’t want to add any flour in your moong cheela and want to make it immediately, you can directly proceed for making dosa or cheela of moong batter.
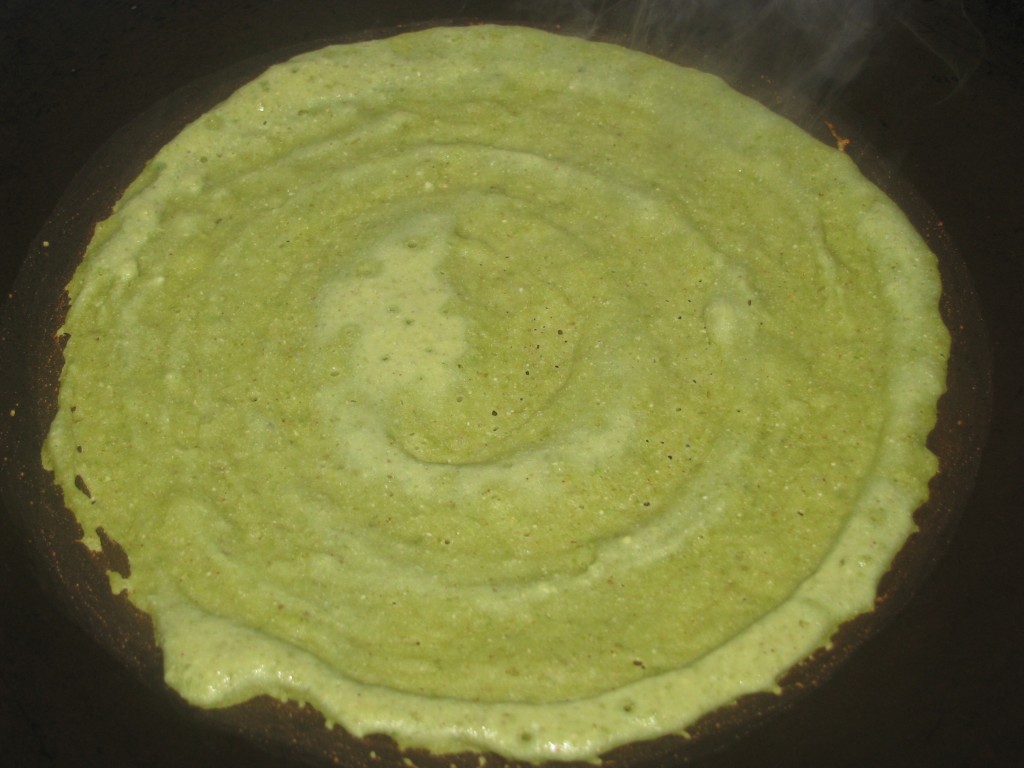
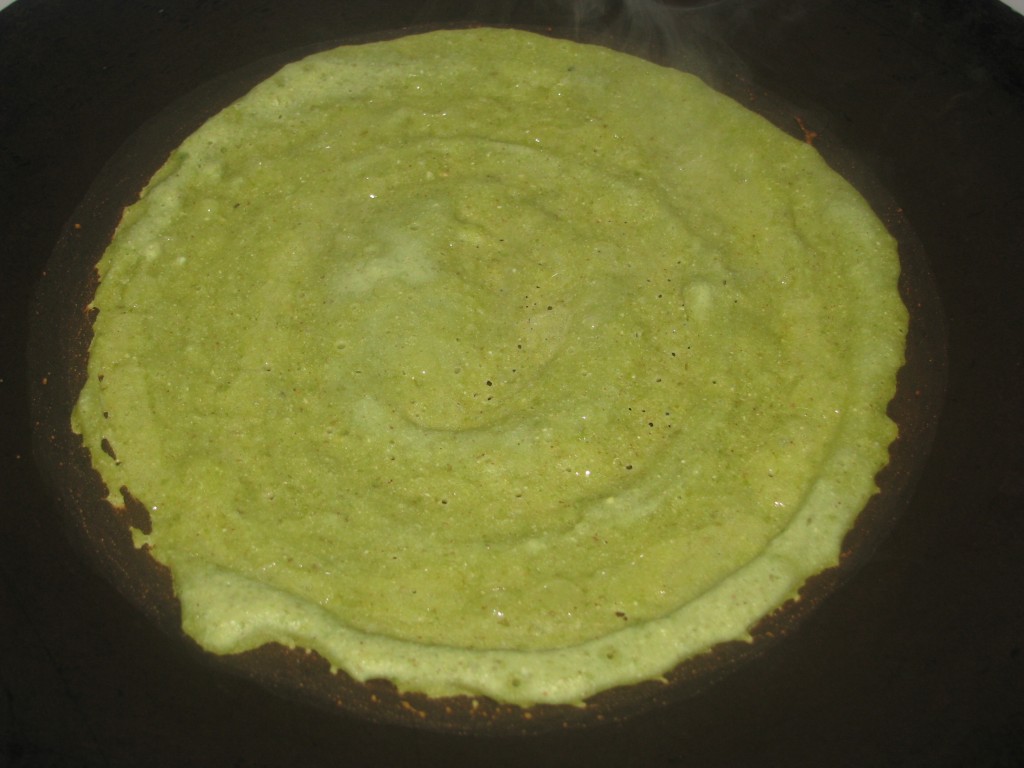
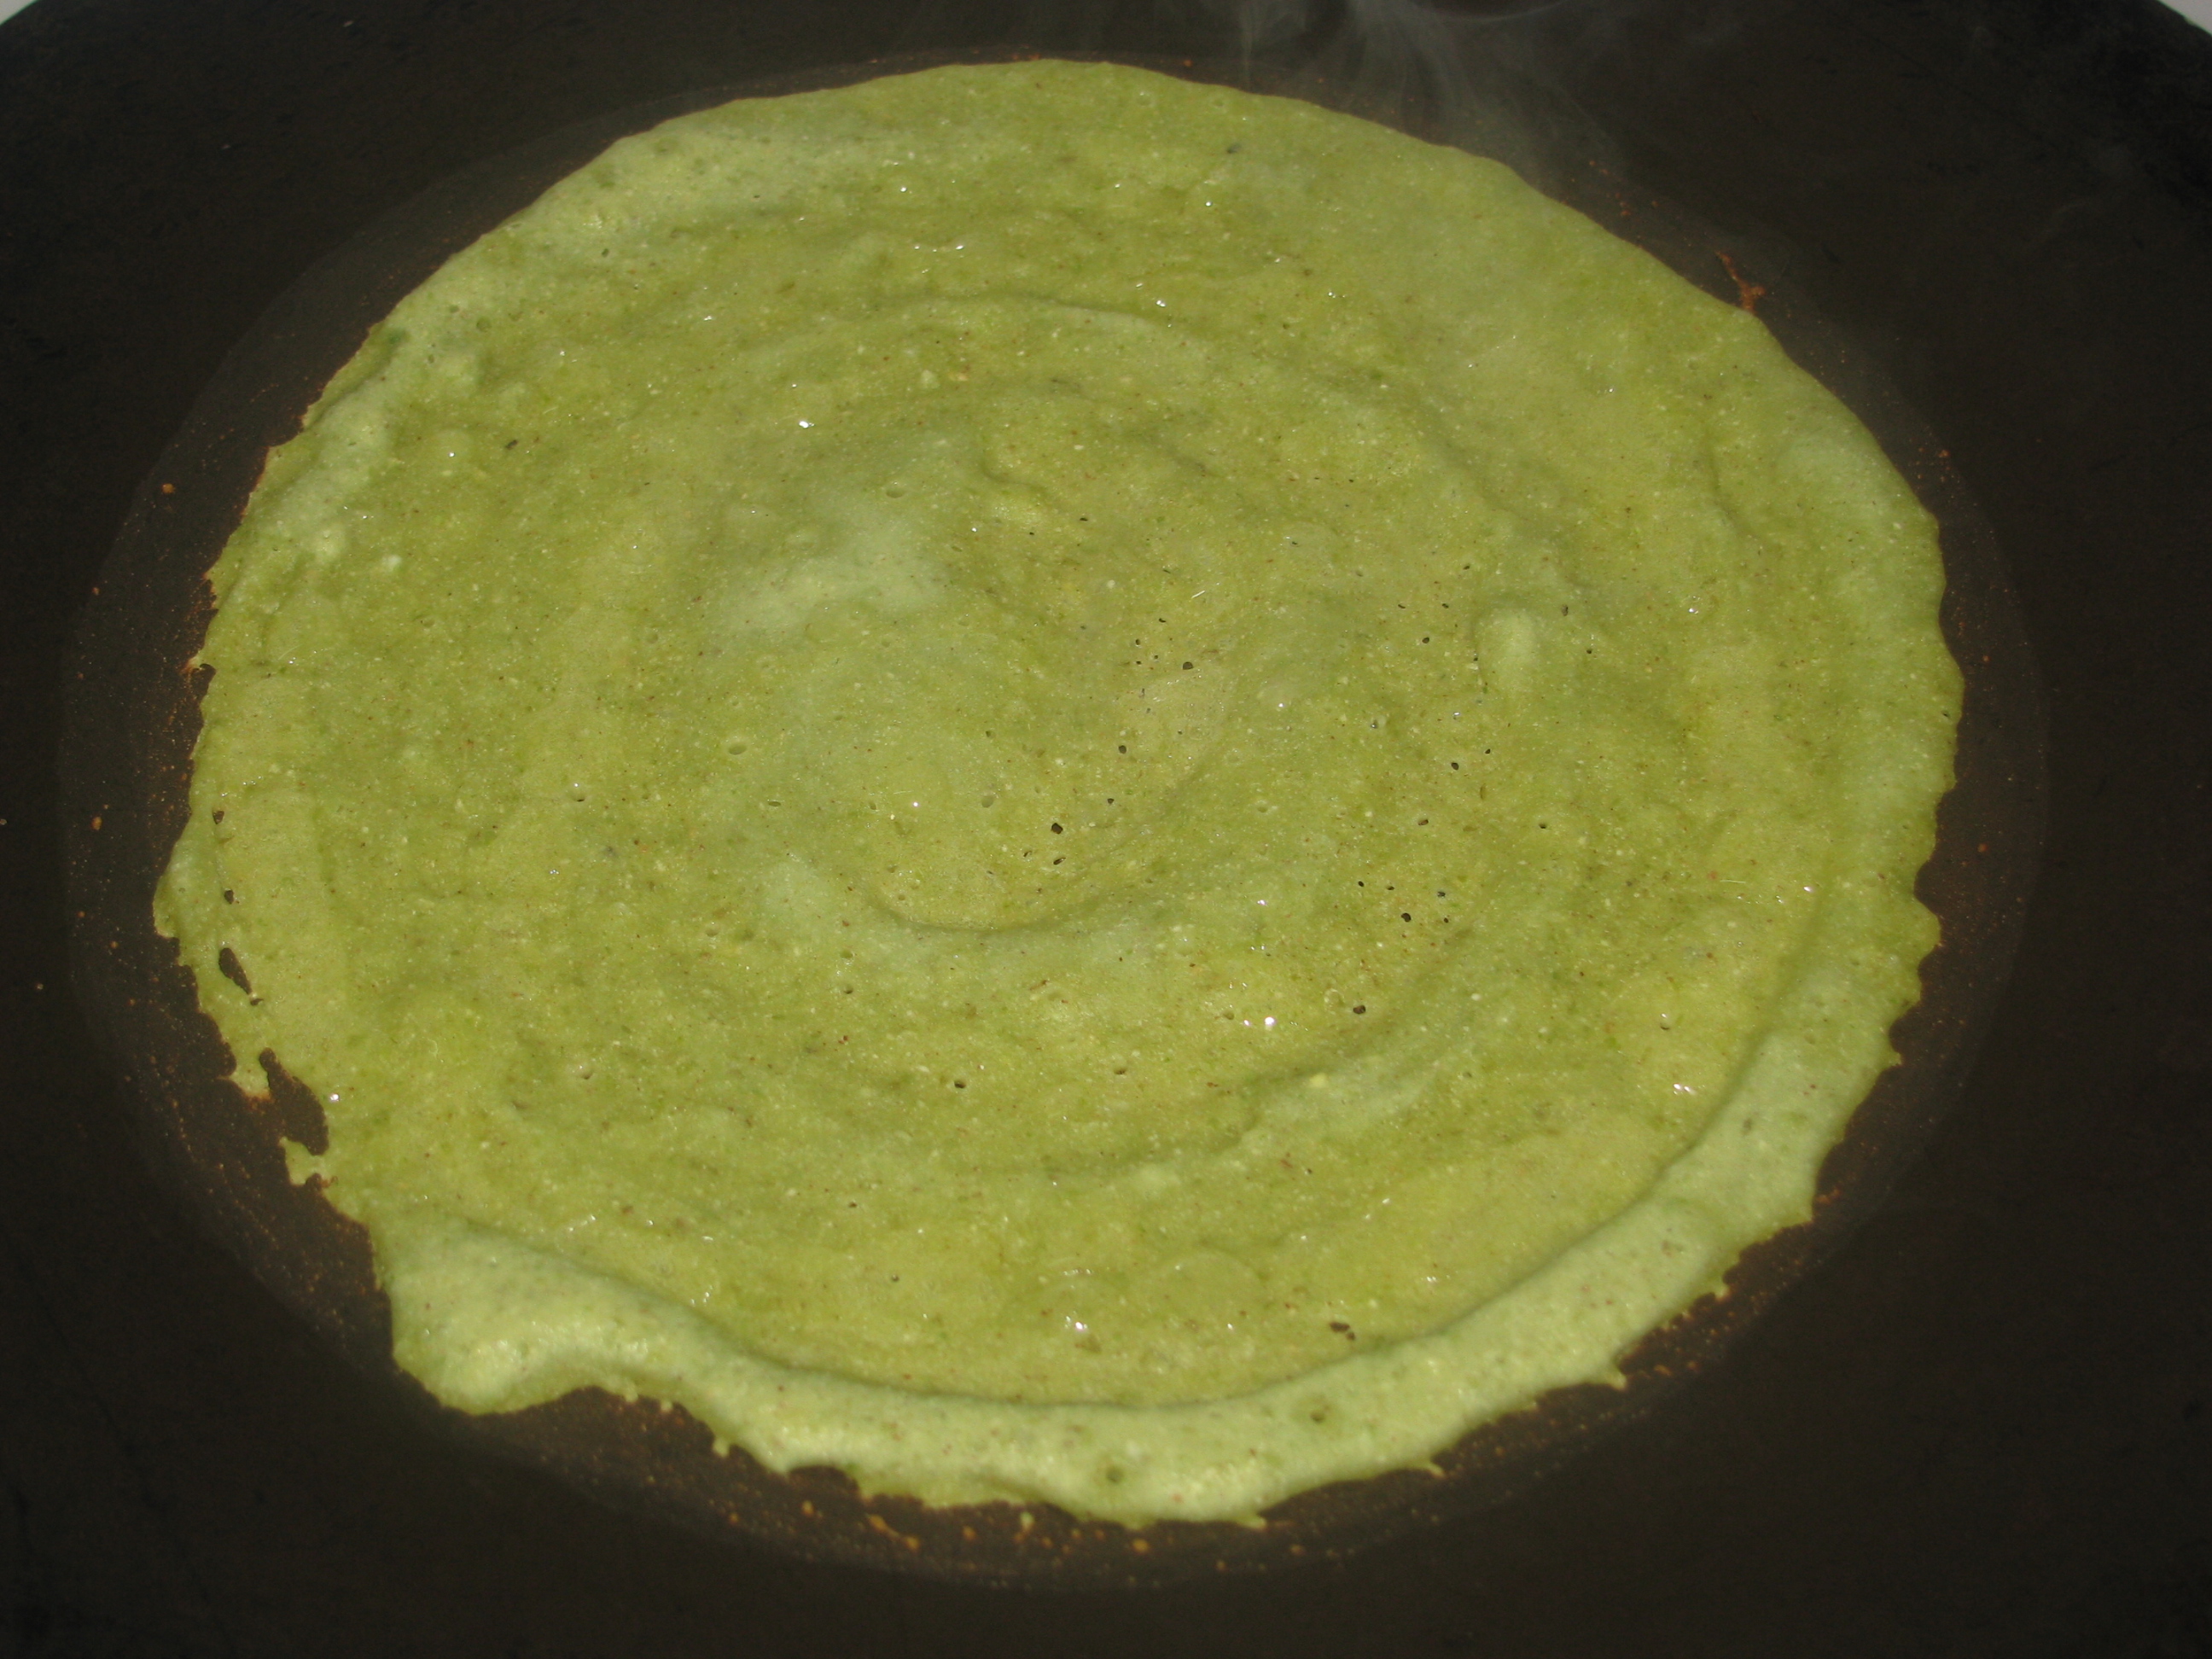
After 1 hour flour will get soaked with moong batter. Now heat a non stick tava/ pan, take a ladle of cheela batter and spread it in a circular way on tava .
Drizzle some oil or ghee on cheela (optional, you can make cheela without oil on non stick tava)
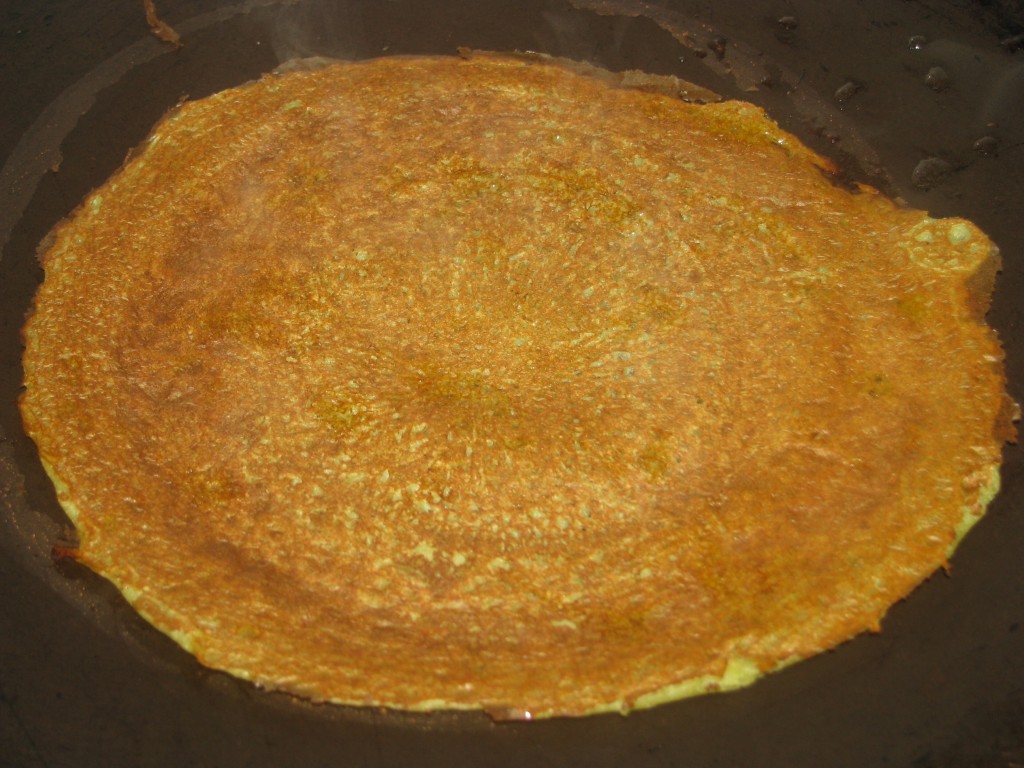
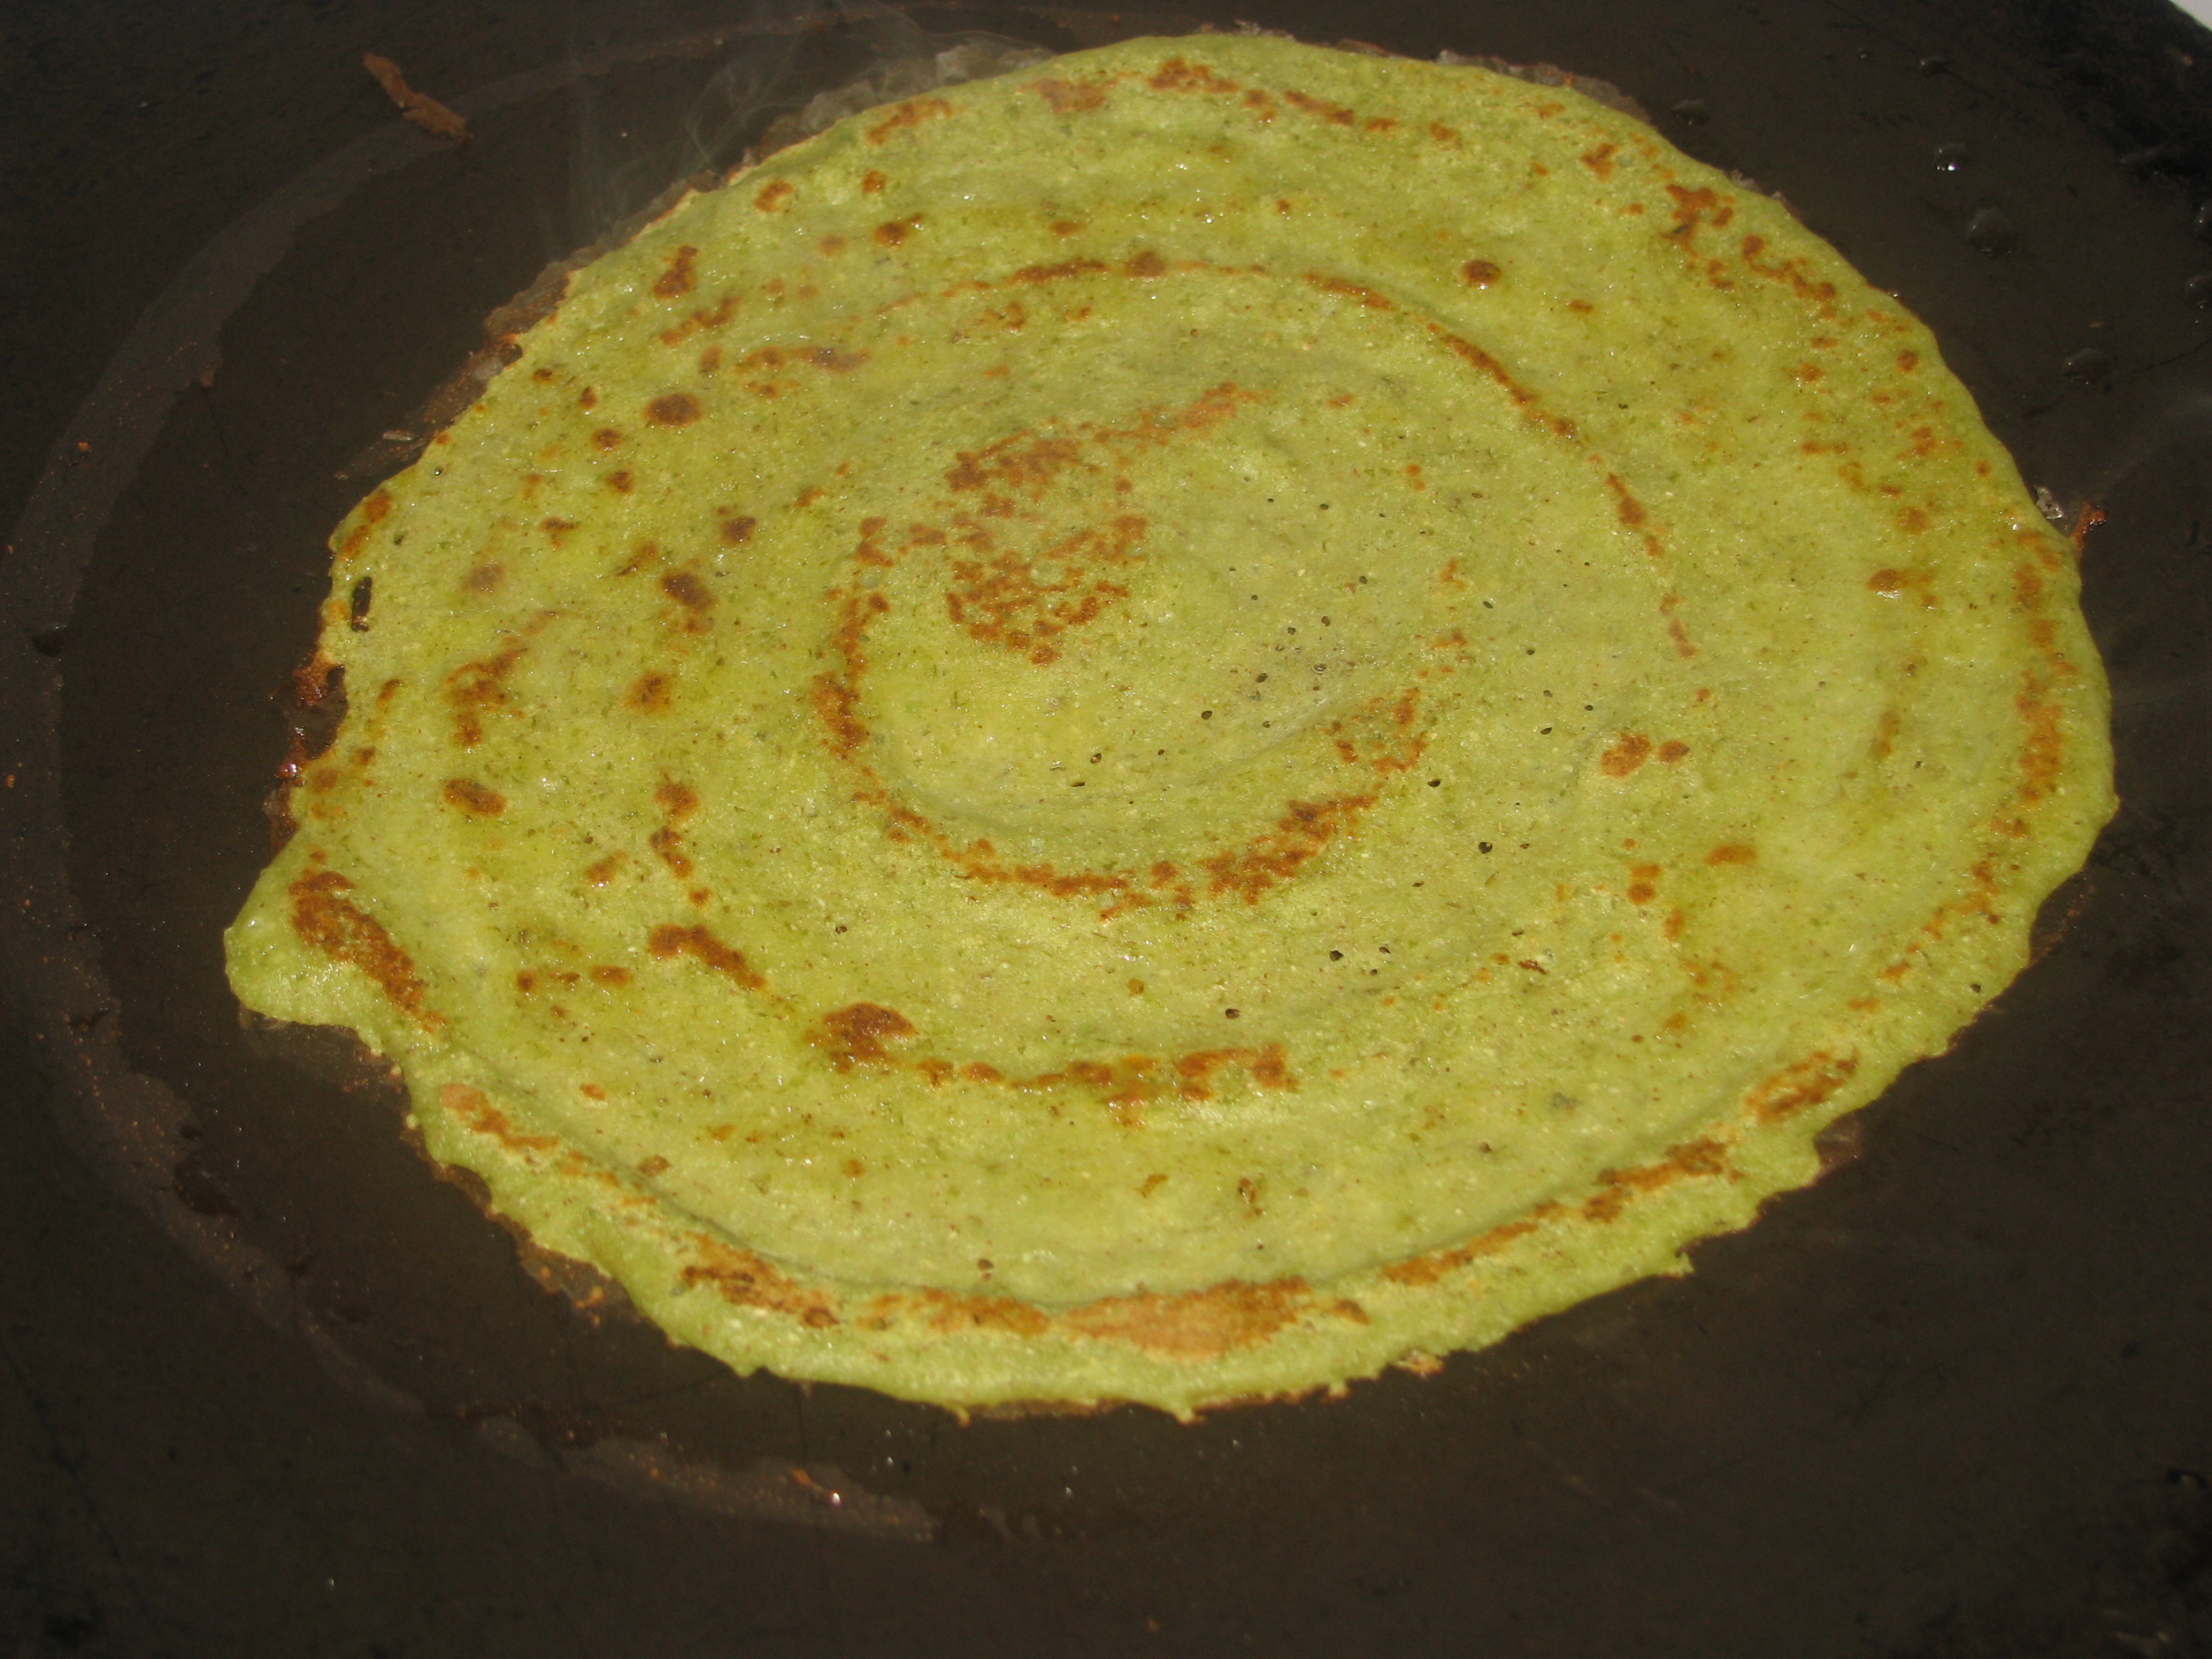
When its cooked on one side, flip and cook the otherside.
Sprinkle some cold water on tava and wipe it with cloth before making each chilas. If the tava is very hot you cannot spread chilla batter properly on it.
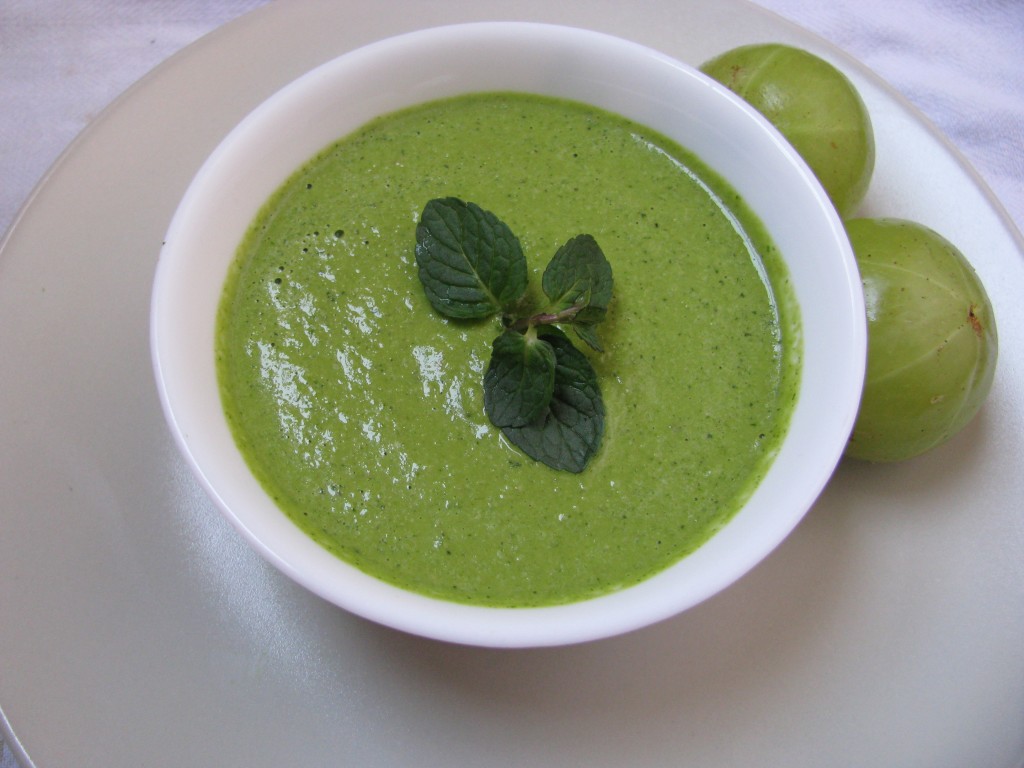
For every Hindu Pooja vidhi Panchamrit is required for Abhishek and Naivedyam ,Naivedya or Bhog. Panchamrit is called as Panchamrutham in south India, Panchamrut in Maharashtra and Panchamrit or Charnamrit in North India. The recipe of Panchamrit varies from place to place but the basic recipe of Panchamrit, Panchamrutham or Panchamruth is same. Panch means 5 and Amrit ,Amrutham or Amrut means holy drink. In Puran ,Shastra and Ayurveda it is described that Panchamrit is made up 5 nectars or ingredients in particular proportion. If it combined in that proportion a very healthy nourishing Panchamrit is made.
All this 5 ingredients have lots of health benefits and when it is combined in right quantity, the extremely nourishing Panchamrit is made. You can have Panchamrutham even if you don’t have any puja at home.i have read in many Ayurveda books that it is given to pregnant woman for 9 months .It is said healthy for mother and development of the fetus. Panchamrit recipe is quick and easy, there is no cooking required in this recipe, you just have to mix the ingredients.
Benefits of Panchamrit
It has lot of benefits that’s why Panchamrutham is also called as food for god (amrut / amrit)
It is given in 9 months of pregnancy for the good health of mother and fetus.
Panchamritham prepared with right proportion also considered as healthy recipe for brain function .
Panchamrutham also nourishes the skin and keeps it healthy.
Good food for healthy hairs.
Panchamruham shelf life depends upon the climatic conditions. In winter you can keep it outside for 12 hrs but in summers it goes bad in few hours. Refrigerate it or prepare fresh whenever you need. Right Proportion of milk, curd, ghee, honey and sugar is very important in Panchamrit, Especially the proportion of ghee and honey.As per Ayurveda when ghee and honey is combined in equal quantity it becomes toxic .The proportion of honey and ghee should be 1:2 ,this proportion is healthy and works really well in this holy drink. Don’t add any fruits in Panchamrit except banana .When Panchamrit is offered for bhog , naivedya or prasad basil leaf (tulsi) is added to it .
I have explained step by step recipe to make Panchamrit | Panchamrutham | Panchamrut . share your suggestion and queries for this recipe [ingredients title=”Ingredients to make Panchamrutham | Panchamrut | Panchamrith”]
1/8 cup curd (dahi)
2 teaspoon sugar
2 teaspoon honey
4 teaspoon ghee
1 cup milk
[/ingredients]
[directions title=”Step by Step Directions to make Panchamrutham |Panchamrut | Panchamrit”]
Mix all the ingredients.
curd for panchamrith
add sugar
add honey
add ghee
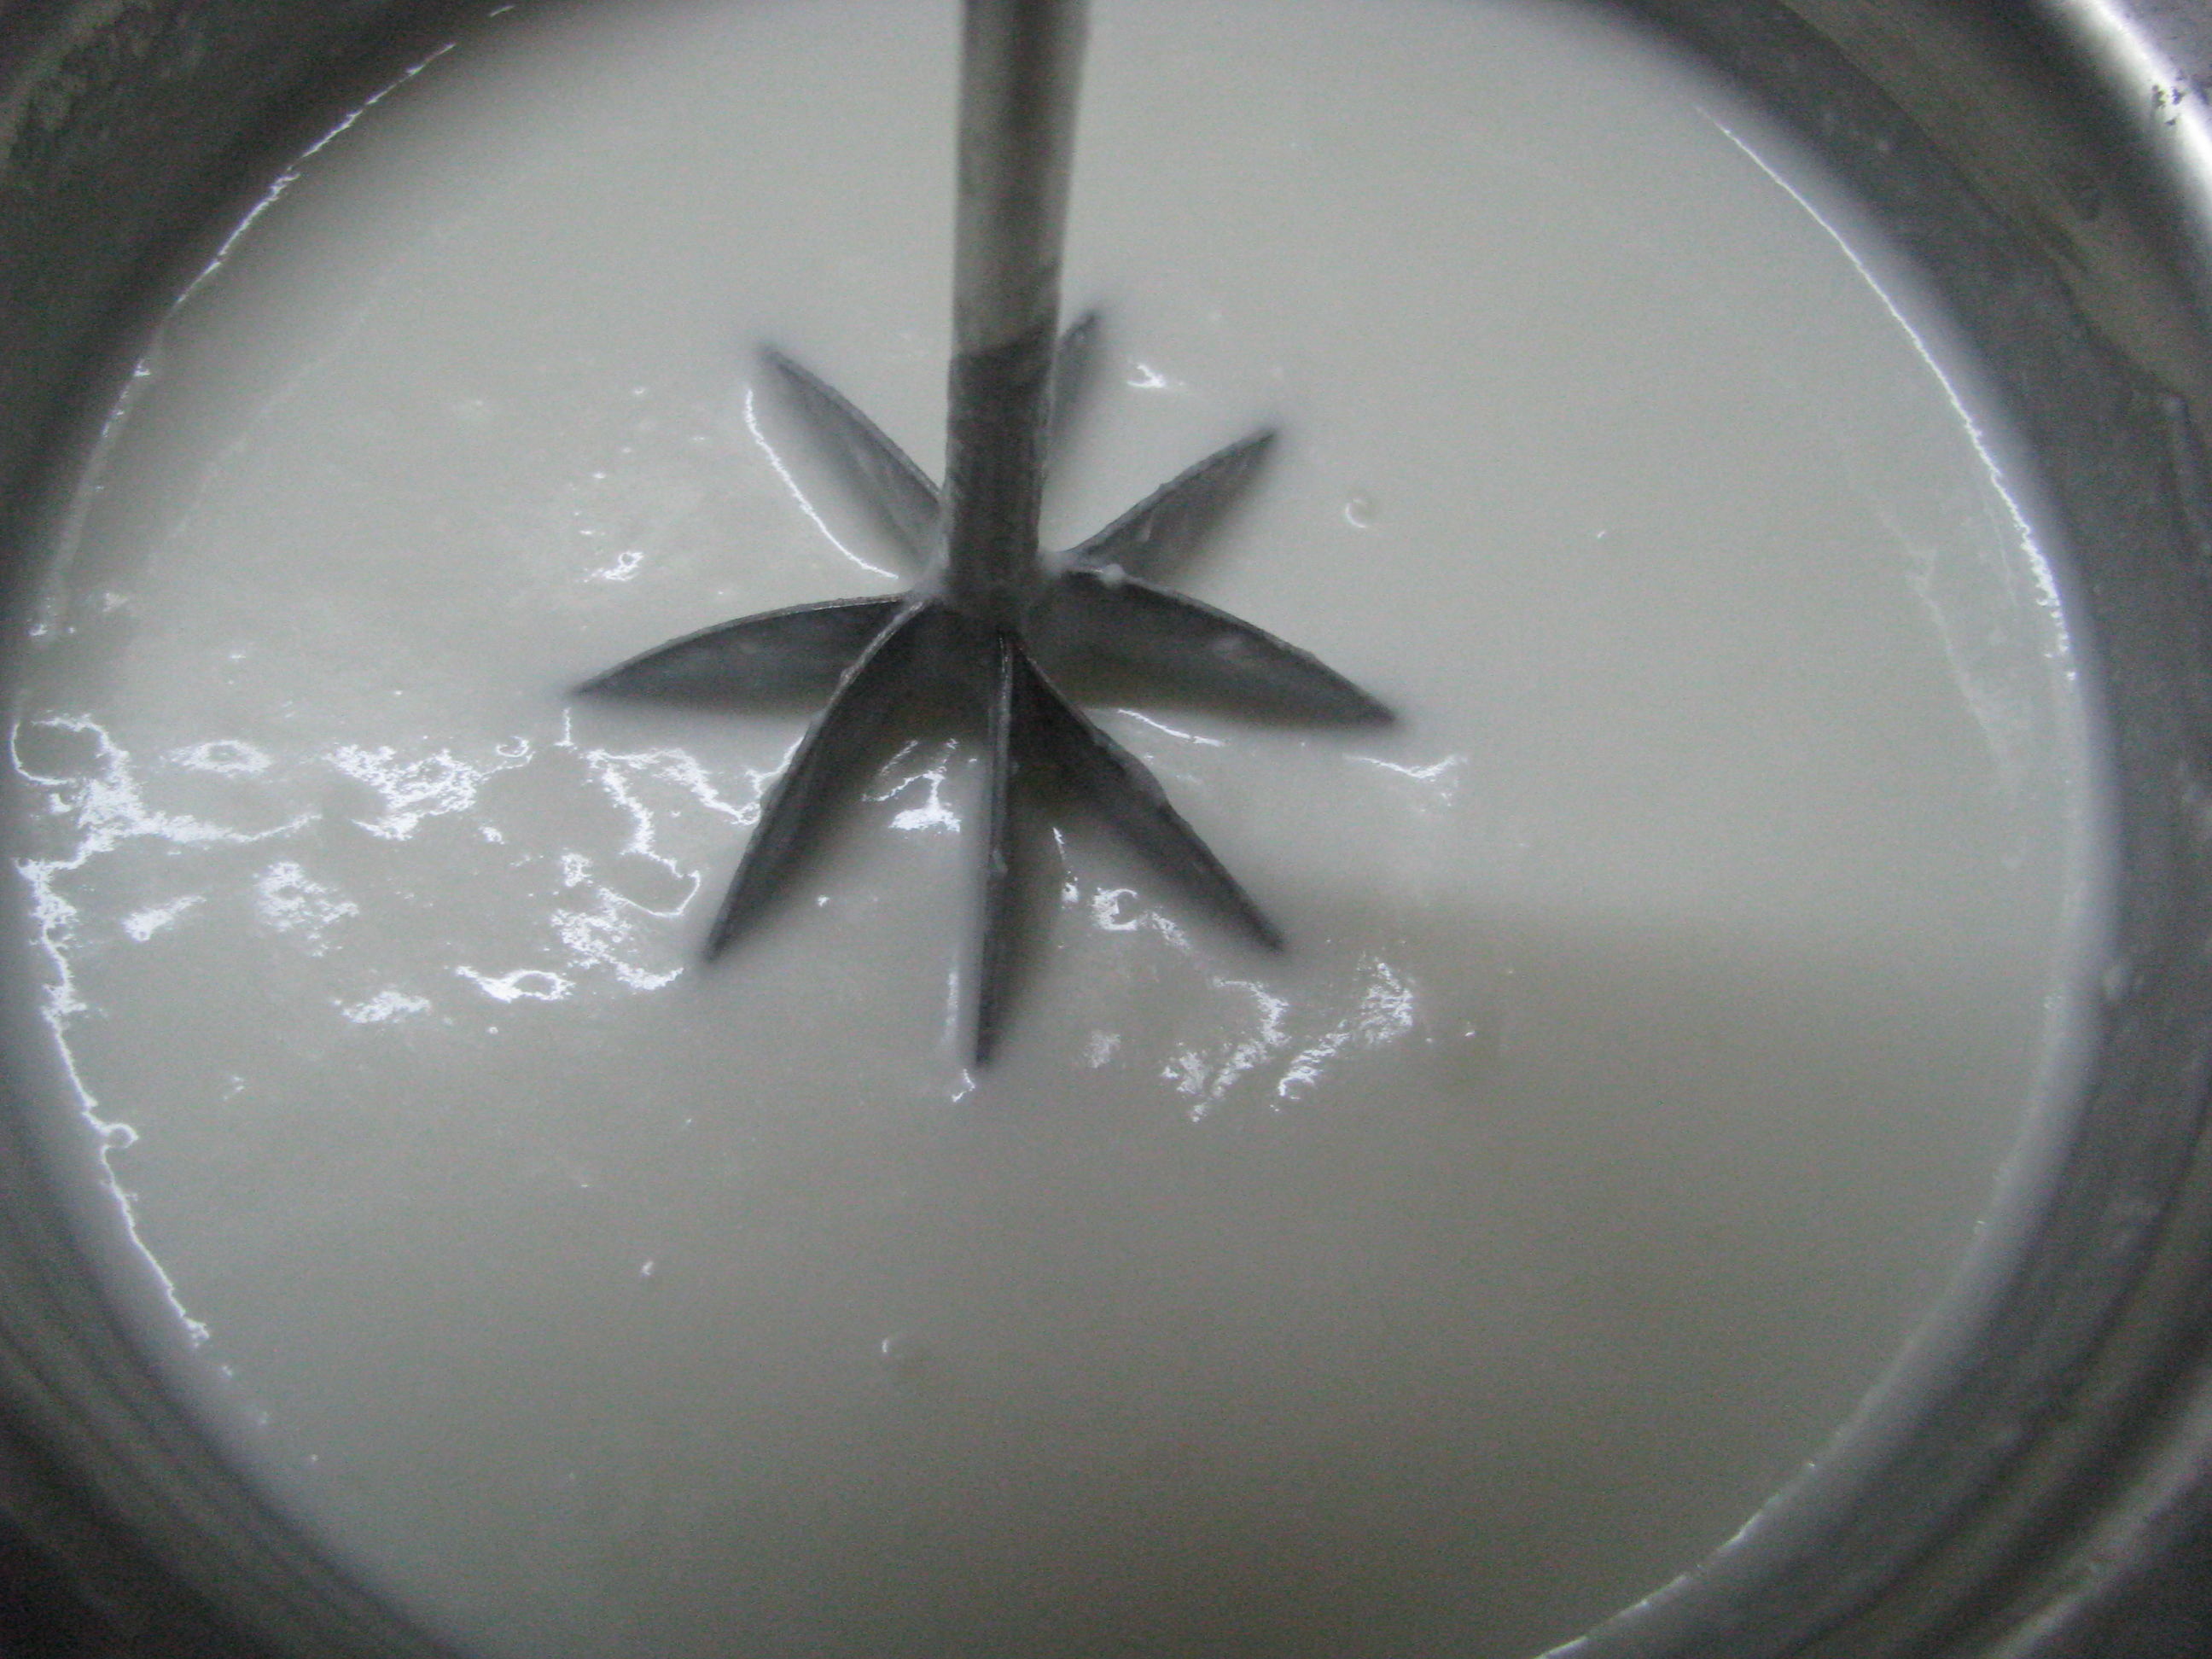
add milk and mix it nicely with spoon or hand blender
[/directions] Note–Don’t add any fruits except banana in Panchamrit | panchamrut | panchamrutham. Addition of fruits will denature the good benefits of Panchamrit.Use pure honey & ghee for this recipe.
Dahi Vada is my favourite chaat recipe. In Delhi and in all North India, I always saw Dahi Vada in kitty parties, marriage parties and even when you go for lunch or dinner. There are many famous eating corners in Delhi who serves this mouthwatering dahi bada chaat ,In my apartment in Delhi each aunty have their secret Dahi Vada recipe, actually the only secret is how you make your Dahi Vada soft? Many people add soda, in their Vada batter to make Vada soft. Well my mom use to make her Dahi wada with only urad dal but she also added soda to make soft Dahi bade .She told me that when your frying the Vada don’t fry it all the time on high flames, this will make Vada cooked from outside but it will remain raw (kaccha) from inside and the core of Dahi Vada will remain hard even after soaking it in water. Well I don’t add soda in my Dahi Vada recipe and still it becomes very soft from inside. Well I learnt it from a very nice humble lady Mrs. Aggarwal .She shared many authentic north Indian recipes with me.I make Dahi wada little sweet as compare to aunty (to make it special for my Guajarati taste buds!), you can adjust the sugar according to your taste. Well at the end of this recipe I have also share my notes of cutting extra calories from Dahi vada, for those who are health conscious but want to eat something interesting.
Many of my freinds avoid to make this recipe because what if the recipe go wrong ??? They depend on their mother in law or Swigy for their Dahi Vada. So How Can I Make Dahi Vada Soft And Spongy?? You need to follow few tips to make Dahi Vada soft and Spongy –
Soak dal in clean water for at least for 5-6 hours .
After grinding urad dal for Dahi bada keep it aside for 4-5 hours before frying. This will make wada very soft. As the batter will ferment and air will trap in the batter.
Whip the batter nicely before making Vada.
Drop your Vada in hot oil but when it takes it shape, fry it on medium – low flame. This will make your Vada cooked nicely and it will not be raw from inside and cooked from outside.
Immediately add fried Vadas in hot water with little salt in it. This will make your Dahi Vada very soft and because of salt it will not become bland from inside.
Let the Vada soaked in water until the second batch of fried Vada is ready. Remove it in separate container and squeeze the water out of it at the time of serving only.
So this is all about Vada for making Dahi Vada soft.
I have explained step by step recipe for making Dahi Vada .Well you can garnish your Dahi Vada the way you want .To serve dahi vada is very interesting part of this recipe.
[ingredients title=”Ingredients to prepare Dahi Vada / Bada”]
Ingredients for making Vada
1 cup urad dal
½ cup moon gdal
2 green chillies
1 inch ginger, cut it into small pieces
1 teaspoon salt
Refined oil for frying Vada
Ingredients for making curd for Dahi Vada
4 cup fresh curd
4 teaspoon sugar / 1 teaspoon sugar free natura
1 teaspoon salt
Ingredients for making green coriander chutney for Dahi Vada
½ cup green coriander
1 green chilly
Salt to taste
Ingredients for making tamarind (imli / chinch) chutney /saunth ki chutney for Dahi vada
1 lemon size ball of seedless tamarind (chinch / imli)
5-6 seeds less dates
1 teaspoon chat masala
1/2 teaspoon dry ginger powder (saunth or soonth powder)
Salt for taste
2 tablespoon grated jaggery or add it according to your taste
Ingredients for making Water/ sour butter milk (taak / chach) for soaking Dahi bade
3 cup sour butter milk + 1 teaspoon salt
Or
3 cups of water + 1 tablespoon lemon juice and 1 teaspoon salt
Ingredients for making masala for sprinkling on Dahi Vada
Chat masala
Kashmiri Red chili powder
[/ingredients]
[directions title=”Step by Step Directionst to make Dahi vada/ bada/ bara “]
Nicely wash urad and moong dal and soak it in clean water for 5-6 hours.
Take this soaked dal in a grinder and add green chili ,ginger & salt to it .
Grind it by adding little water (use the water which is remained in dal after soaking)
Keep this dal batter aside for 4- 5 hours
Take a fresh curd and whip it briskly. add sugar and salt to it ,mix it and keep it aside
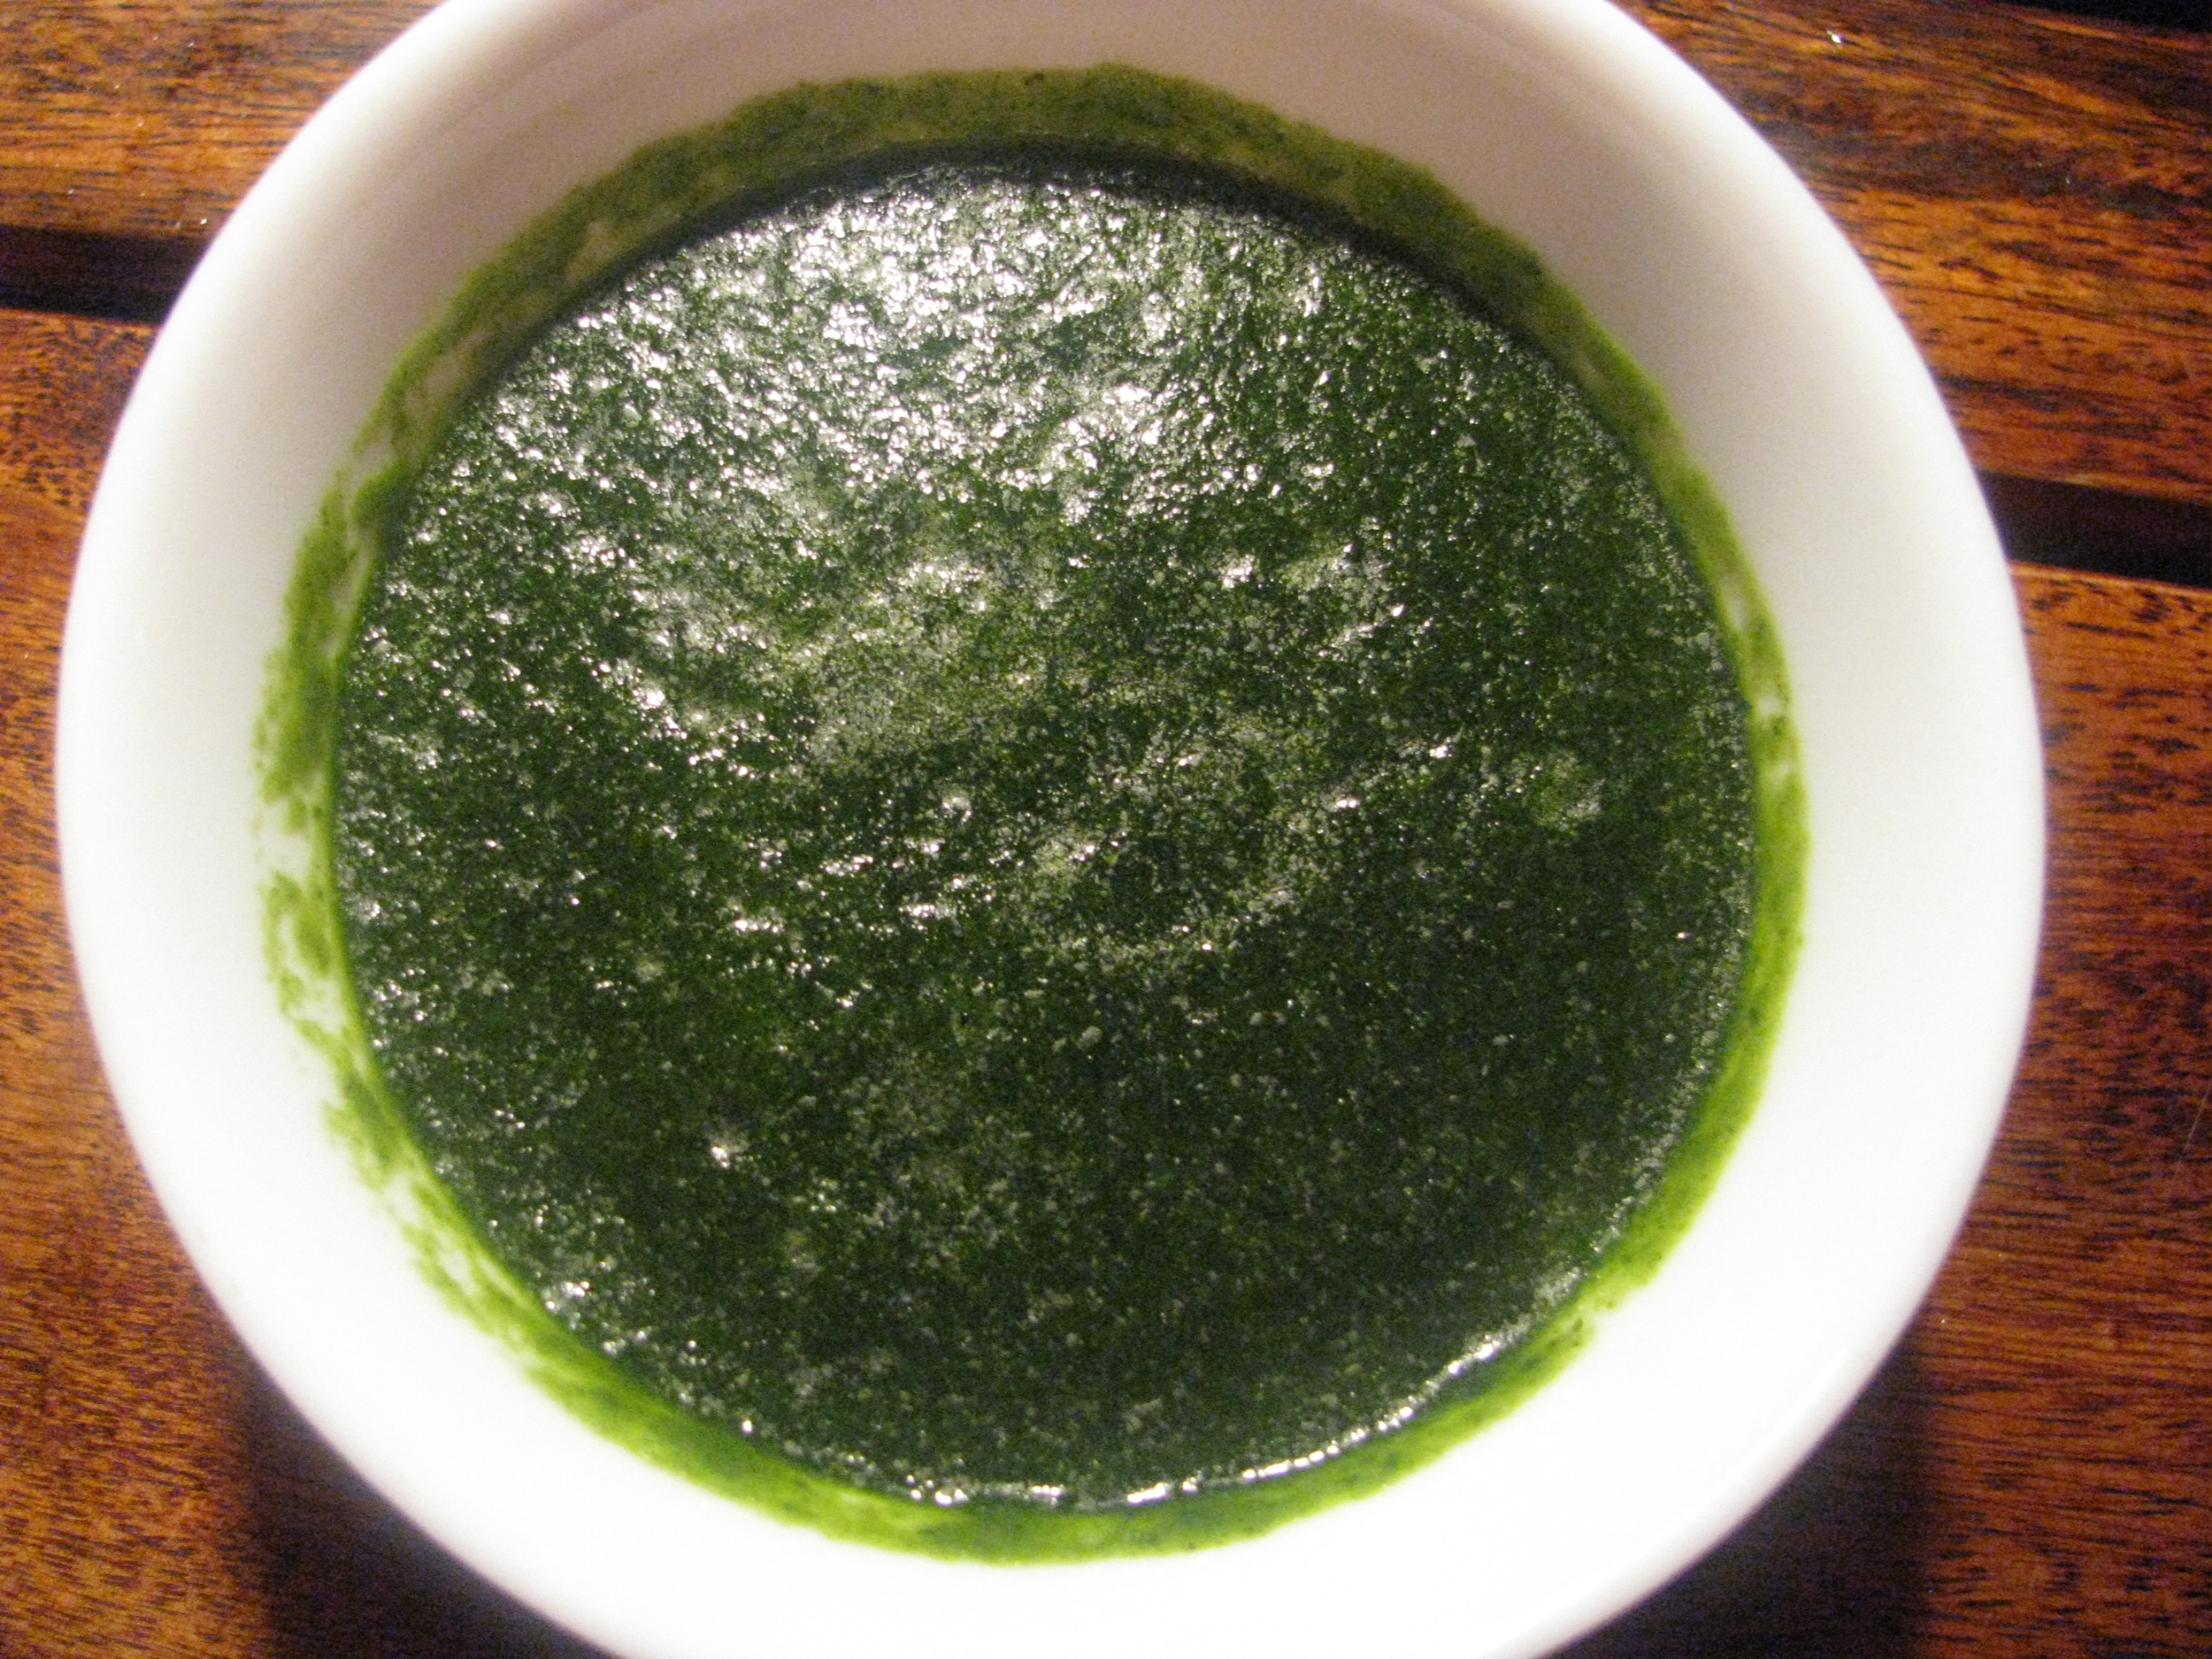
For green chutney wash coriander and chilly and grind it with little water and salt .
For tamarind chutney (saunth ki chutney) wash tamarind and dates nicely and soak them in hot water for ½ hour . grind them together in a grinder and strain the pulp out of it . add jaggery and salt to this pulp and add ¾ cup of water to it . Boil it until it becomes little sticky. Don’t make this chutney very thick. Remove it from heat and add chat masala to it.
Take 3 cups of water or 3 cups of sour butter milk with 1 teaspoon salt and boil it . if your using water add lemon juice in the water . when it starts boiling close the lid and keep it aside
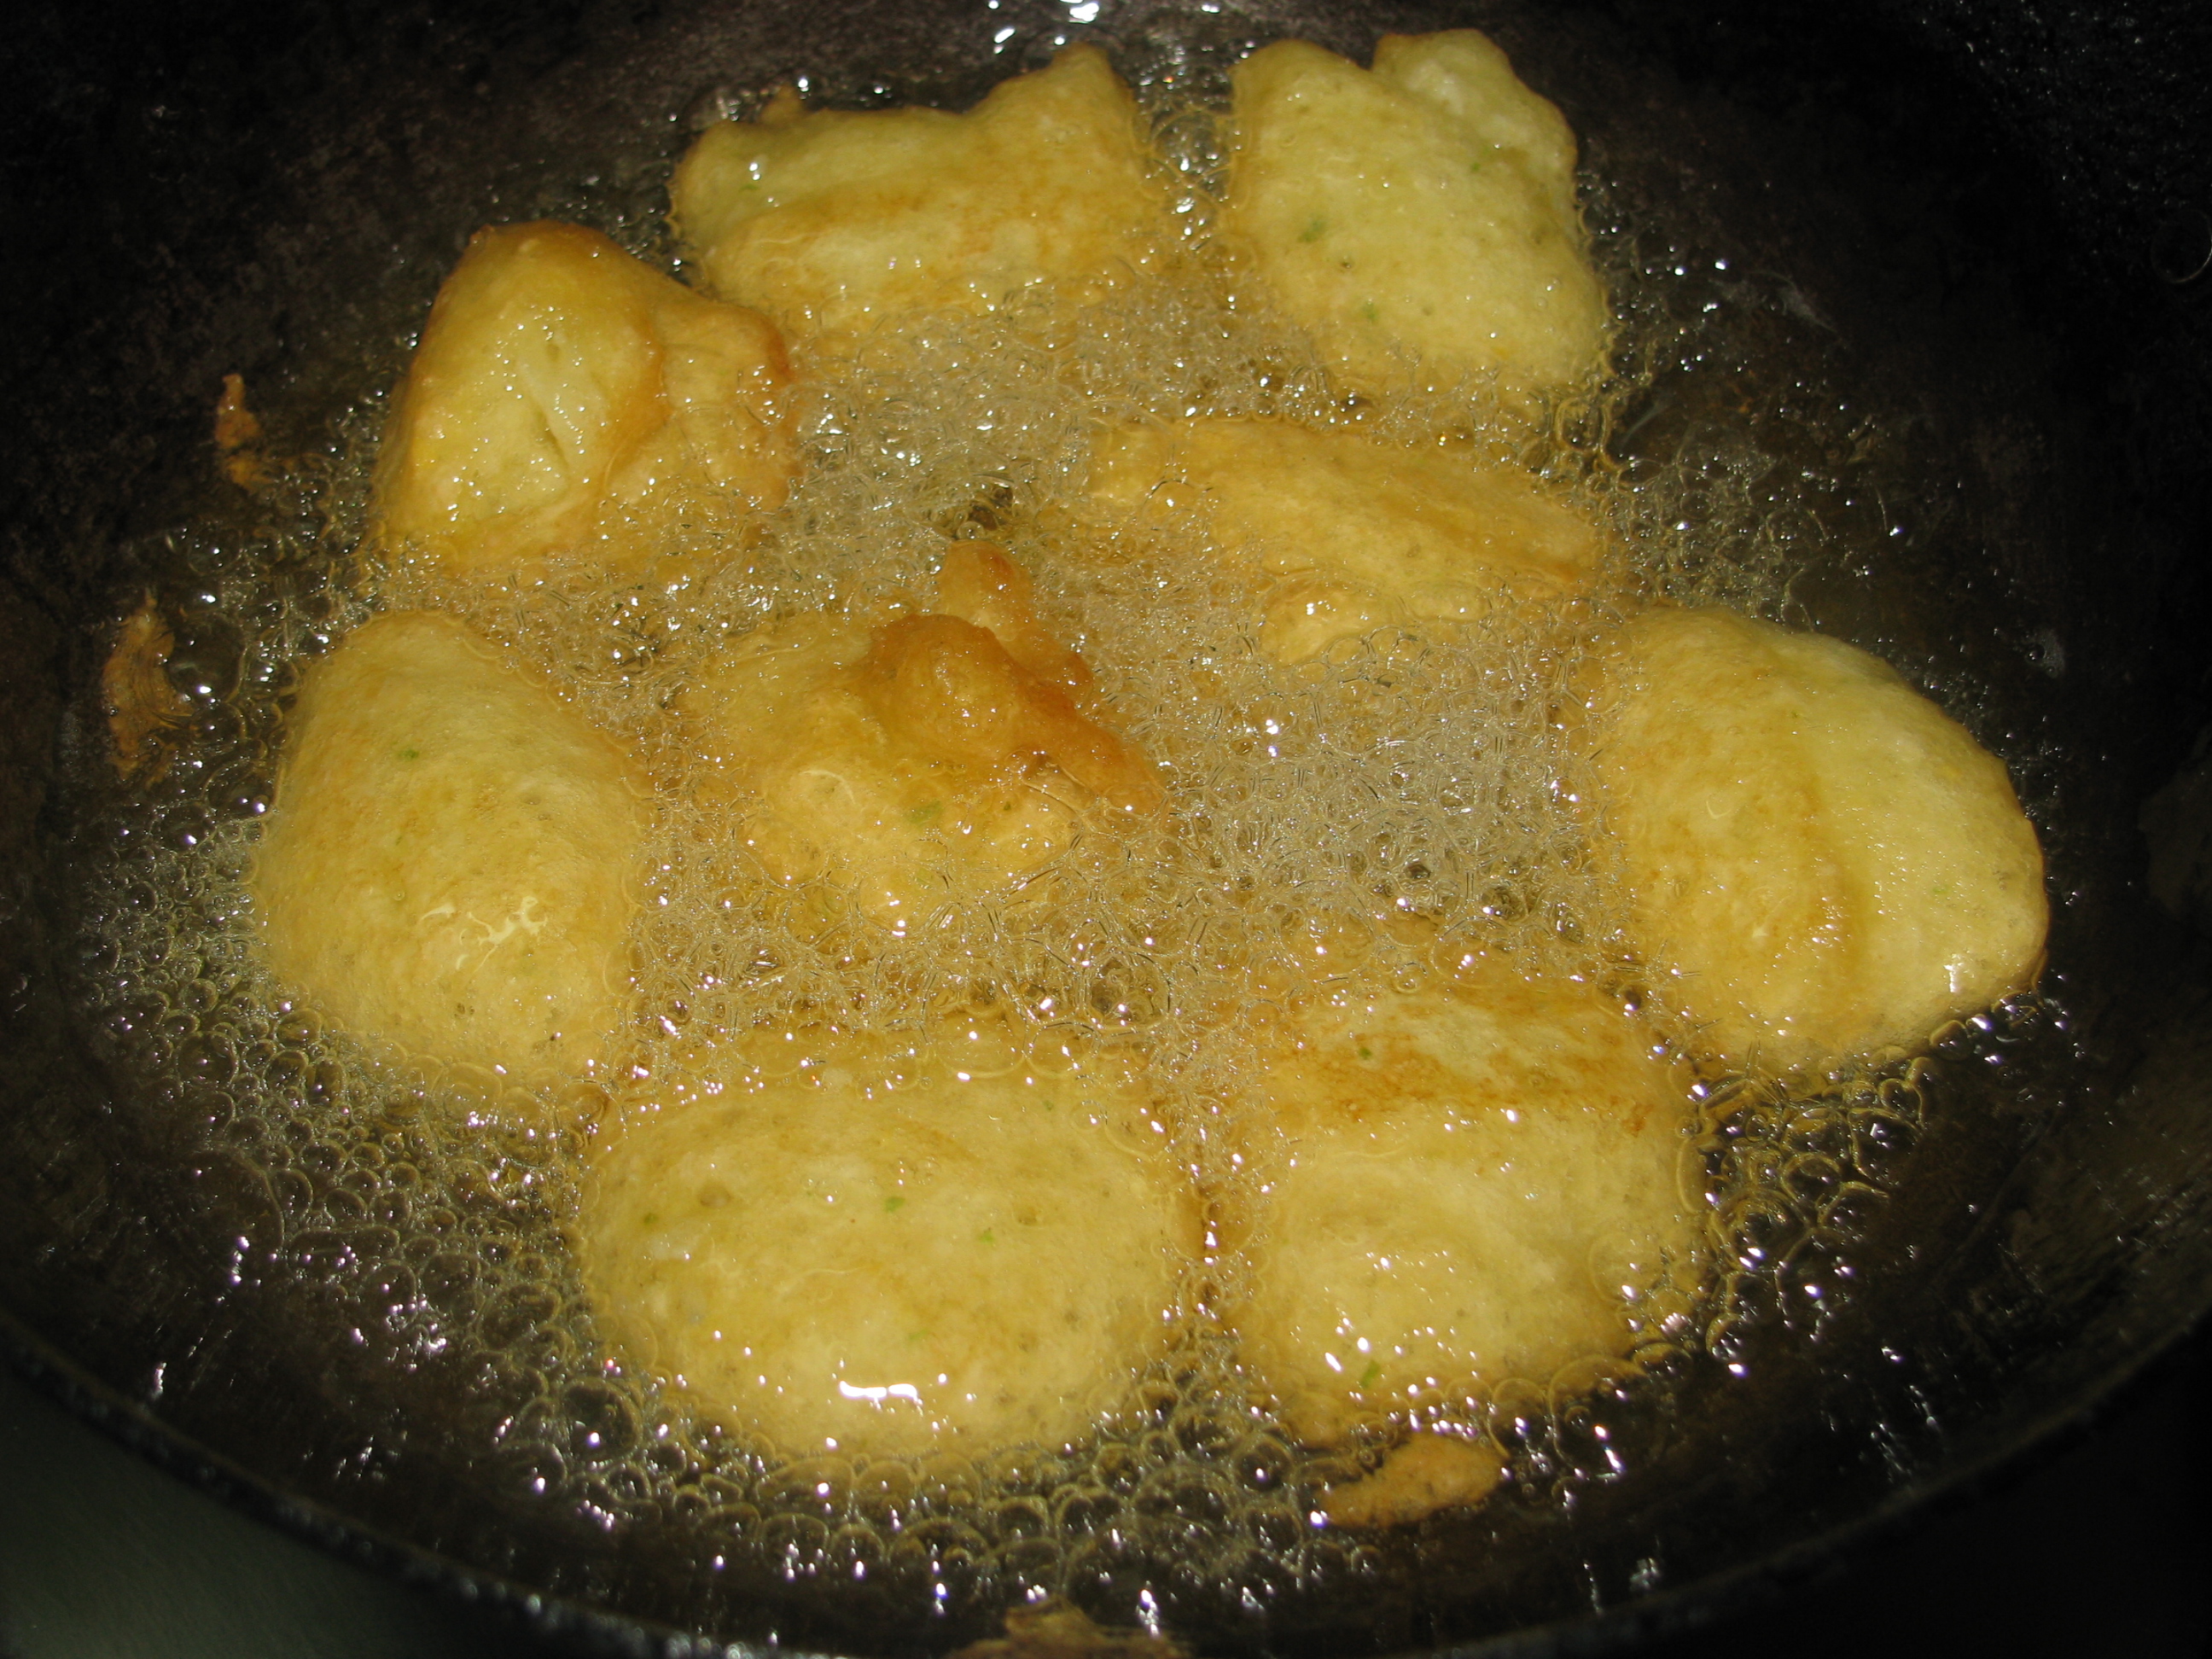
Heat the oil in frying pan or kadhai. Whip Vada batter briskly with spoon and drop Vada in oil with the help of spoon .
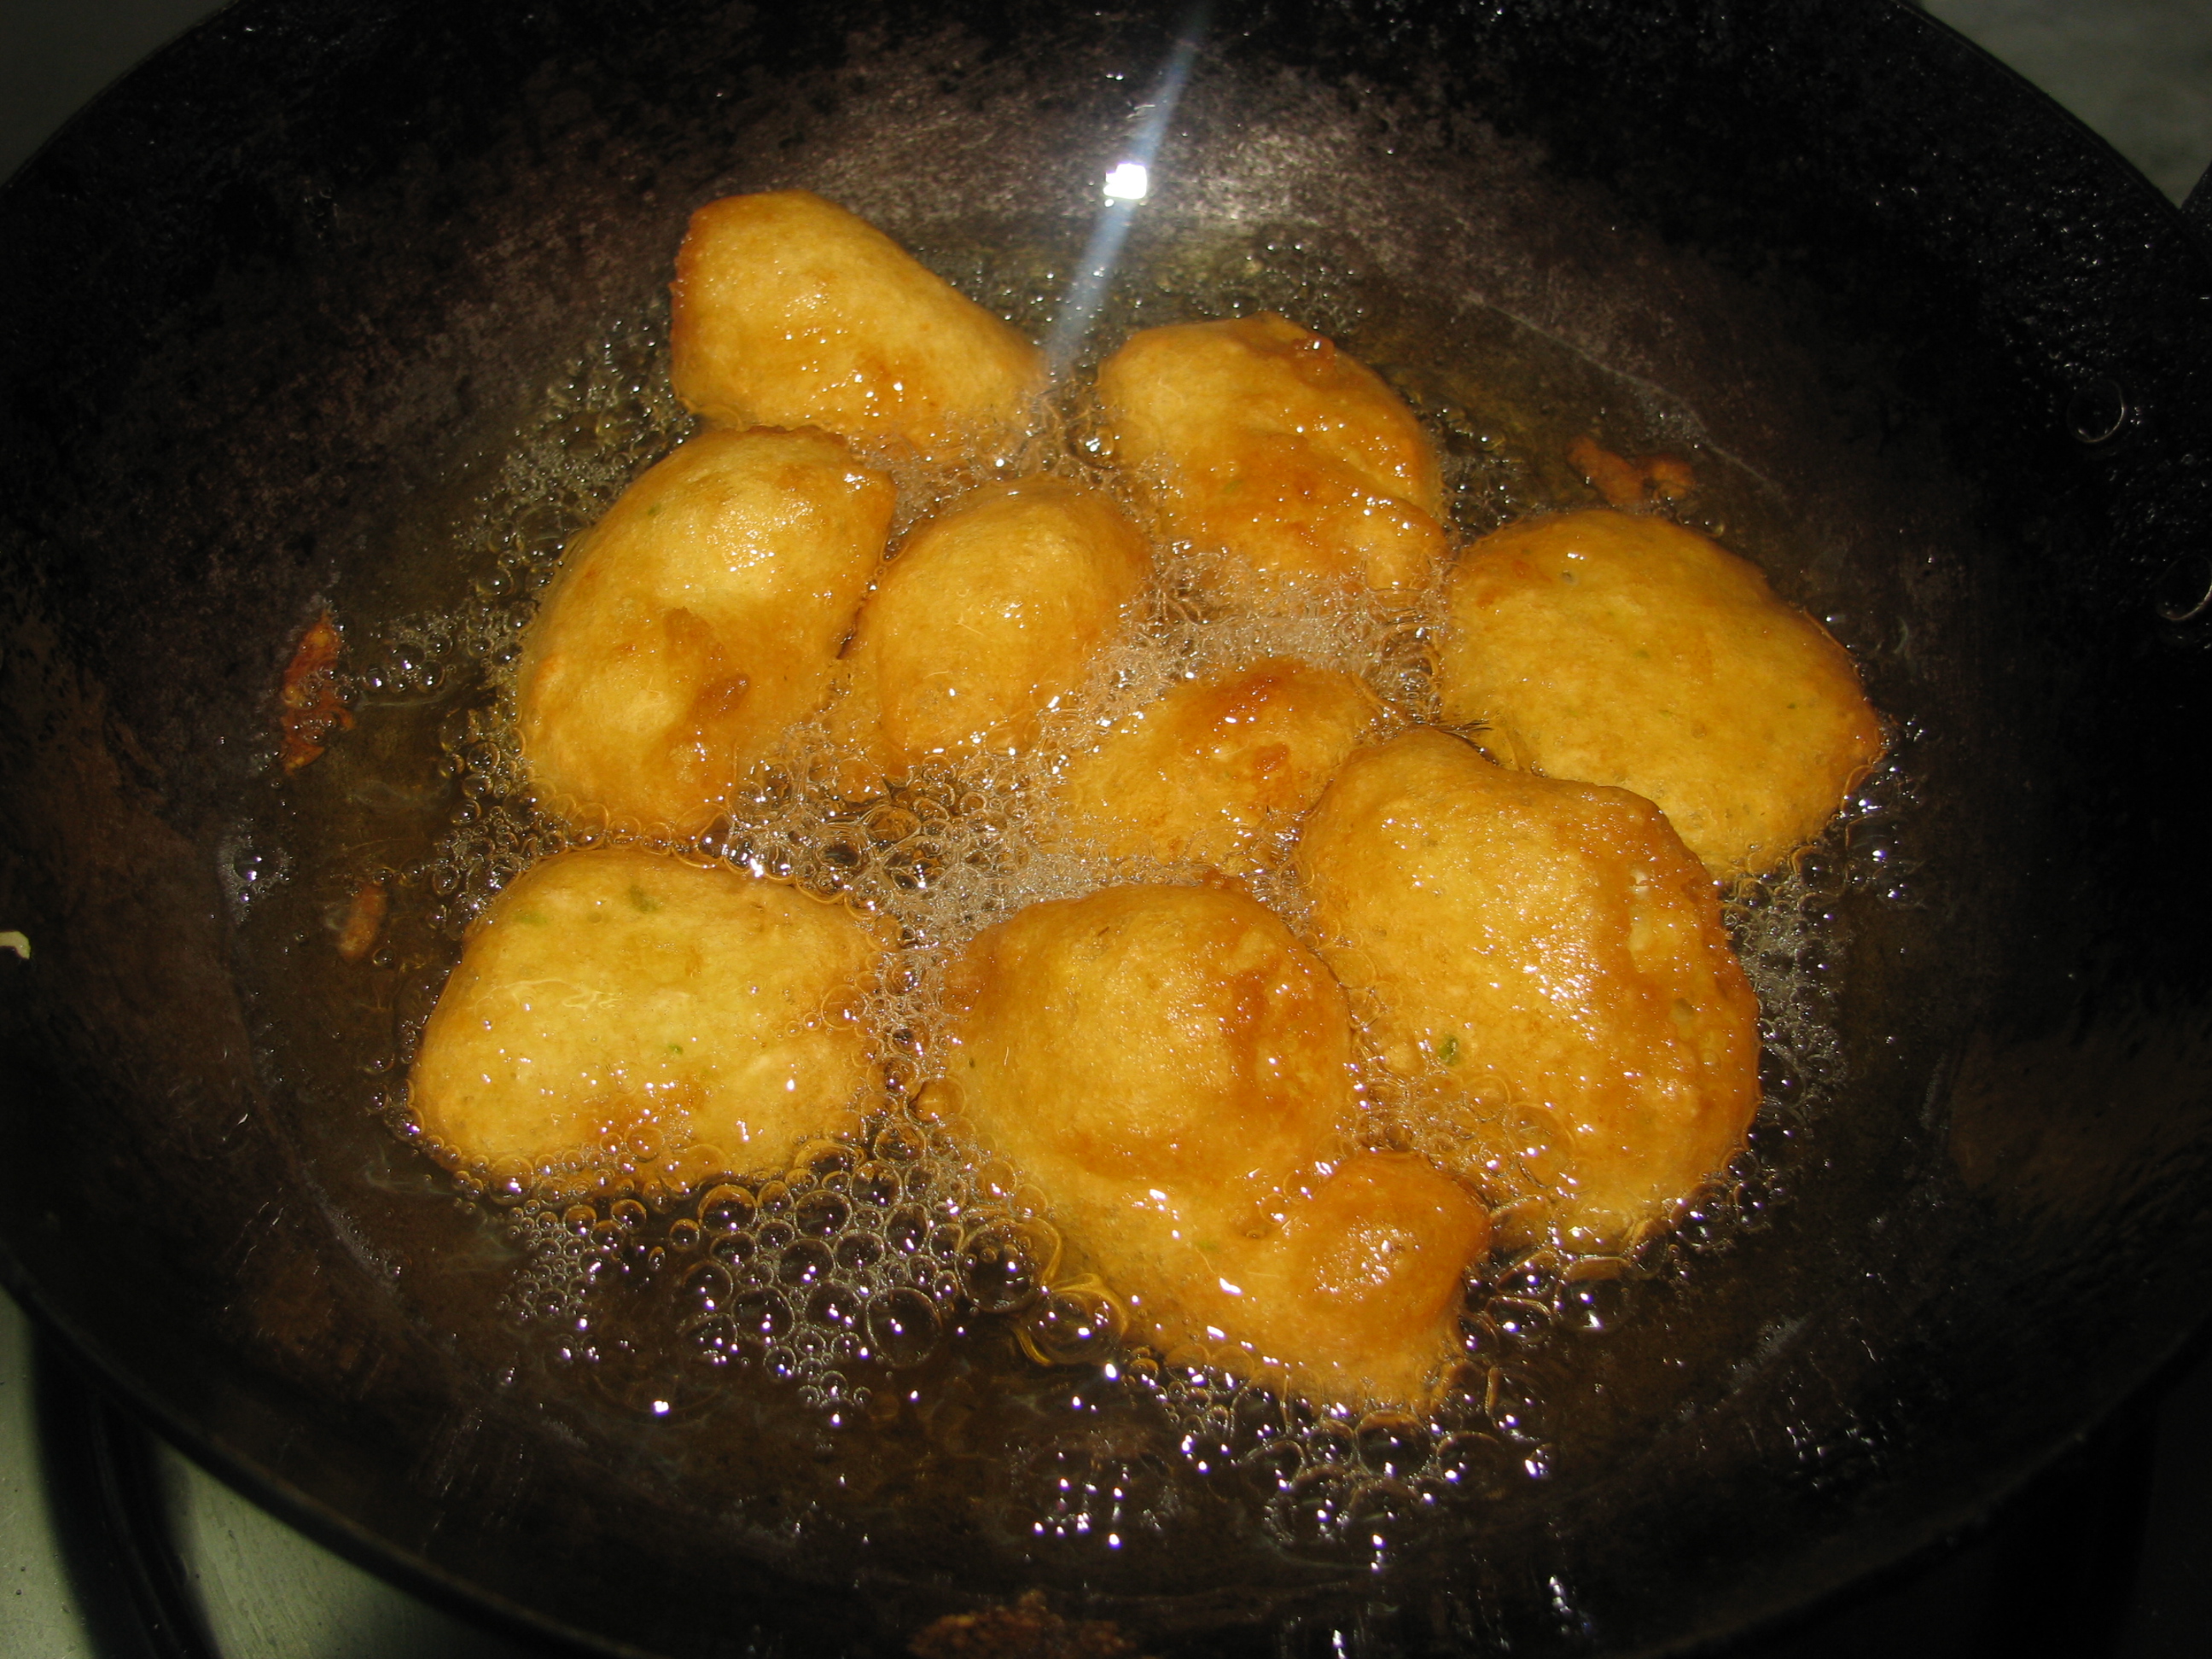
Fry the Vada on high flame ,when it takes it shape turn them and keep the flame medium when the Vada starts becoming pale golden yellow in colour from both side make the flame low and fry this Vadas till they become nice golden and crispy .
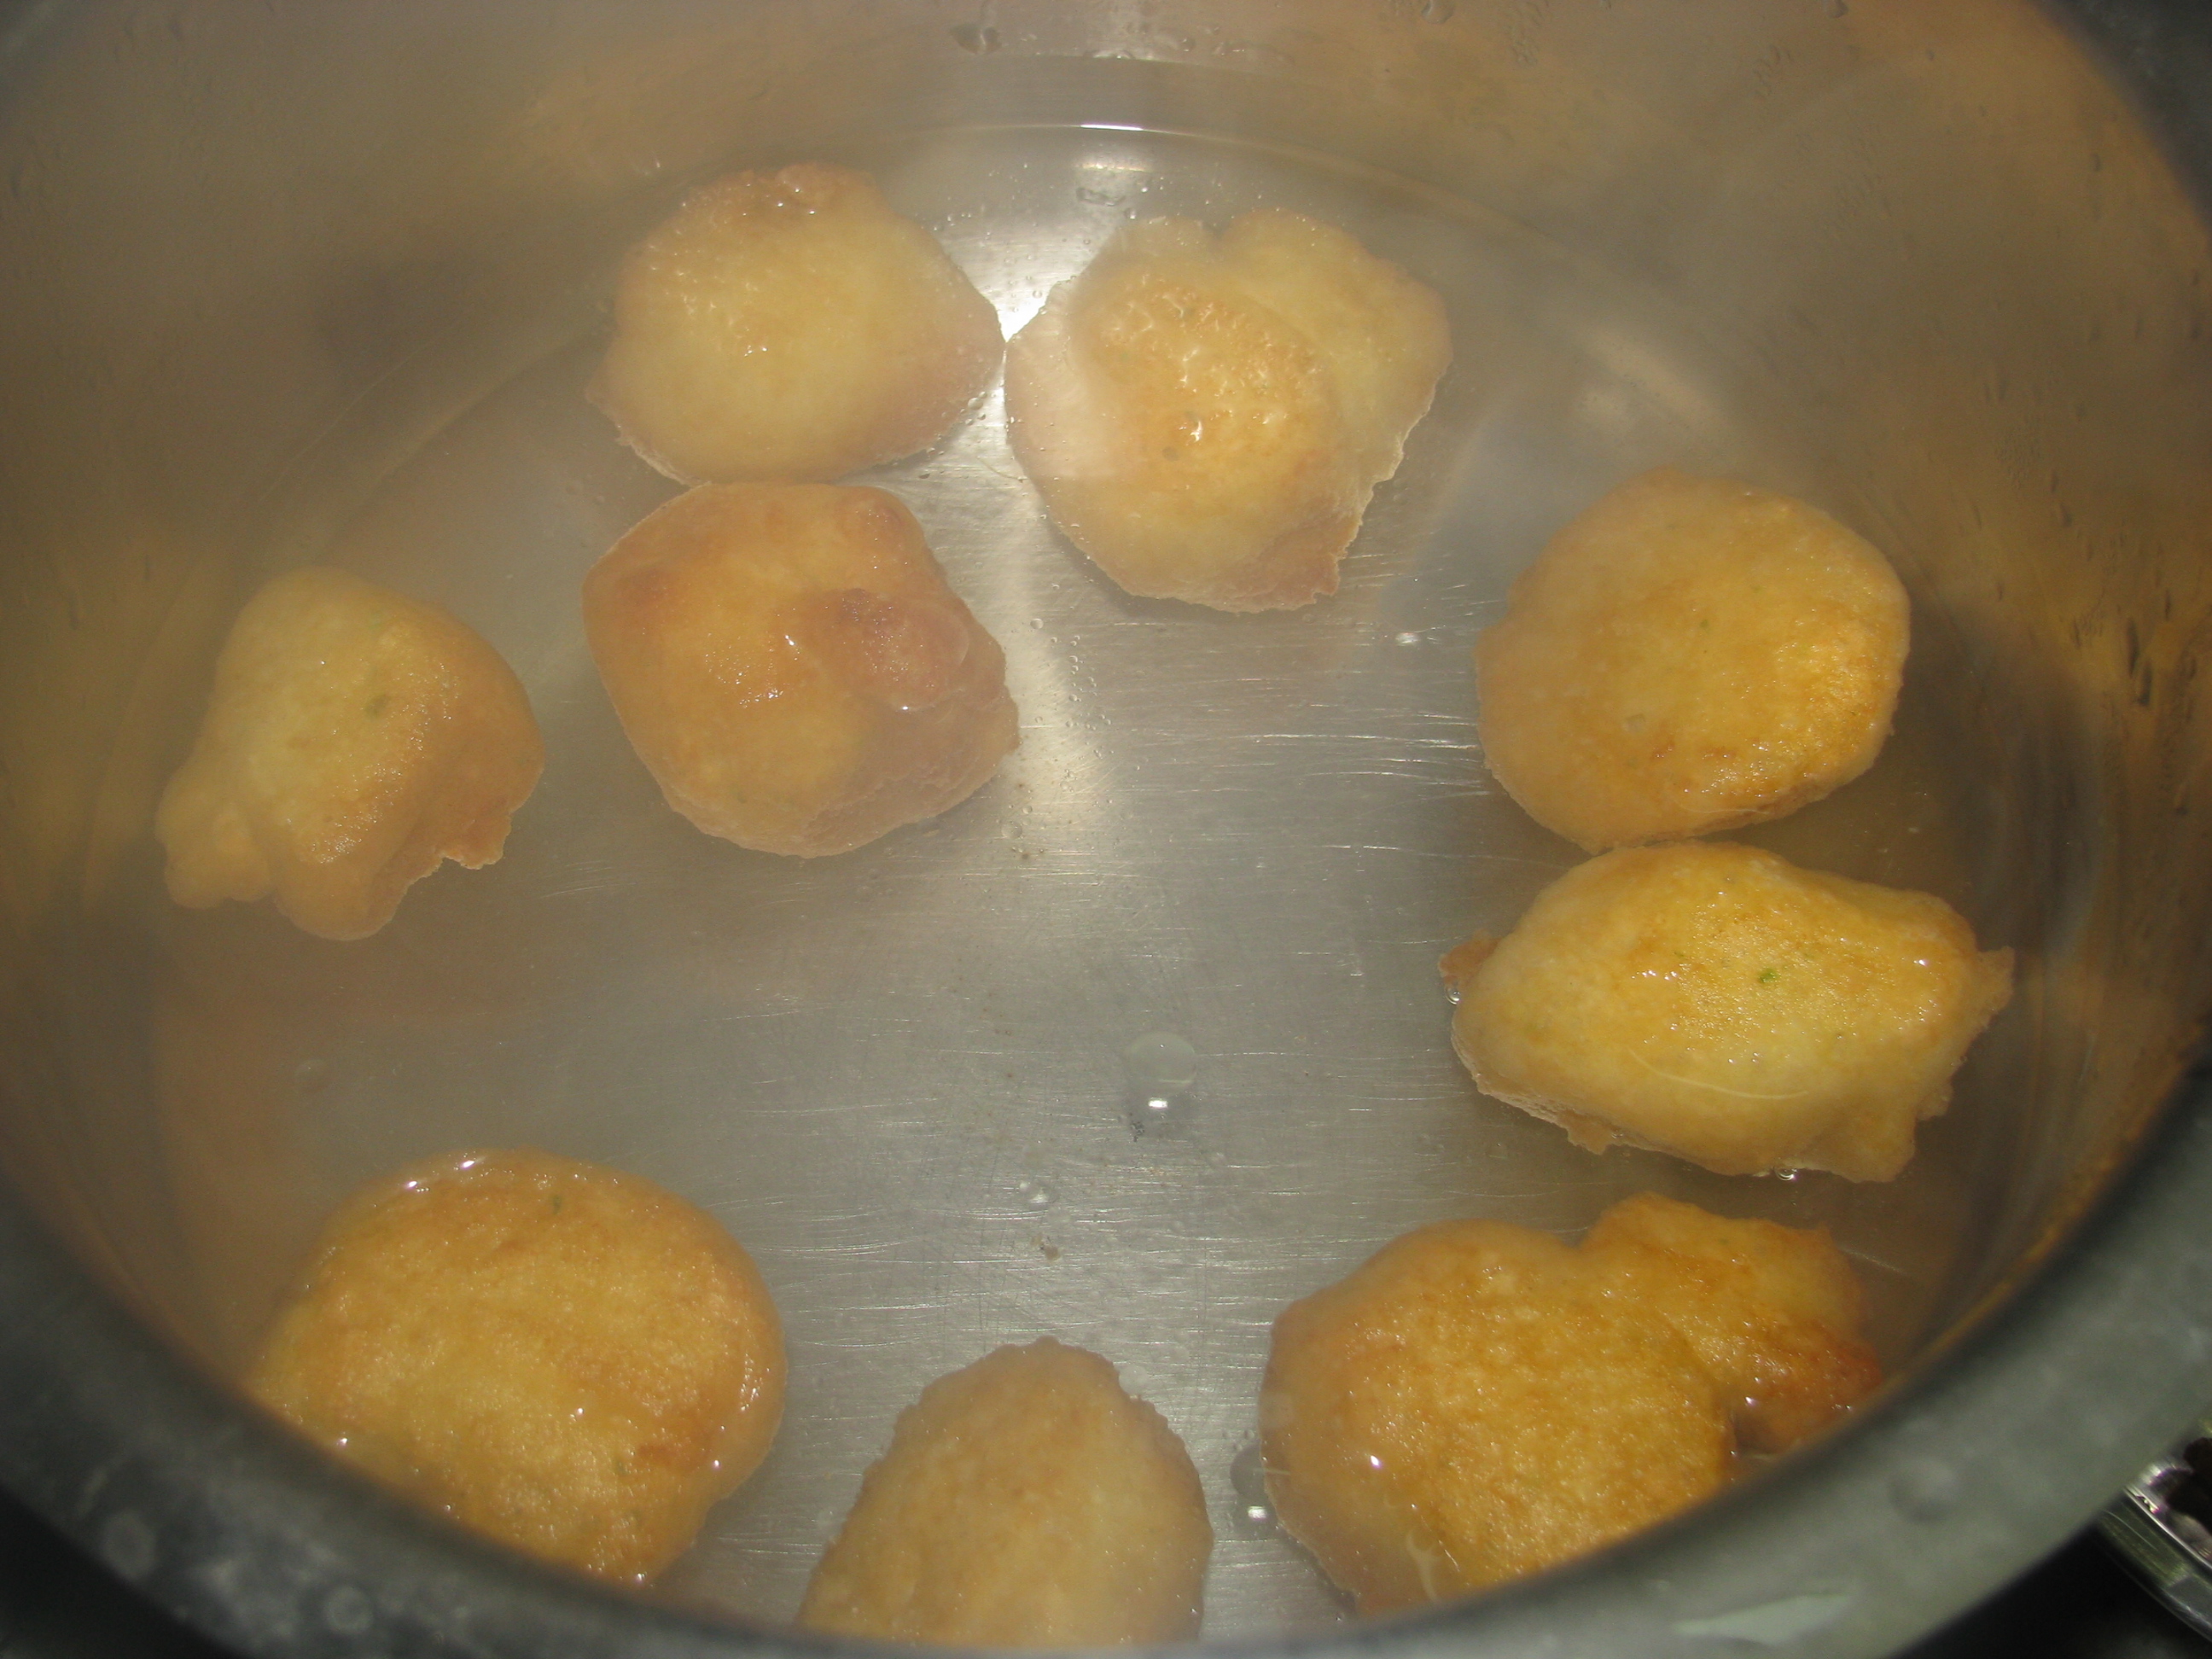
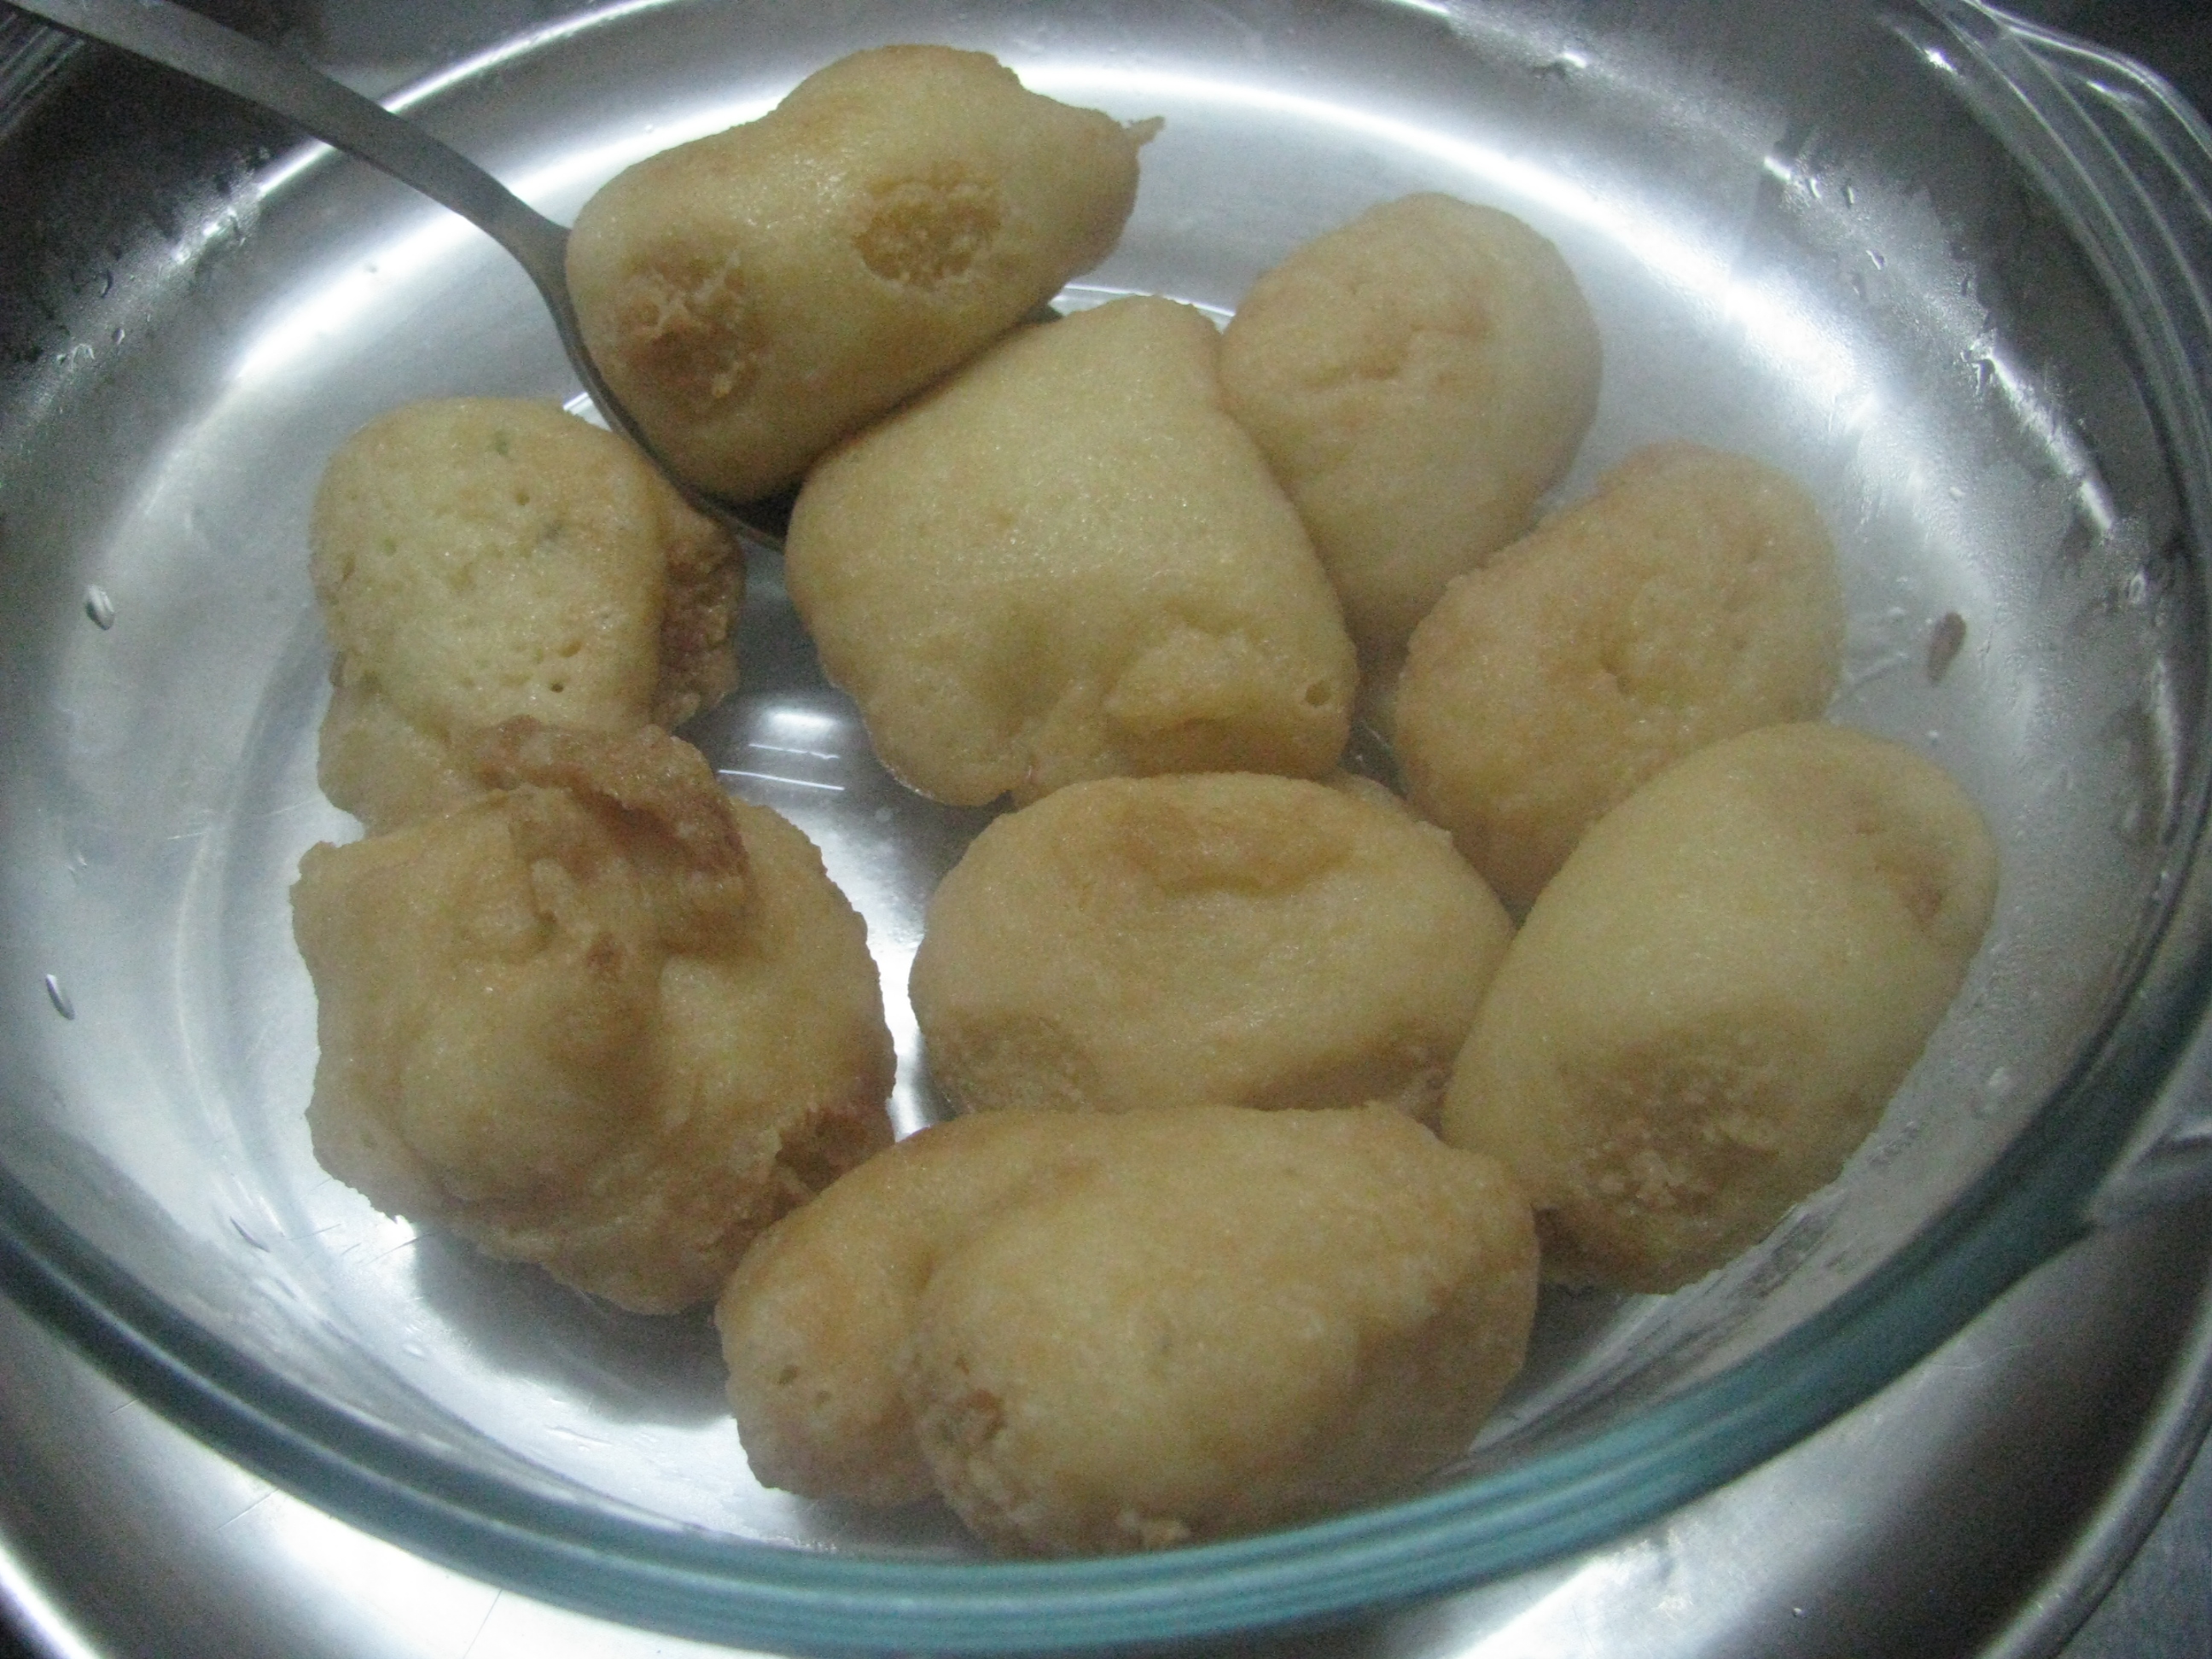
Remove this Vadas from oil and drop them in hot buttermilk or water containing which you have prepared. Soak them in water until the next batch of fried Vadas is ready.
Remove the Vada from water when your next batch of fried Vada is ready for soaking. Don’t squeeze the Vada now. Squeeze he Vada at the time of serving Dahi Vadas .this will keep your Vadas soft otherwise it will become dry.
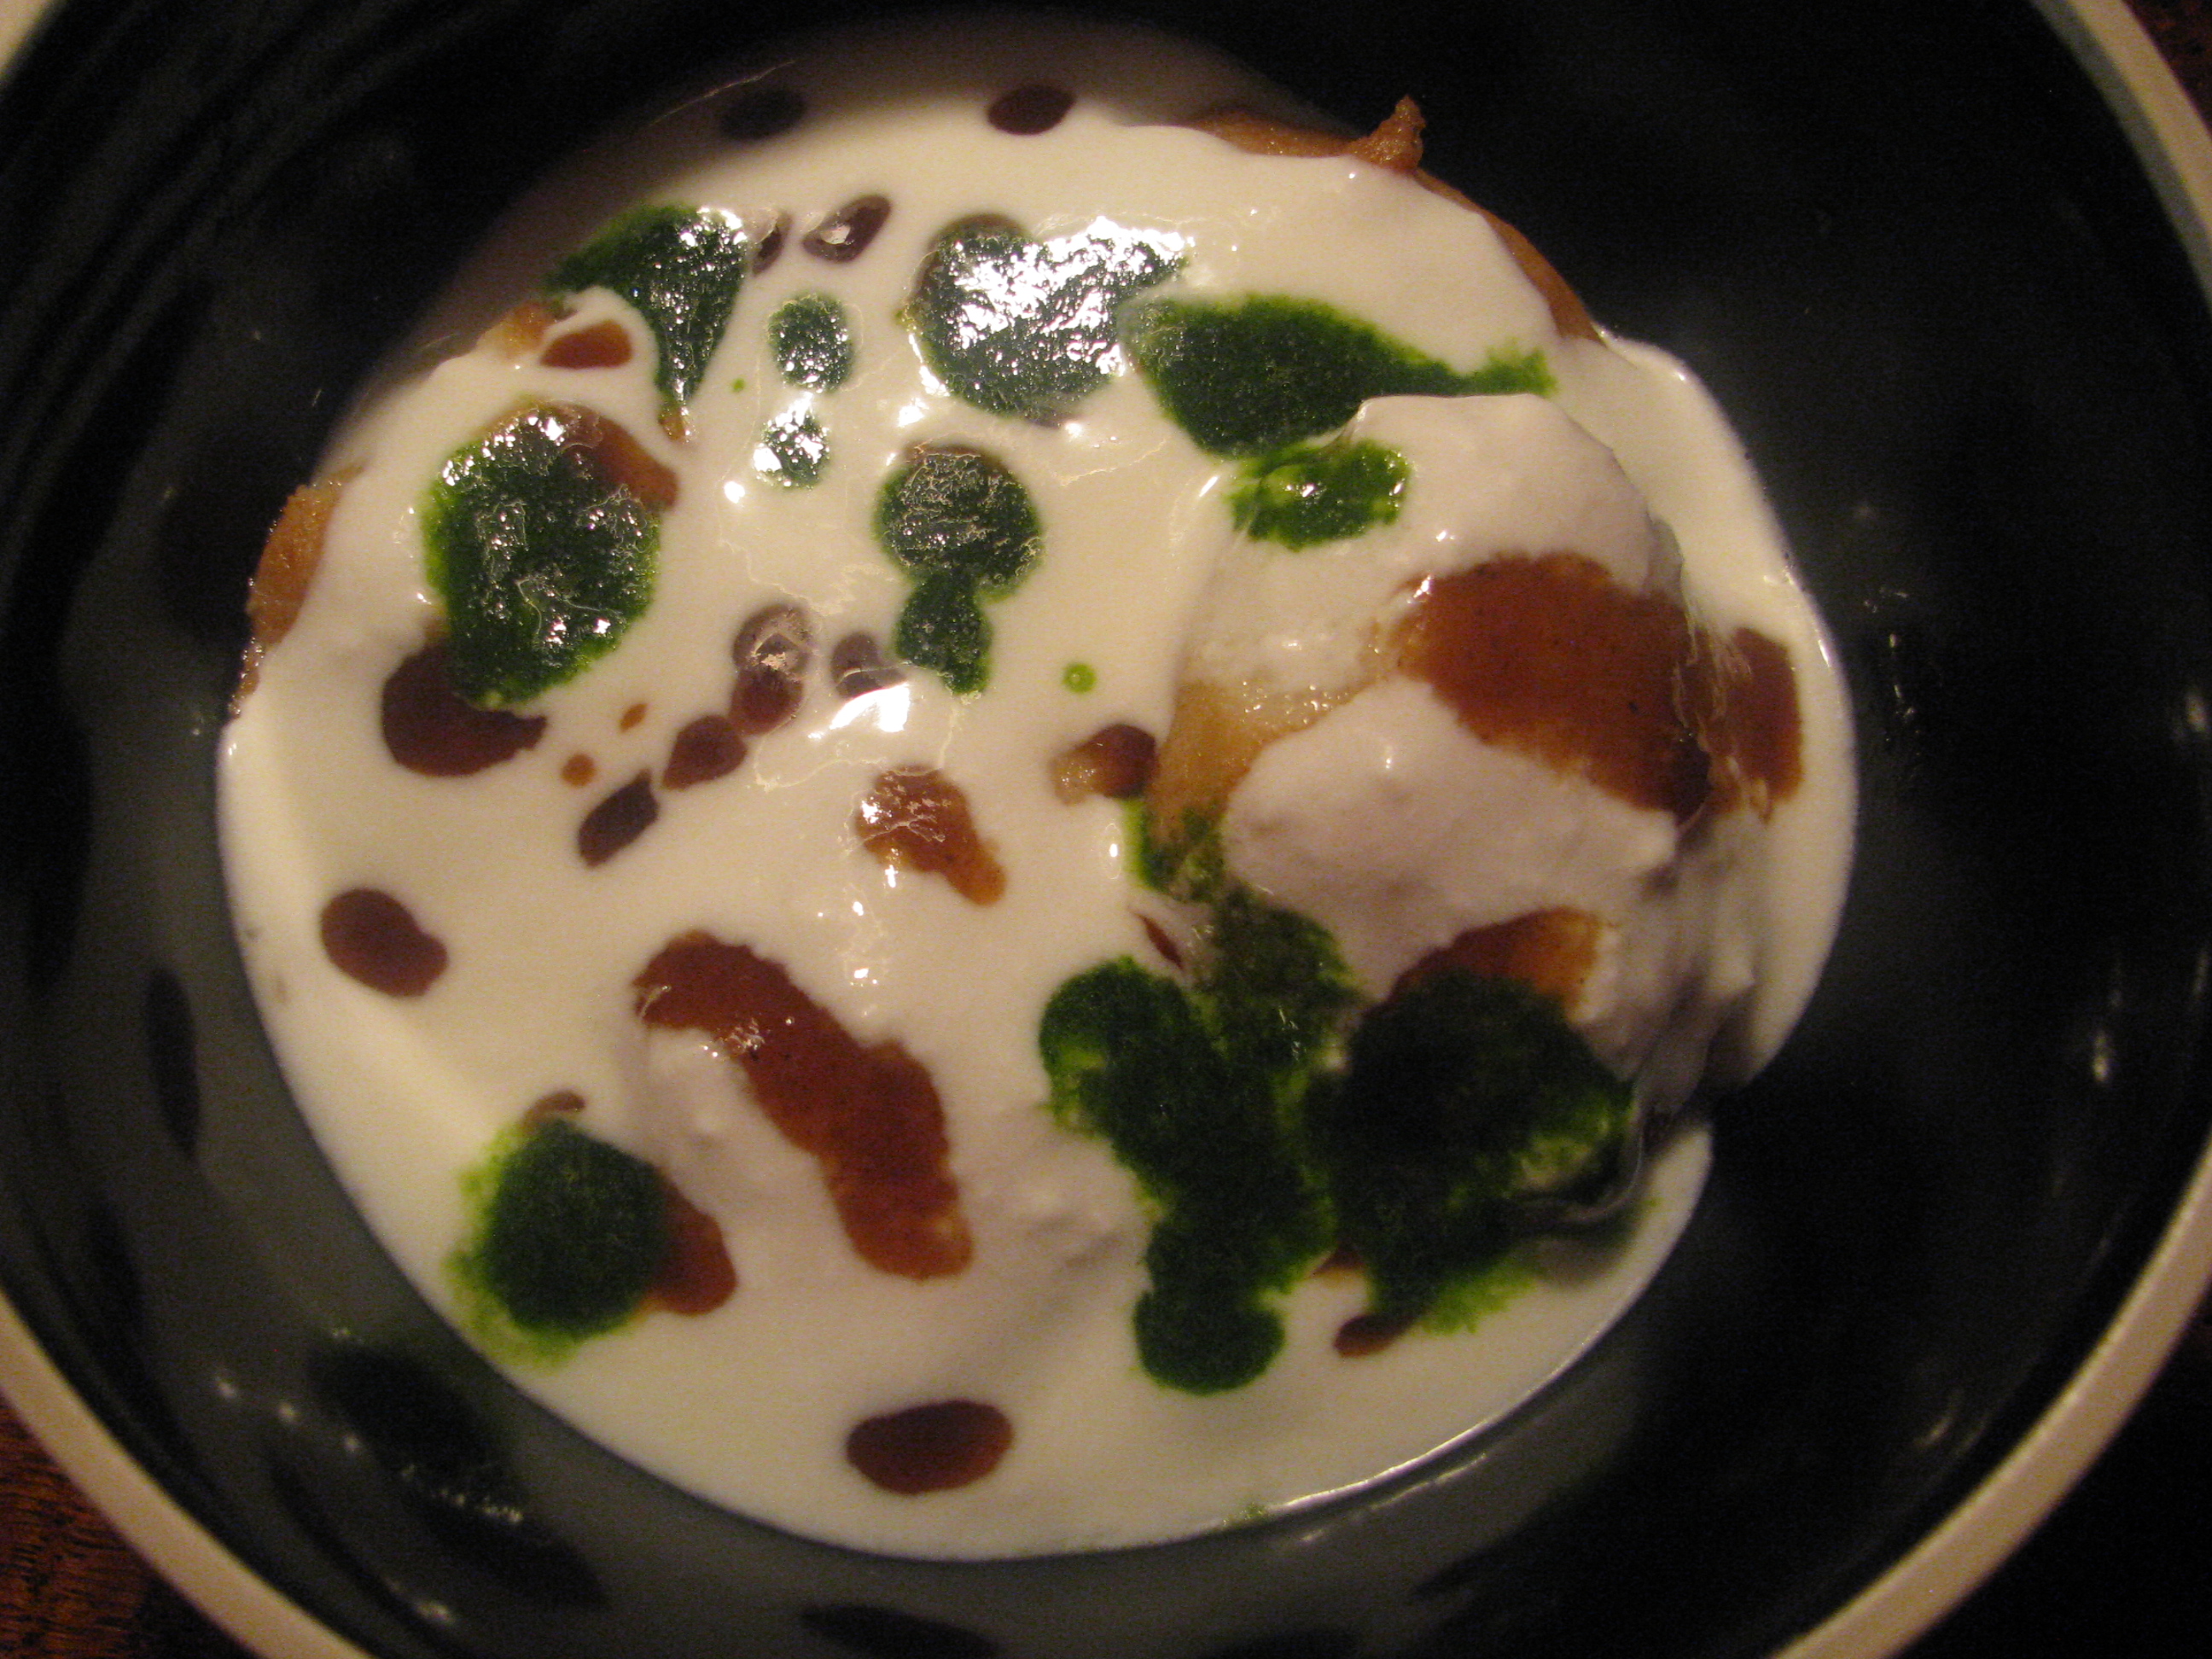
Well now comes the most interesting part -to serve the Dahi Vada .
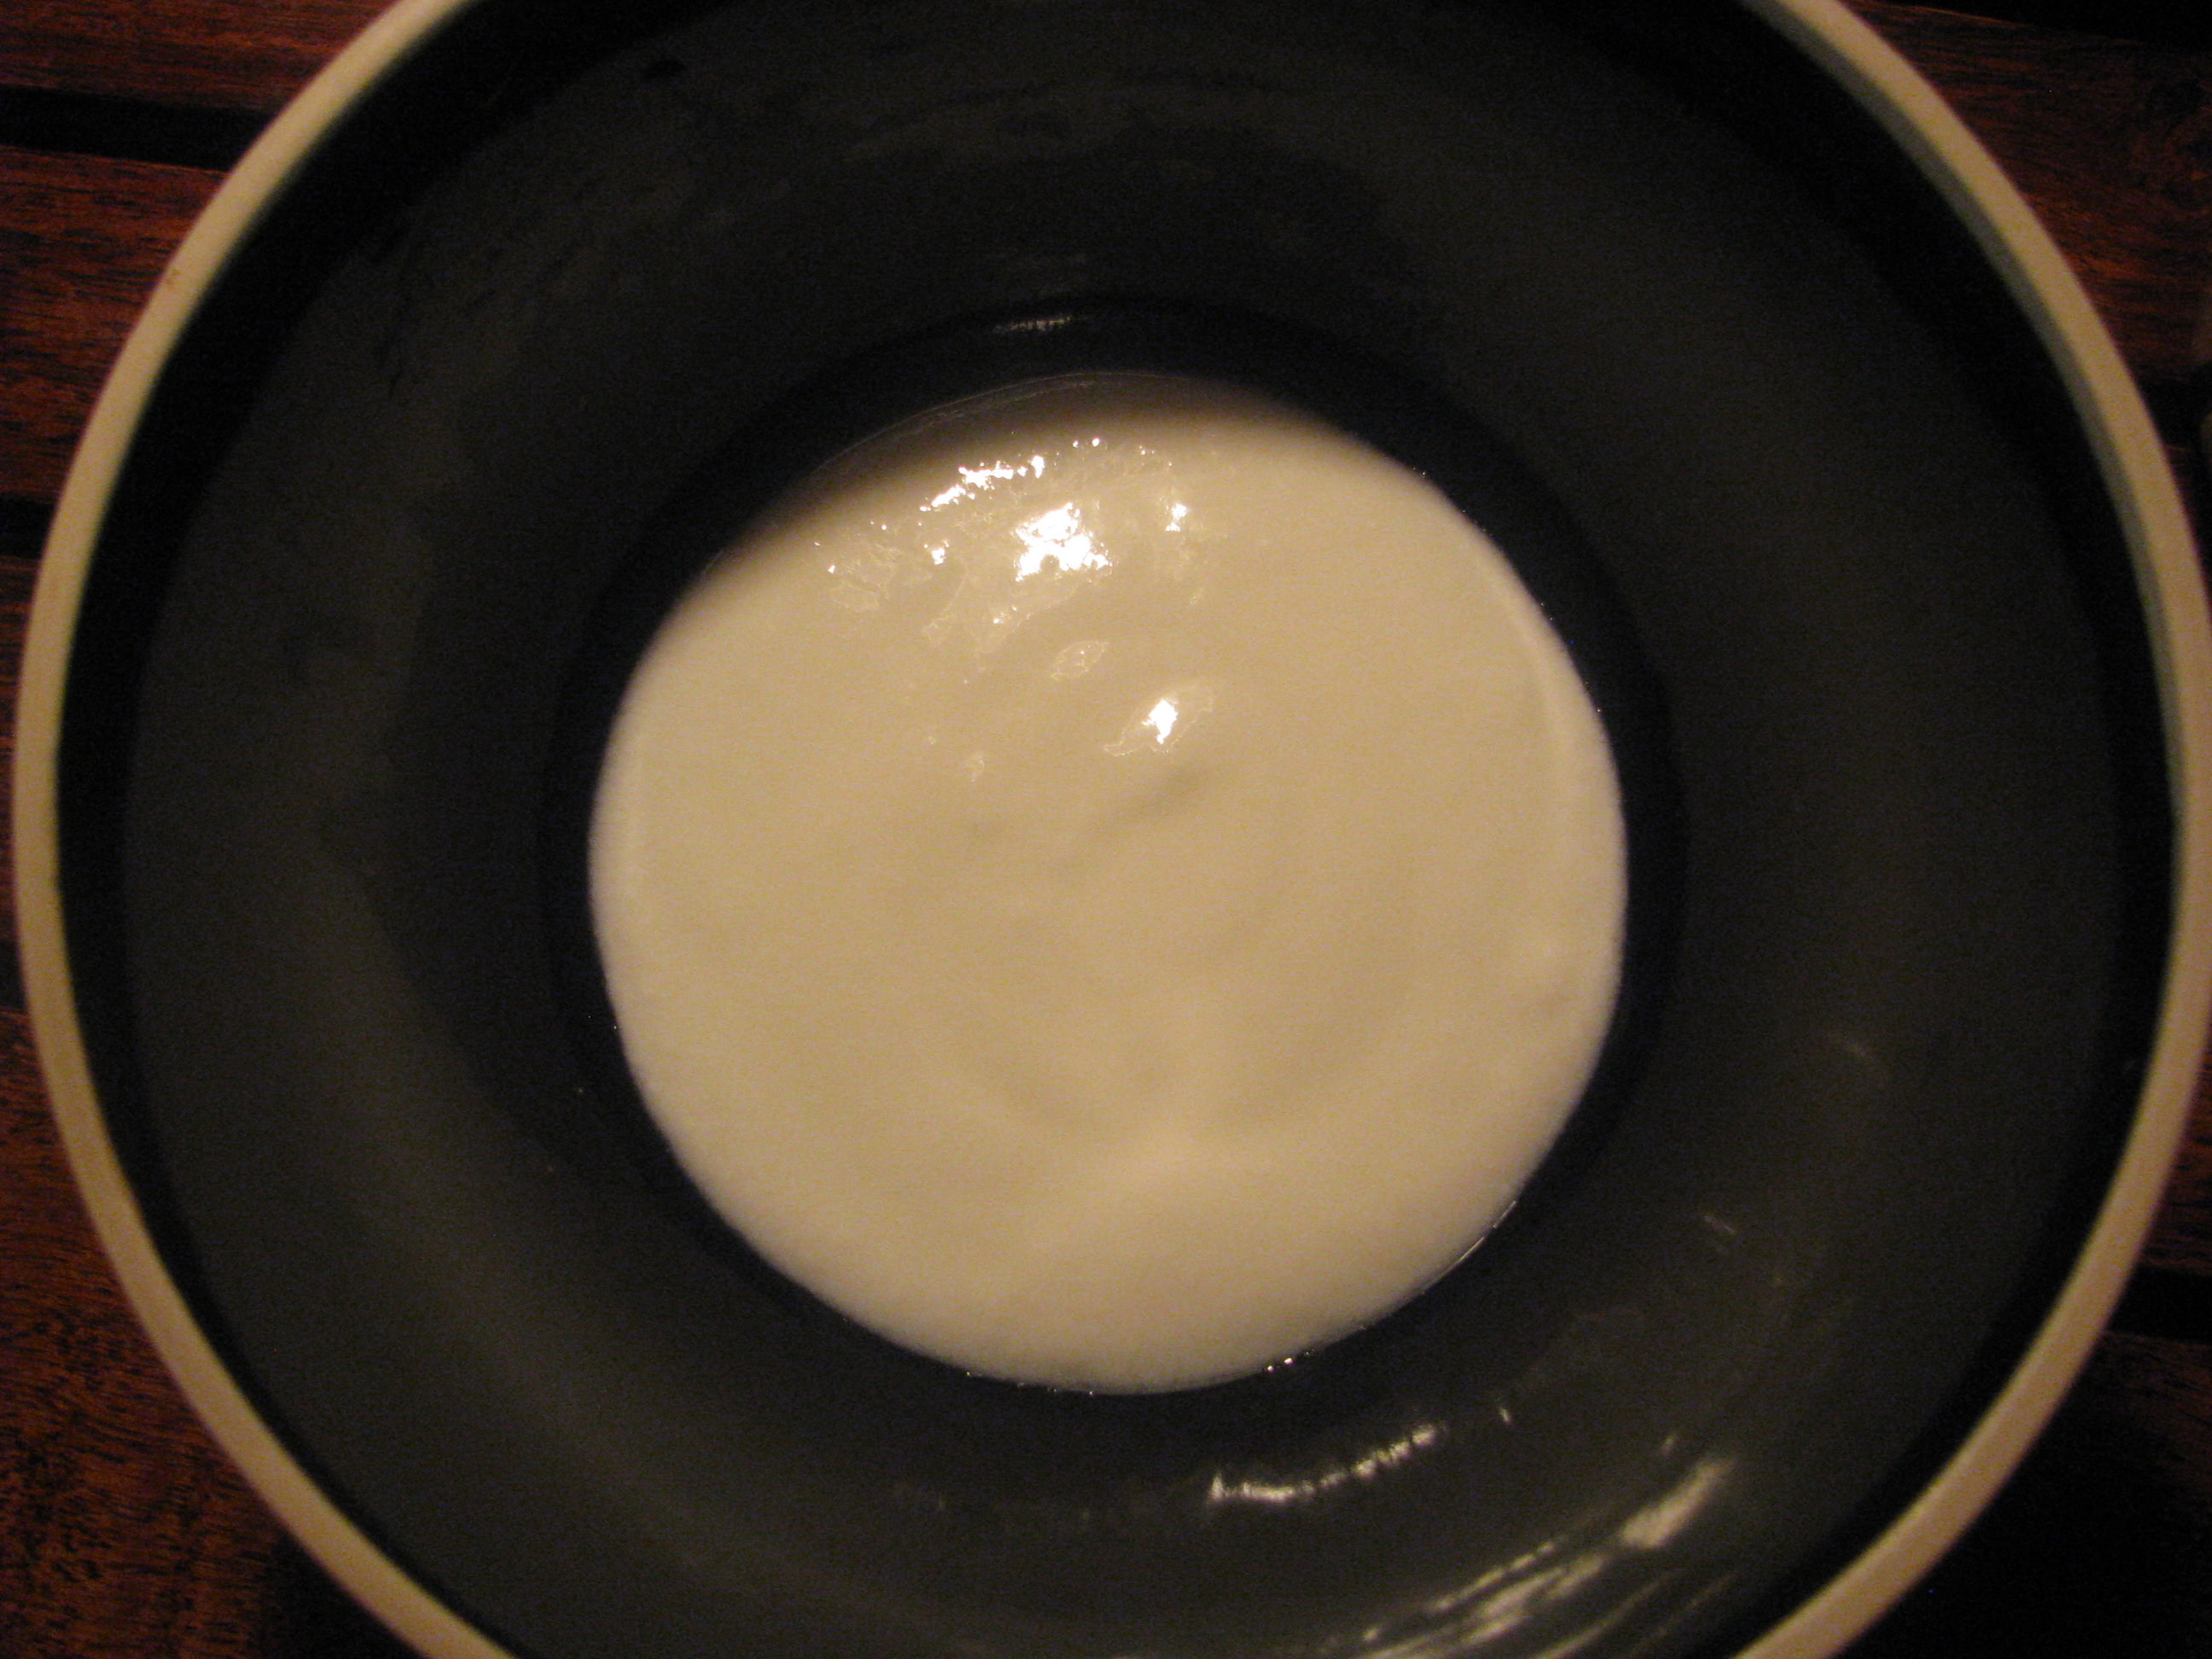
Take 2 tablespoon curd in serving bowl.
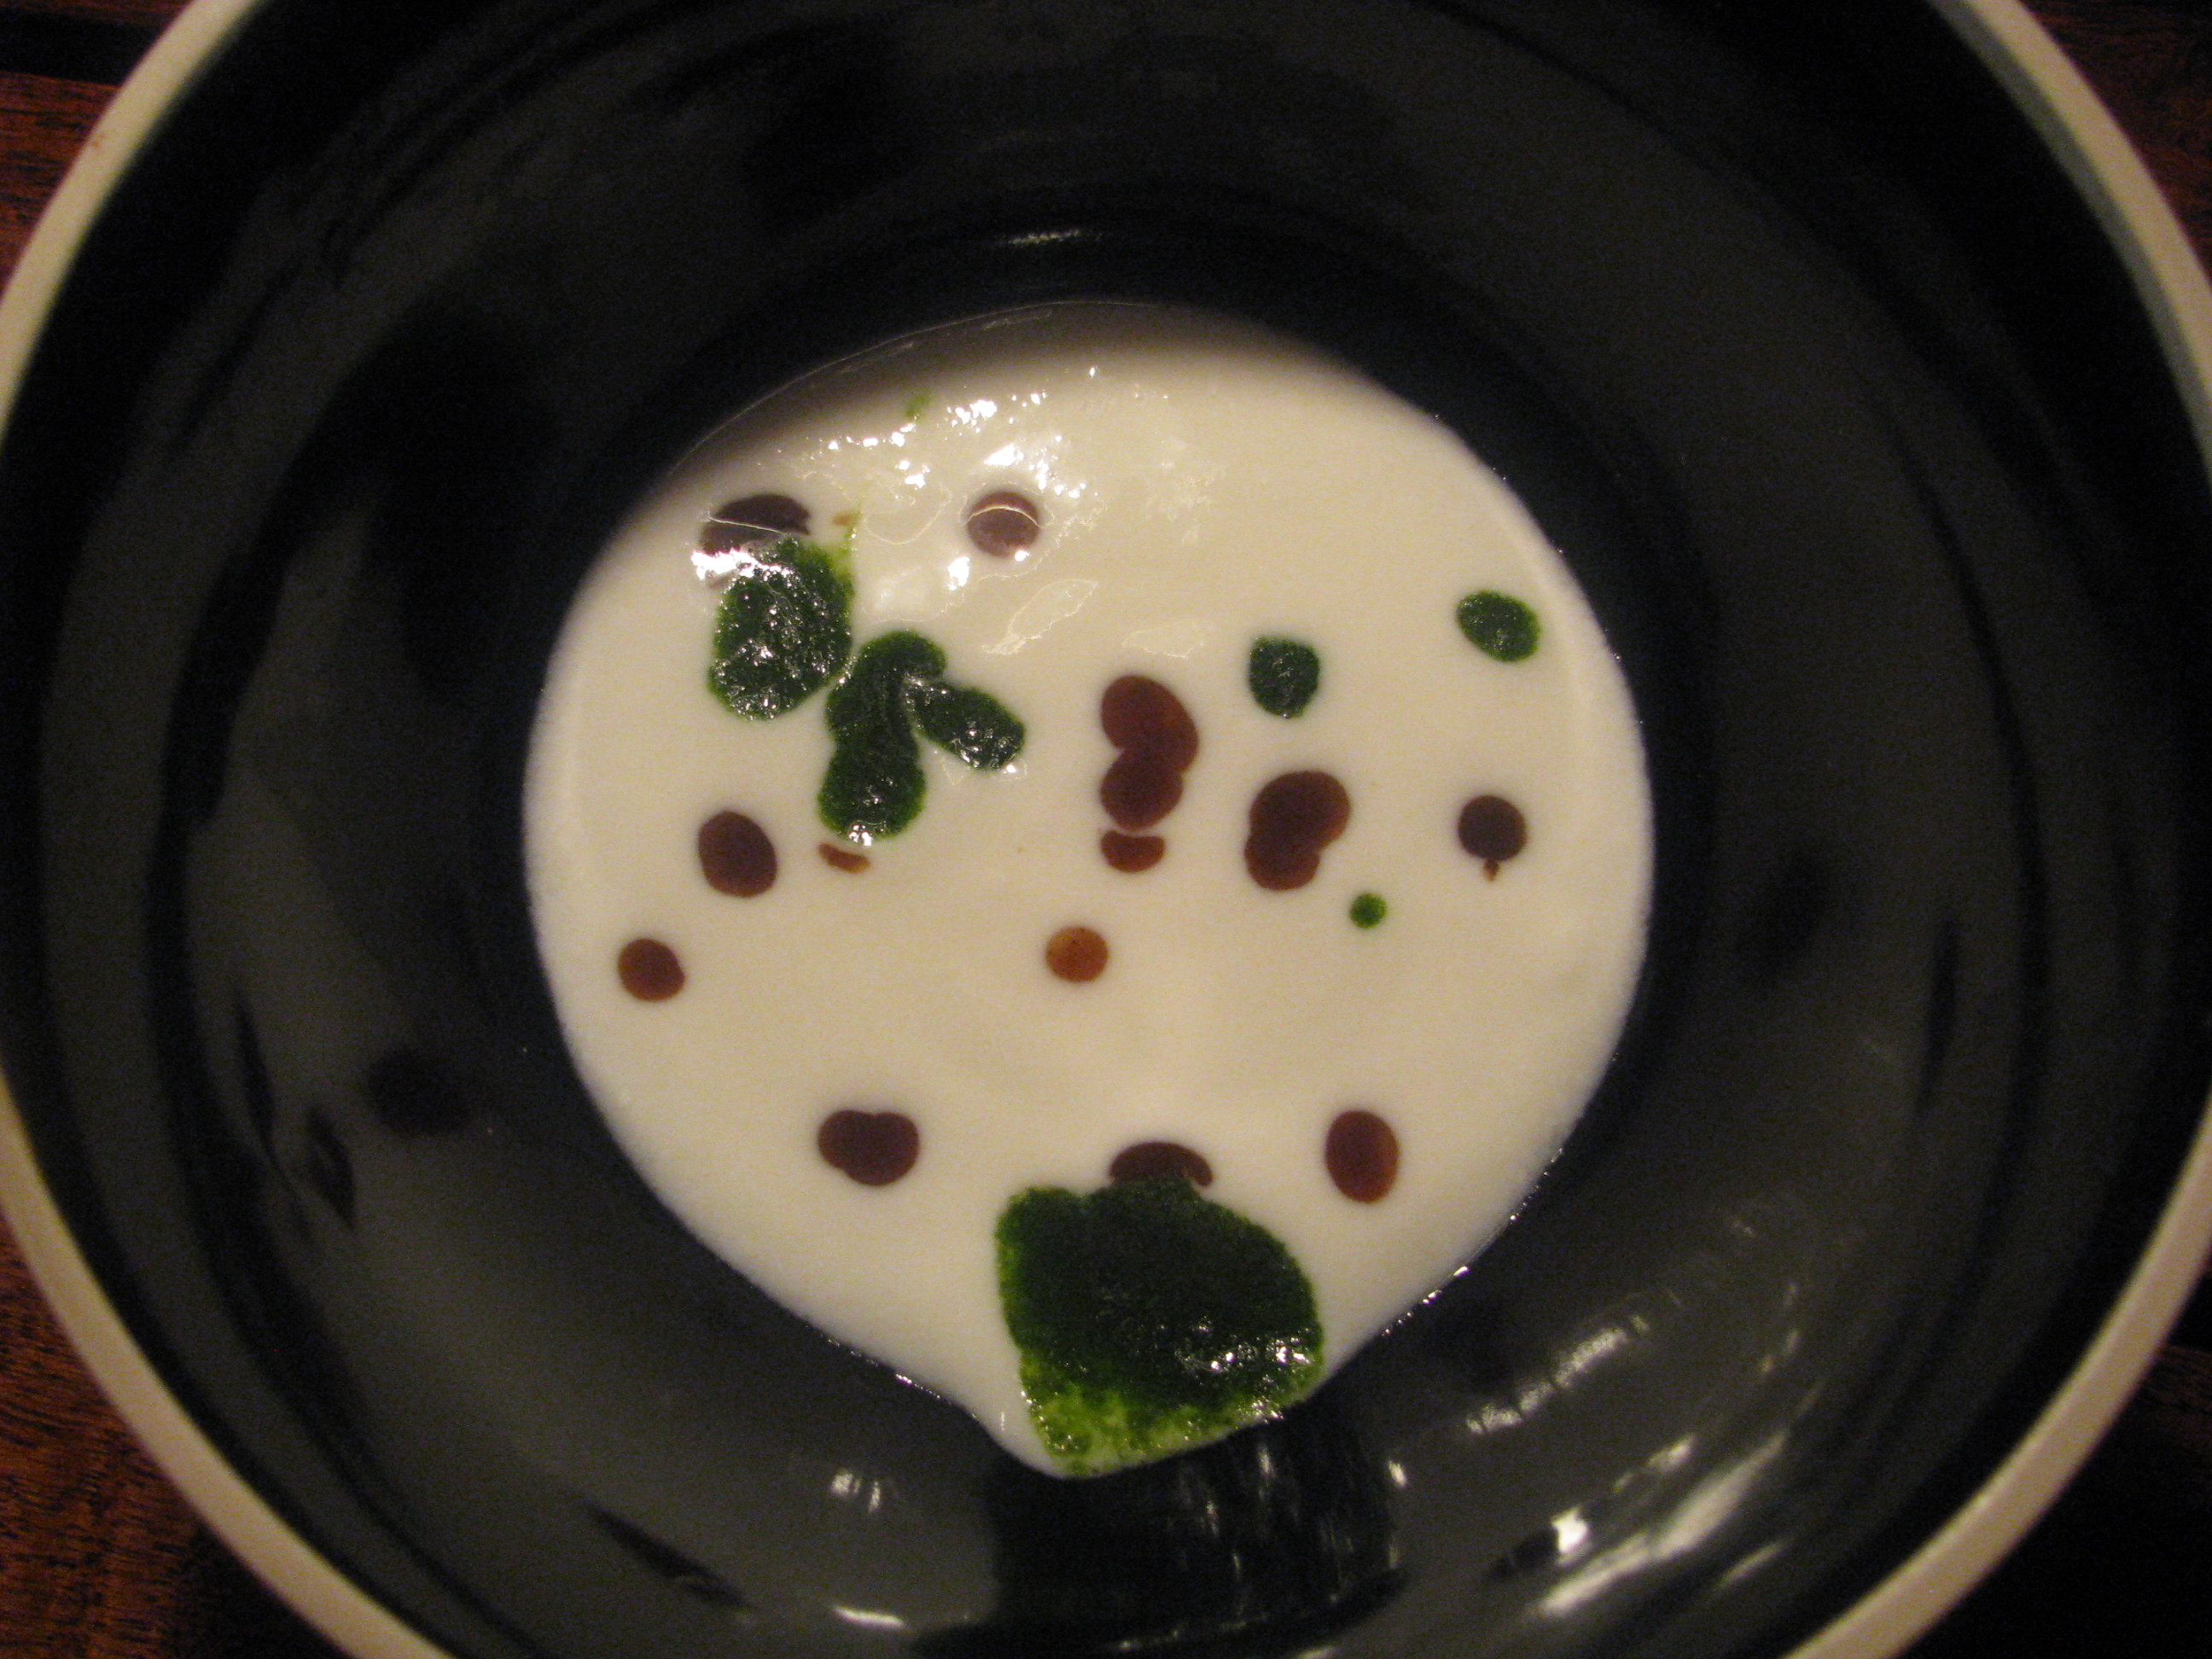
Drop little tamarind chutney (saunth chutney) and green chutney to it.
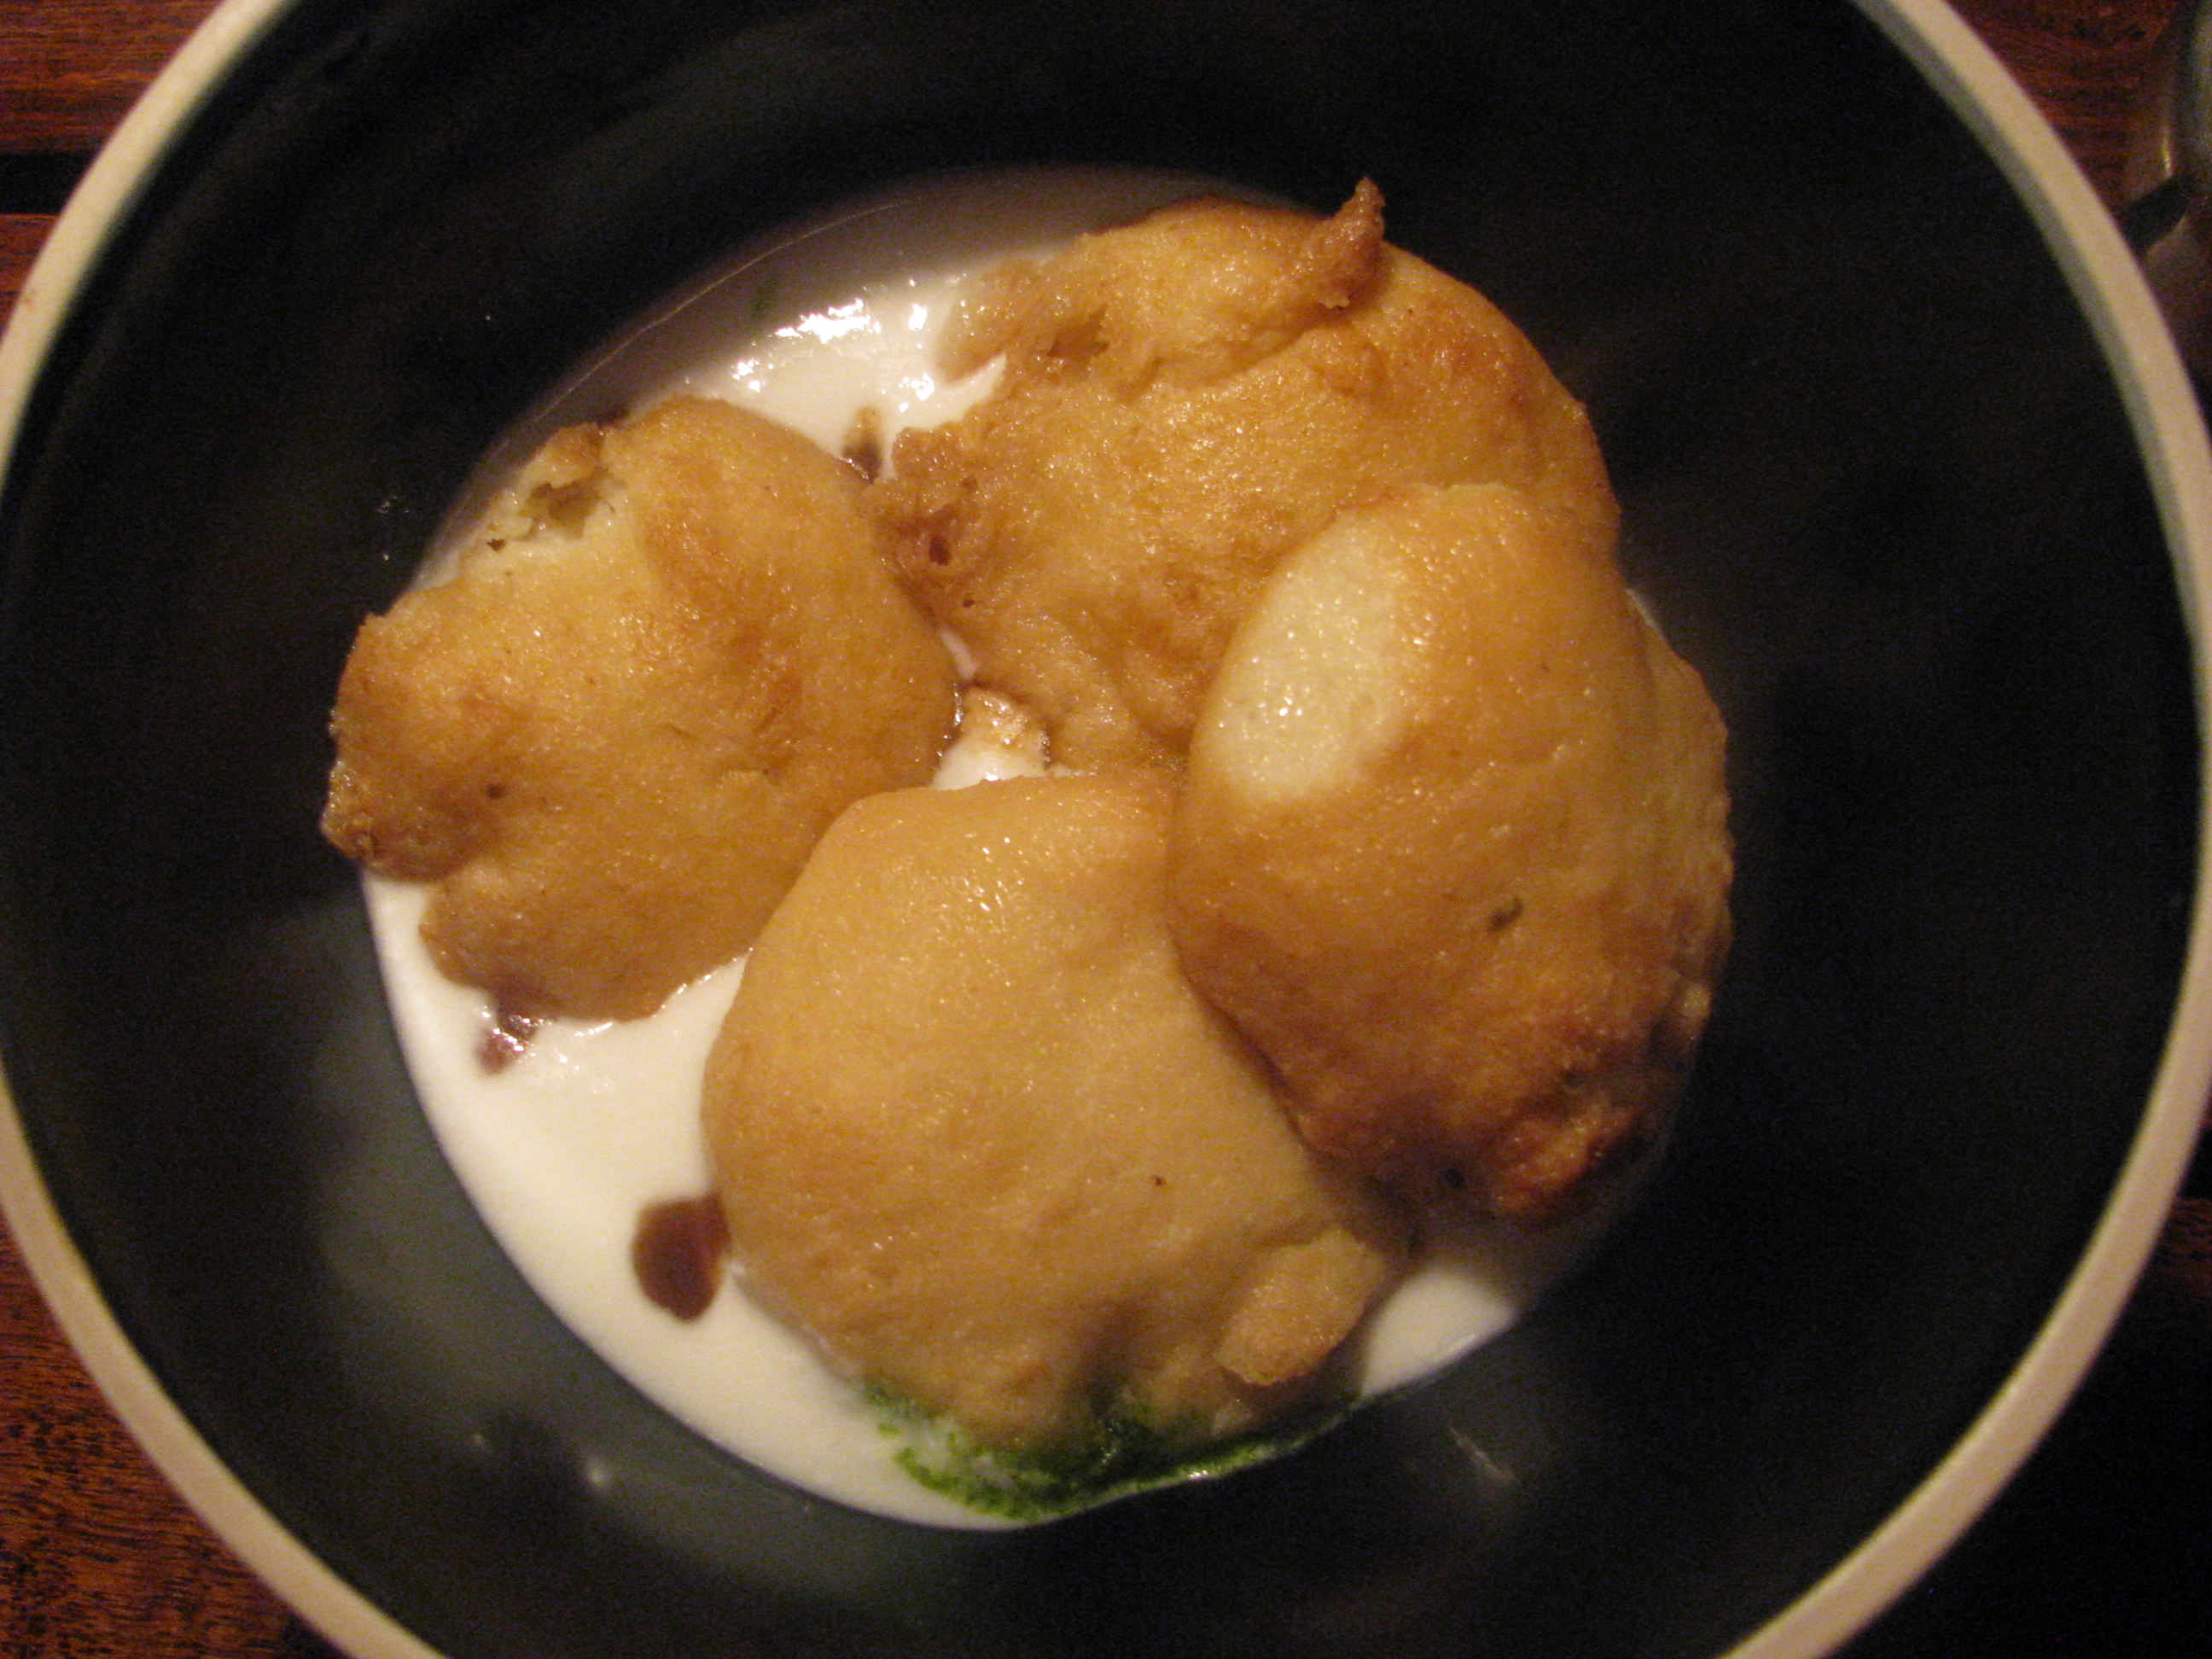
Squeeze the Vadas one by one by pressing it between your palm and remove the extra water from it .
Keep this squeezed Vadas in the serving bowl .
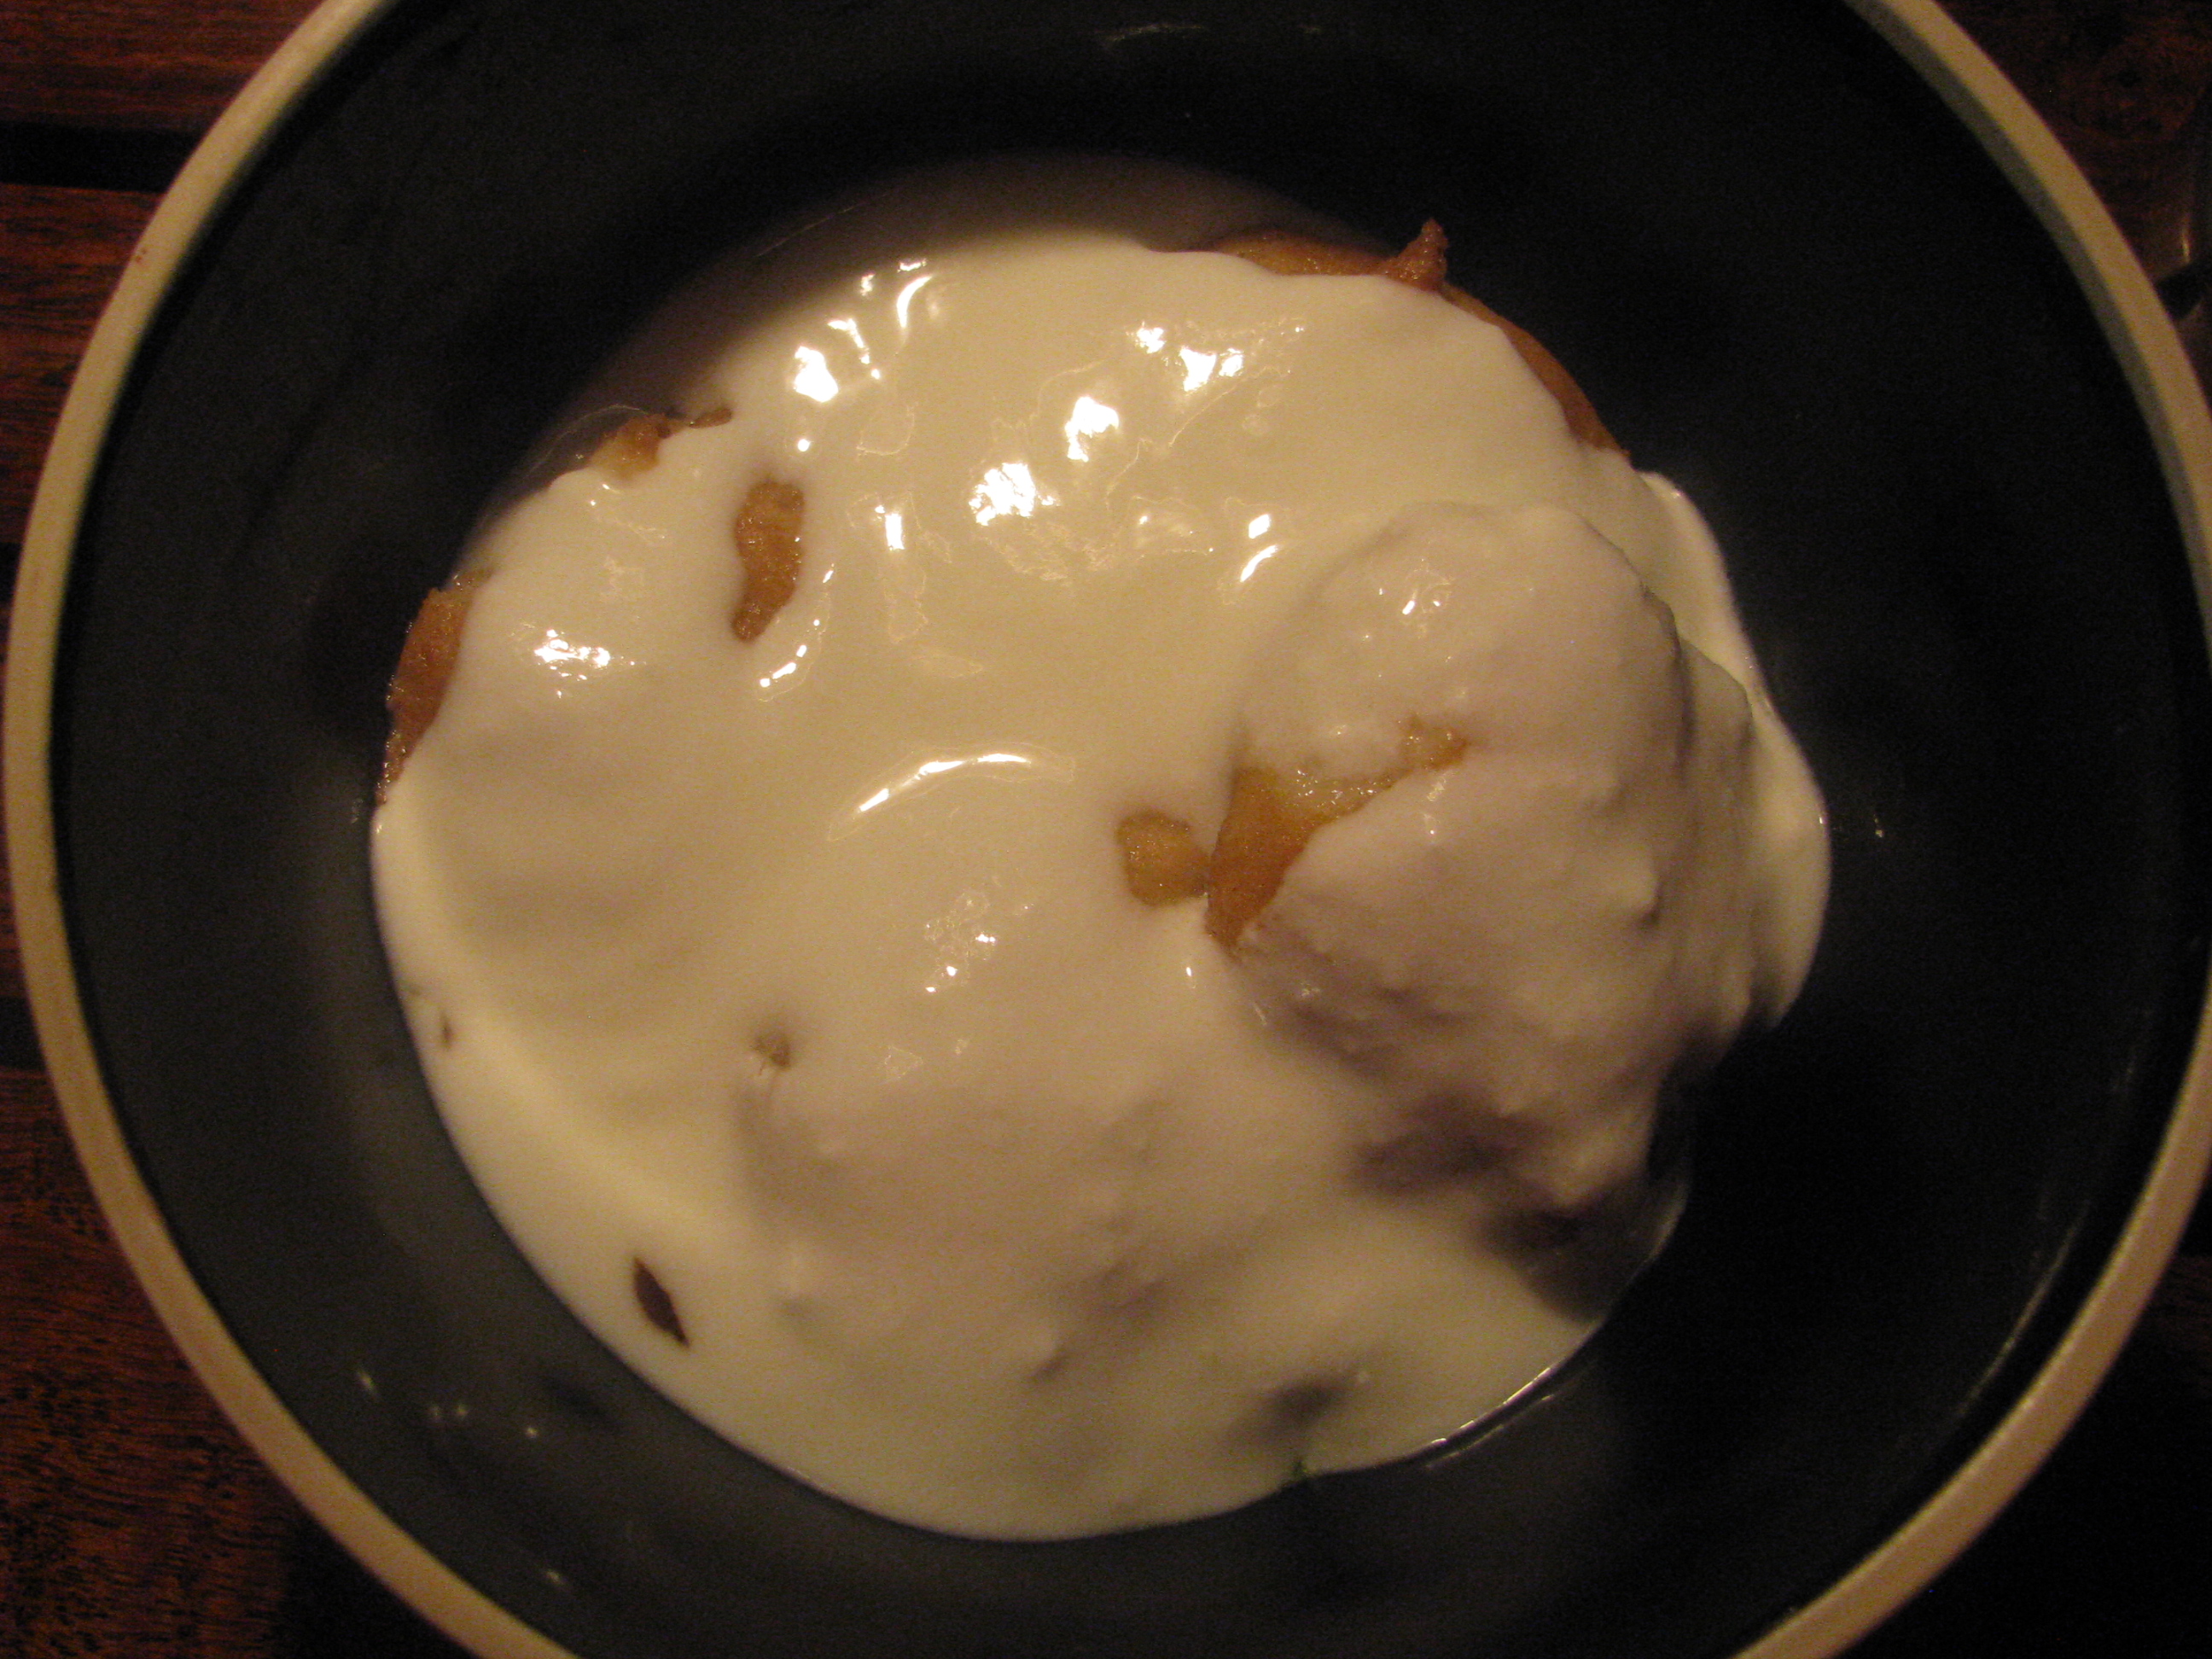
Pour curd on Vadas.
Drop little green chutney and tamarind chutney (saunth chutney)on it .
Sprinkle chat masala and kashmiri mirch powder on Dahi Vada. There is no need to add other masala or spices as chat masala contains all the spices which will make your Dahi Vada chatpata .
chatpate dahi bade
[/directions]
Nutrition Facts
Home Made – Dahi Vada – Daal Vada and Curd With Spices and Chutneys
Calories
131
Sodium
82 mg
Total Fat
0 g
Potassium
— mg
Saturated
0 g
Total Carbs
22 g
Polyunsaturated
0 g
Dietary Fiber
12 g
Monounsaturated
0 g
Sugars
2 g
Trans
0 g
Protein
11 g
Cholesterol
0 mg
Vitamin A
2%
Calcium
2%
Vitamin C
4%
Iron
19%
*Percent Daily Values are based on a 2000 calorie diet. Your daily values may be higher or lower depending on your calorie needs.
Now question is Dahi vada healthy?? Yes if you are not overeating, 1-2 medium size dahi vada and at the same time eat other stuff less when you are eating it. Urad dal and moong dal are rich in proteins but dont overeat any dal .We Soak vada in hot water and remove all excess oil from it, this makes dahi vada soft but at the the same time it decreases the calories from it.
Notes for cutting calories from Dahi Vada and making it little more healthy
Use fresh curd to make your Dahi wadas .
I cut calories from my Dahi Vada in many ways. As you’re soaking the Vadas in hot water or butter milk lots of oil will be removed from this chat recipe.
Add Jagerry in place of sugar in curd preperation to make it more healthy .
To make dahi vada more nutritious make it with moong chilka and urad chilka dal , there is a slight difference in taste but it contains more fibers .
To cut more calories use low fat yoghurt / curd / Dahi to make your Dahi Vadas.
I m going to try Dahi Vada in appam patra / Paniyarakkal , to make it roasted and non fried Dahi Vada recipe.
If you want to make Dahi Vadas in winter and want to make homemade curd quickly read-
Pav Bhaji is easy to cook recipe when we don’t have lot of time to cook and yet want to make something quick yet special on Saturday or Sunday. Kids love this recipe and there are lots of ways to make this Pav Bhaji healthy for them. In Mumbai and Pune lots of roadside food outlets serve Pav Bhaji , in my college days sometimes I had Pav Bhaji from this roadside vendors but there was always an issue of hygiene factor . When I come back home from my hostel, many times I cooked Pav Bhaji and everybody liked it . I always want the color of my Pav Bhaji to come red without adding any color and not making it very spicy and over the period of time I figure it out. I use kashmiri mirch powder, choose red tomatoes and follow some techniques while making Pav Bhaji masala of onion tomatoes . I have explained step by step method of making Pav Bhaji . This Pav Bhaji tastes really good and reminds me the Pav Bhaji of juhu chaupatti .
You can make Pav Bhaji masala at home but the issue is with ingredients. In maharashtra I use to get all the Pav Bhaji masala spices easily. But whenever masala is not available, I use Everest Pav Bhaji masala, it is available everywhere and tastes best. Use fresh masala and after you finish your work keep it in airtight container and refrigerate it. I have tried to make it healthy by not adding to much oil and serve it with healthy multigrain bread / whole wheat bread which contains lots of fibres . Pav Bhaji tastes best with multigrain bread and you won’t have the guilty feeling of eating fast food with lots of calories as your consuming fibers as well as used less oil. Enjoy this healthy Pav Bhaji without any guilt.
[ingredients title=”Ingredients required to make pav bhaji “]
4 medium size potatoes
4 medium size red tomatoes
3 medium size onions finely chopped
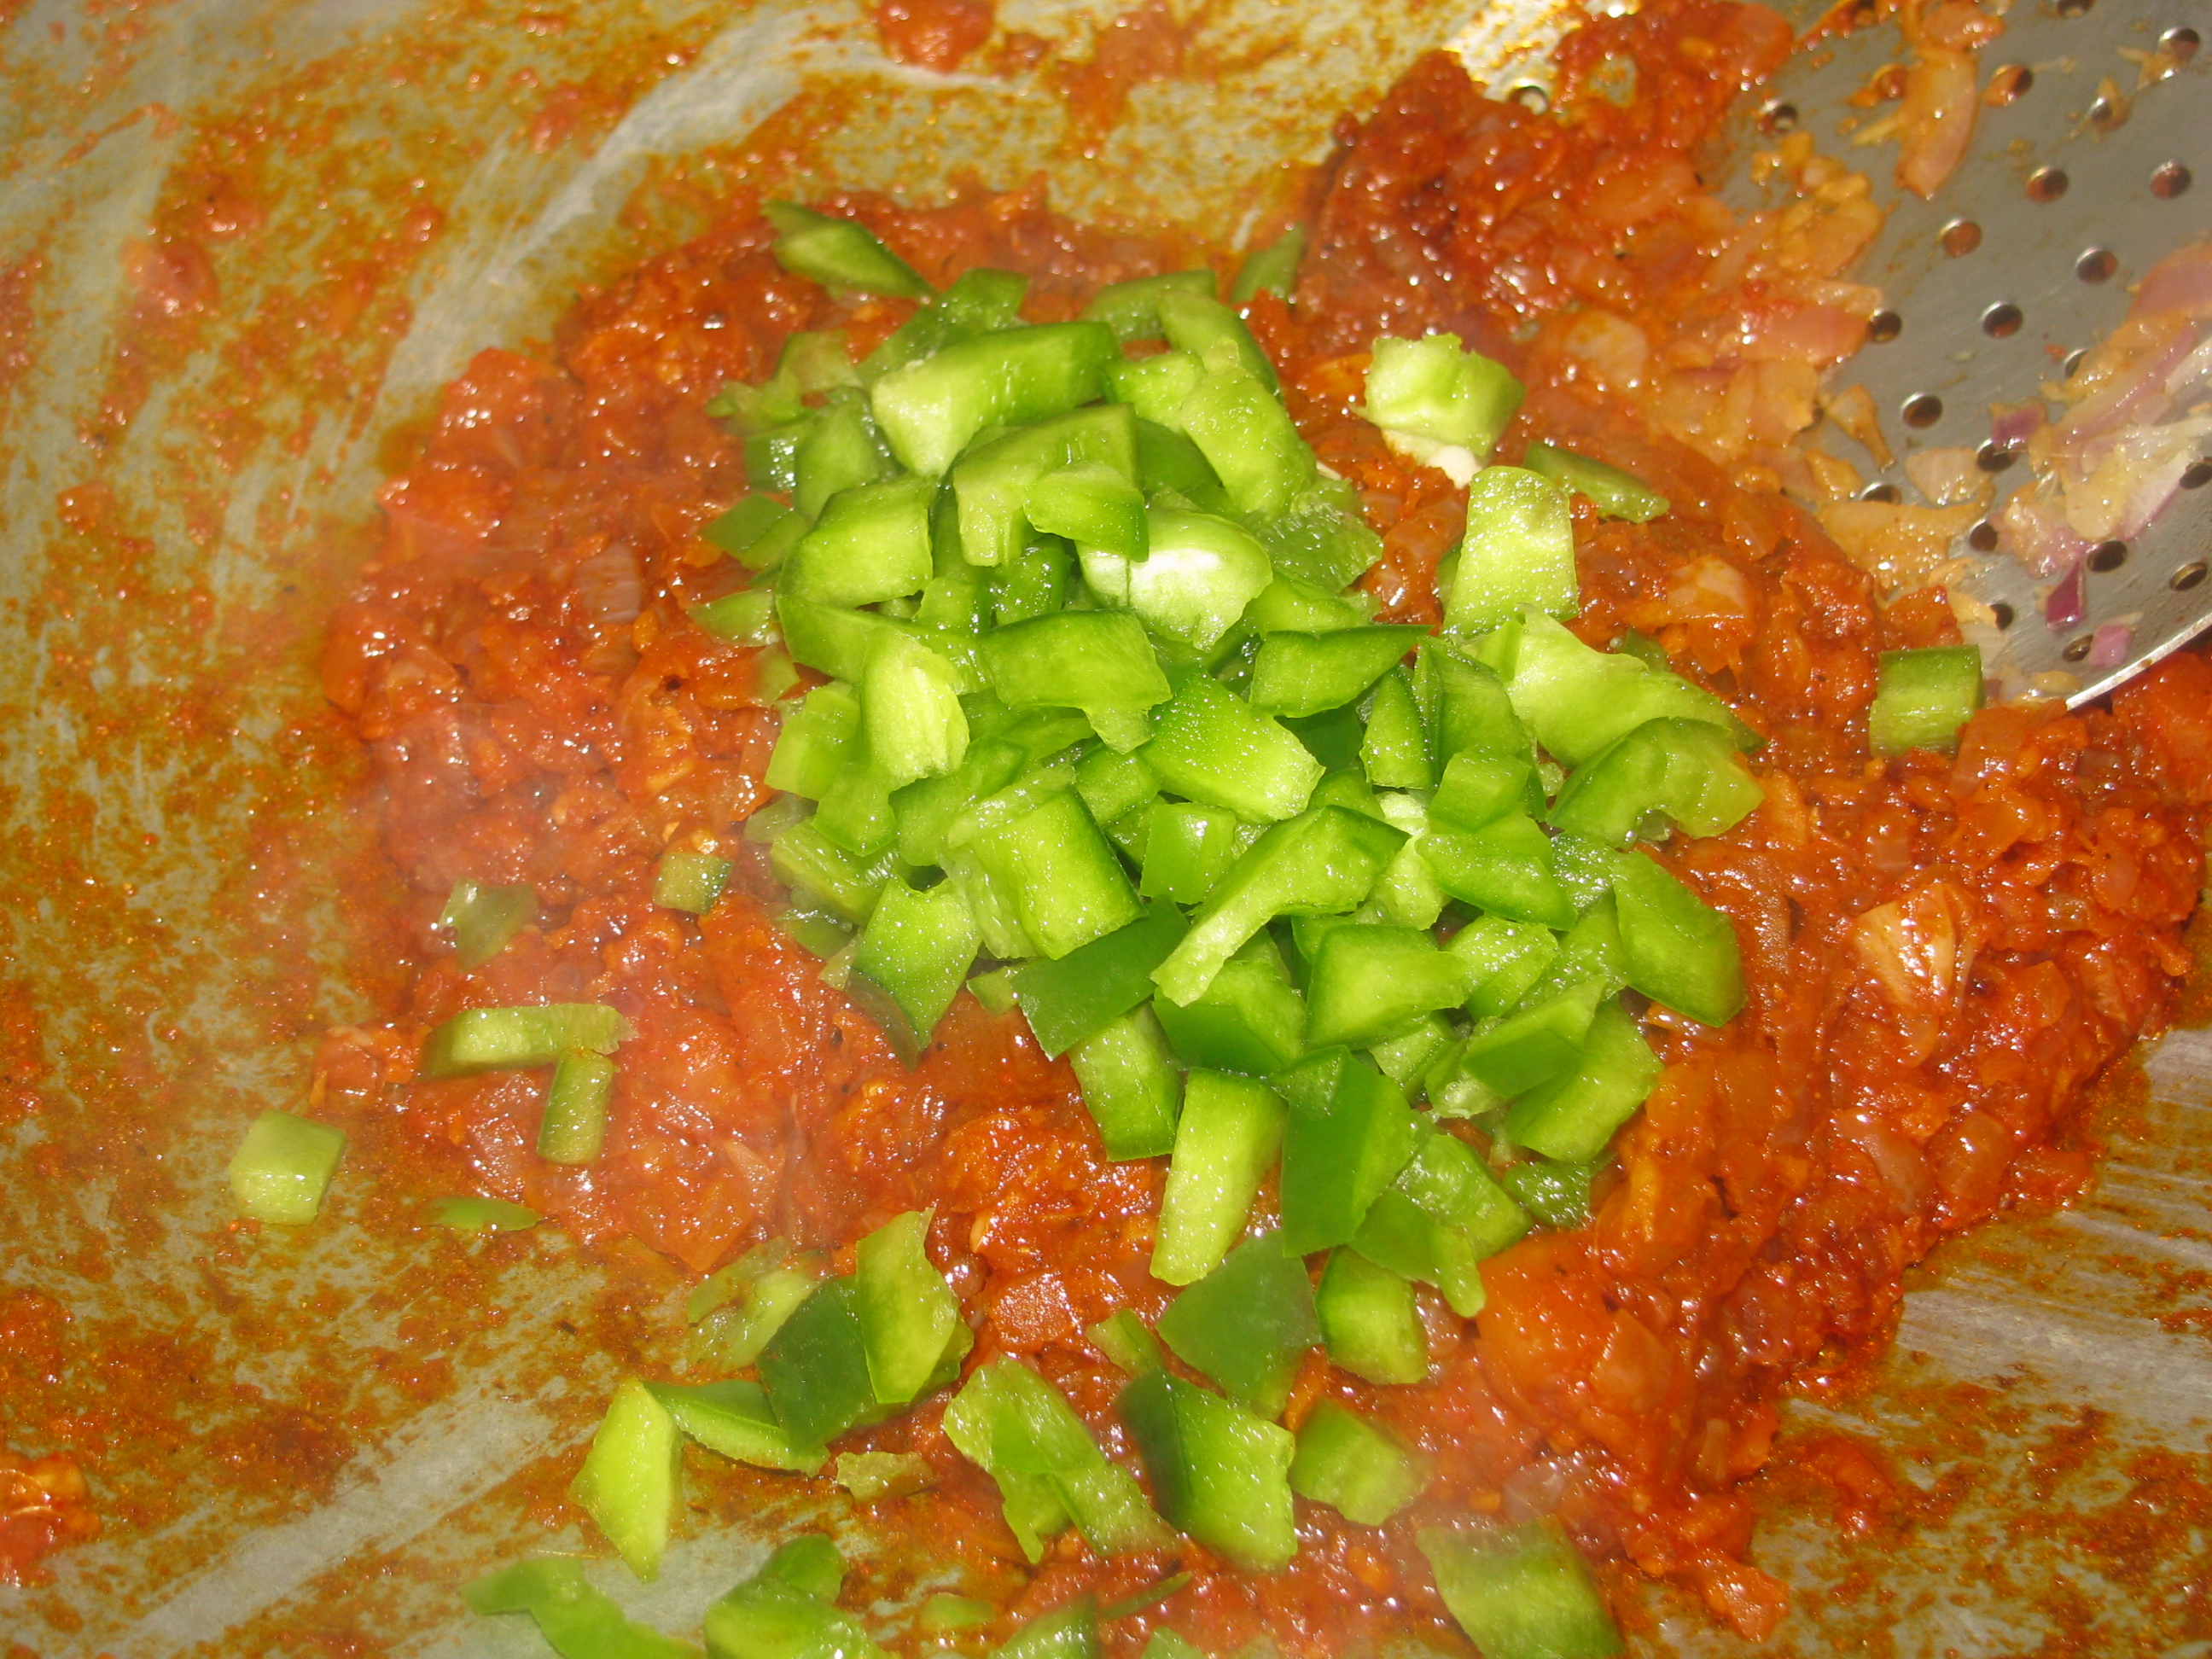
½ cup finely chopped capsicum
I 1 cup cauliflower florets (gobhi) / 1 cup finely chopped cabbage
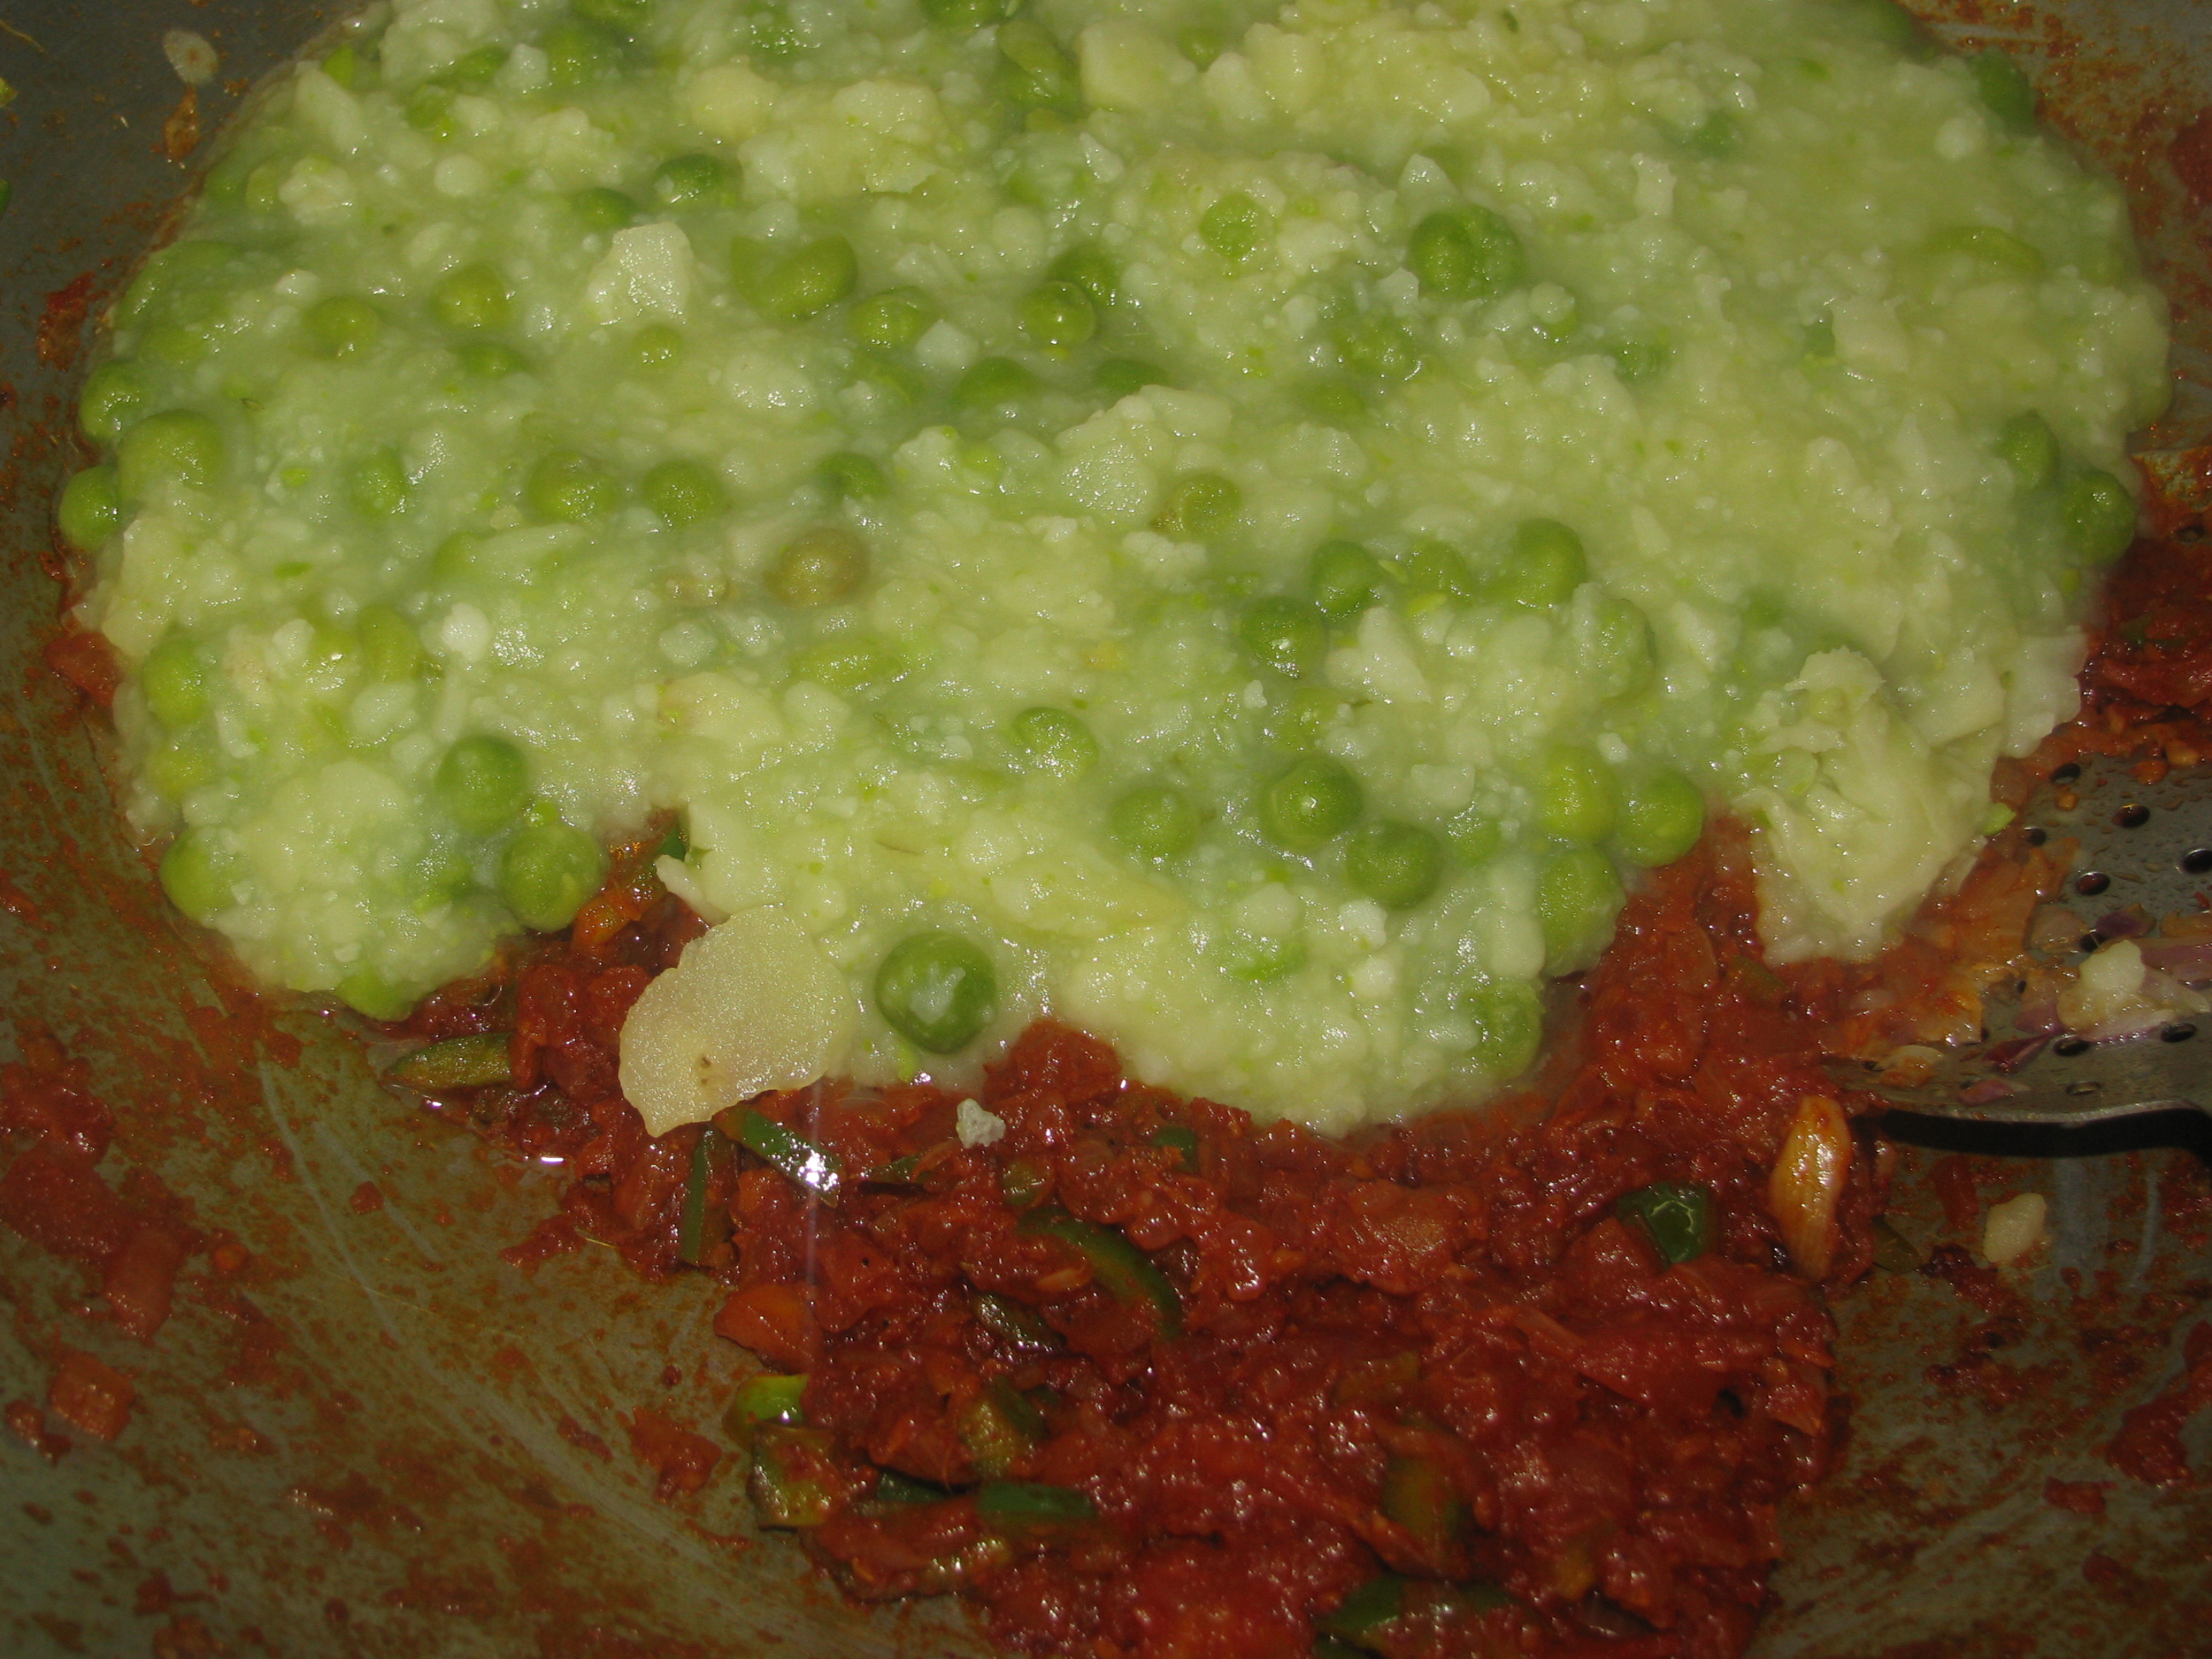
1 cup fresh green peas
1 inch ginger grated
10-12 garlic cloves grated
3 teaspoon kashmiri red chilly powder (everest kashmirilal)
3 teaspoon Pav Bhaji masala powder (everest pav bhaji masala)
2 tablespoon butter / oil
Salt to taste
For garnishing of pav bhaji
½ cup finely chopped coriander
Lemon wedges
Finely chopped onion
½ cup finely chopped capsicum
butter (optional)
[/ingredients] [directions title=”Step by Step Directions To Make Pav Bhaji At Home “]
Remove potatoes skin with peeler, wash it nicely and make cut each potato into 4 pieces .
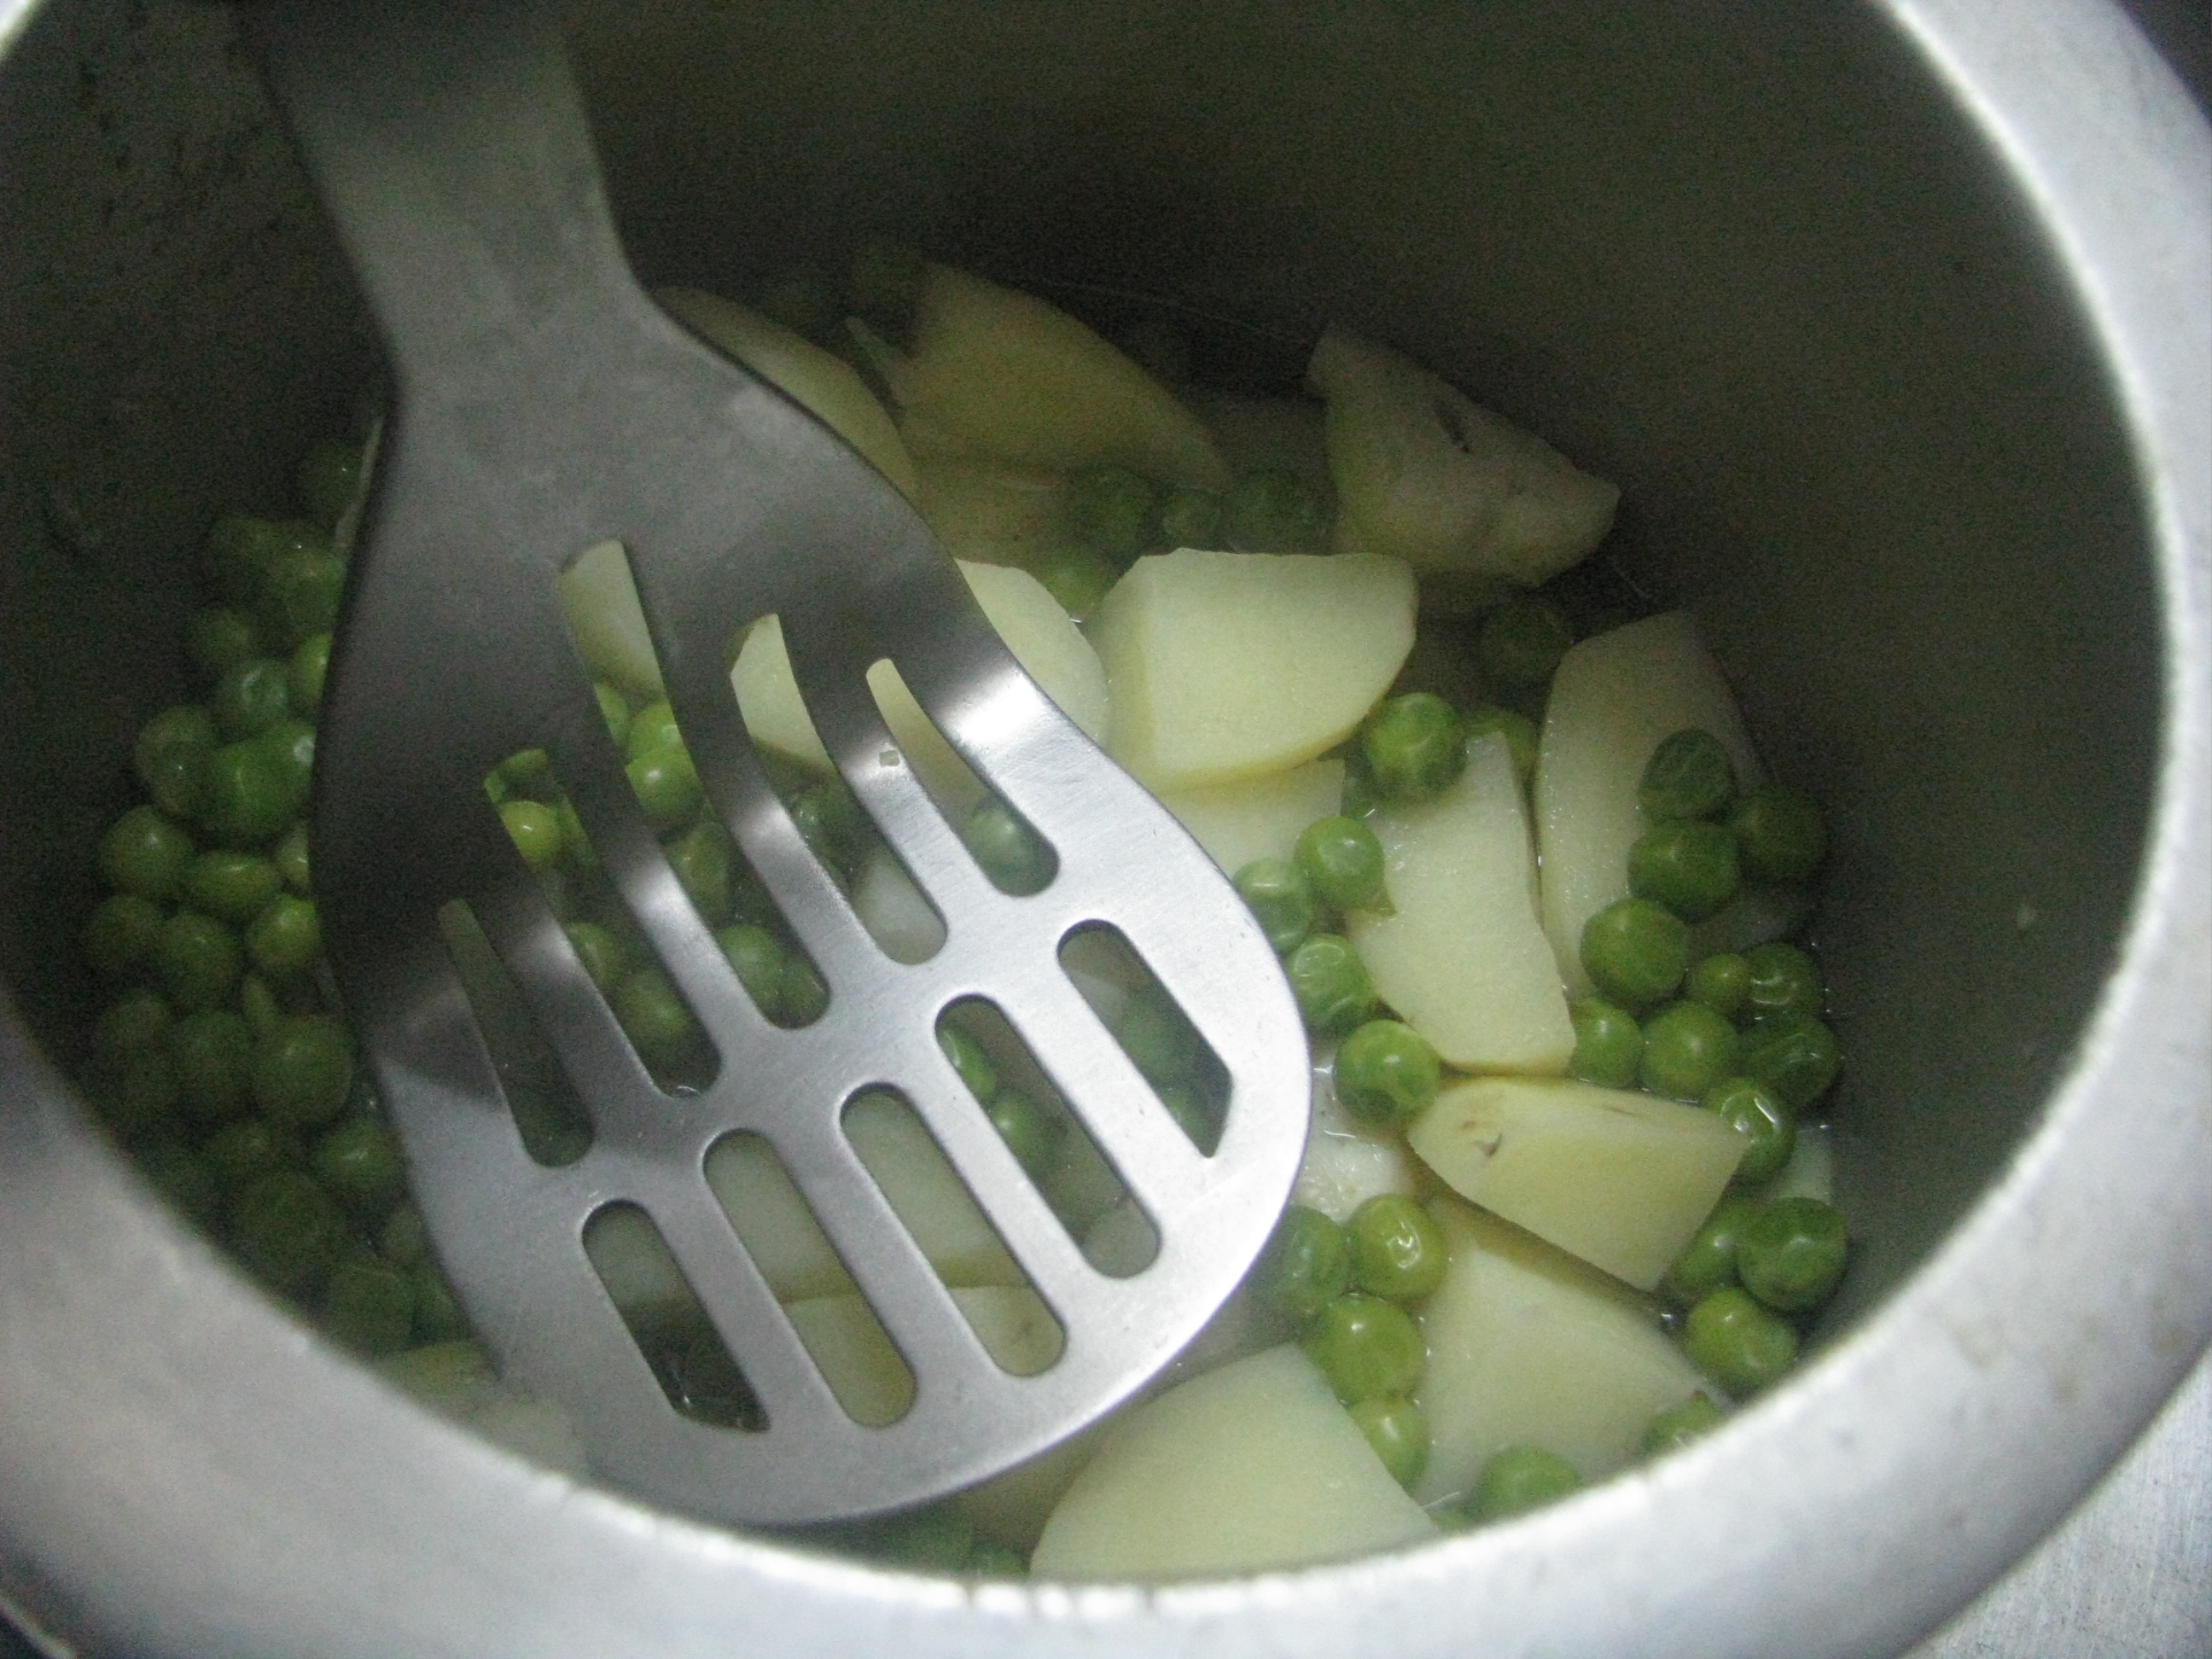
Take potato pieces, cauliflower florets, fresh green peas and with 1 cup of water cook it in pressure cooker for 10- 15 minutes.
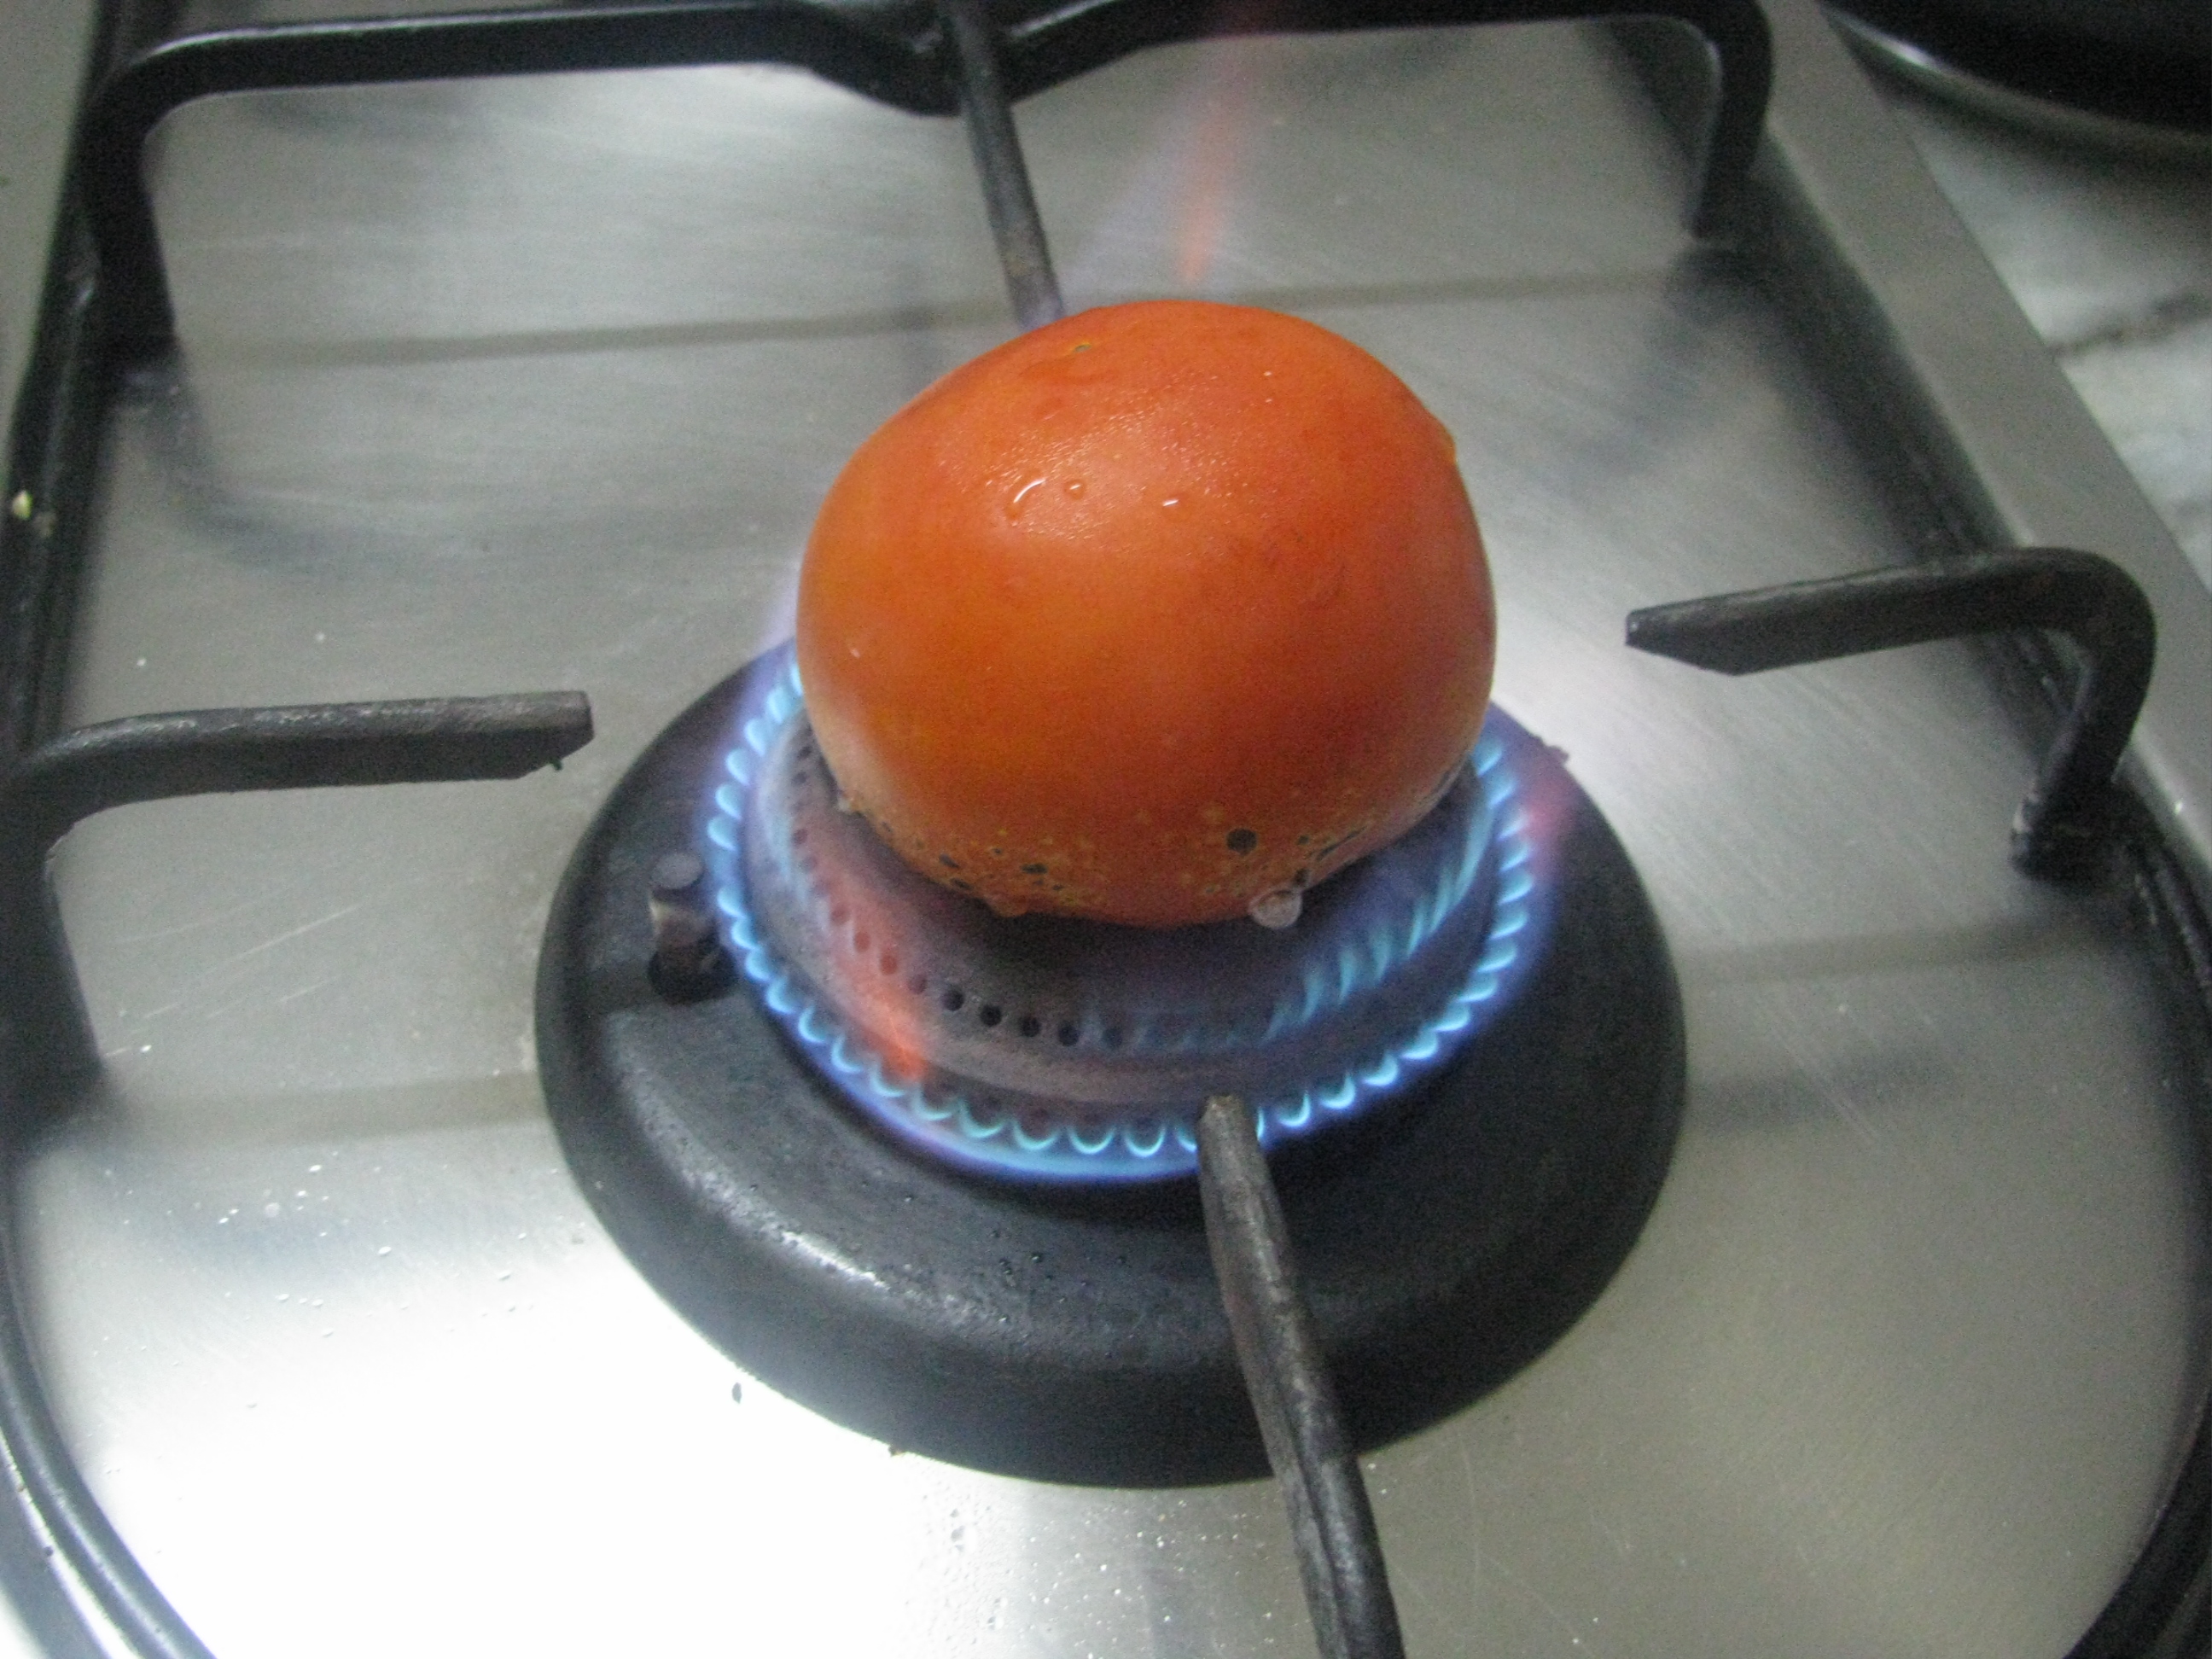
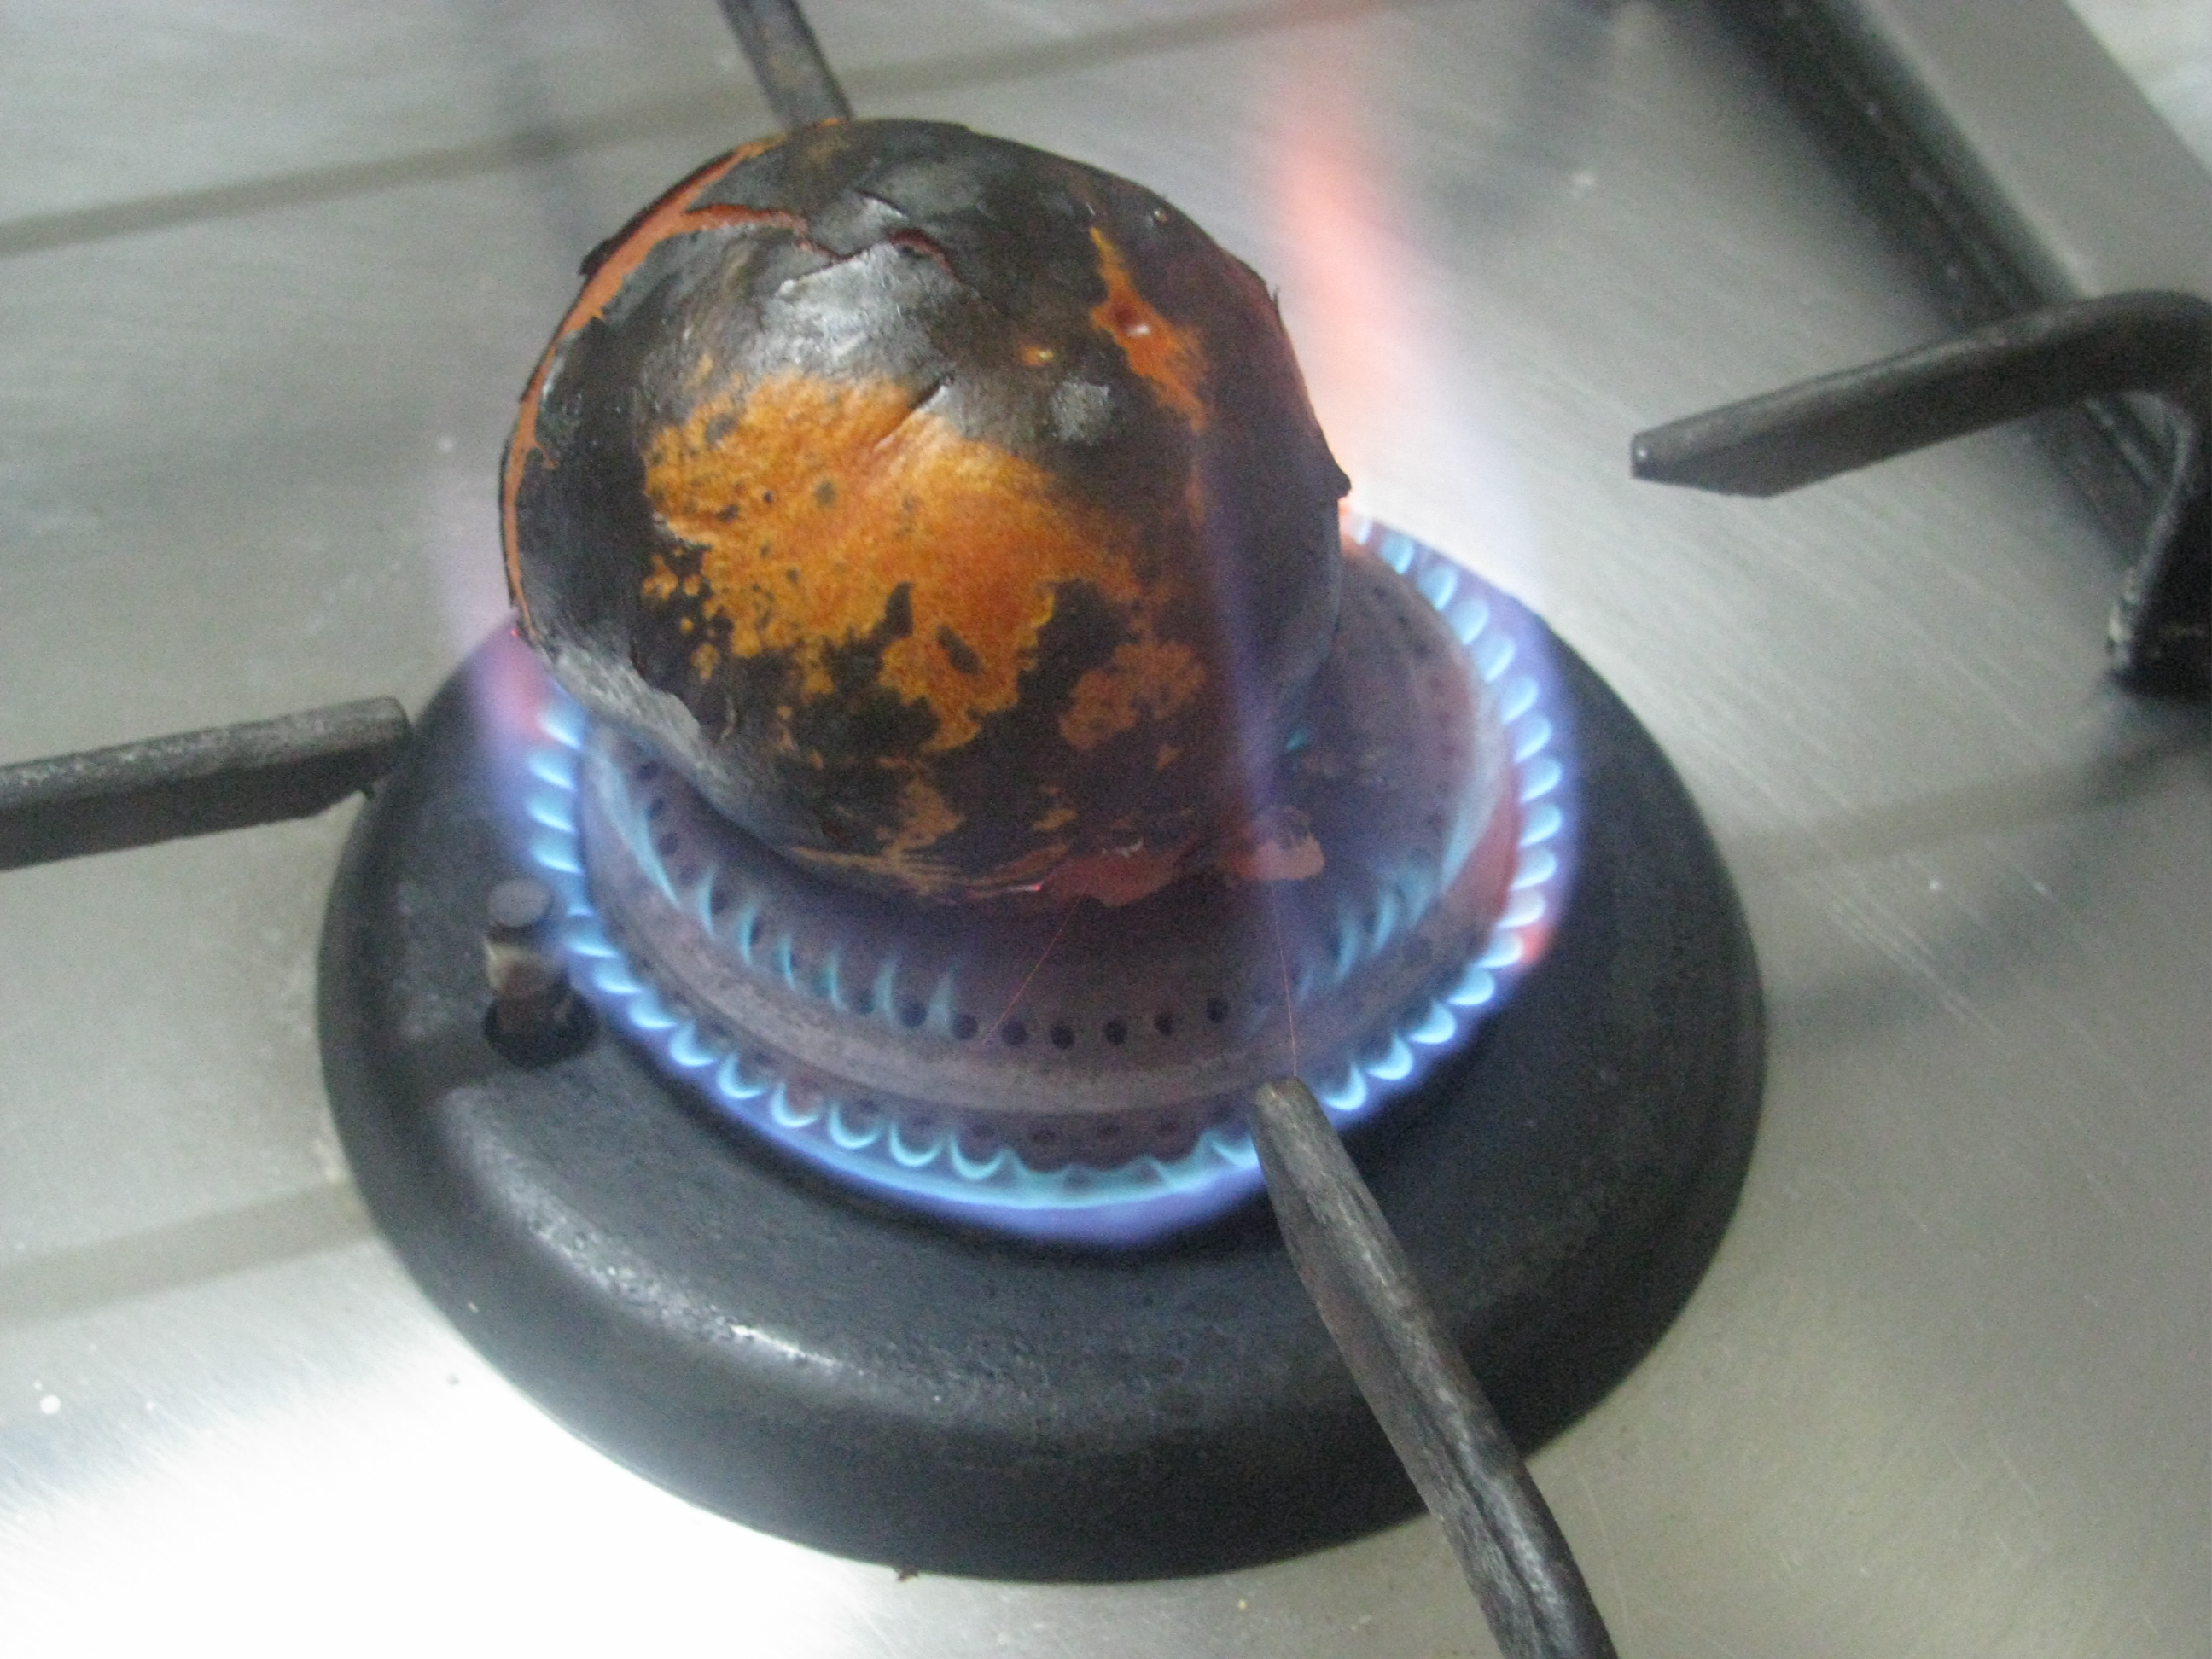
Blanch the tomatoes, I blanched my tomatoes by roasting it directly on flames and then removed it charred skin. Finely chop the blanched tomatoes. (Blanched tomatoes gives nice color to your Pav Bhaji )
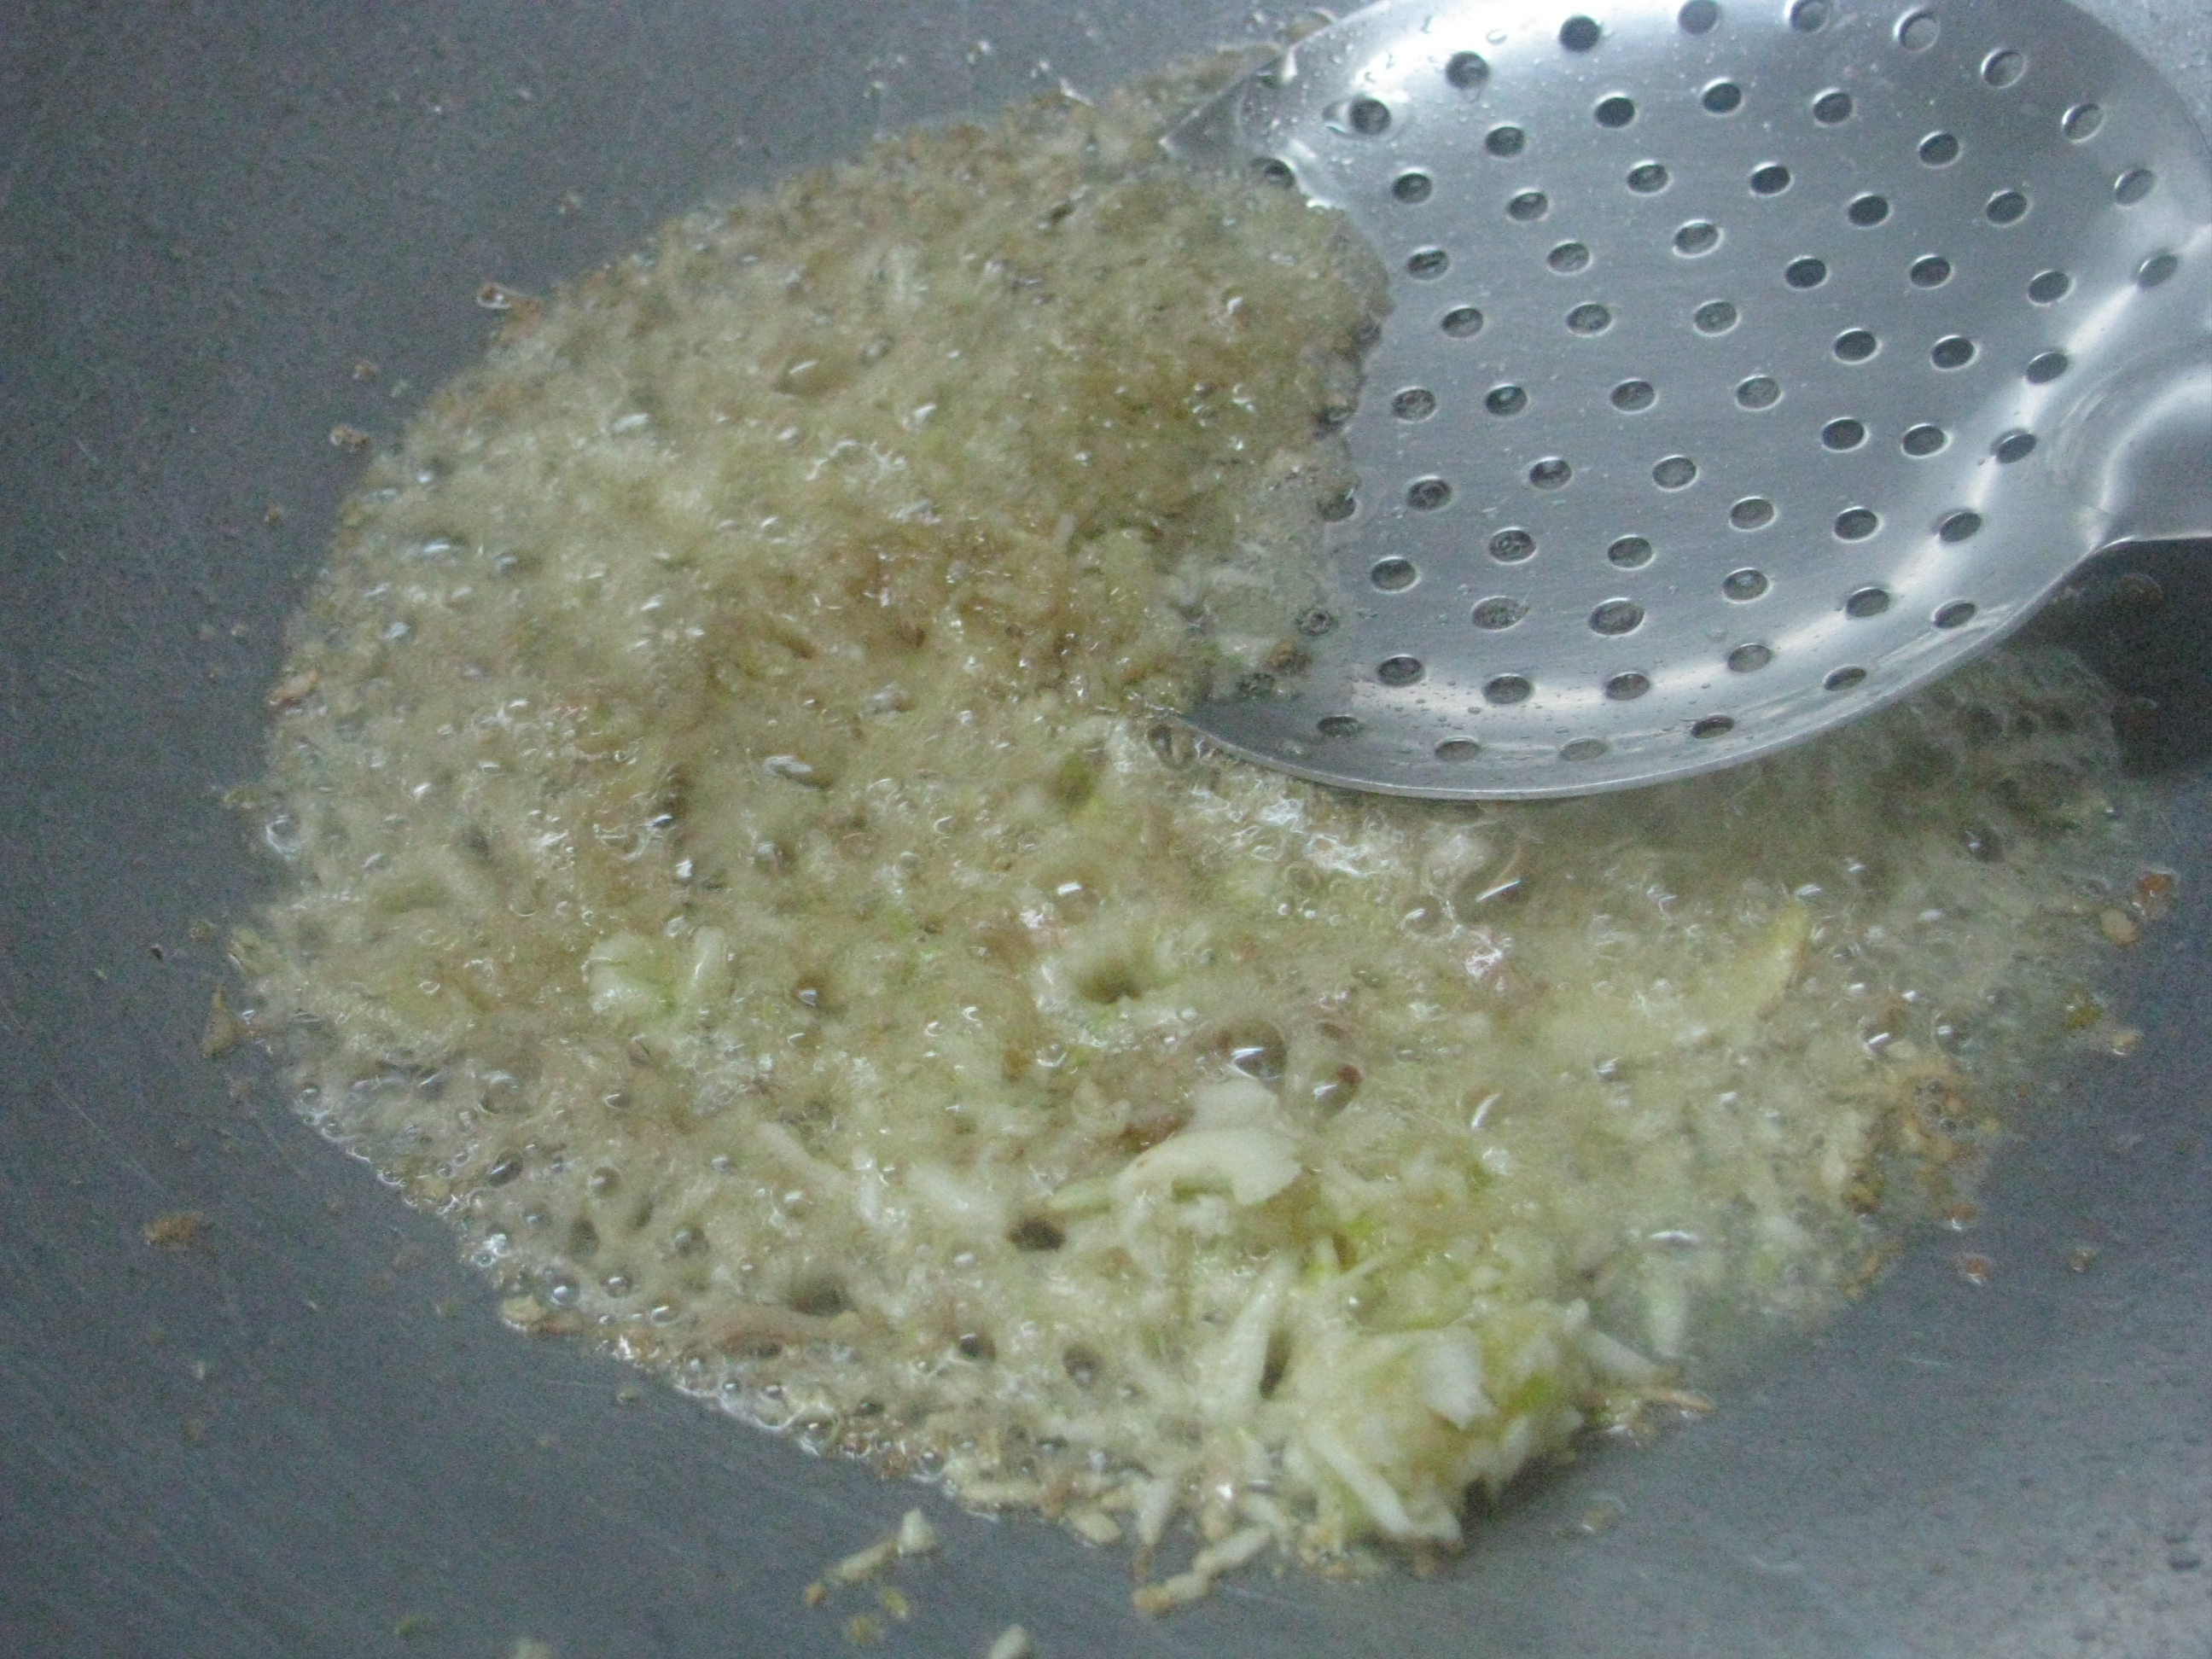
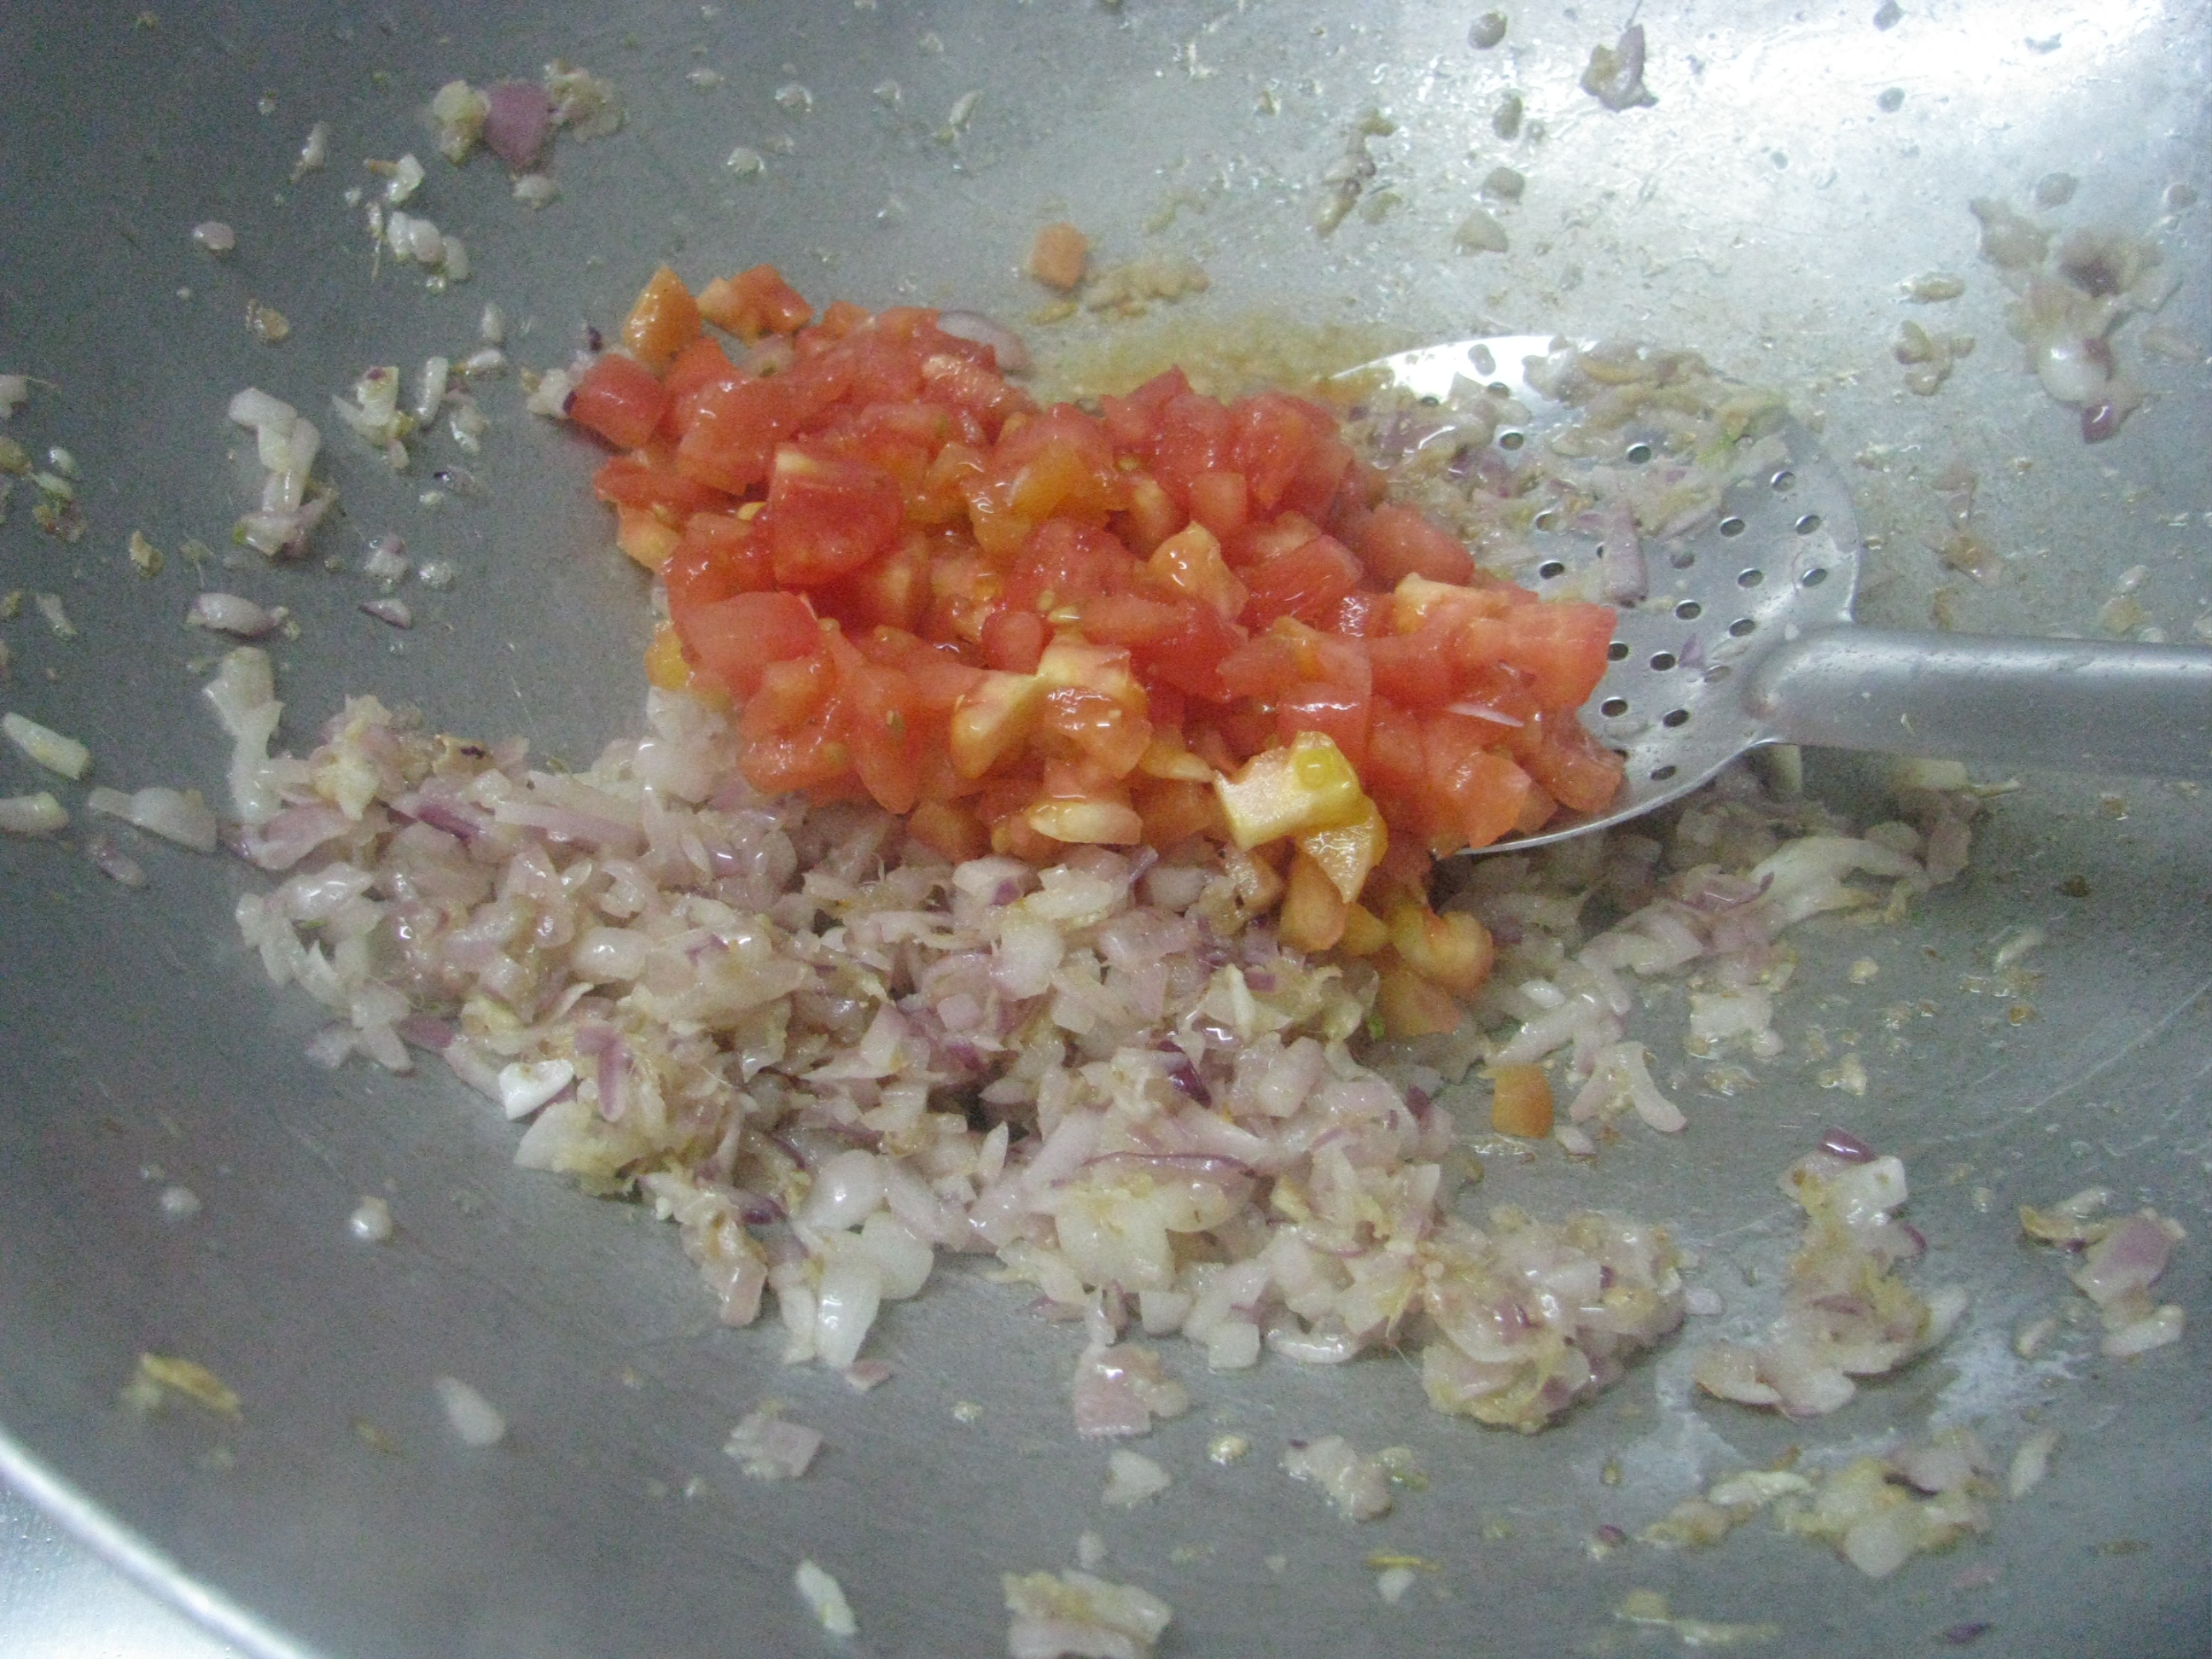
When the vegetables are cooking heat oil in a big pan or kadhai and add grated ginger garlic to it .sauté it for a while, now add finely chopped onion to it , saute onion until it becomes very soft don’t make it brown.
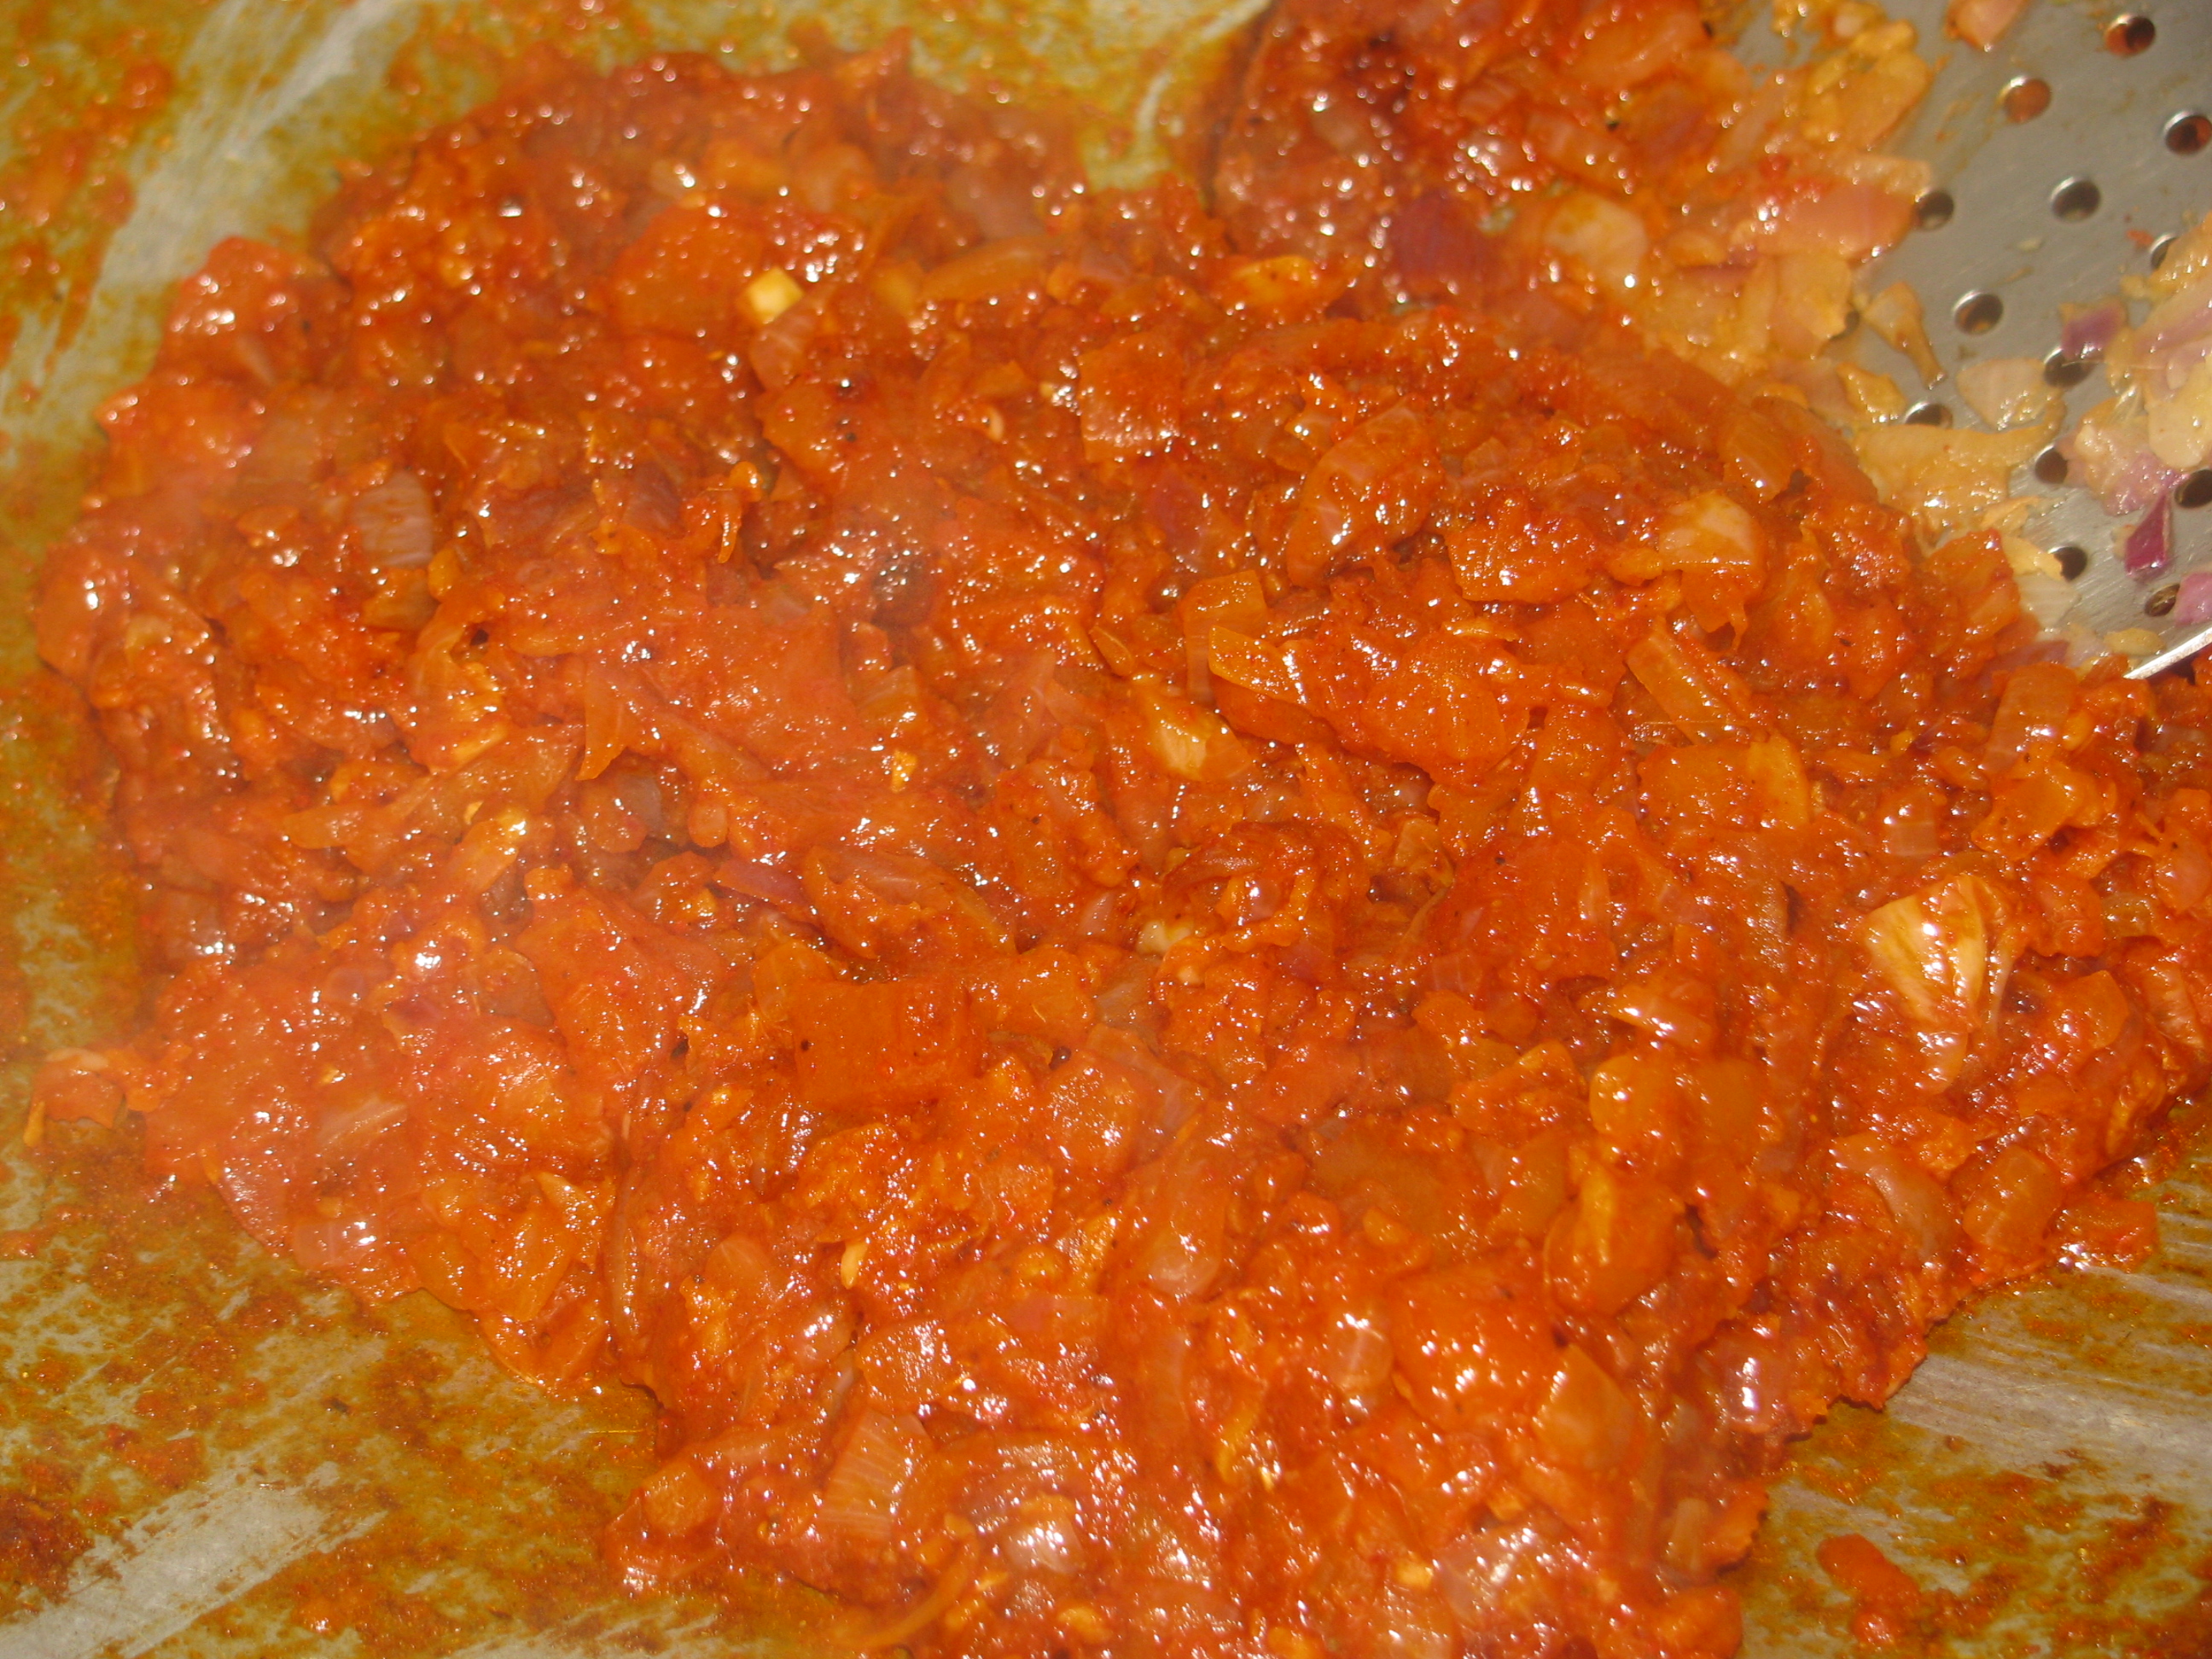
Now Add finely chopped blanched tomatoes in onion ginger garlic mixture and sauté it nicely until oil starts coming out of it .
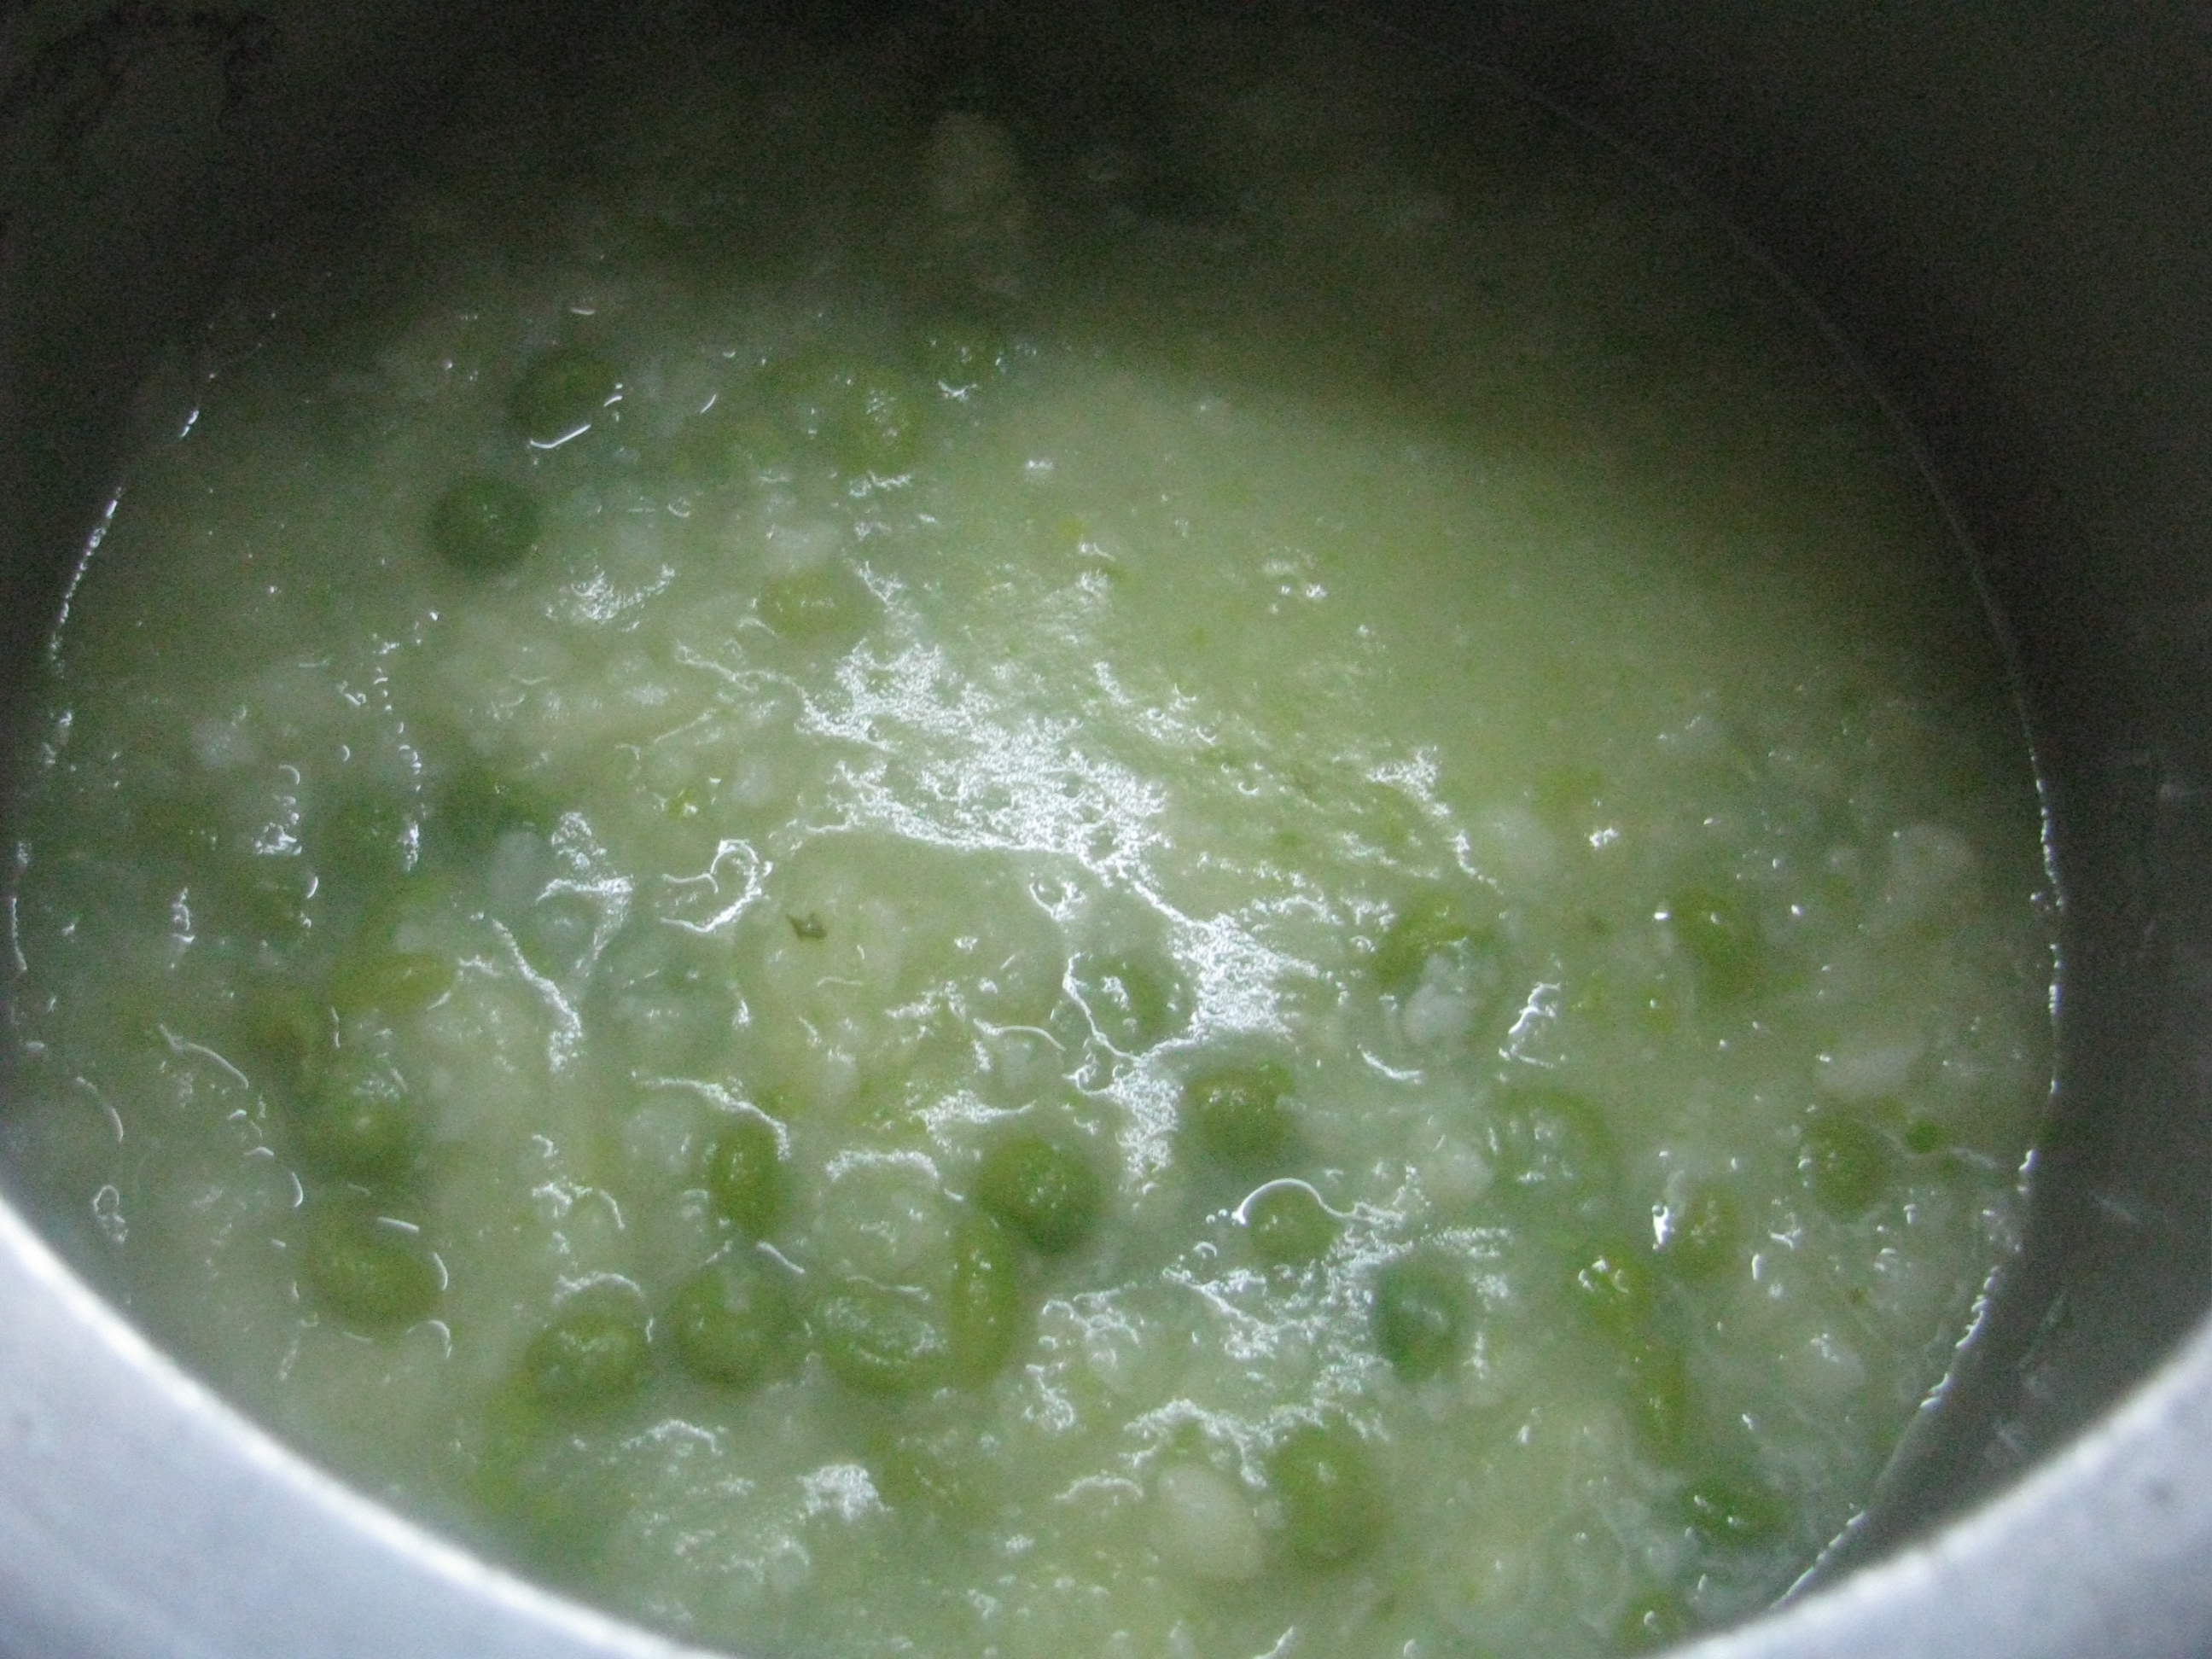
Smash cooked potatoes-cauliflower-green peas with potato smasher and keep it aside. Smash it when it’s hot.
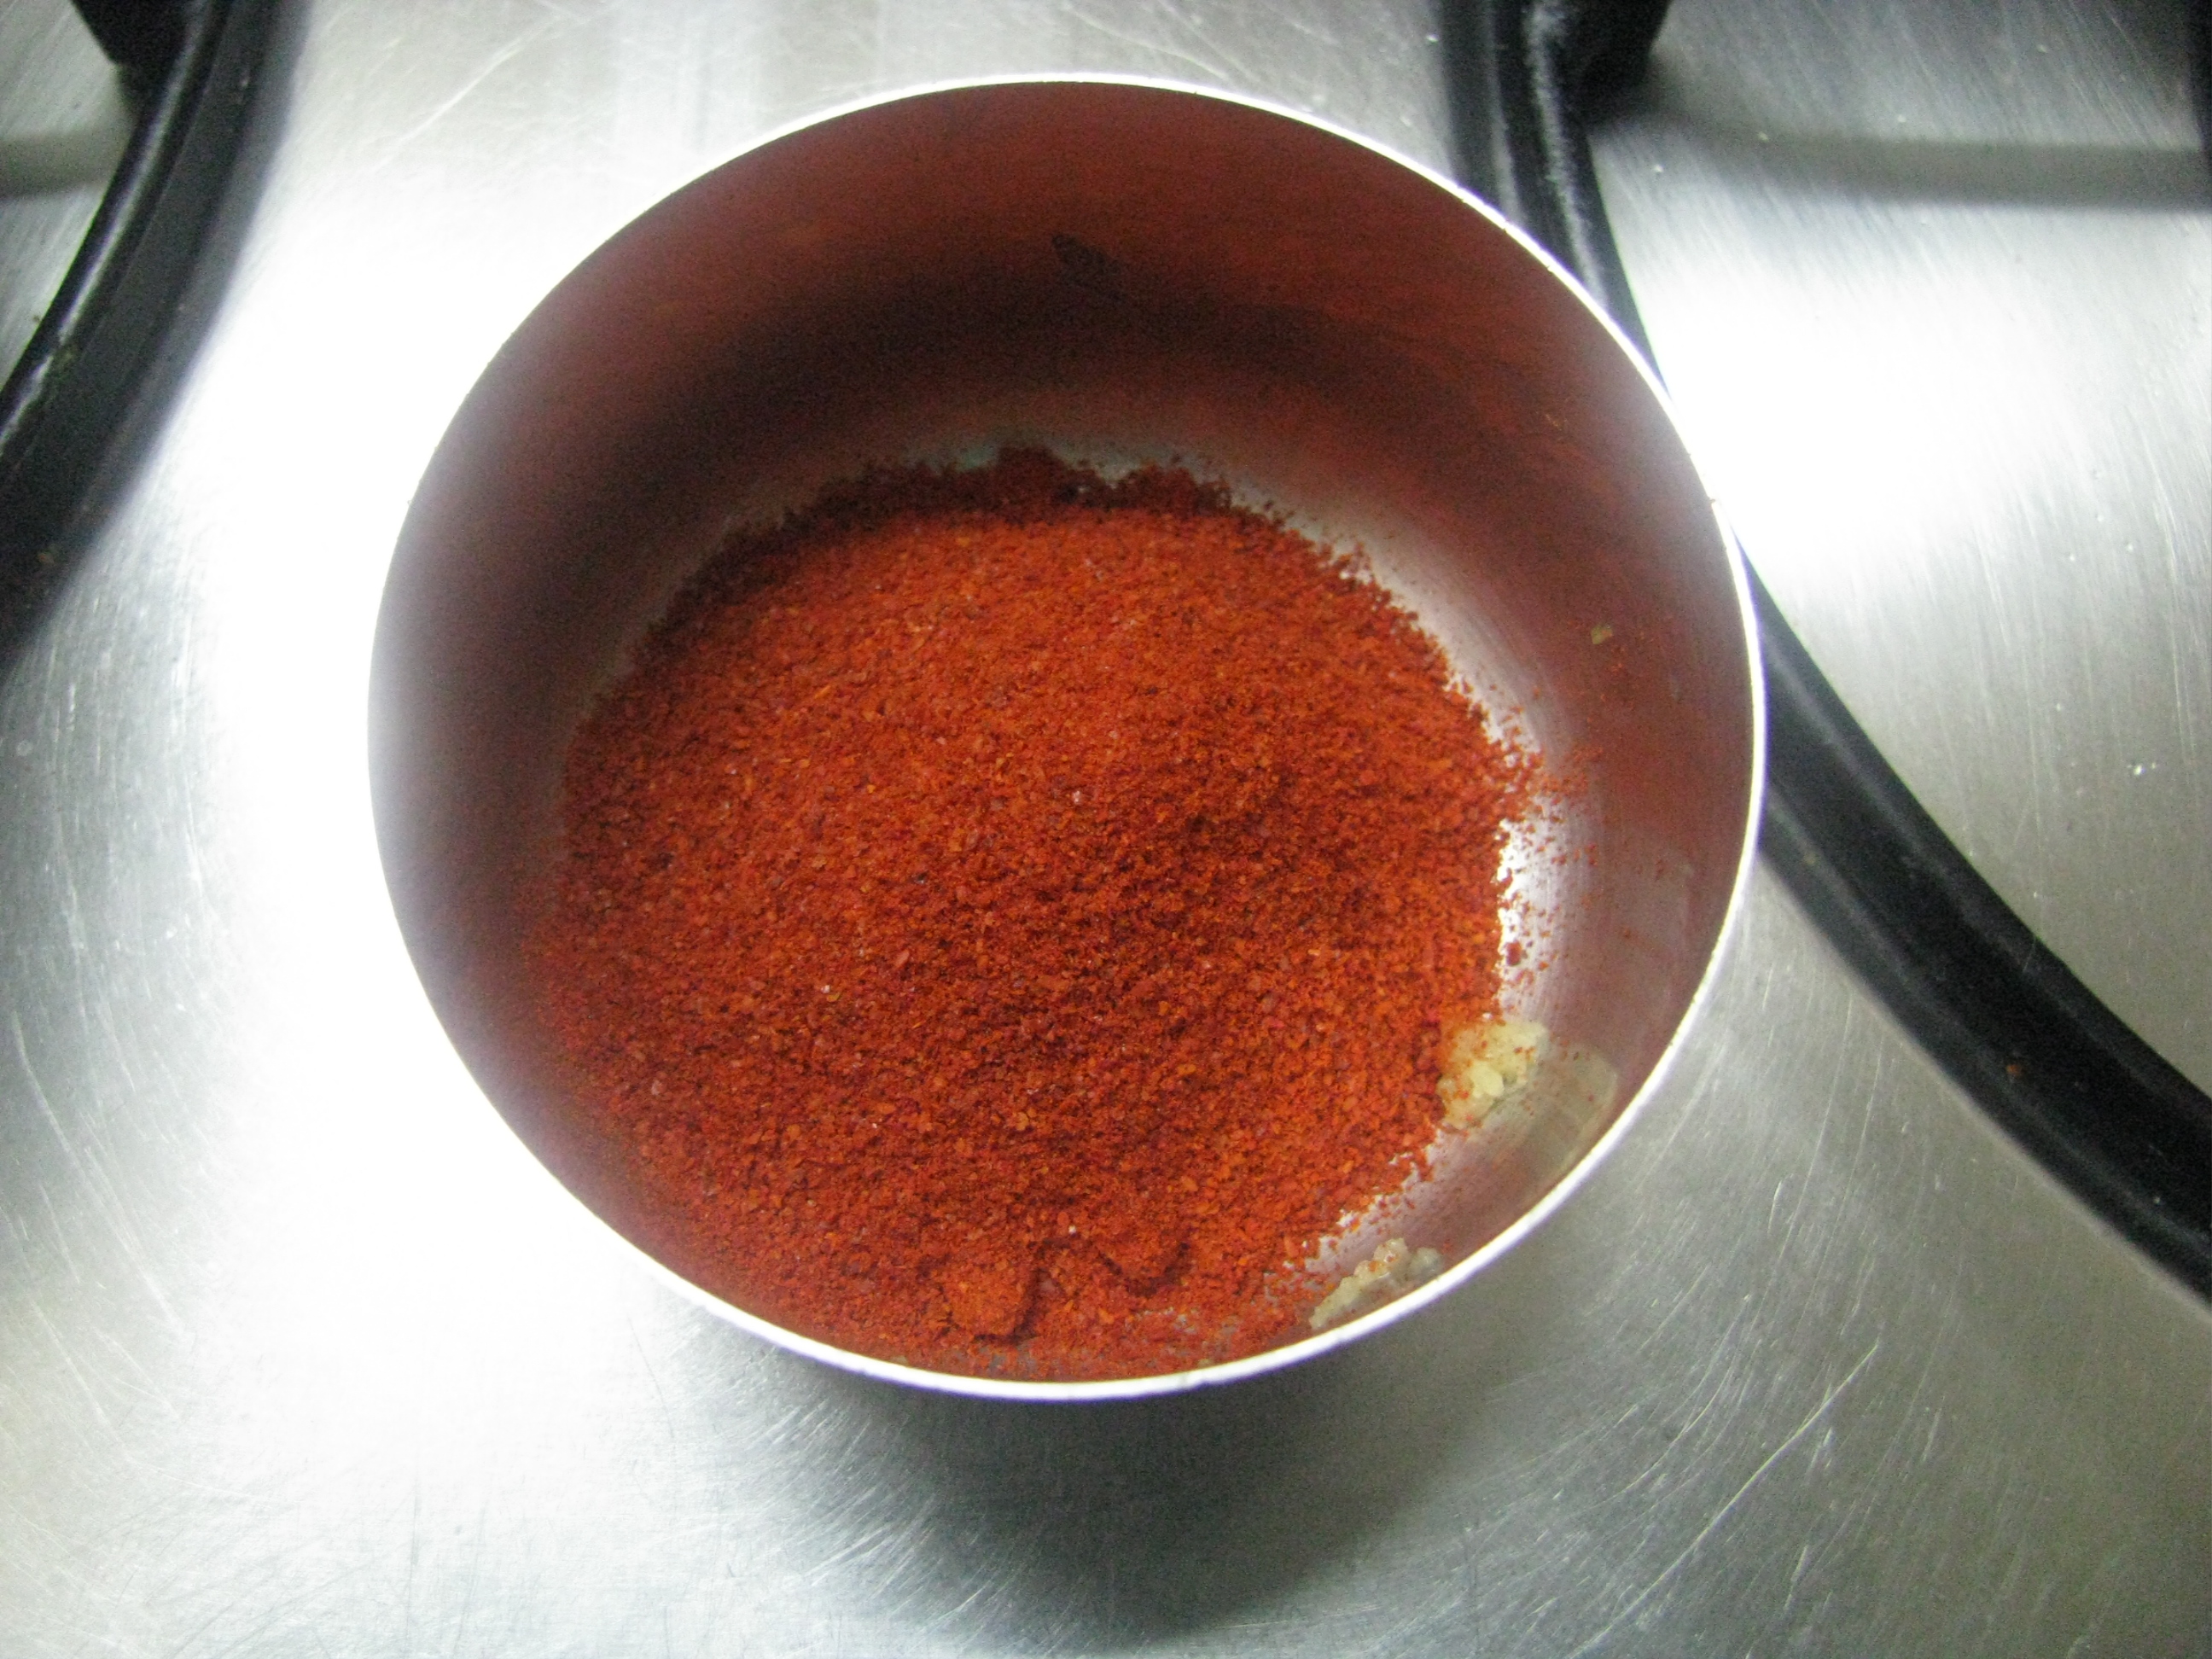
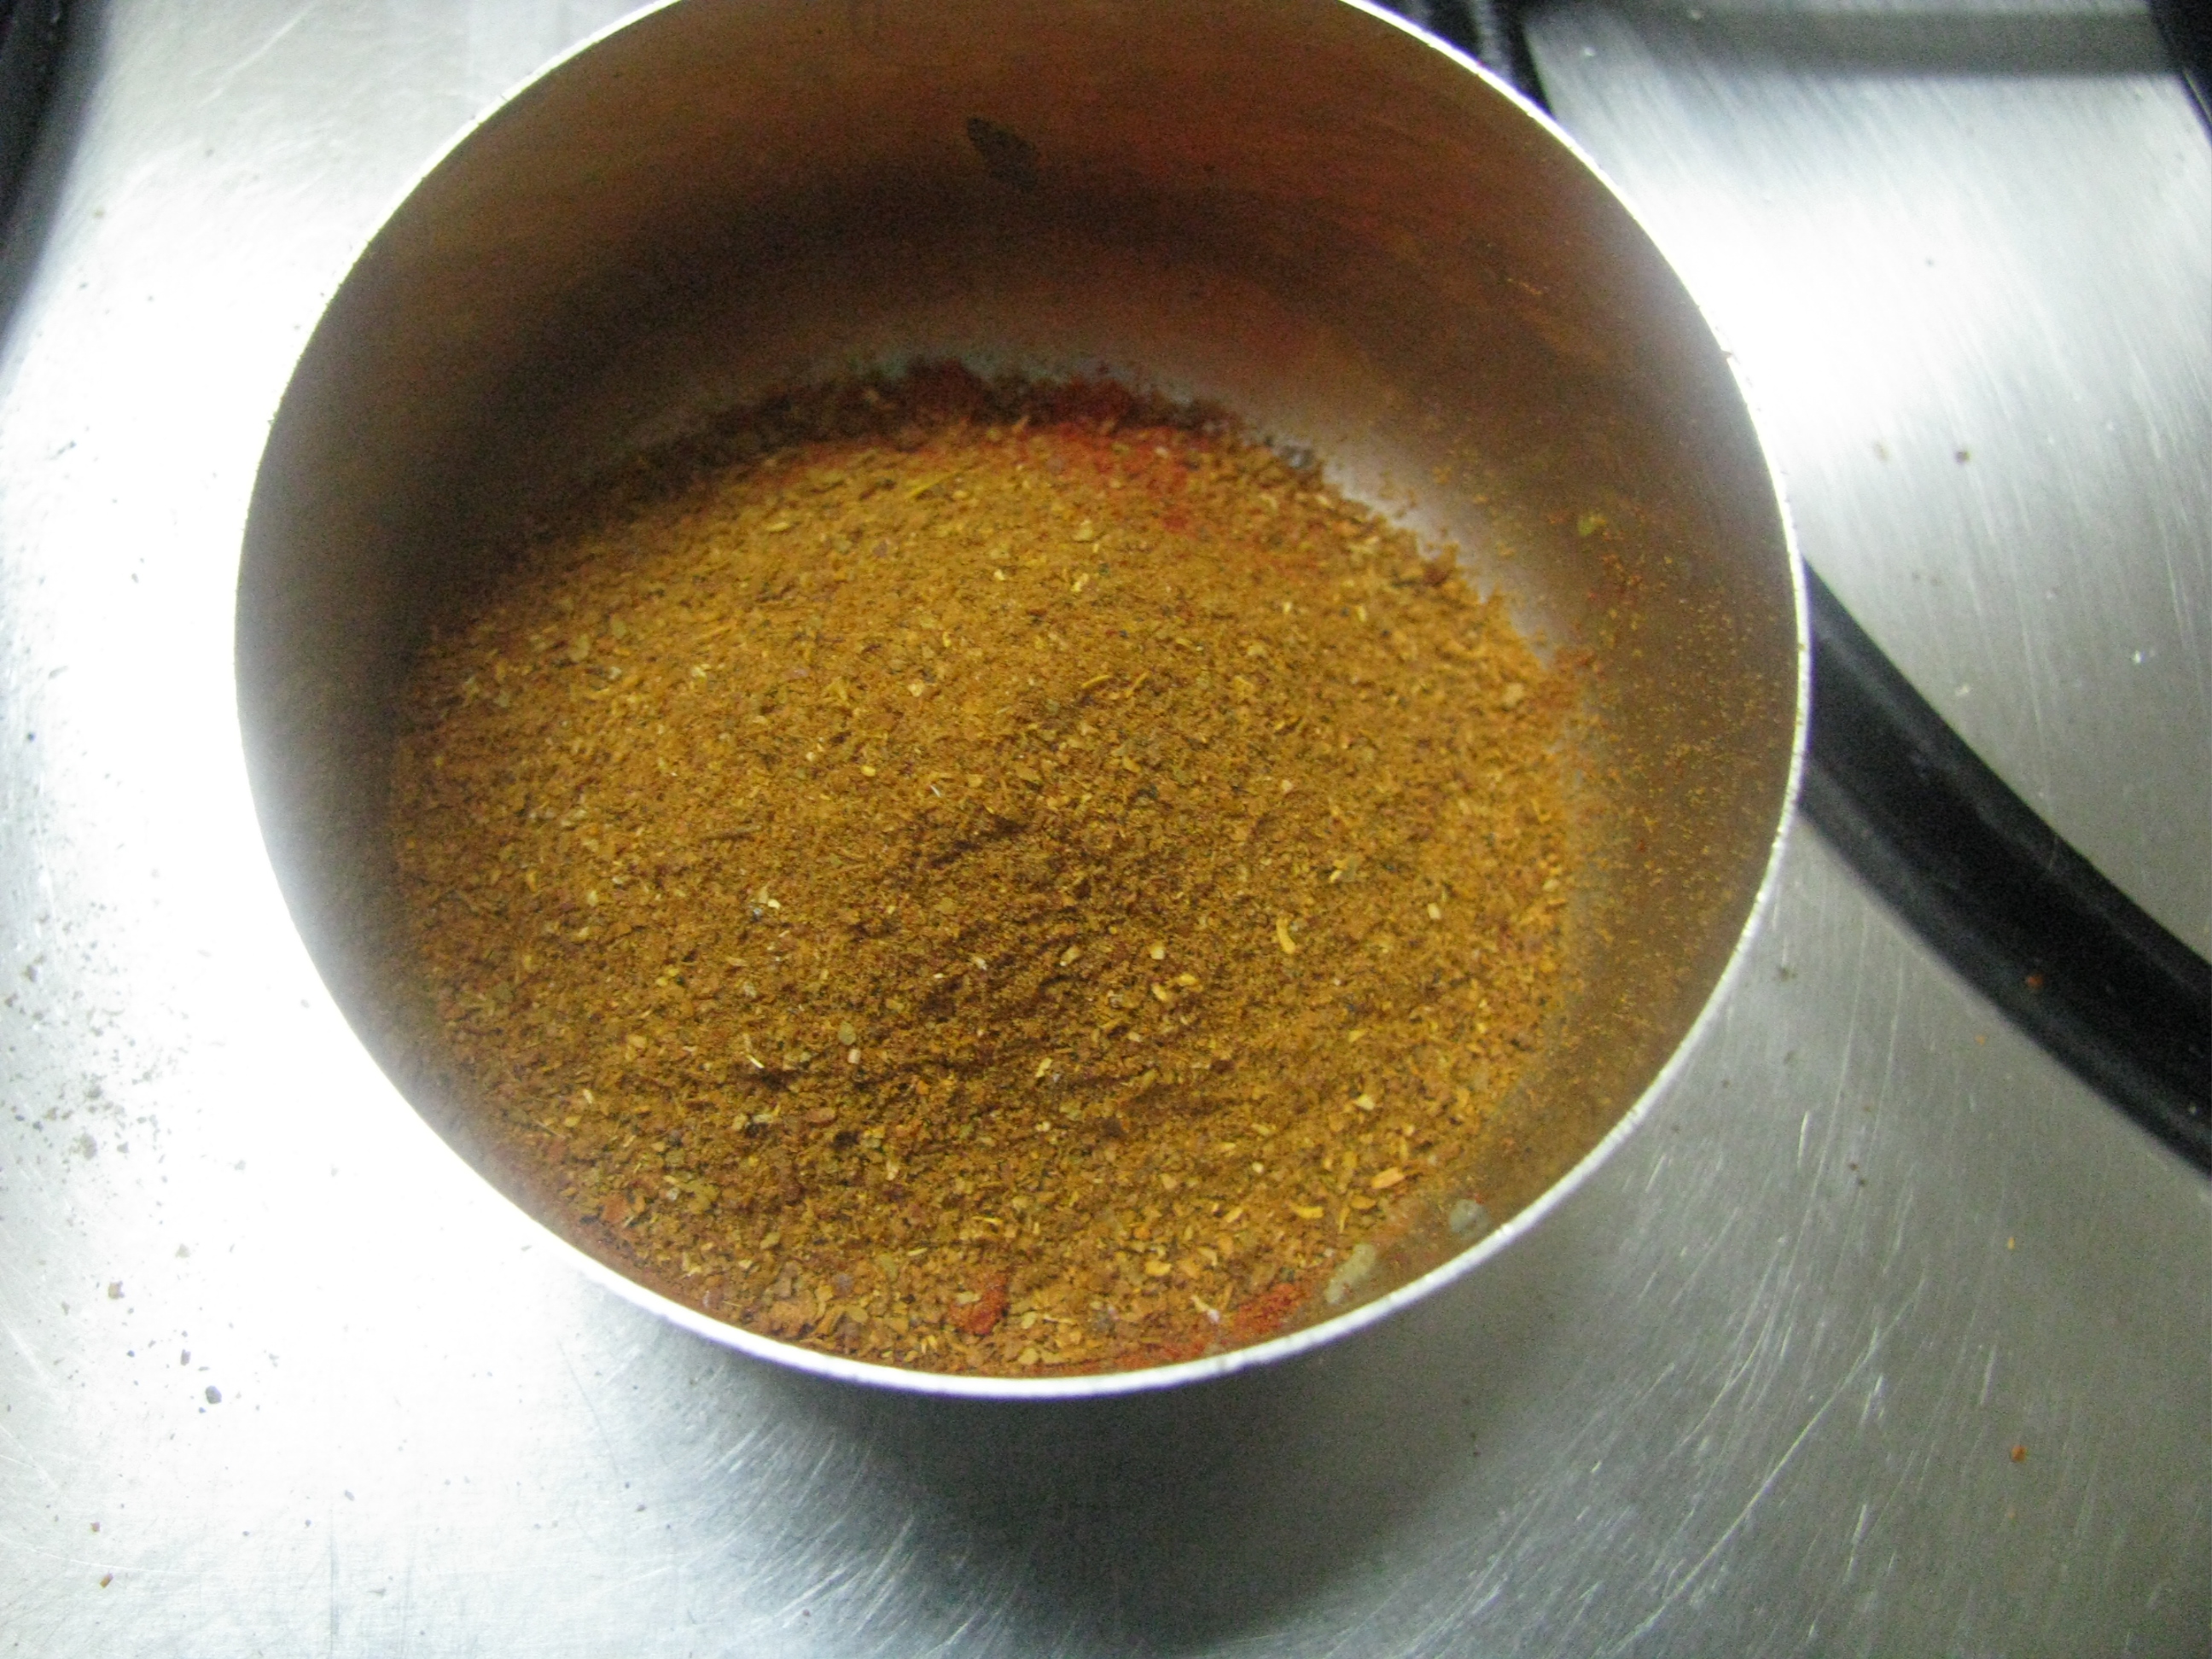
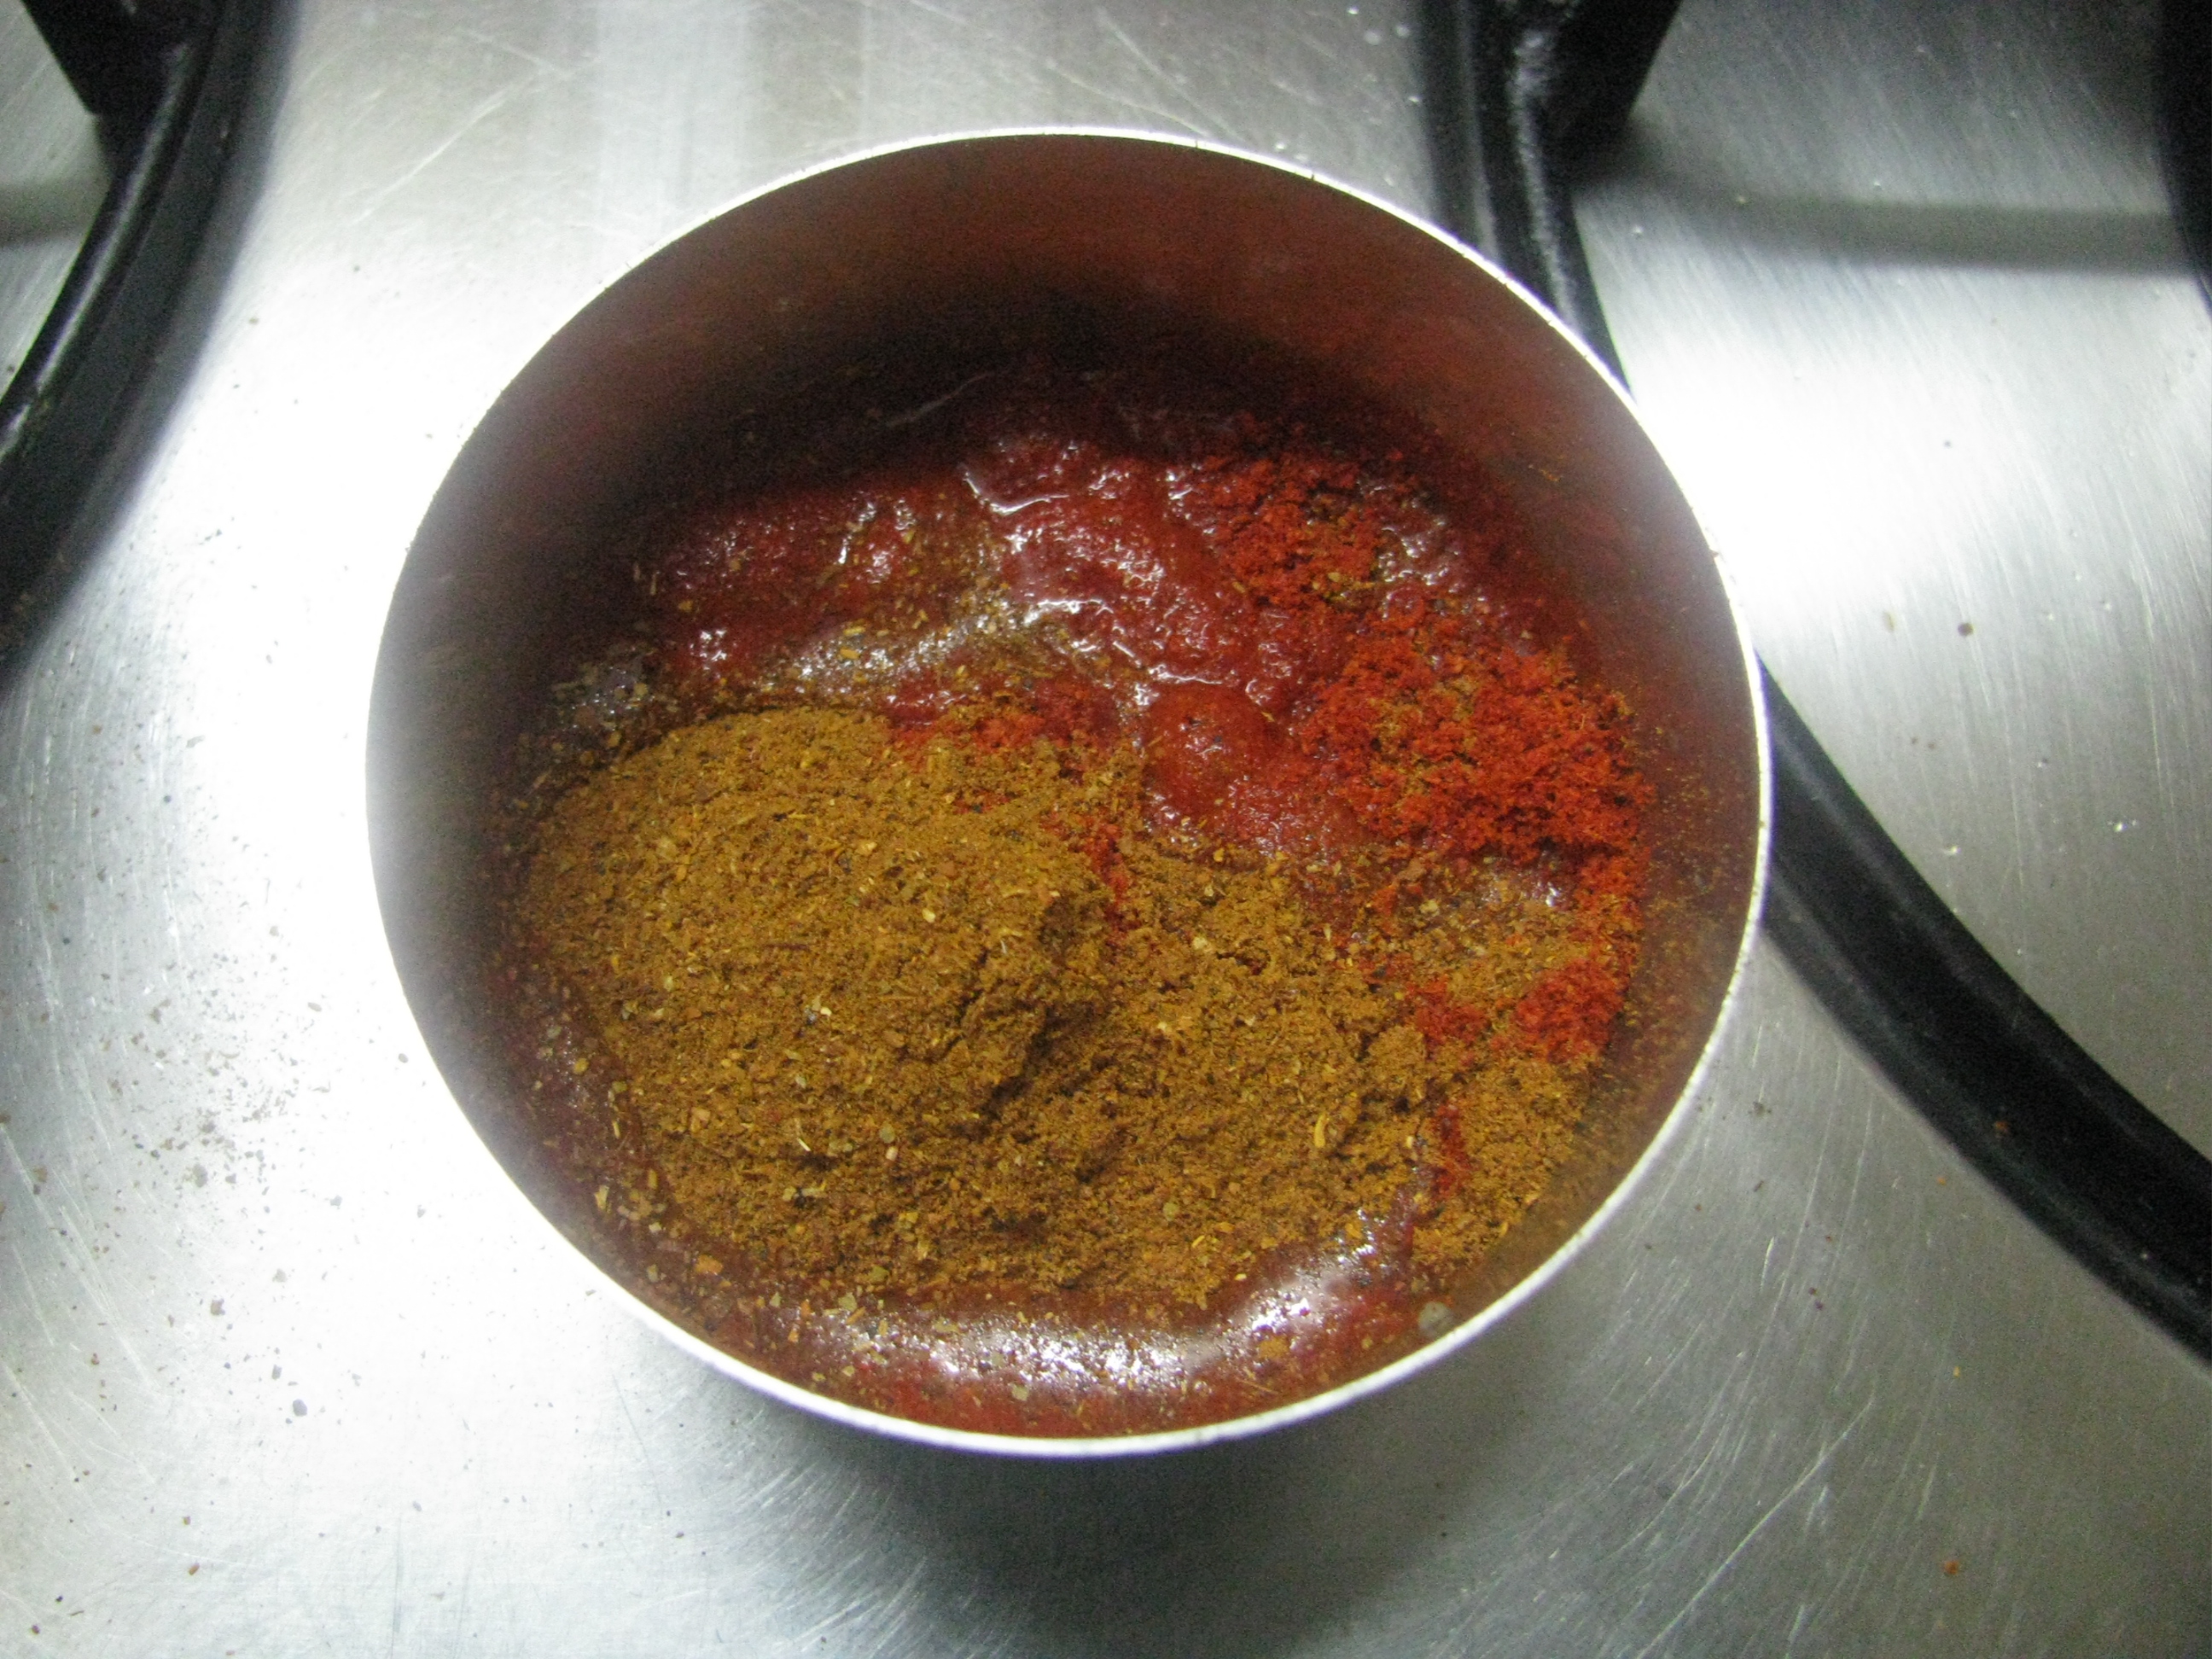
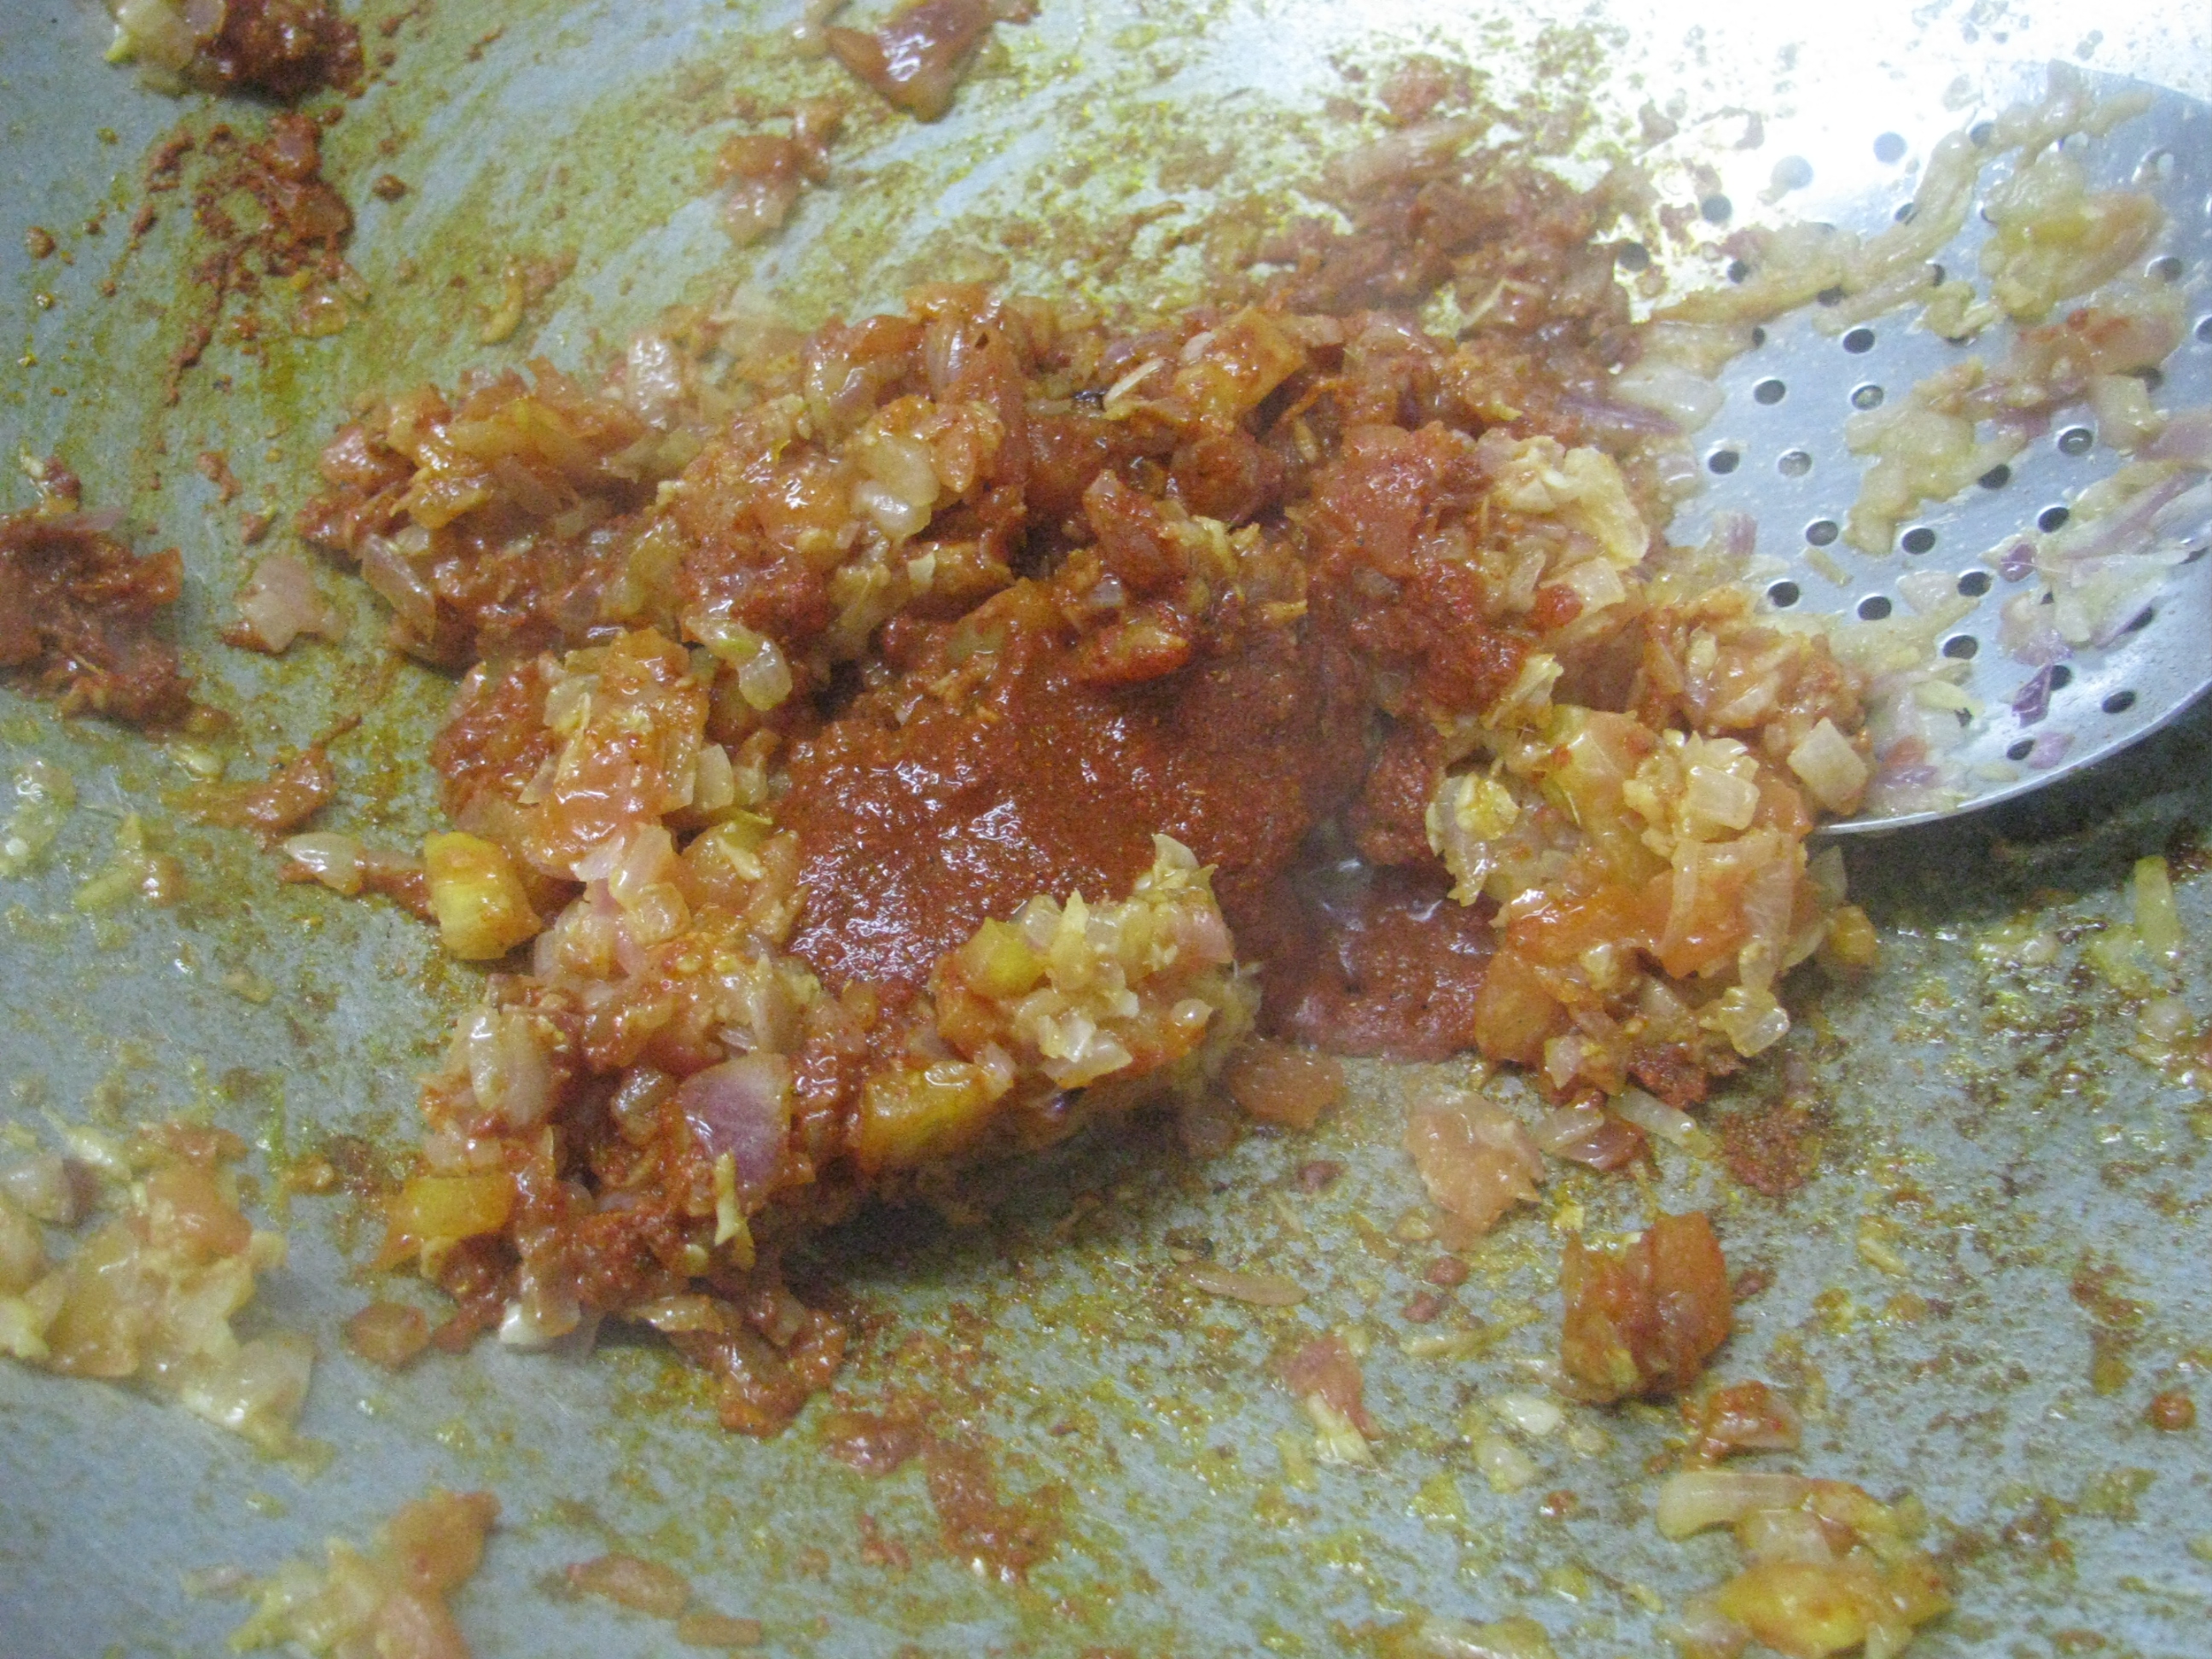
Take kashmiri red chili powder, Pav Bhaji masala in a bowl and add 2 tablespoon of water in it . Mix it nicely to make fine paste with spoon. Add this masala paste nicely sautéed tomatoes onion ginger garlic mixture and mix it nicely.
Add finely chopped capsicum to it and cook it for 1-2 minutes . Now add smashed vegetables to this masala and mix it nicely . Add water and let it boil. Add 1 tablespoon of butter in this Bhaji & Remove it from heat.
Serve Pav Bhaji with little butter (optional) and with onion coriander capsicum garnishing.
Serve it with roasted Pav in butter or with roasted multigrain or whole wheat bread
Pav bhaji
[/directions]
Tips for making PavBhaji perfect
Use kashmiri mirch to make Pav Bhaji.
Use fresh Pav Bhaji masala to make Pav Bhaji.
Make your Pav Bhaji 3-4 hours serving it, at the time of serving make it hot and serve it with butter and all garnishing. Pav Bhaji tastes best after 2-3 hours.
First time i got introduced to this healthy sweet beetroot recipe in Pune’s naturopathy center, they have made beet root laddos from this halva and it was really yummy. When I come back home I was pretty sure that I m going to make it. Beetroot is not a costly vegetable and it has lots of health benefits. Most of women are anemic and at the time of pregnancy the hemoglobin level goes down, it’s not beetroots color that make red blood cells!!But beetroot contains lot of iron which helps in the formation of hemoglobin. Beetroot also keeps diabetes under check, reduces bad cholesterol & good for brain.
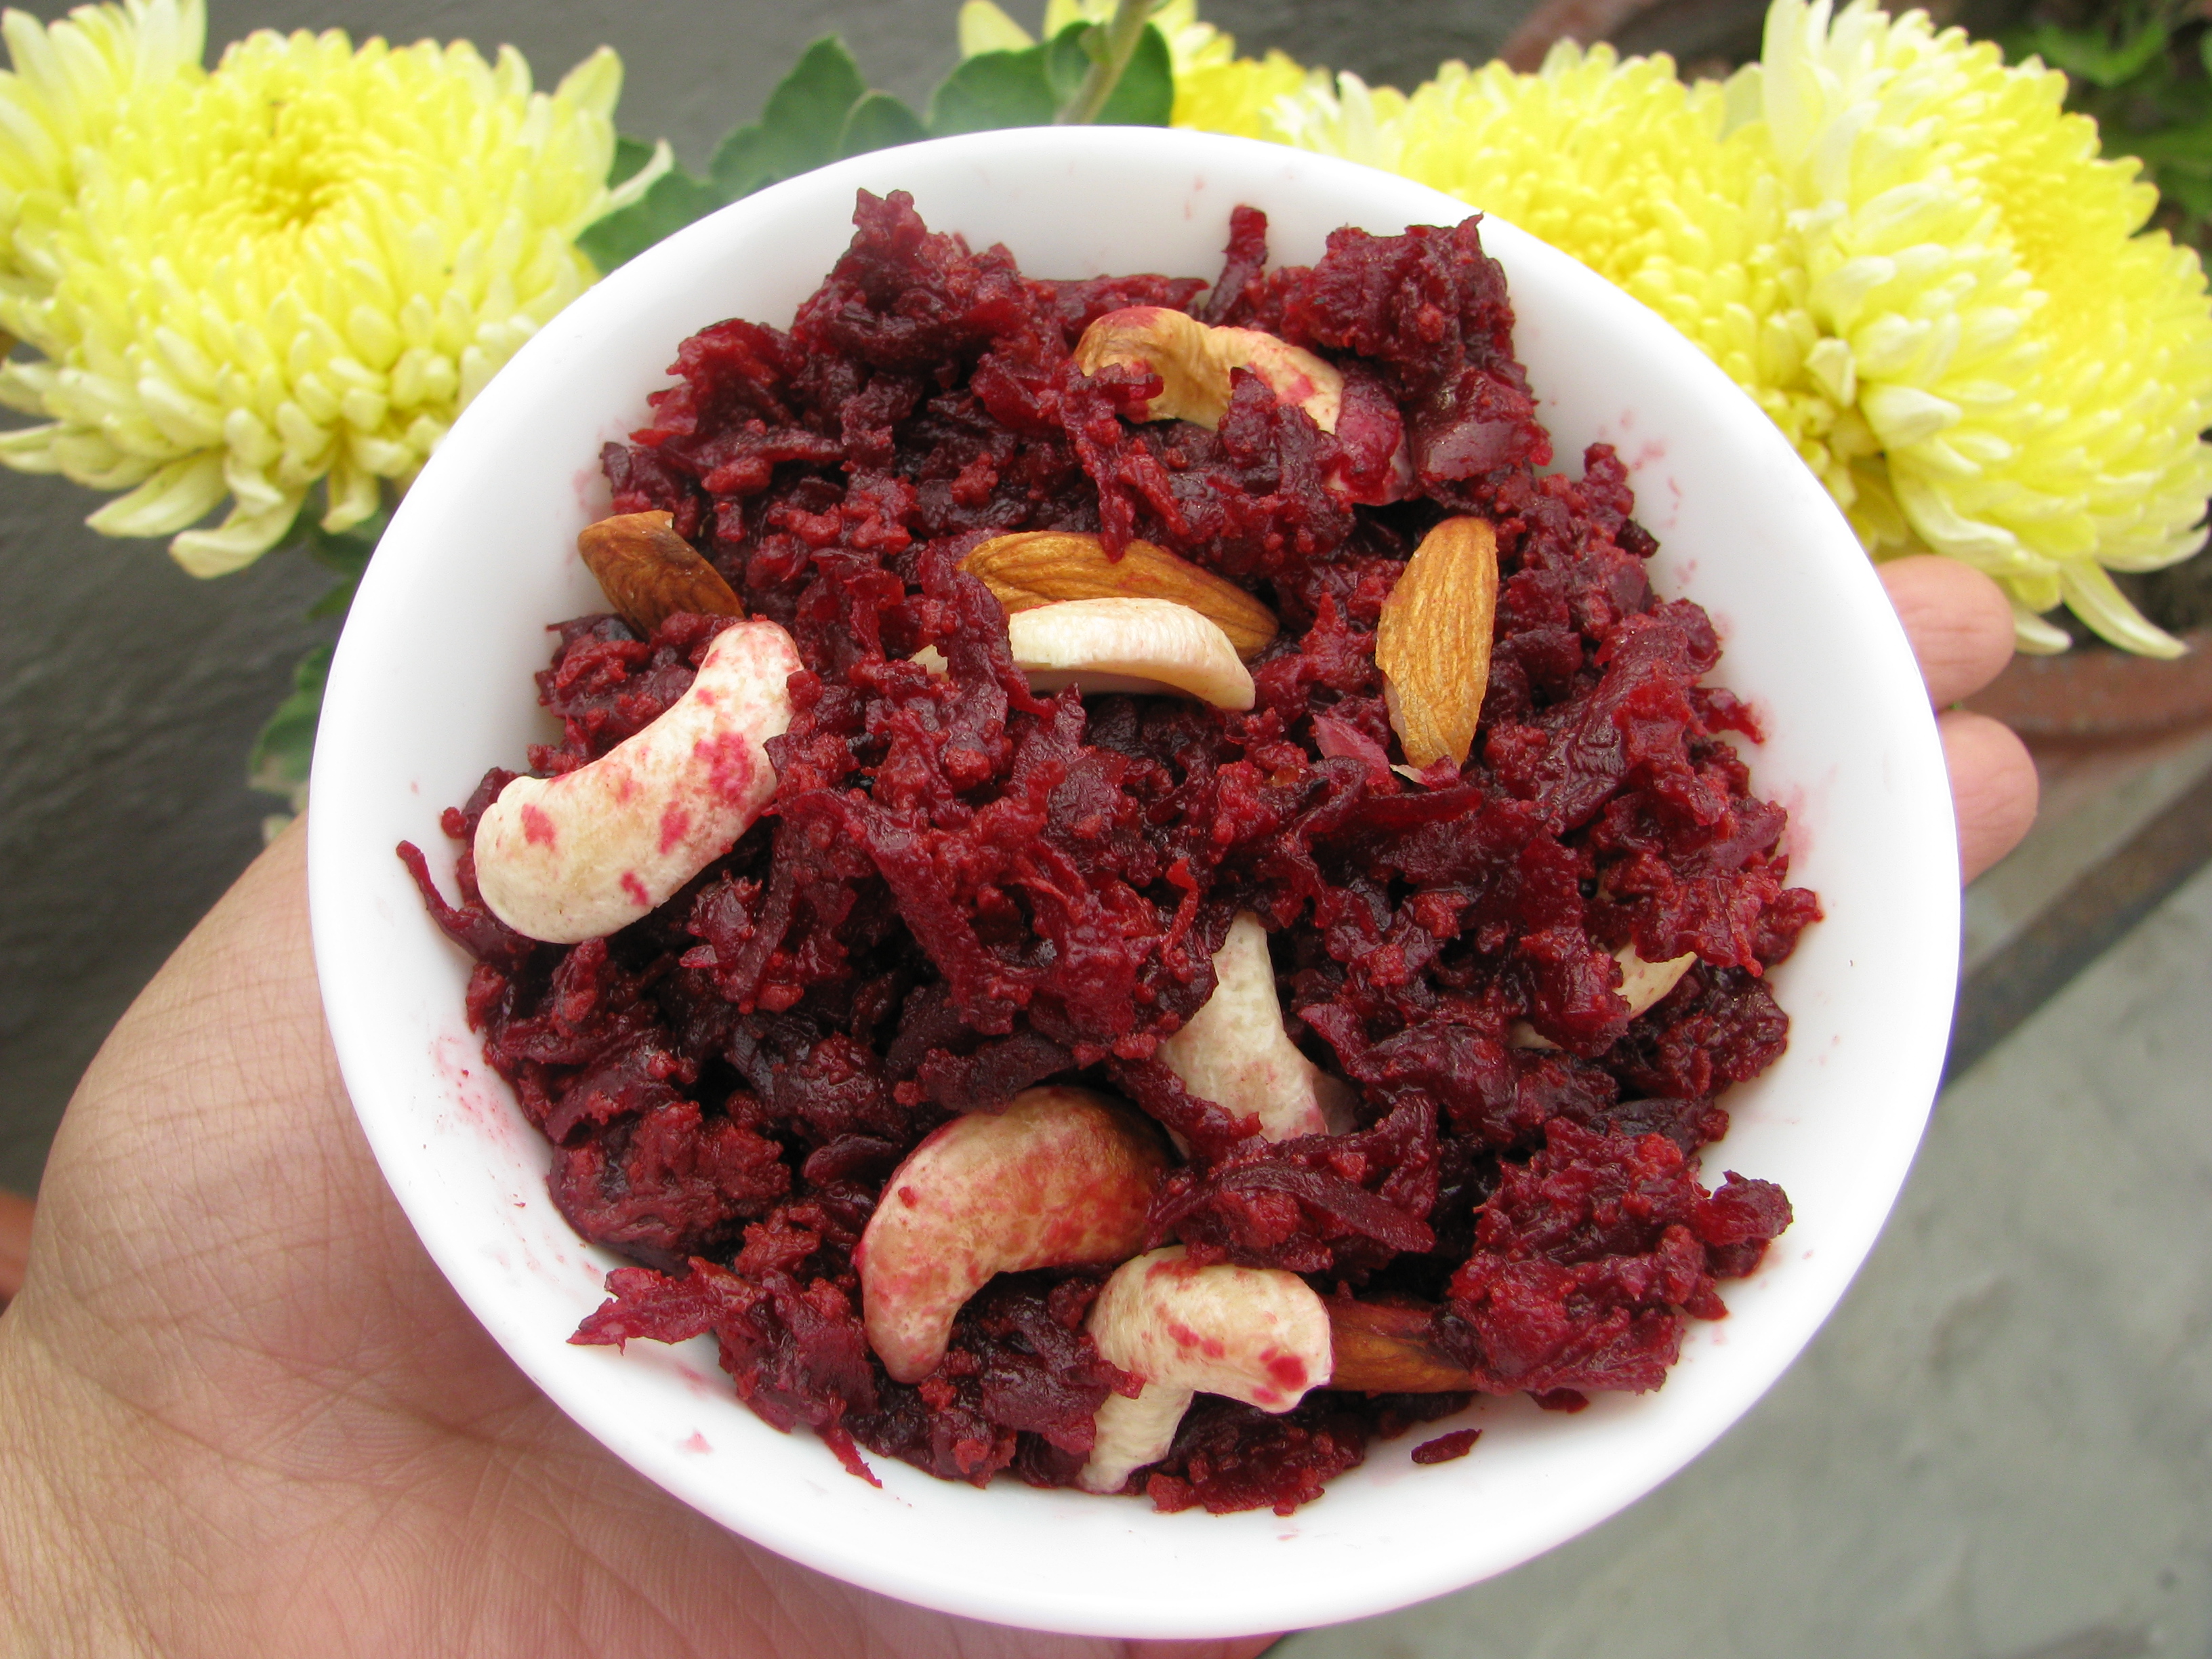
Beetroot halwa
I make beet root salads, beetroot soup, beetroot paratha &, beetroot halwa at my home. , this all are very interesting recipe. Both my kid and toddler love beetroot halwa a lot. They eat it after their meal or in evening snacks. I have explained step by step recipe of beet root halva, this recipe is very easy and similar to Carrot halwa recipe. You can also make this beetroot halwa vegan same as vegan carrot halwa
By adding almond milk and coconut milk in place of milk in this recipe
And add badam oil or canola in place of ghee for roasting grated beetroot to make vegan beetroot ka halwa.
[ingredients title=”Ingredients to make Beetroot halwa”]
[/ingredients] [directions title=”Step by Step directions to make Beetroot Halwa”]
Wash beetroot nicely. Remove its skin with the help of peeler, and grate it with thick grater
Heat 1 tablespoon of ghee in a big kadhai /pan and put grated beetroot in it and sauté it on high flame for 5 minutes.
Add 1 liter of whole milk / 1/2 liter almond milk in the beetroot and cook it on high flame stirring it occasionally, this will take around ½ an hour for the mixture to become thick.
Make the cardamom seed powder in mortar and pestle .
Now add sugar or sugar free in beetroot halwa and cook it until it becomes little dry and ghee separates from mixture remove it from flame and add cardamom powder , cashew nuts and raisins to it .
This is quick and easy recipe of Guajaratis. Mostly farsan like gatiya sev are always availablein gujarathi home. Maharashtrians make Shev bhaji the spicy version of sev sabzi . Sev tameta nu shaak is khatha meetha chatpata gujarathi sabzi which we can eat with chapattis or garma garam fulkis. I make sev tameta nu shaak in two ways one is with onion and one without onion i.e jain sev tameta nu shaak.In jain sev tameta nu shaak I just add hing tomatoes and ginger. I have explain step by step recipe of both sev tameta nu shaak and jain sev tomato nu shaak.
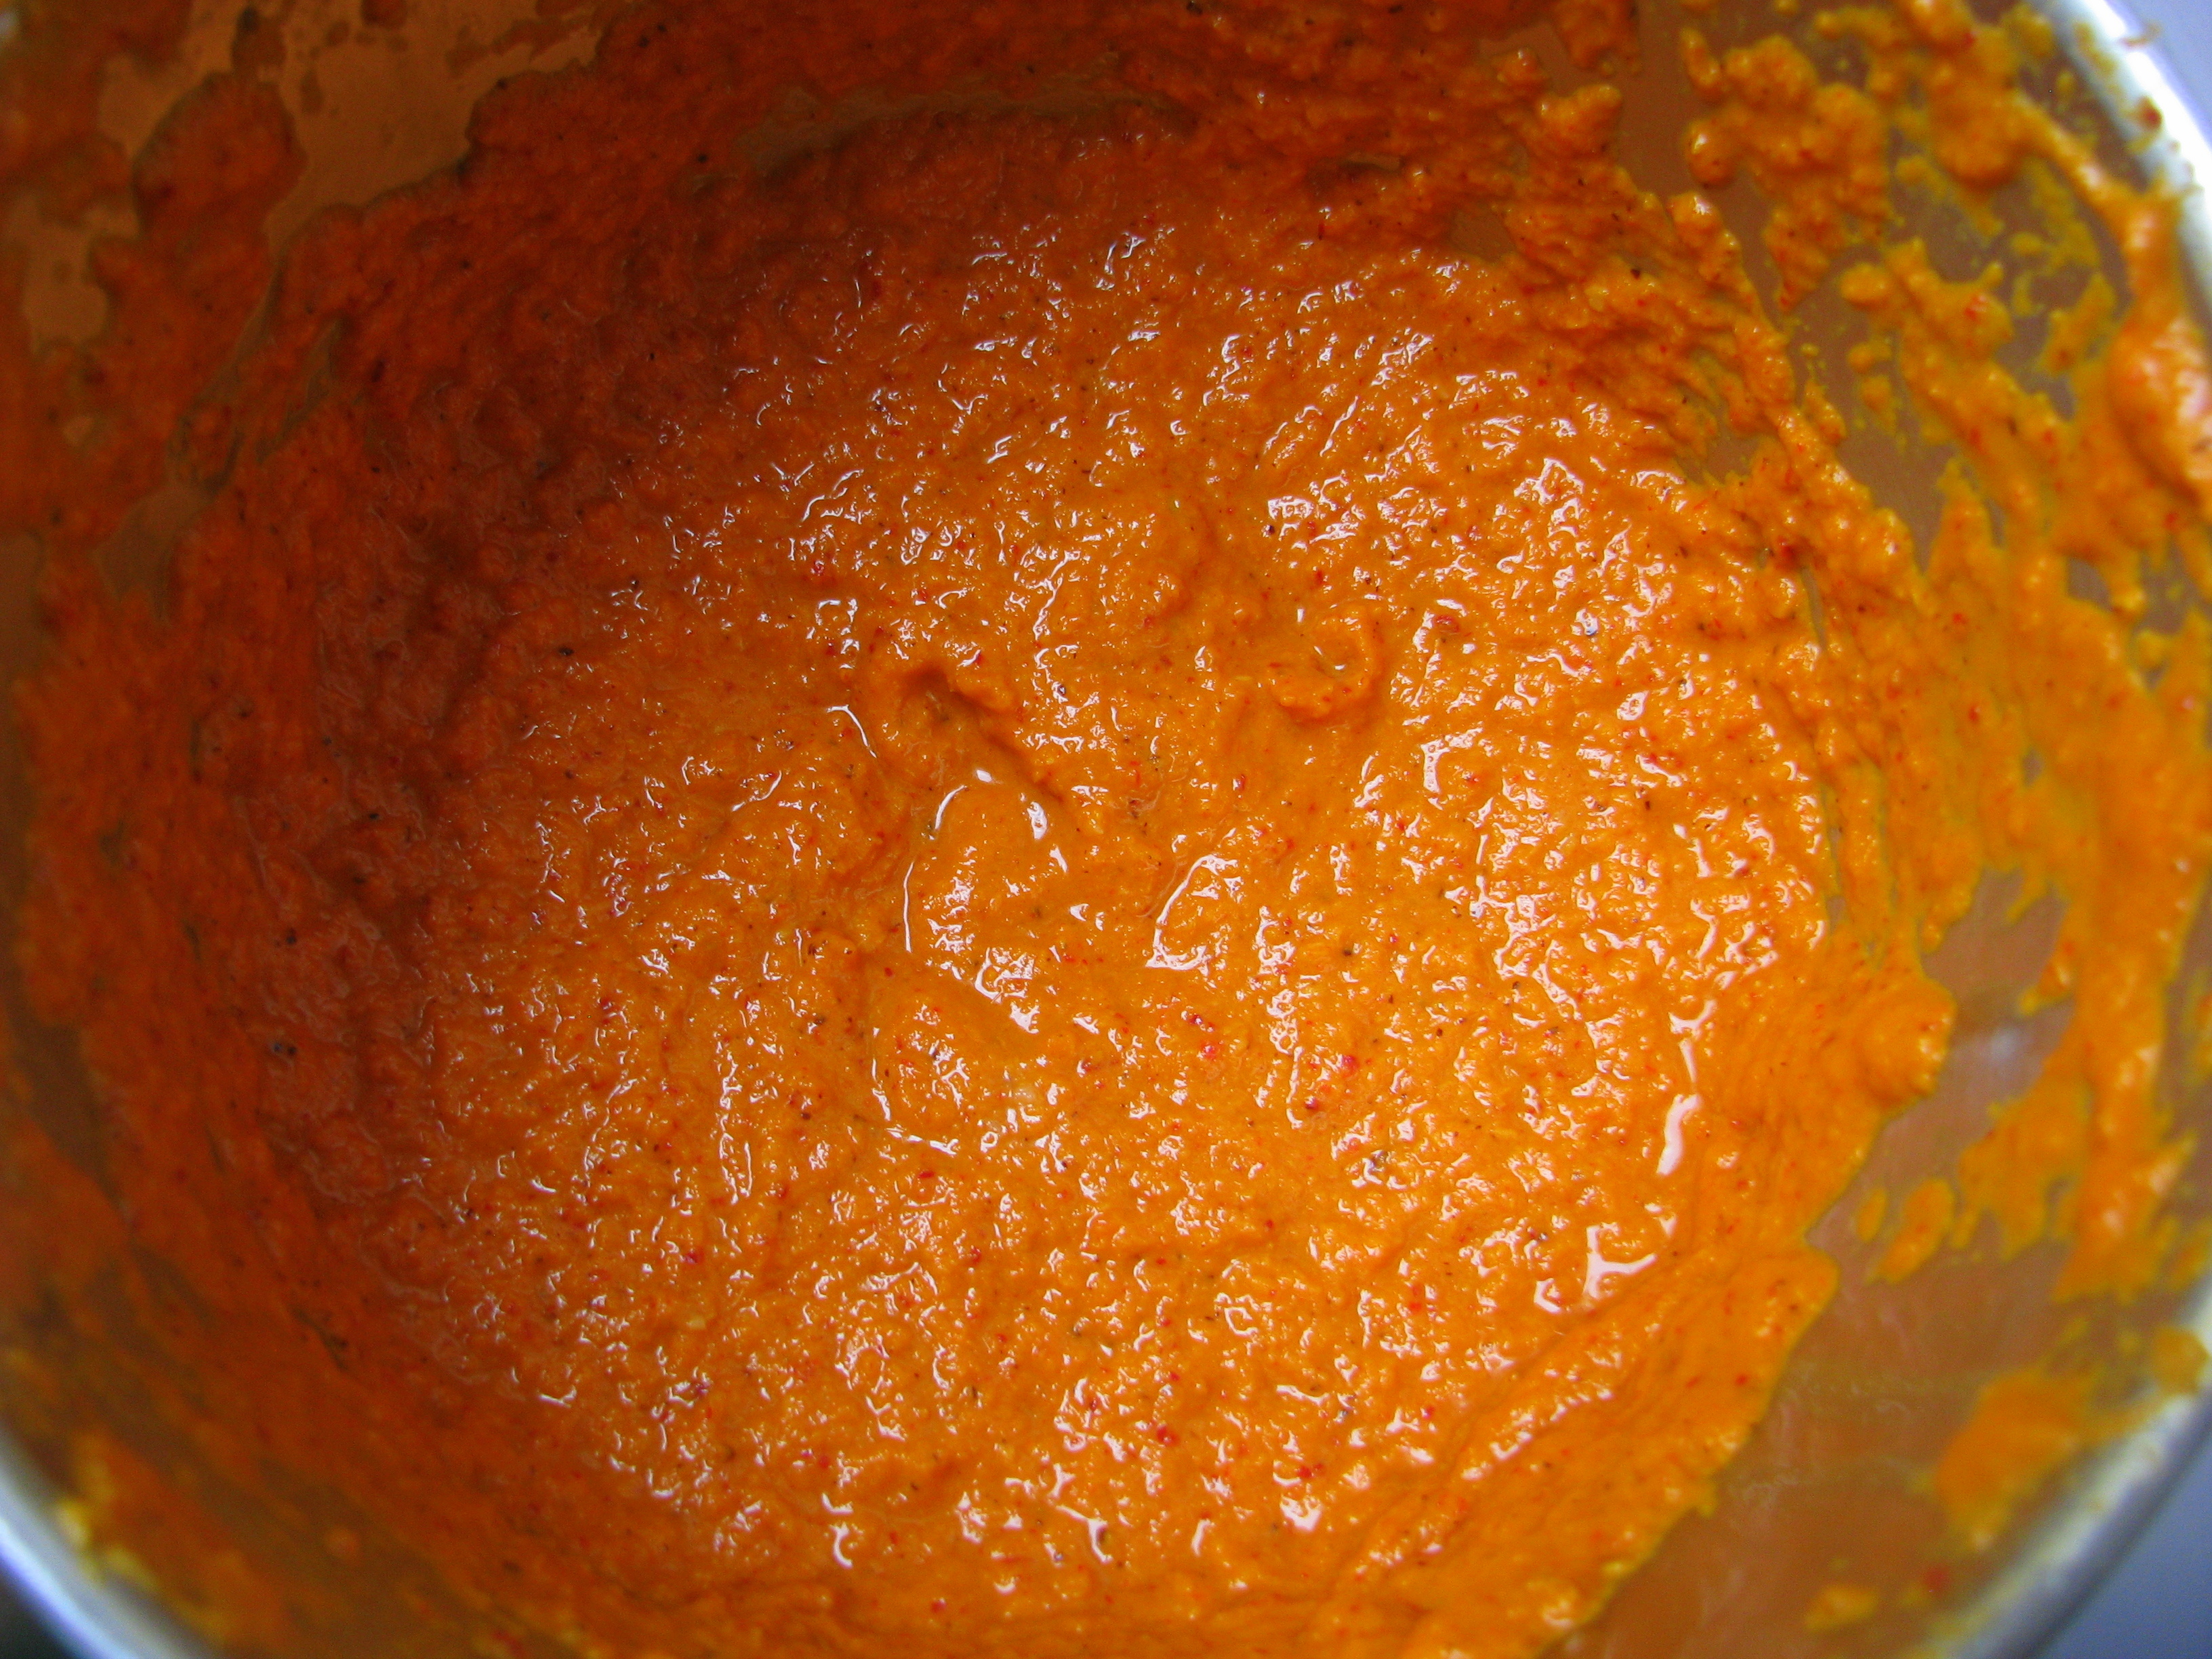
First of all we will blanch the tomatoes or remove the tomato skin. I generally blanch my tomato by roasting it directly on flames and then remove its skin. Finely chop these blanched tomatoes.
Heat the oil in a pan and add jeera (cumin seeds)to it .then add garlic and onion and sauté it until onion becomes very soft .
Now add tomatoes to it and cook it until tomatoes becomes very soft
Add dhaniya powder, garam masala, chili powder, turmeric powder in cooked tomatoes and mix it nicely. Now Add 1 cup of water to this mixture and let it boil. Add sugar /jaggery / sugar free to it and mix it. Remove the pan from flame and add sev or ghatiya in it. Serve this hot sev tameta nu shaak with roti or fulkis
[/directions]
Jain Sev Tameta nu Shaak
[ingredients title=”Ingredients”]
2 tomatoes
1 teaspoon grated ginger
¼ teaspoon hing (Asafoetida )
½ teaspoon haldi (turmeric powder)
1 teaspoon redchilly powder
½ teaspoon rai (mustard seeds)
½ teaspoon jeera (cumin seeds)
1 tablespoon jaggery / sugar
½ teaspoon dhaniya powder
½ teaspoon garam masala (optional)
¾ cup sev or plain ghatiya
2 teaspoon oil
1 cup water
Salt to taste
Coriander leaves for garnishing (optional)
[/ingredients]
[directions title=”Directions”]
First of all we will blanch the tomatoes or remove the tomato skin. I generally blanch my tomato by roasting it directly on flames and then remove its skin. Finely chop these blanched tomatoes
Heat the oil in a pan and add rai jeera to it. When mustard seeds (rai) starts crackling add hing and grated ginger to it sauté it for 3 -4 seconds, now add finely chopped roasted tomatoes to it
Sauté the tomato nicely and cook it until becomes very soft. Now add haldi, dhaniya powder, garam masala, red chilly in sautéed tomatoes. Mix it nicely and add 1cup of water to it.
When the water starts boiling add salt sugar mix it and remove the pan from flame. Now add sev or ghatiya in it and serve this hot jain sev tameta nu shaak with roti or fulkis.
When I was in Bangalore, pune and Hyderabad I never had an issue to set Curd as there is no need to set a perfect temperature to make Curd. When I come to Delhi both in summers and winters the weather is extreme. My friends who stay in usa and uk face the same problem of making Curd during extreme winters .In this span of three years I figured it out to make the perfect Curd(Dahi)/Yogurt in both summers and winters. In summers due to high temperature Curd becomes very sour within few hours and in winter after 24 hours there is no change in the milk with Curd / Yogurt culture. Some people here set Curd with lemon juice or vinegar but to set Curd / Yogurt with essential benefits that helps in digestion and provide essential vitamins & minerals to our body, we should set Curd with Curd / Yogurt culture i.e. little Curd from previous batch of Curd (Dahi) Yogurt.
Tips for setting Curd during winters when the weather is cold
To set the perfect Curd the optimum temperature should be around 37-45 degree Celsius.
There is no need to use thermometer to check the milk temperature when you’re setting Curd .Make the milk warm enough slightly more than your body temperature i.e. when you touch the milk it should be warm rather than very hot or cold .
I use thermos or insulated casserole to set Curd during winter season. Both thermos and insulated casserole maintain the optimum temperature to set the perfect Curd (Dahi)/Yogurt fast during winters .
Tips for setting Curd (Dahi) Yogurt during Summers when the weather is hot
In summers there is no need to use thermos or casserole to set Curd, as already the temperature outside is very hot.
We just need to check the Curd after fix interval if it’s set or not; otherwise the Curd will become very sour (well you can use this sour Curd for making kadhi).
In summers no need to make milk warm before setting Curd. Just add the culture and mix it nicely and Curd will get set.
I have explained step by step method to make Curd – Dahi at home during winters
[ingredients title=”Ingredients to make Curd | Dahi | Yogurt”]
1 liter milk (whole milk)
1 tablespoon Curd /Dahi/ Yogurt
[/ingredients]
[directions title=” Step by Step Directions to make Curd | Dahi | Yogurt”]
If the milk is not pasteurized boil it and let it cool down
When it’s warm (more than your body temperature) take 1 tablespoon of Curd / Yogurt in another bowl break it and make it very soft by whisking it with spoon and add milk to it. Mix it nicely.
Transfer this milk and Curd/Yogurt mix to thermos or casserole .close the lid and allow it to settle.
For 1 liter milk thermos will take around 3- 4 hours & casserole will take 4-5 hours to set the Curd / Yogurt.
[/directions]
If you want Curd within 2-3 hours use thermos to set the Curd.
In insulated casserole it takes 4-5 hours to set the Curd
After setting Curd immediately transfer it to normal vessel and keep it in refrigerator ,as after removing this Curd from thermos or casserole the Curd is little warm and the fermentation will continue (Curd making procedure) , by keeping it in refrigerator we r stopping the Curd making procedure by reducing the temperature.
When you r making Curd in thermos or insulated casserole check the Curd after given time otherwise it will start becoming sore immediately as you r providing optimum temperature for milk fermentation
Use good quality milk to set curd. Whole milk or full cream milk curd is very thick as compared to curd made from toned milk / skimmed milk. But if you want low calorie curd go for toned or skimmed milk only.
Milk shouldn’t be very hot this makes curd runny. Use warm milk to set curd.
The recipe of spicy gravy with sev is called as Shev Bhaji in Marathi. When I make shev bhaji at my home I have to make extra chapattis or bhakri (ज्वारीची भाकरी / बाजरीची भाकरी jawar or bajra roti) . My mom use to make gravy masala of shevechi bhaji on pata- warwanta(पाटा वरवंटा ) & always made it in Iron Kadhai (लोखंडी कढई lokhandi kadhai). My mom was very patient lady, sometimes we used to ask her randomly to make this recipe and if at that time there is no ready-made Shev is at home my mom made it with Sev maker . I still remember the taste of that tasty gravy. My mom was Gujarati but born and brought up in Maharashtra so both shev bhaji and sev tameta nu shaak was cooked at my home. Shev tameta nu shaak comparatively takes less time to cook as compare to shev bhaji, but for spicy food fans it’s a feast .Shev bhaji or shev rasa bhaji is made in different ways in each parts of Maharashtra.
In Maharashtra if you travel by road you can get a nice spicy shev bhaji on roadside dhabas. If you want to make Dhaba style shev bhaji just increase the amount of oil , red chilly powder and garam masala . They add less dry coconut .Well I add little oil in my shev bhaji to make it little low in calories. To make shev bhaji healthy as well as tasty I have shared some of my tips at the end of this recipe.
In Khandesh this spicy recipe is also called as Shevanchi Lal Bhaji .Shev bhaji curry masala is prepared with dry coconut, onion, garam masala, corriander powder etc. In authentic khandeshi style shev bhaji tomato is not added in the curry . You can add Kala masala (खान्देशी काळा मसाला Khandeshi kala masala) or Kolhapuri garam masala or normal garam masala according to your taste in shev bhaji .. Kolhapuri garam masala is comparatively very hot as compare to kala masala or garam masala.
I have explained step by step recipe of shev bhaji , share your queries and suggestions for this recipe .
Shev Bhaji Recipe
[ingredients title=”Ingredients for Shev bhaji”]
1 cup spicy sev (तिखट शेव )
¾ cup onion (कांदा)
¾ cup dry grated coconut (सुके खोबरे)
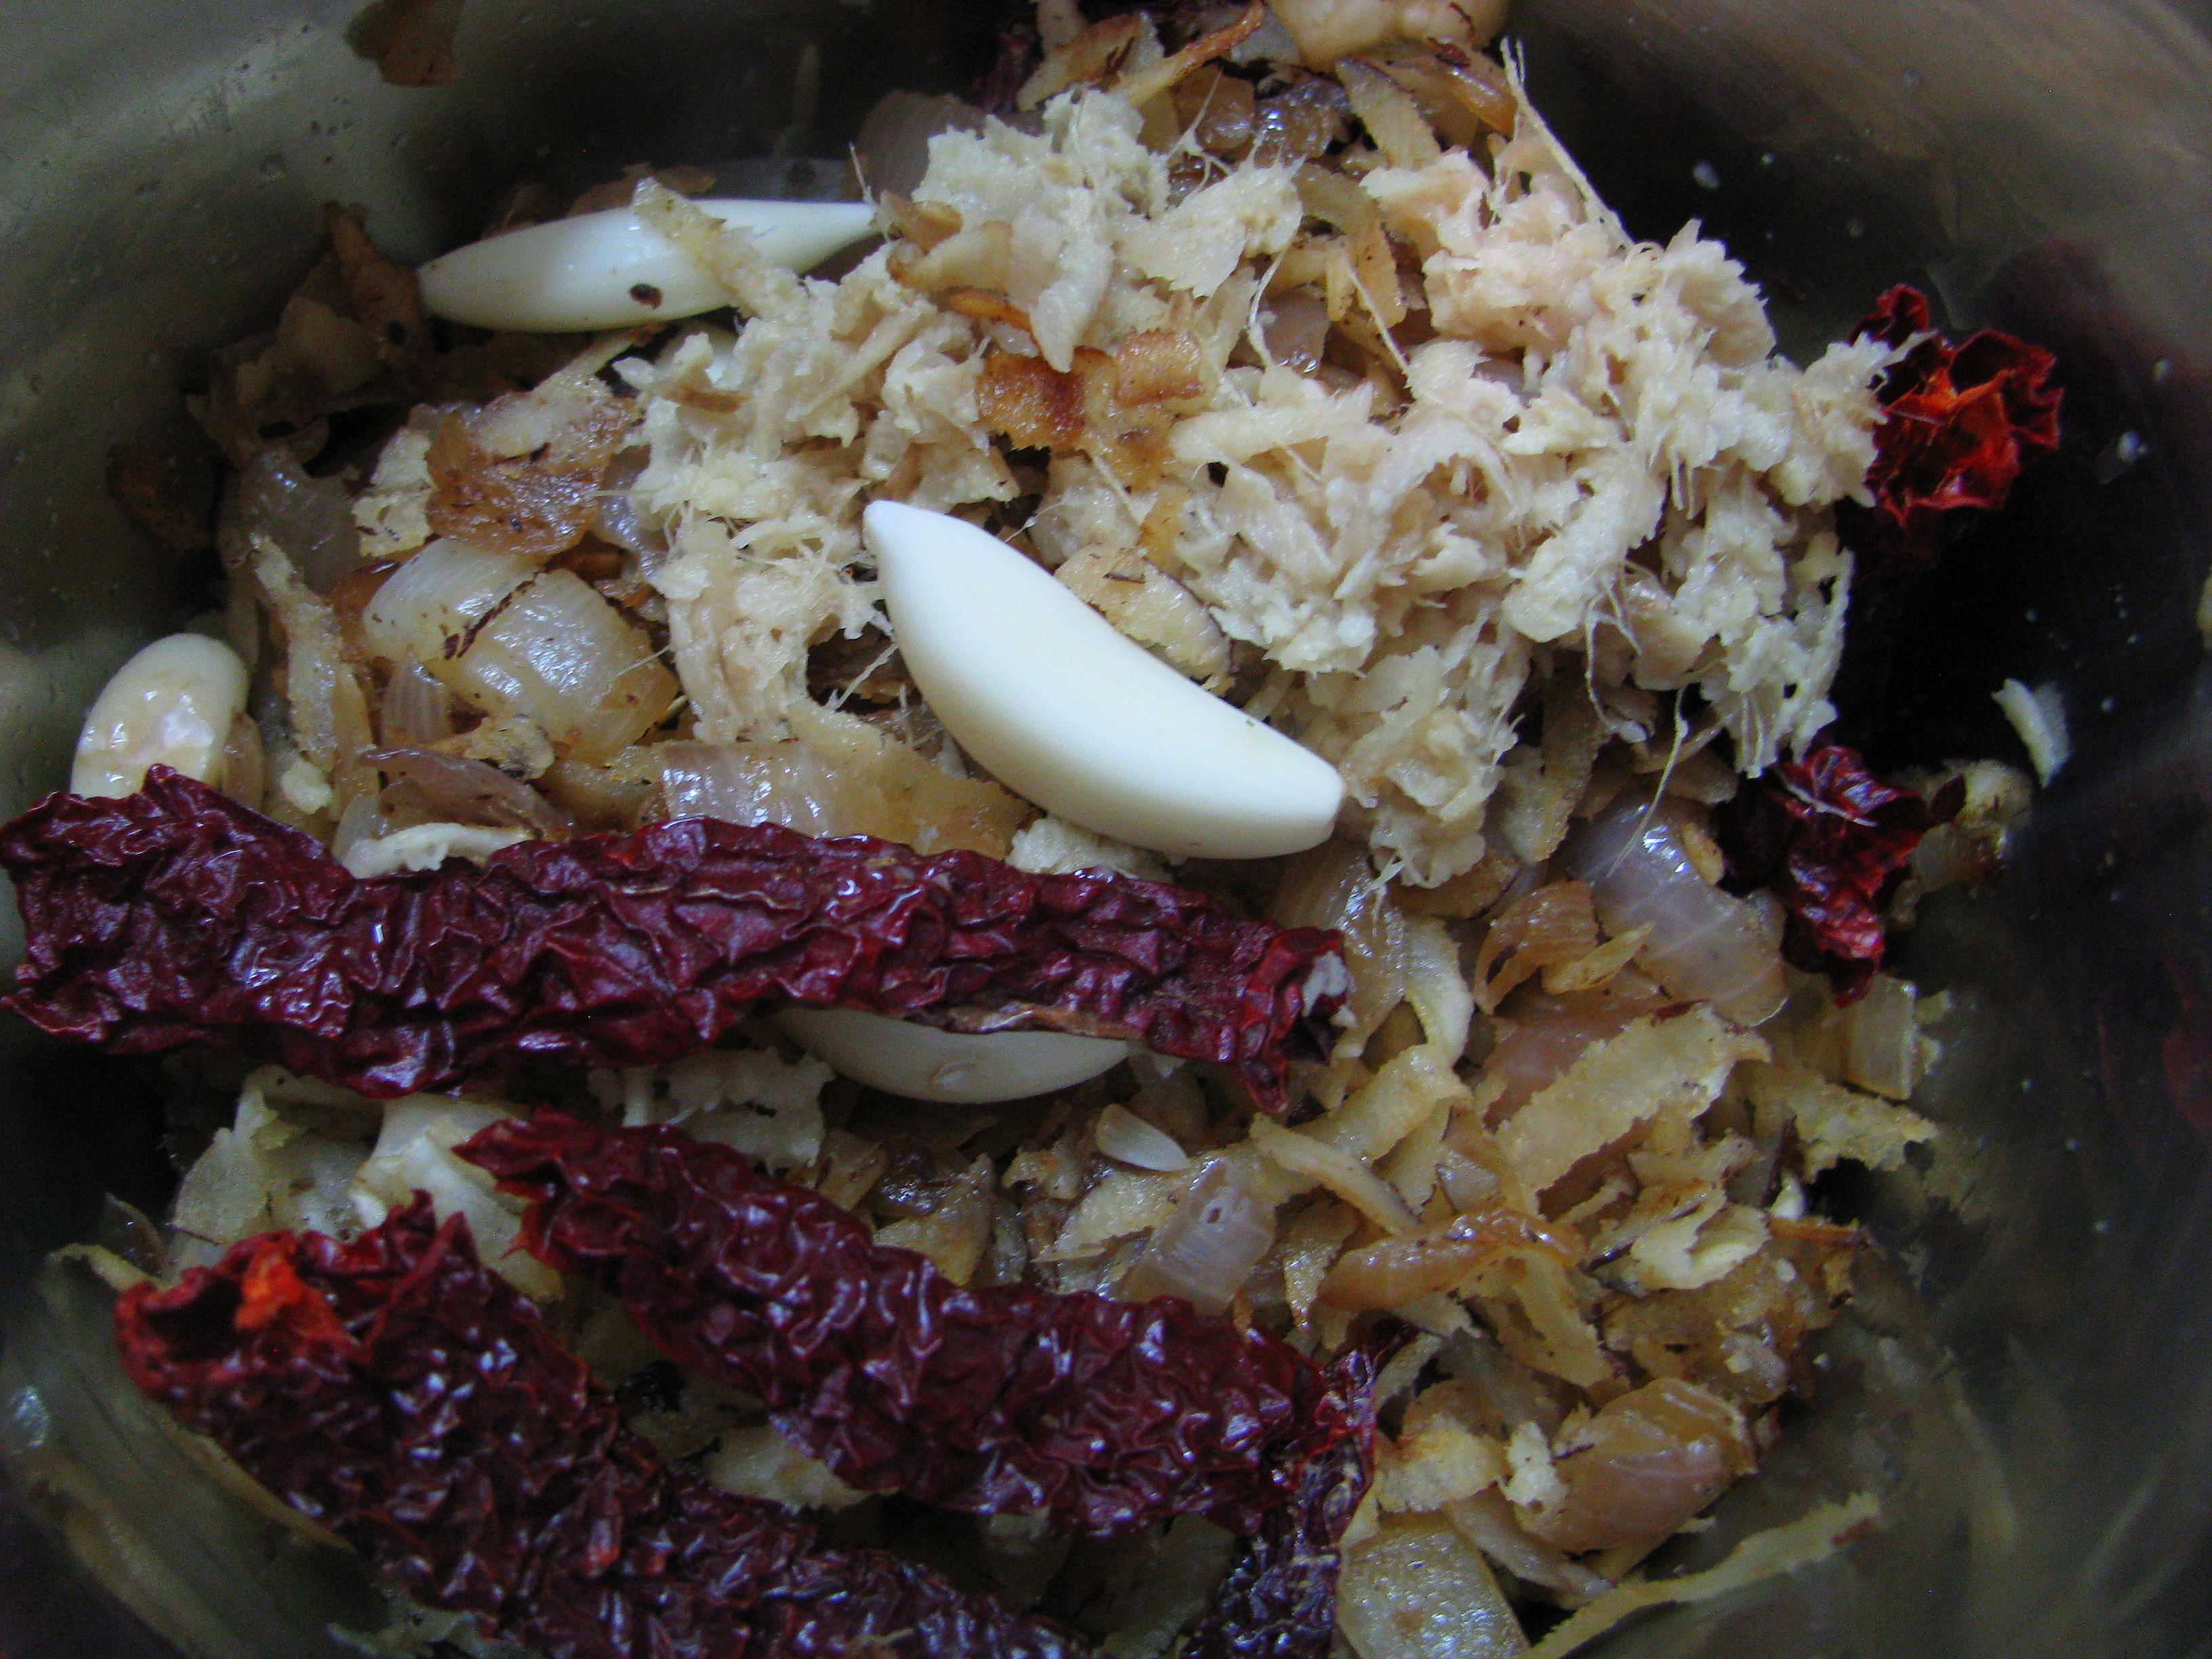
9-10 garlic cloves (लसुणाच्या पाकळ्या)
2 teaspoon grated ginger (आले)
1 teaspoon jeera(जिरे)
1 tablespoon oil preferably peanut oil (शेंगदाणा तेल )-(you can add oil according to your taste)
2 teaspoon dhana powder (धणे पूड)
1 teaspoon turmeric powder (हळद)
2 -3 teaspoon red bedgi mirchi (chillies)/ 6-7 kashmiri or bedgi mirchi(मिरच्याchillies)
1 teaspoon garam masala / kolhapuri garam masala/ kala masala(optional)
1 teaspoon finely chopped coriander (optional)
salt as required
4 cups of water
Note- Use Iron Kadhai ( lokhandi kadhai)to make Shev Bhaji or any rassa bhaji. It gives nice taste and color to the recipe.
[/ingredients]
[directions title=”Directions”]
Roast onion with 1 teaspoon oil until it becomes light brown now add dry coconut (khopra) to it and roast it until it becomes brown . let it cool down. Take roasted onion coconut,red chilies, ginger ,garlic in a mixer jar and make a fine paste of it .
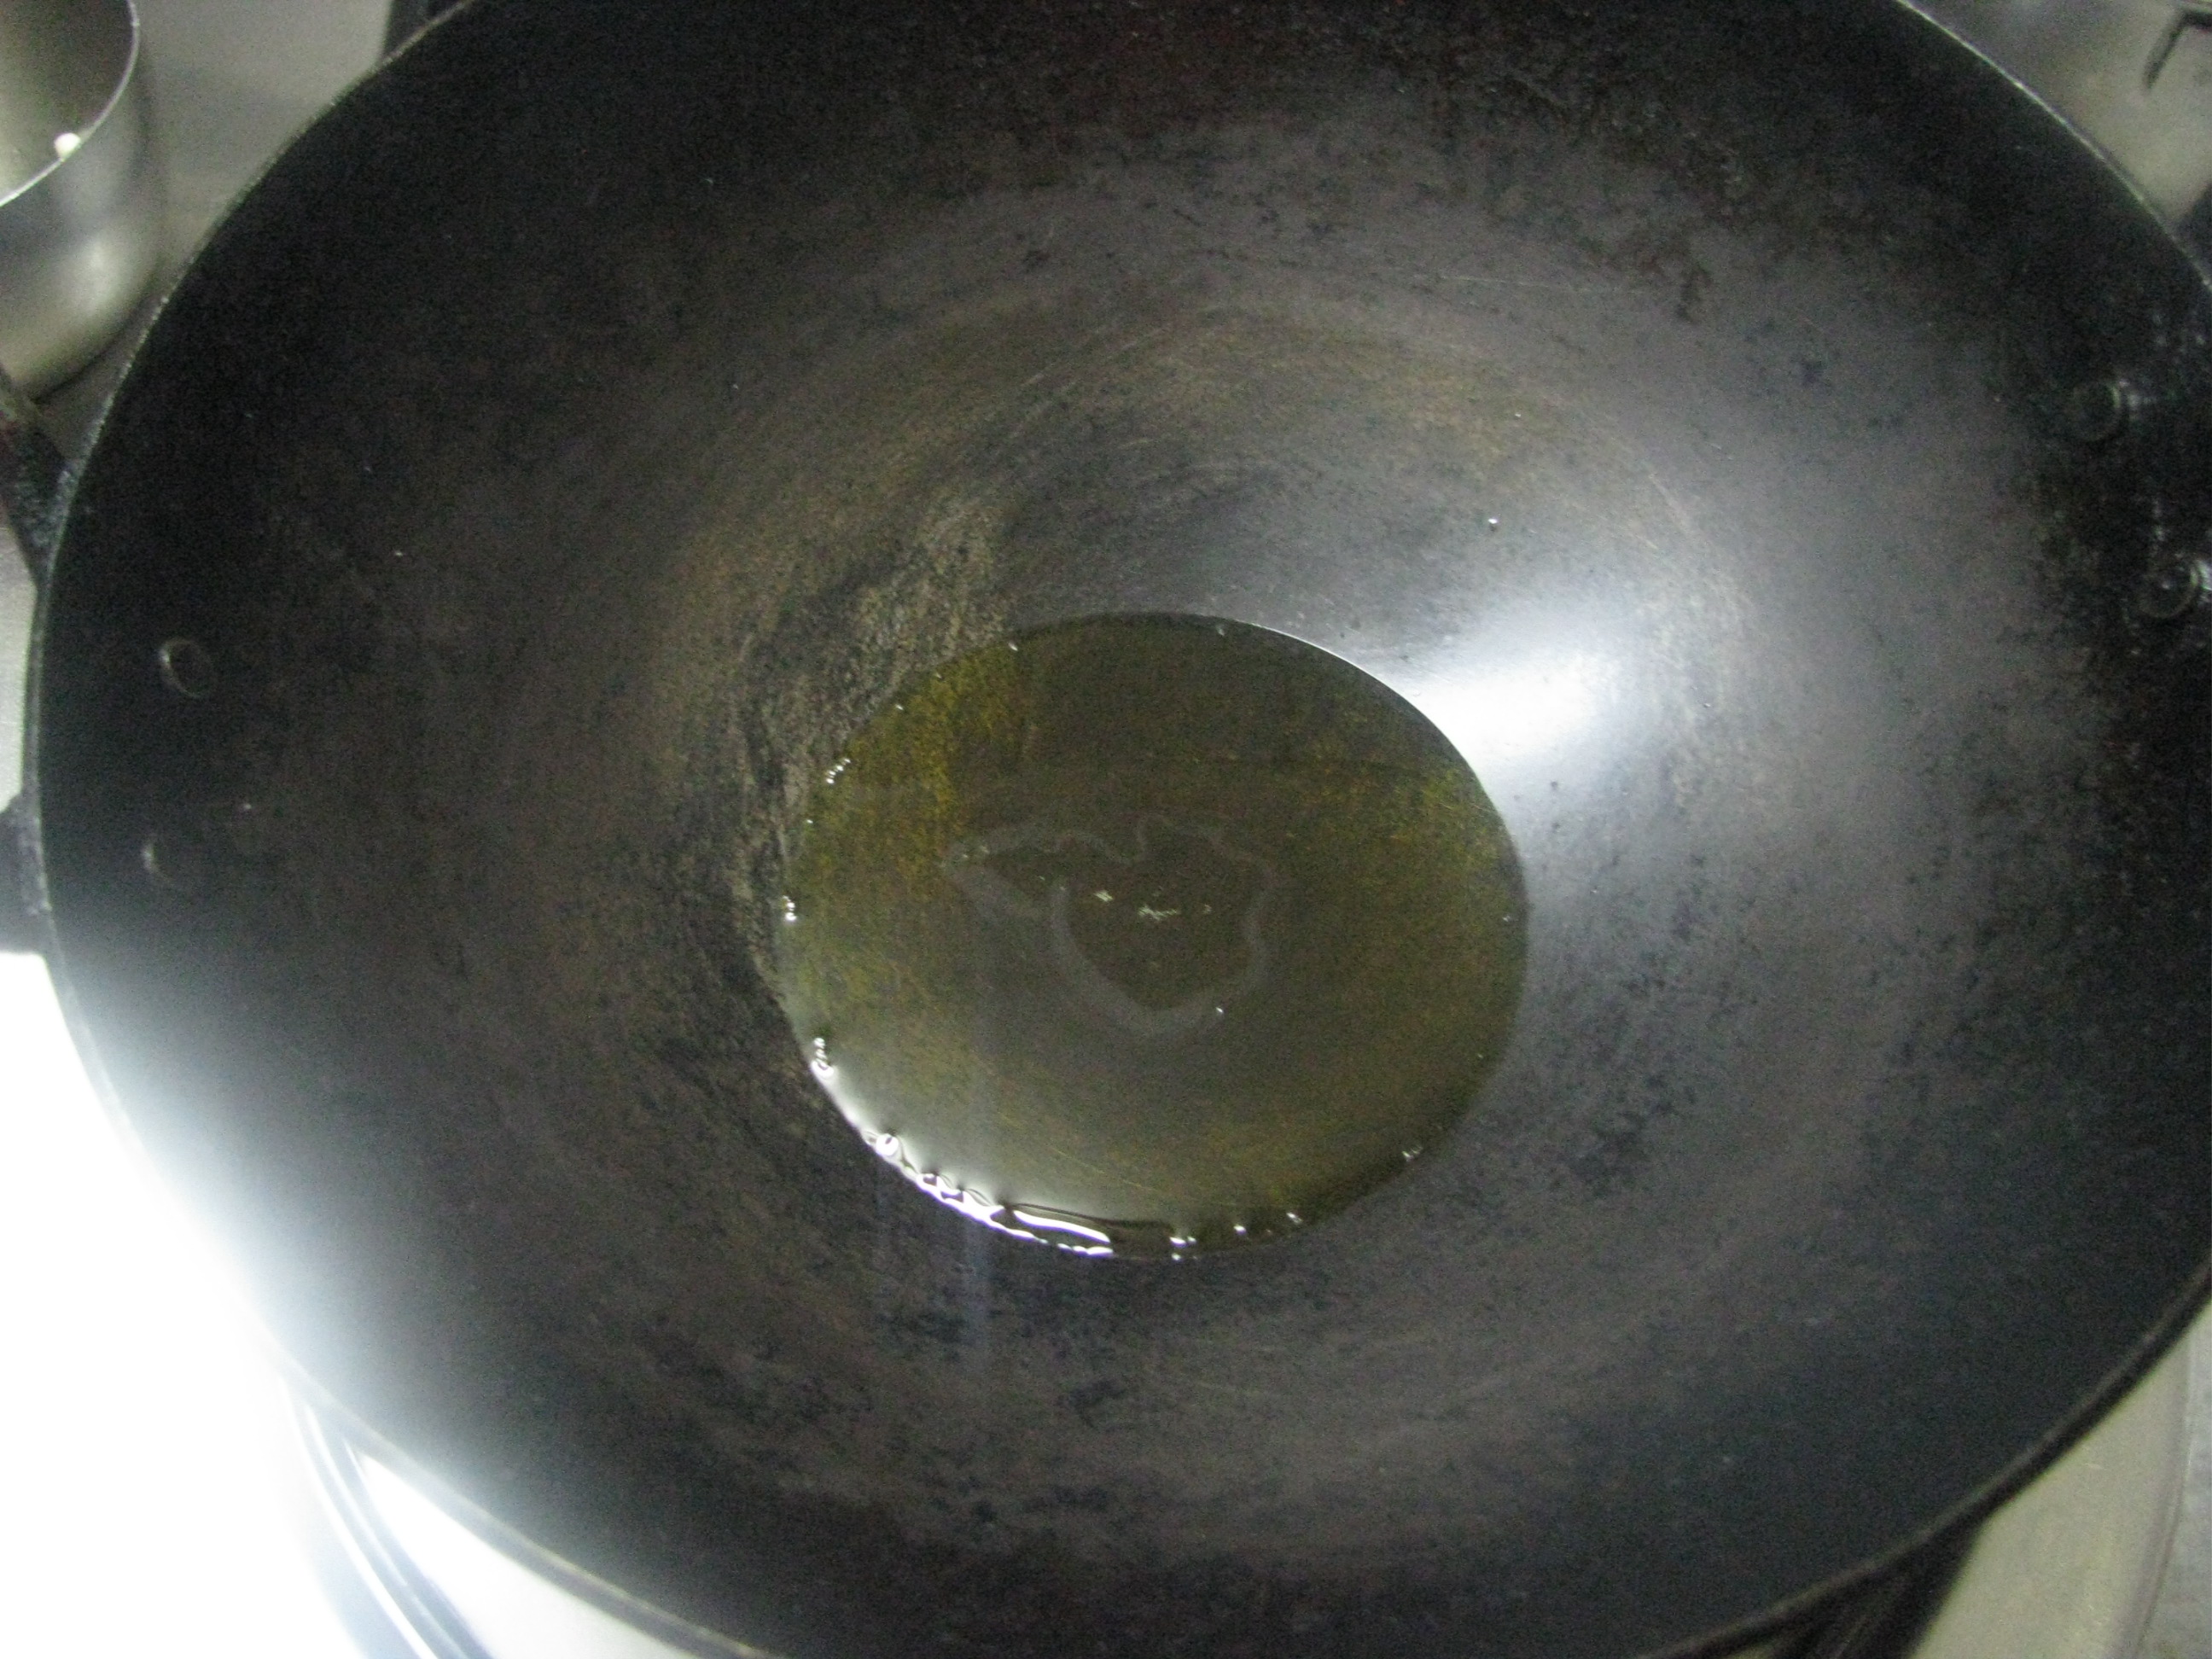
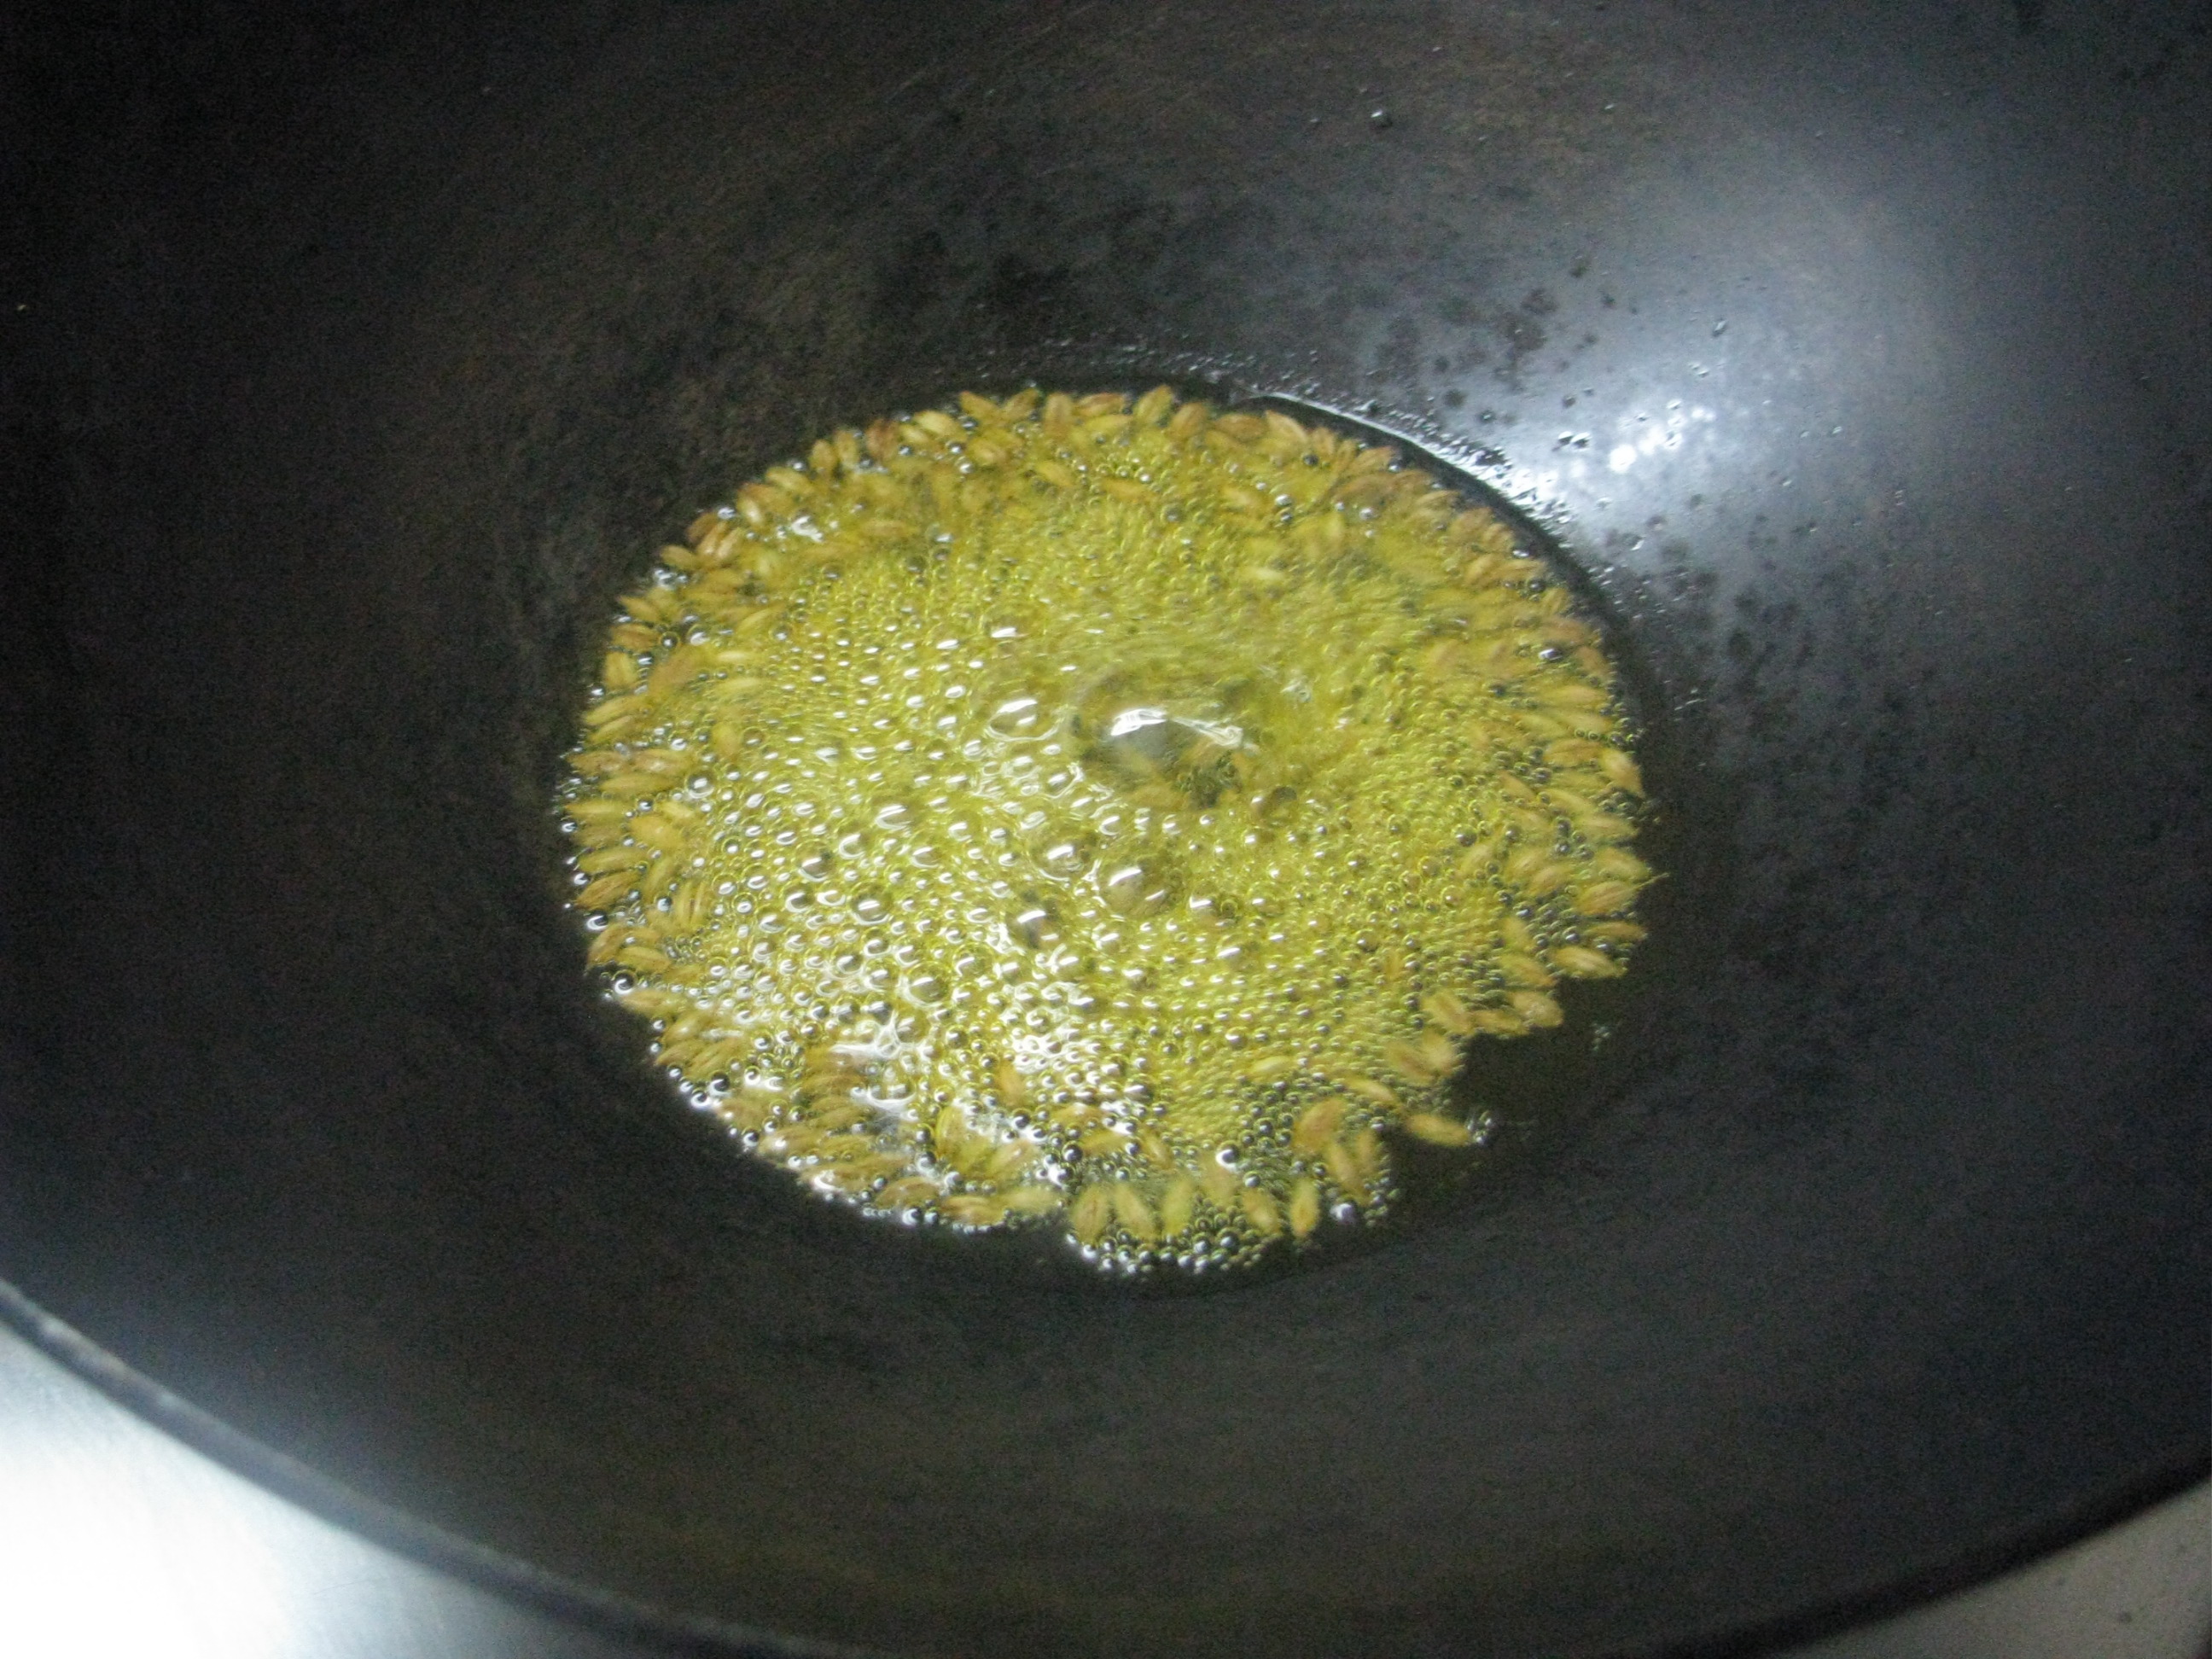
Heat oil in a pan and add cumin seeds (jeera) to it .
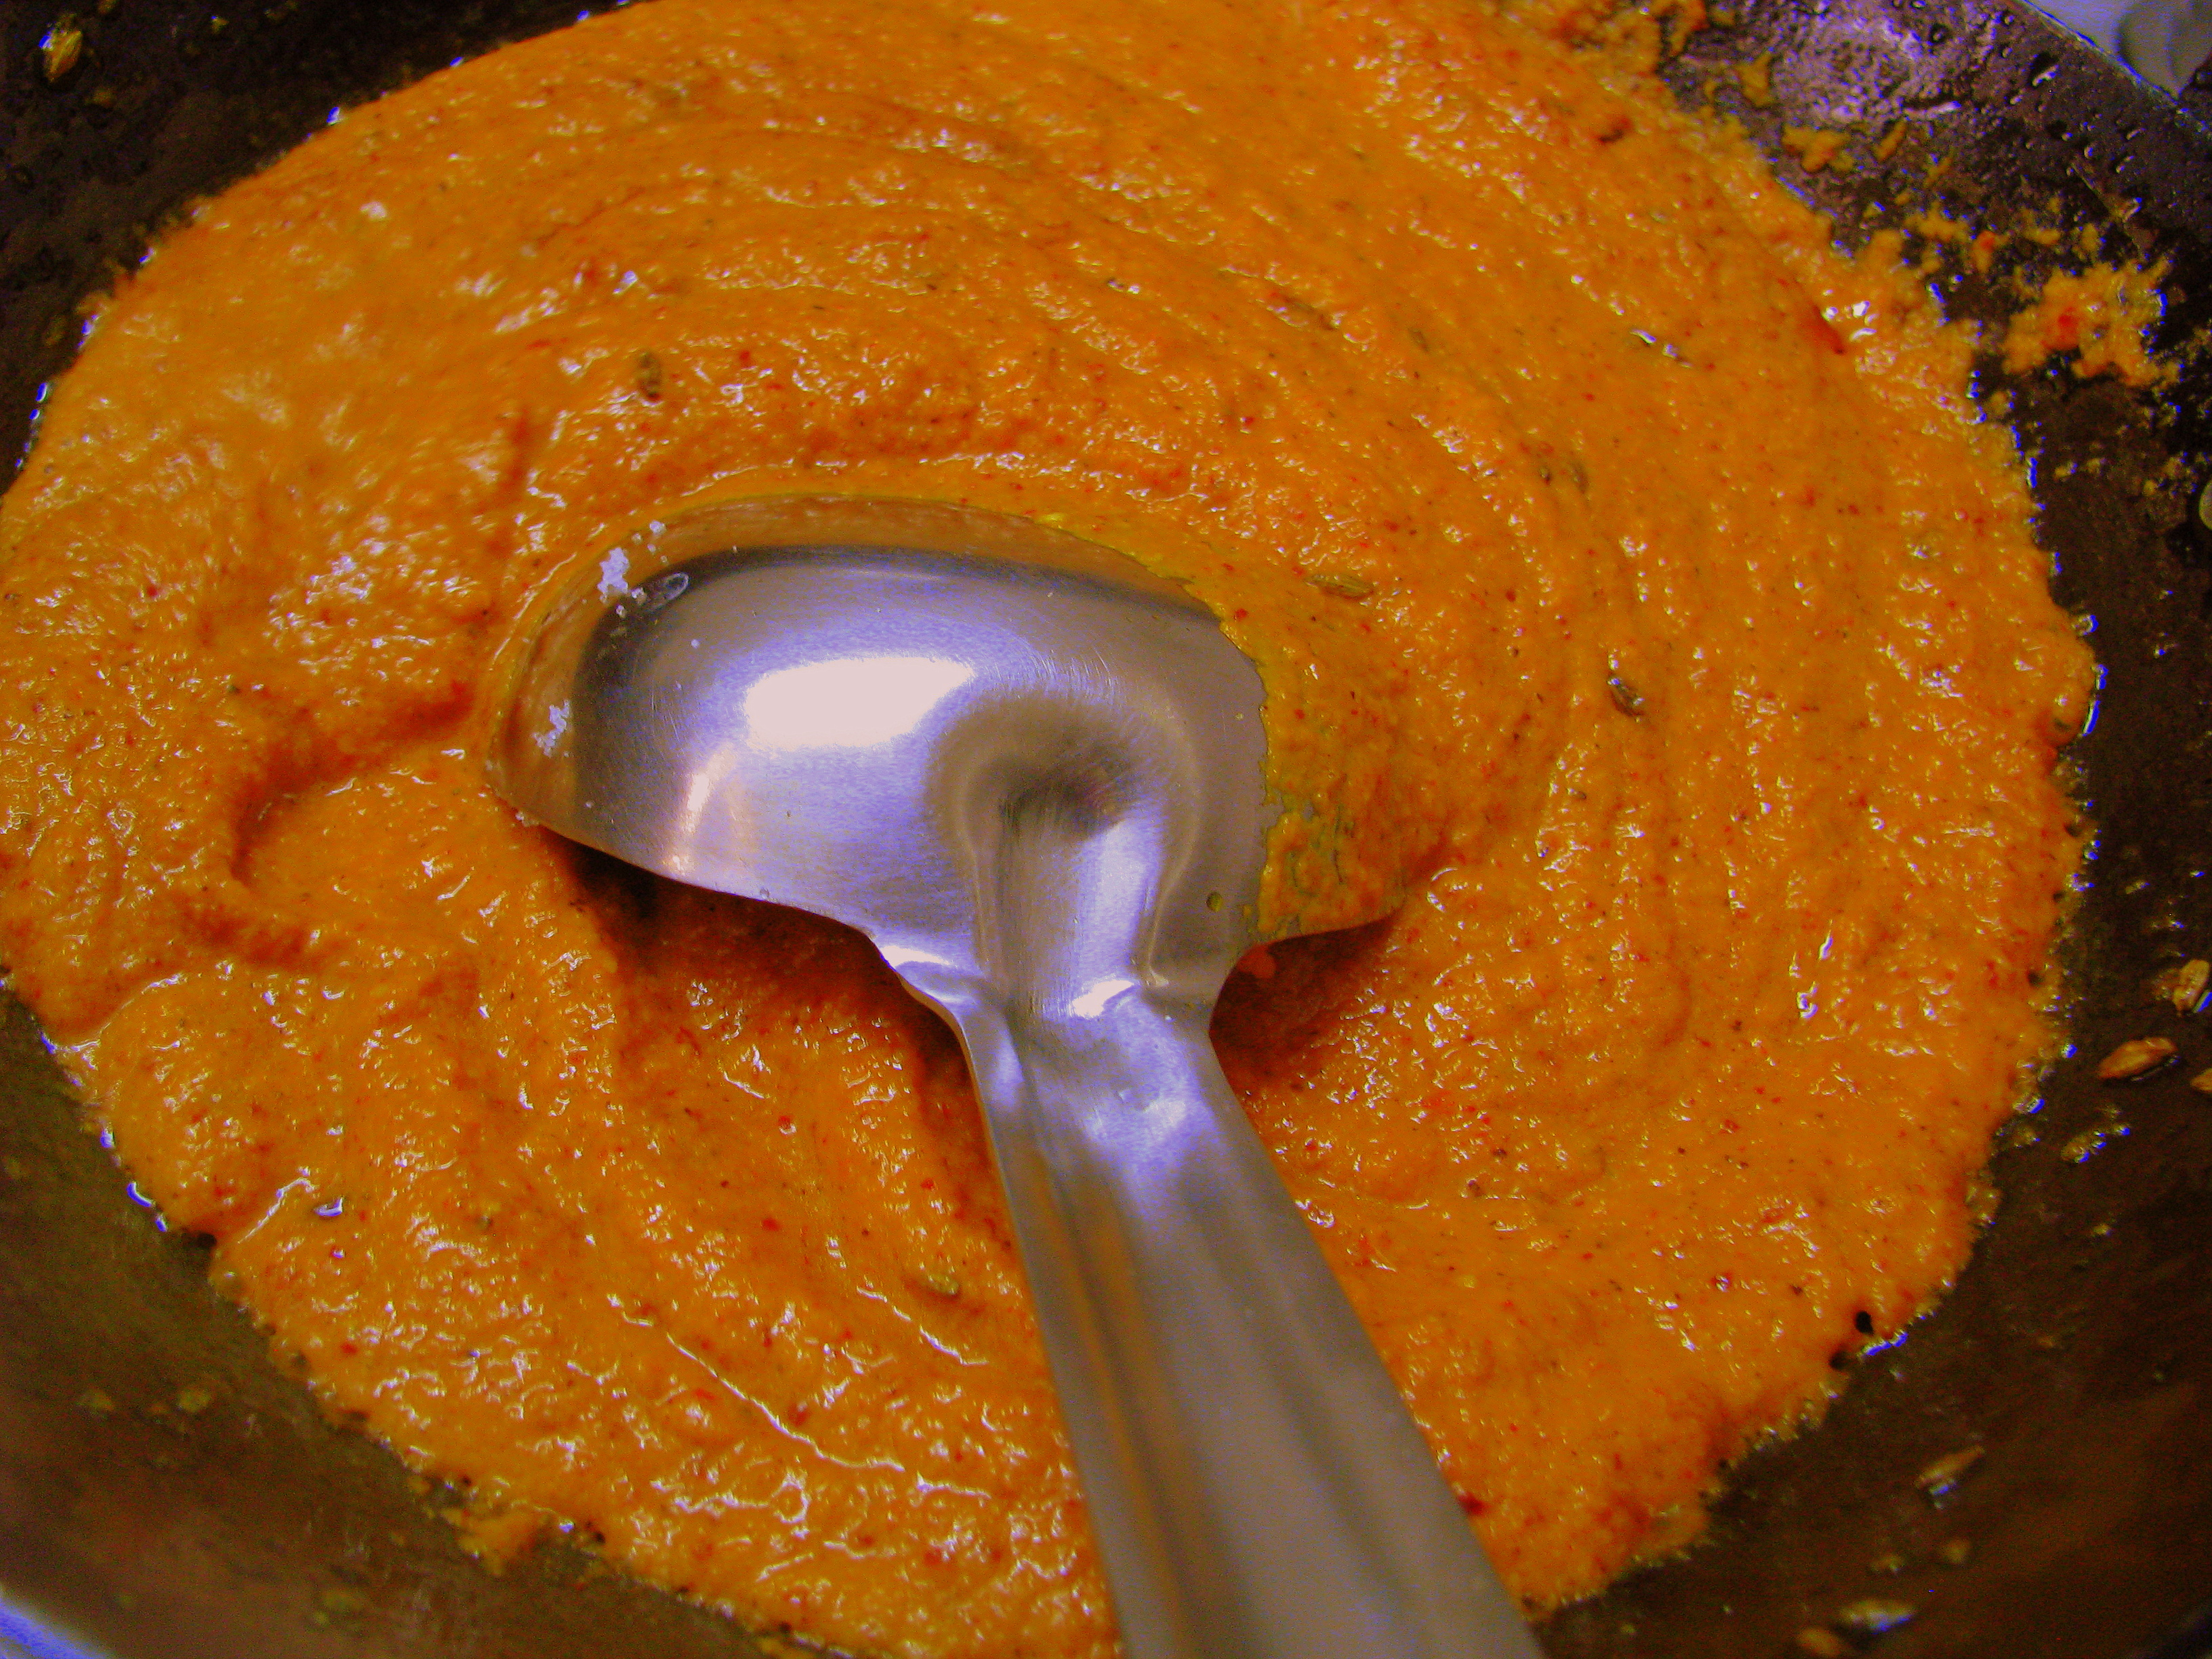
Then add fine paste of onion ,coconut ,red chillies, ginger& garlic to it. Add little salt and sauté it for a while .
Sauté it until oil start separating from masala .
Add garam masala, coriander powder (dhanyachi powder),turmeric powder (halad/ haldi)to it and saute this masala nicely
Add coriander leaves in this gravy masala (rasa masala) .
I have transfered the dry masala from kadhai into big vessel as it was small.
Now add 4 cups of water in masala to make rasa for shev bhaji, we r adding lot of water in gravy as when we add shev in rasa (gravy)it will soak lot of water .
Let it boil on low flames for 4-5 minutes . Check the salt , add little more if required.
Remove gravy (rasa) from the heat and add shev to it .
Serve shev bhaji hot with chapattis or bhakris or phulkis or even with paratha or kulcha.
shev bhaji
[/directions]
Notes for making healthy and perfect shev bhaji
Add less oil while making masala, as shev has already lots of oil in it.
Add shev when you r serving it. Keep the shev bhaji gravy ready when its time to serve it make I hot and add shev to it and serve it immediately otherwise shev becomes very soft.
If you want to remove oil from shev to make it low calorie add shev in water and then remove it and then add it in shev bhaji rasa. By this method we can remove the extra oil in shev (in water). Well this is for those who want to eat interesting but on diet regime.
2 tablespoon yellow / black mustard seeds(you can also use rai dal i.e split mustard seeds/ rain a kuria)
12 tablespoon badi saunf (fennel seeds)
¾ cup mustard (sarson , rai )/peanut oil
1 teapoon Black pepper (kali mirch / miri)
1 teaspoon Hing (Asafoetida)
[/ingredients]
[directions title=”Directions”]
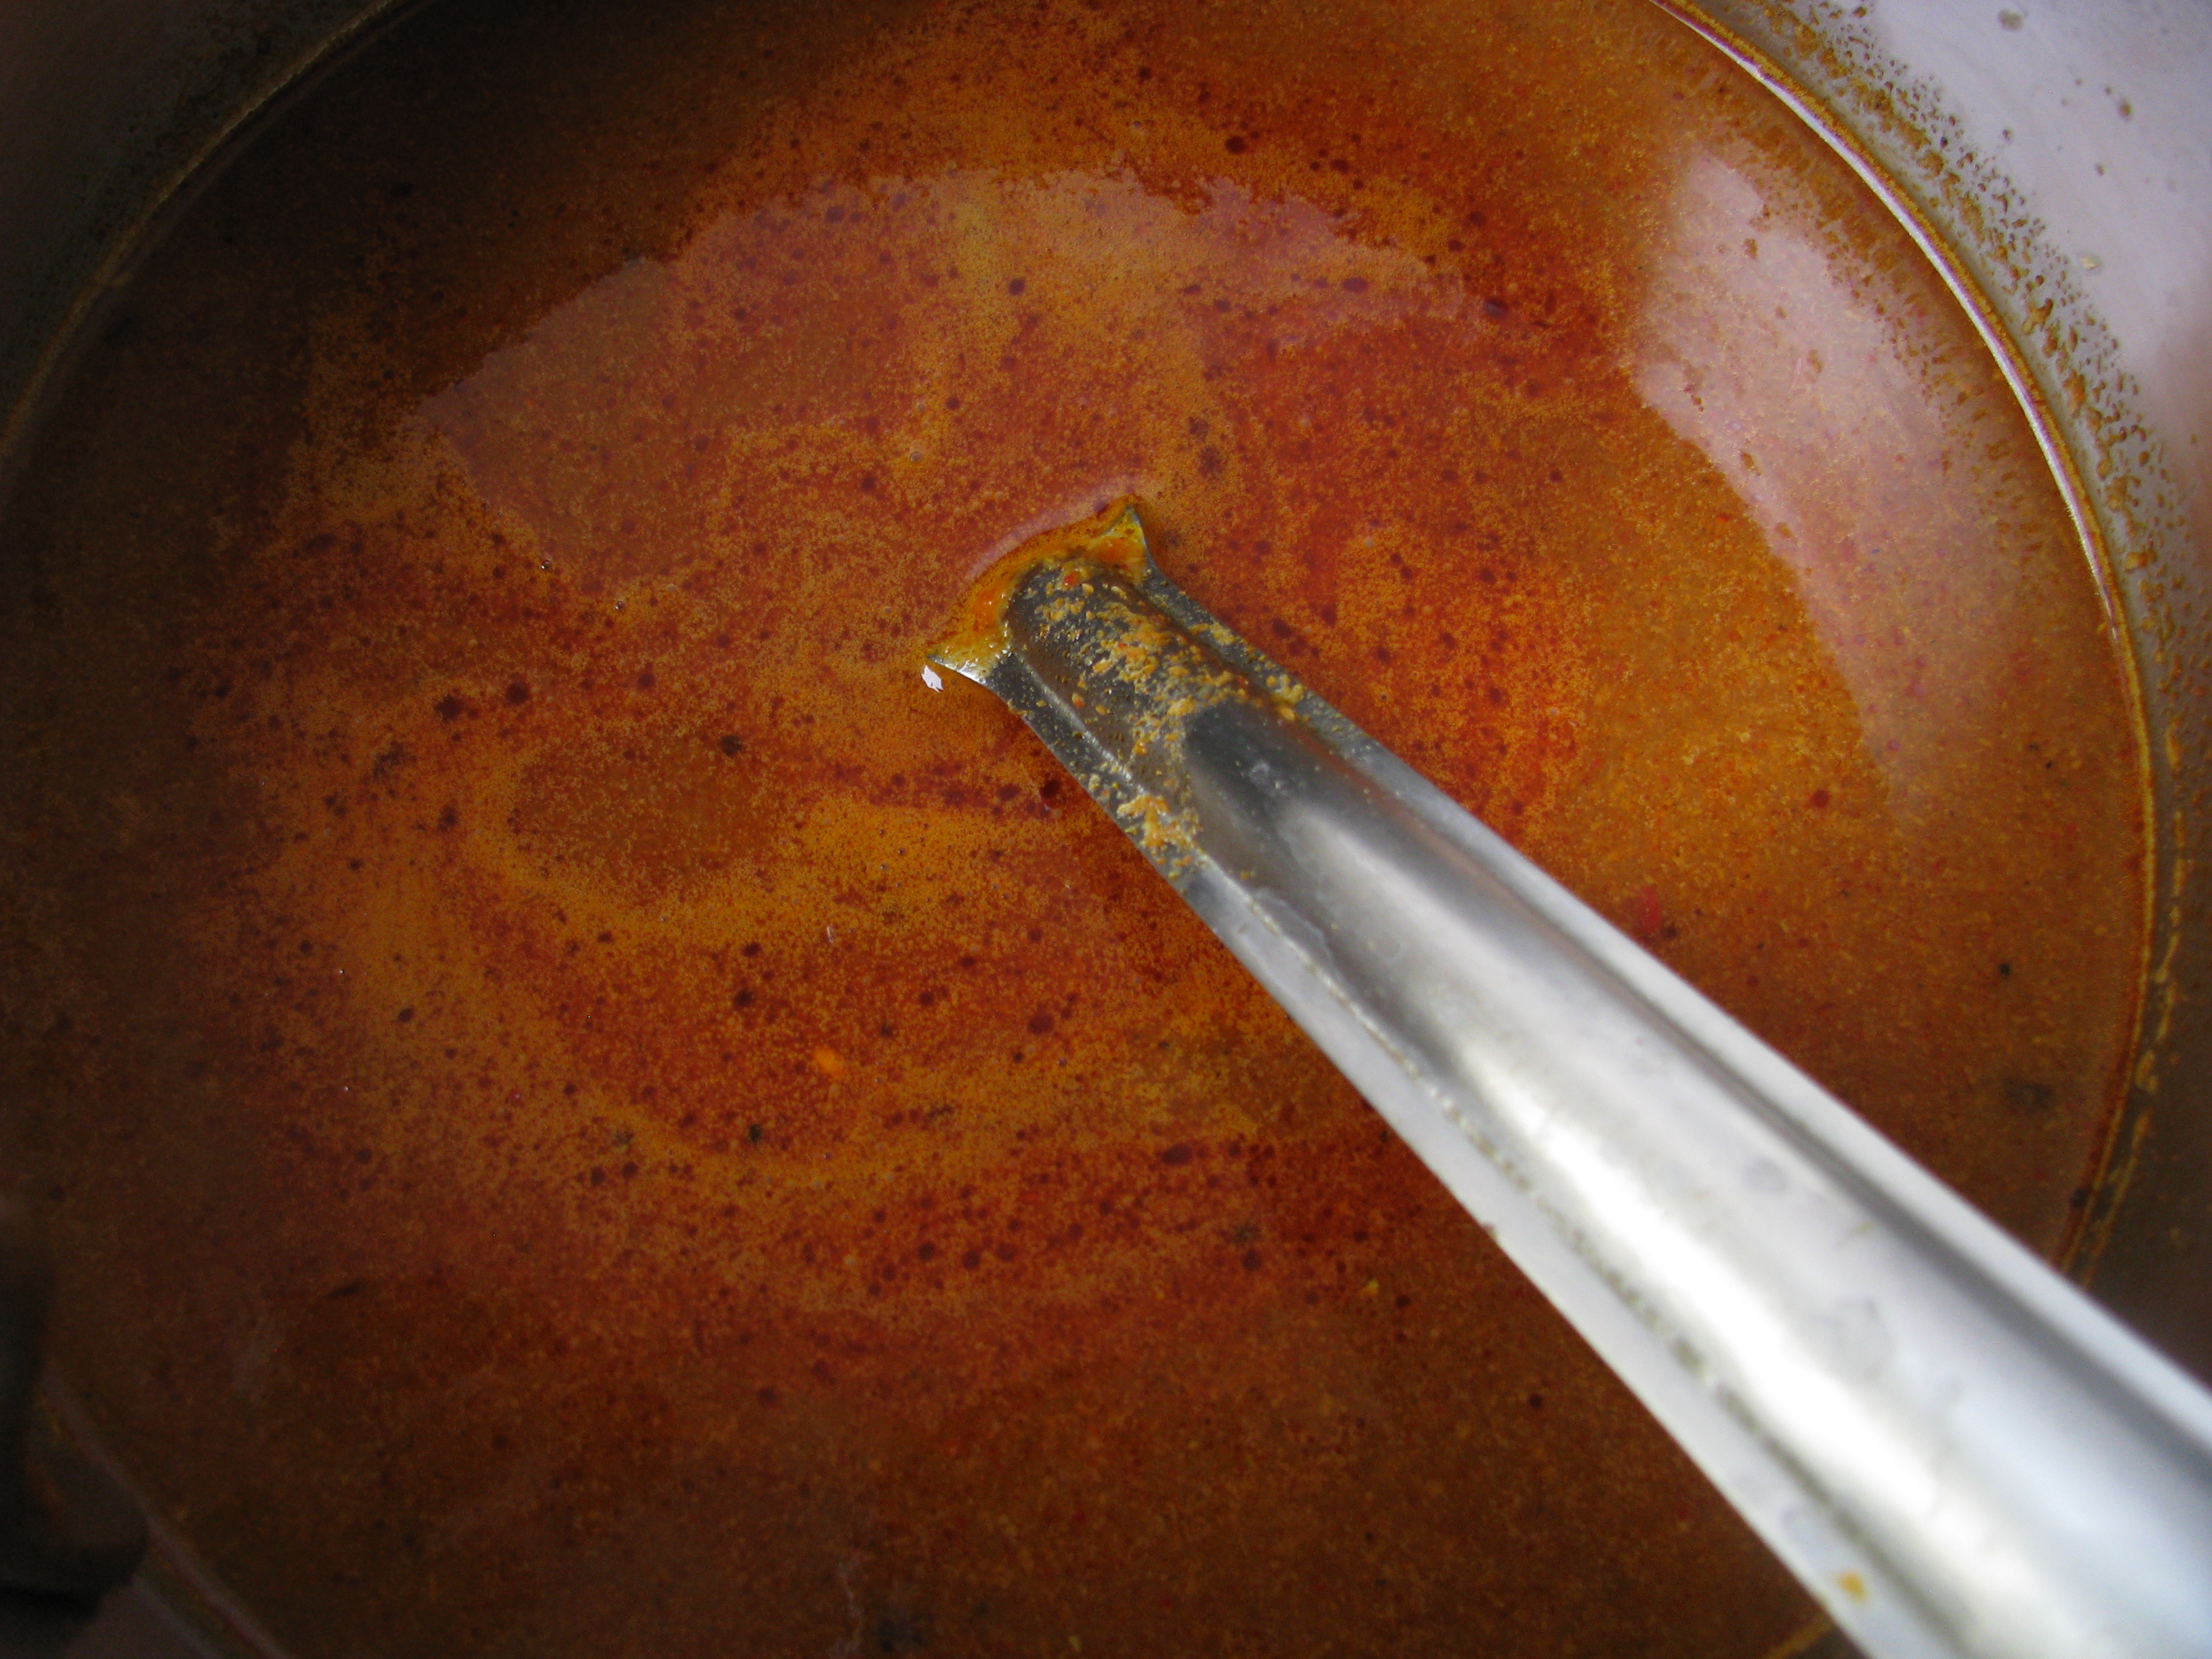
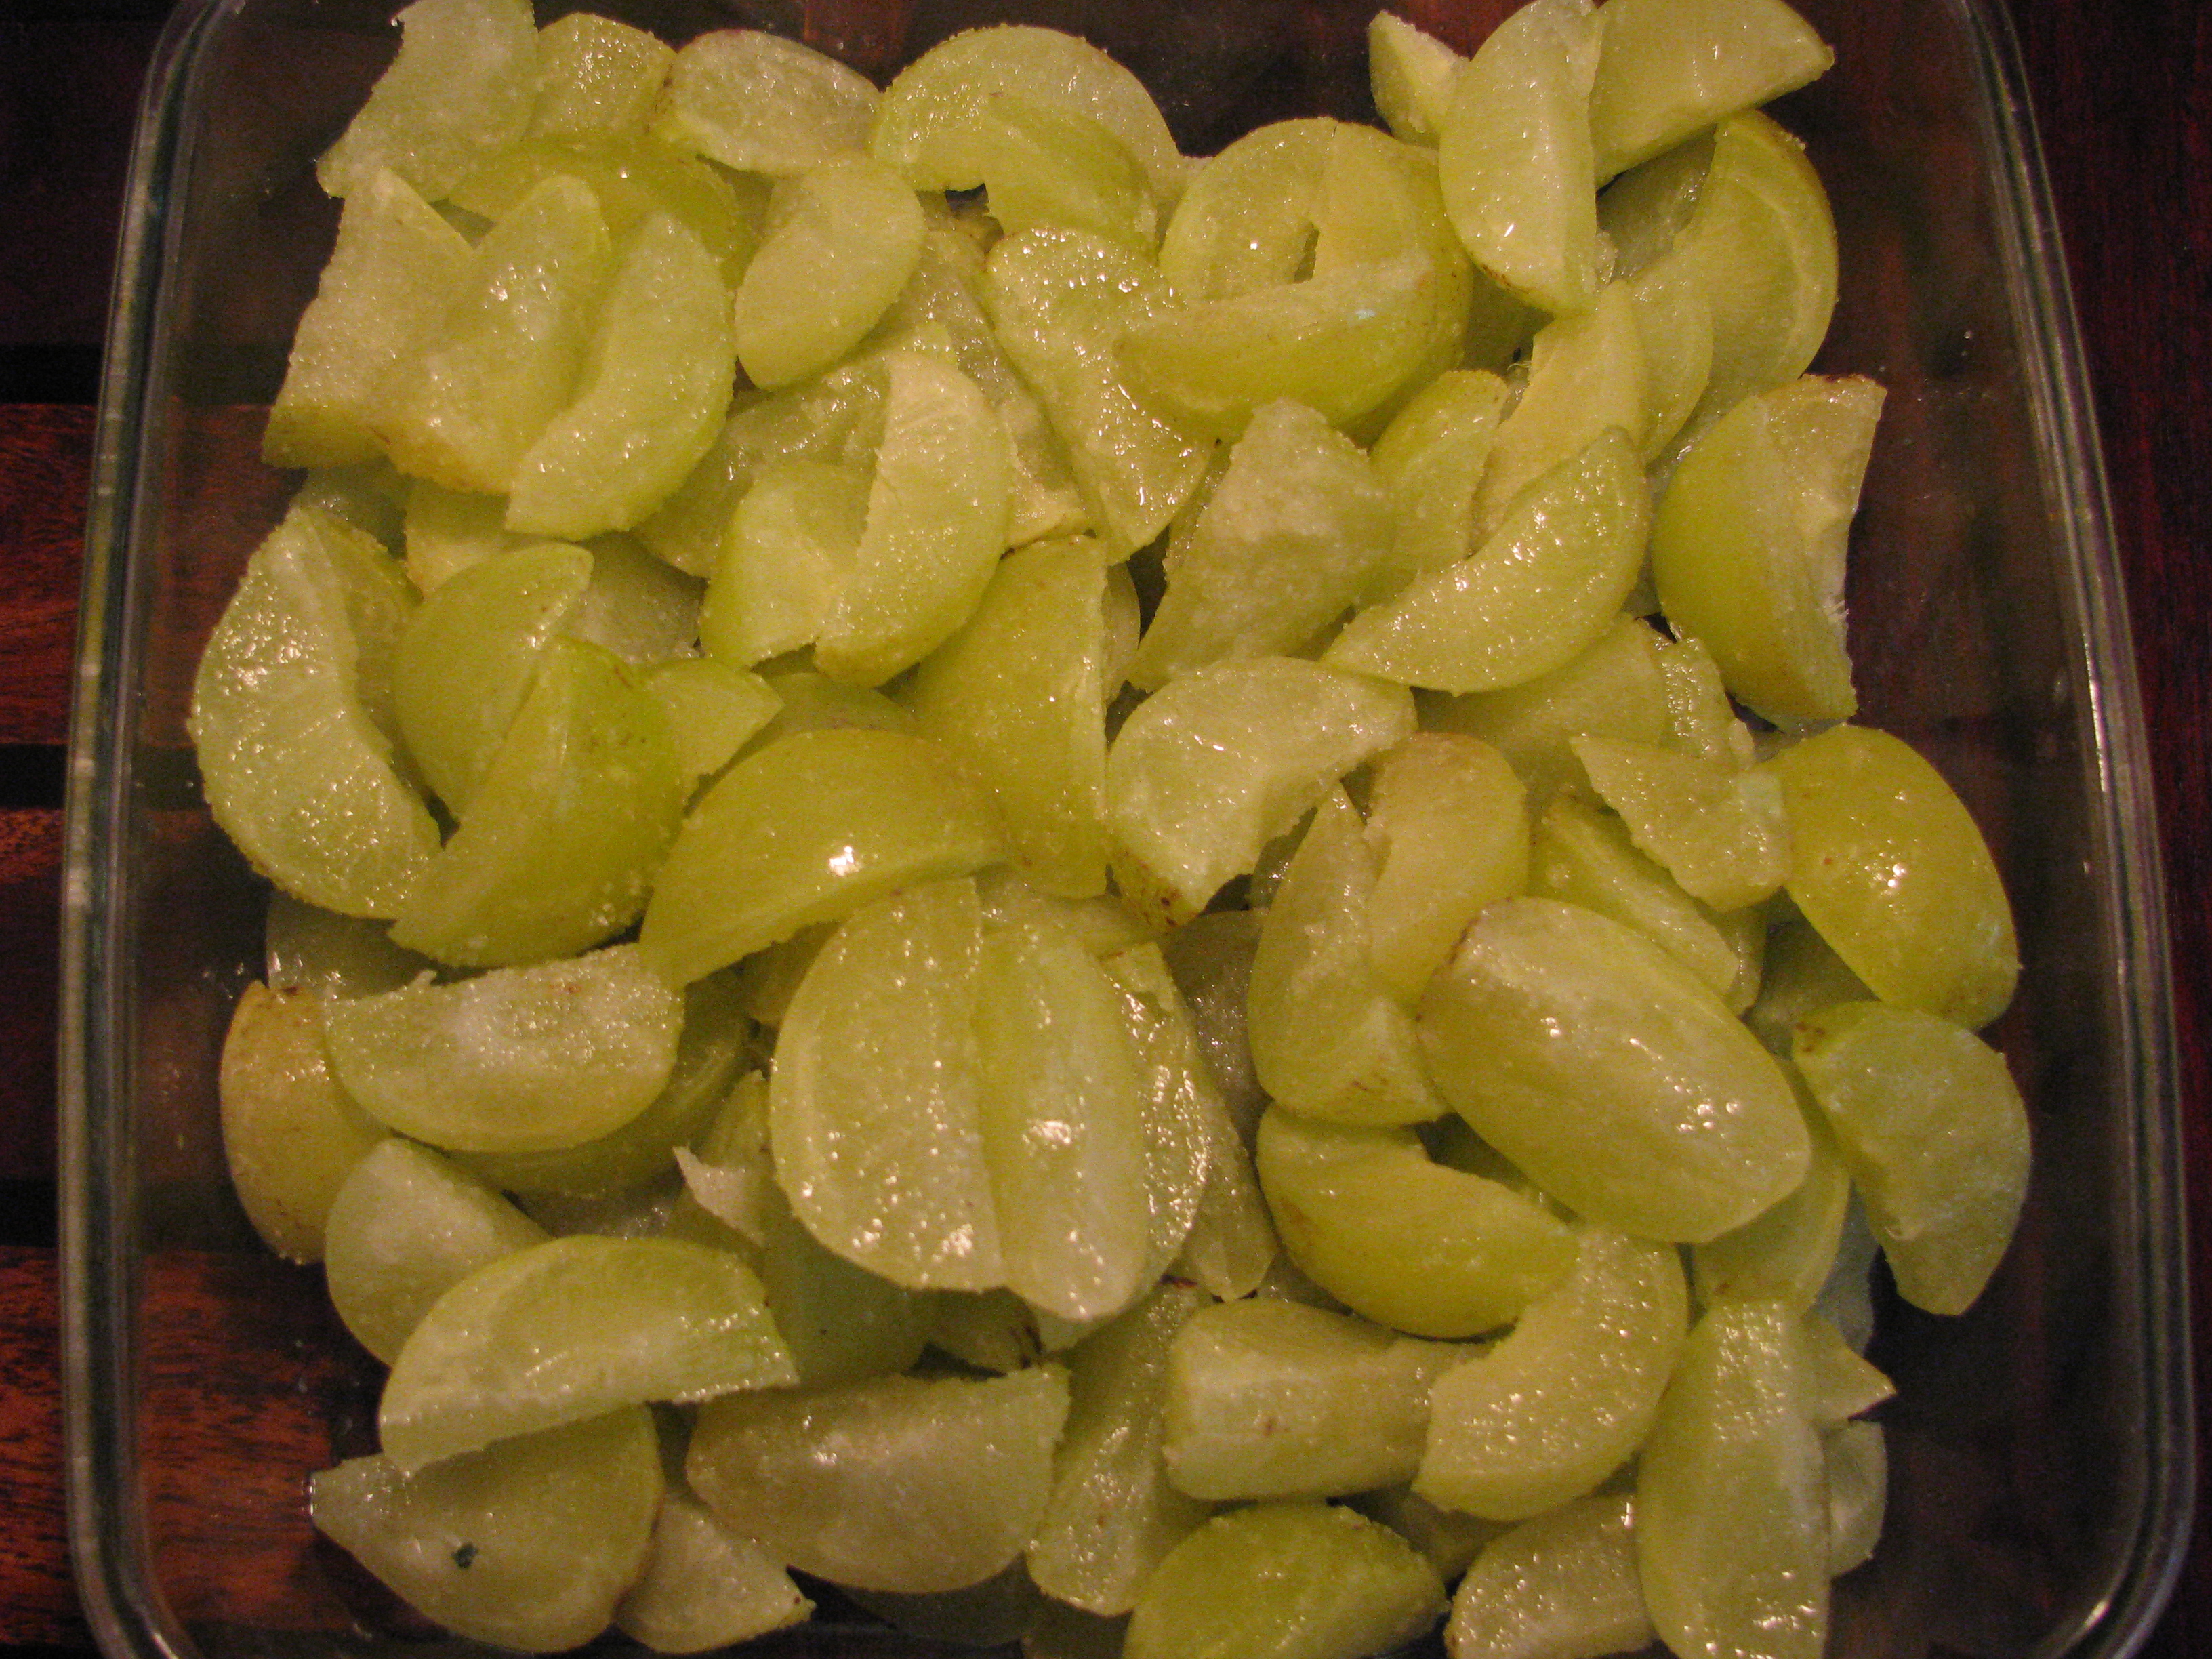
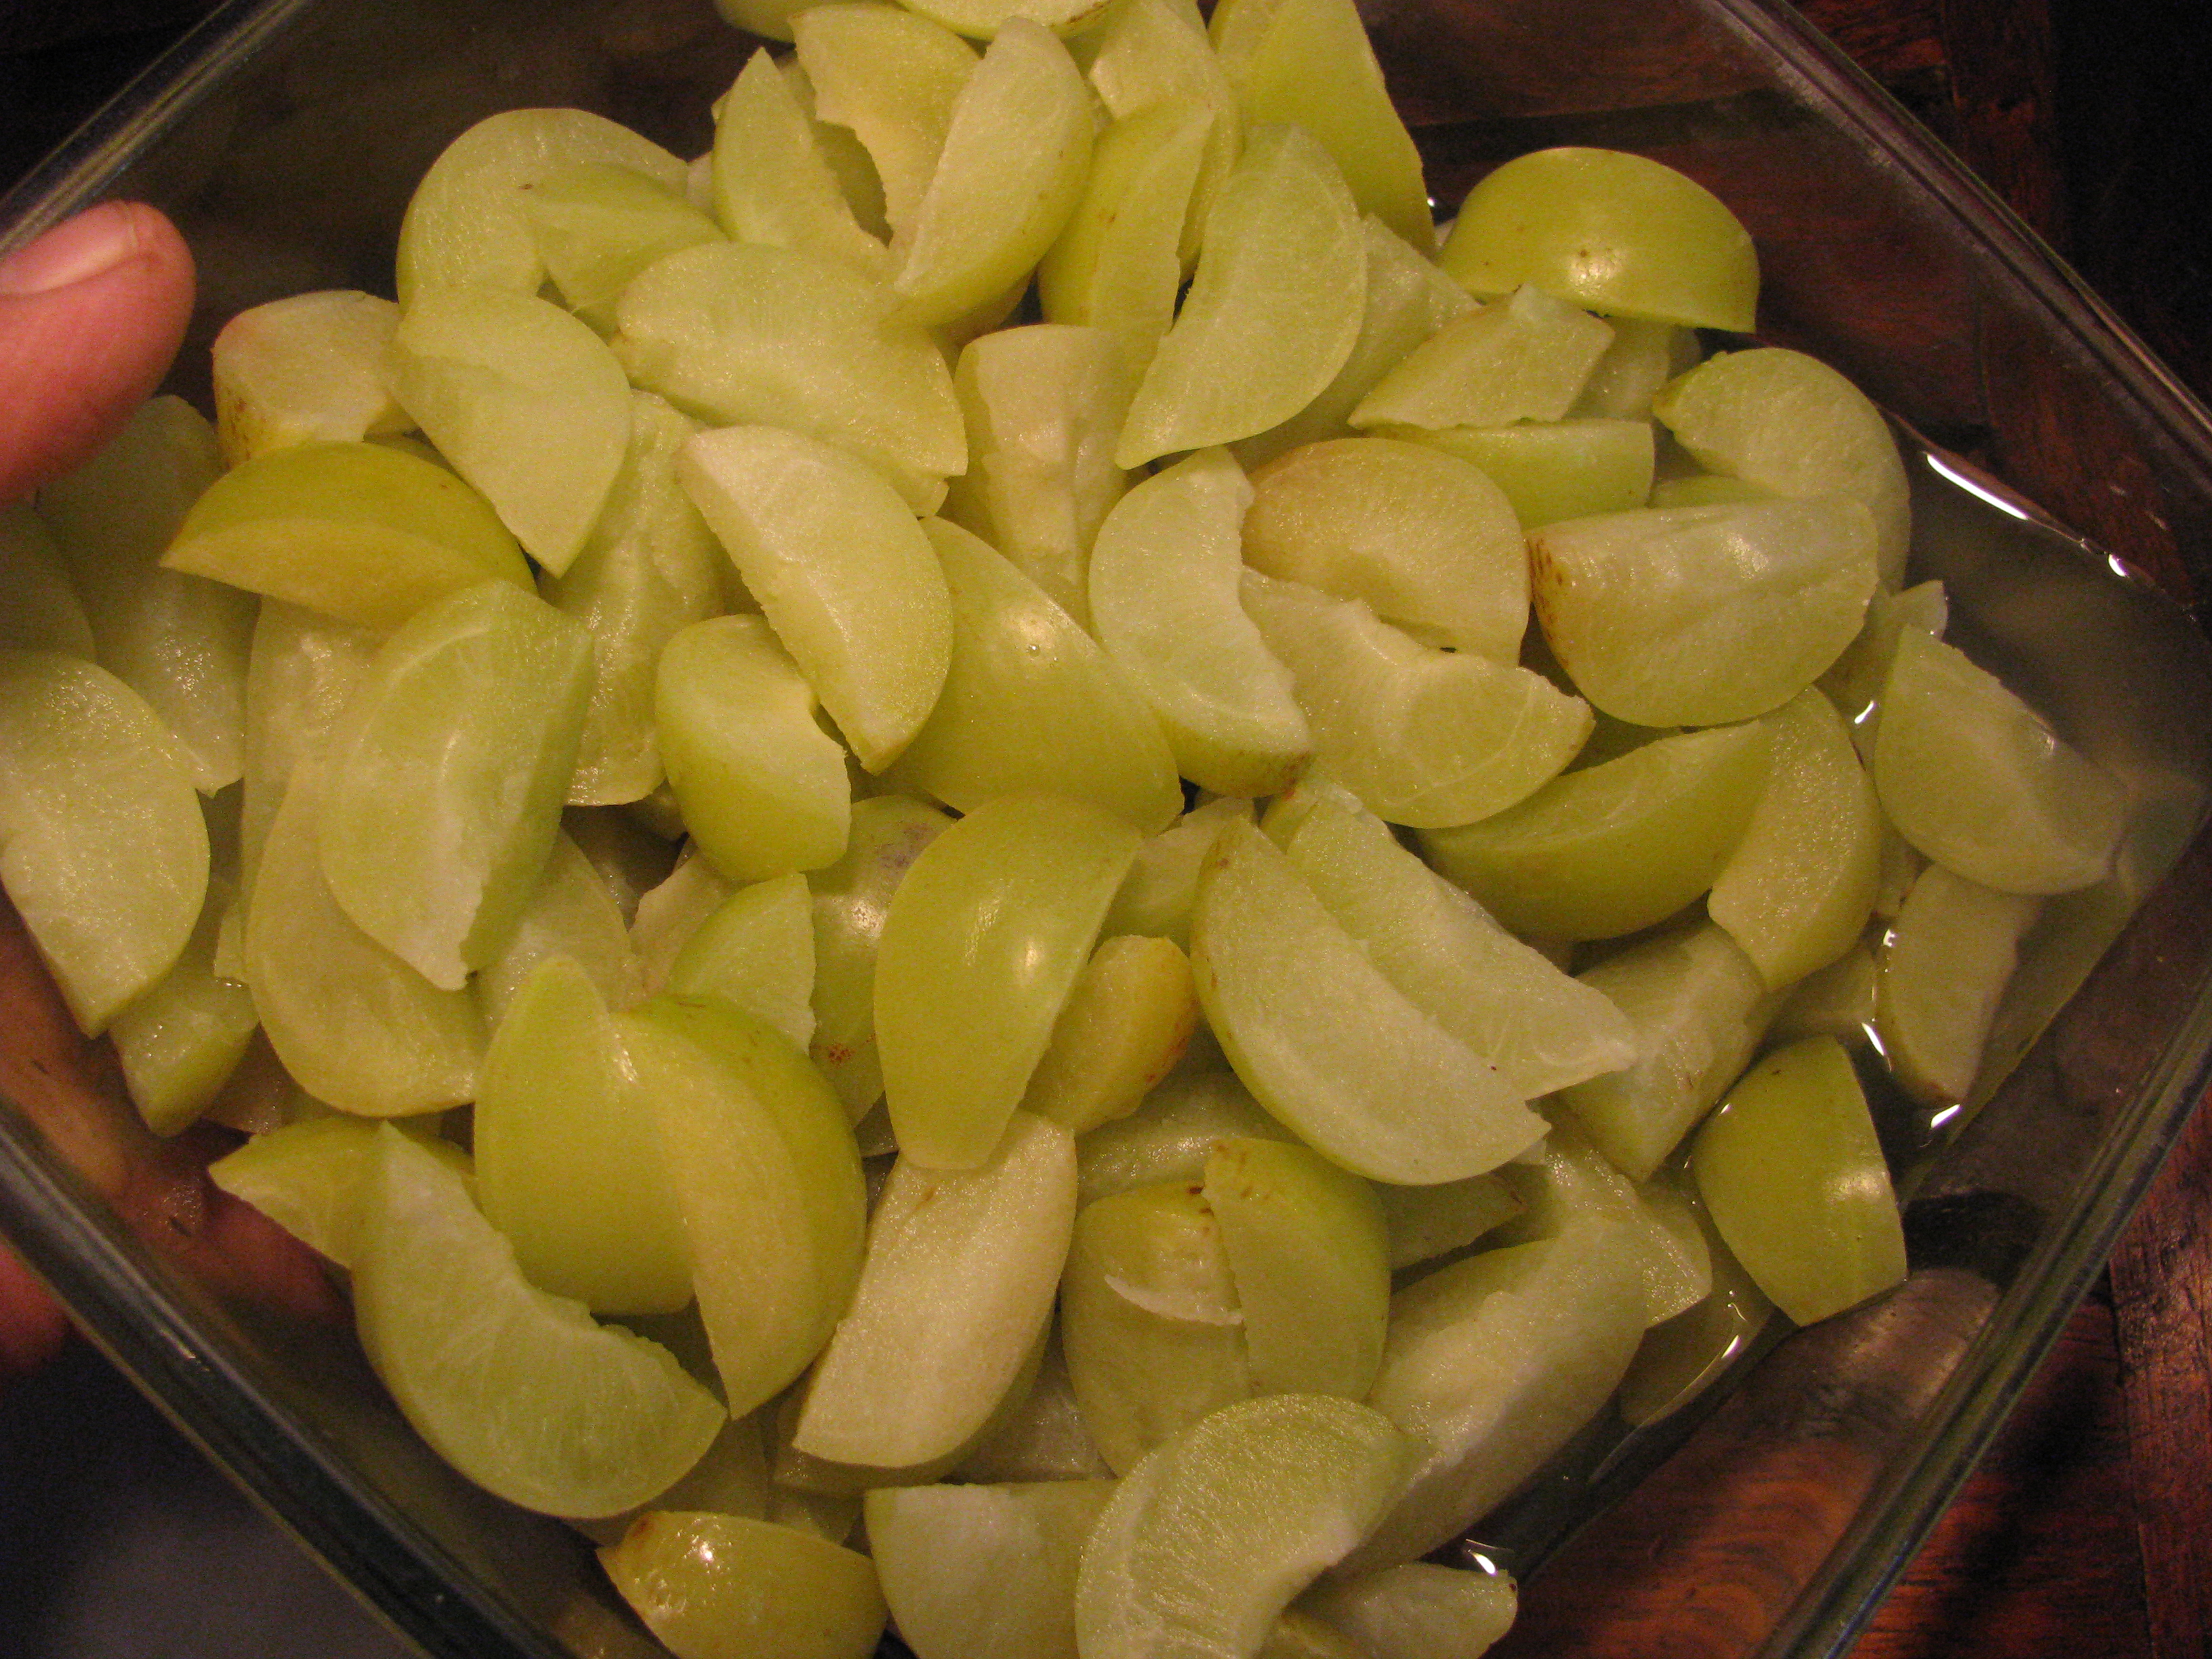
Wash amla with clean water and wipe it dry with towel.
Cut it into pieces and remove seeds from it. Add 3 teaspoon salt and keep it covered for 1 day.
amla pieces
Remove the water diffused by amlas
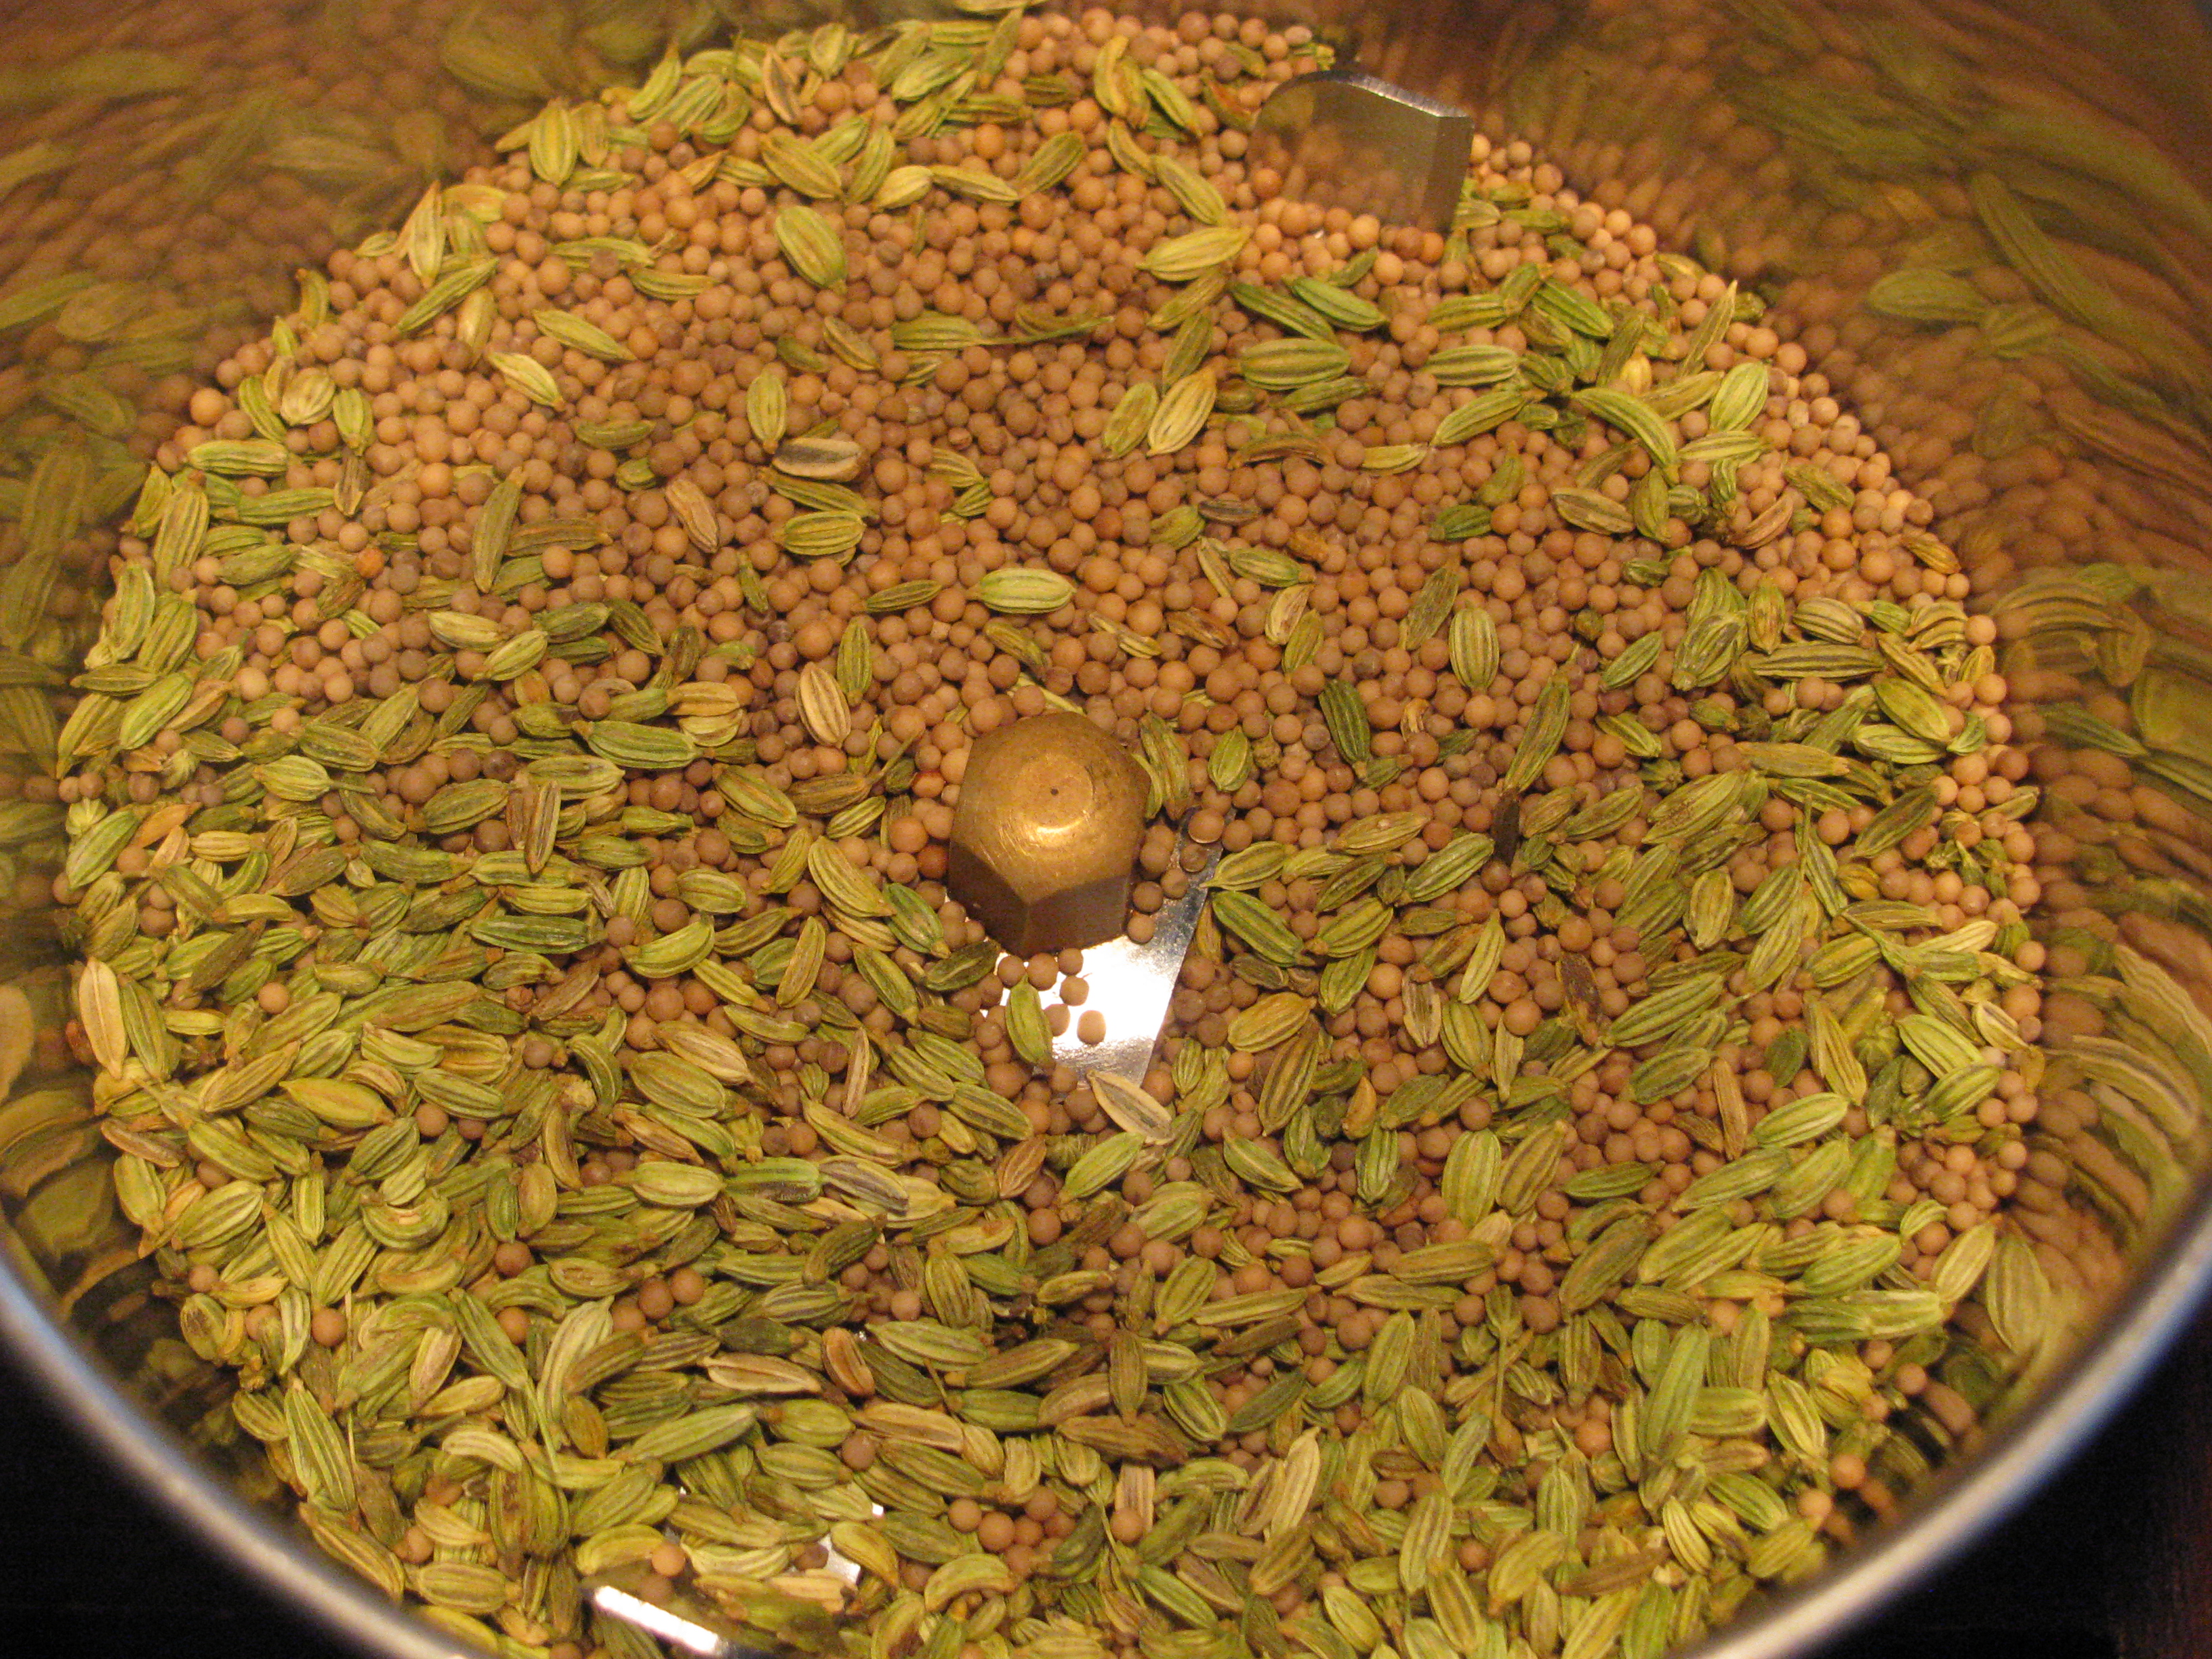
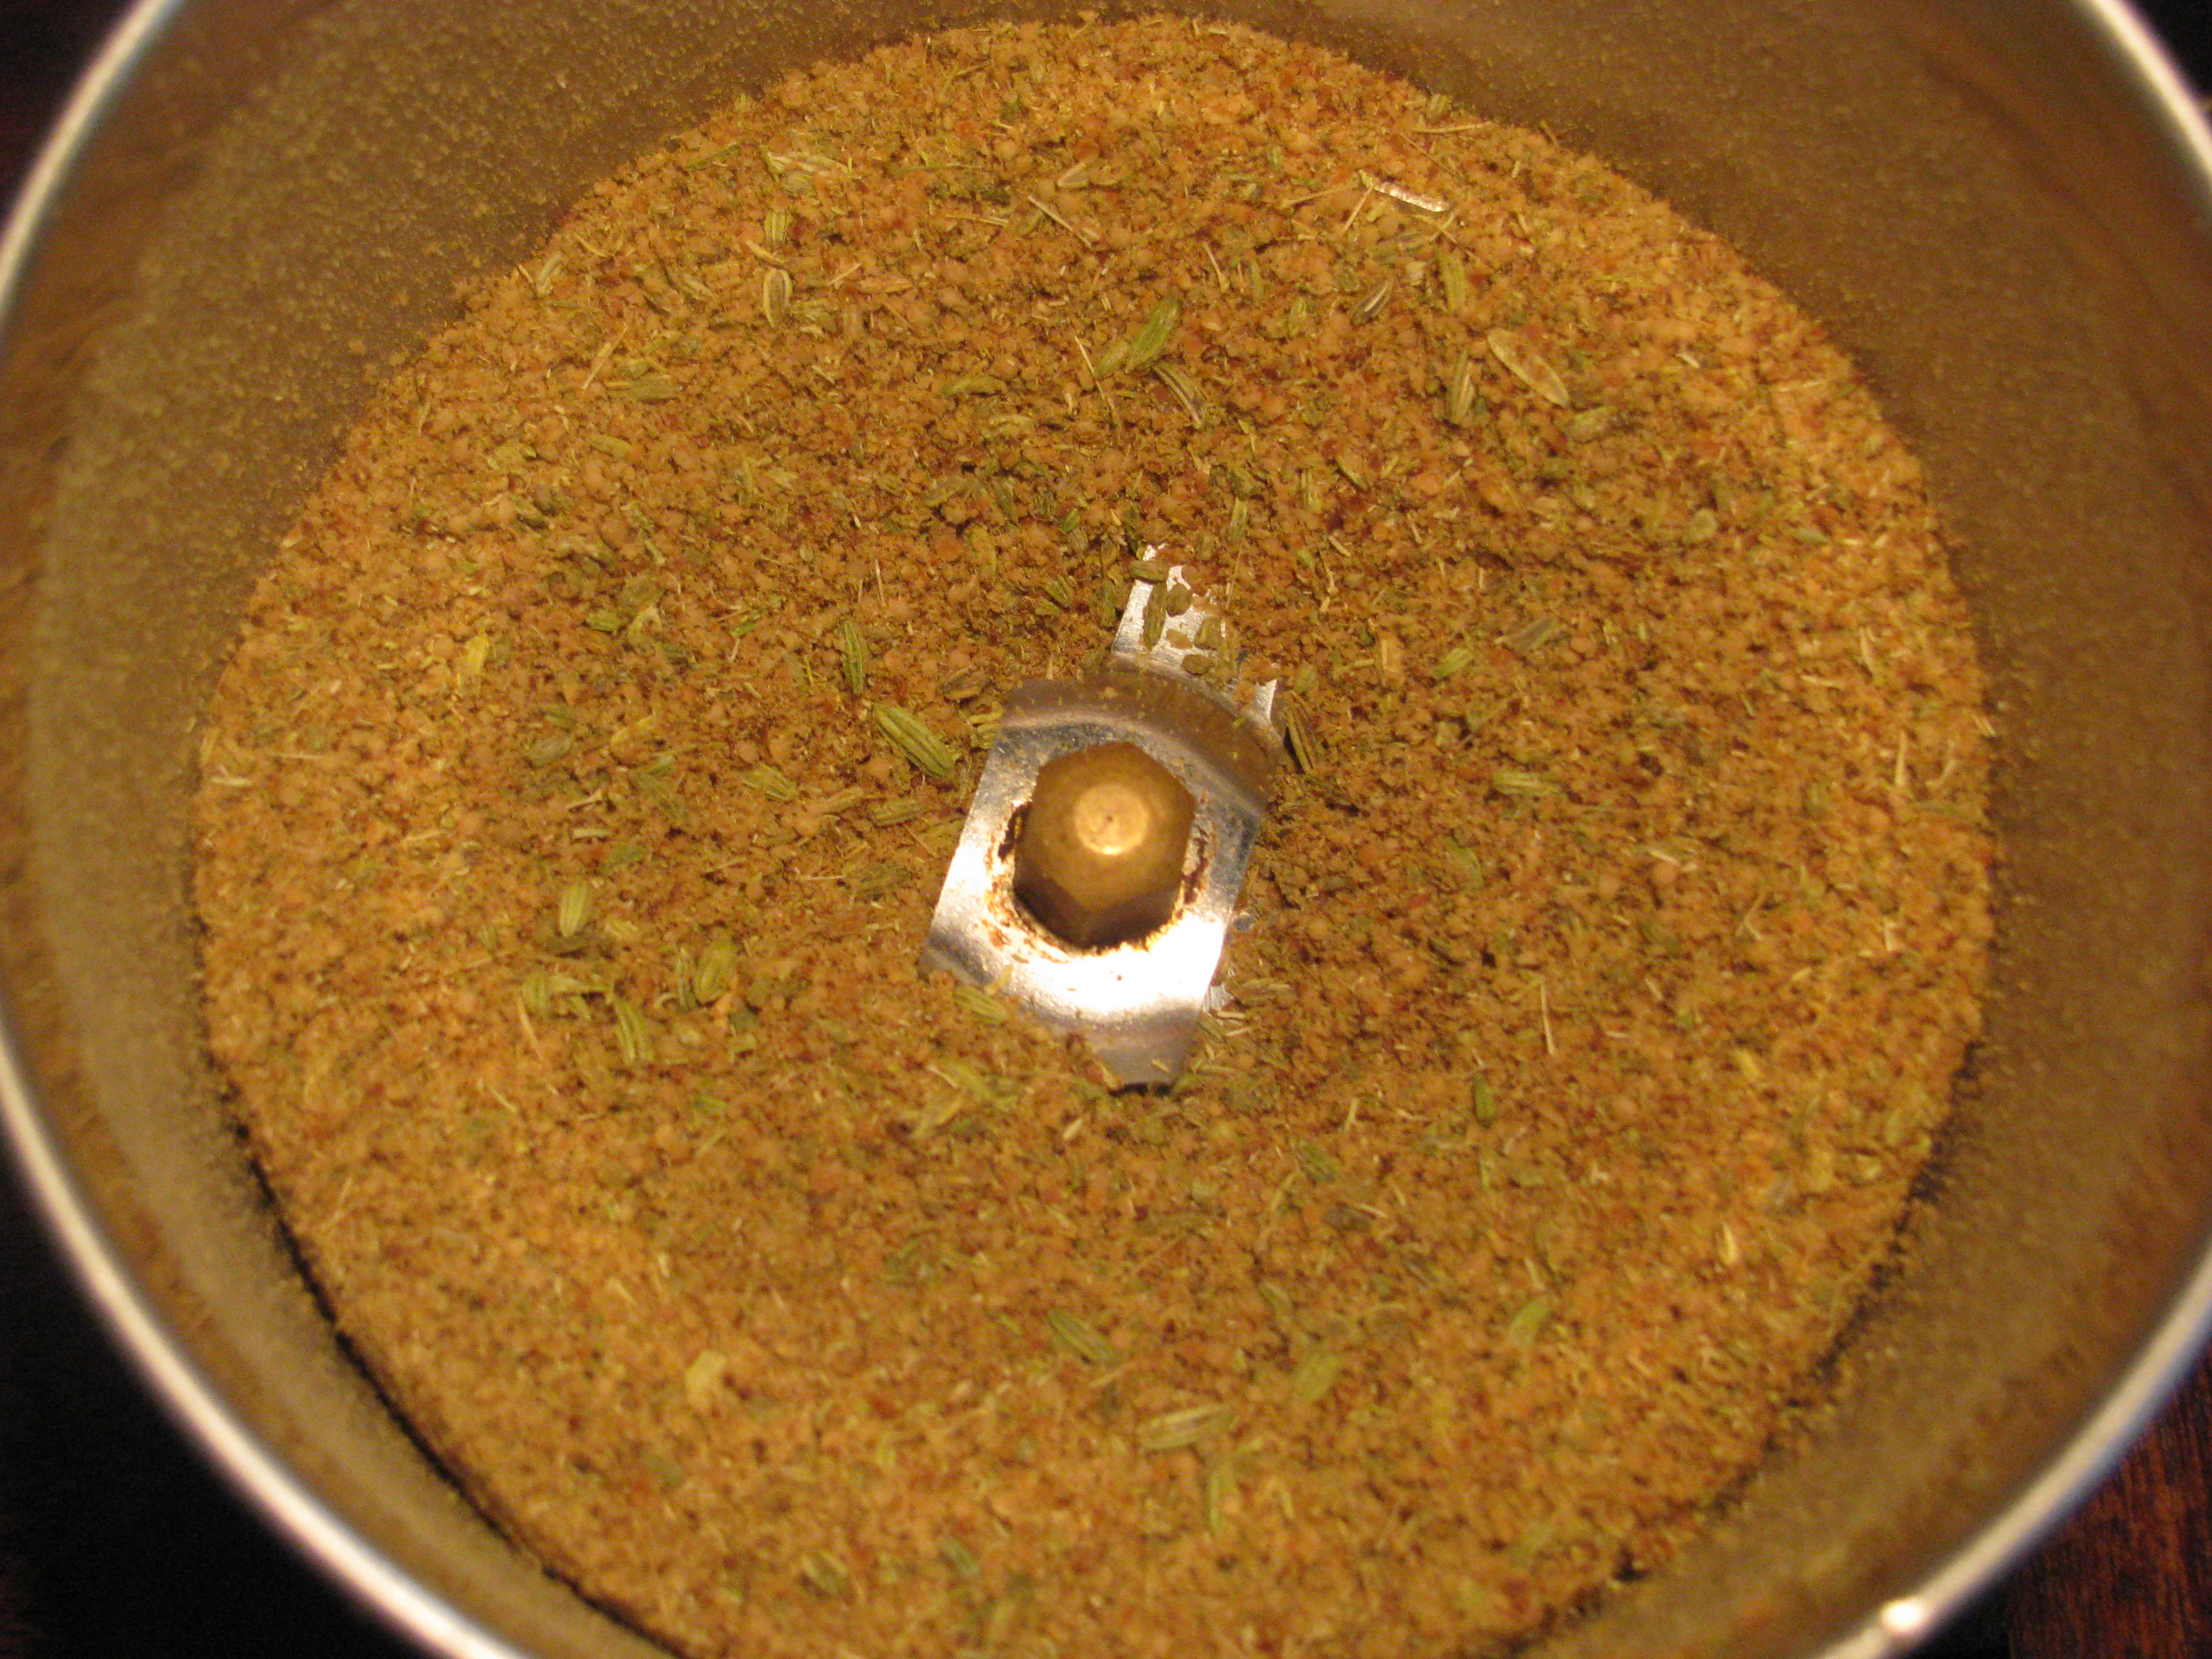
Roast mustard seeds and badi saunf (fennel seeds) and grind it into powder.
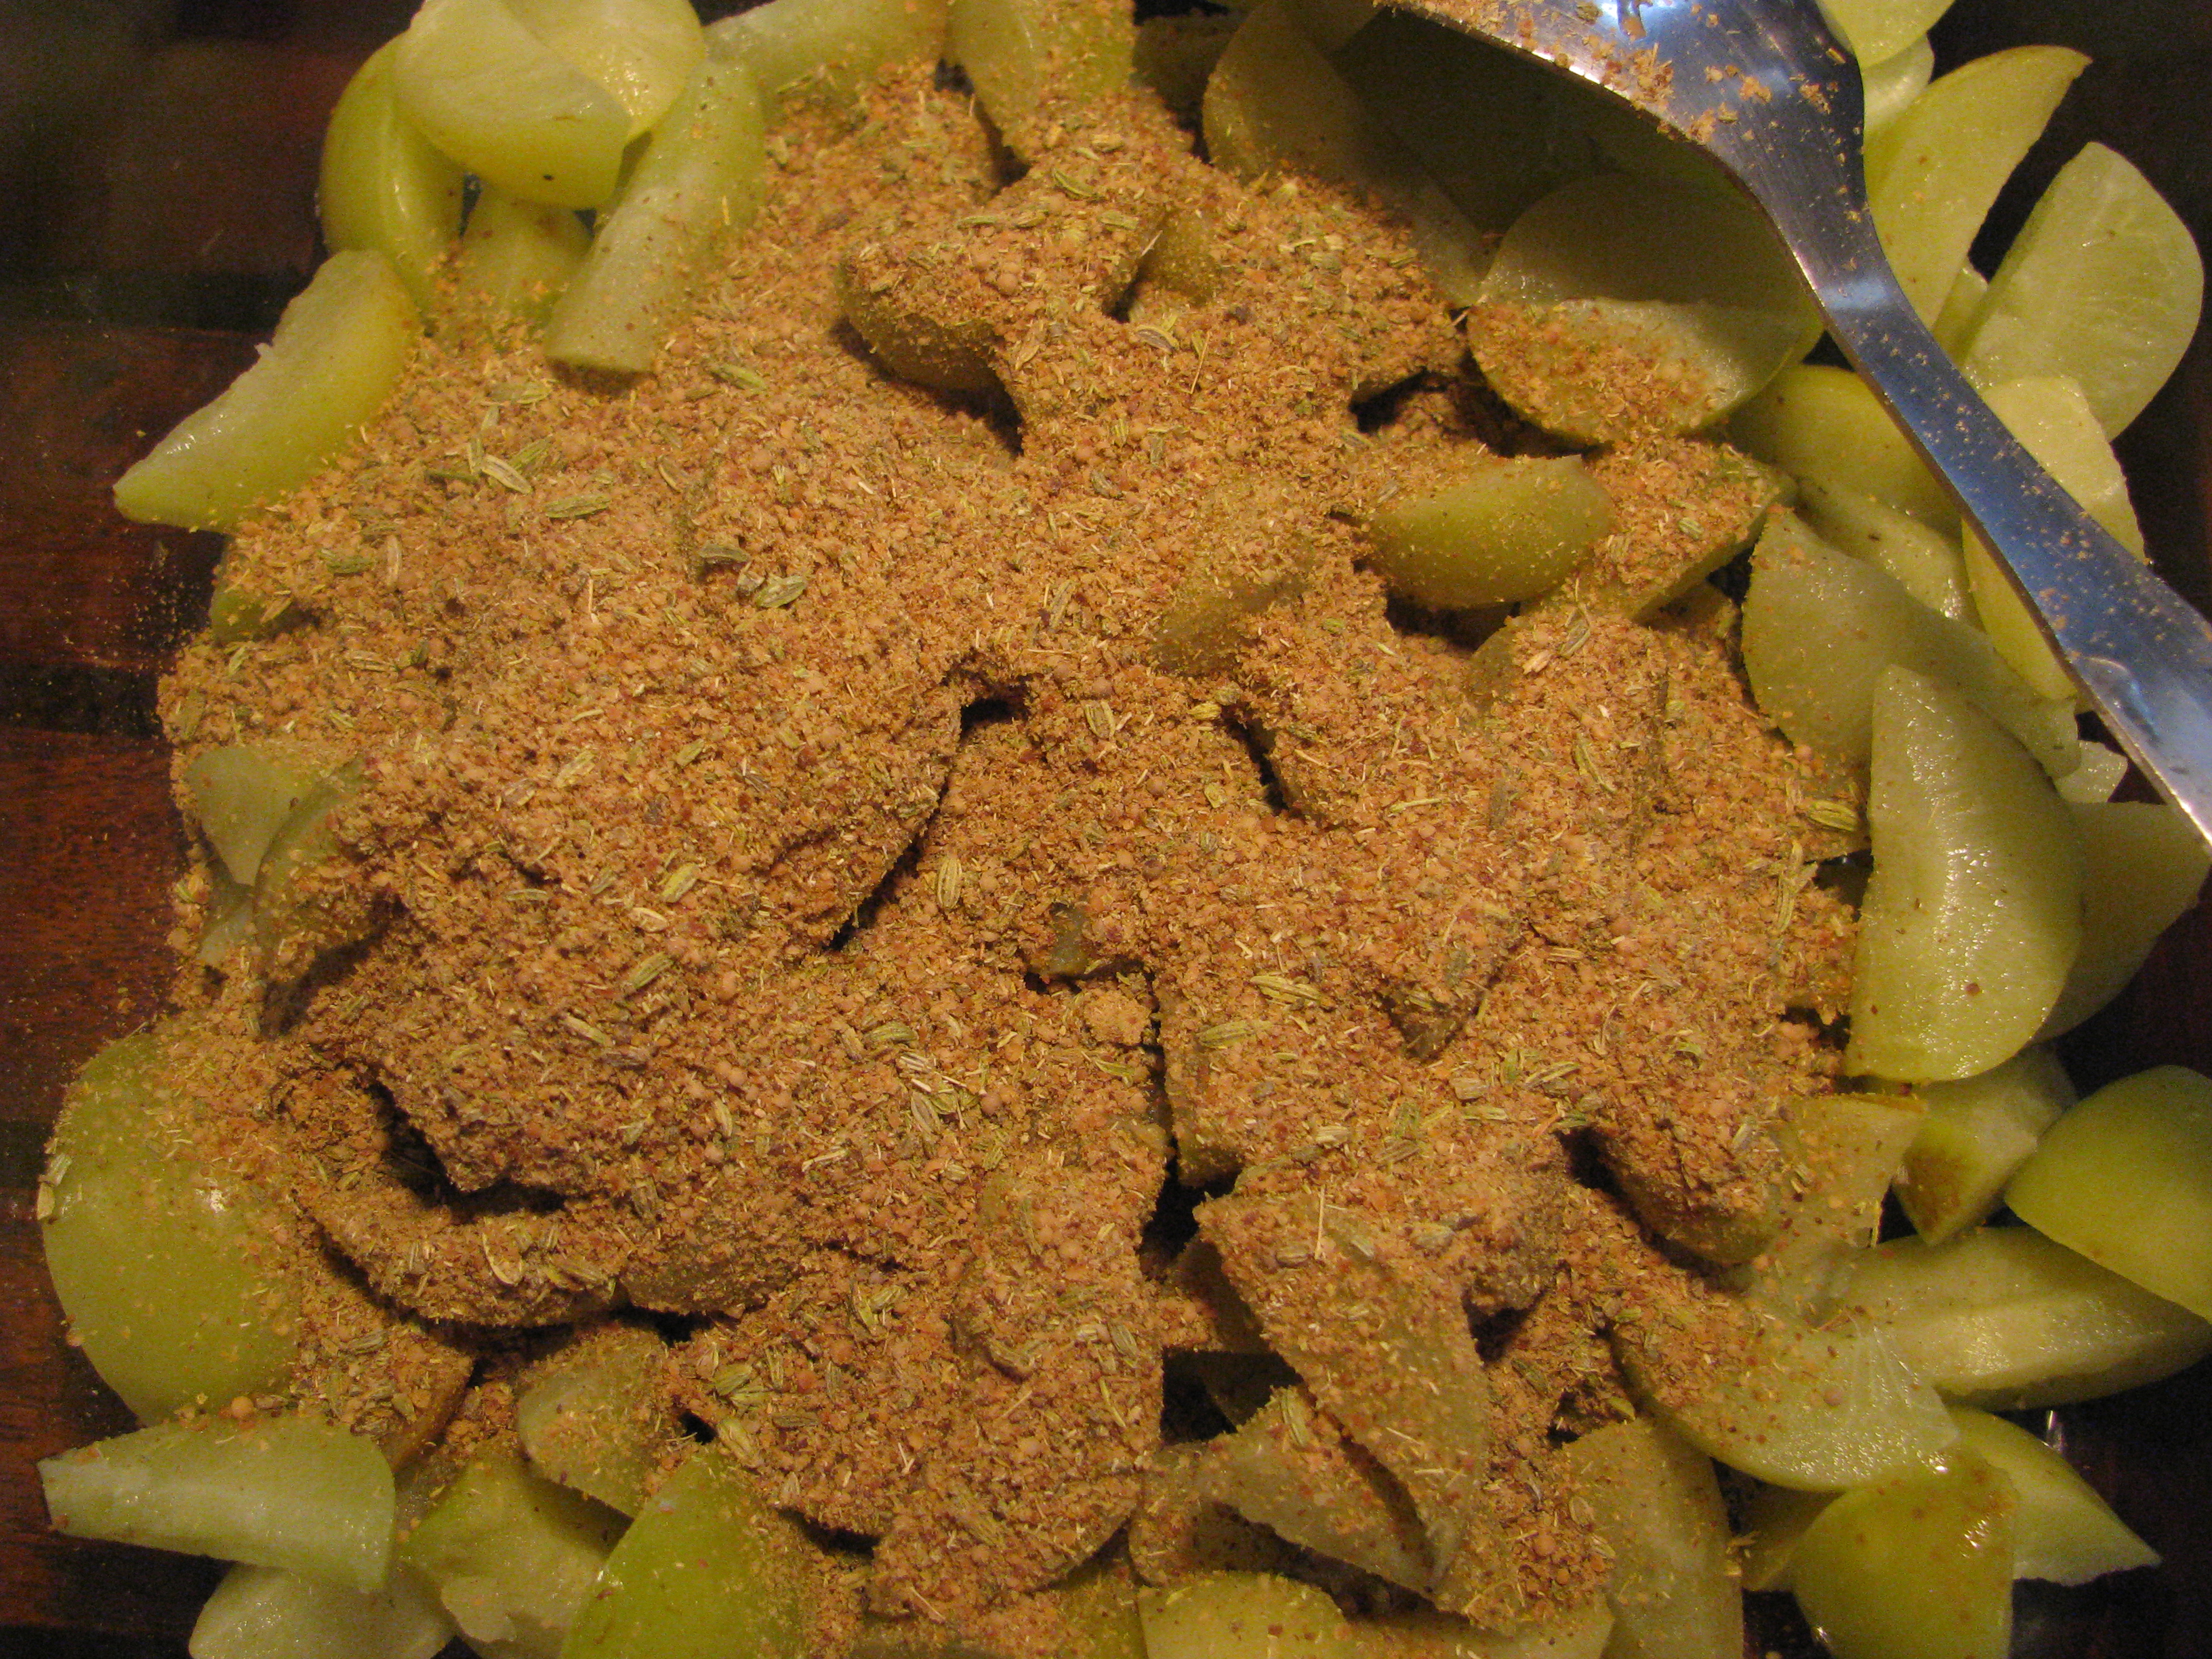
Add this roasted mustard –saunf powder in amlas . Add 3 teaspoon salt and jaggery to it & mix it nicely.
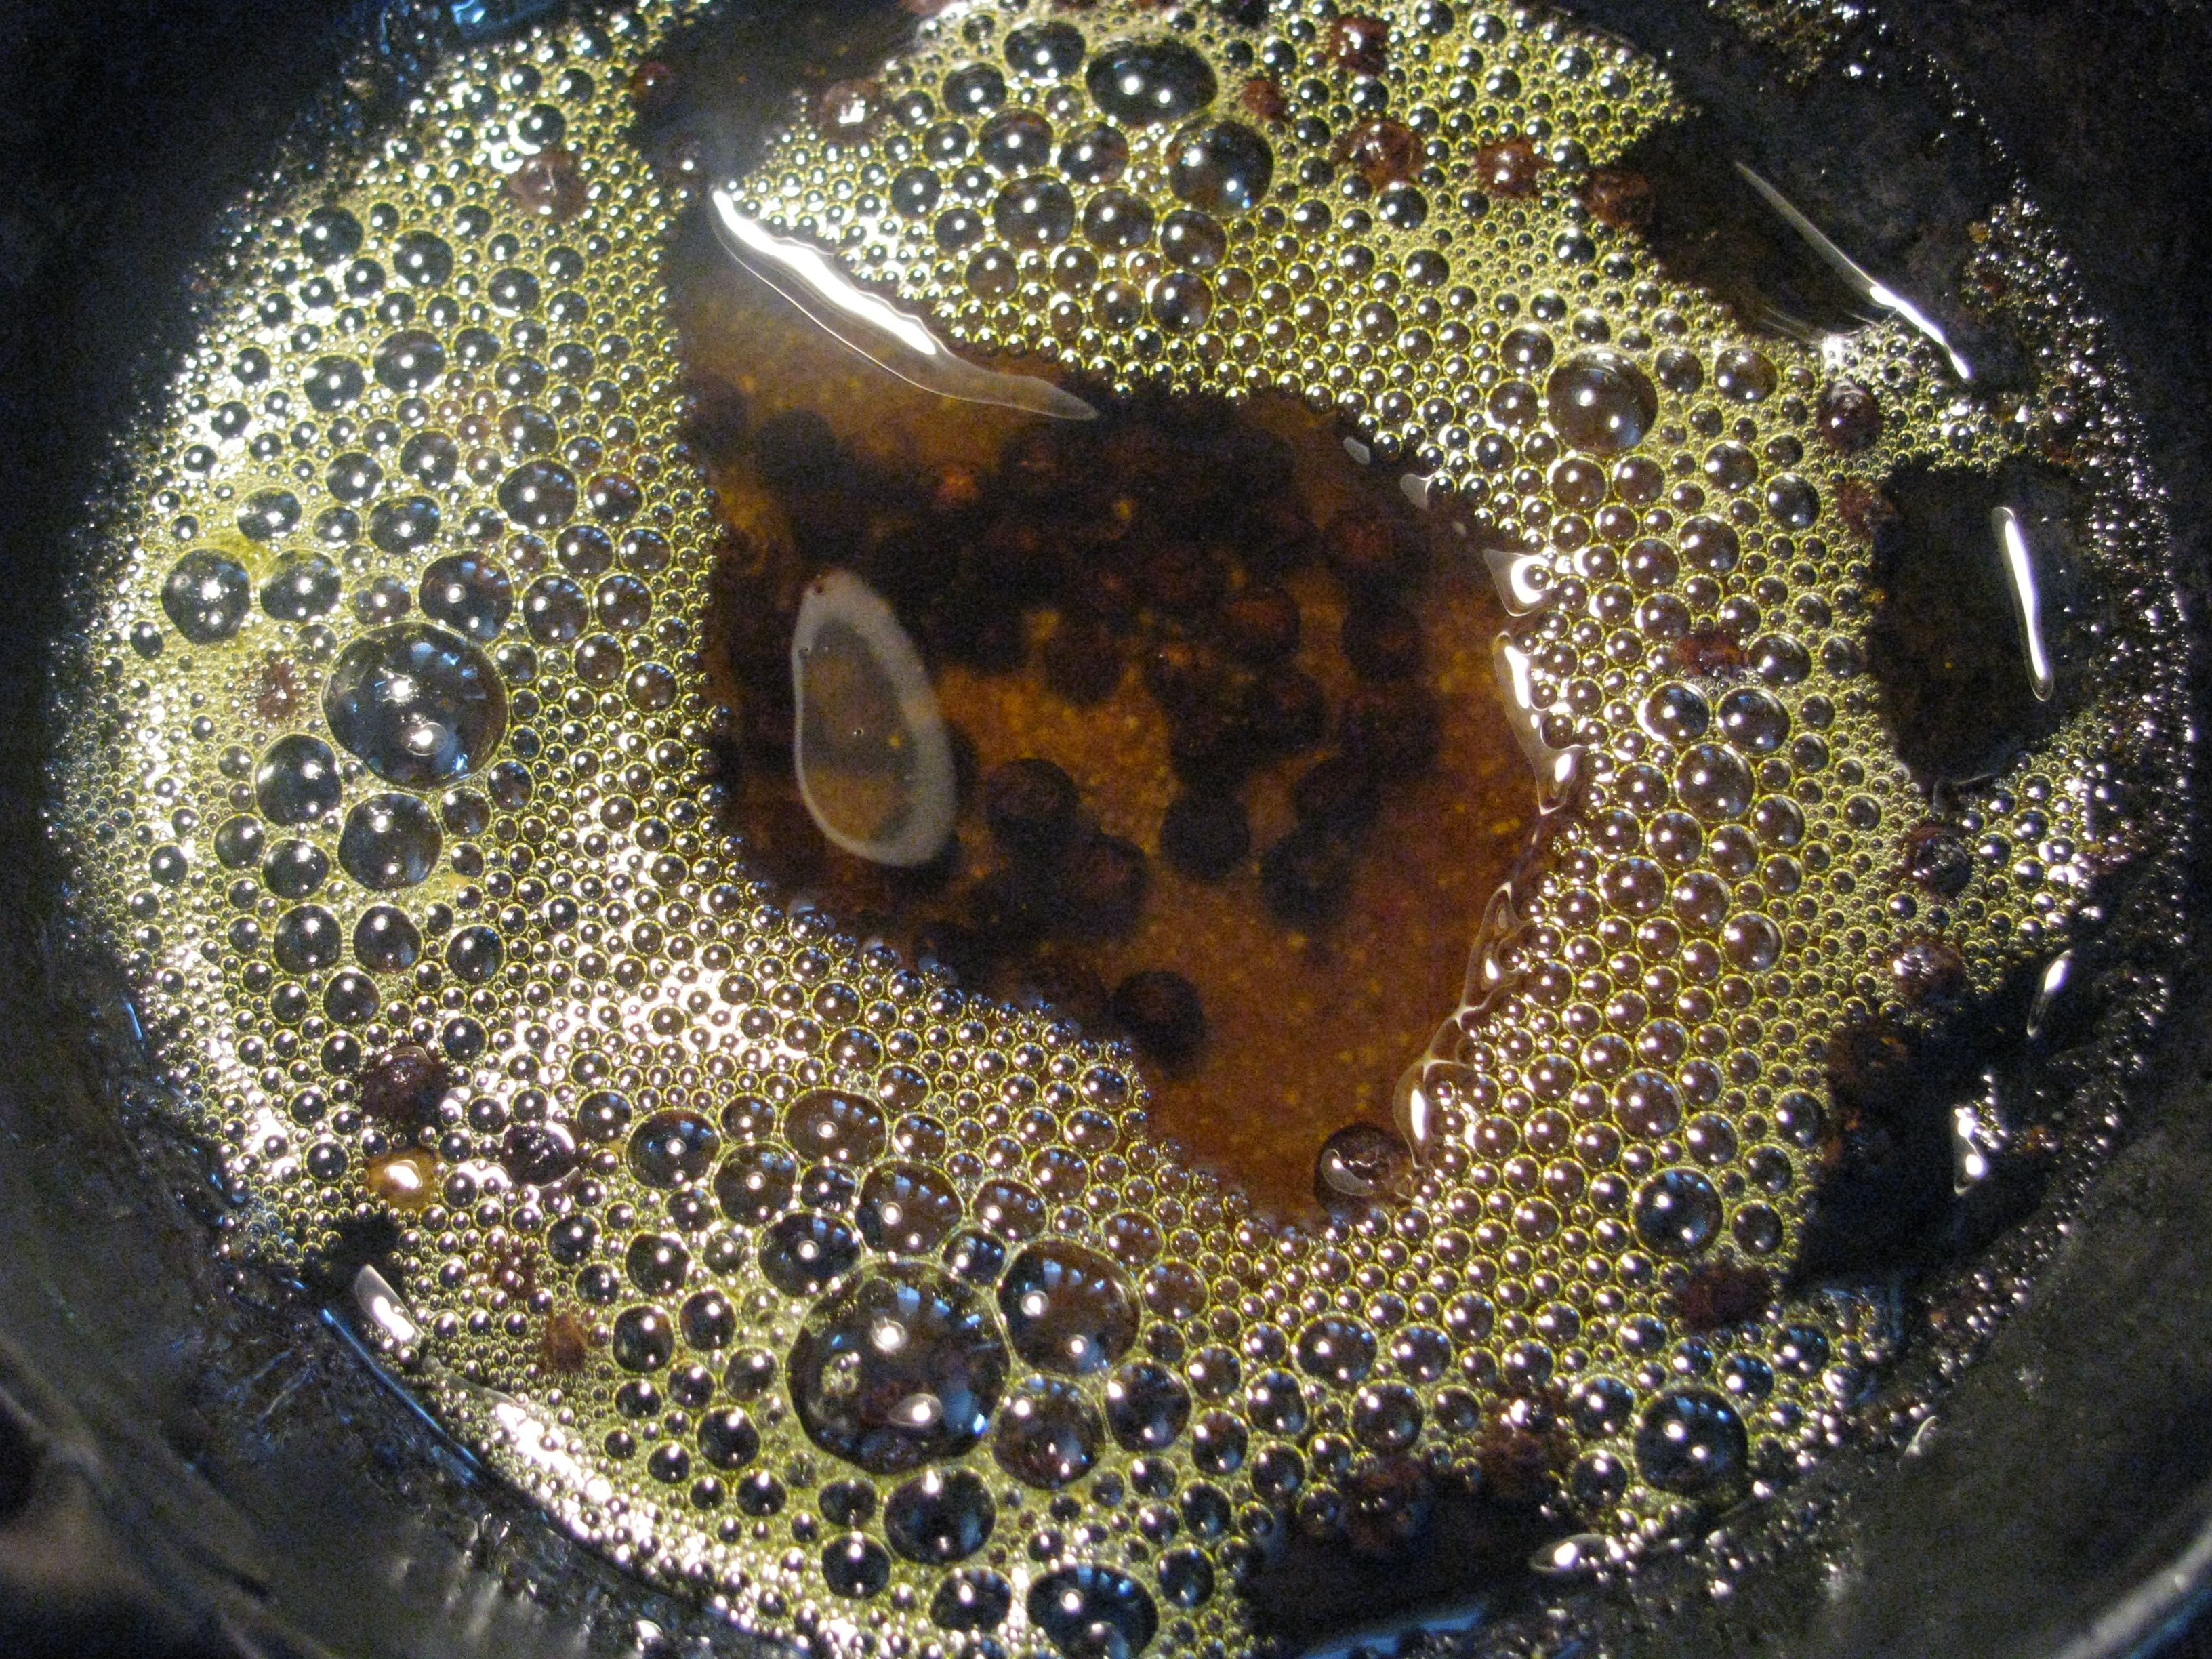
Heat the oil in a pan and add black pepper / kali mirch/ miri to it, fry it for few seconds until it swells, turn the heat off and add hing to it. Let the oil cool down.
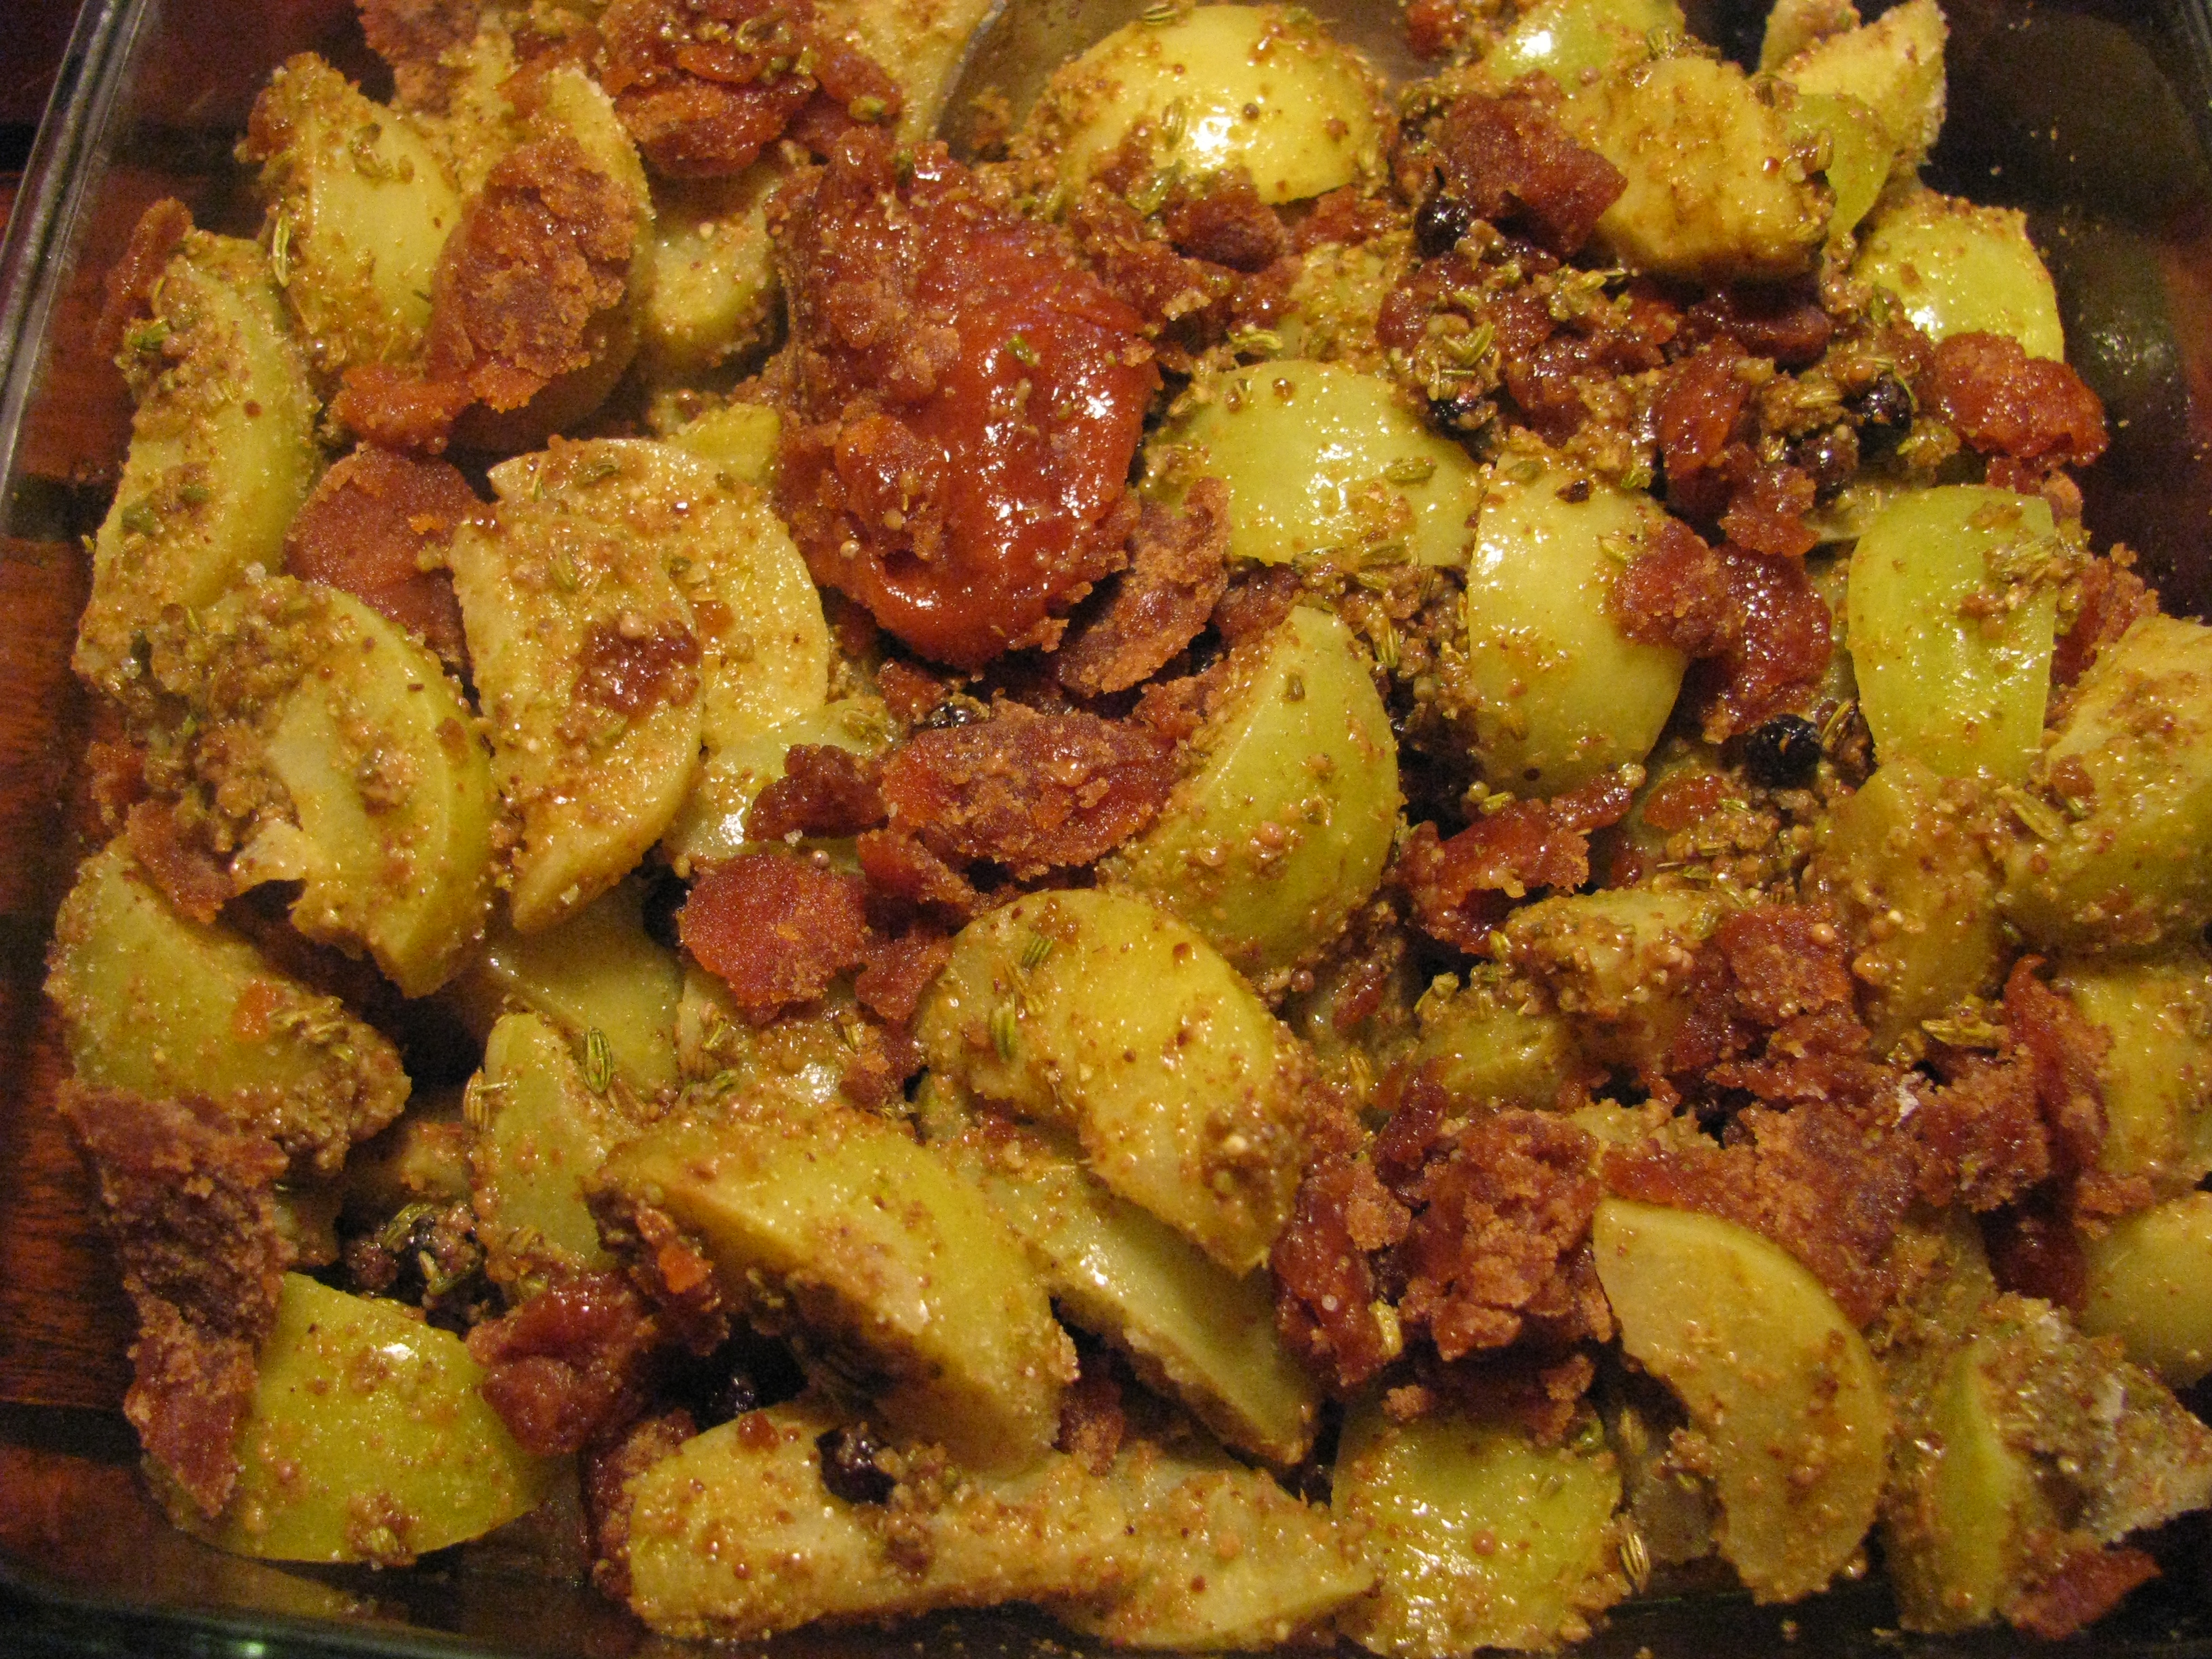
Now add this oil in amla pickle. Mix it and keep it in sun for 10 –15 days. Mix the pickle once everyday.
Every weekend my elder kid helps me in cooking & I have to choose recipe of his choice. Both of my kids love pasta but they somehow don’t like cheese in it, so I make my pasta recipe without cheese. I make the pasta sauce vegan by using tomatoes and lots of juicy salad vegetables in it & tastes really good. Most of the times in restaurants pasta recipes are with cheese so I have to make this vegan pasta at home only. I got introduced with spaghetti when I had Sphagetti pasta salad at my friend’s house it was a nice cold spaghetti salad with lots of vegetables in it. I thought of making it in vegan style with some Italian herbs which are easily available in India.
This is my step by step recipe of vegan Spaghetti pasta with lots of vegetables. Do share your queries and suggestion & how you make your vegan /veg pasta .
[ingredients title=”Ingredients”]
300 gms of spaghetti (whole wheat or Durham wheat)
2 teaspoon pasta seasoning (oregano, basil, paprika etc)
5 -6 basil leaves (optional)
1 /2 teaspoon Chili flakes (optional)
1/ 2 teaspoon black pepper
2 tablespoon olive oil
Salt for taste
[/ingredients]
[directions title=”Directions”]
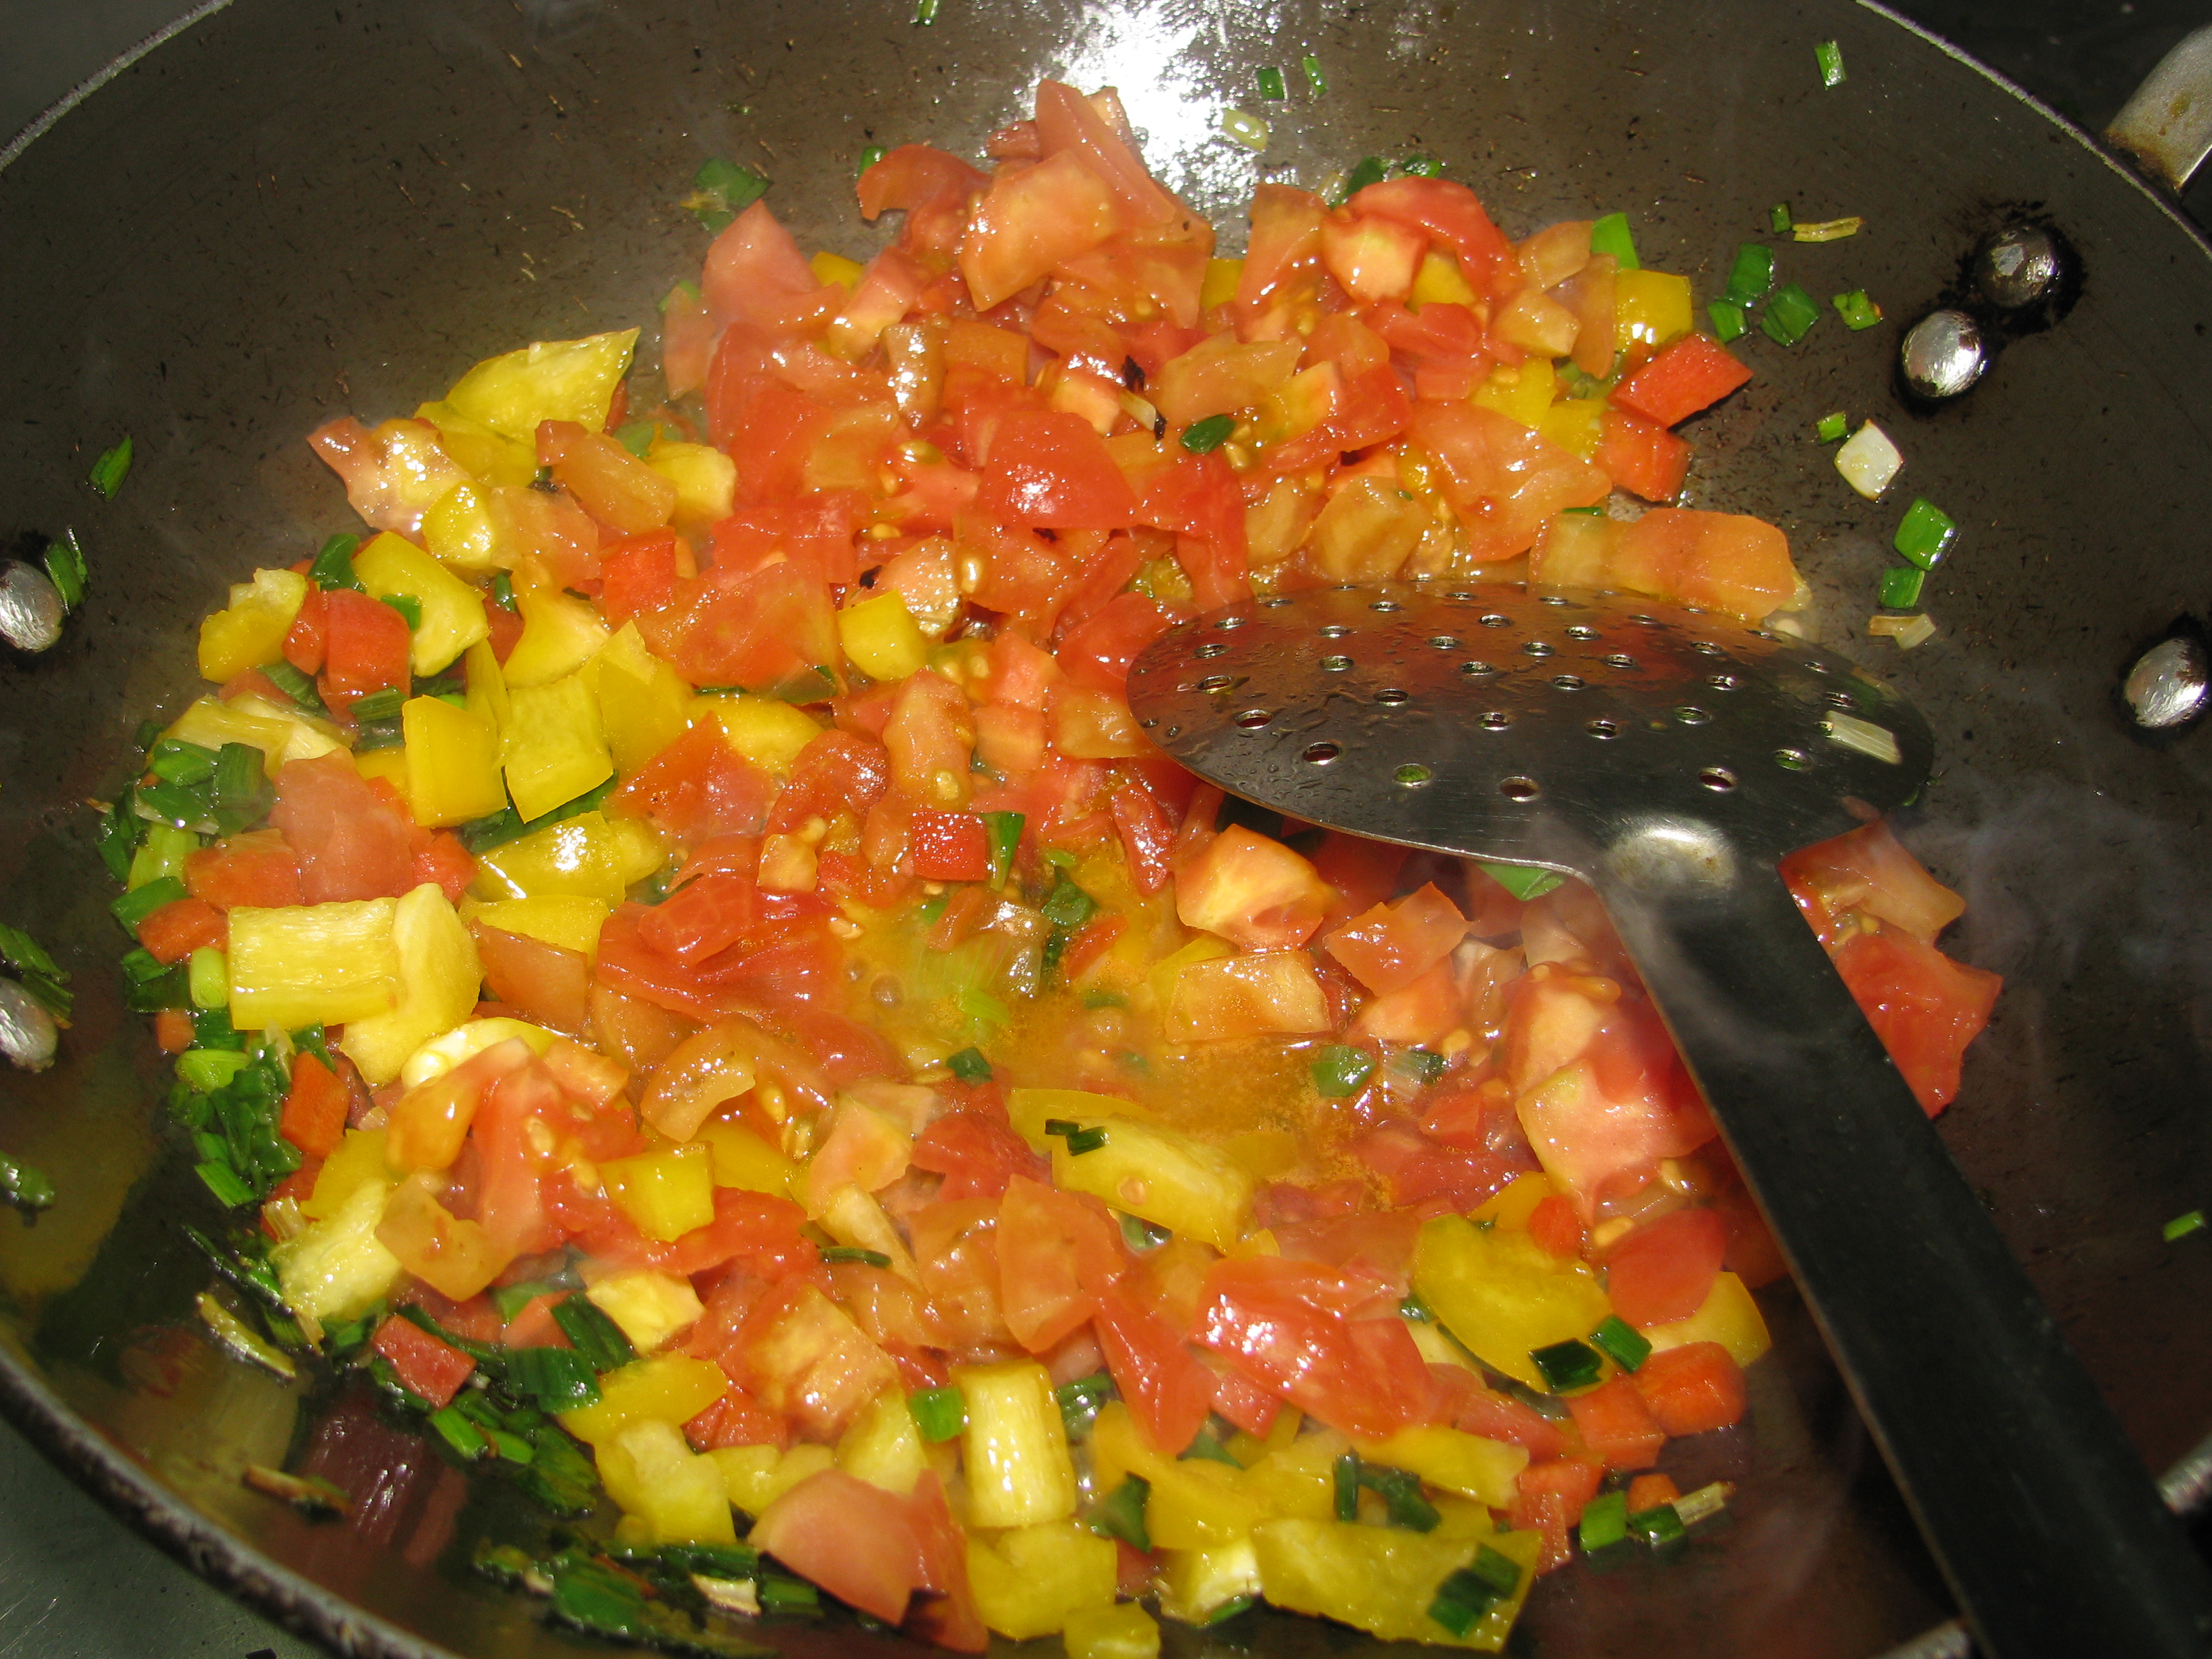
Roast tomatoes directly on flames, remove it skin and make small dice of it.
Take 5 cups of water in a big vessel and bring it to boil, when it starts boiling add 1 teaspoon salt 1 teaspoon oil to it , now add all spaghetti to it and let it boil until it becomes soft .
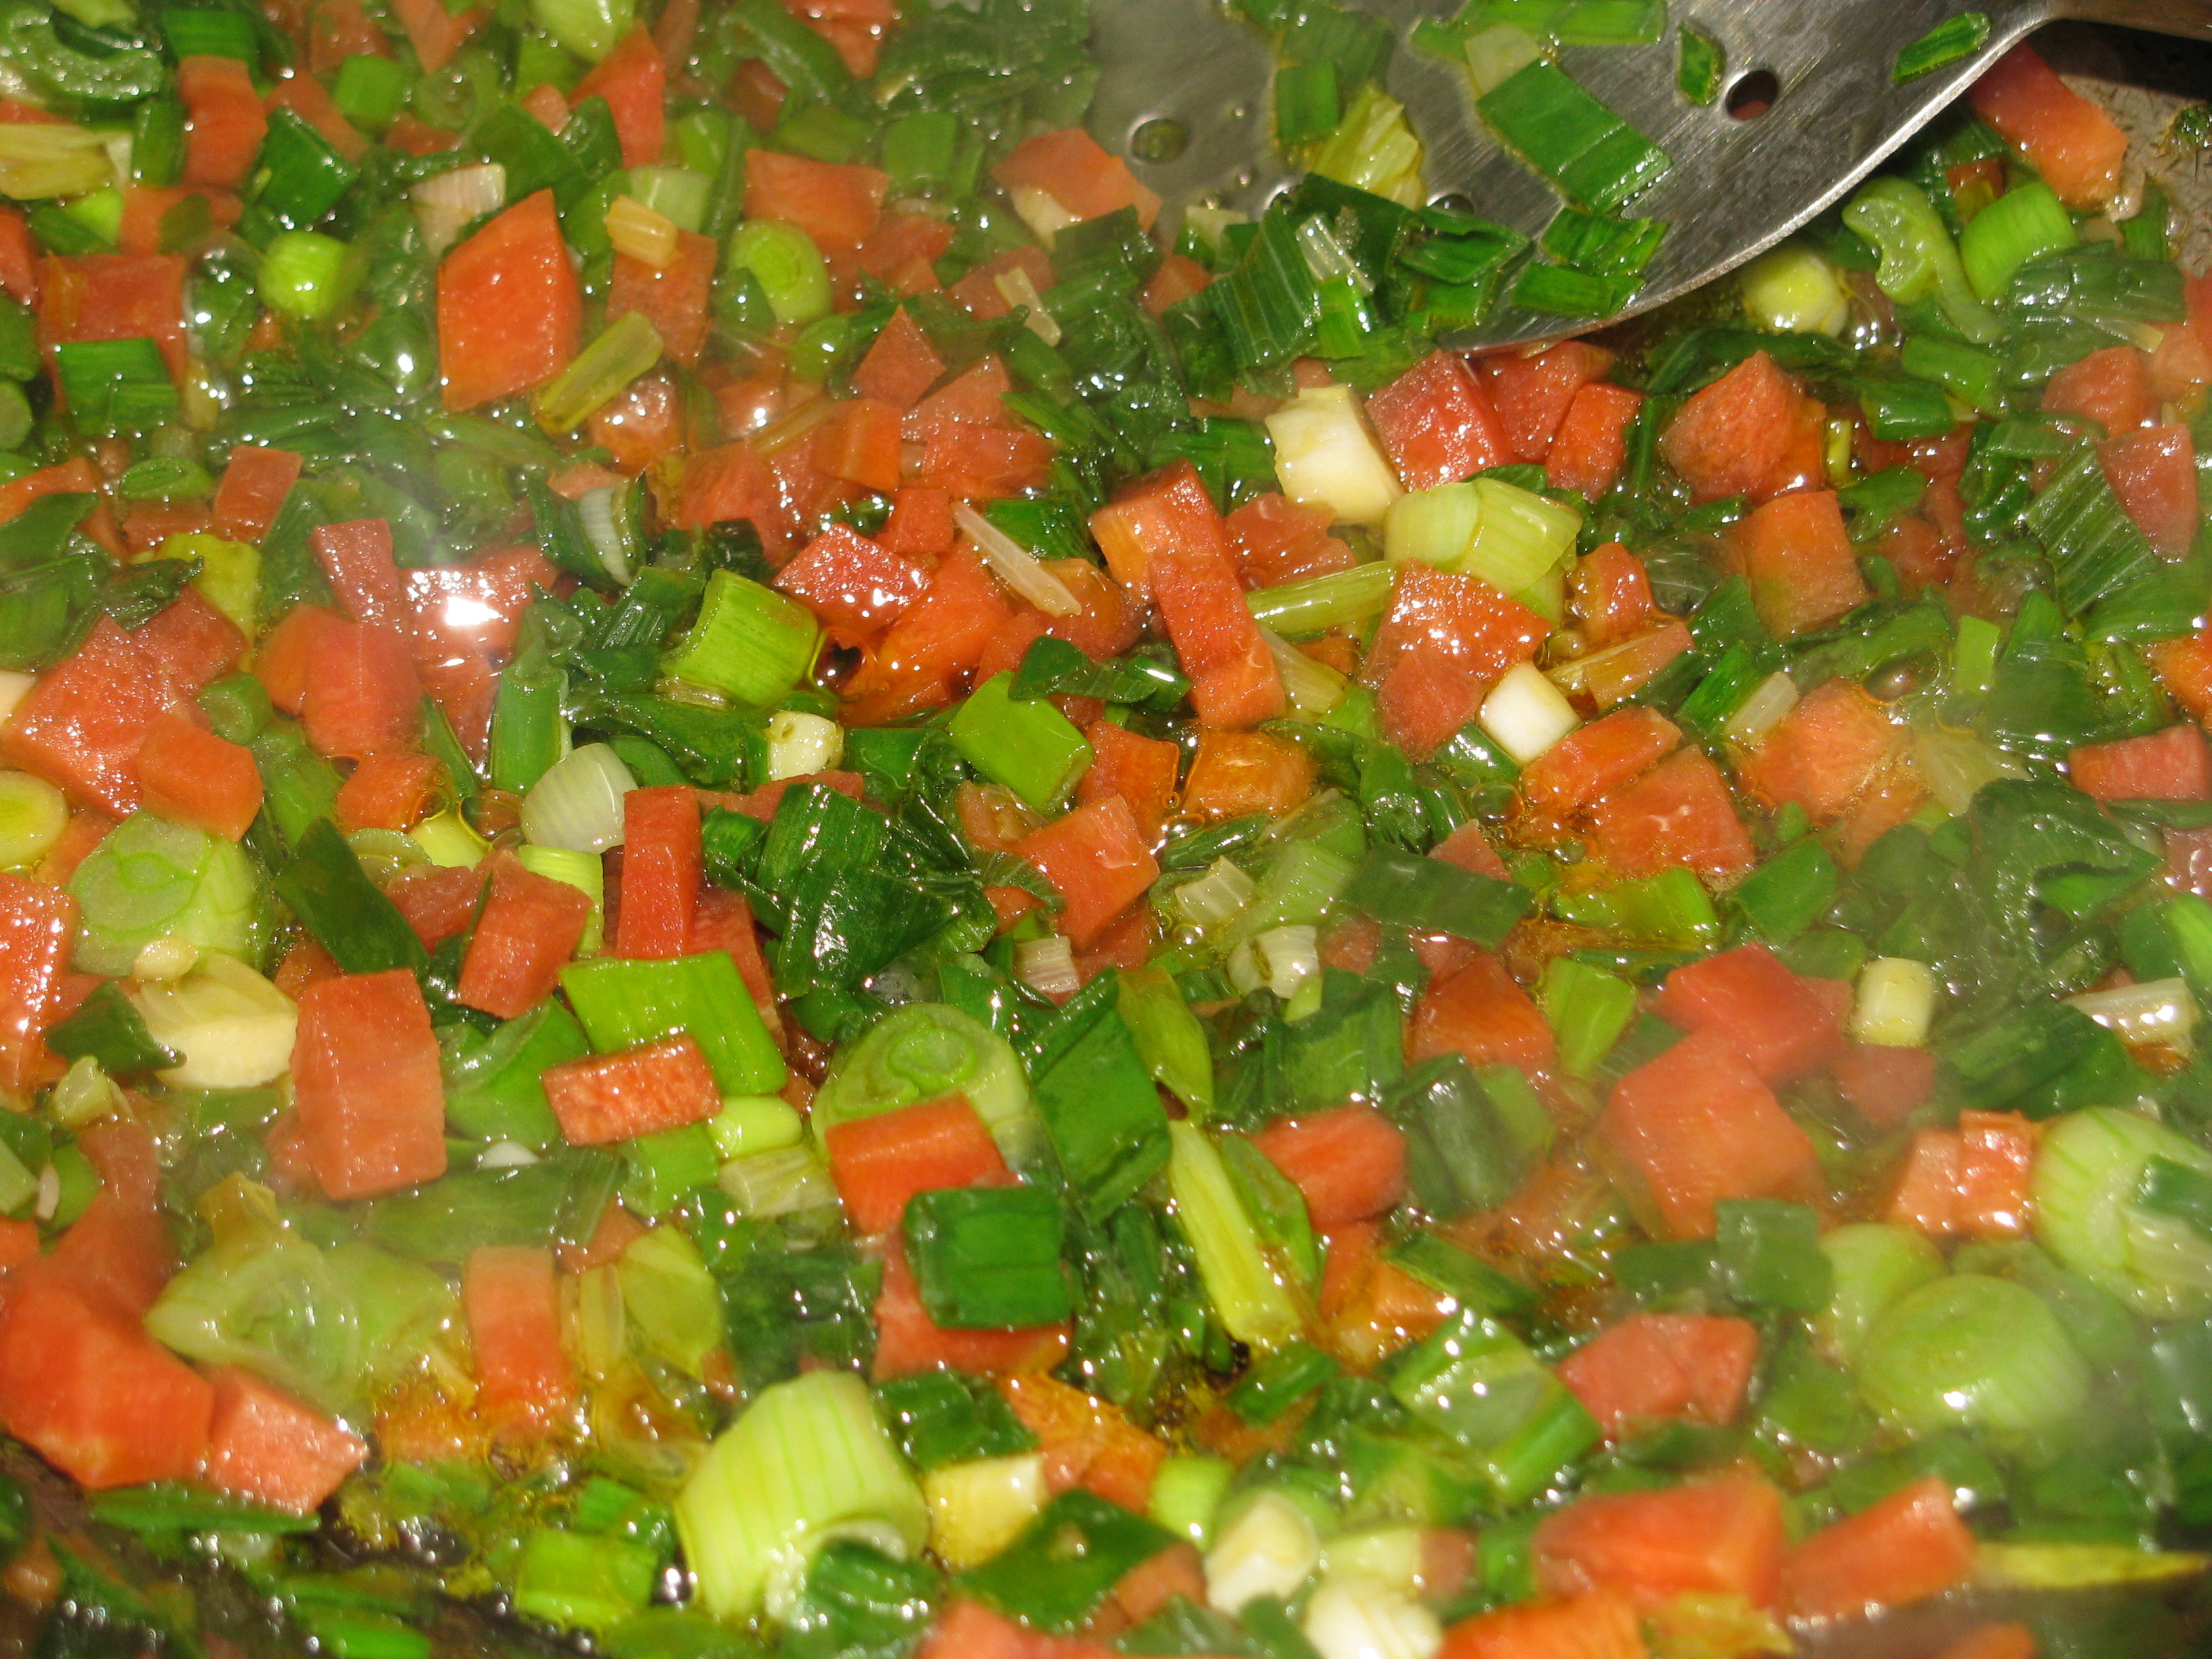
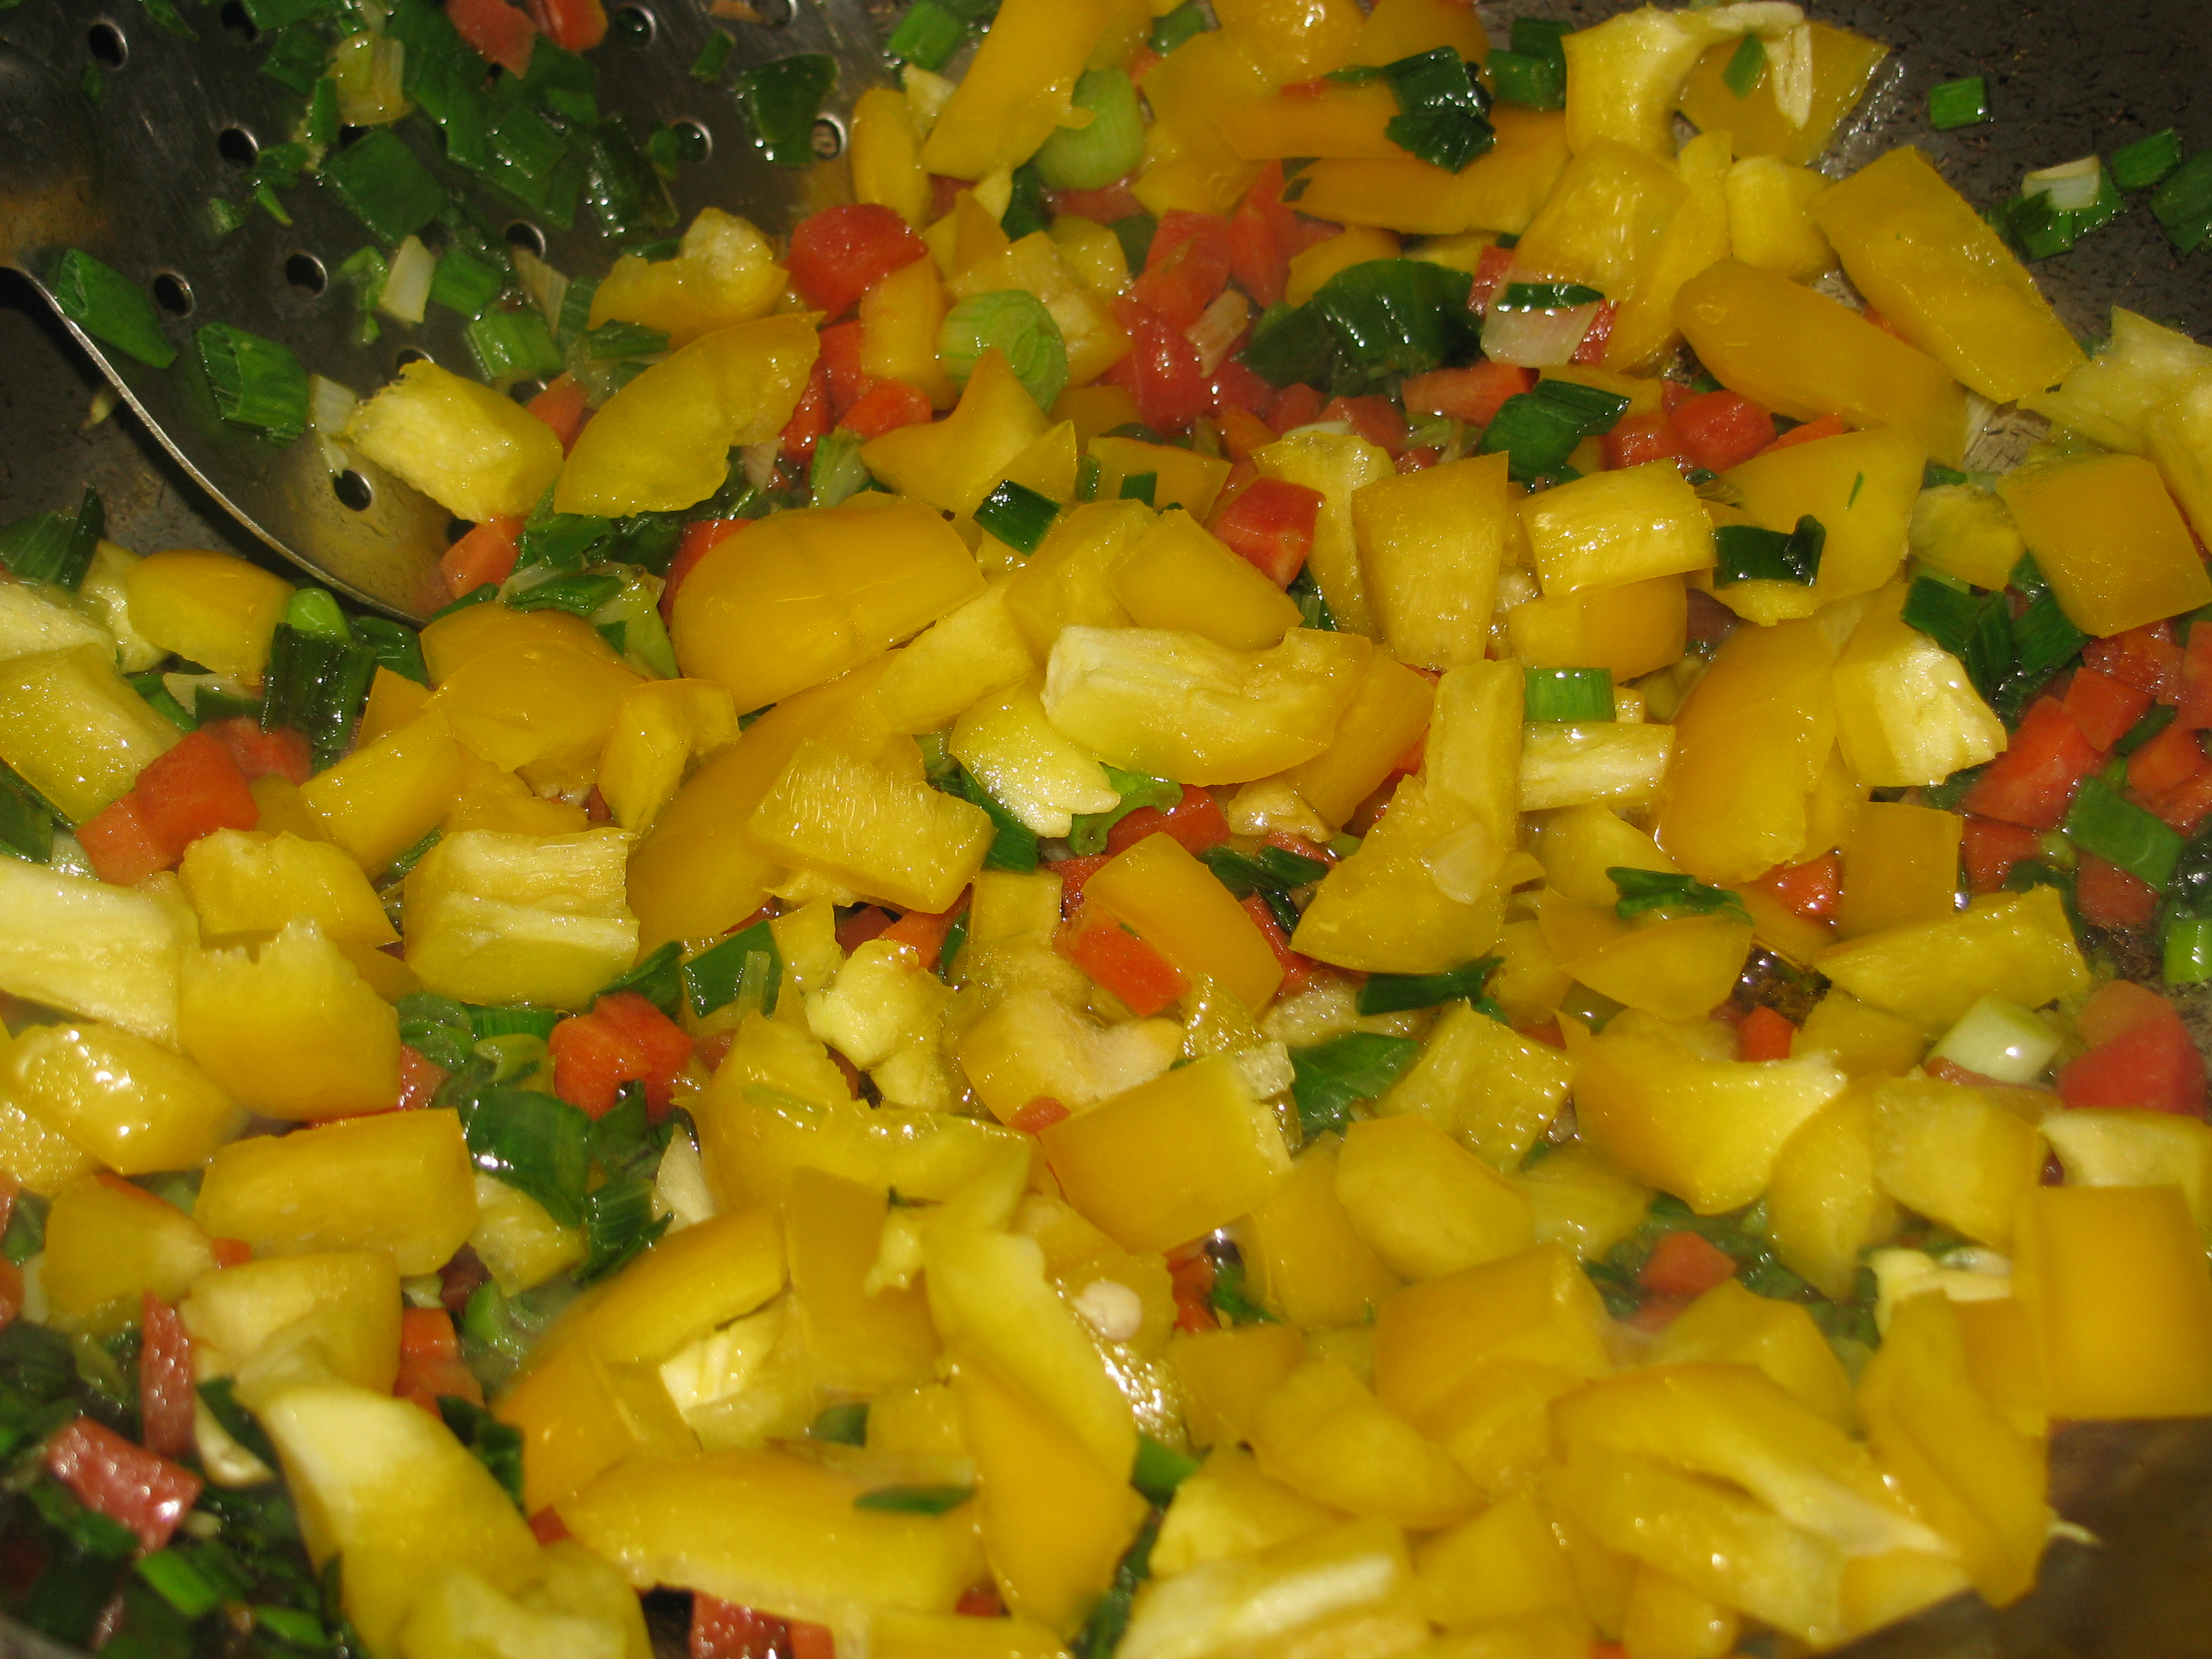
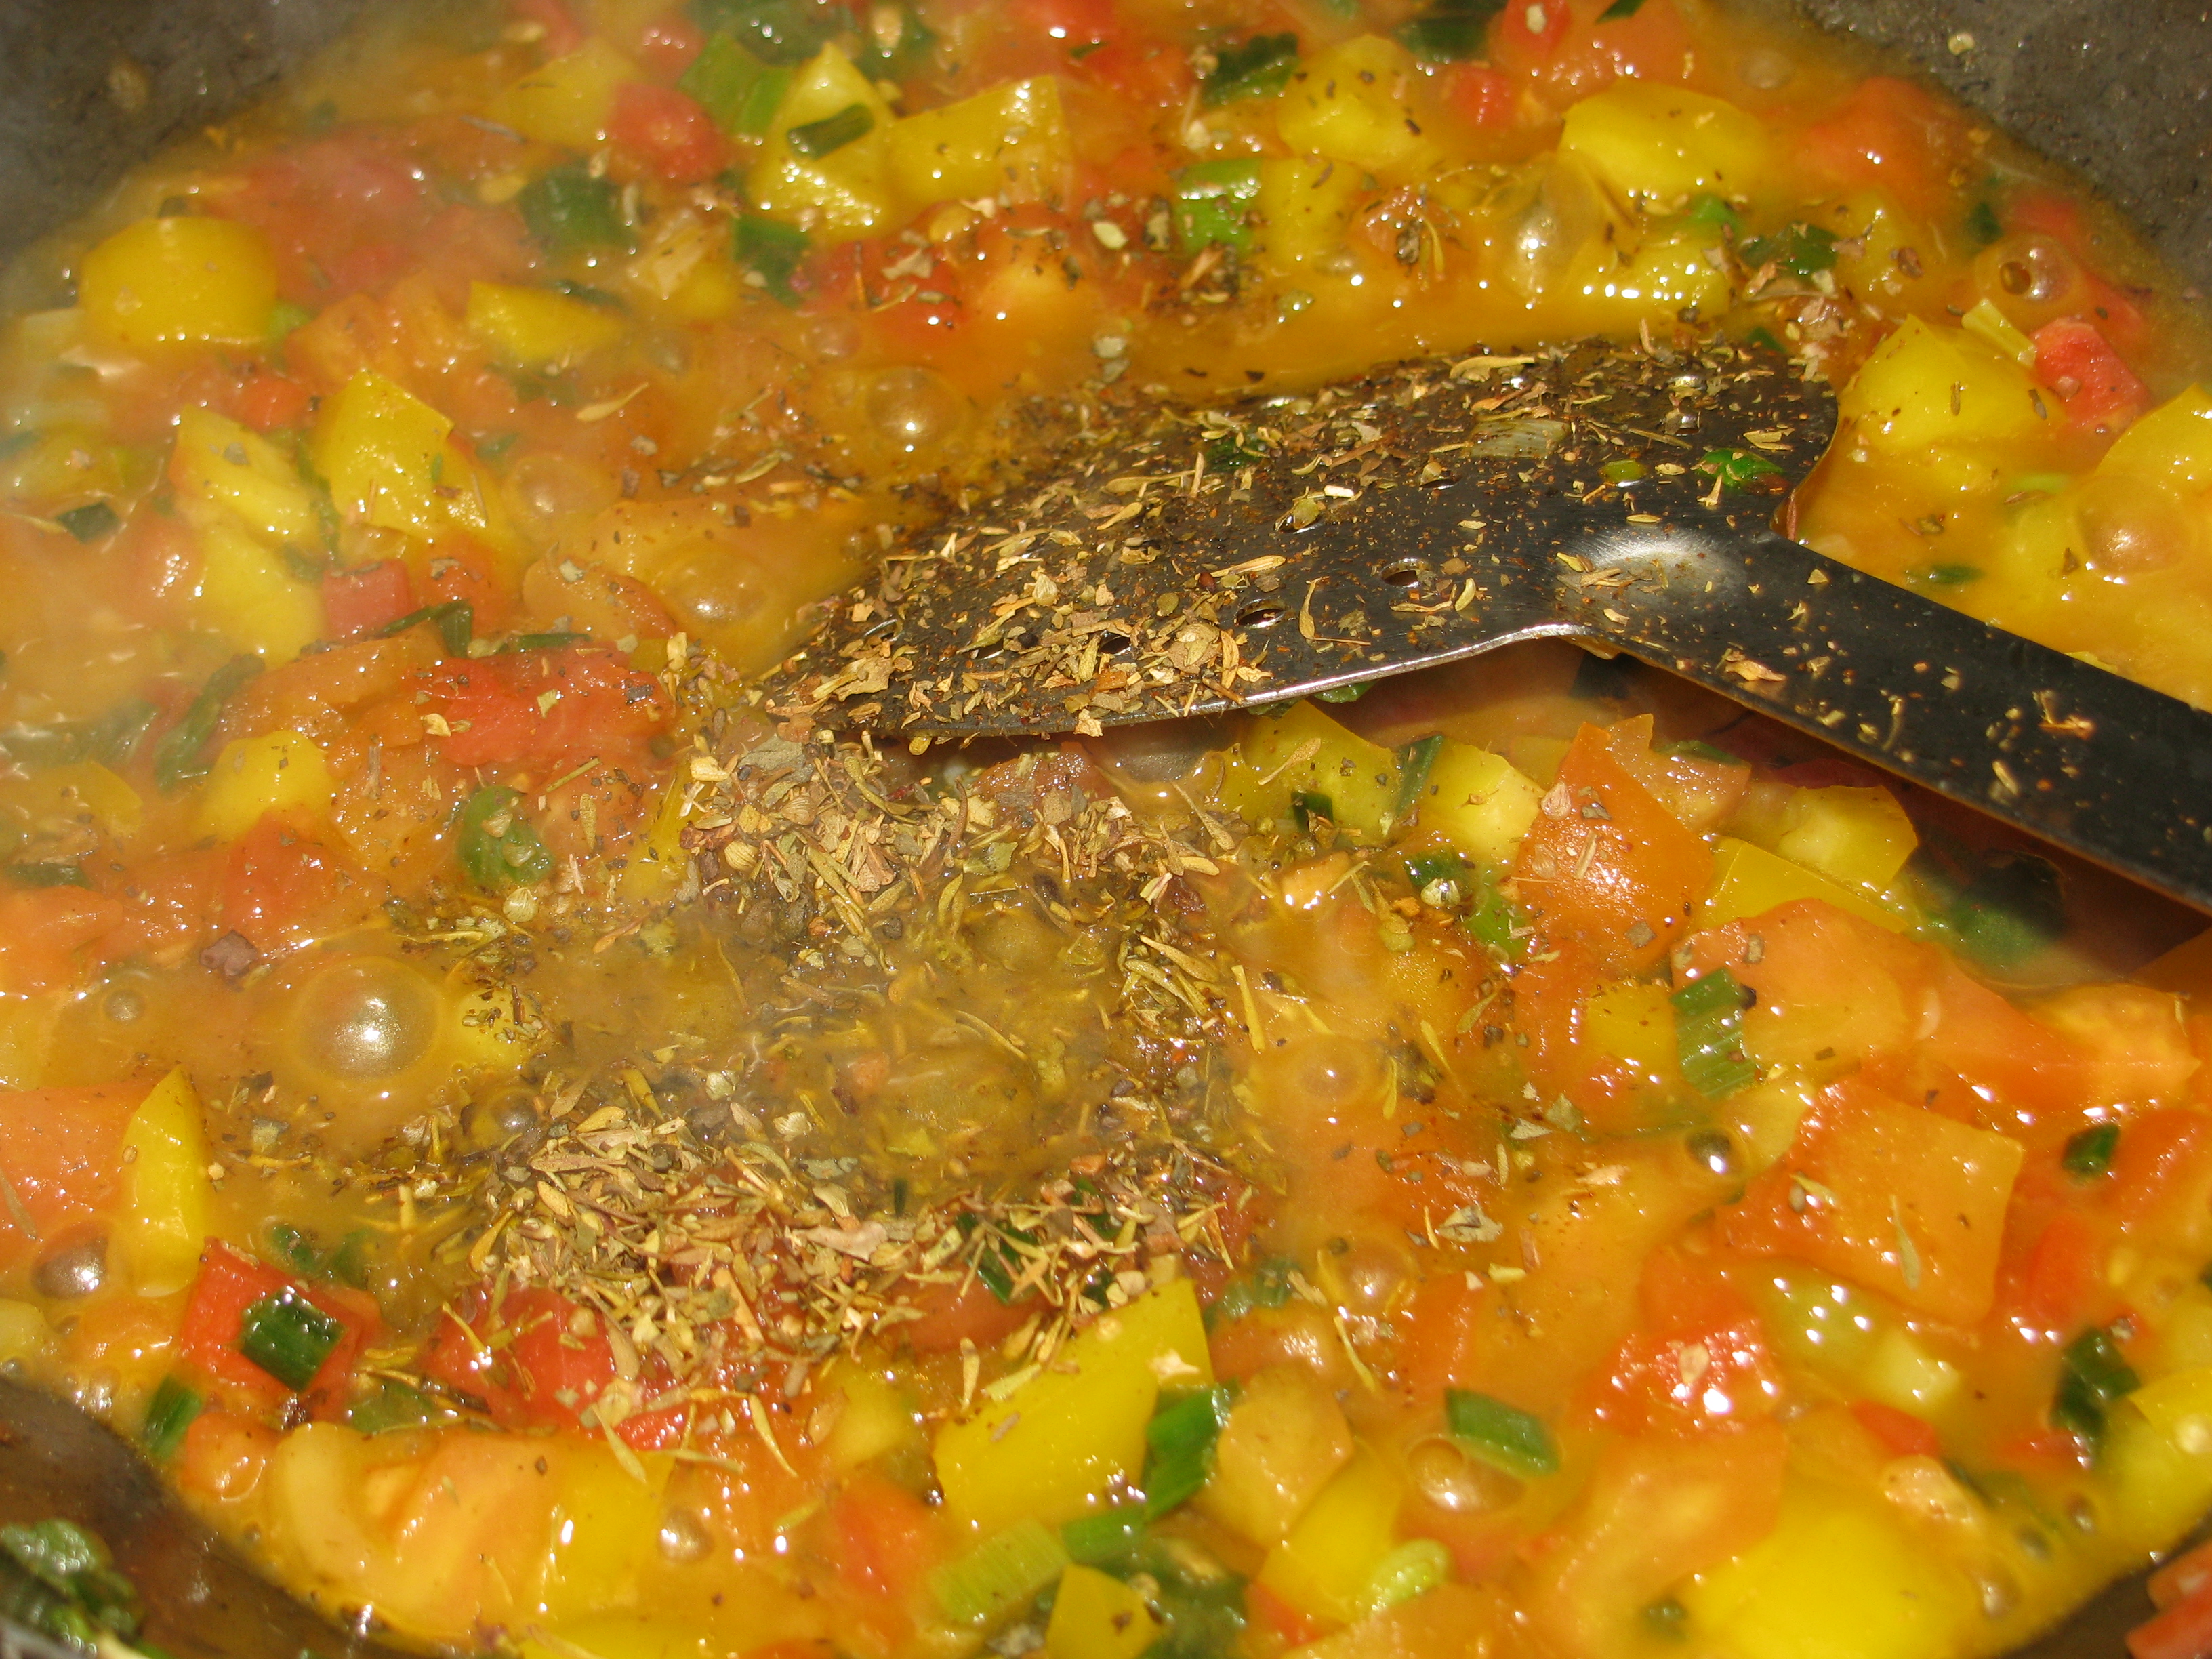
Now in big pan heat oil, add finely chopped green onion & green garlic to it, sauté it for a 10 – 15 seconds, add red and yellow bell pepper (capsicums) dices, diced tomato and carrot to it. Cook this vegetables it for 5-6 minutes on high flame.
green onion ,green garlic , carrot in pasta recipe
add bell pepper (capsicum) in pasta recipeadd roasted tomatoes ,peeled ,diced tomatoes in pasta recipe
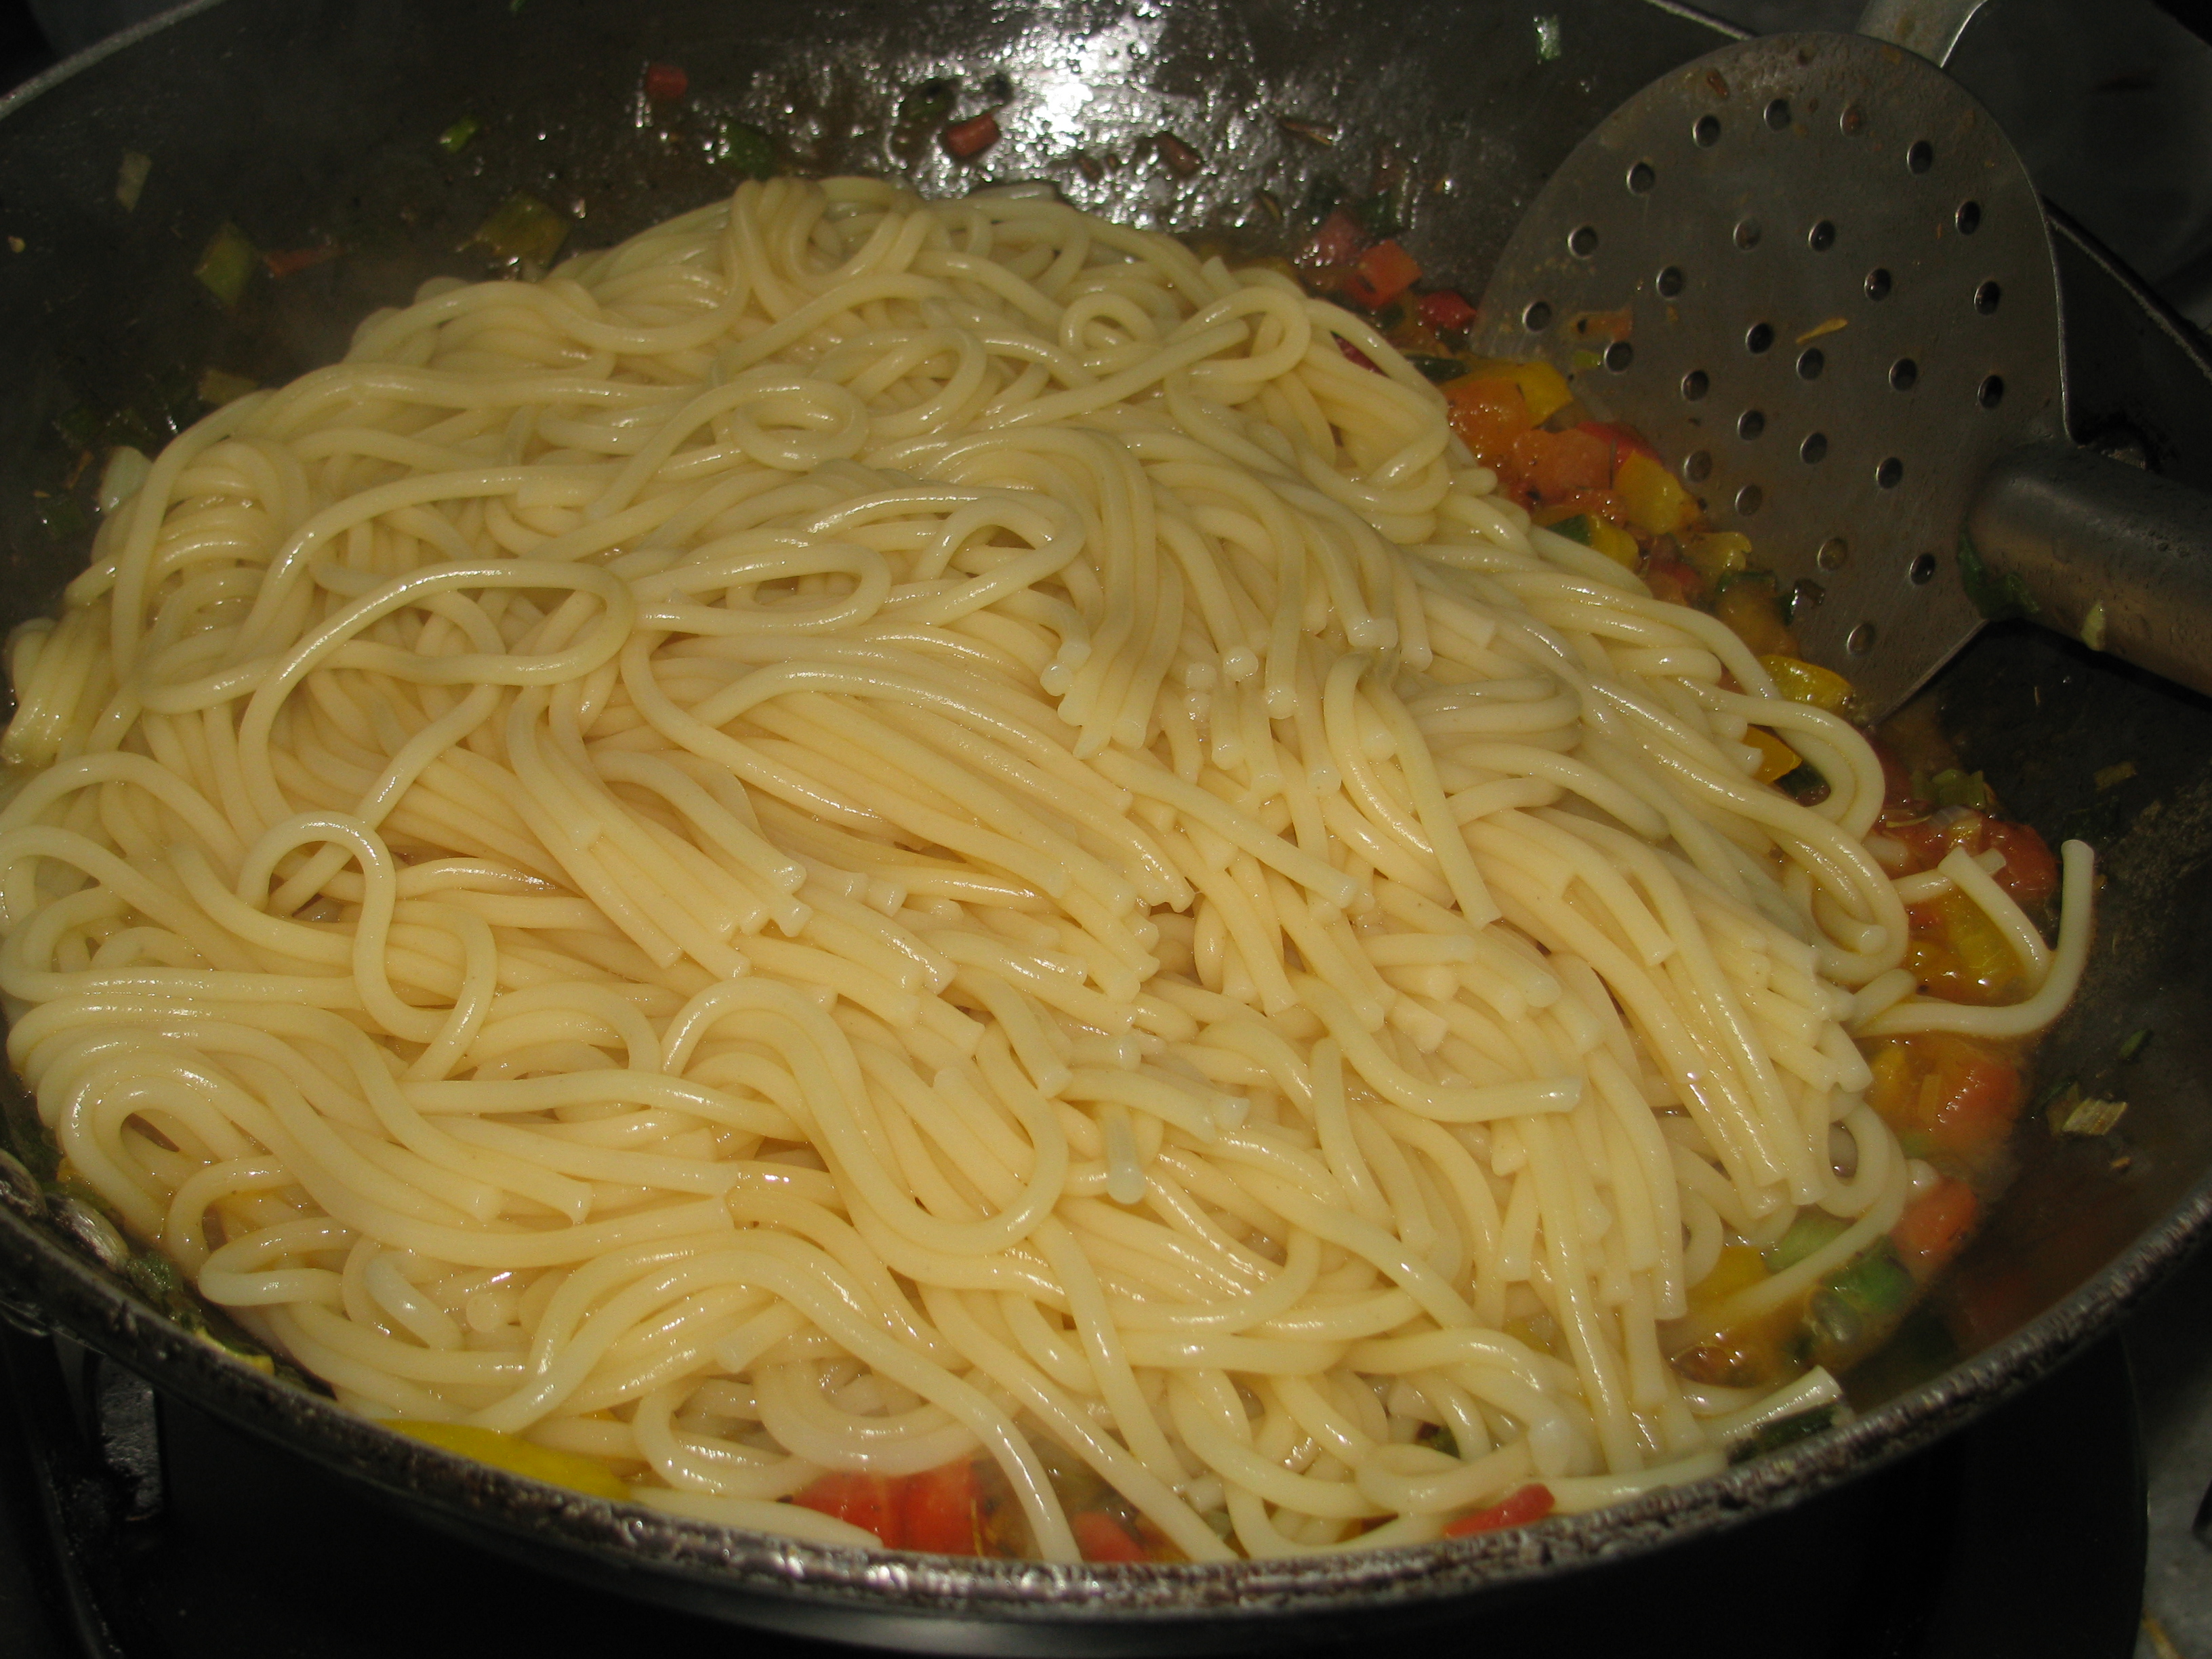
Now add pasta seasoning & salt in vegetables, mix it and add cooked and drained sphagetti pasta to it and mix it nicely on high flames.
add pasta seasoning in pasta recipe
Now add finely chopped garlic cloves, chili flakes and black pepper in vegetable pasta, mix it and remove it from flames
garlic , red chili flakes @ black pepper in pasta recipe
Garnish it with fresh basil leaves and serve it hot.