Home Blog Page 5

How to make dryfruits Laddu for winters | Gond ke laddu | Urad Dal Dryfruits Ladoo

11
Dry fruits- gaund/ dink - ladoos / laddus
Dry fruits- gaund/ dink - ladoos / laddus for prgnancy
Dry fruits ladoo

Winters have started and many people make tasty nutritious dry fruits ladoos during this season. Ayurveda suggests that, in winter, we should consume food considered warm in Ayurveda parlance. Dry fruits laddus with gond (dink /gaund /edible gum) or any form of dry fruits recipe are generally made during winter season in almost all parts of India. Urad dal dryfruits recipe is made in gujrath and Punjab . Gujarathis called this recipe as adiya & Punjabis called it as pinni. There is a little variation in both recipe but the key ingredients are generally the same. Some pinni recipes are made from only whole wheat flour but many people add urad dal and whole wheat flour in there pinni recipeAddiya is made with urad dal only. Maharashtrians also make gond ladoo using whole wheat flour they call it Dinkache ladoo. I have added all the good ingredients from both these recipes and made these healthy dryfruits laddus for winters.

[box]Also check- Easy to Make laddu recipes [/box]

 I have used both Gheu ka atta (whole wheat flour) and Urad dal (black split grams) for making. Urad dal has lots of health benefits – it increases the moistness of body tissues, good for joint pain and muscle pain, helps in easy bowel movement. This dal is difficult to digest so it is generally consumed during winters. Benefits of dryfruits, Urad dal and Whole wheat flour make this ladoo very nutritious. I have also added gond (gaund/ dink) in this ladoo. Many people add gond in laddos made for winters. Gond or dink is also added in methi ladoo. Gond is consumed in winters as it generates heat in the body.

[box]Also check-Gond Ke Laddu | Dinkache Ladoo with Jaggery and wheat flour [/box]


I hope you will enjoy this recipe. This recipe requires little more efforts than my other recipes but you will enjoy the final product. Kids love these laddus and they are very nutritious for everyone. Have a glass of milk with this laddu in morning breakfast during winters. This laddus are also very healthy and nutritious for lactating mothers after pregnancy as they help in the production of milk and helps to streghthen the back bone. You can make these laddus from both jaggery and sugar. I have explained both the recipes with step by step procedure, still if you have any queries, leave a comment.

[ingredients title=”Ingredients to make urad dal ladoo for winters”]

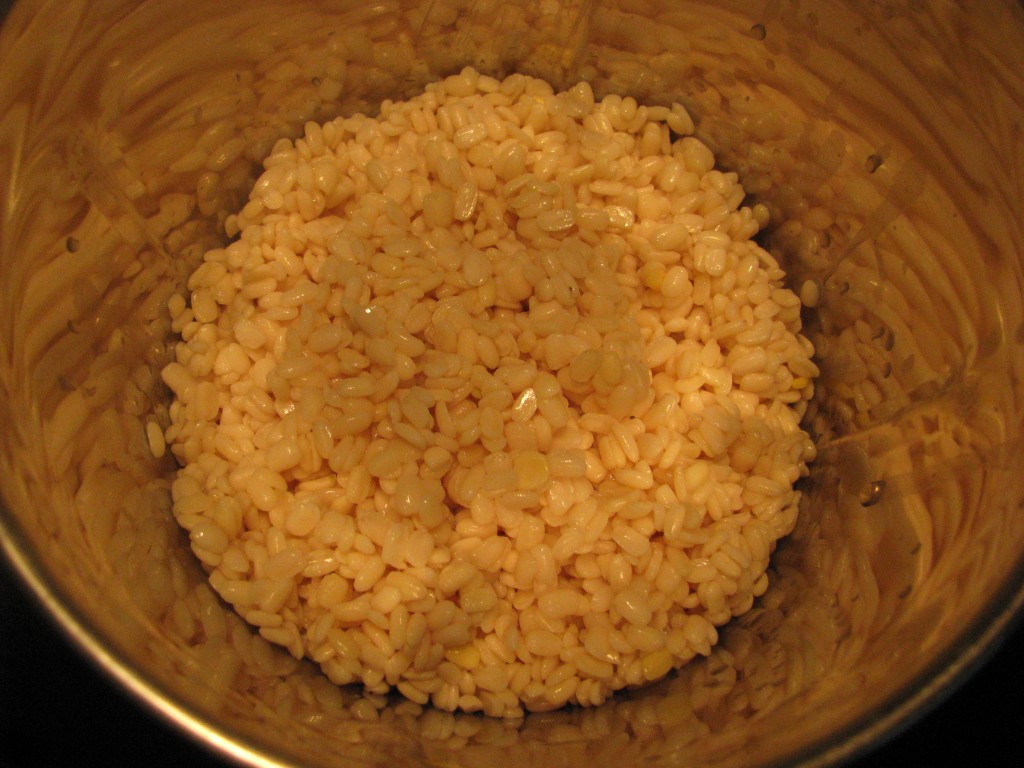
  • 1 cup urad dal (urad dhuli / black split gram)
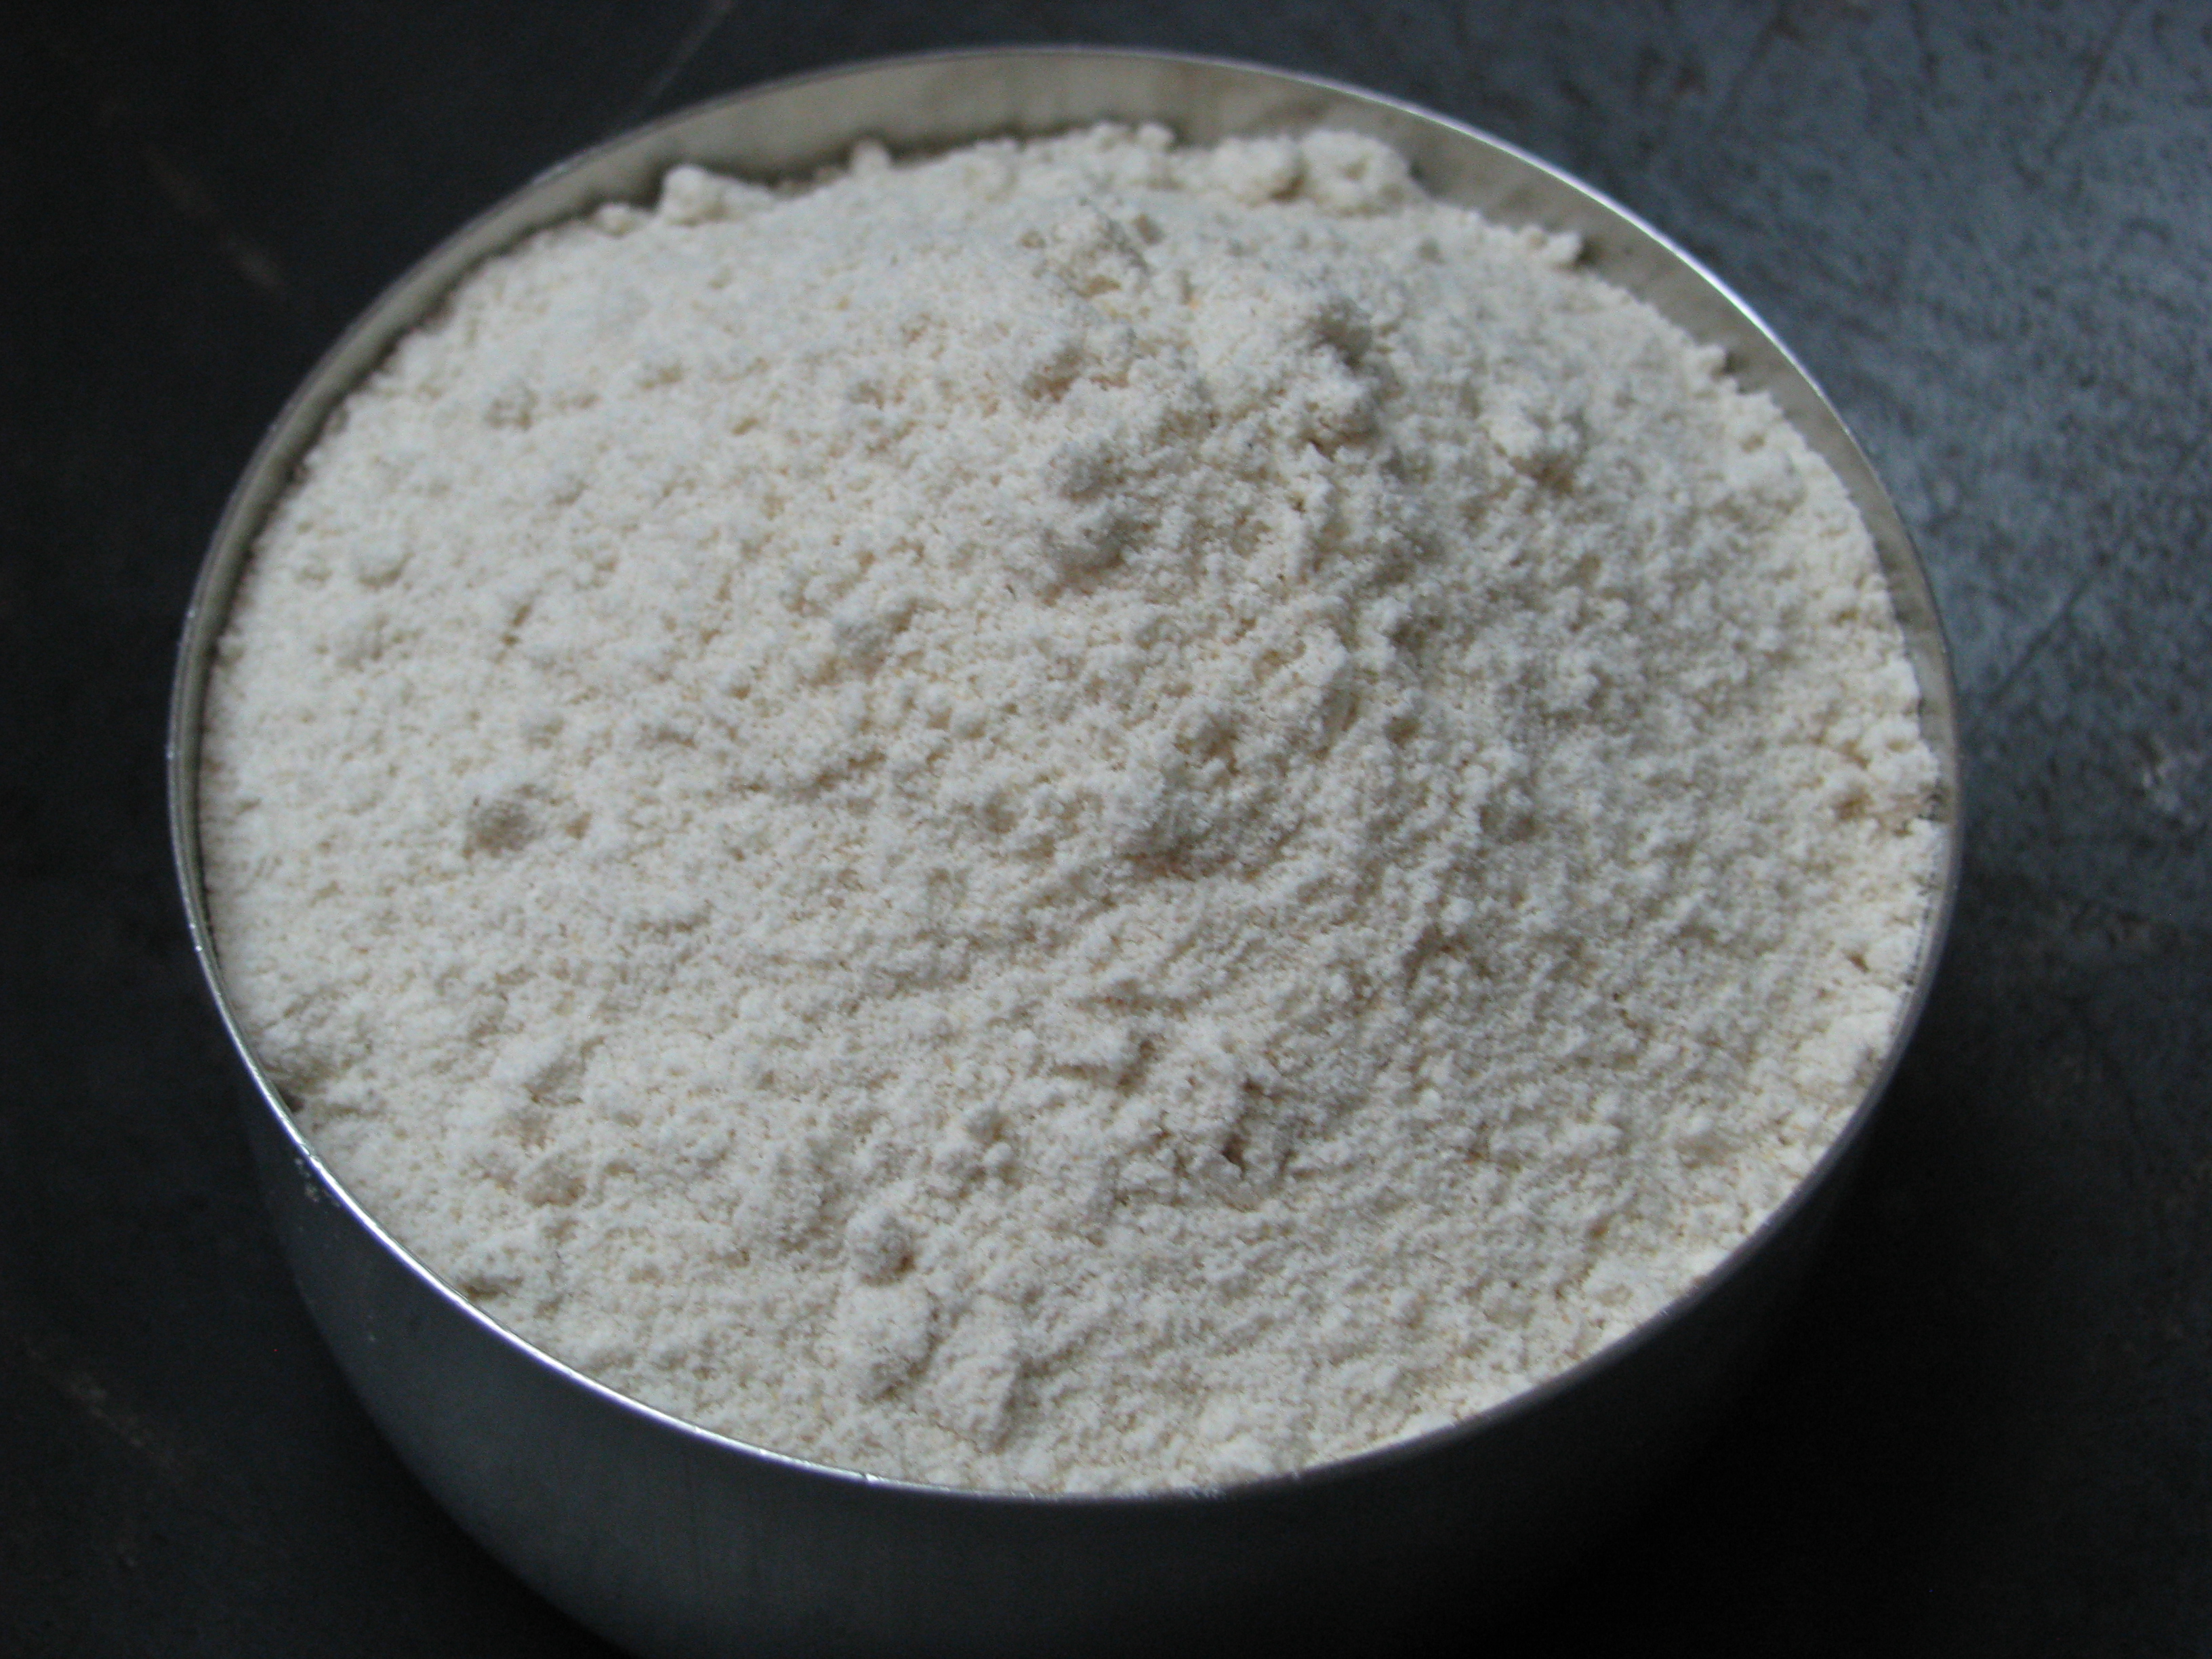
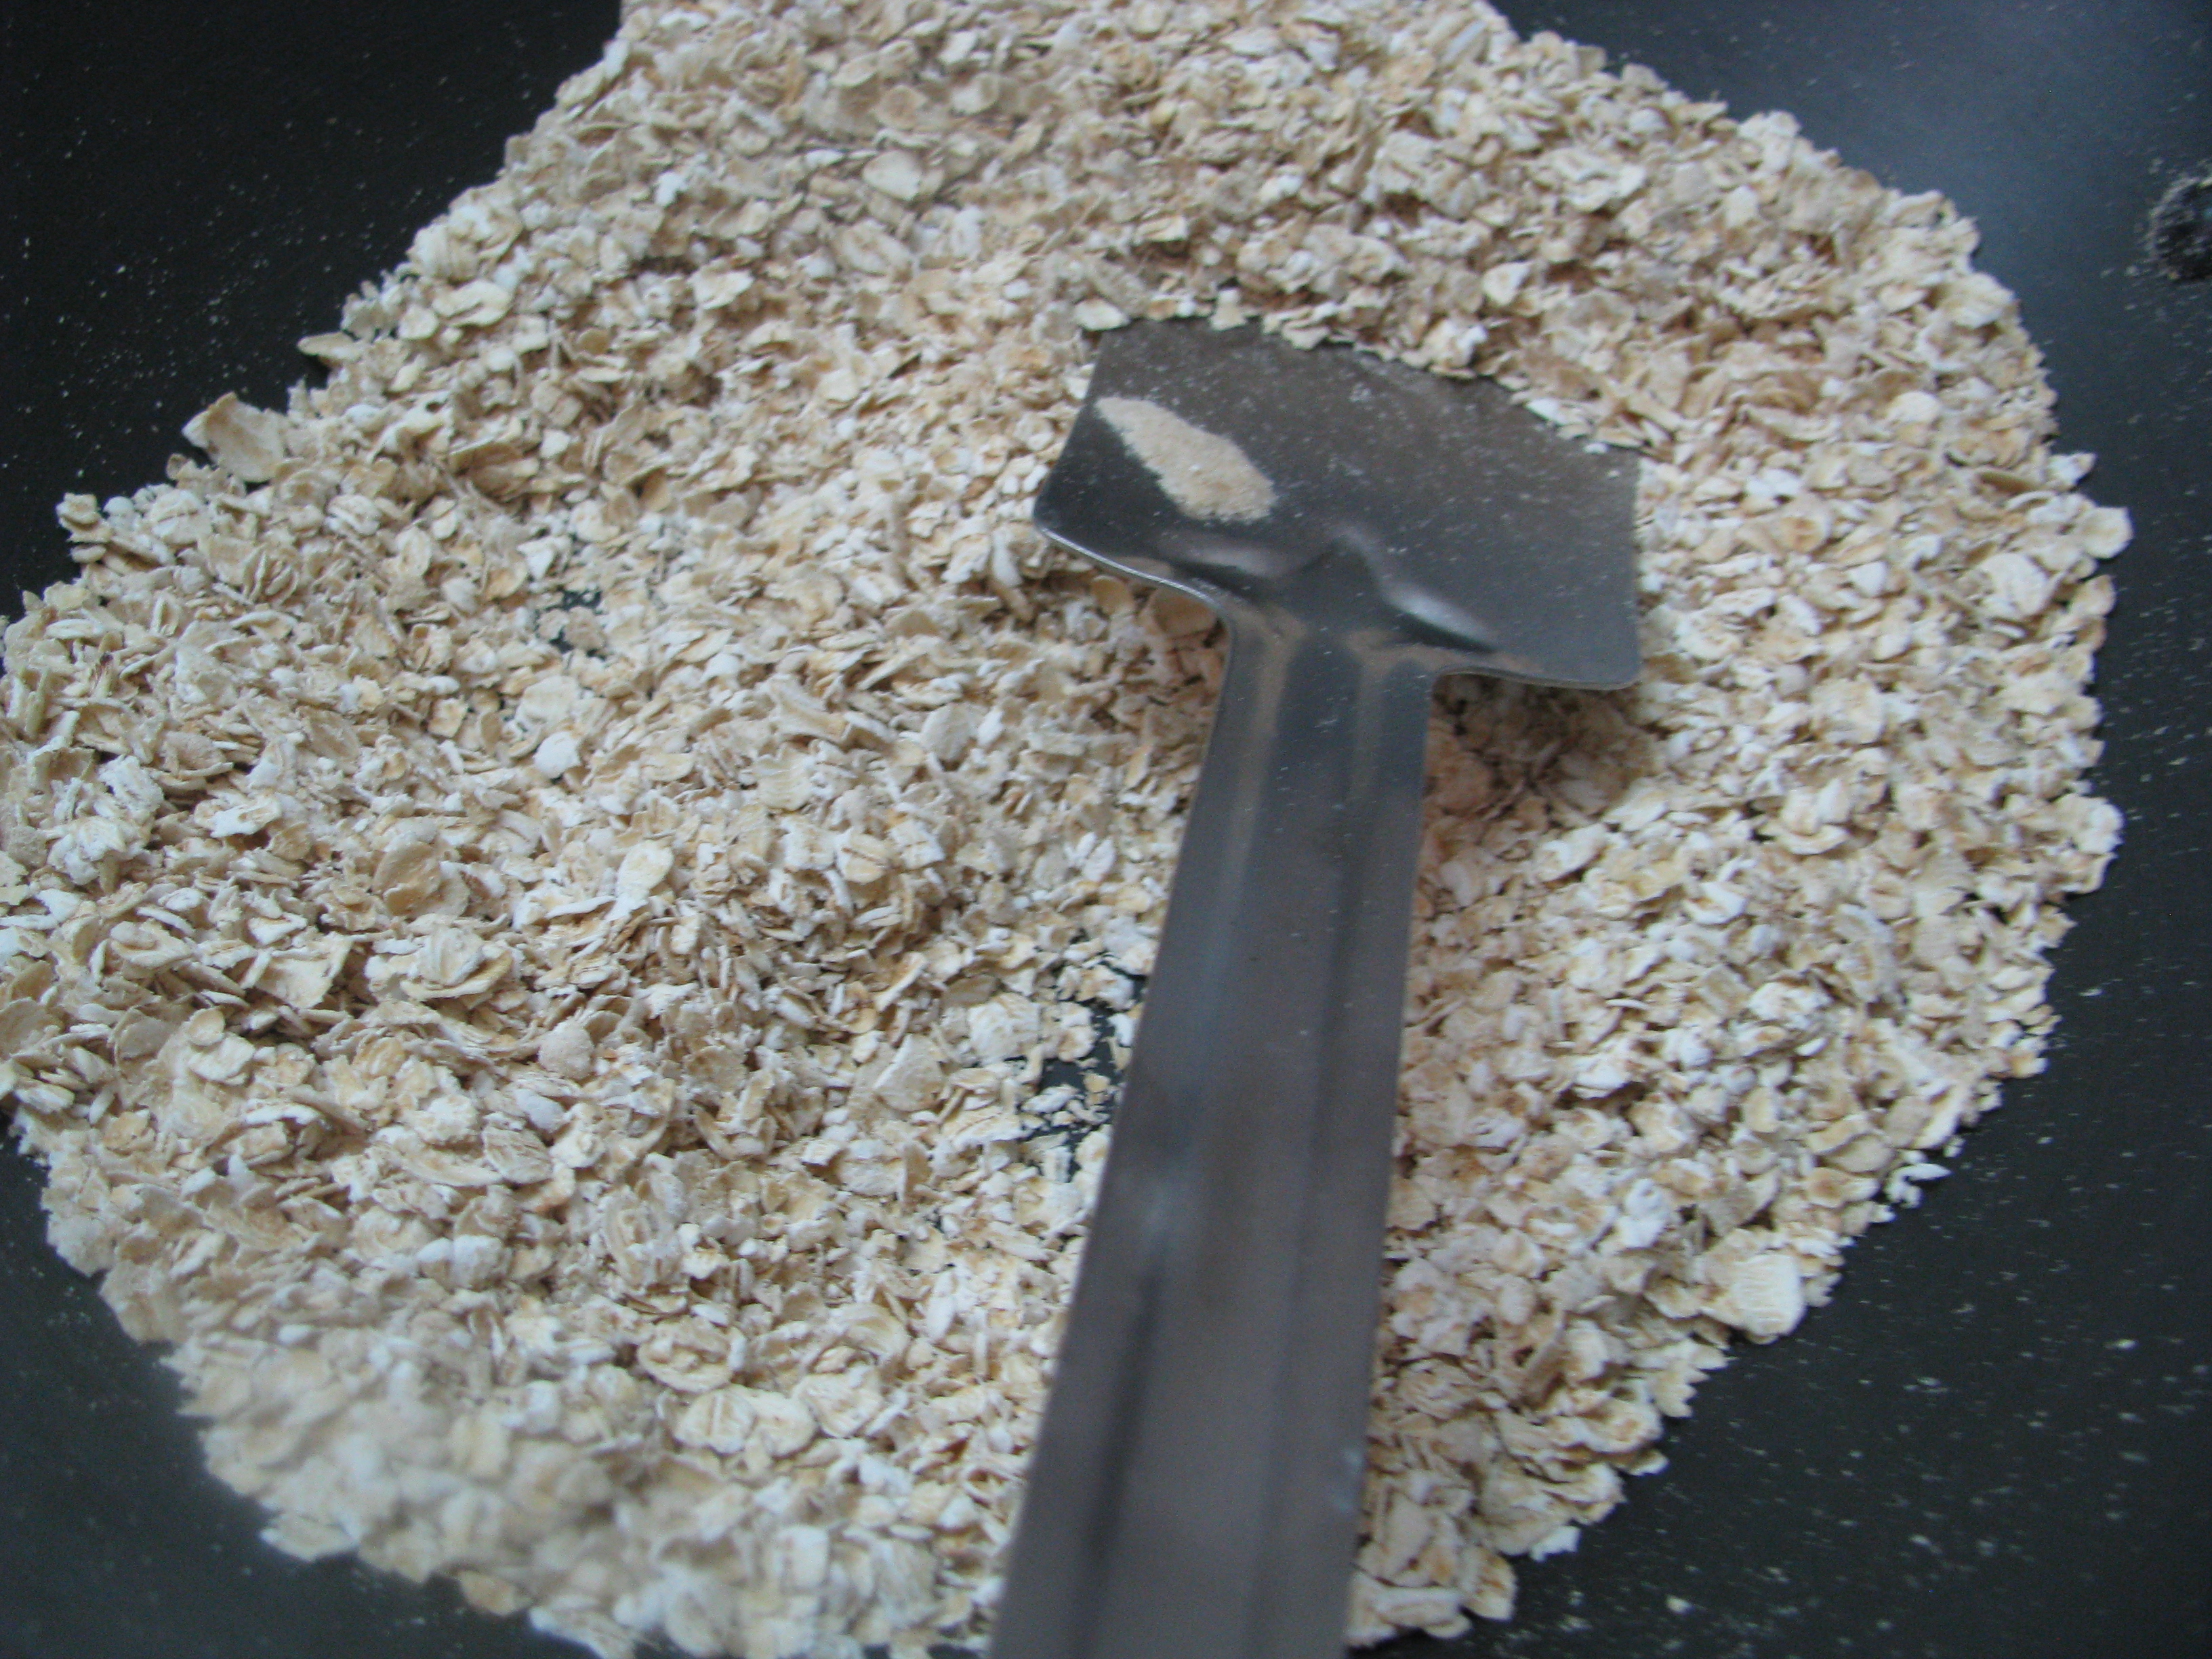
  • 1 cup gheu ka atta (whole wheat flour)
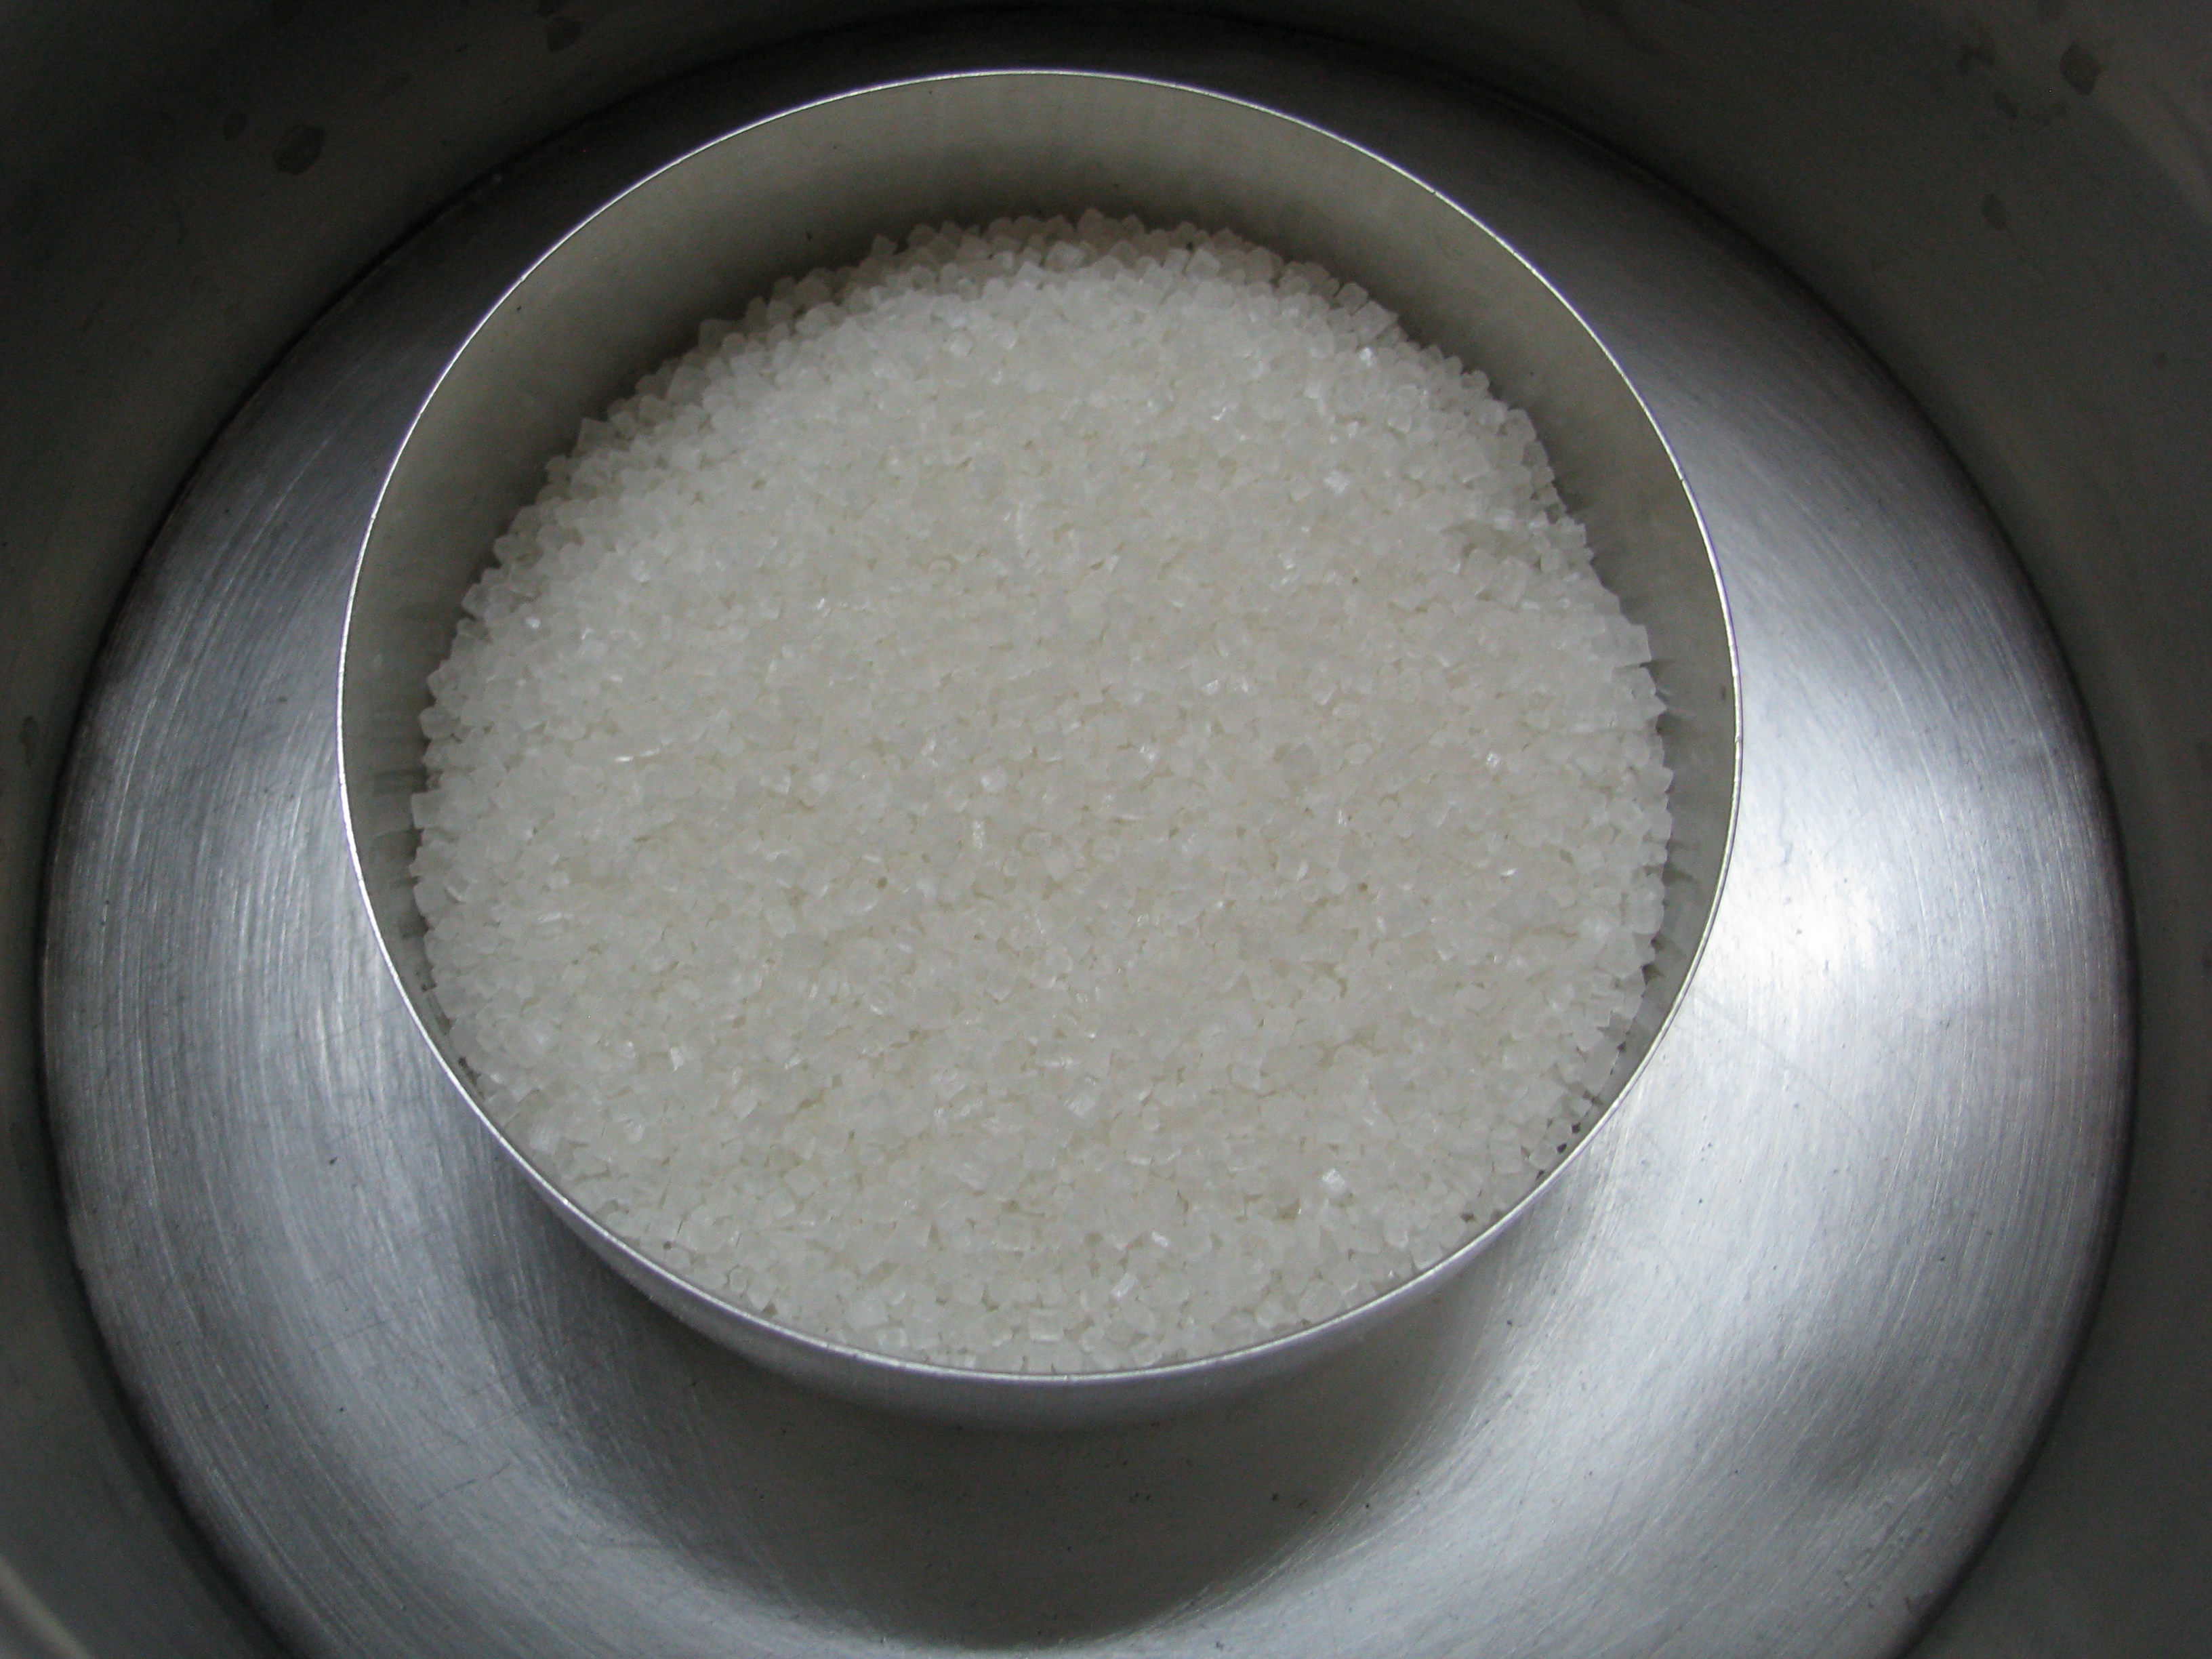
  • 1 ½ cup sugar or 2 cups of grated jaggery
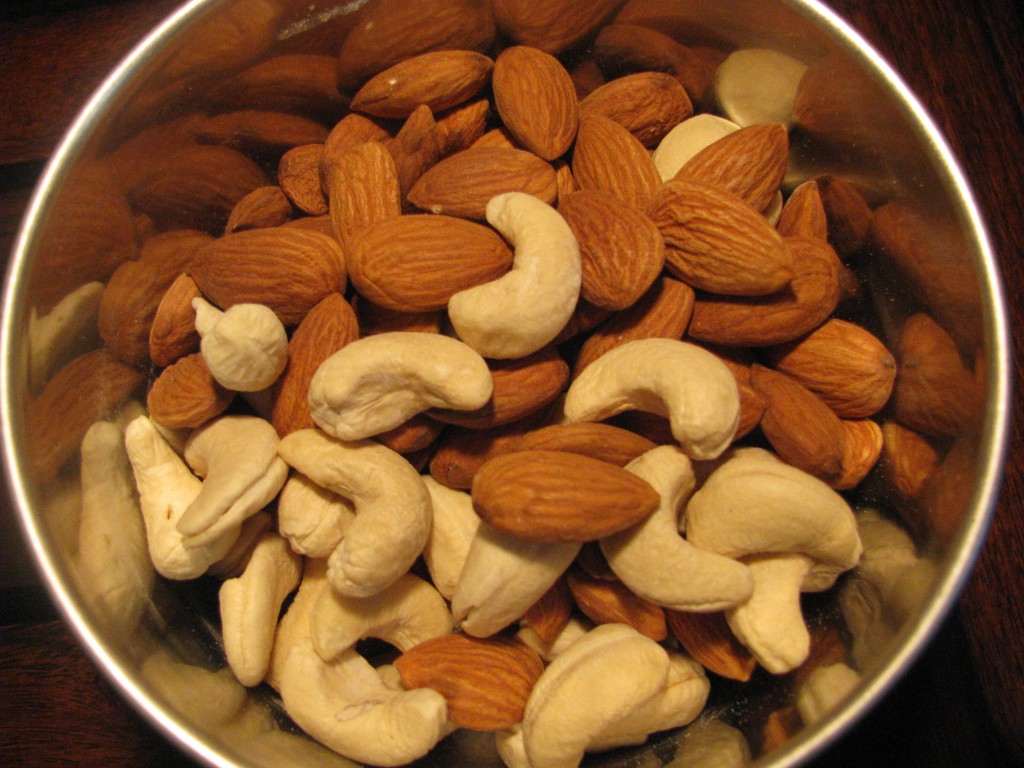
  • ¾ cup almonds
  • ¾ cup cashew nuts
  •  ½ cup raisins
  • 1 cup dry dates powder (kharik / chuara powder)
  • 2 tablespoon khus khus
  • 1 cup grated dry coconut
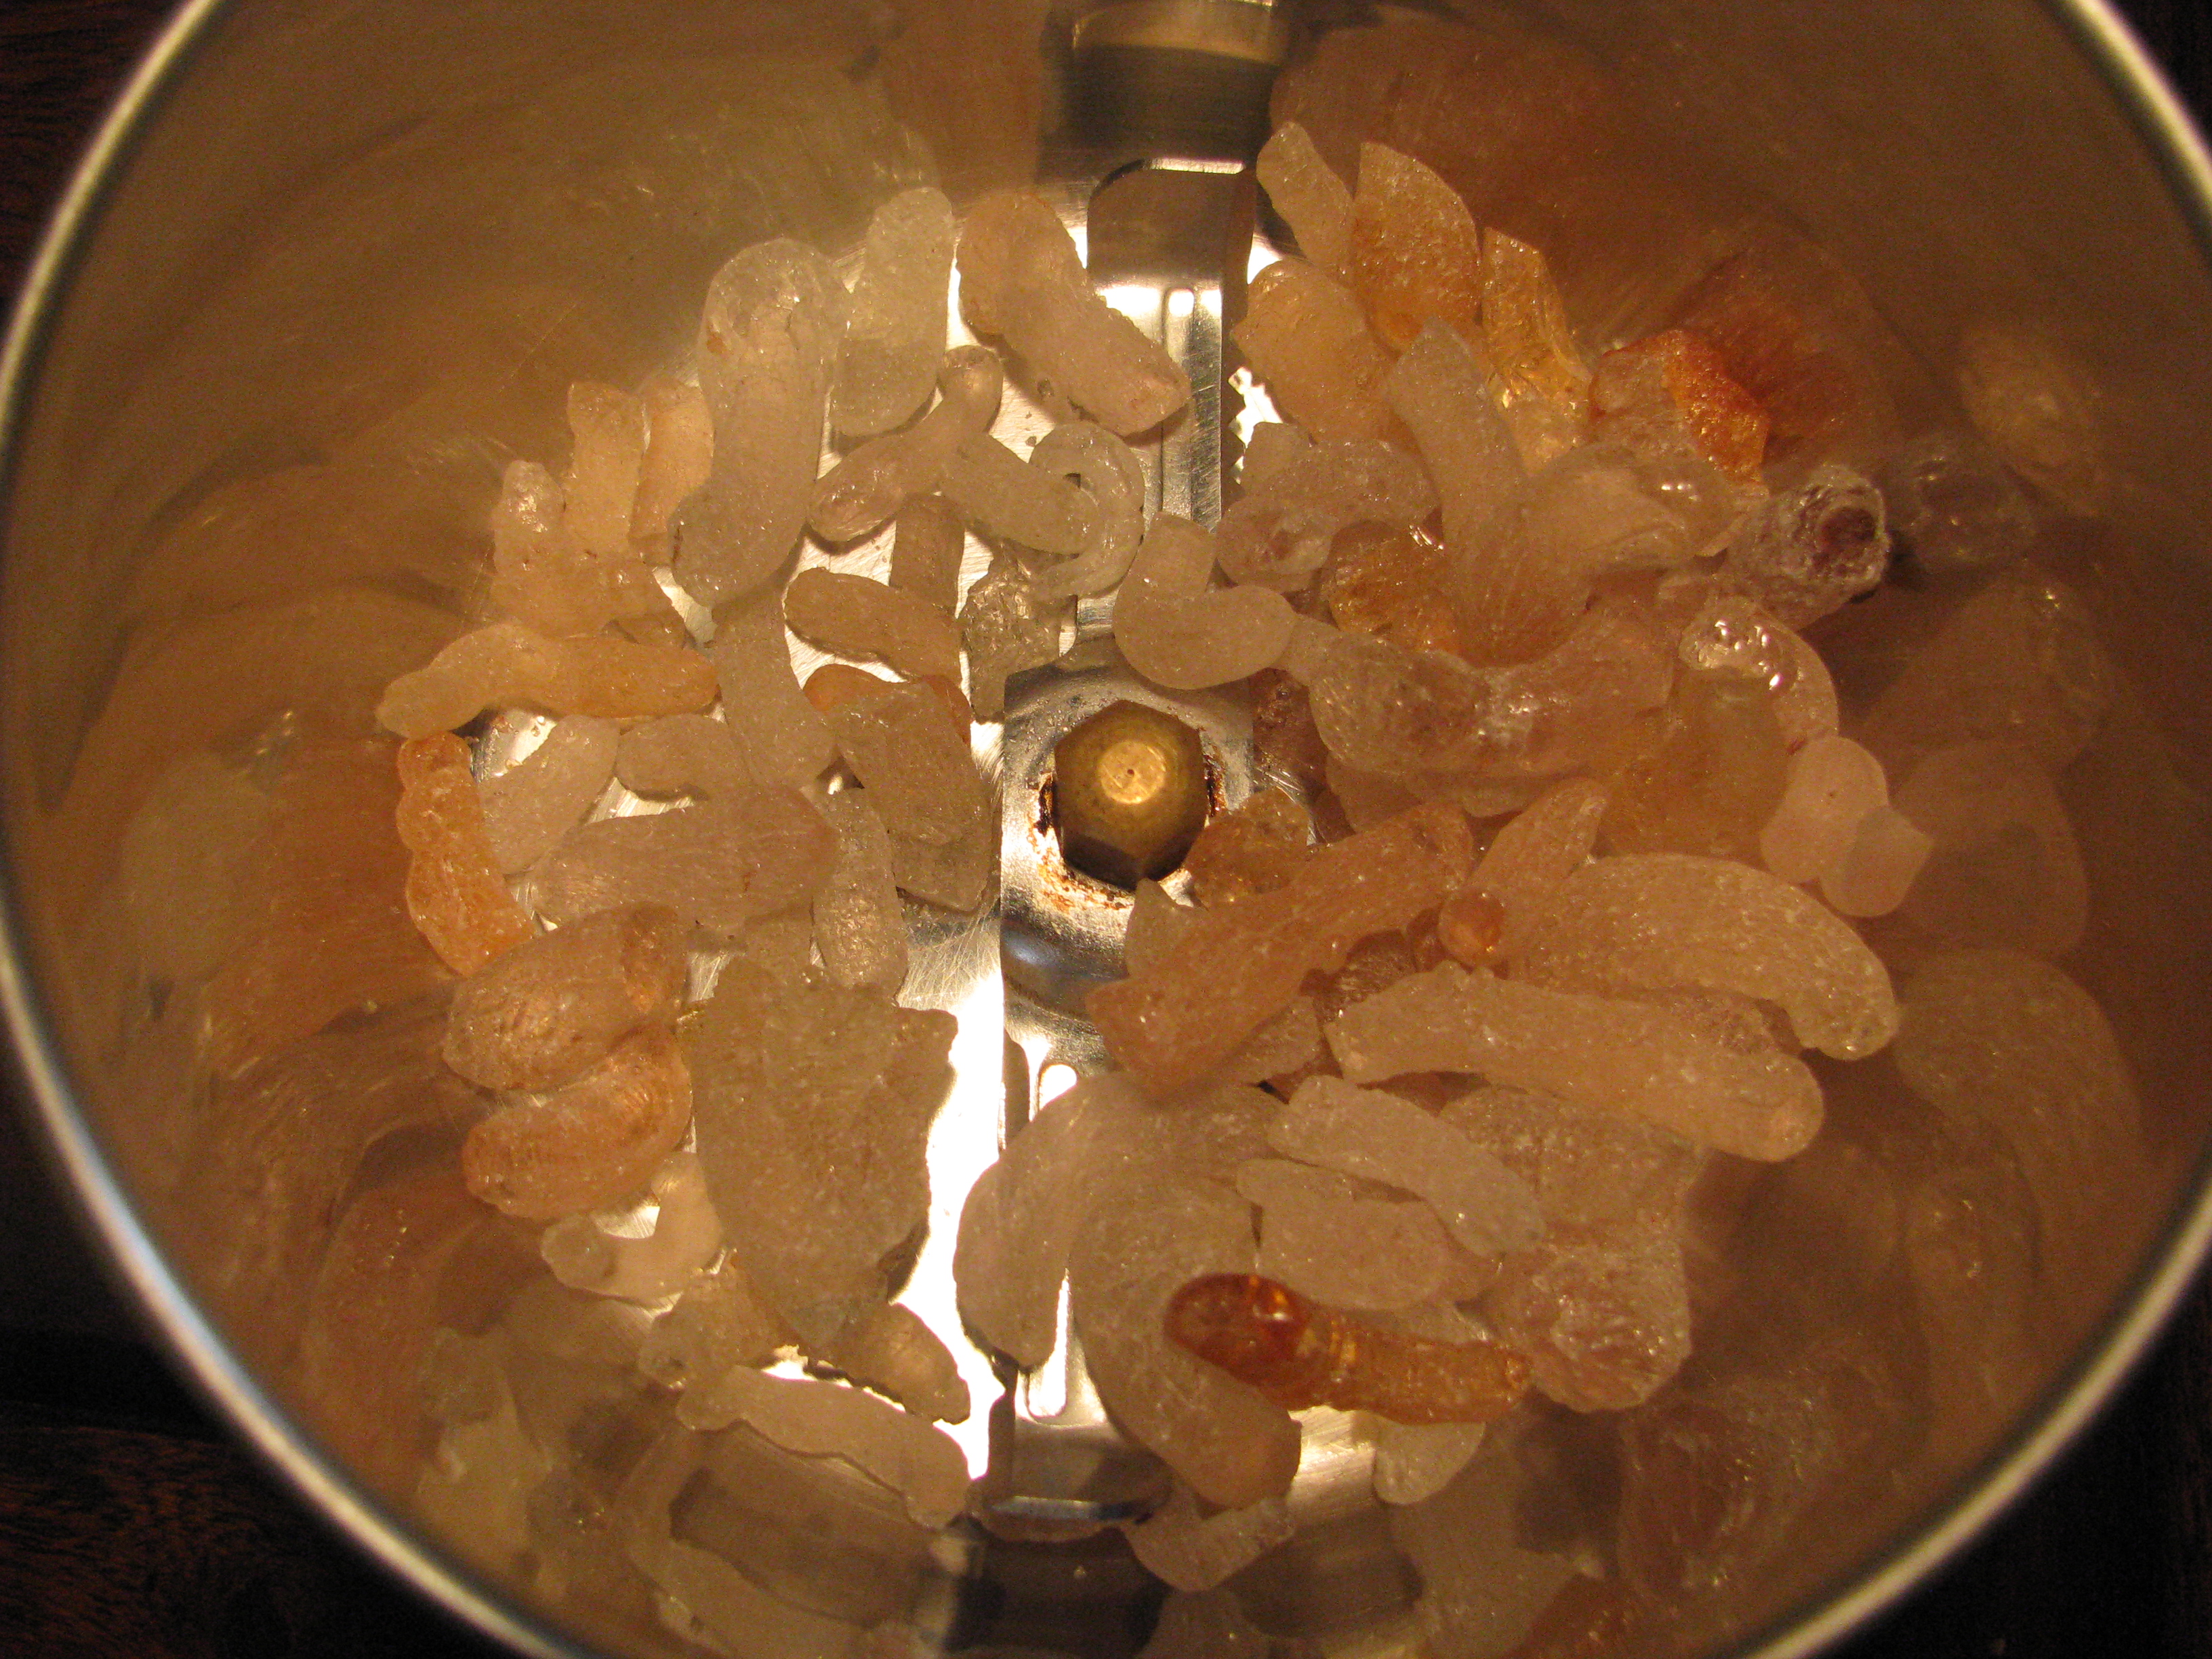
  • ½ cup gond (gaund / dink)
  • ½ teaspoon jaiphal powder (nutmeg powder)
  • 1 teaspoon cardamom powder 

[/ingredients]

[directions title=”Directions to make healthy urad dal  ladoo for winters “]

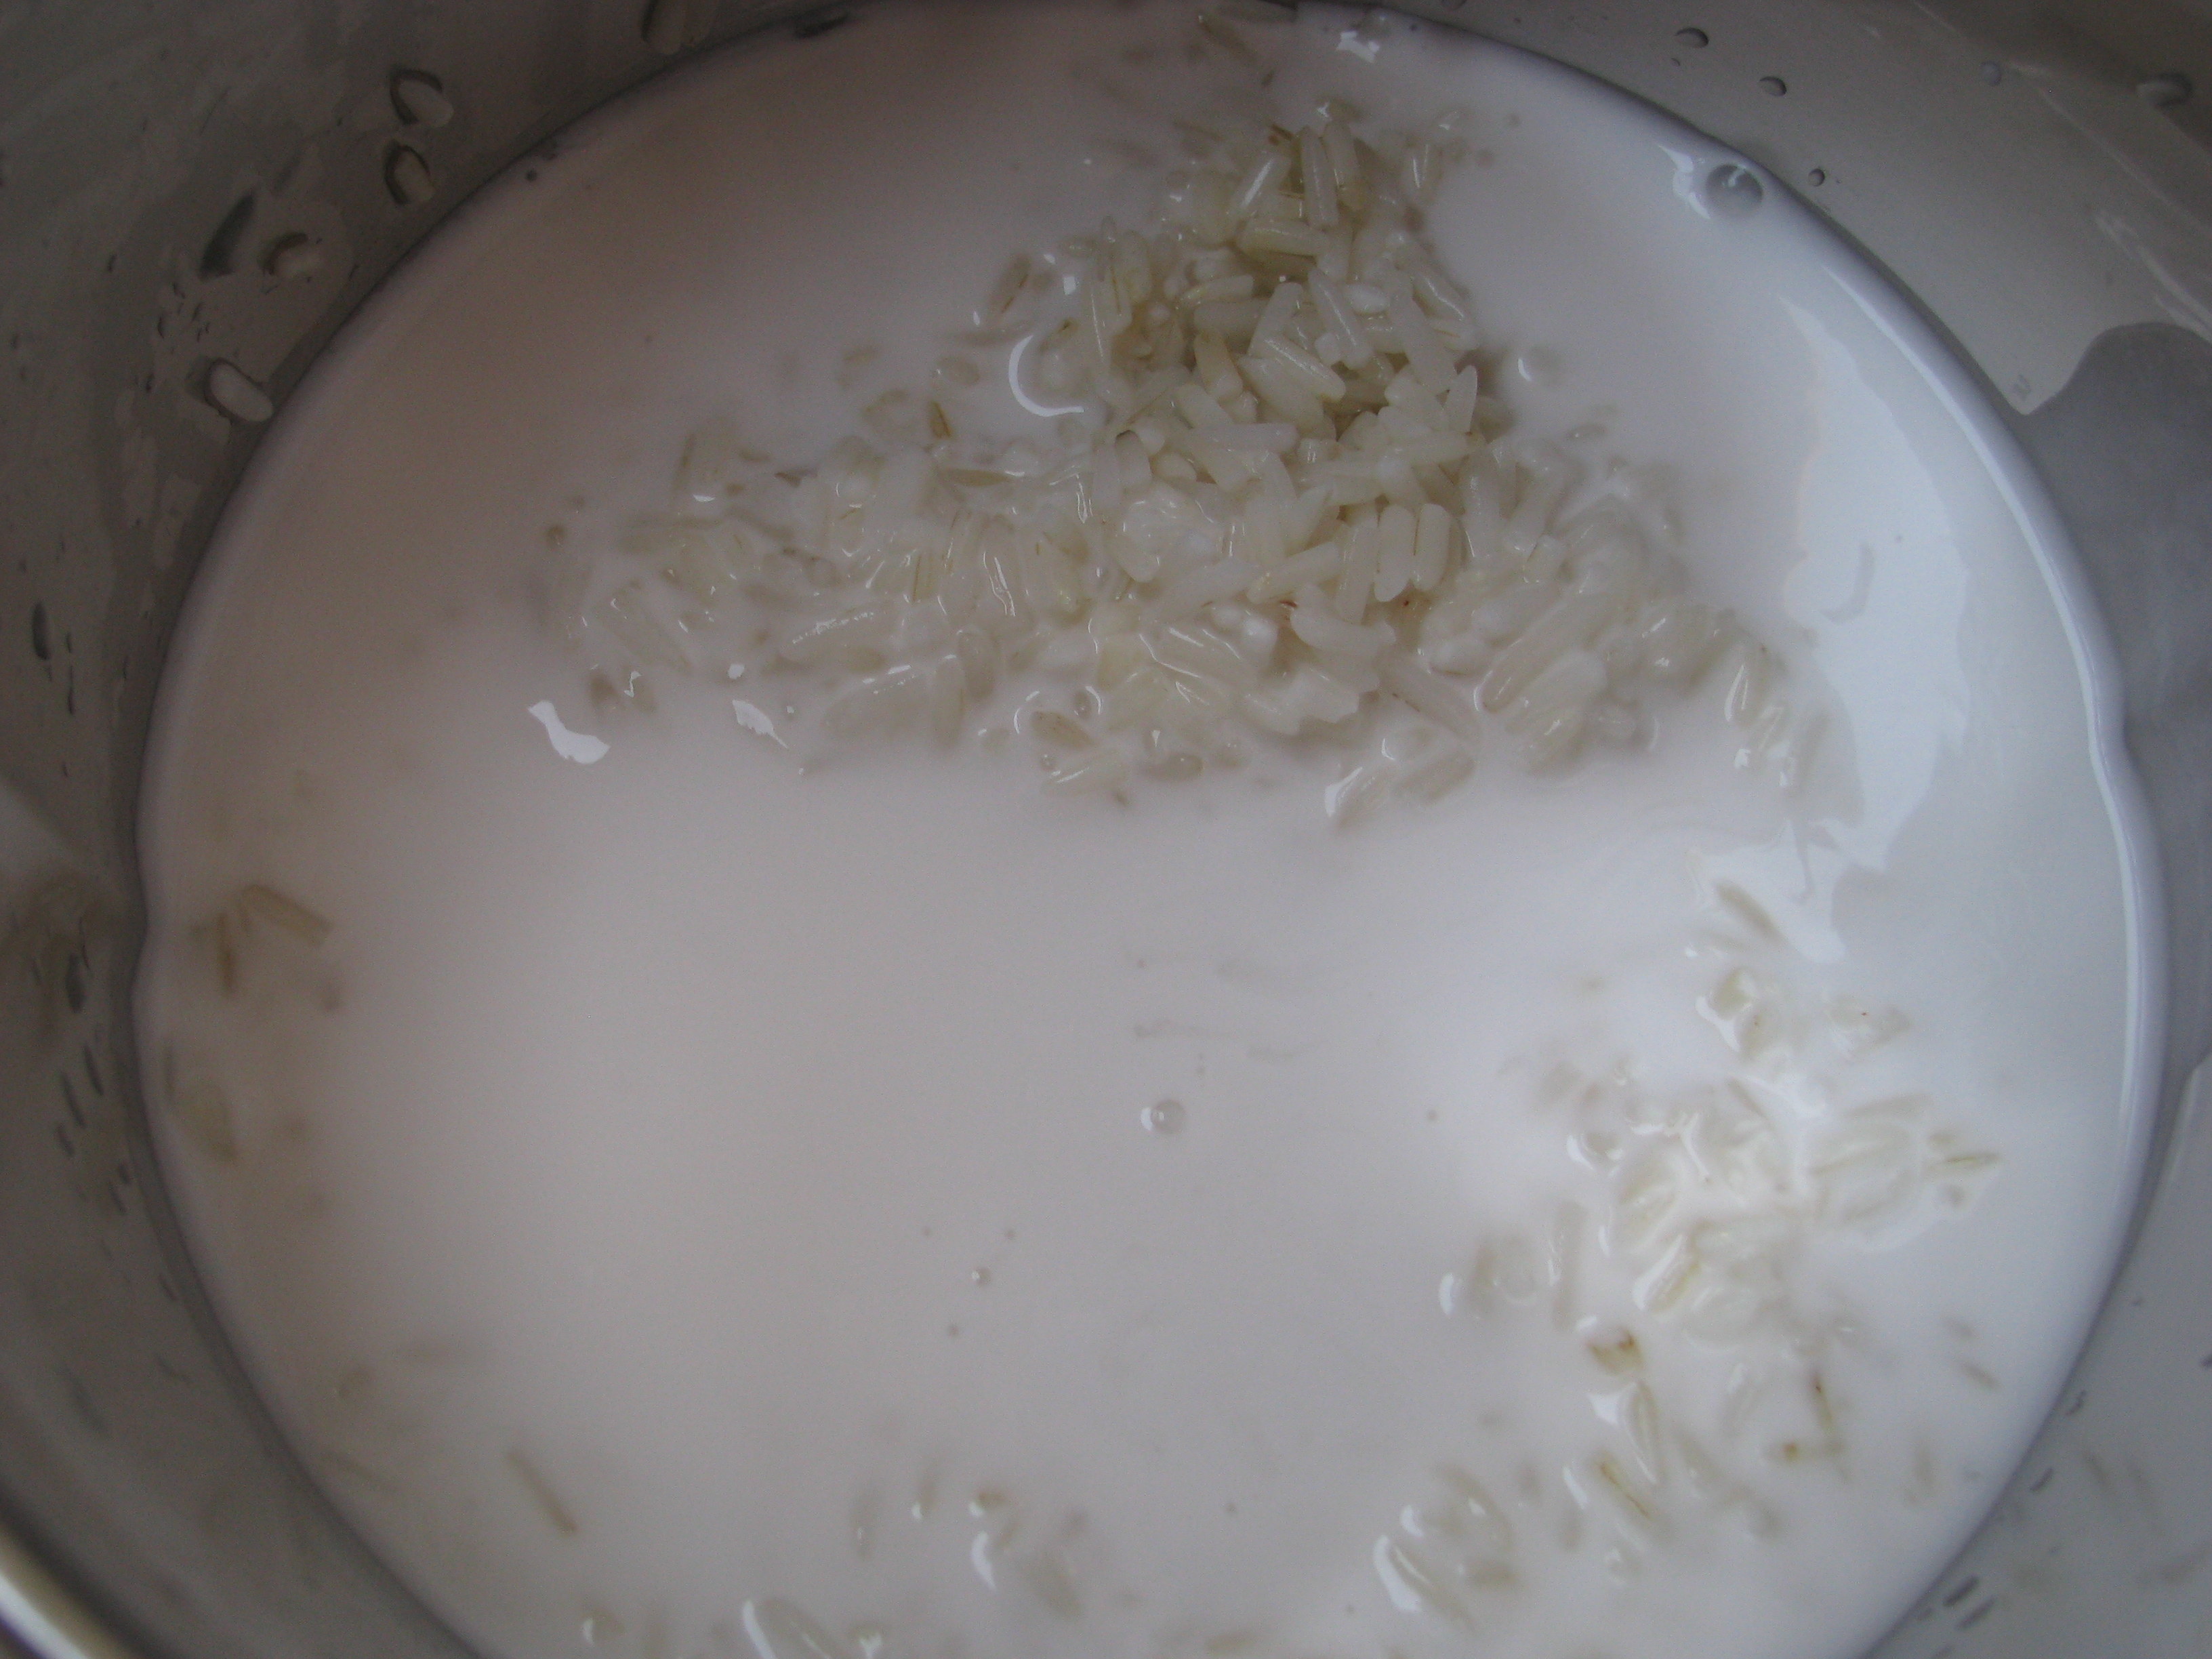
  1. Wash urad dal with clean water and soak it for 2 -3 hours
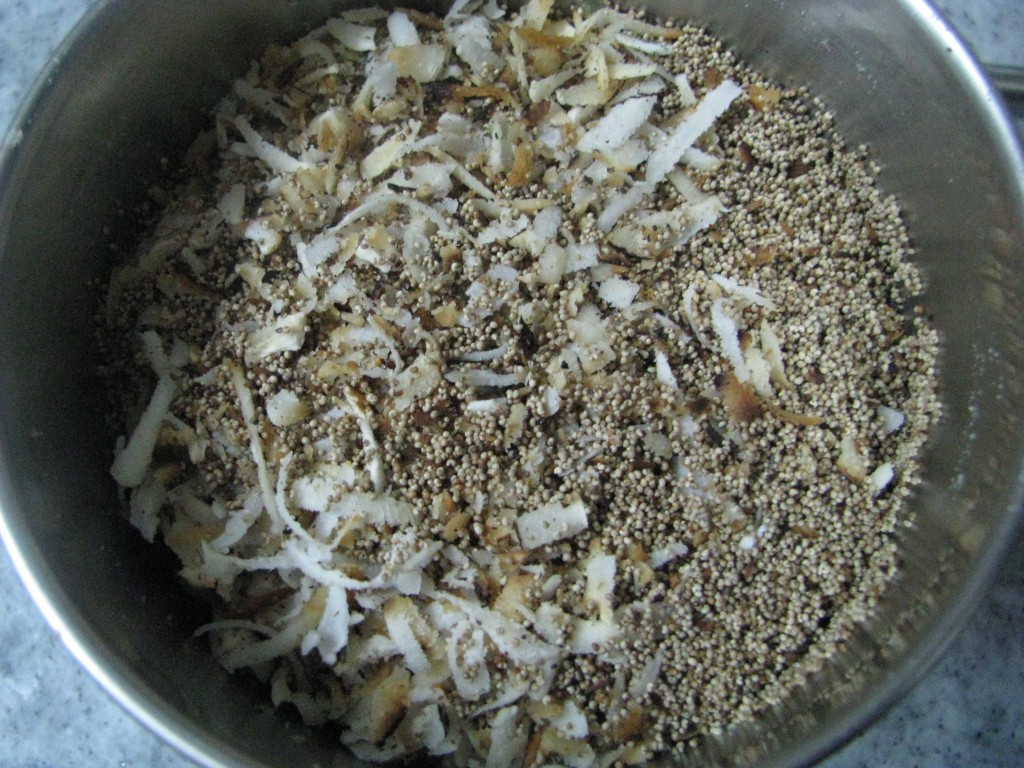
  2. Roast  khus khus and keep it aside. Roast grated coconut, mix both khus khus and coconut and let it cool down and grind it to fine powder and keep it aside.IMG_8341IMG_8342
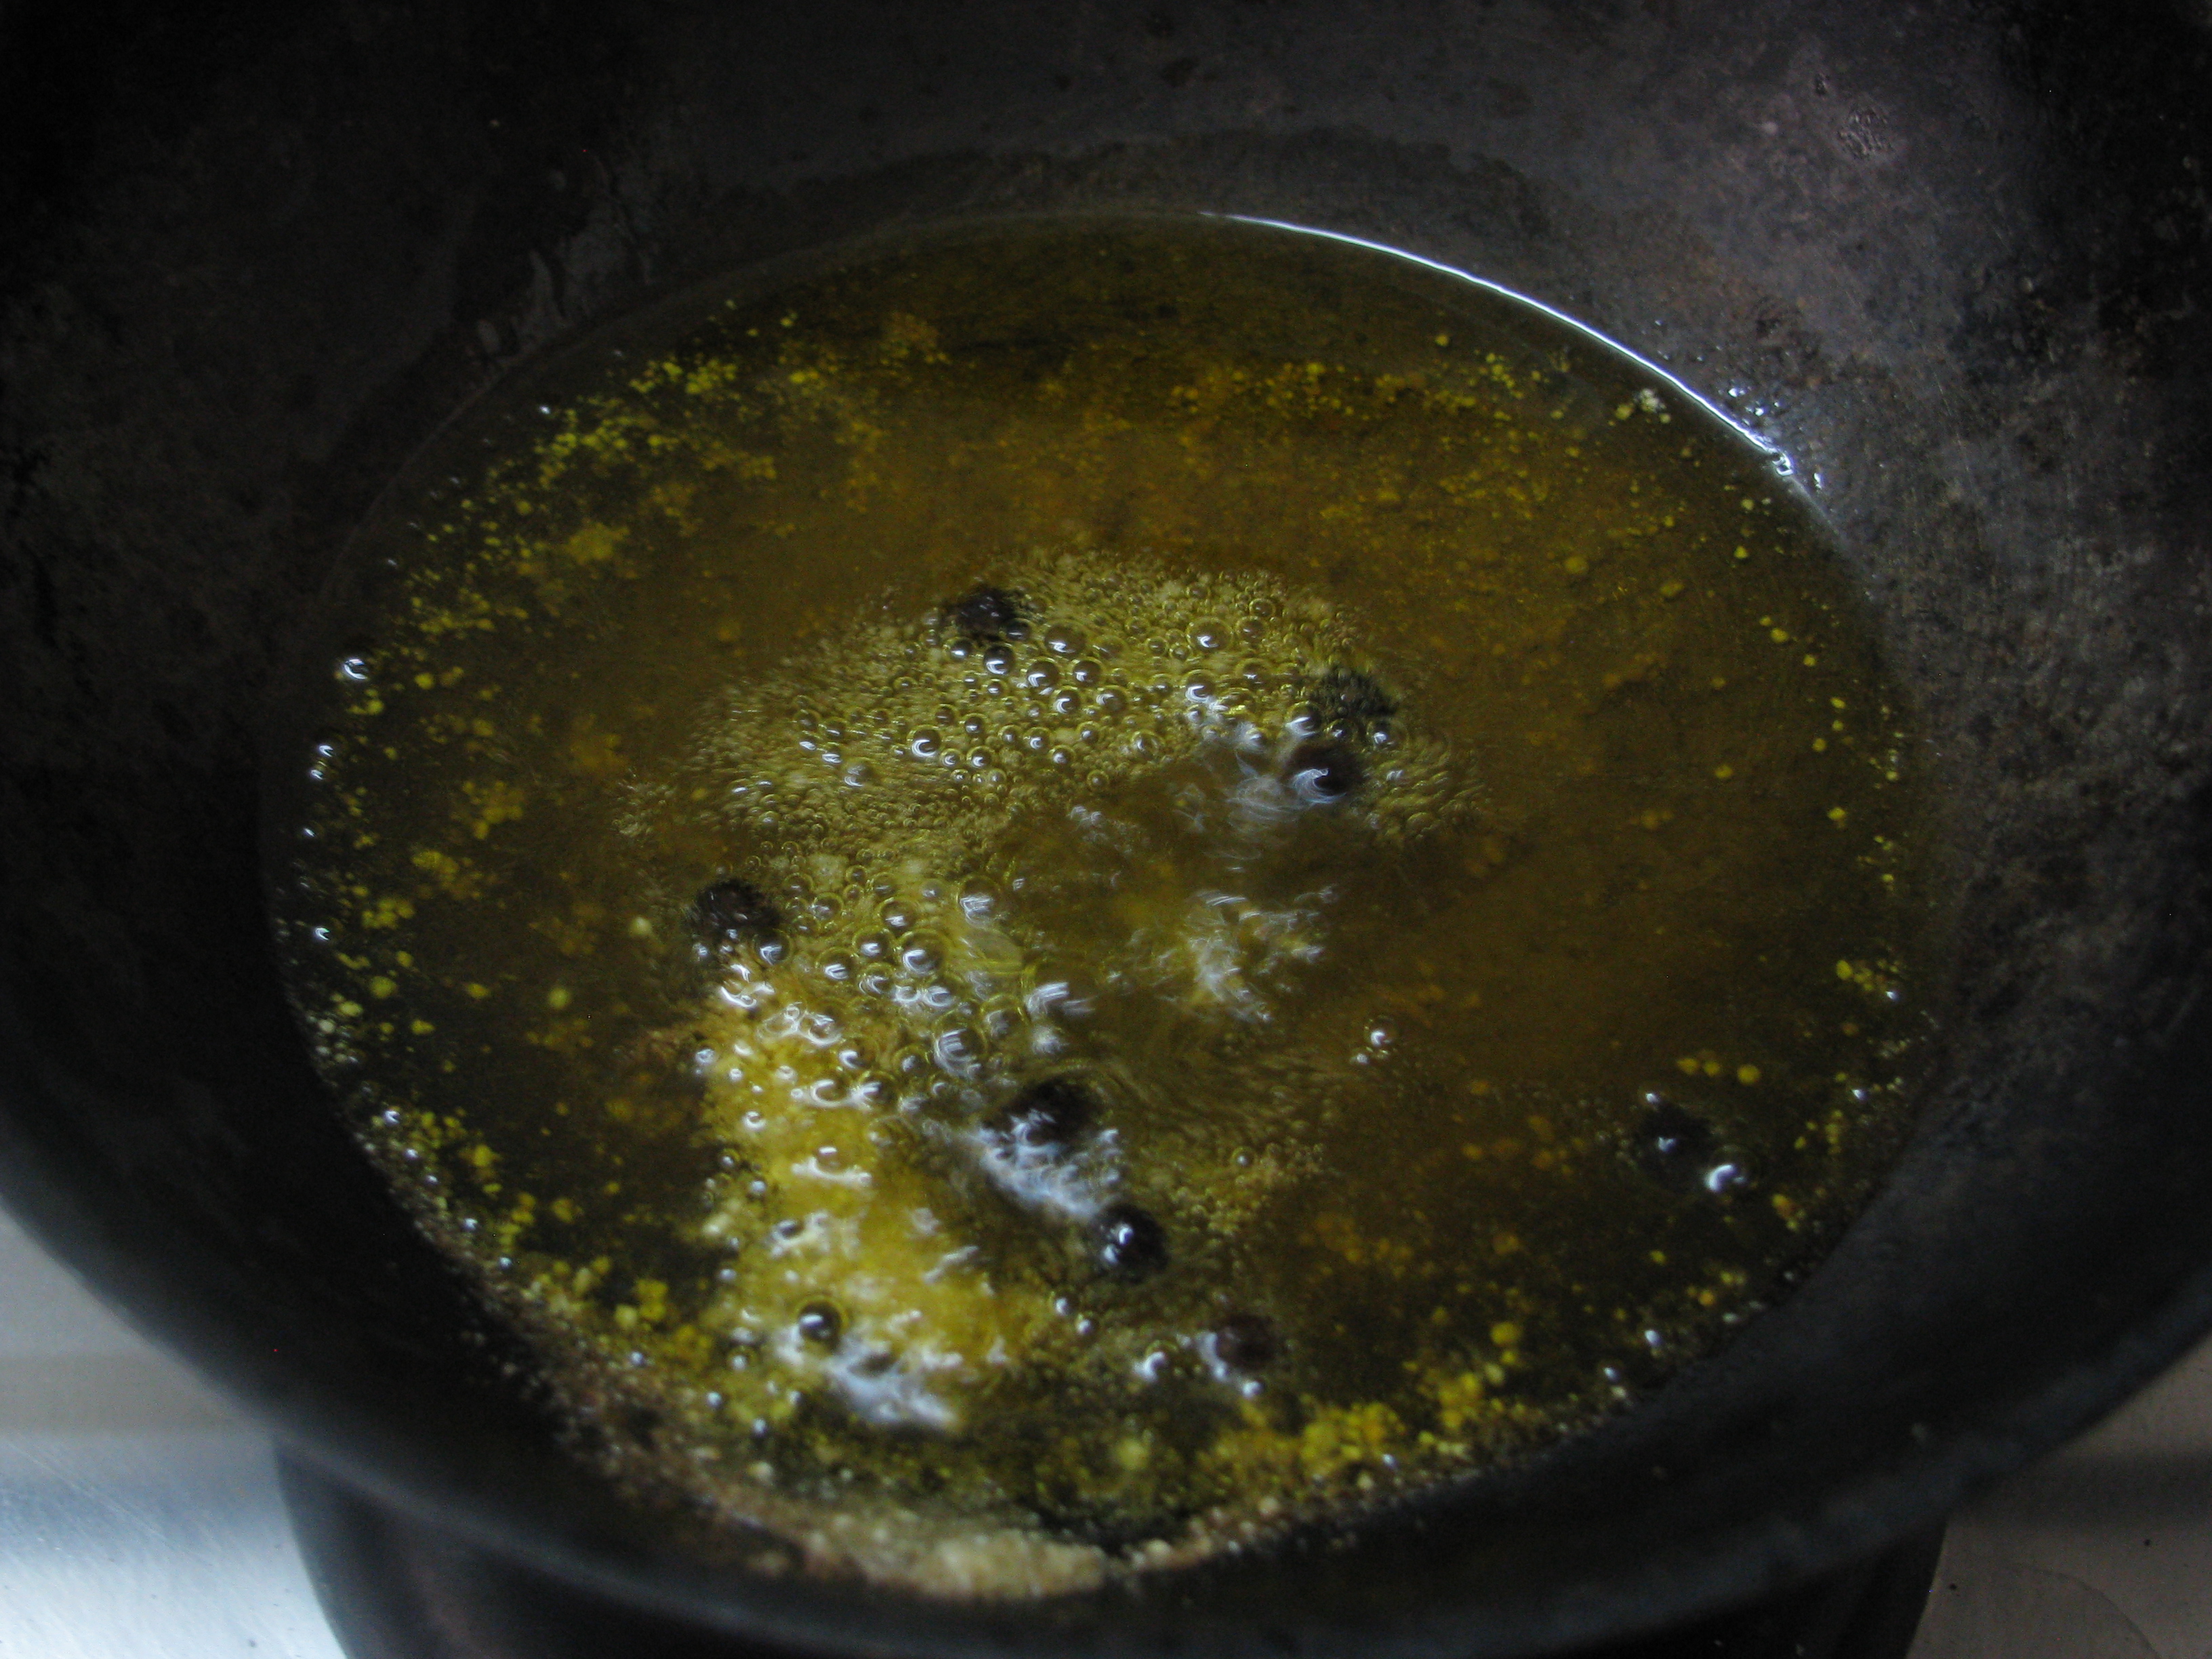
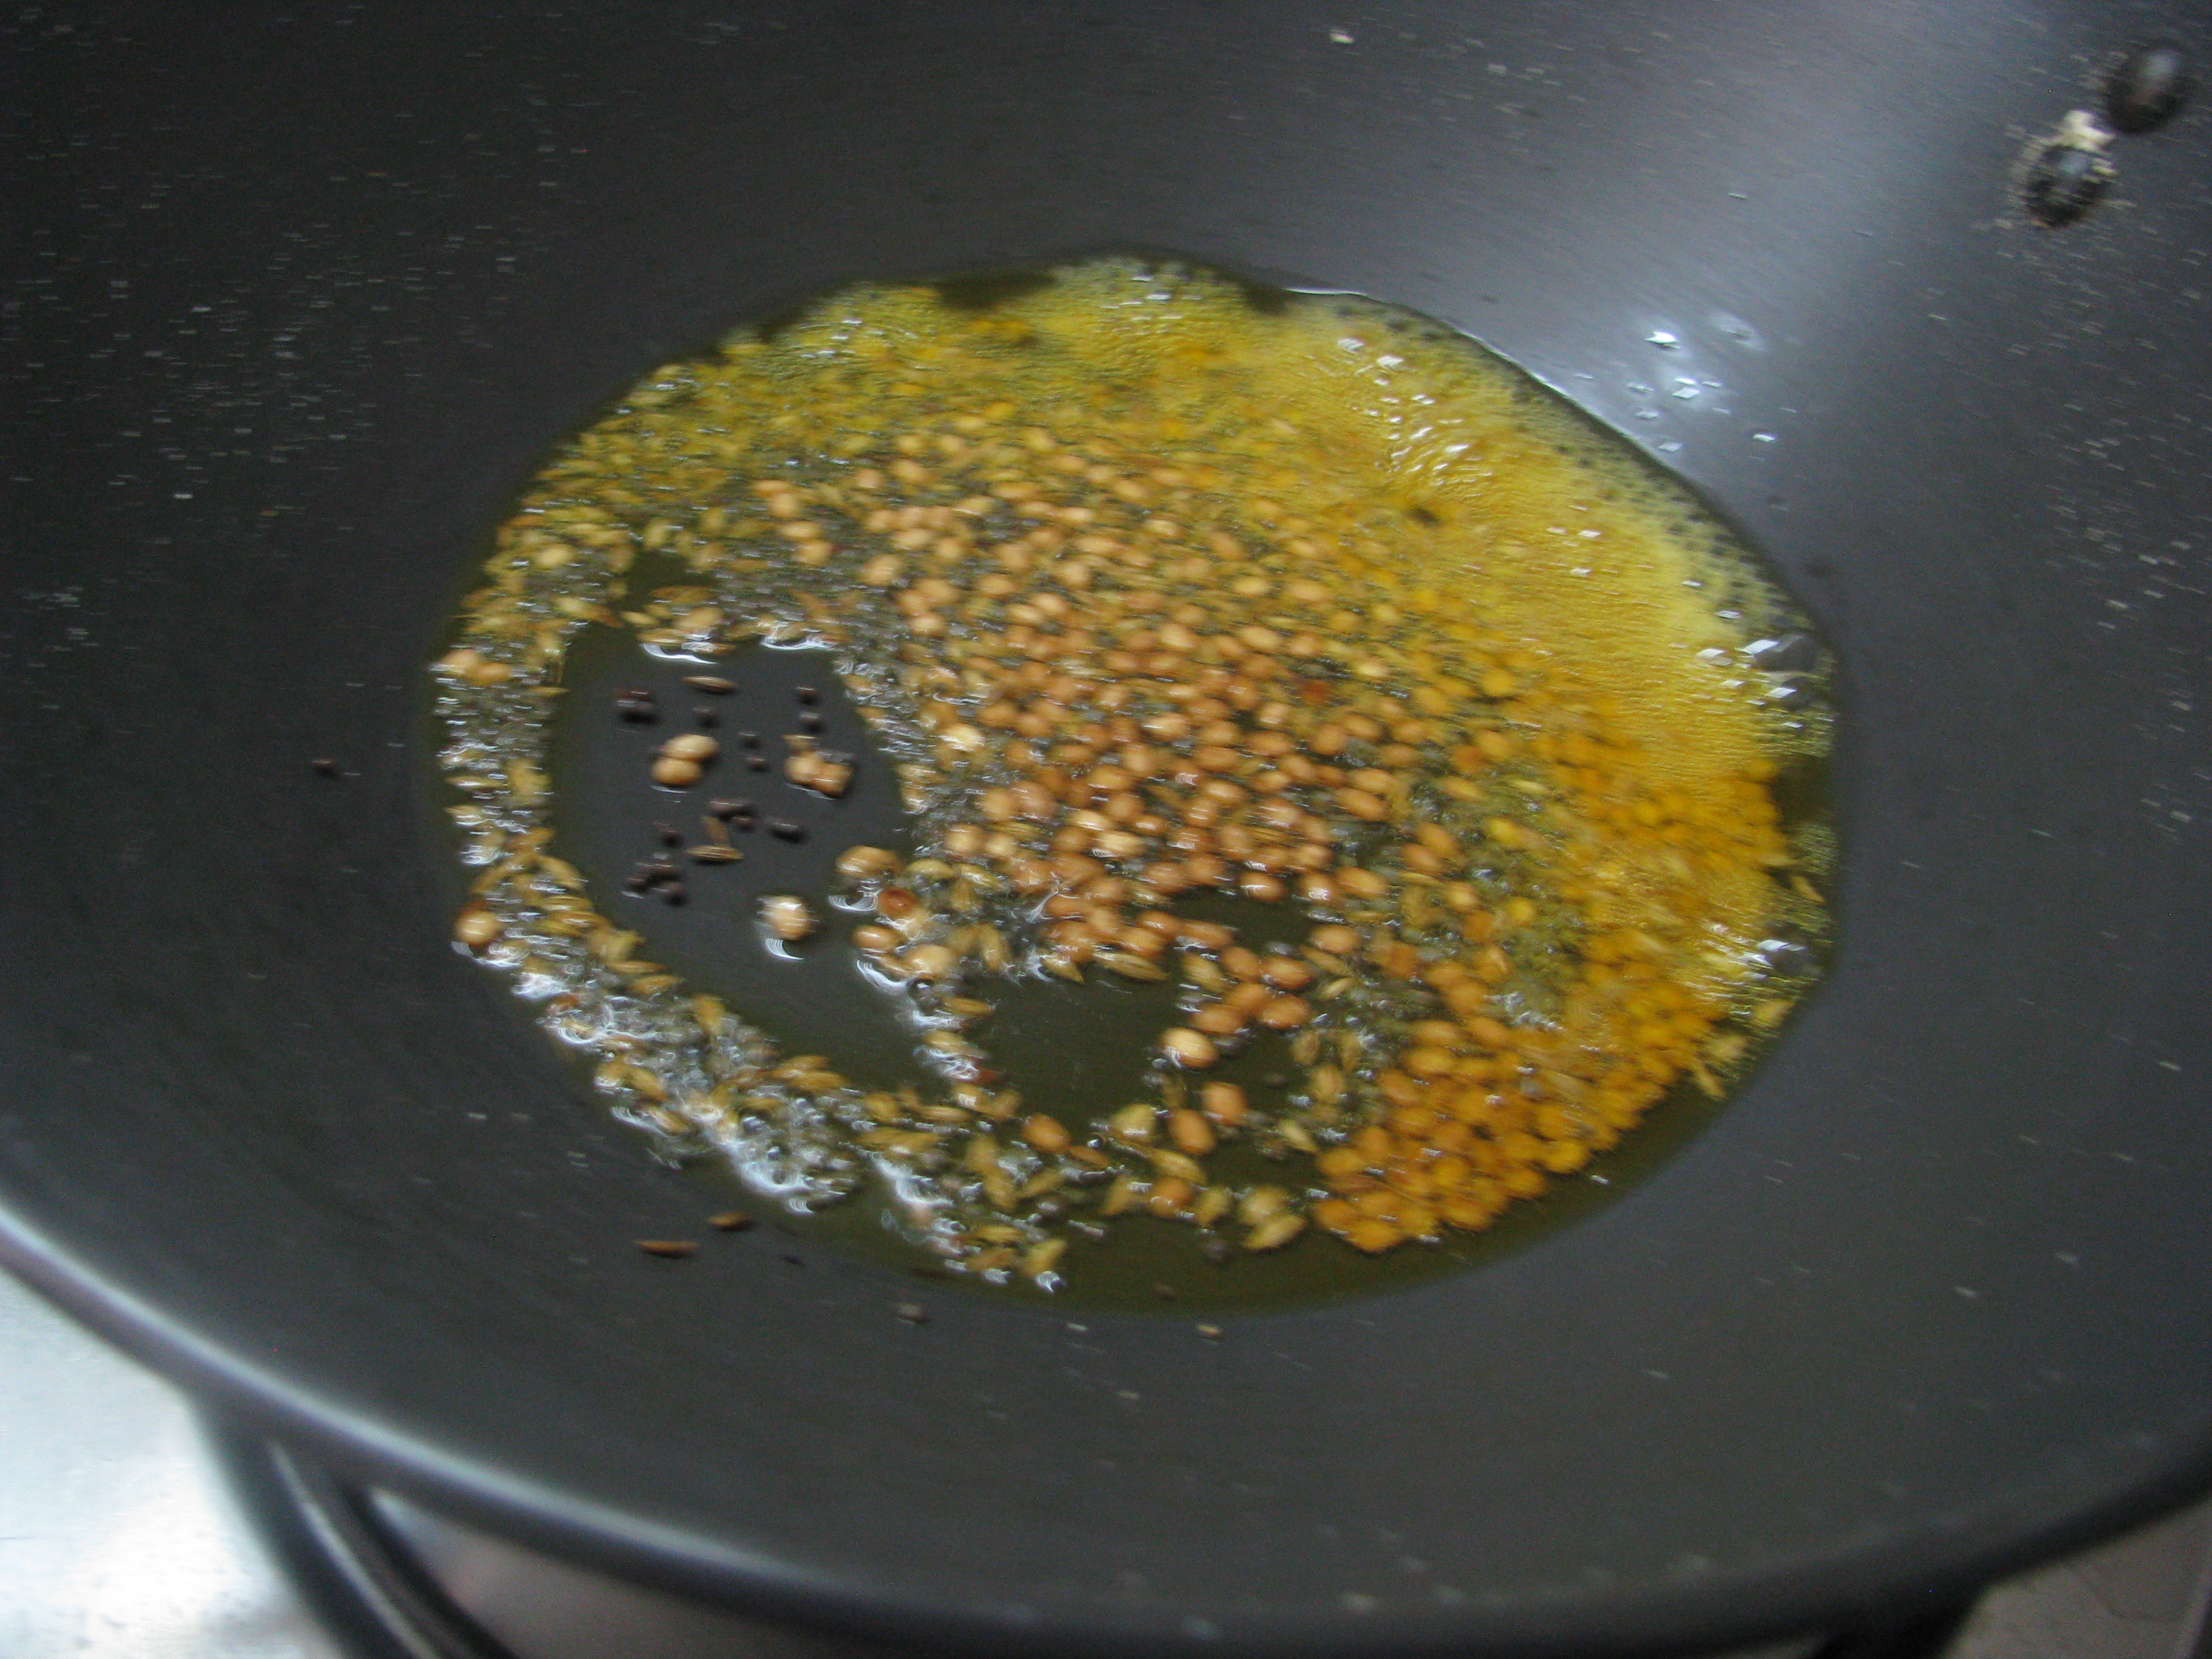
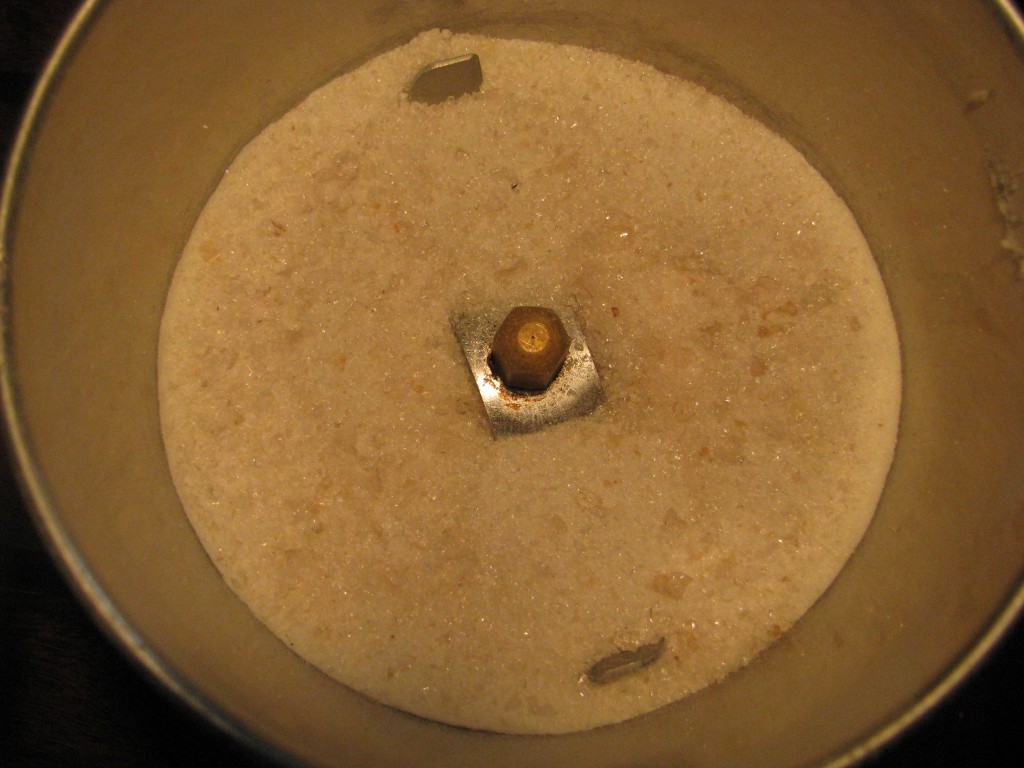
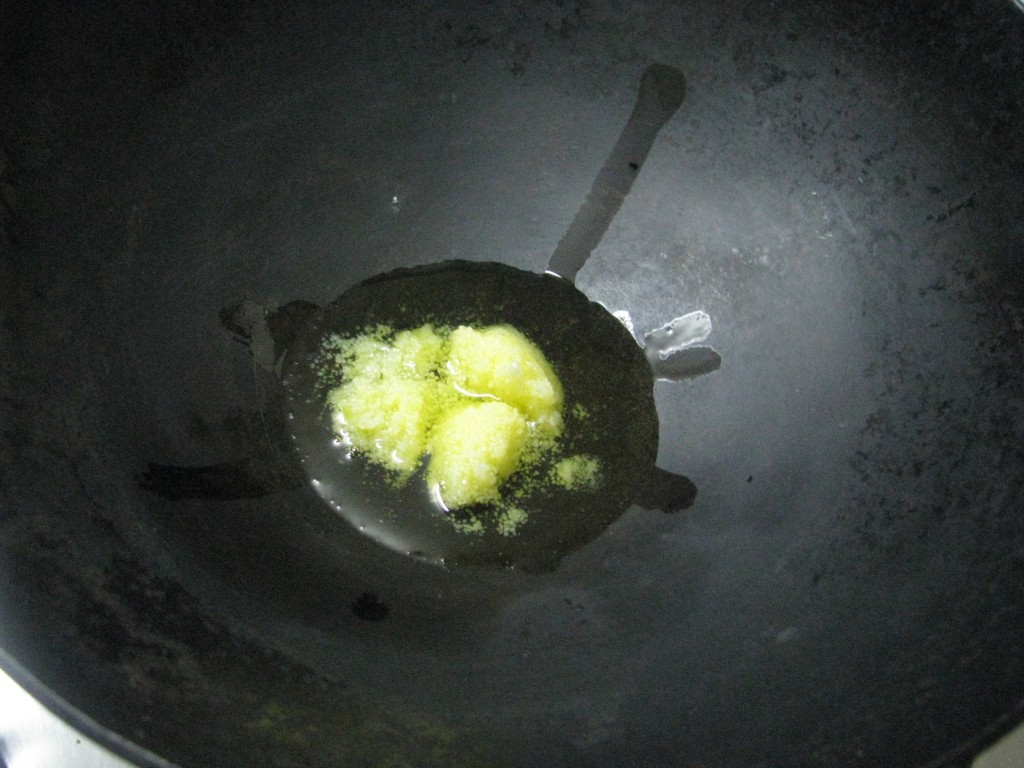
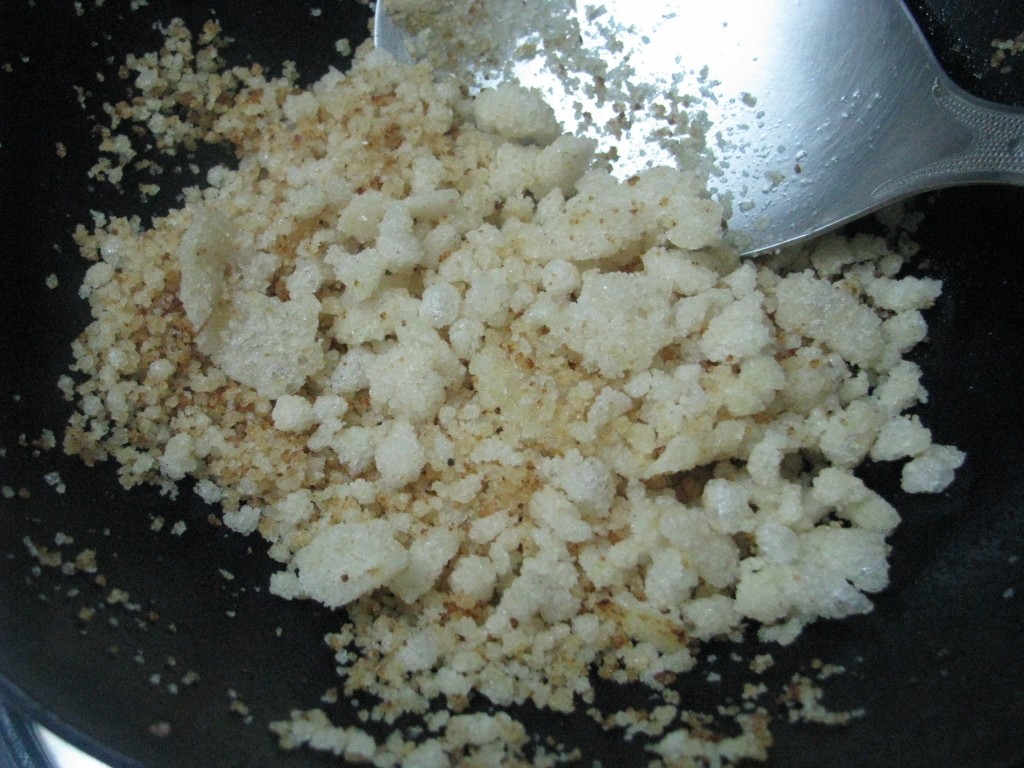
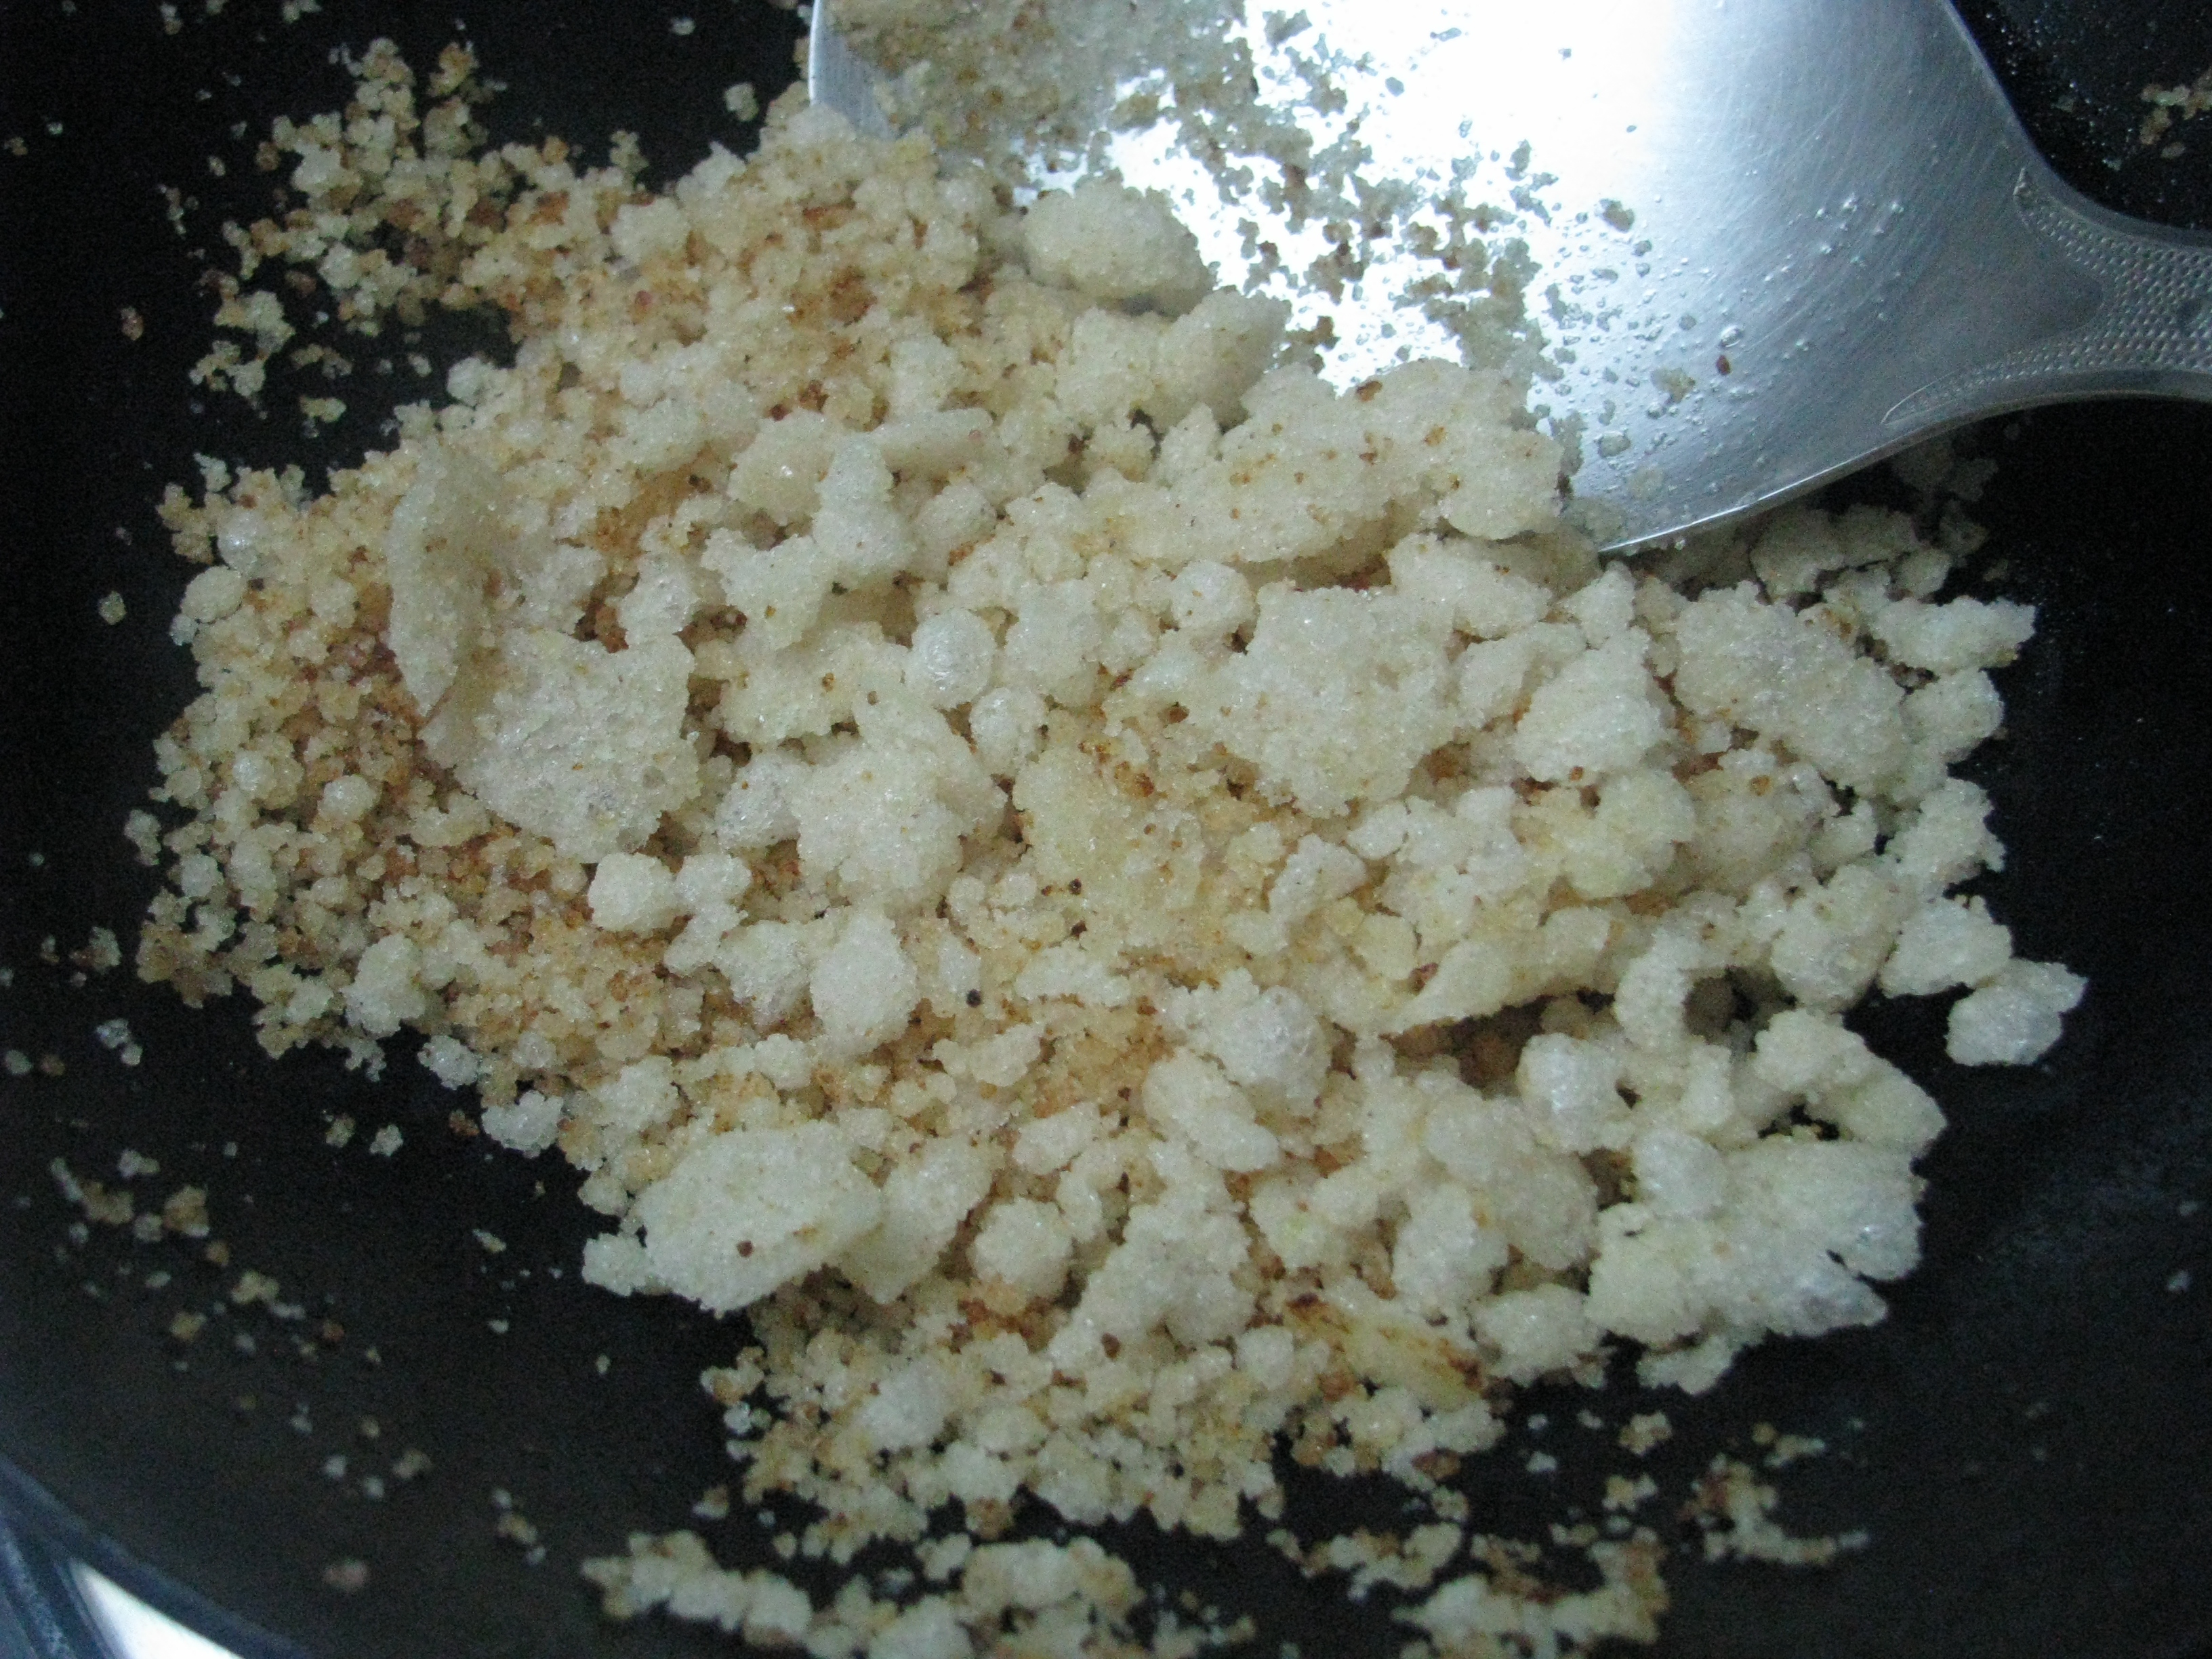
  3. Grind gond /dink /gund into fine powder. Now take 1 teaspoon of ghee in frying pan and roast this powder until it become very light and fluffy. Let it cool down. Grind it again into fine powder and keep it aside.IMG_8319IMG_8321IMG_8335IMG_8336
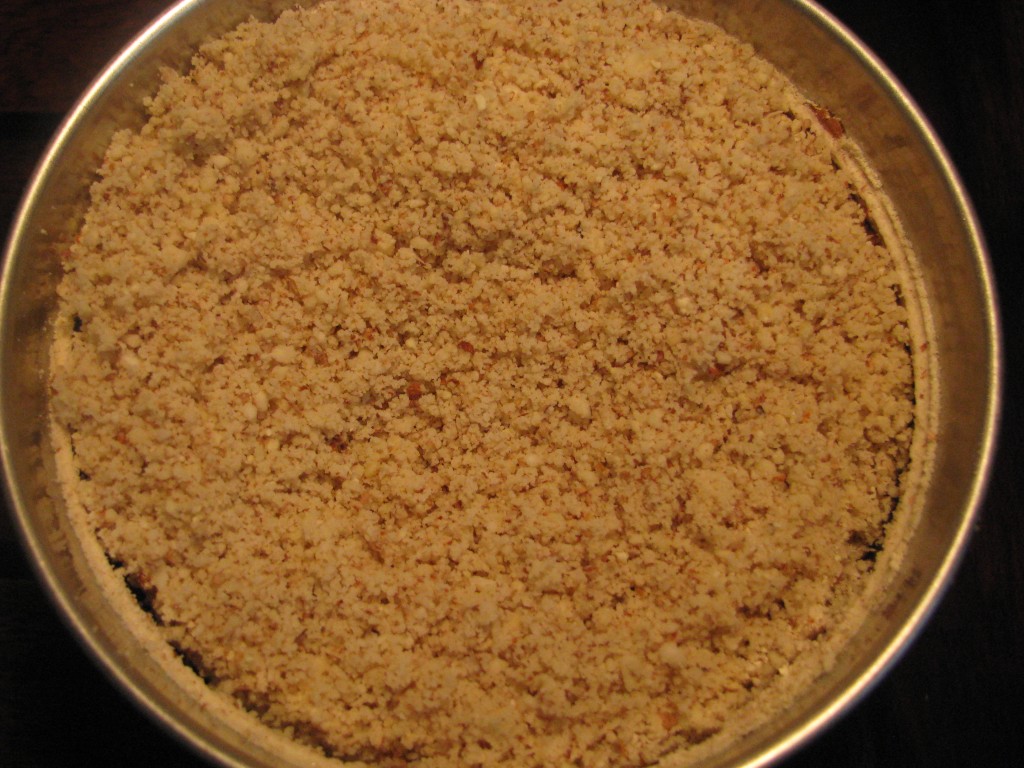
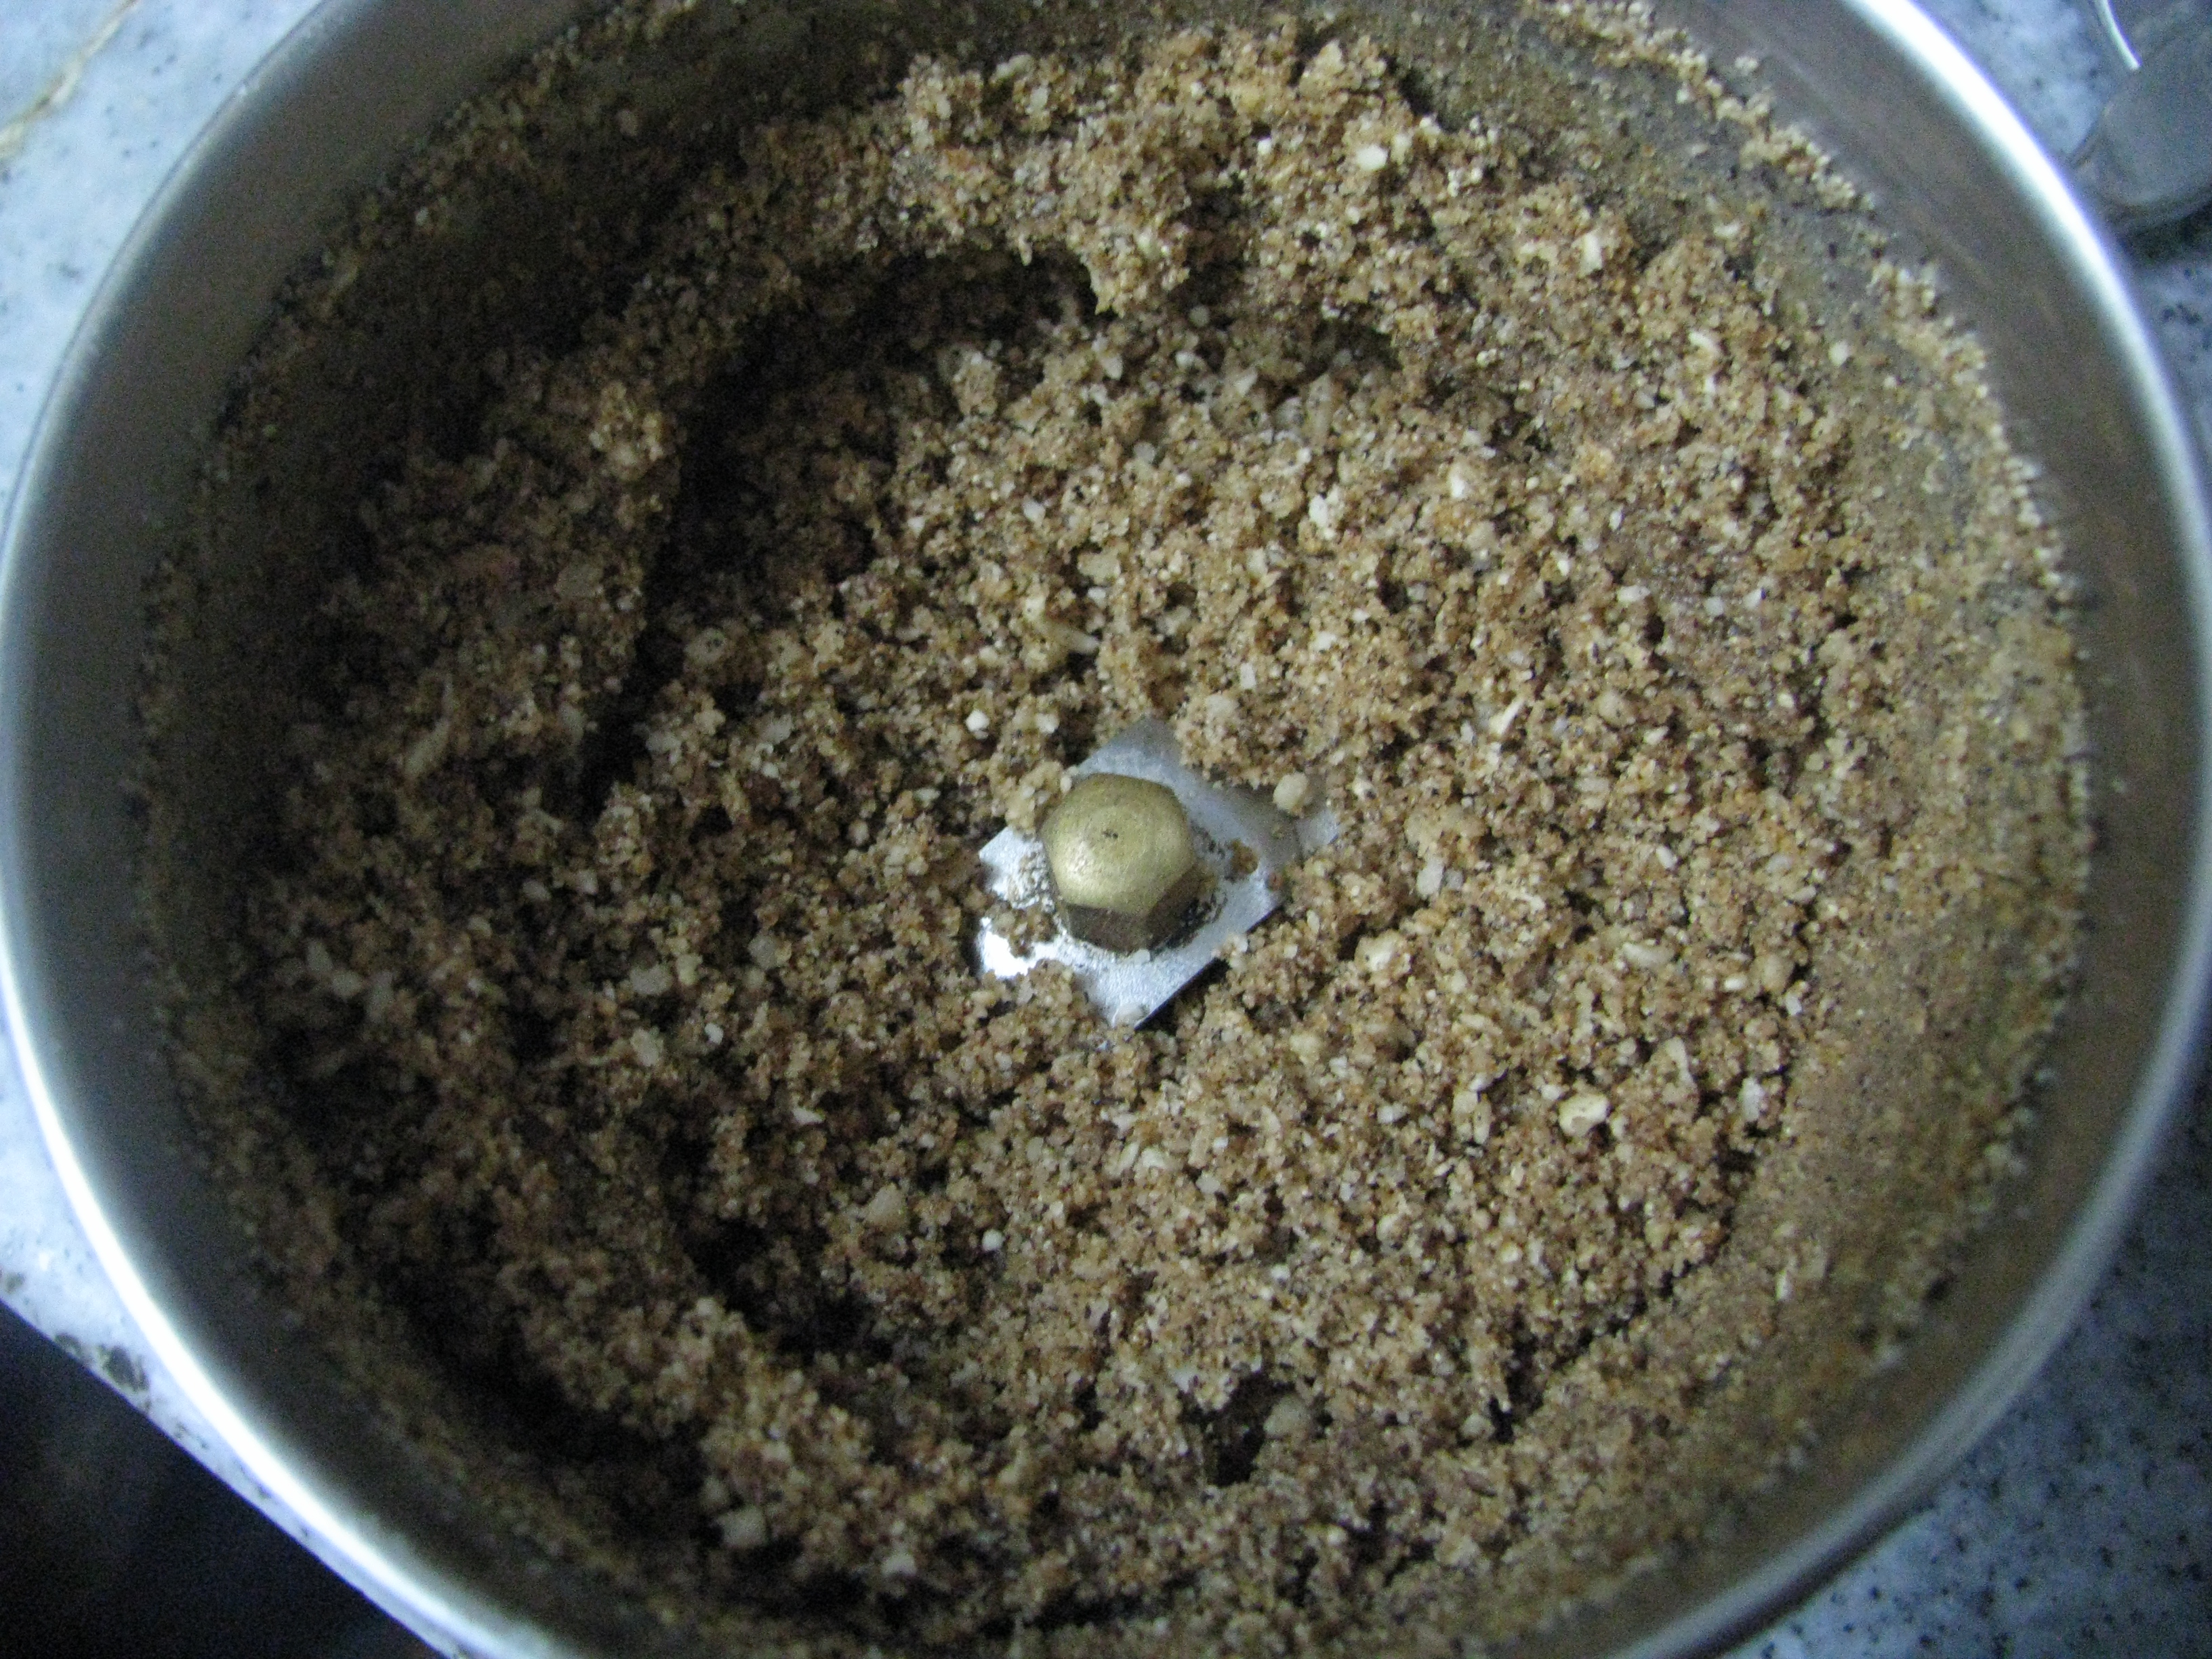
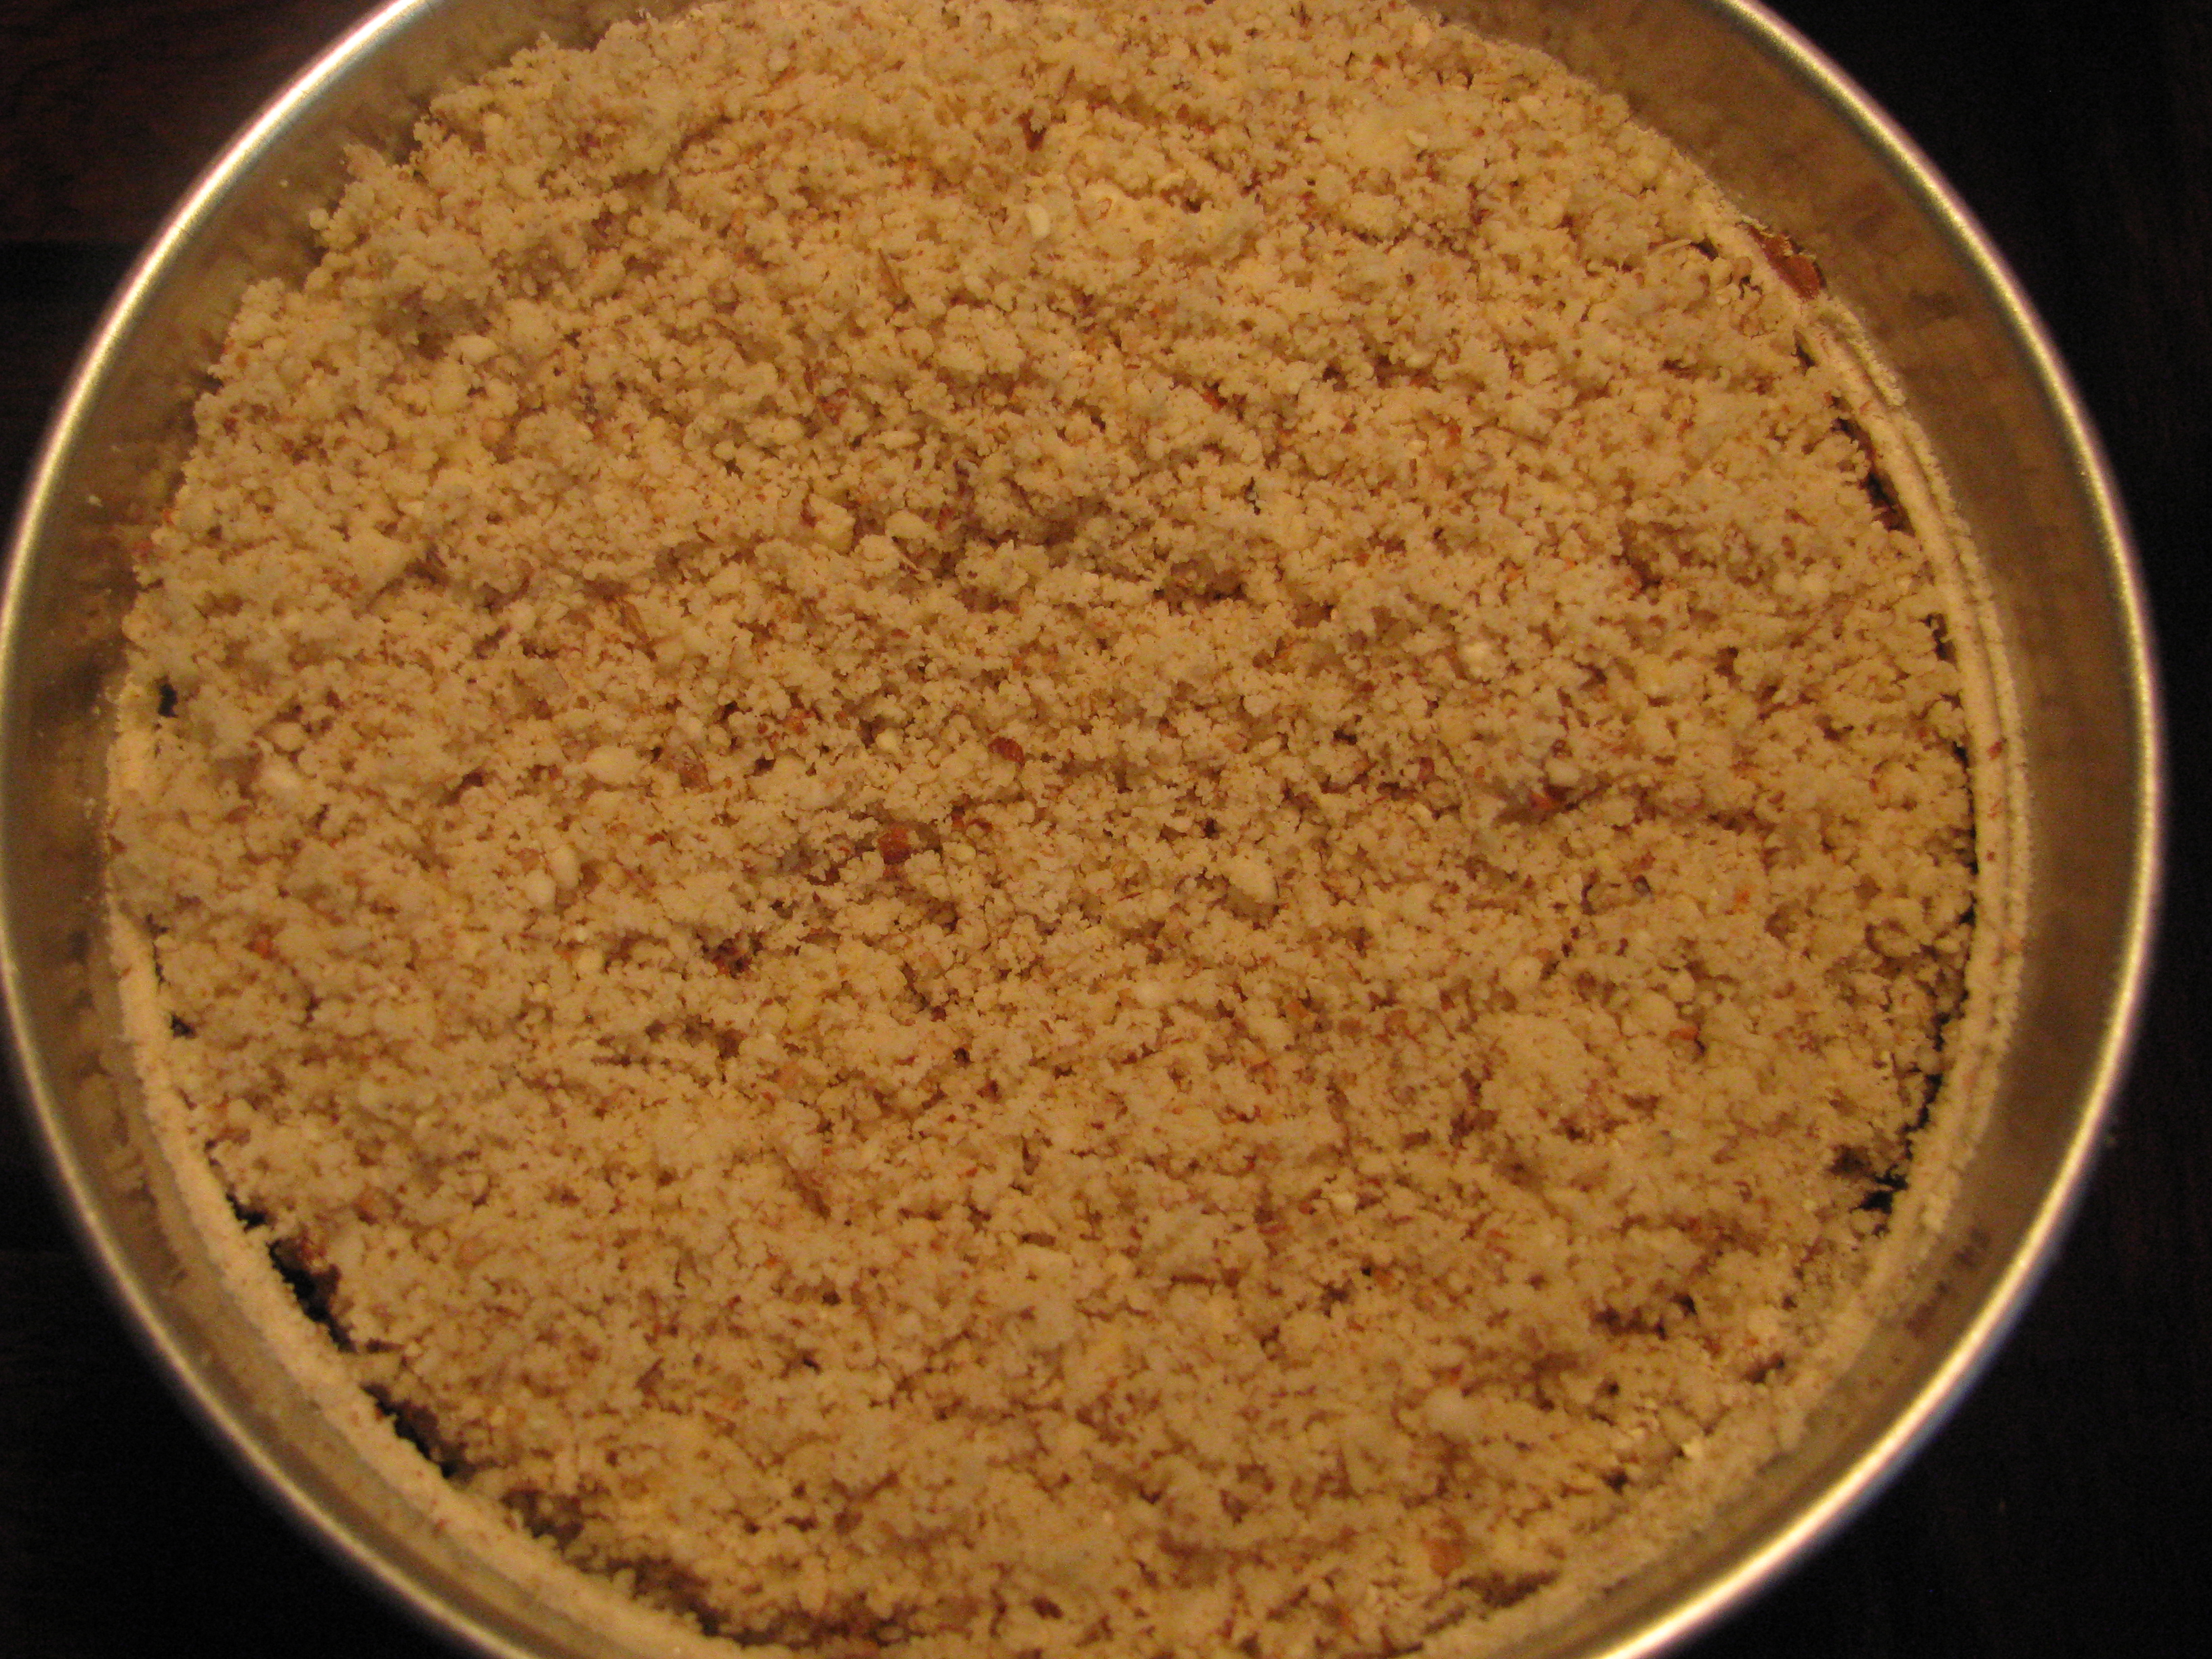
  4. Grind almond and cashews into coarse powder and keep it aside.IMG_8338IMG_8339
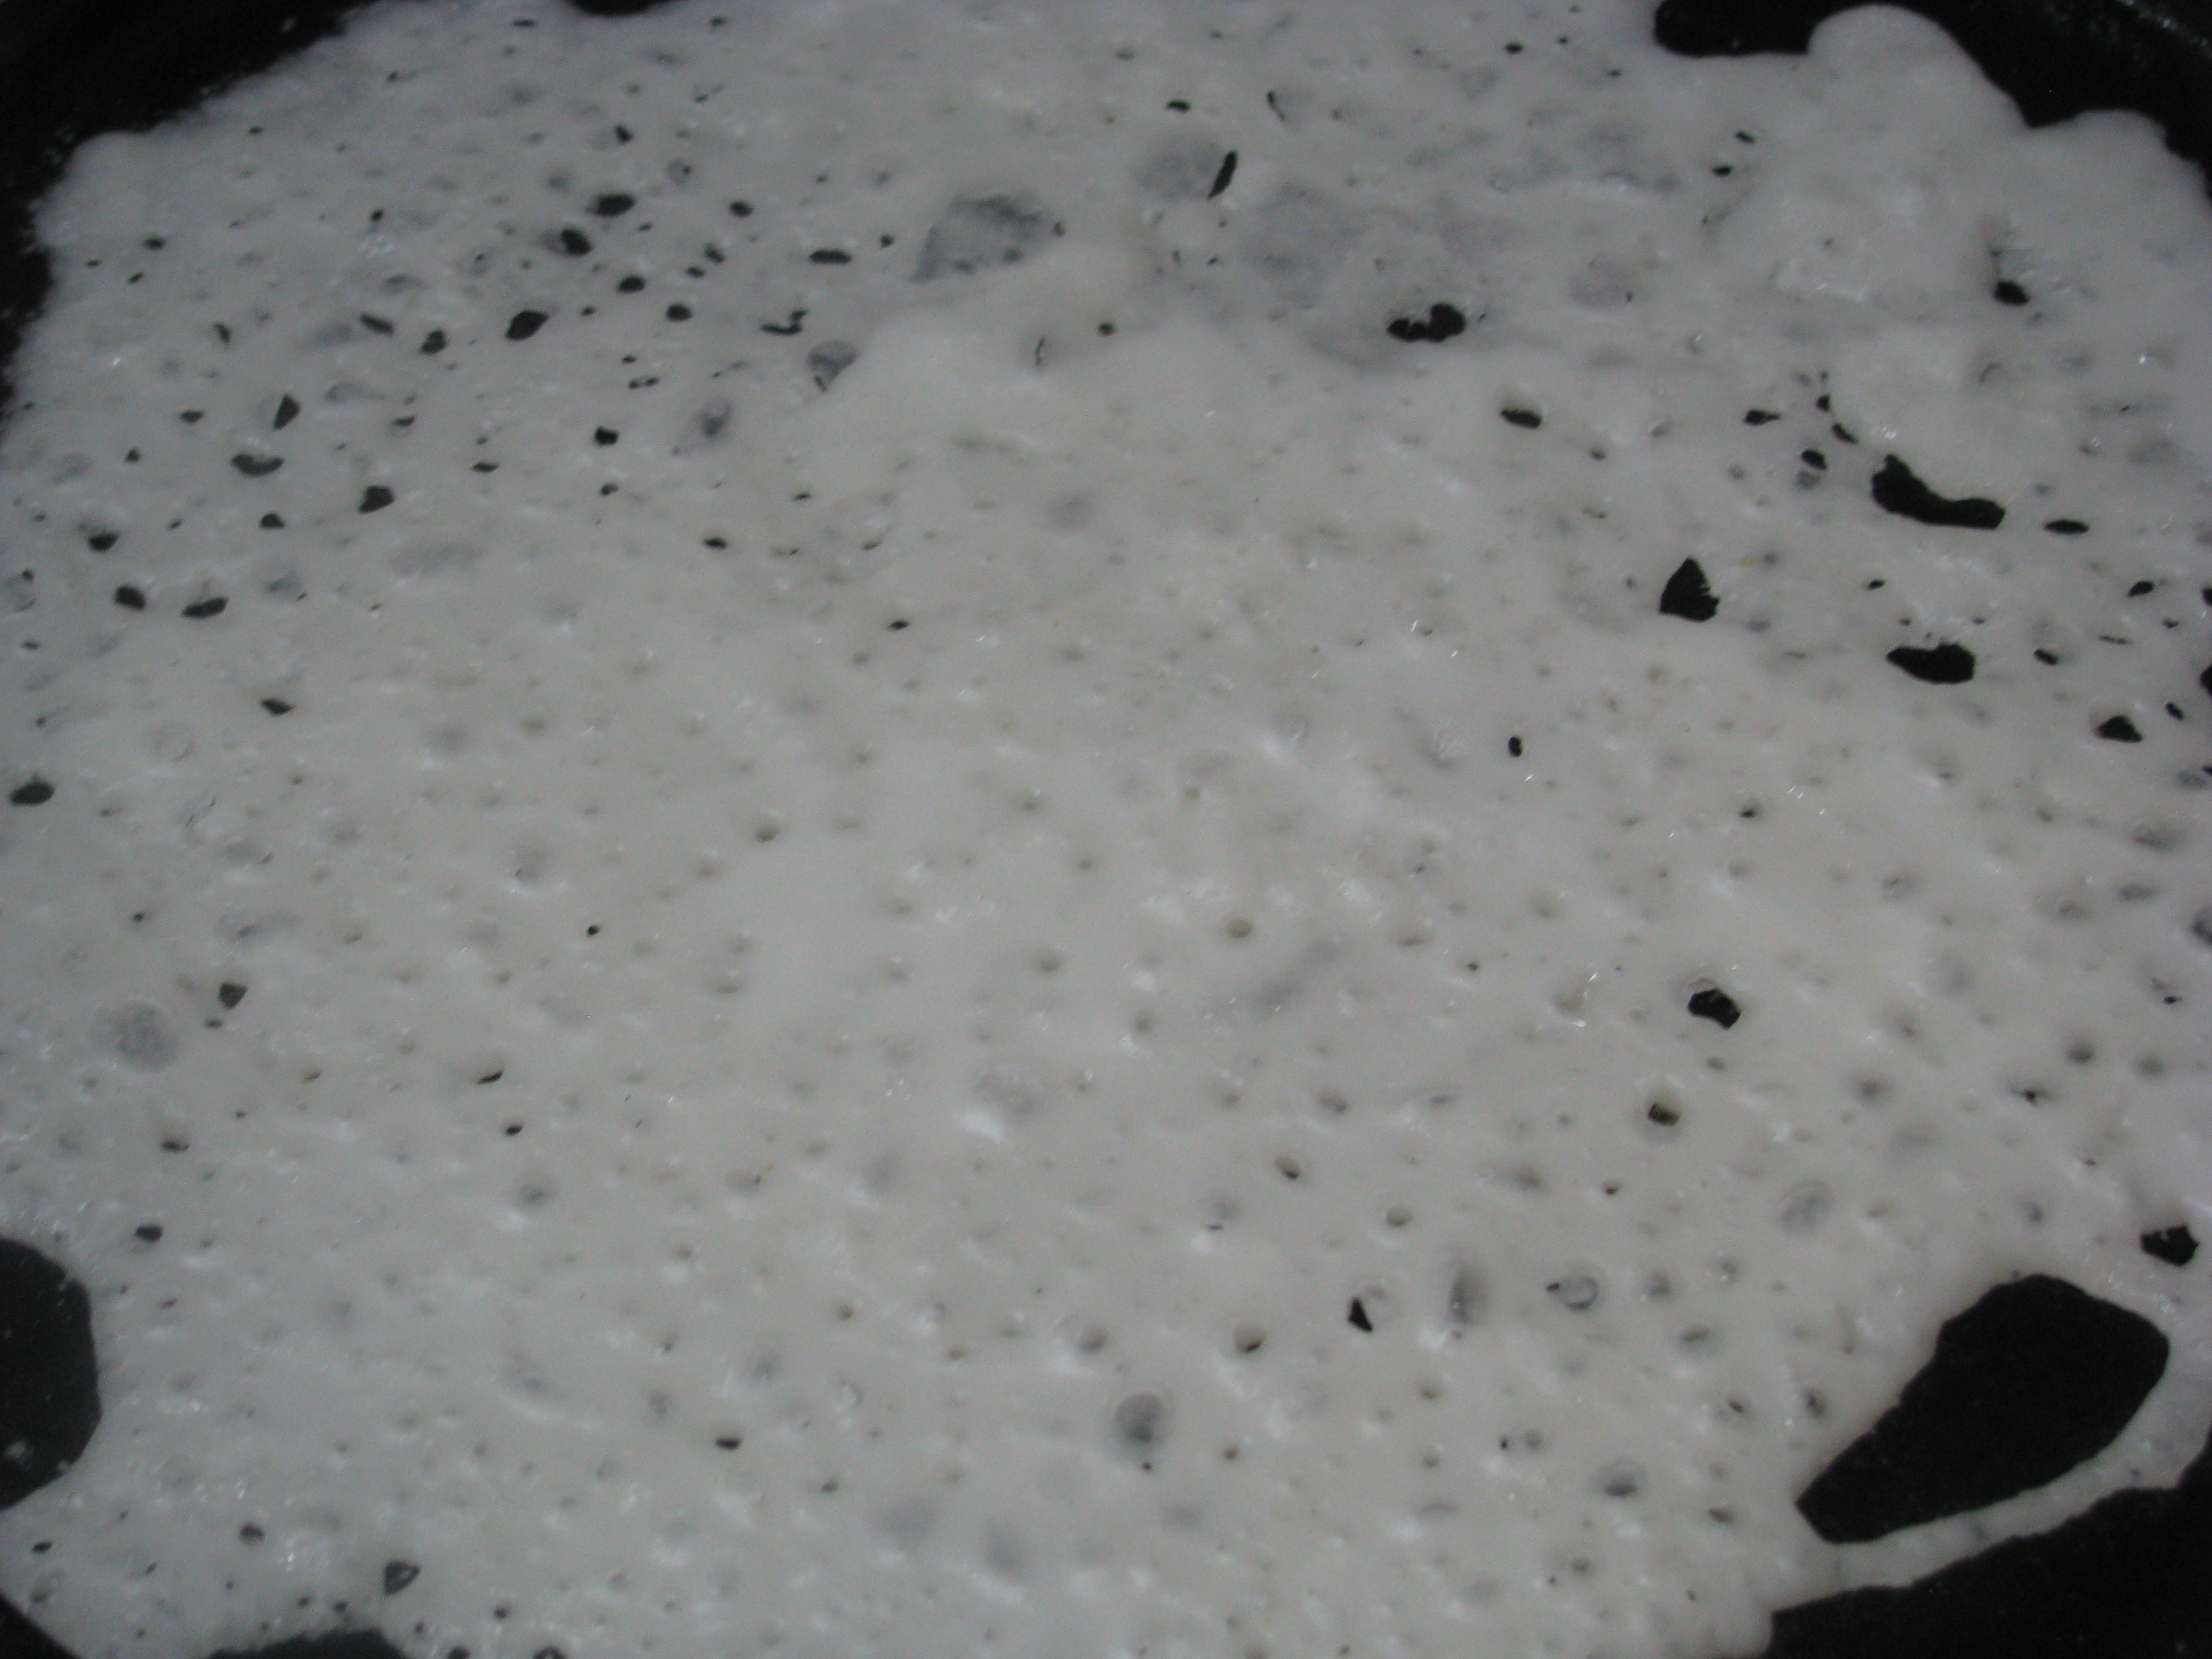
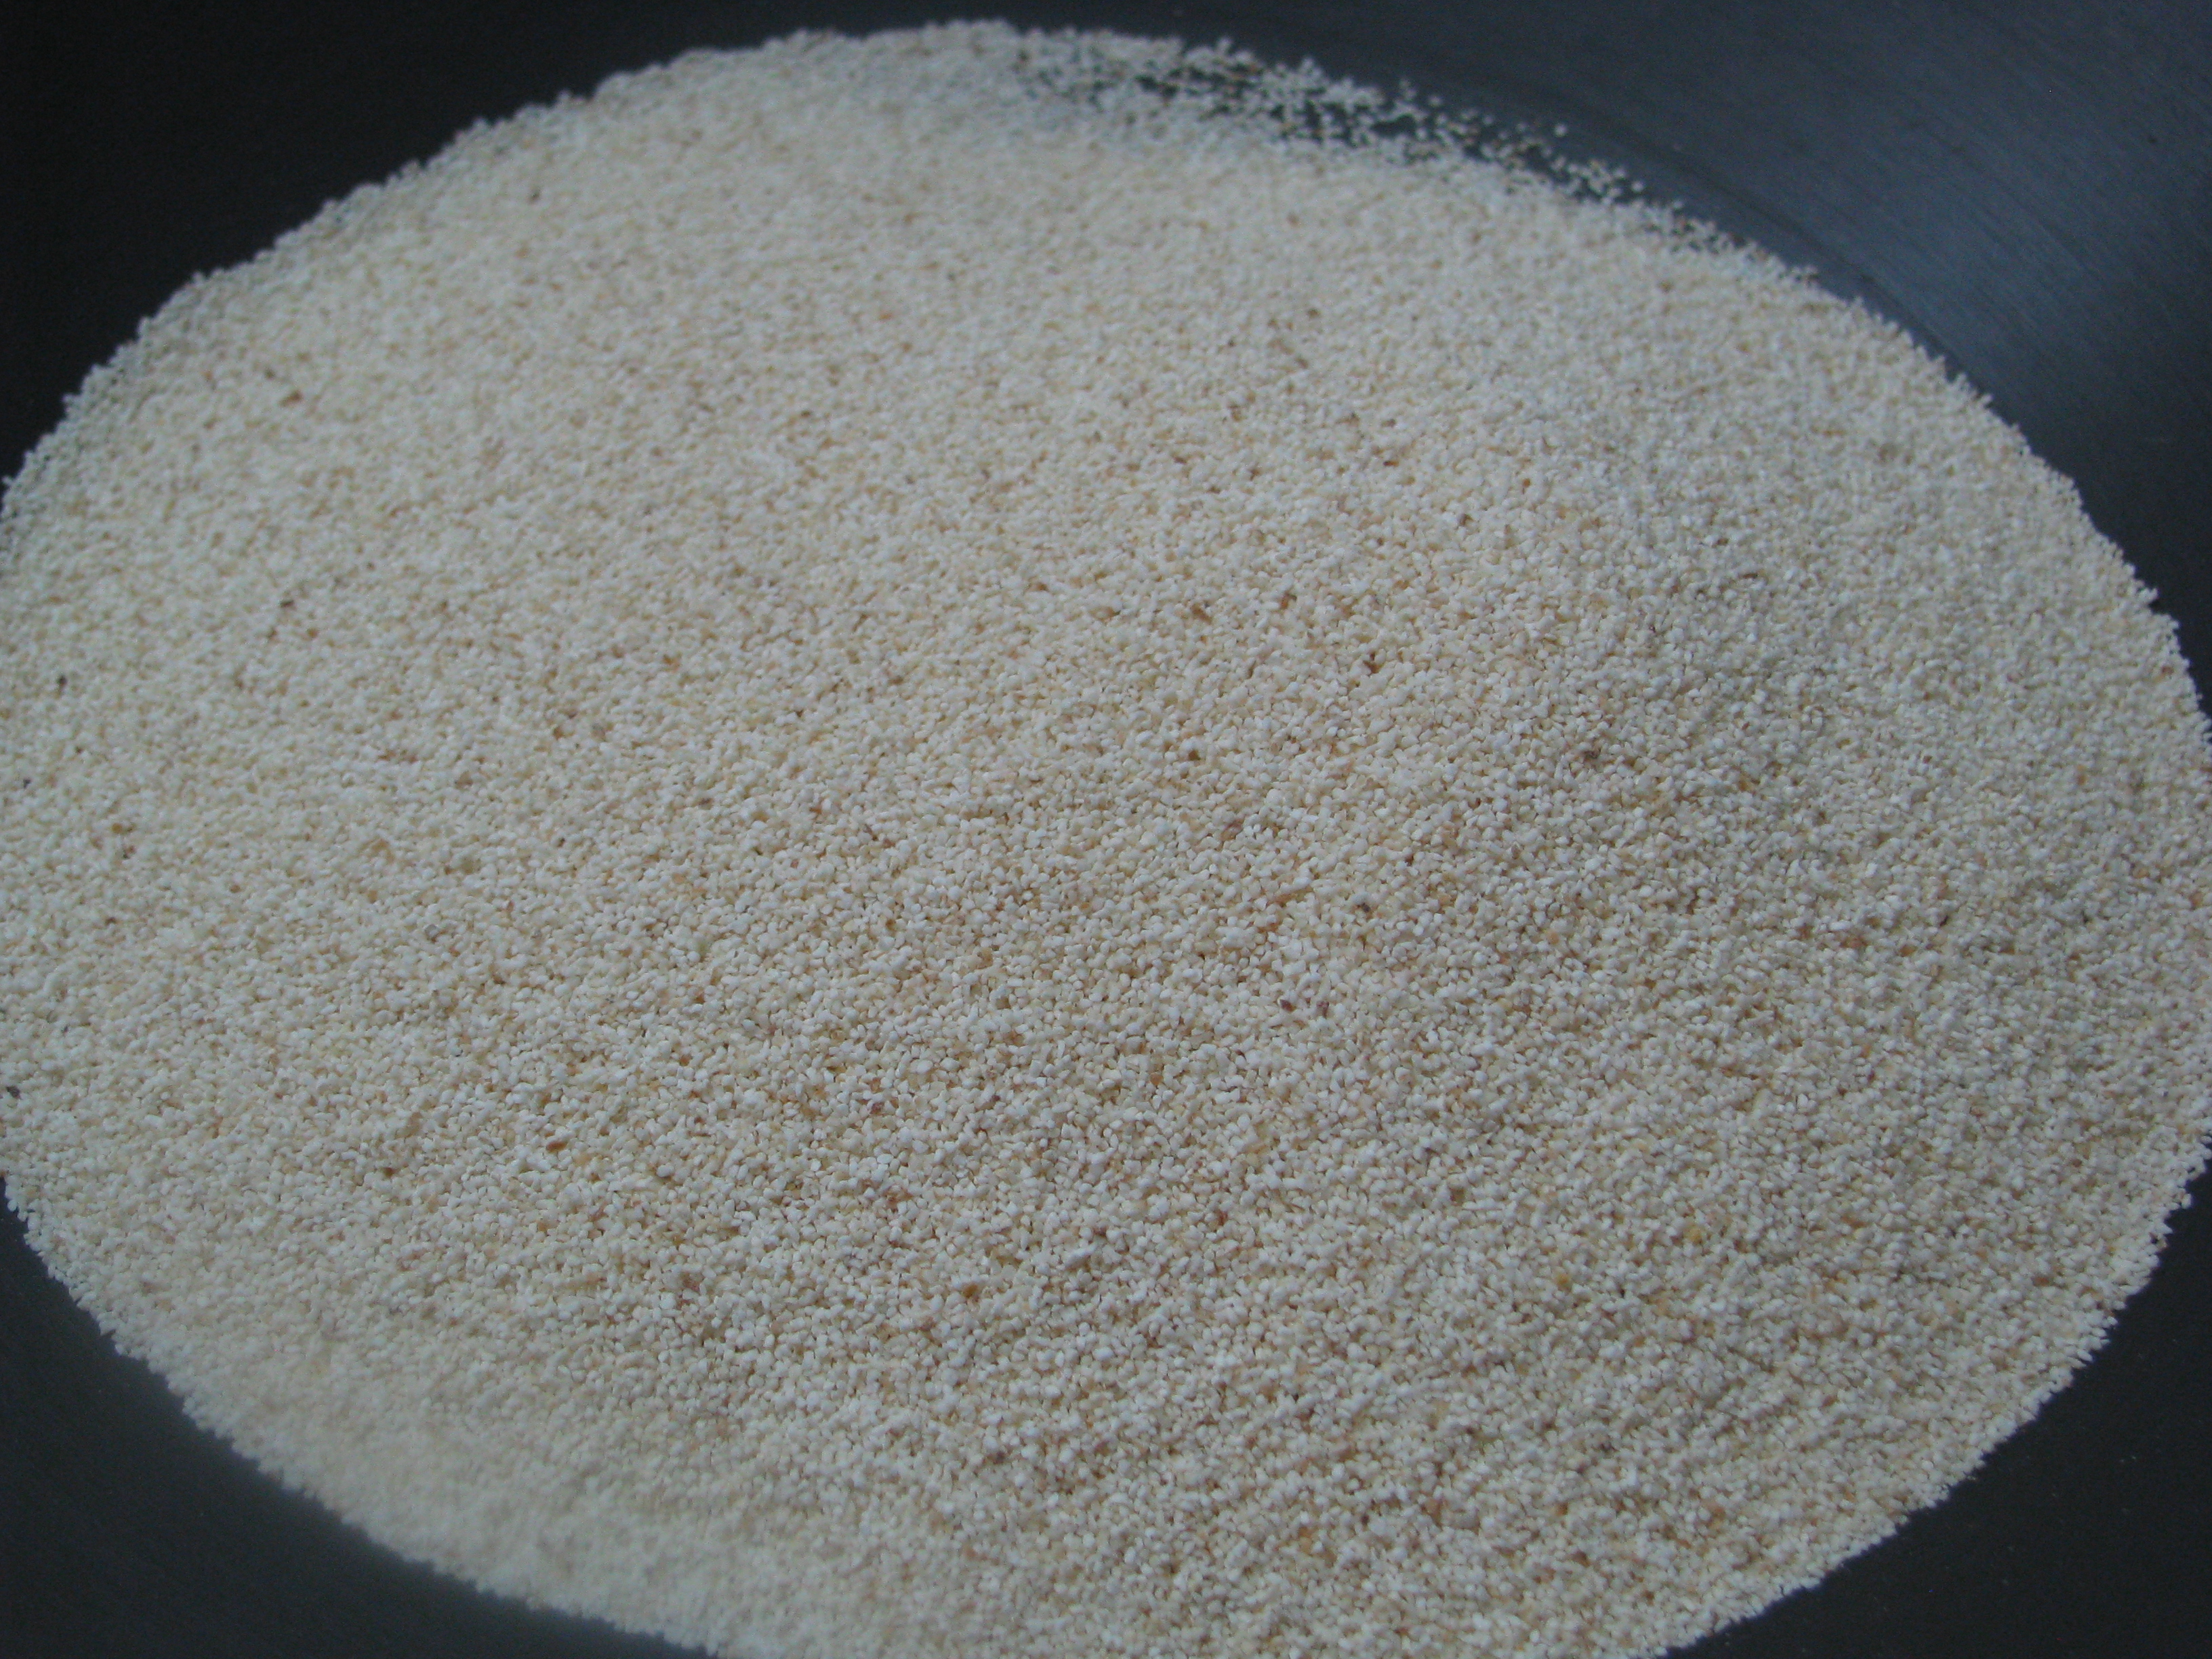
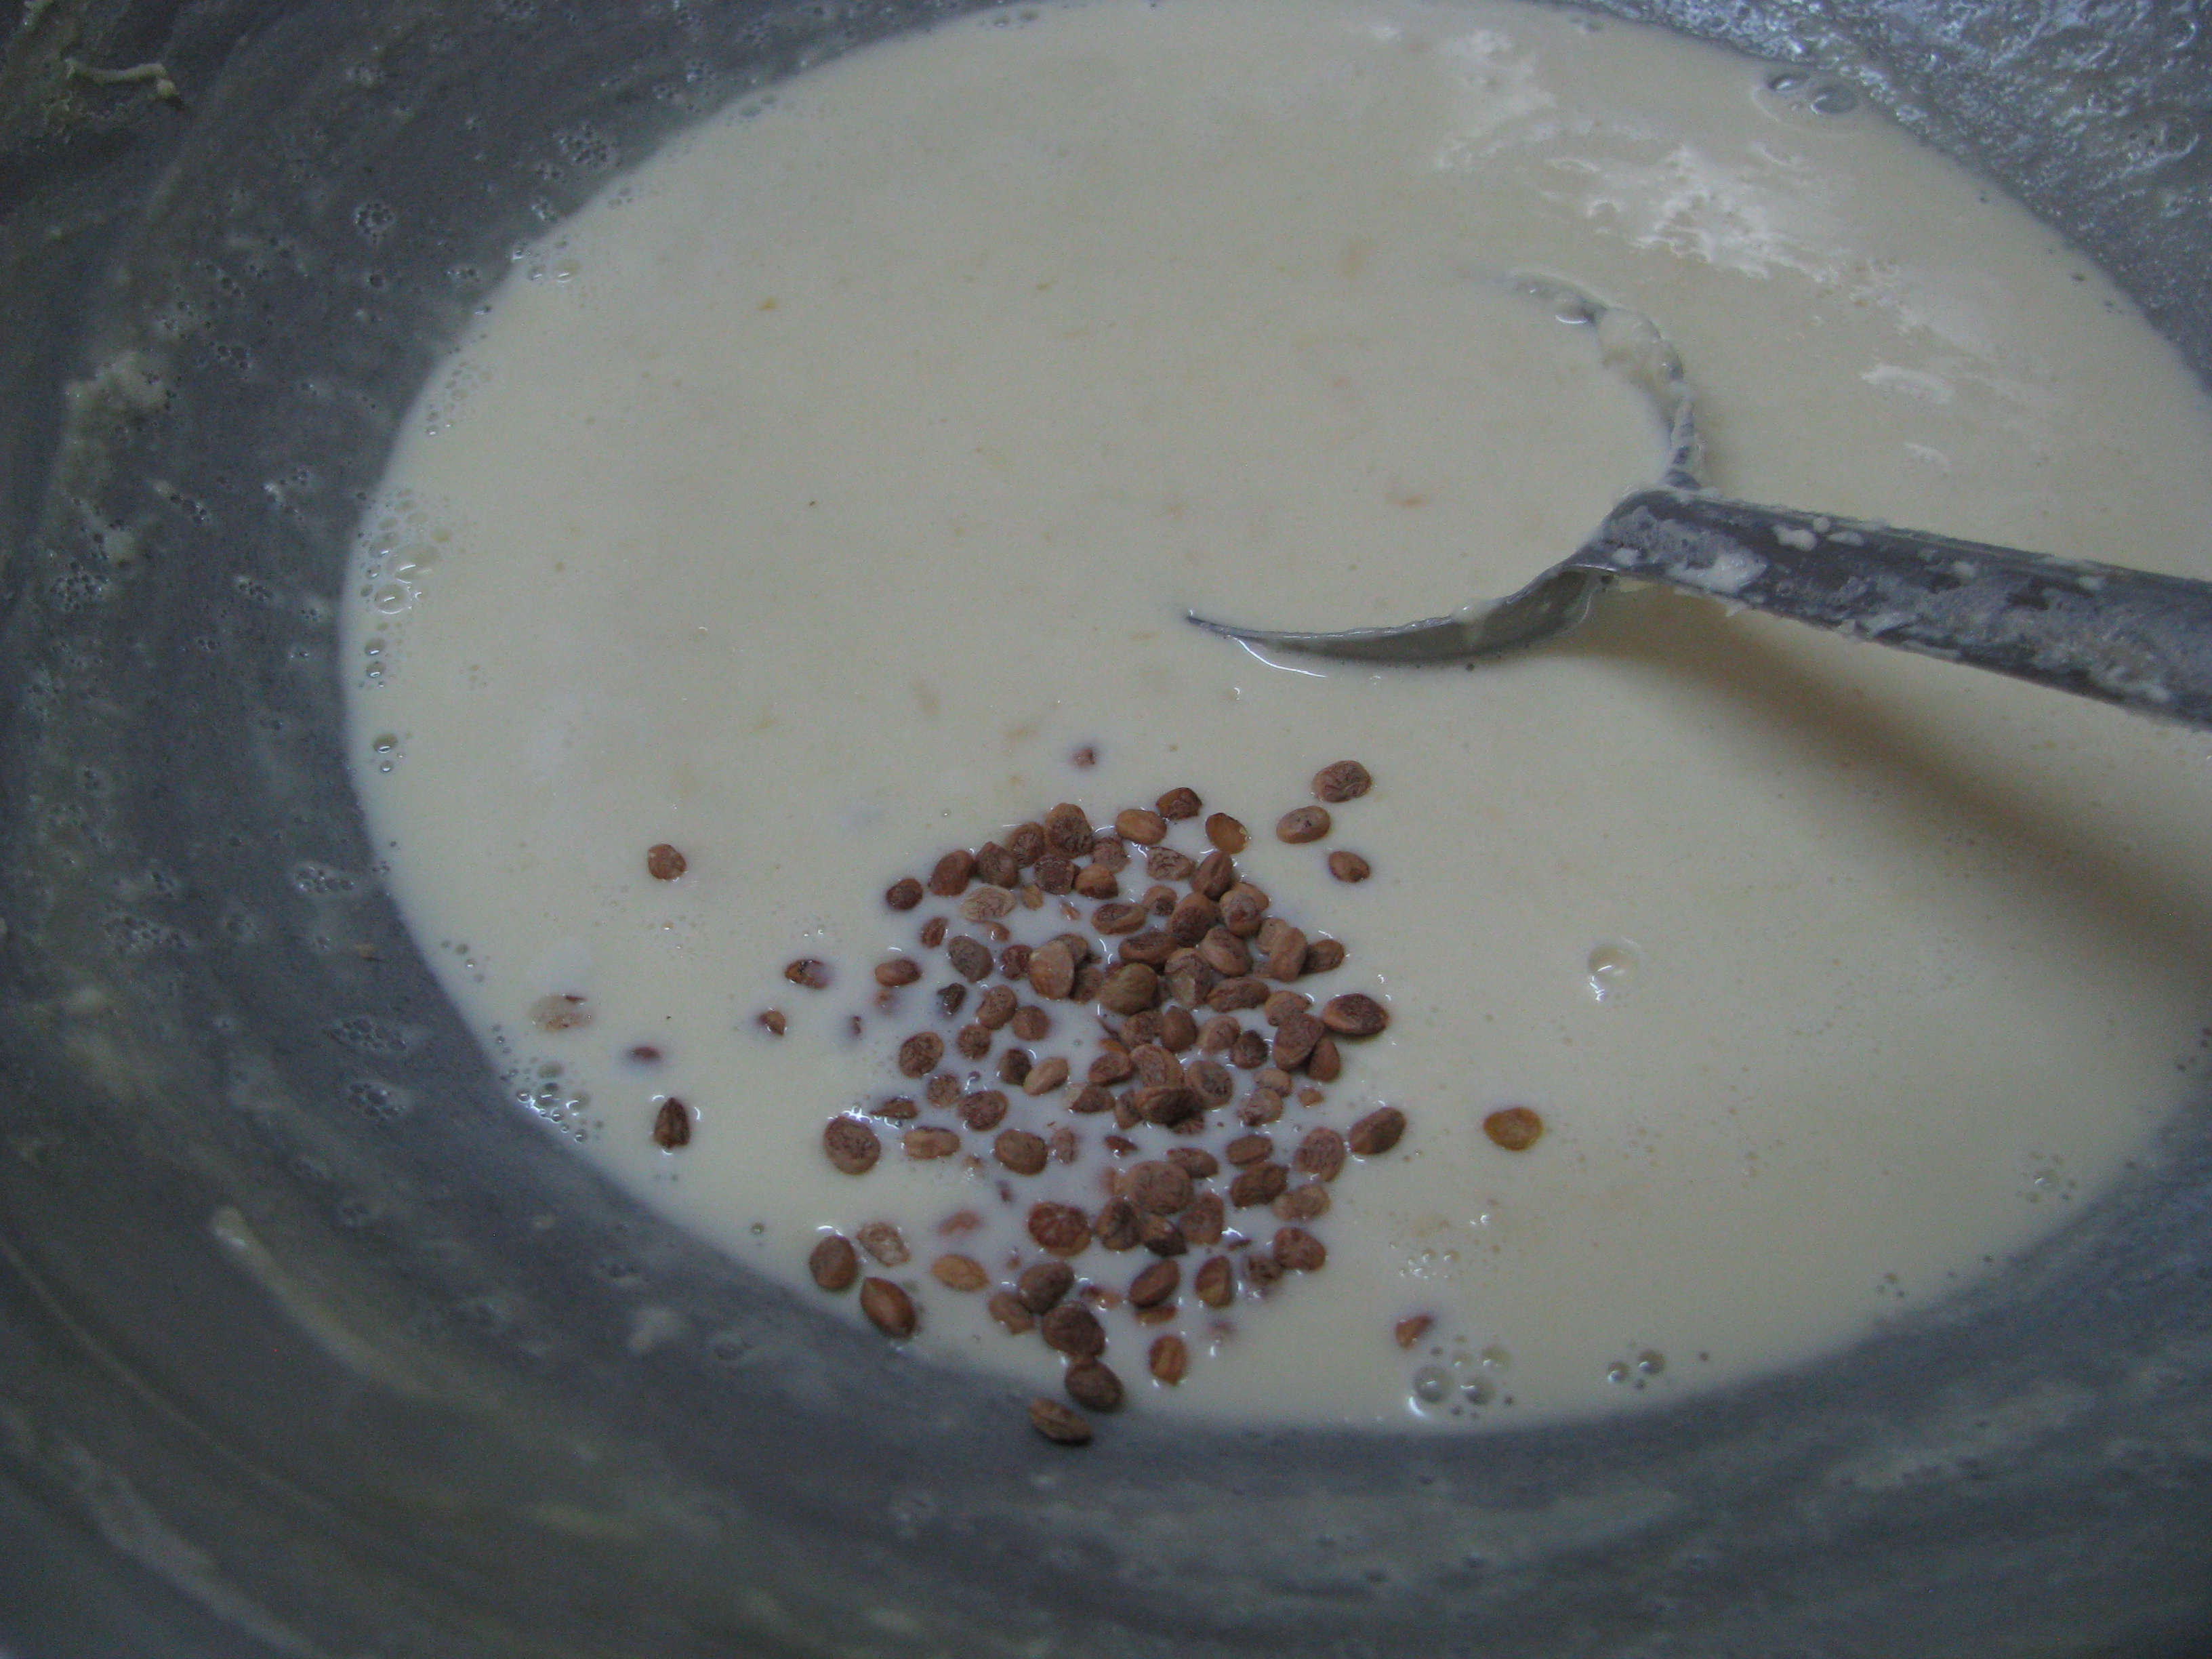
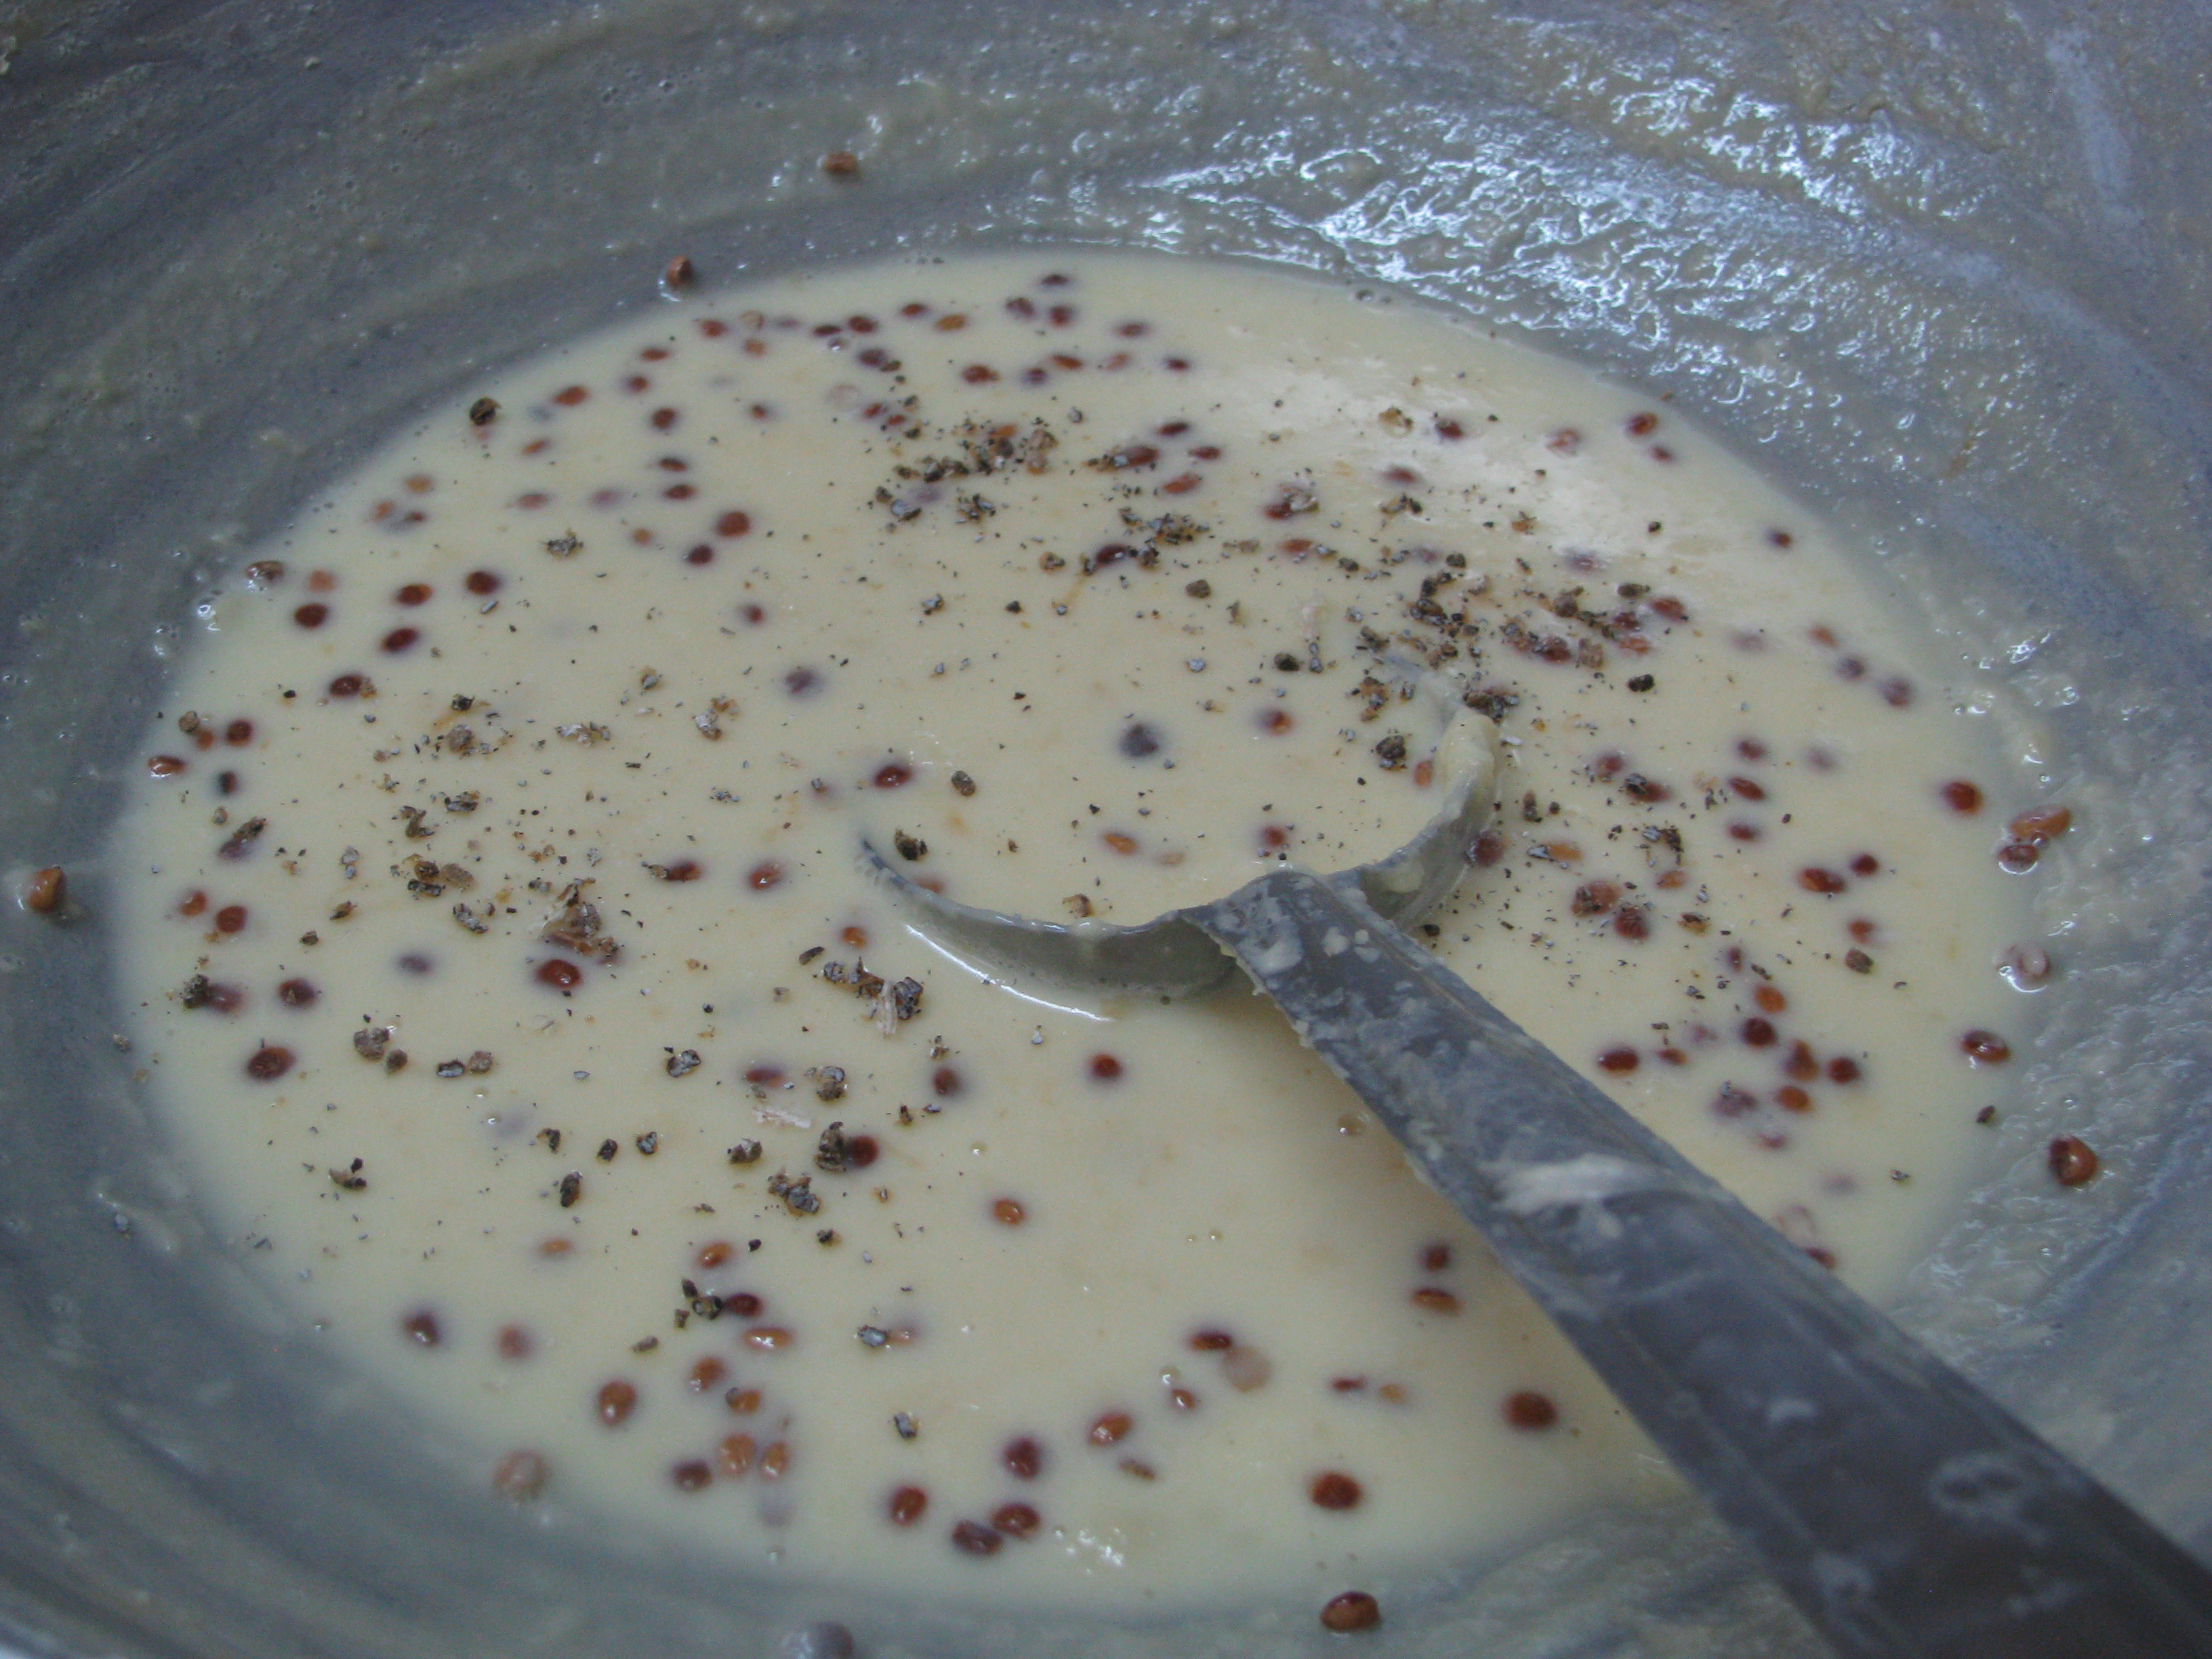
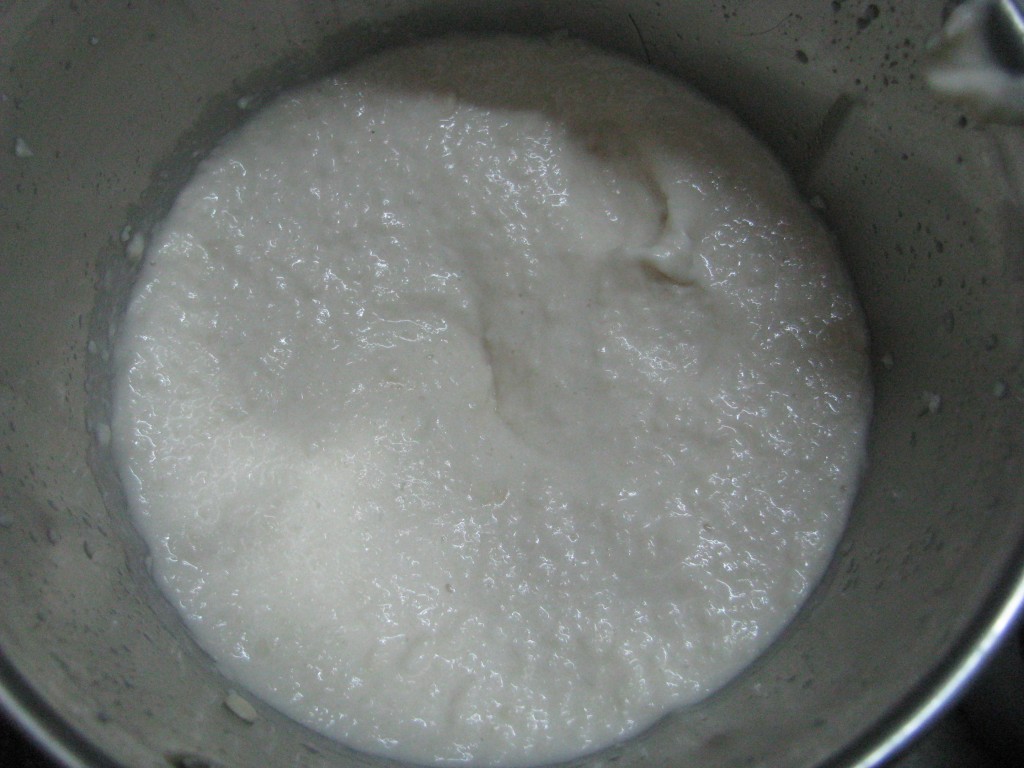
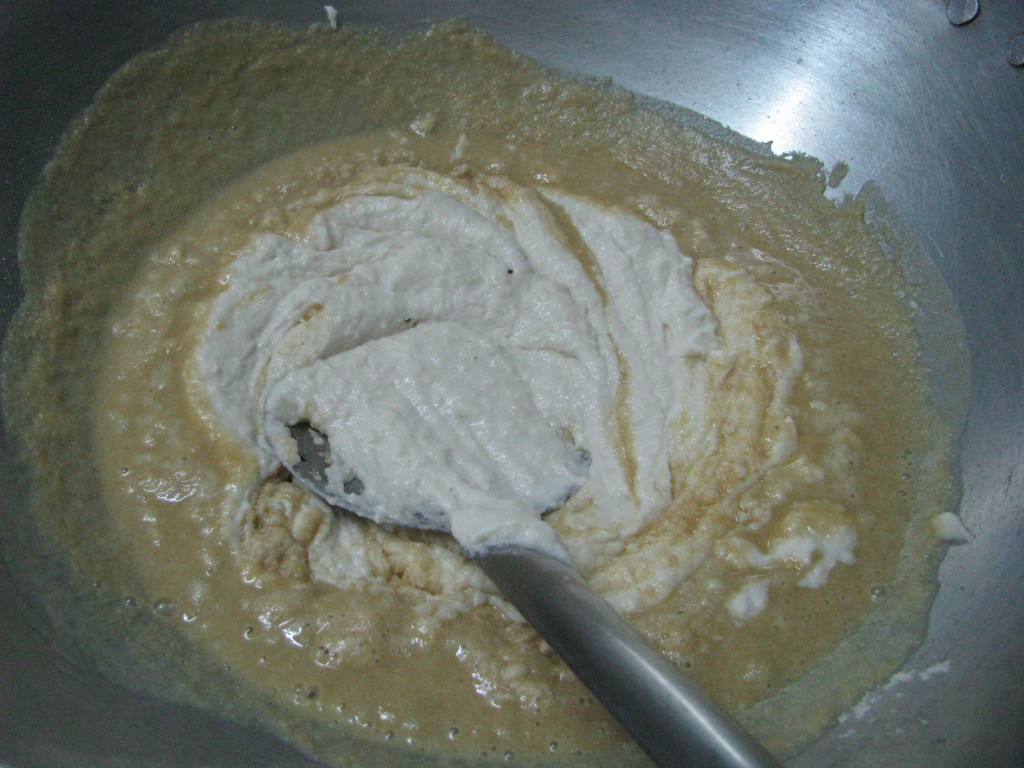
  5. Now wash soaked urad dal at least 5-6 times with clean water and grind it by adding little or no water.IMG_8322IMG_8326
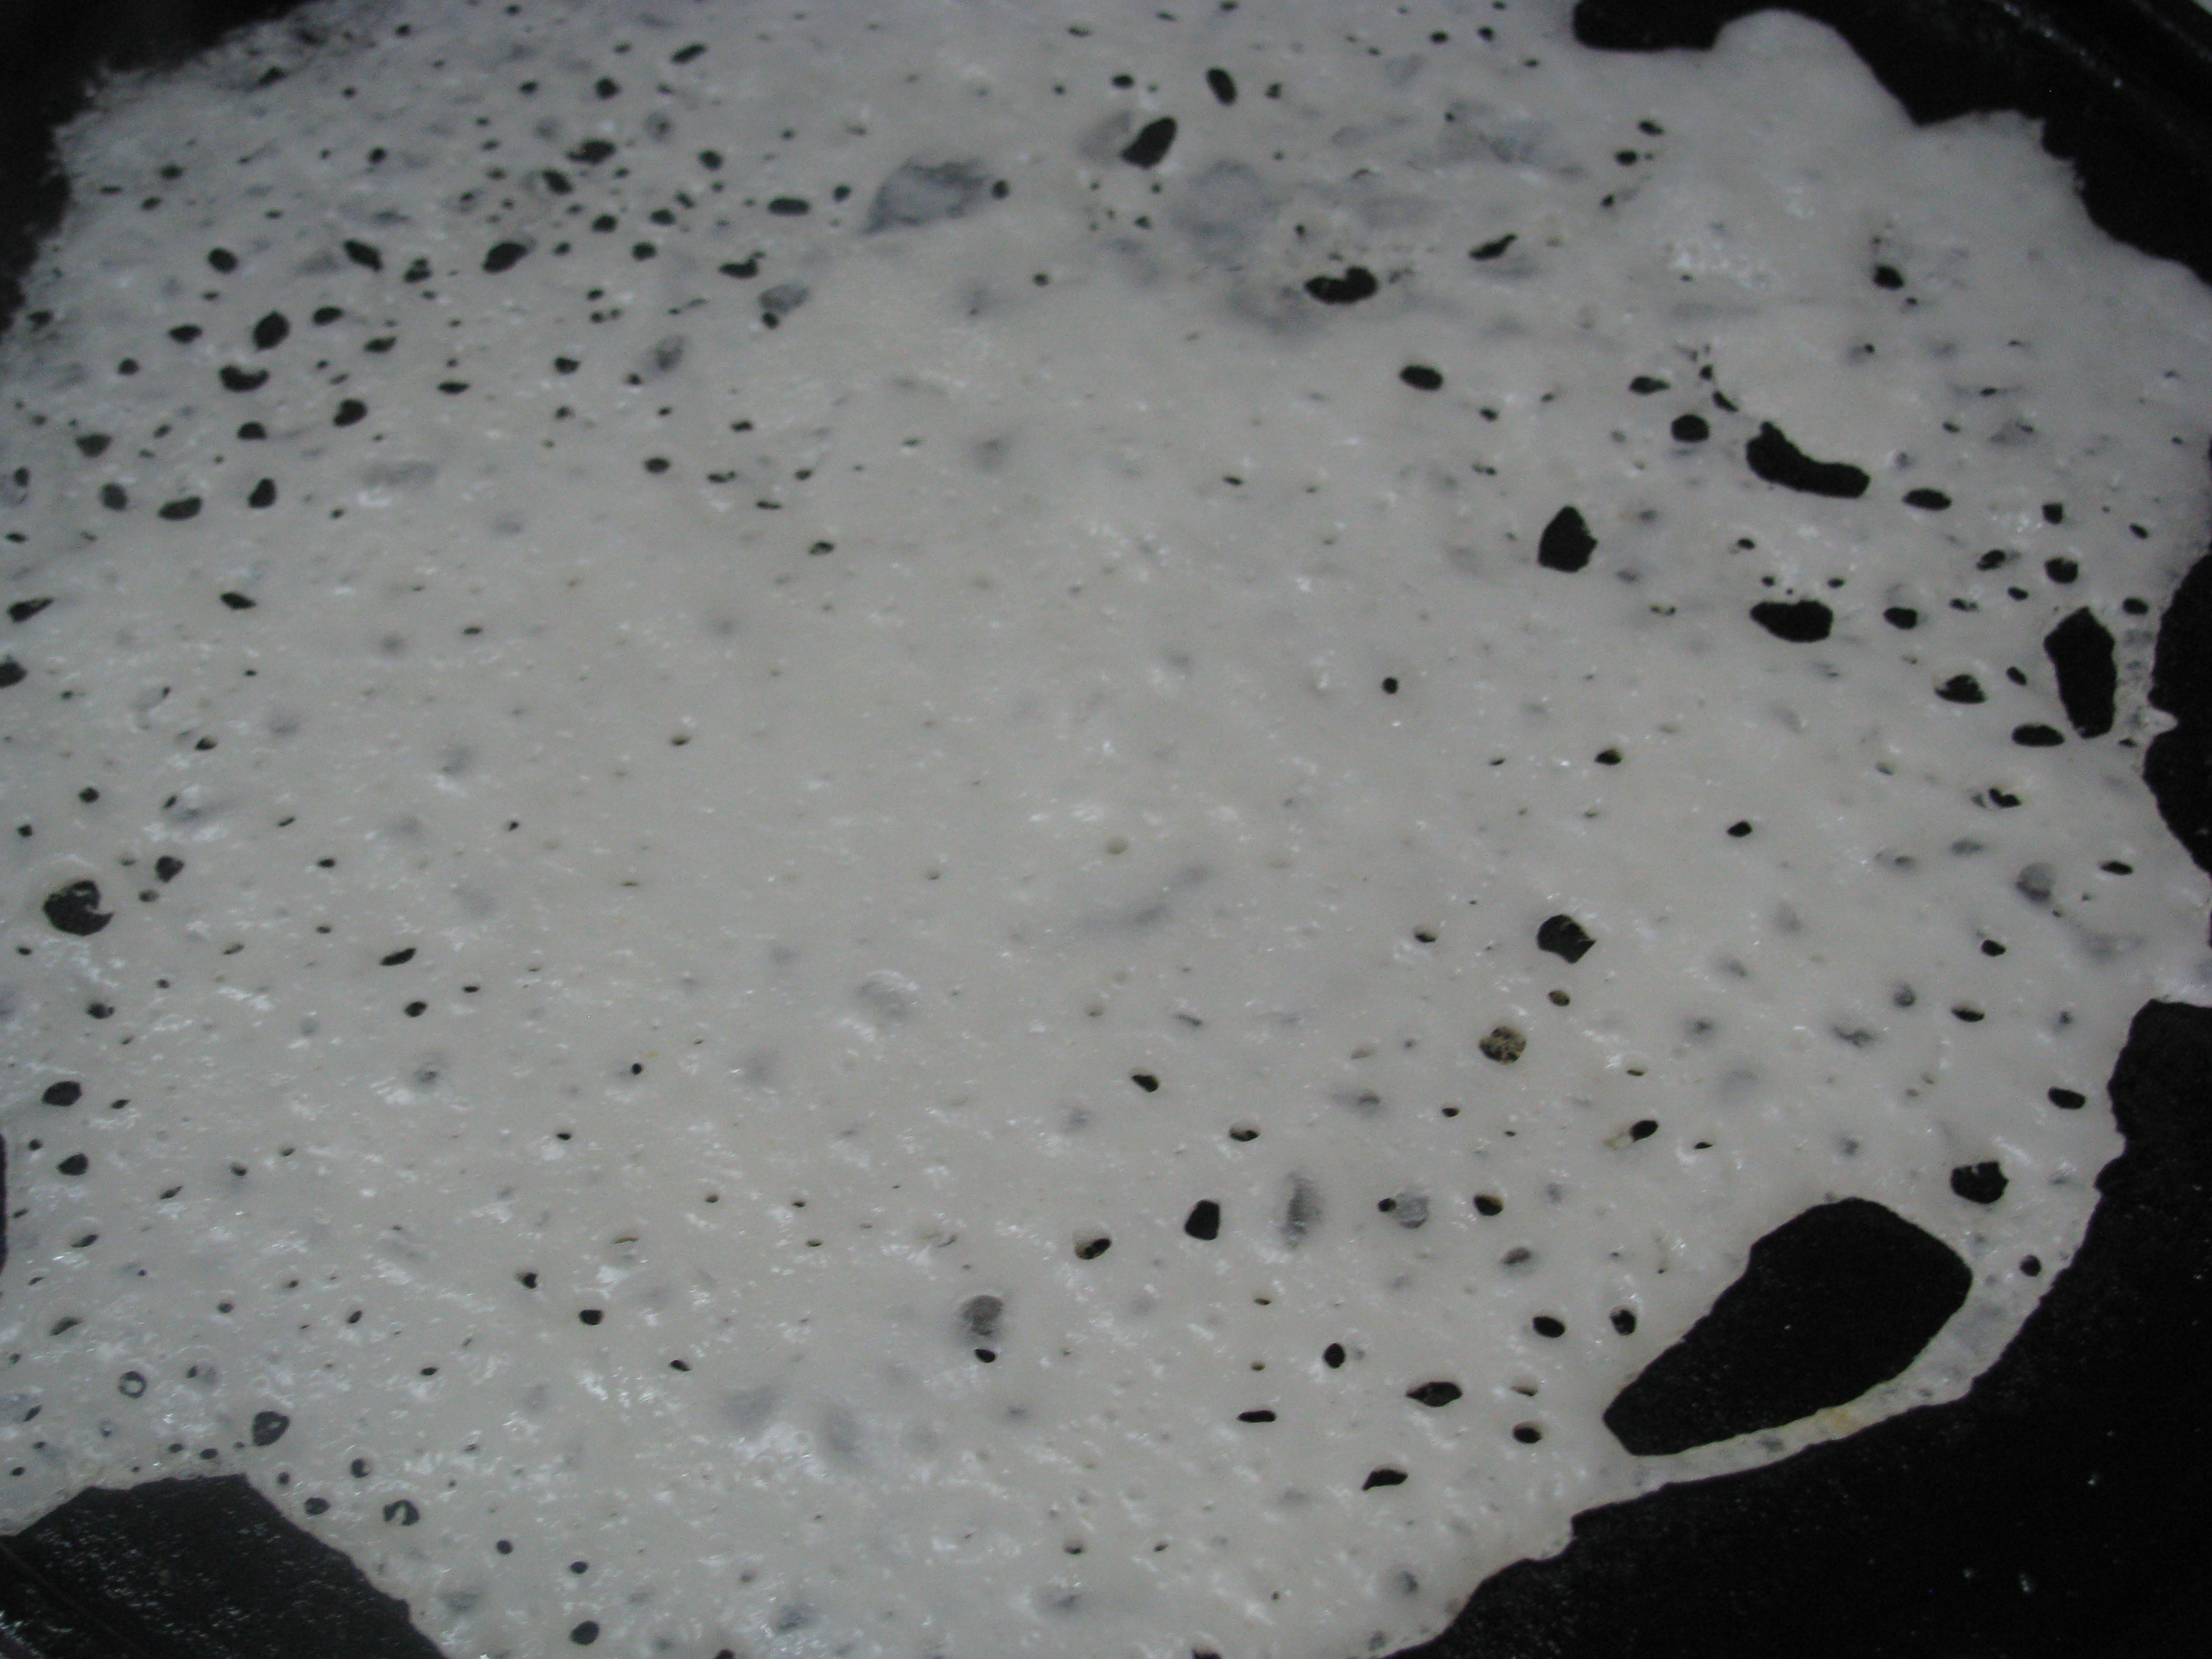
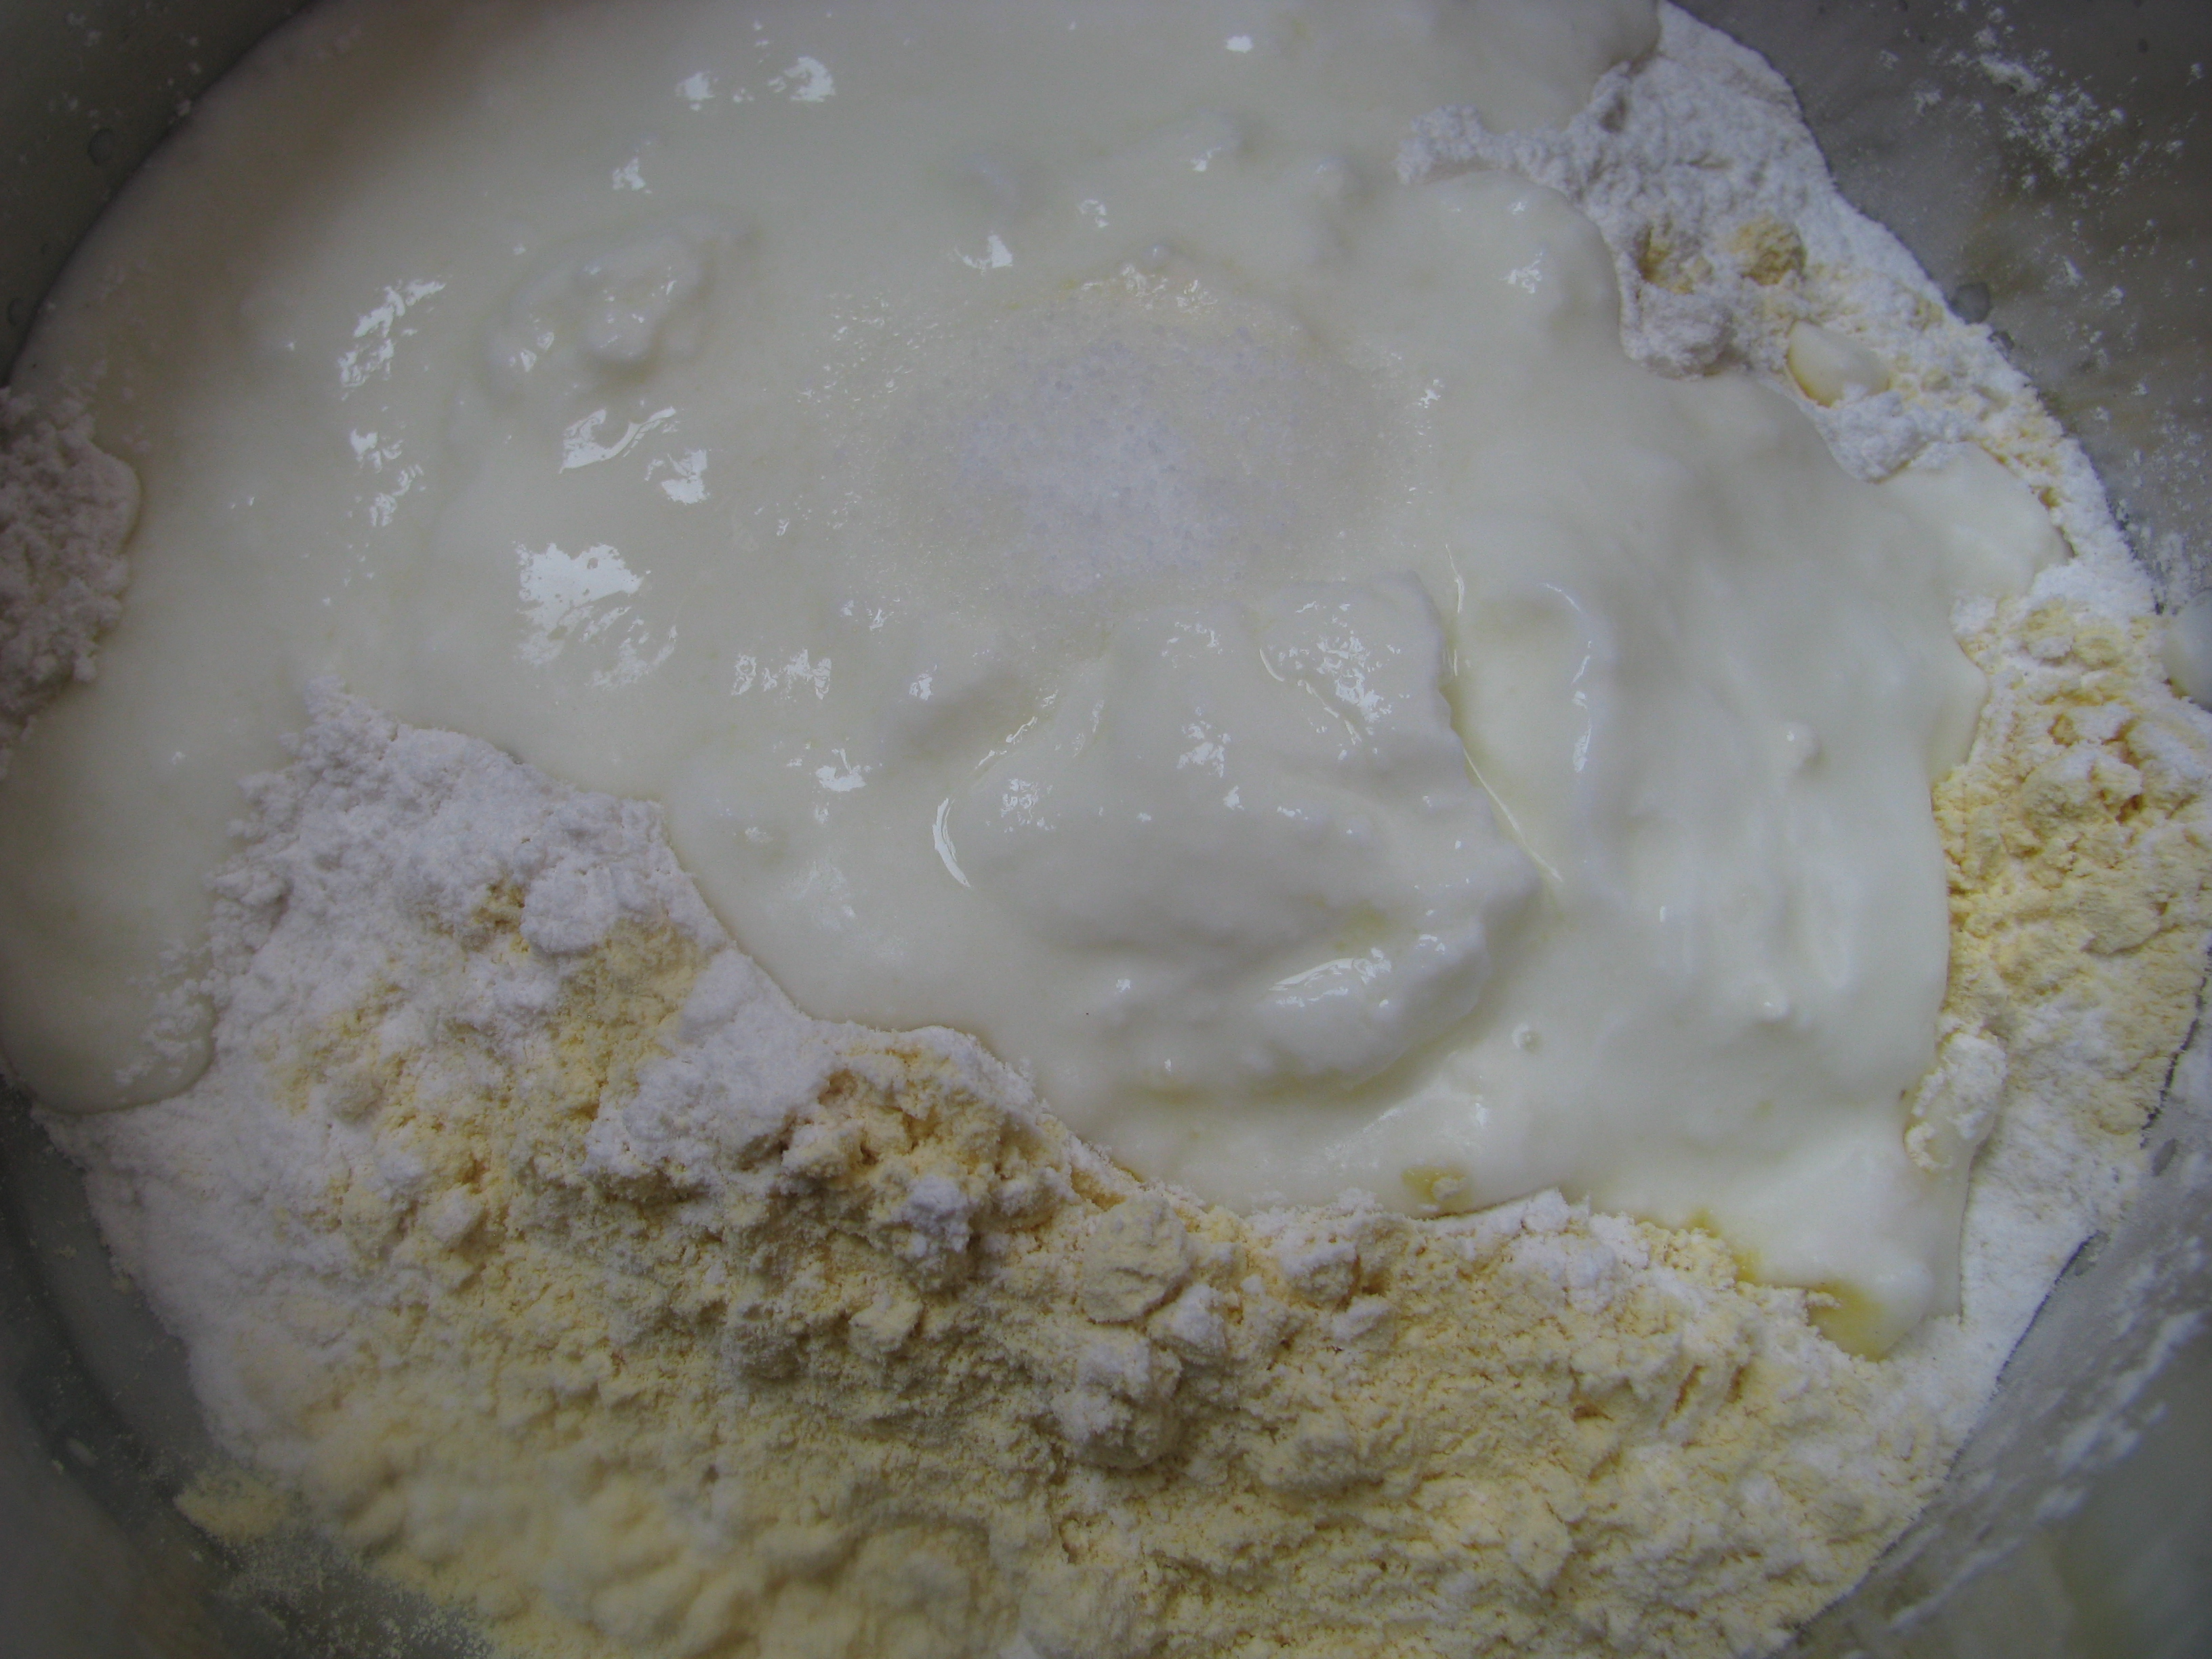
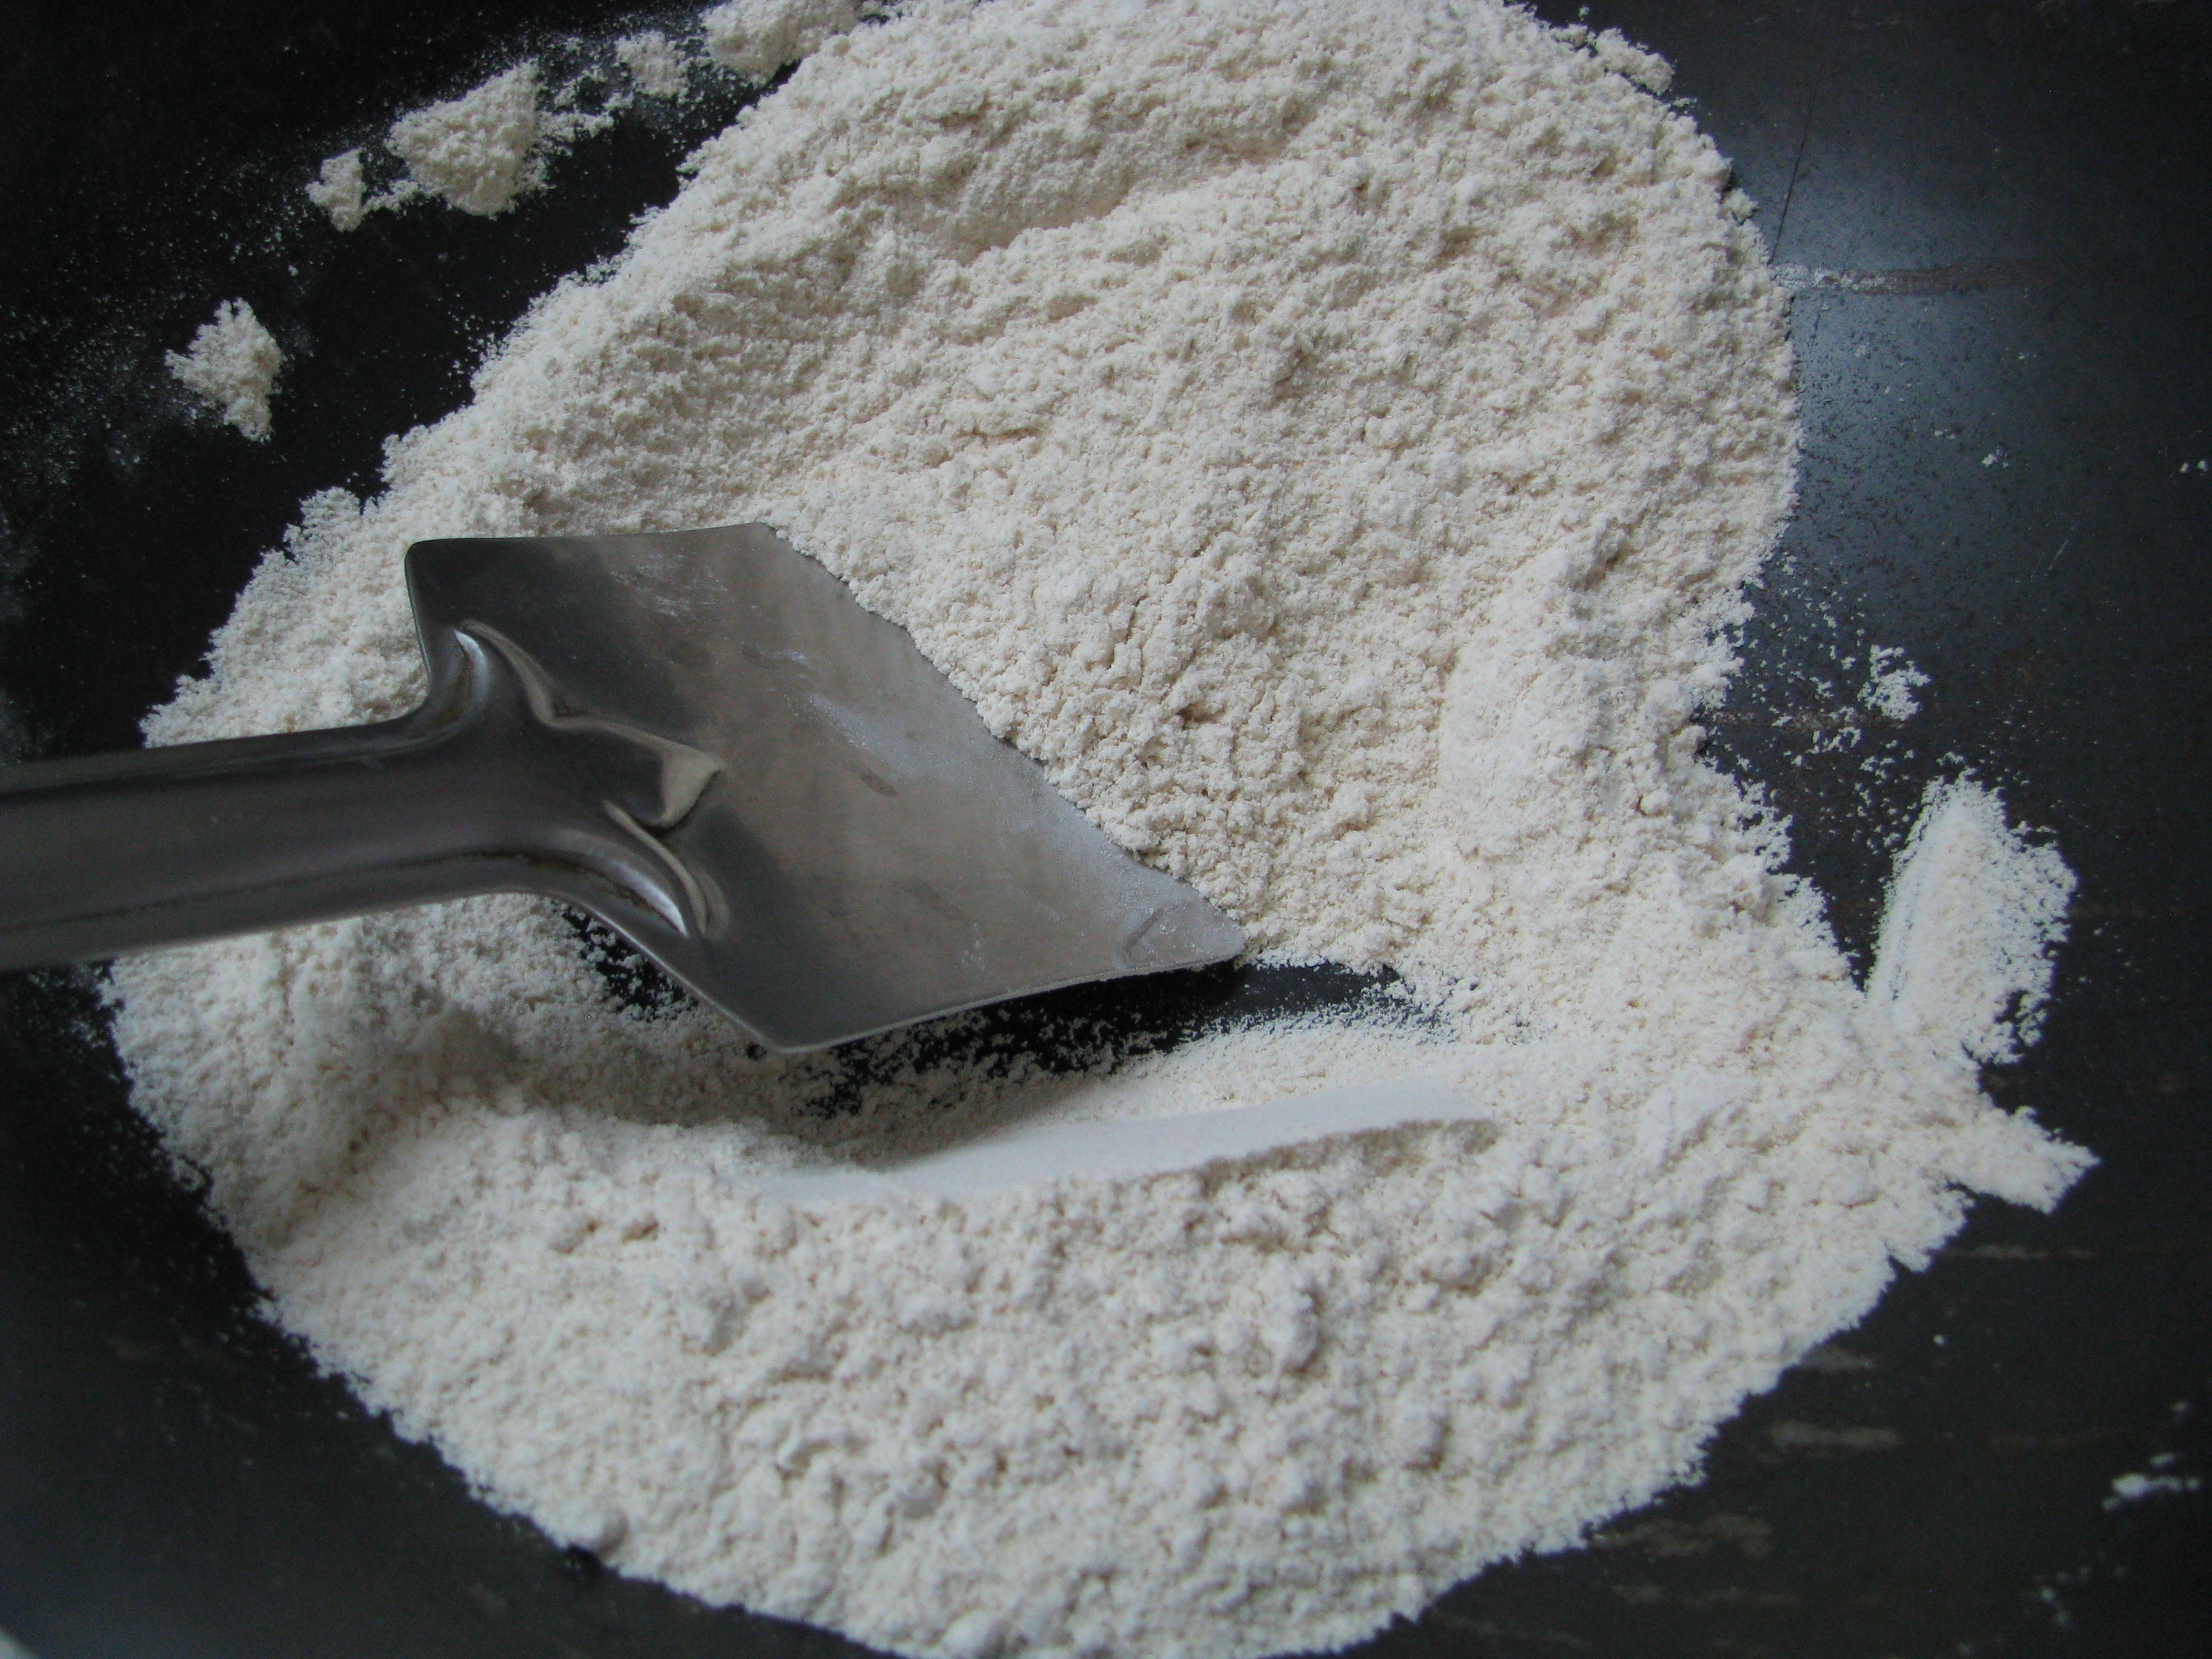
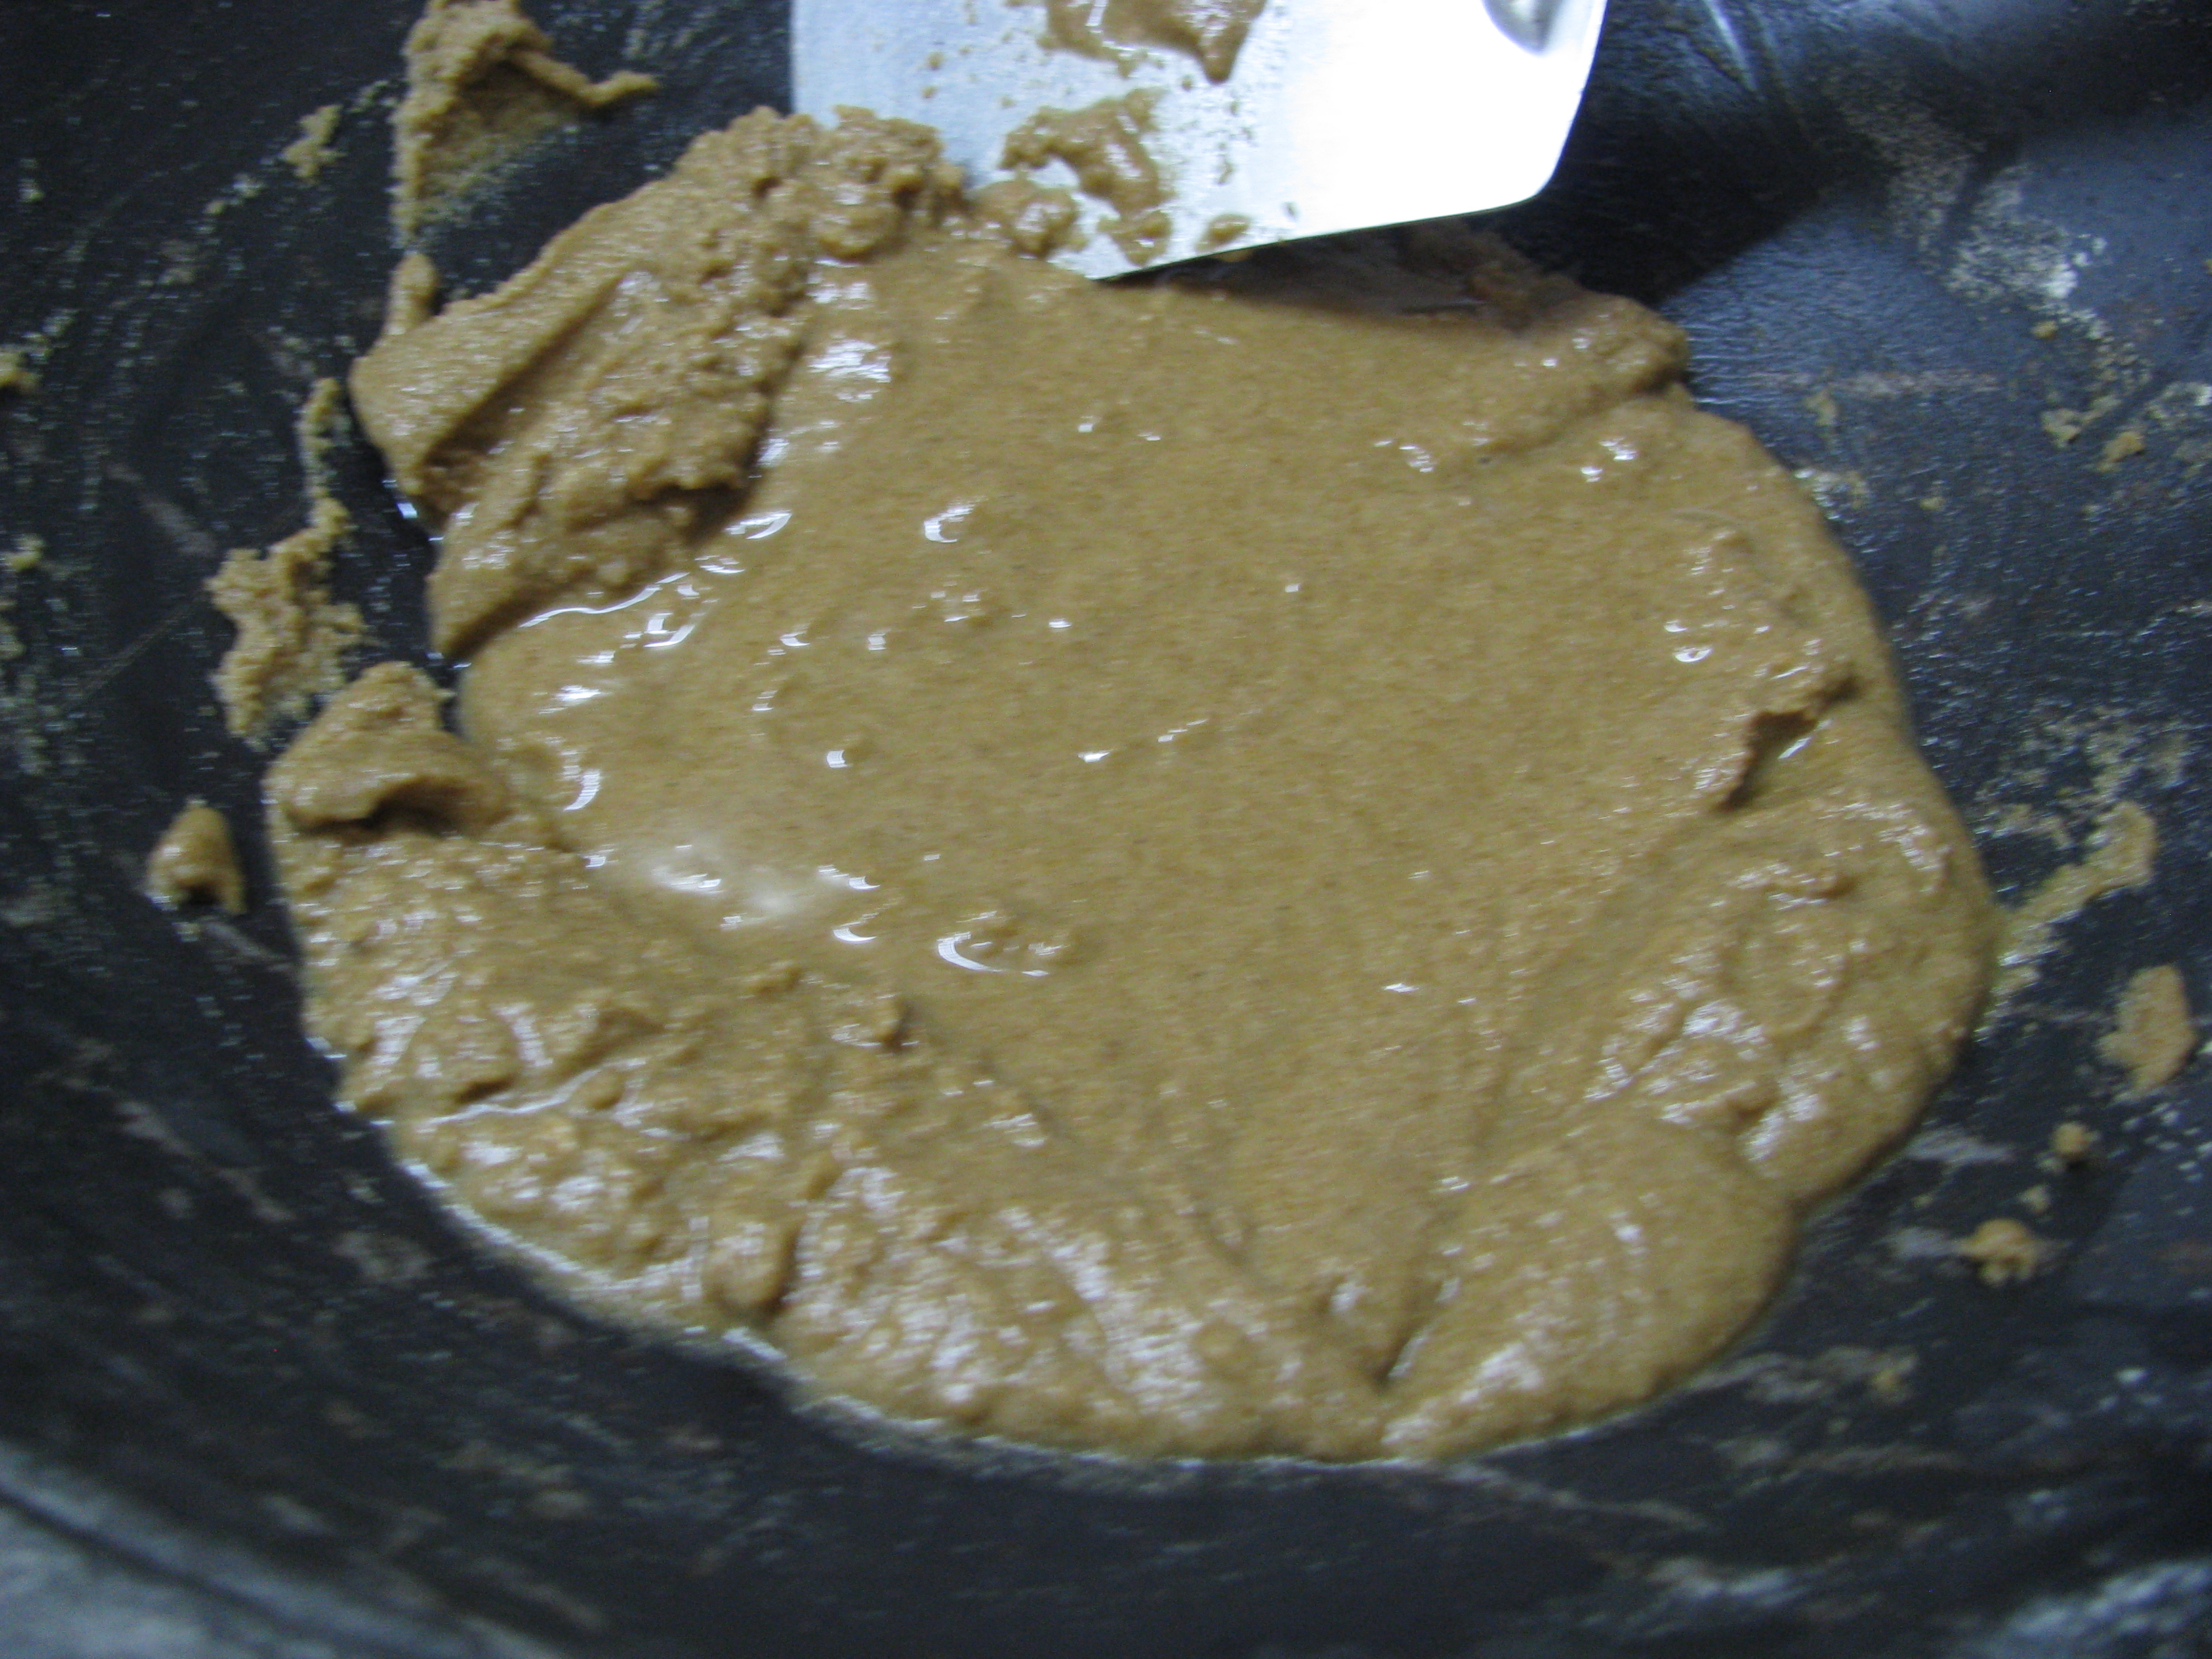
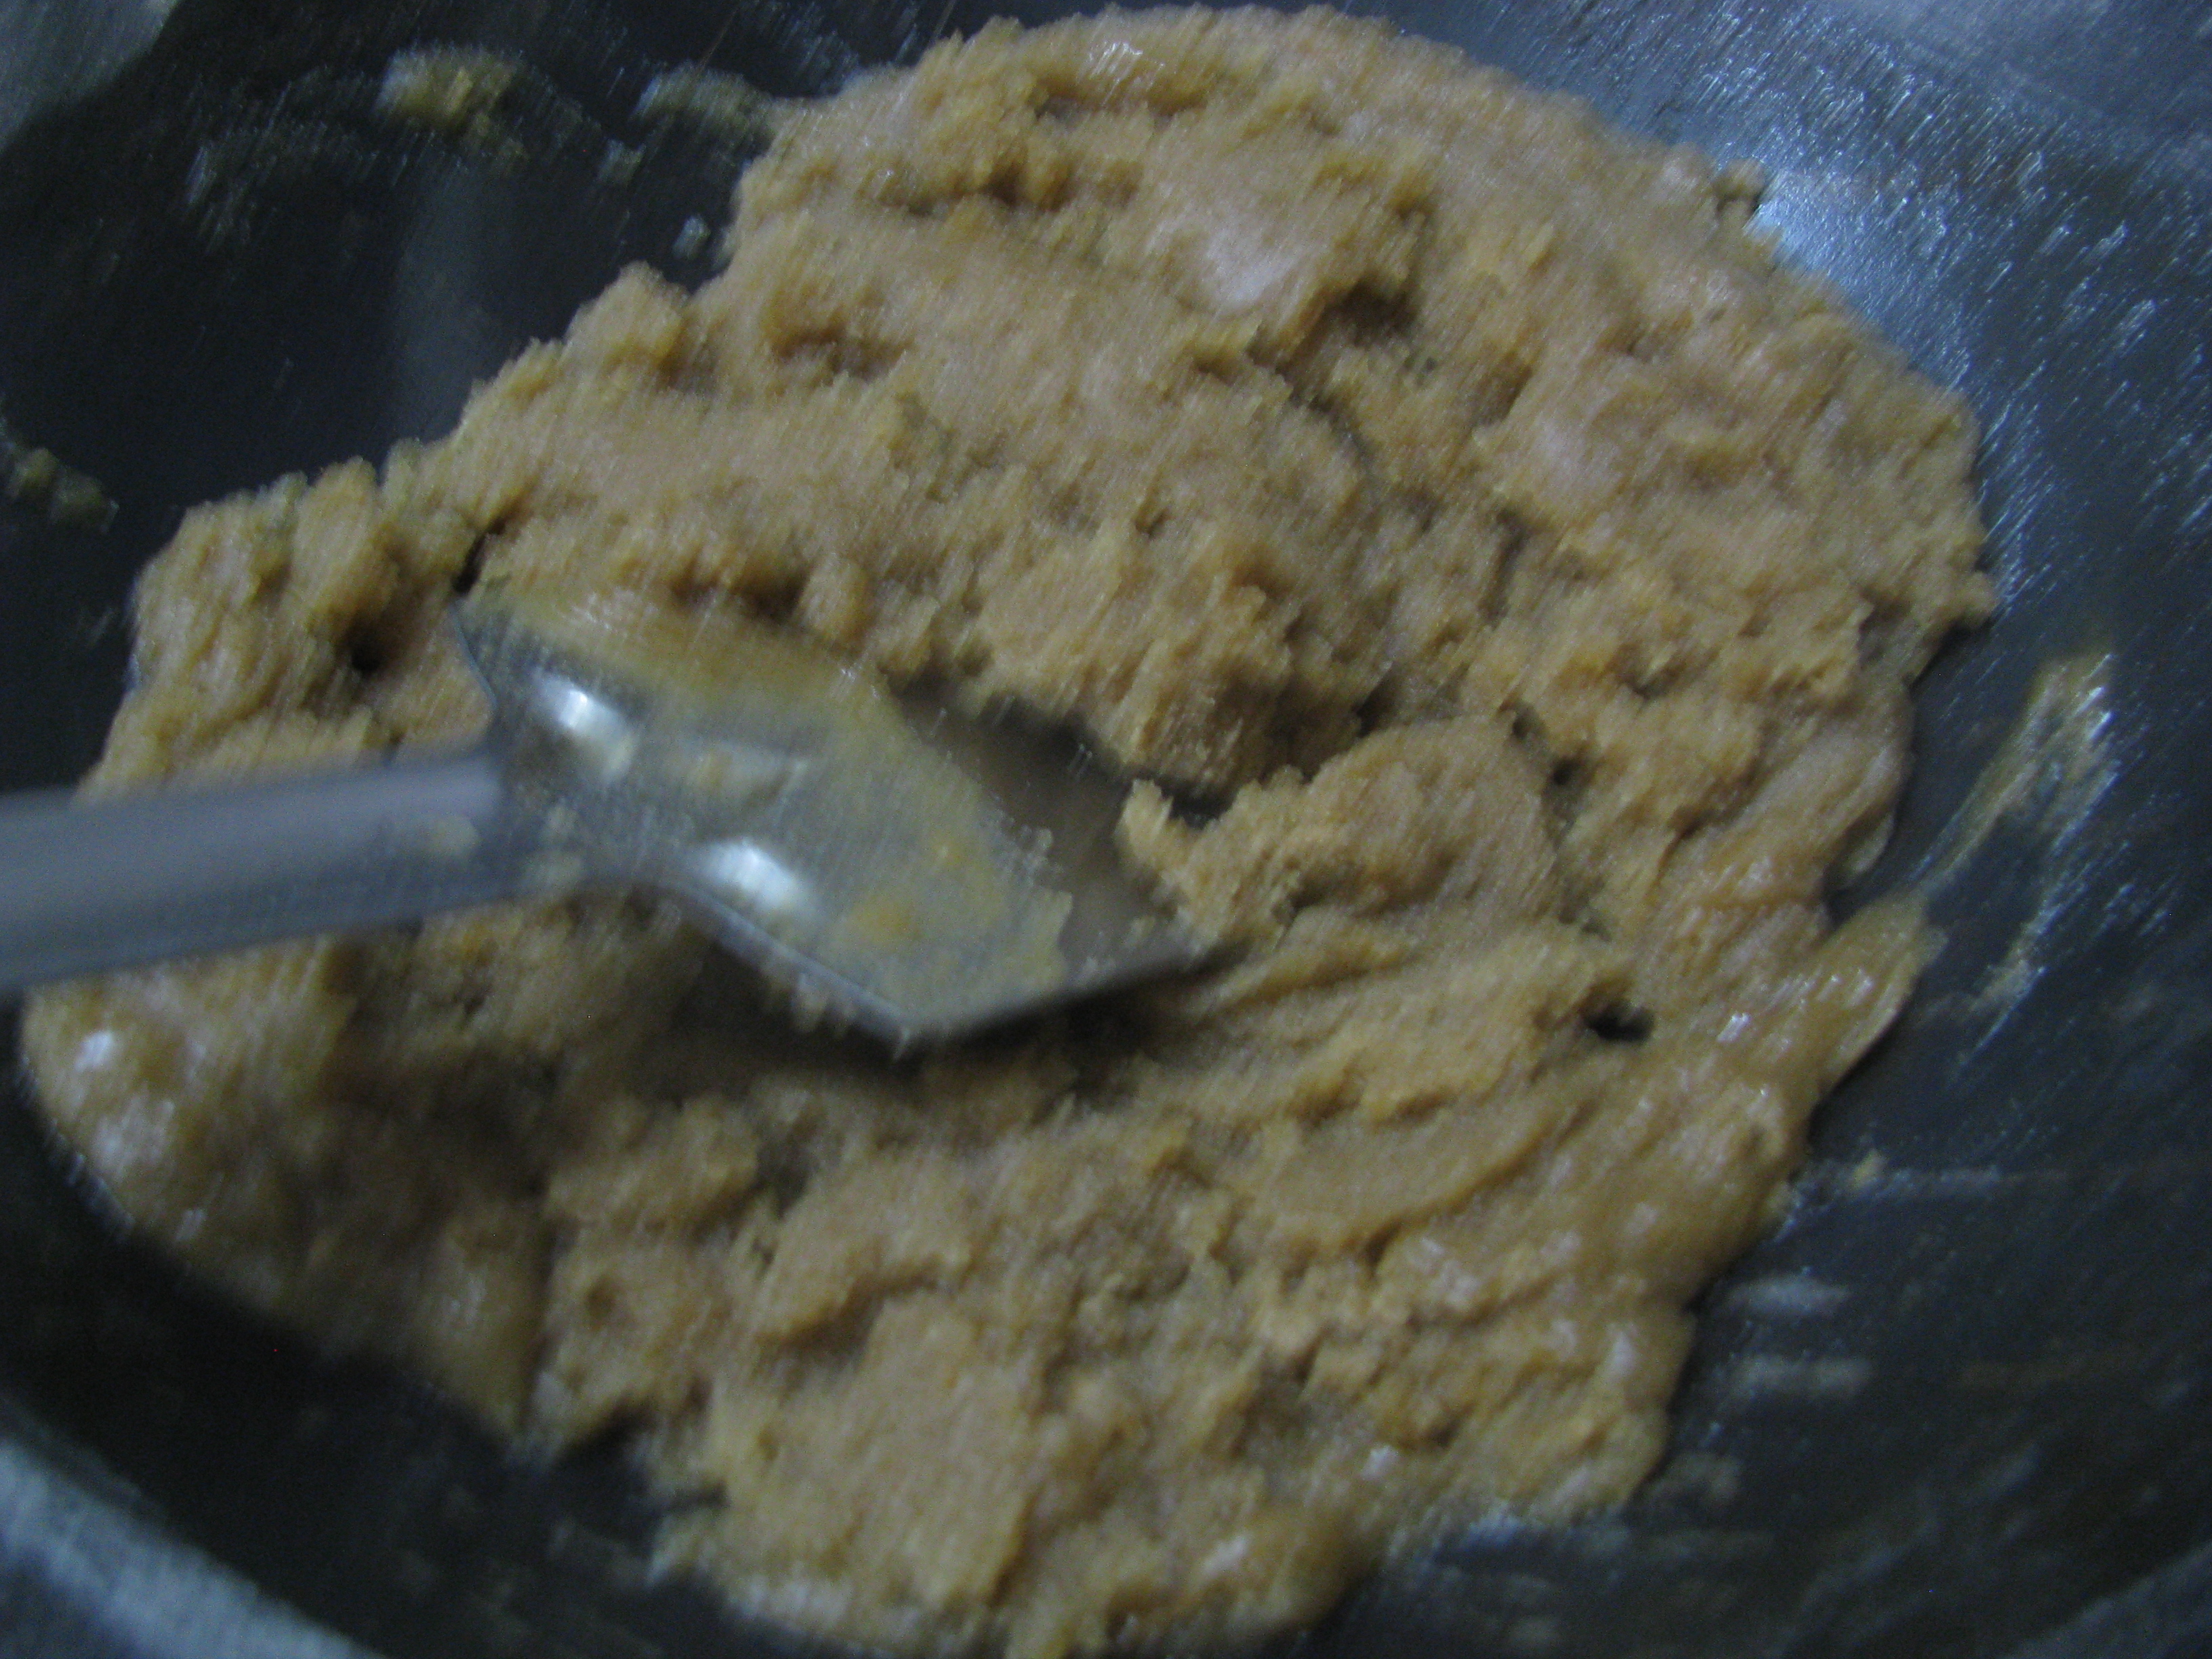
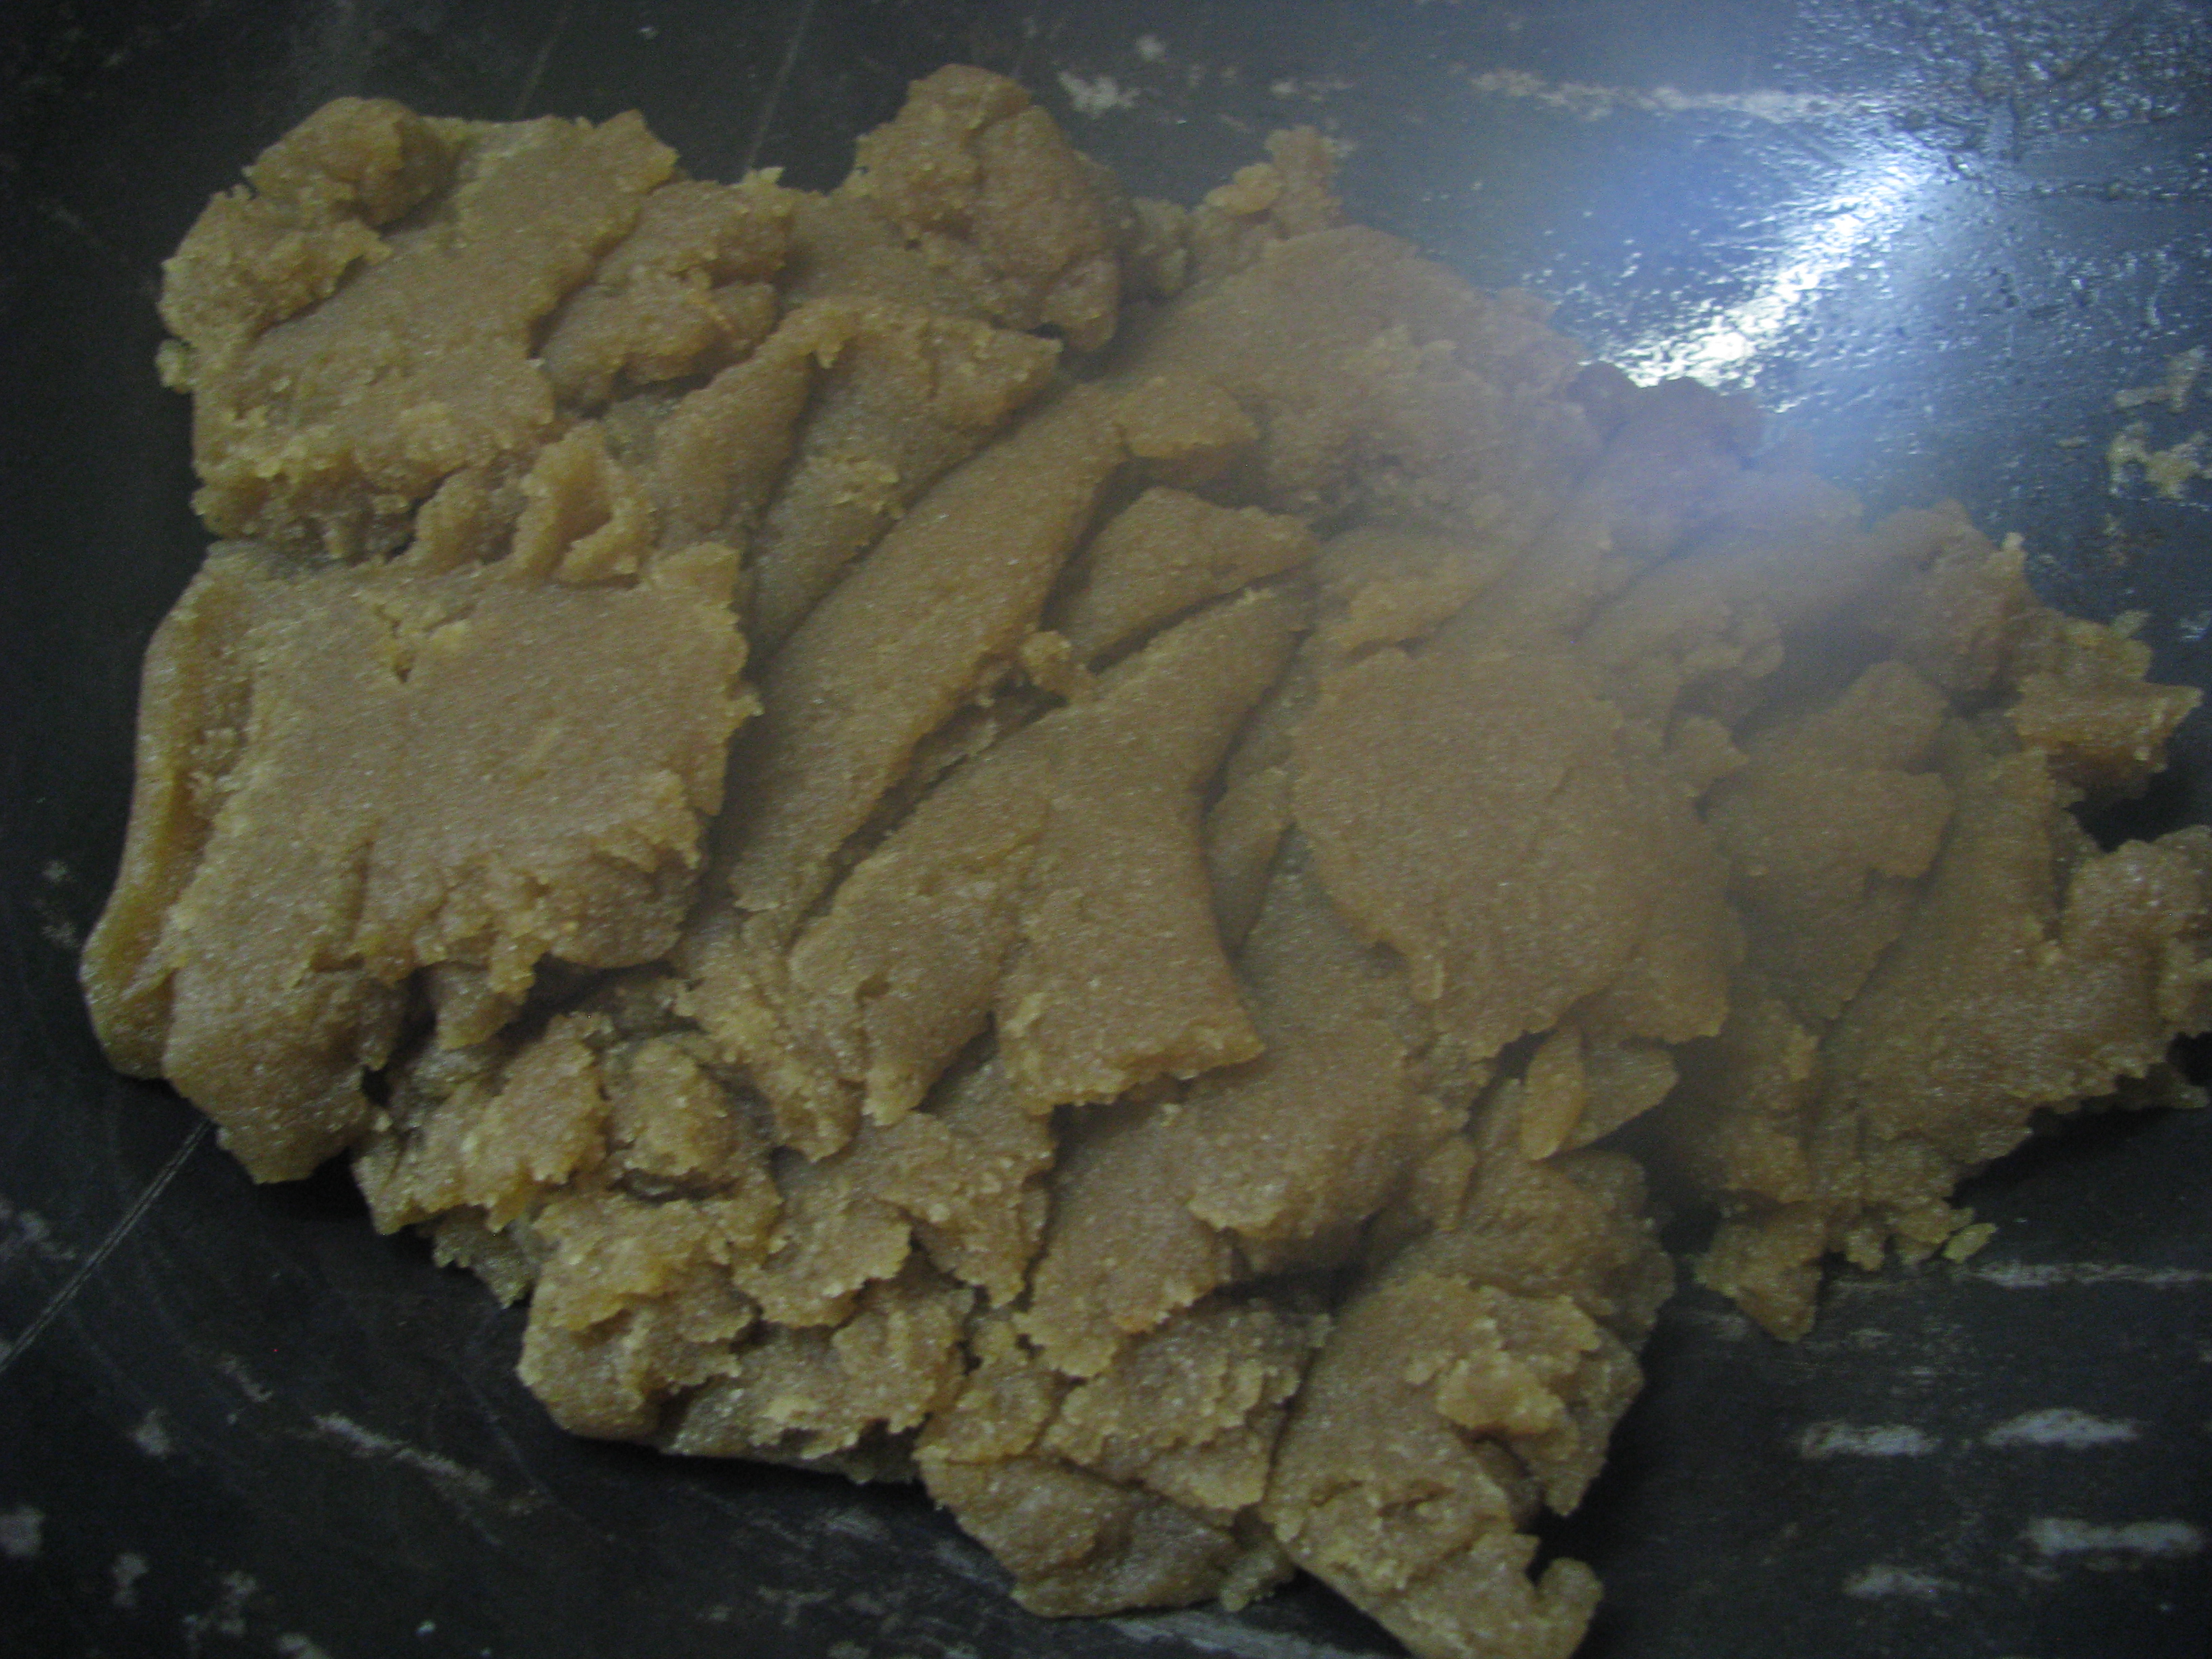
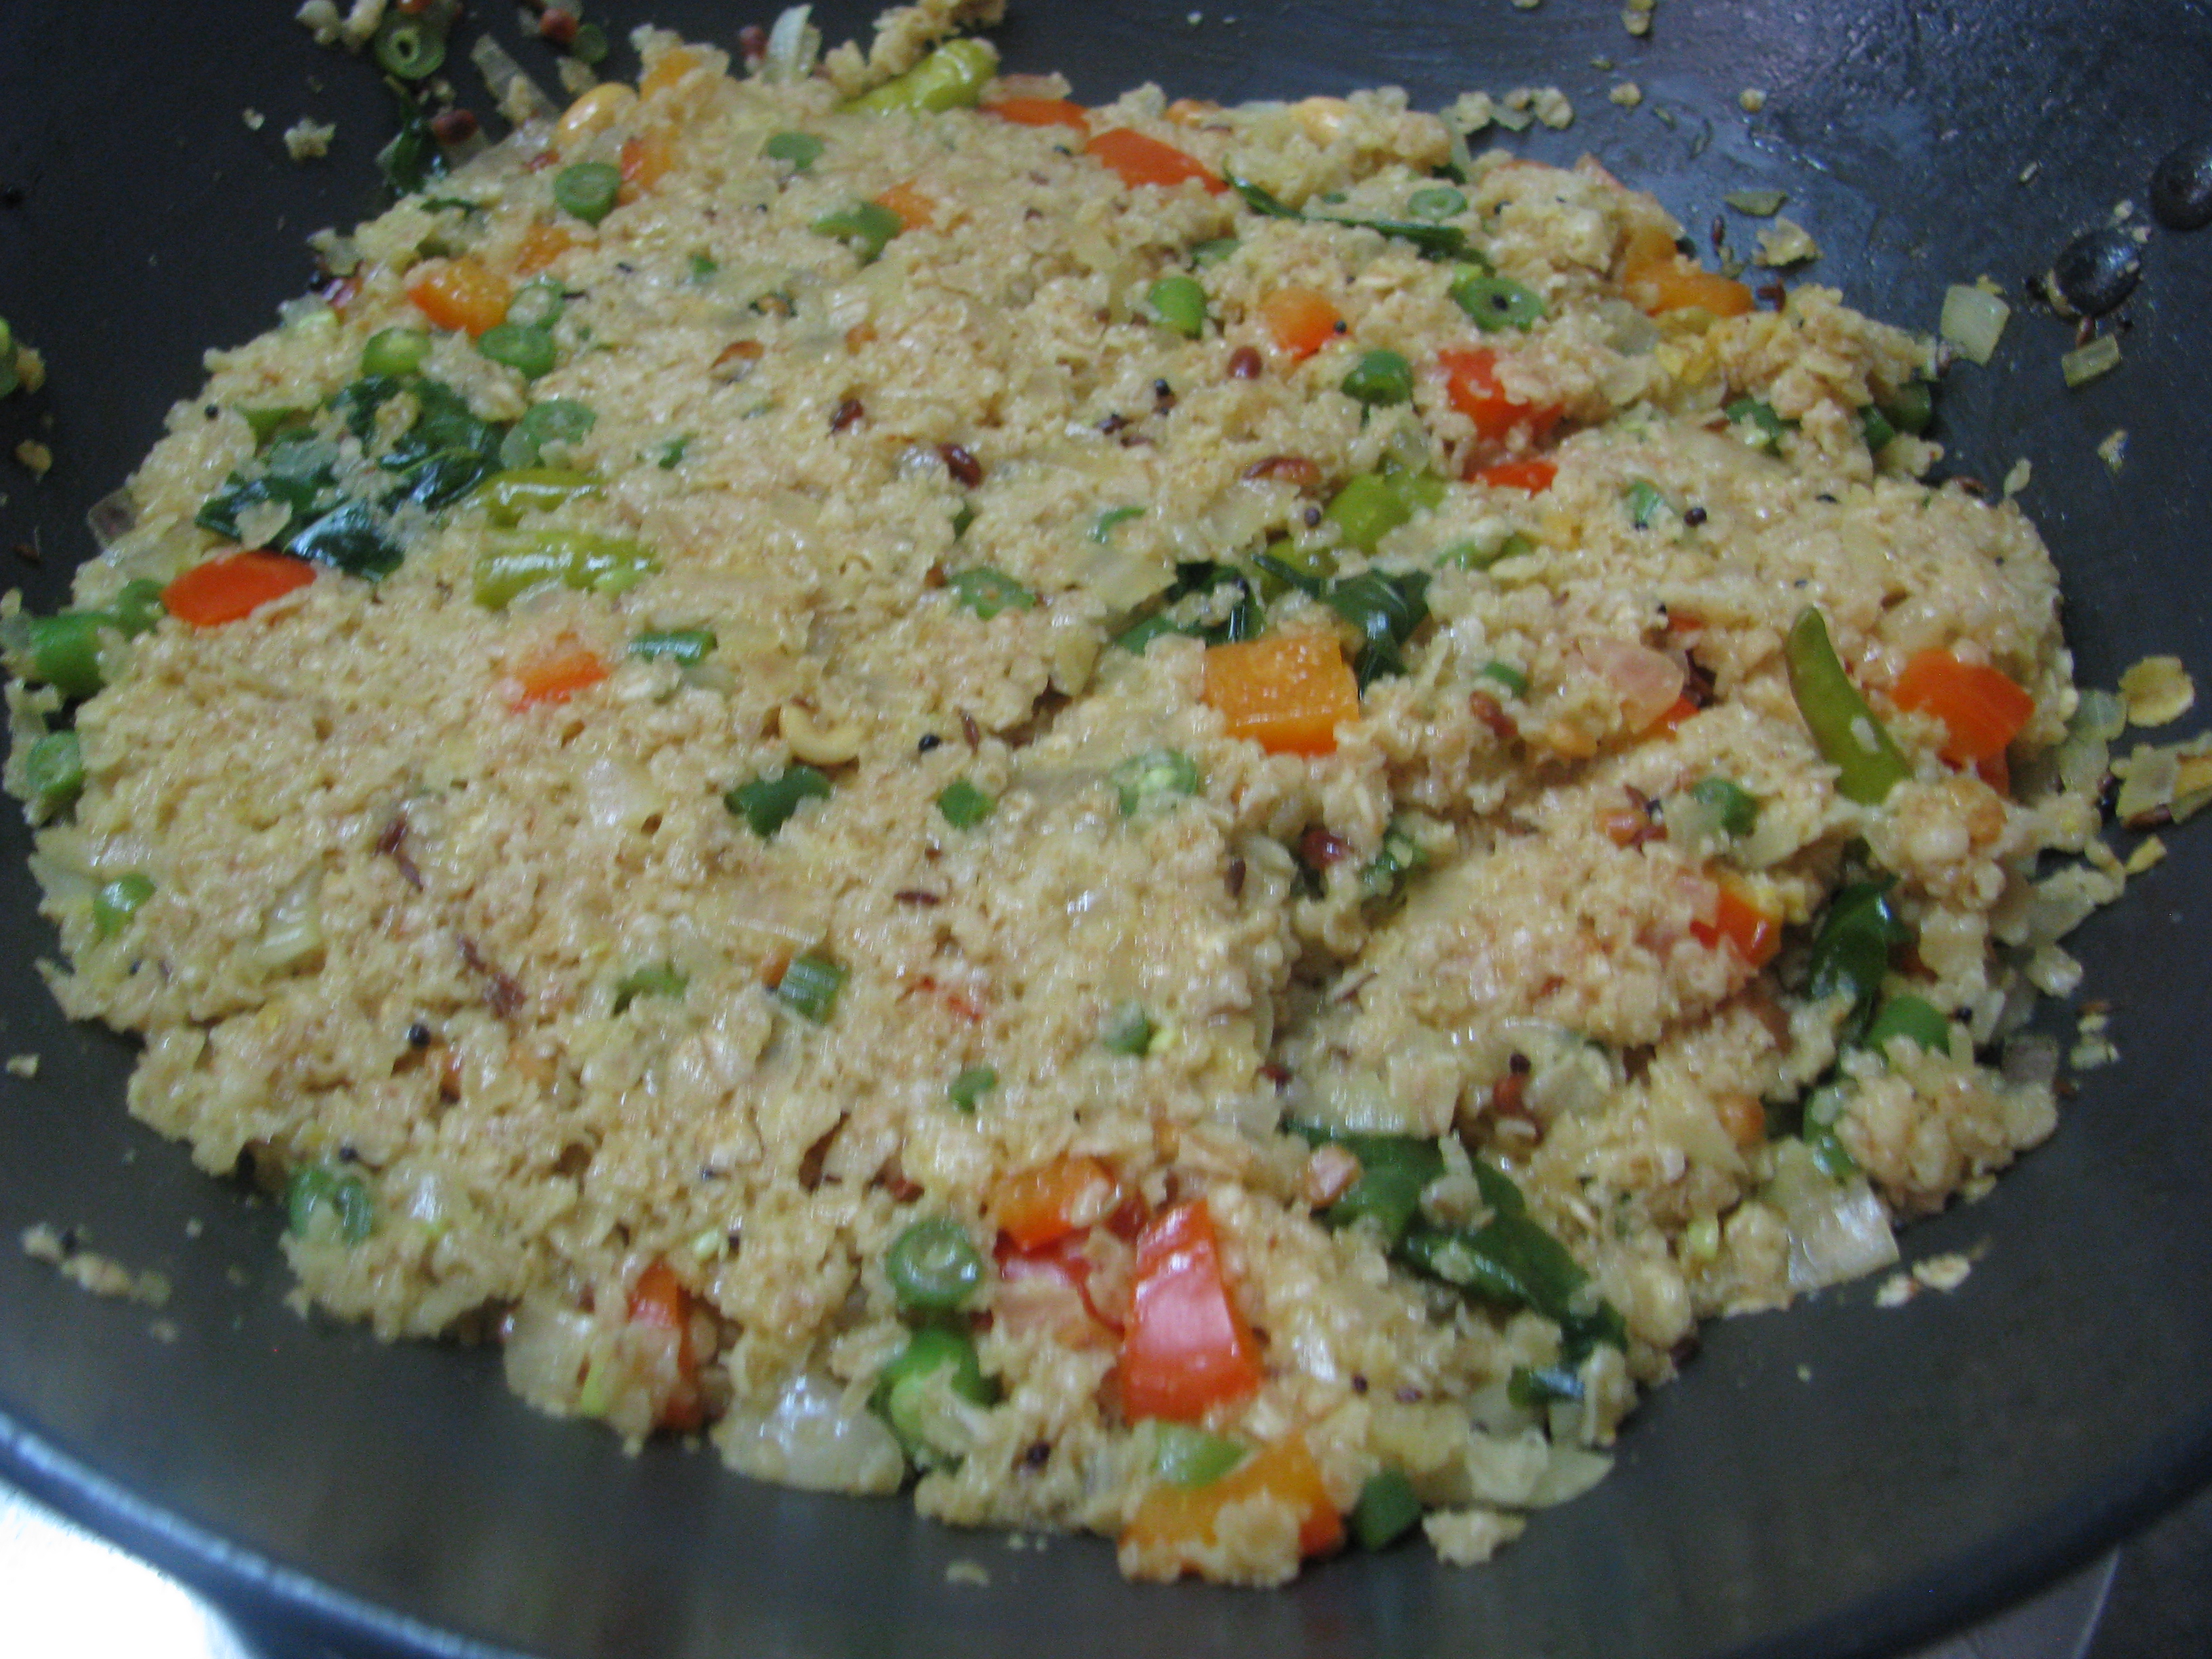
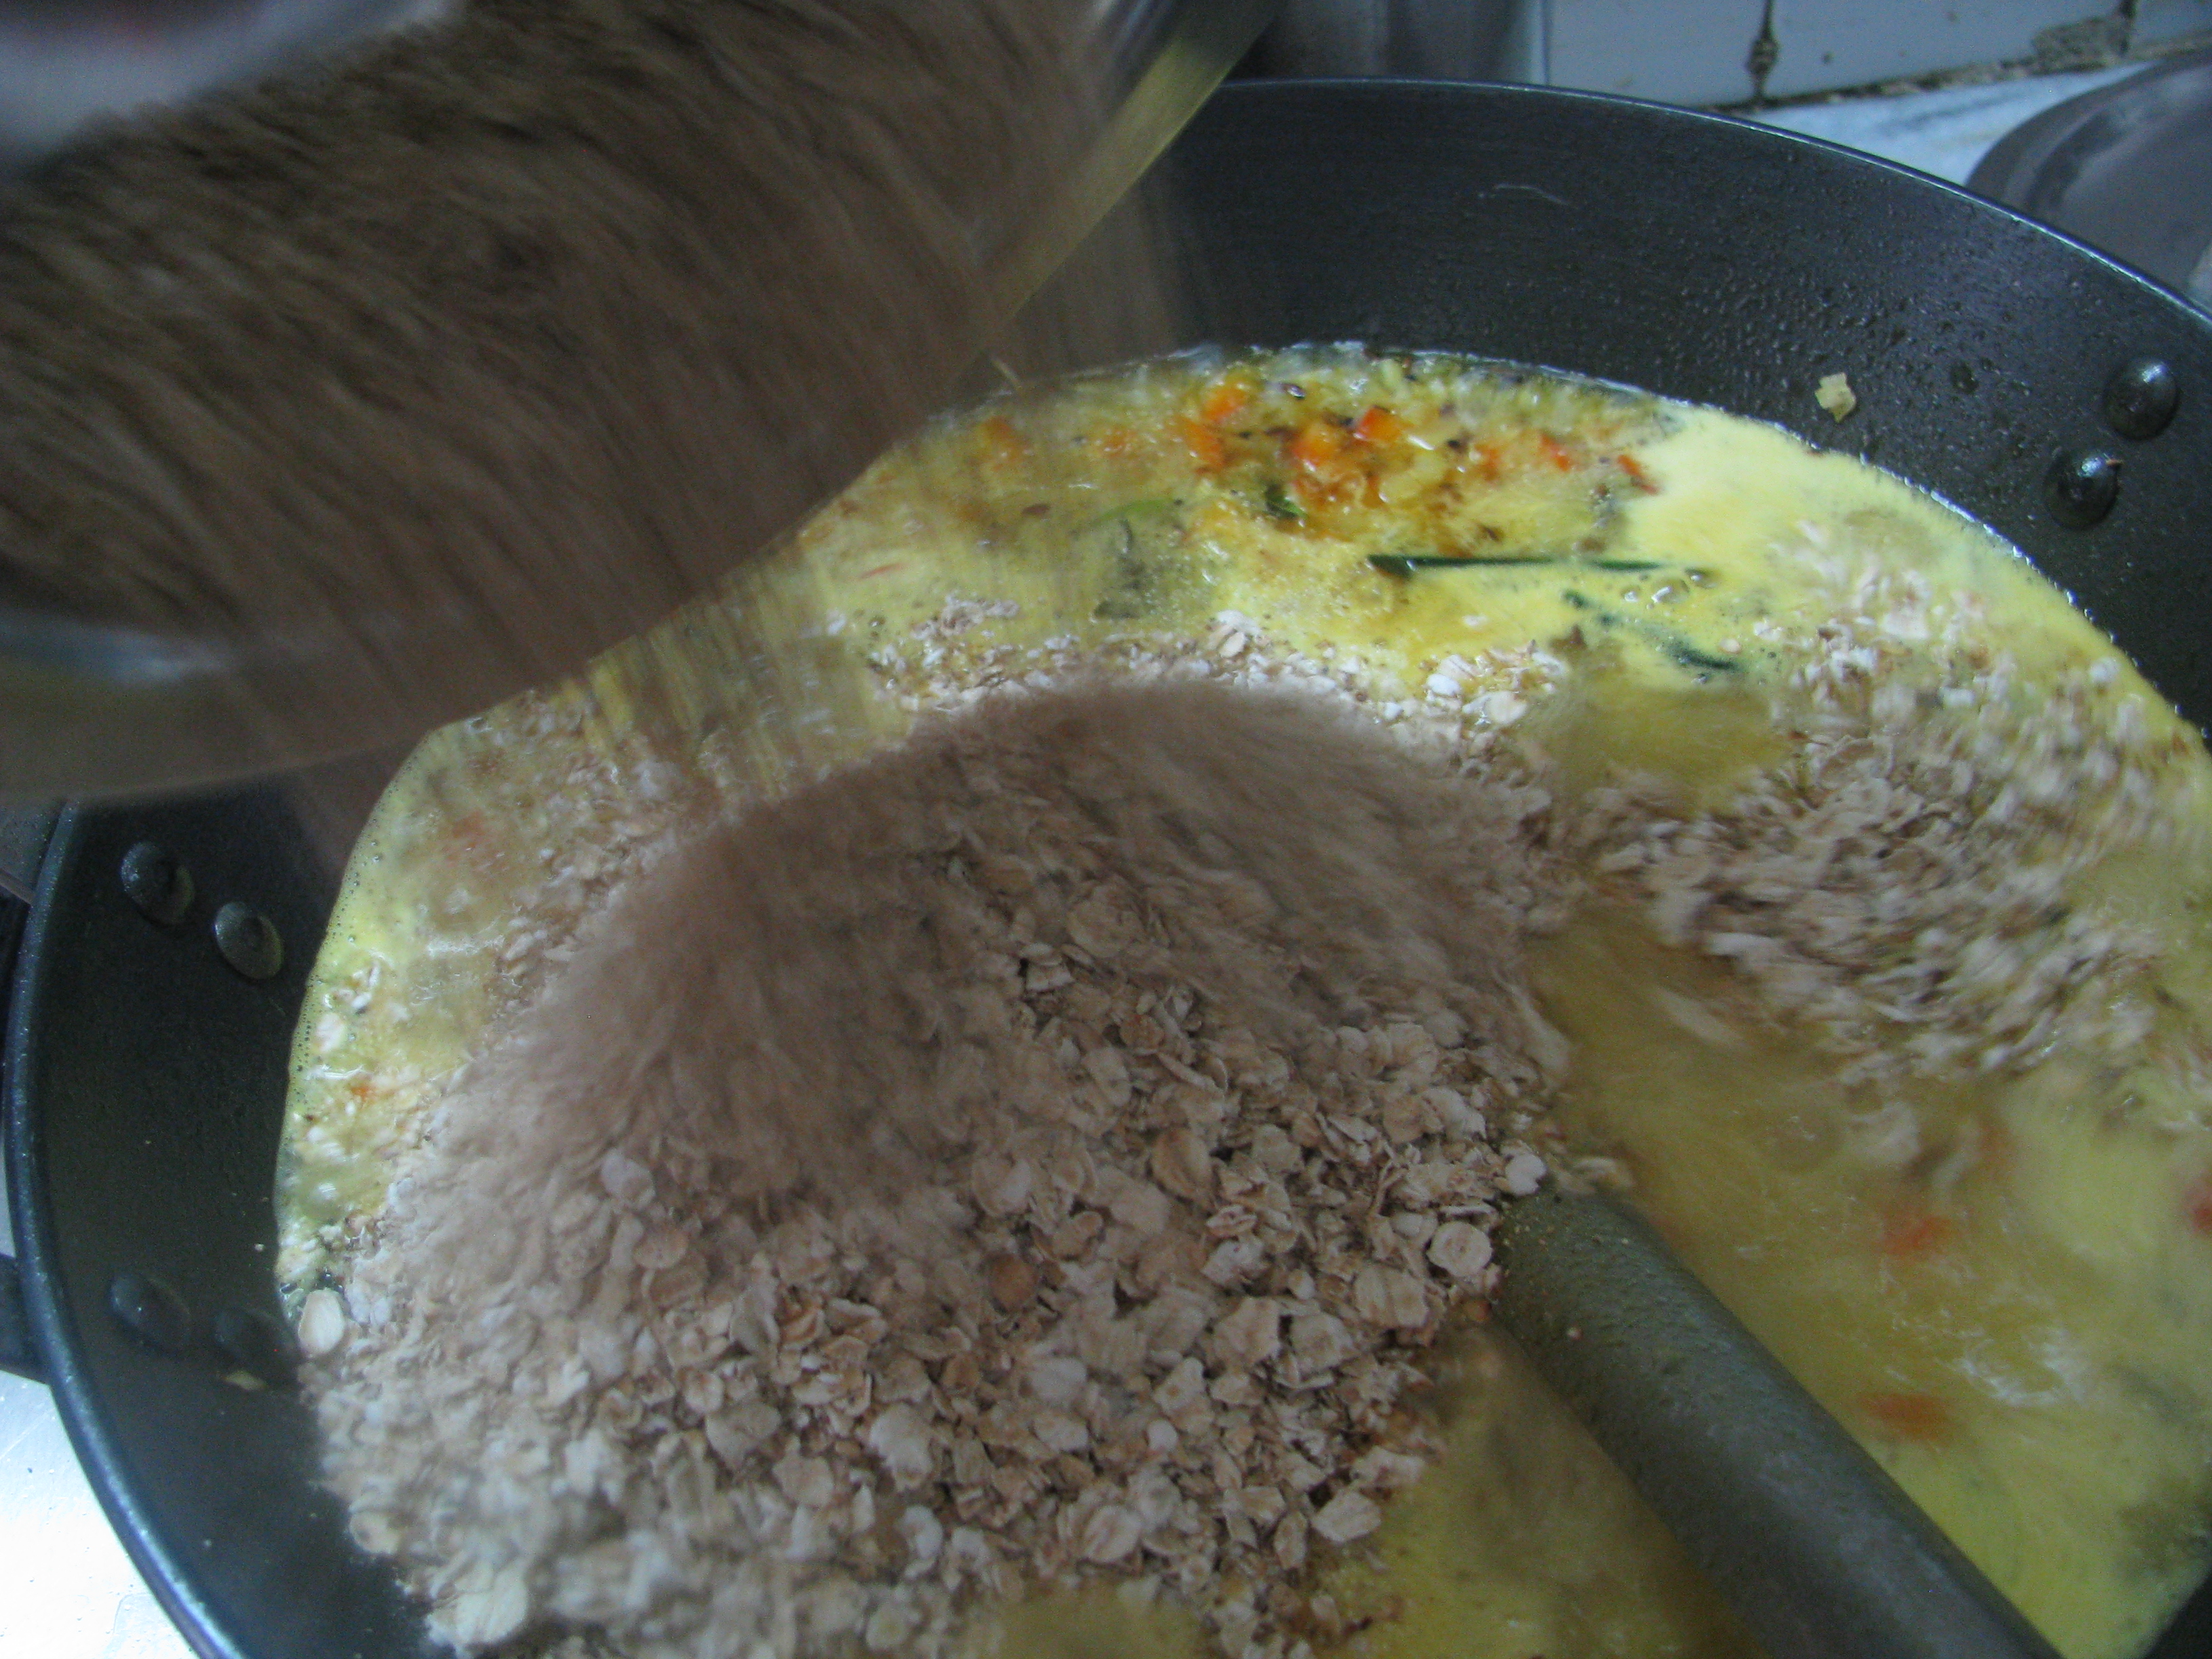
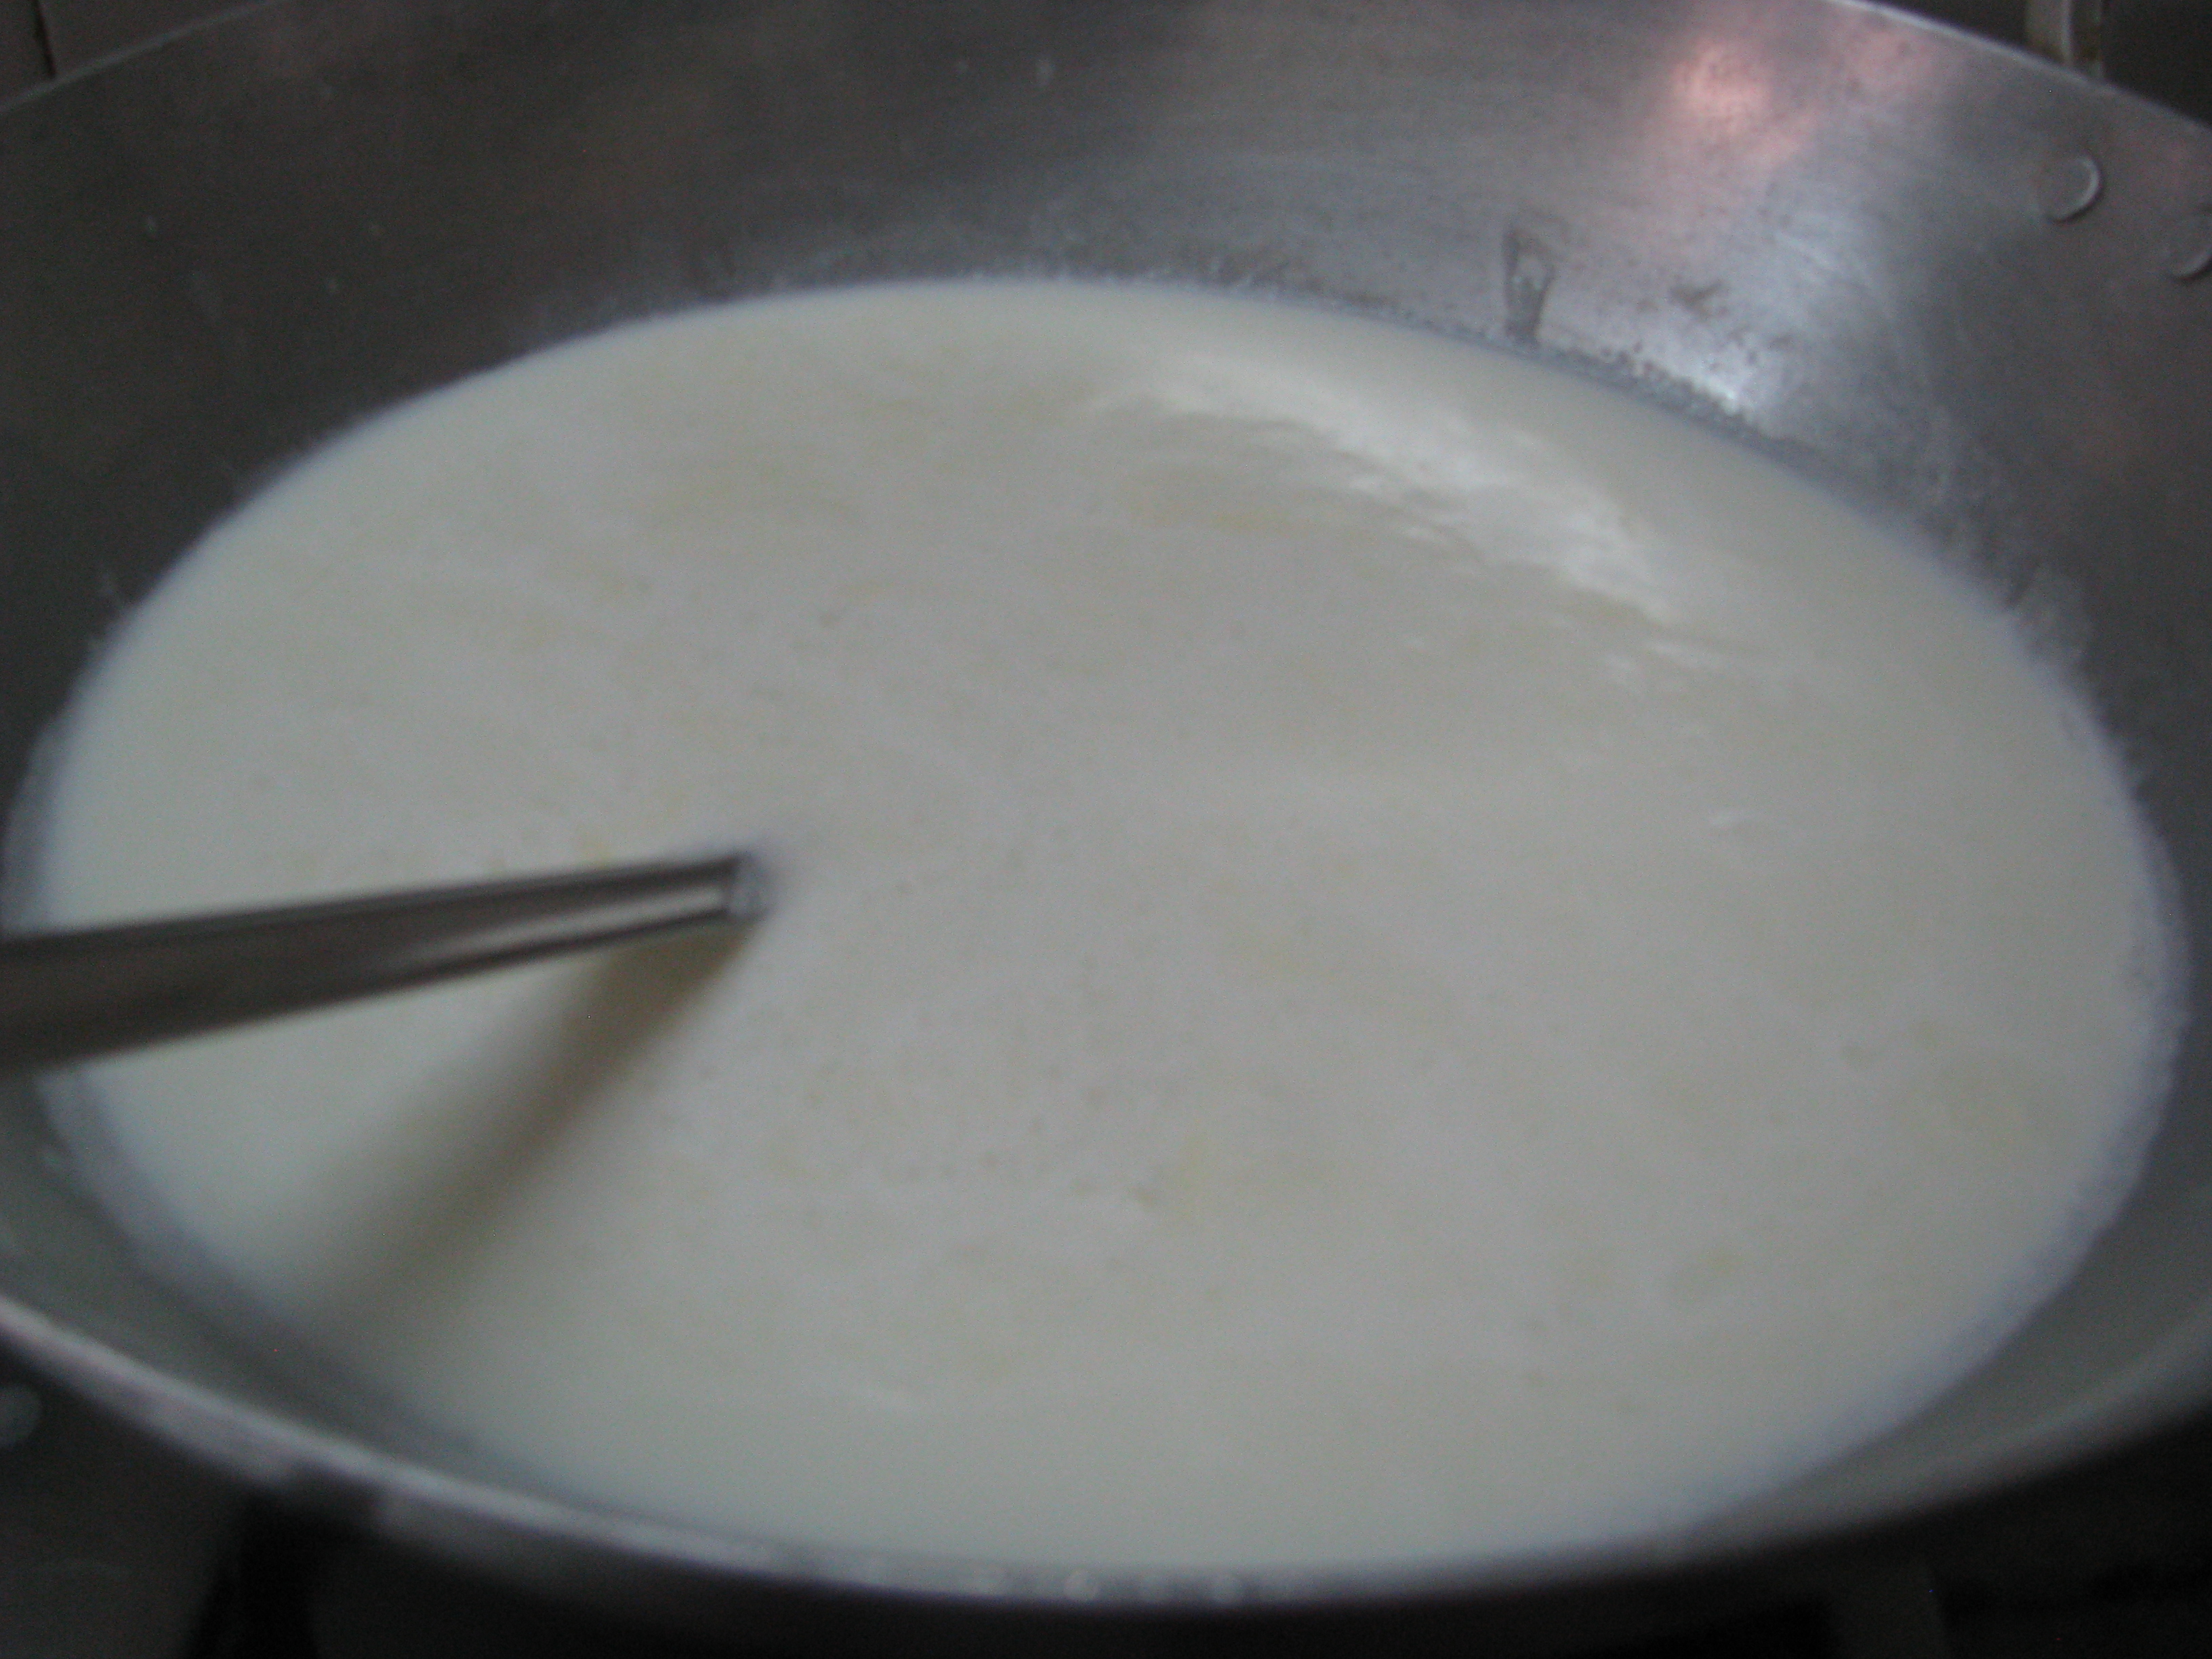
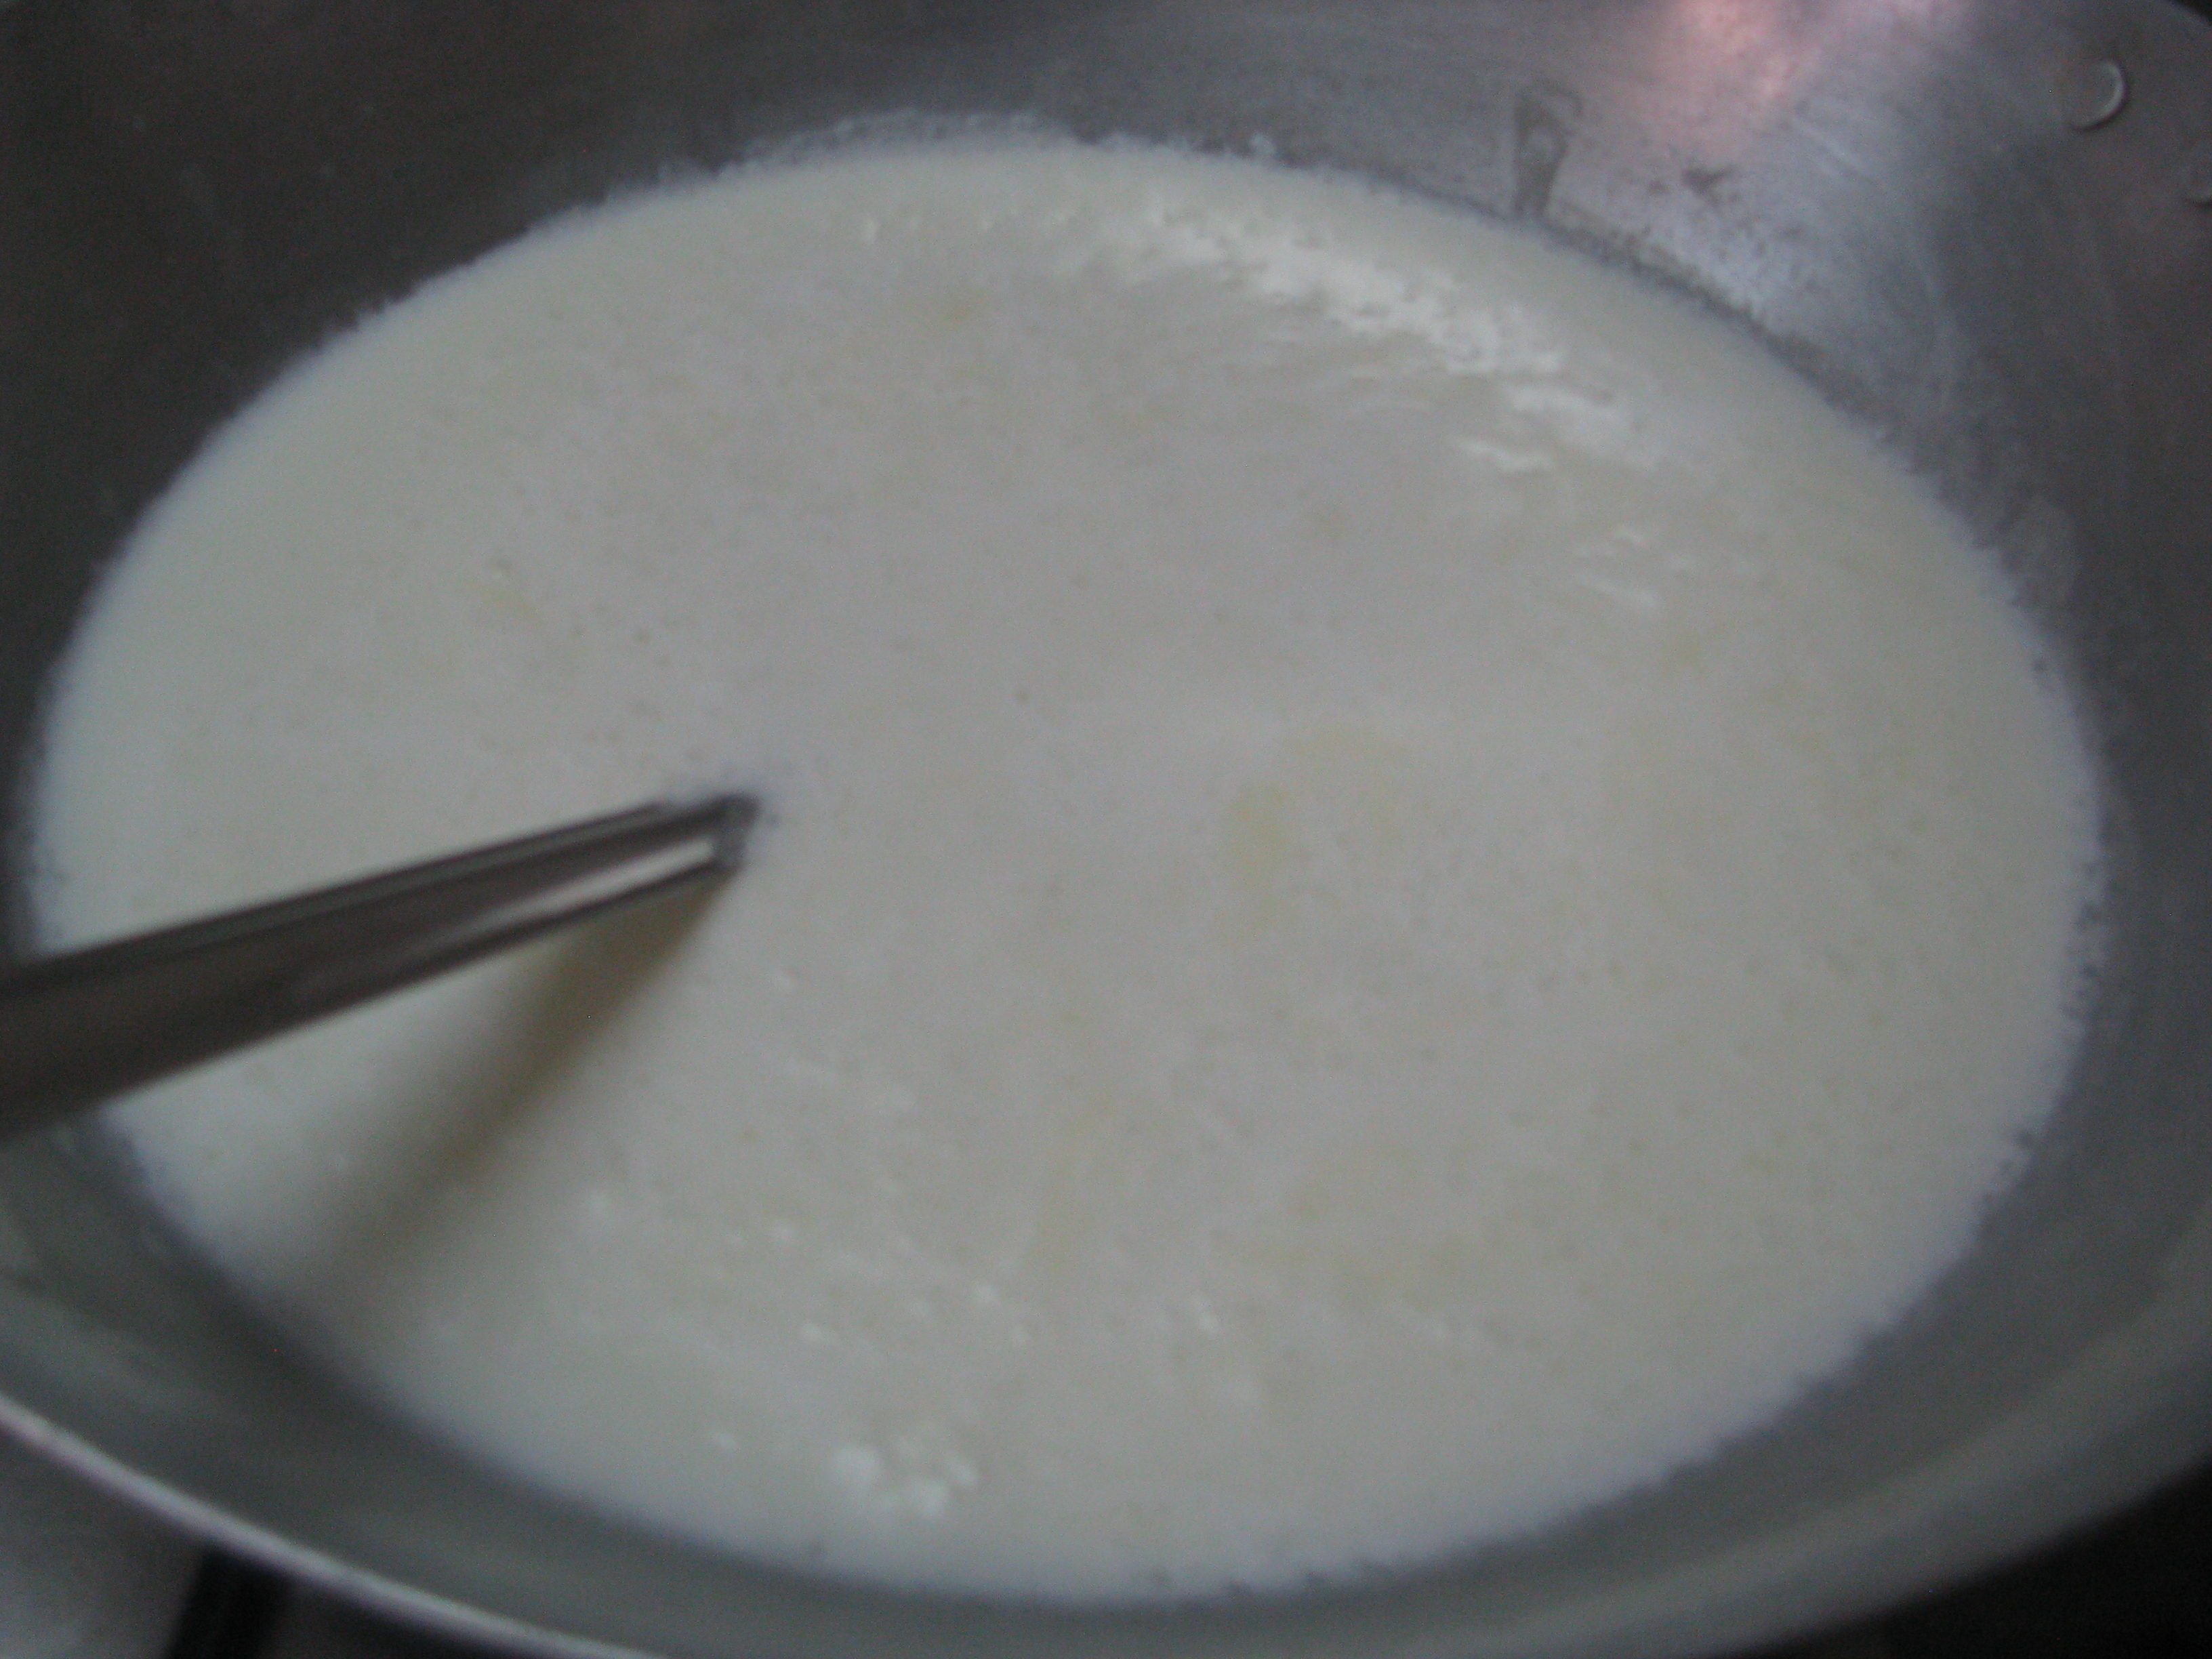
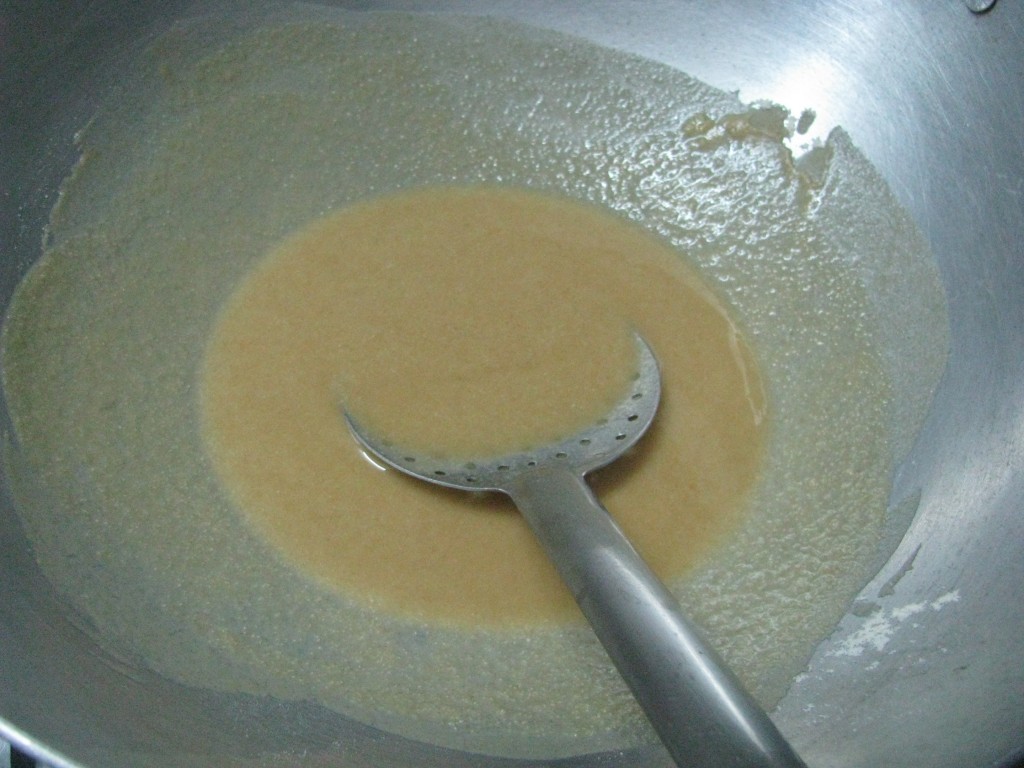
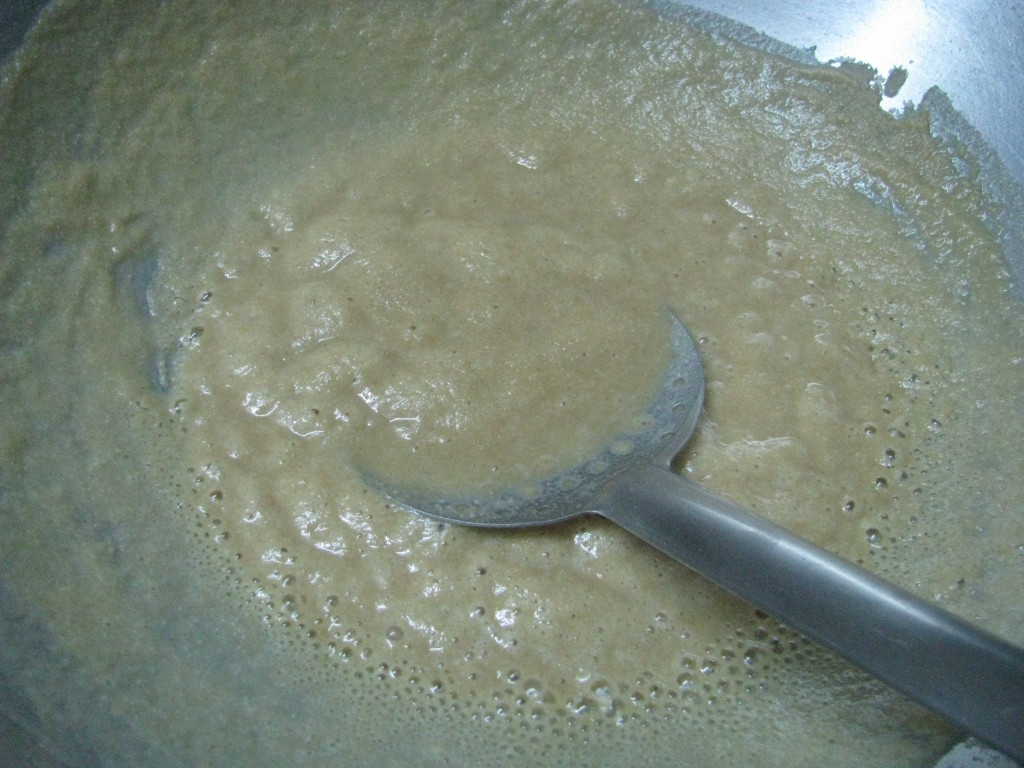
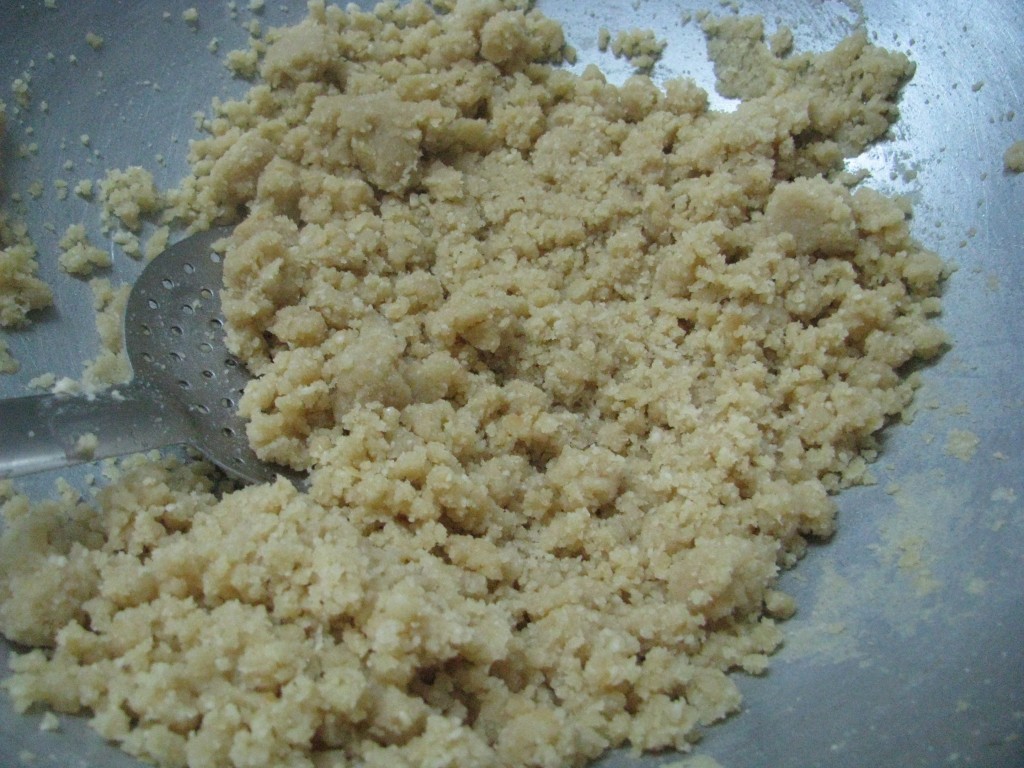
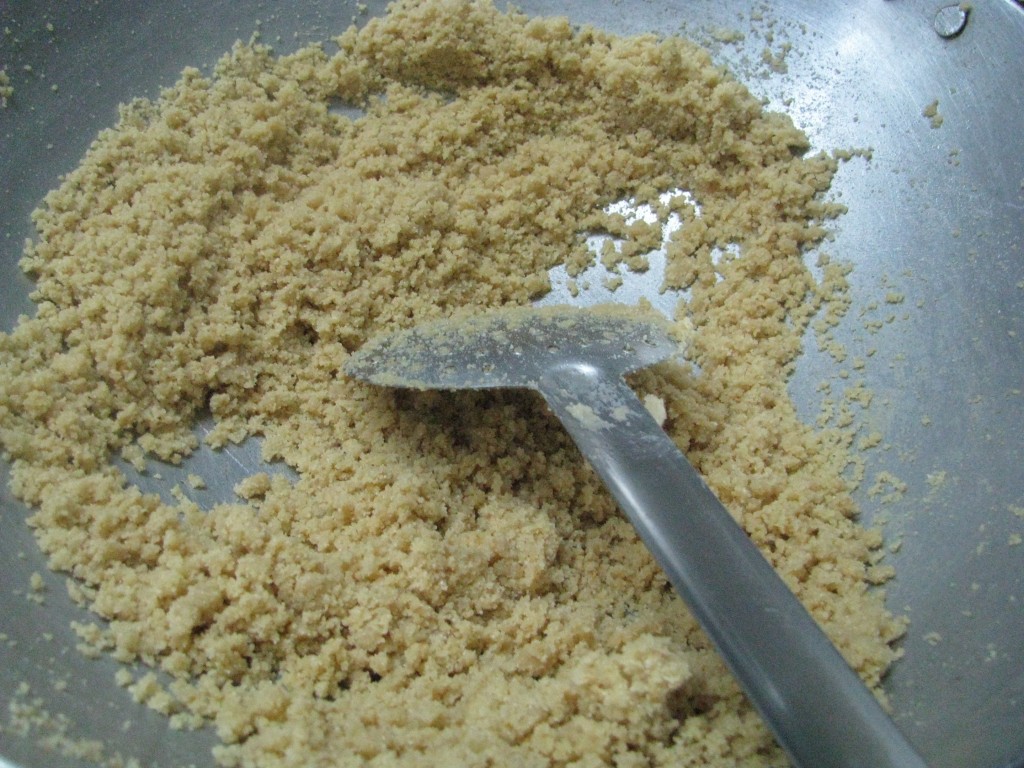
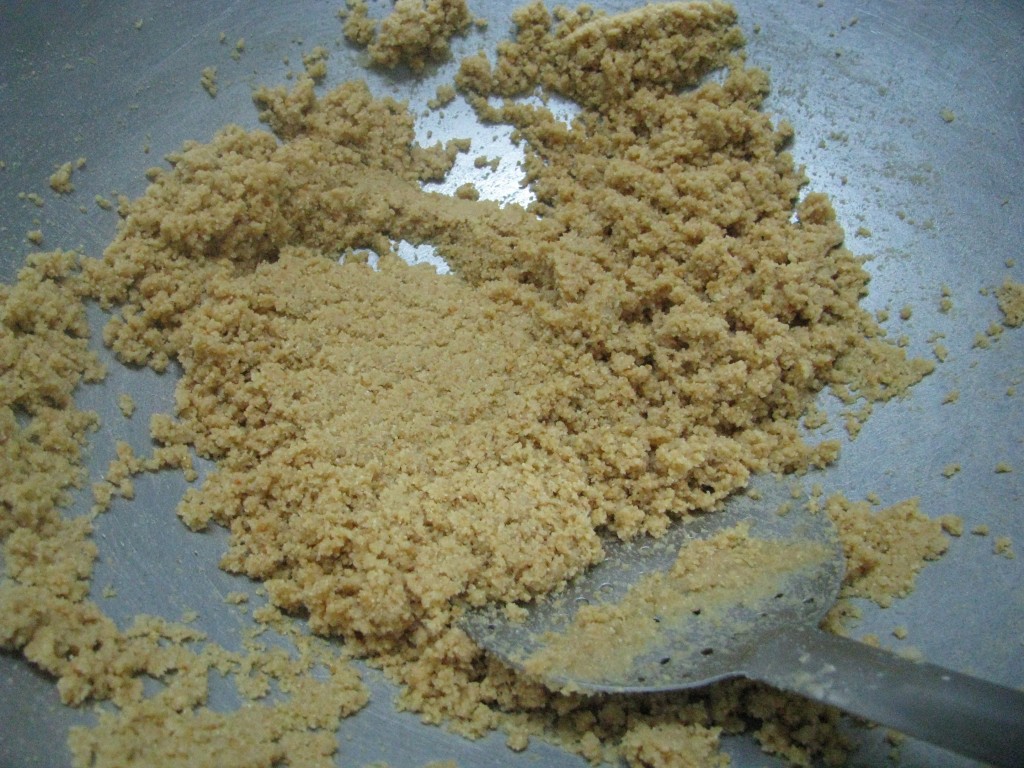
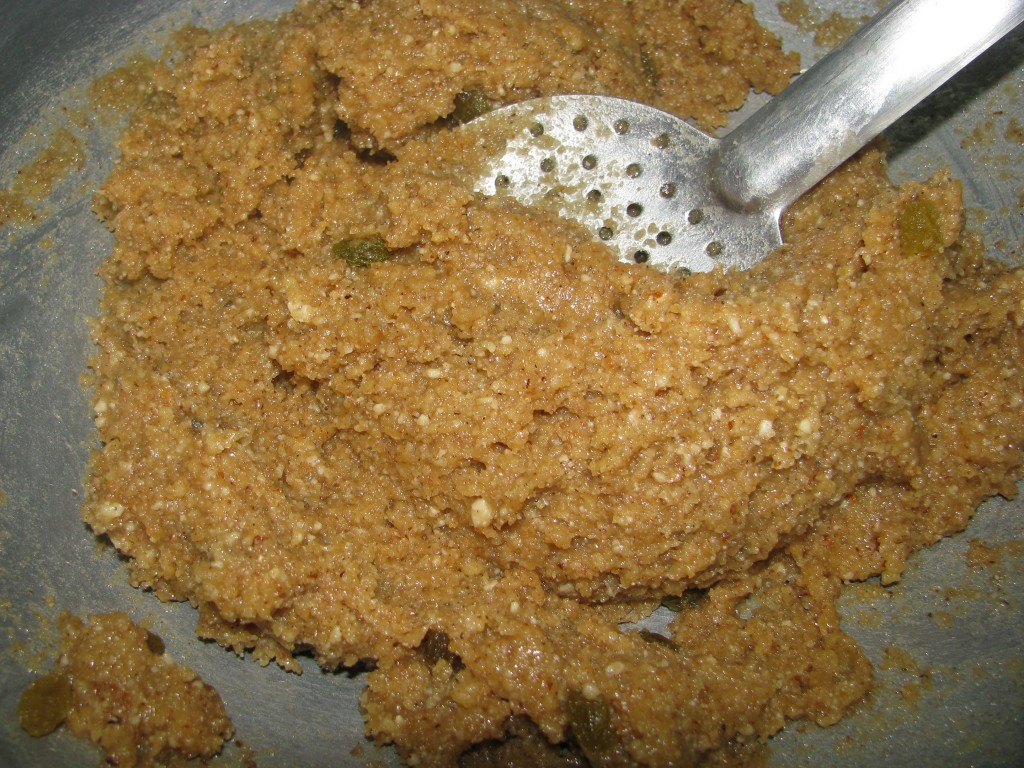
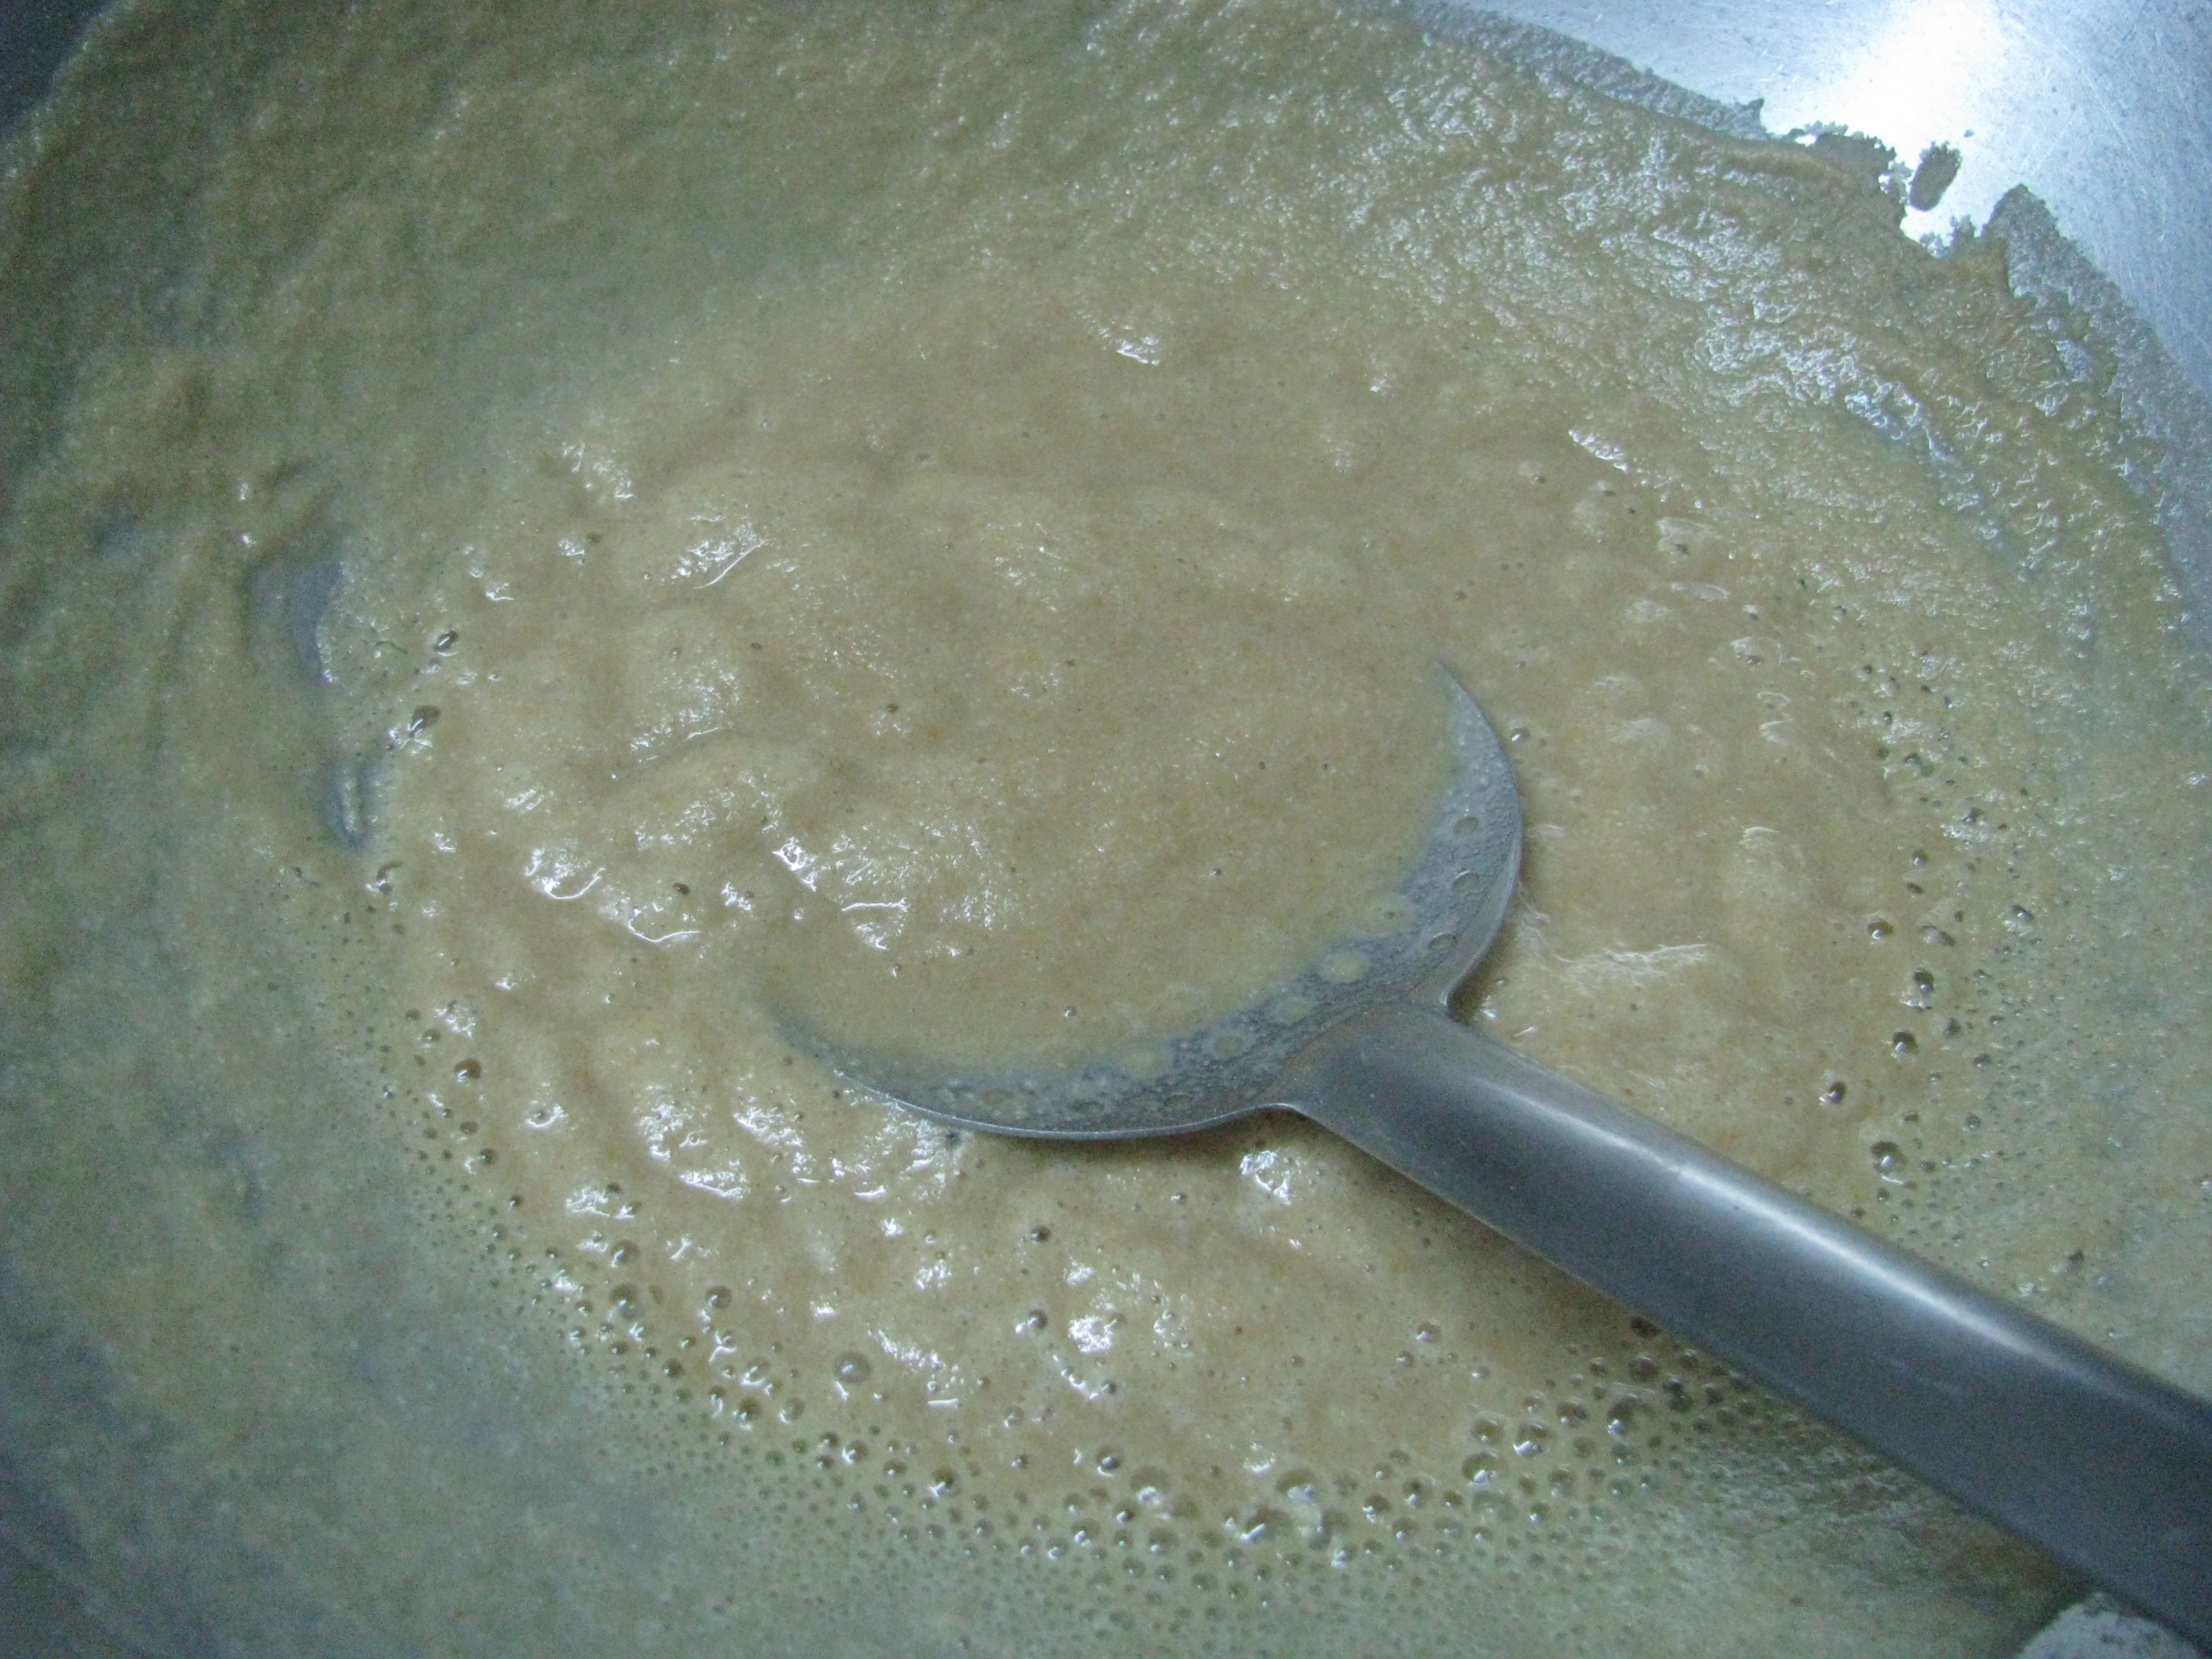
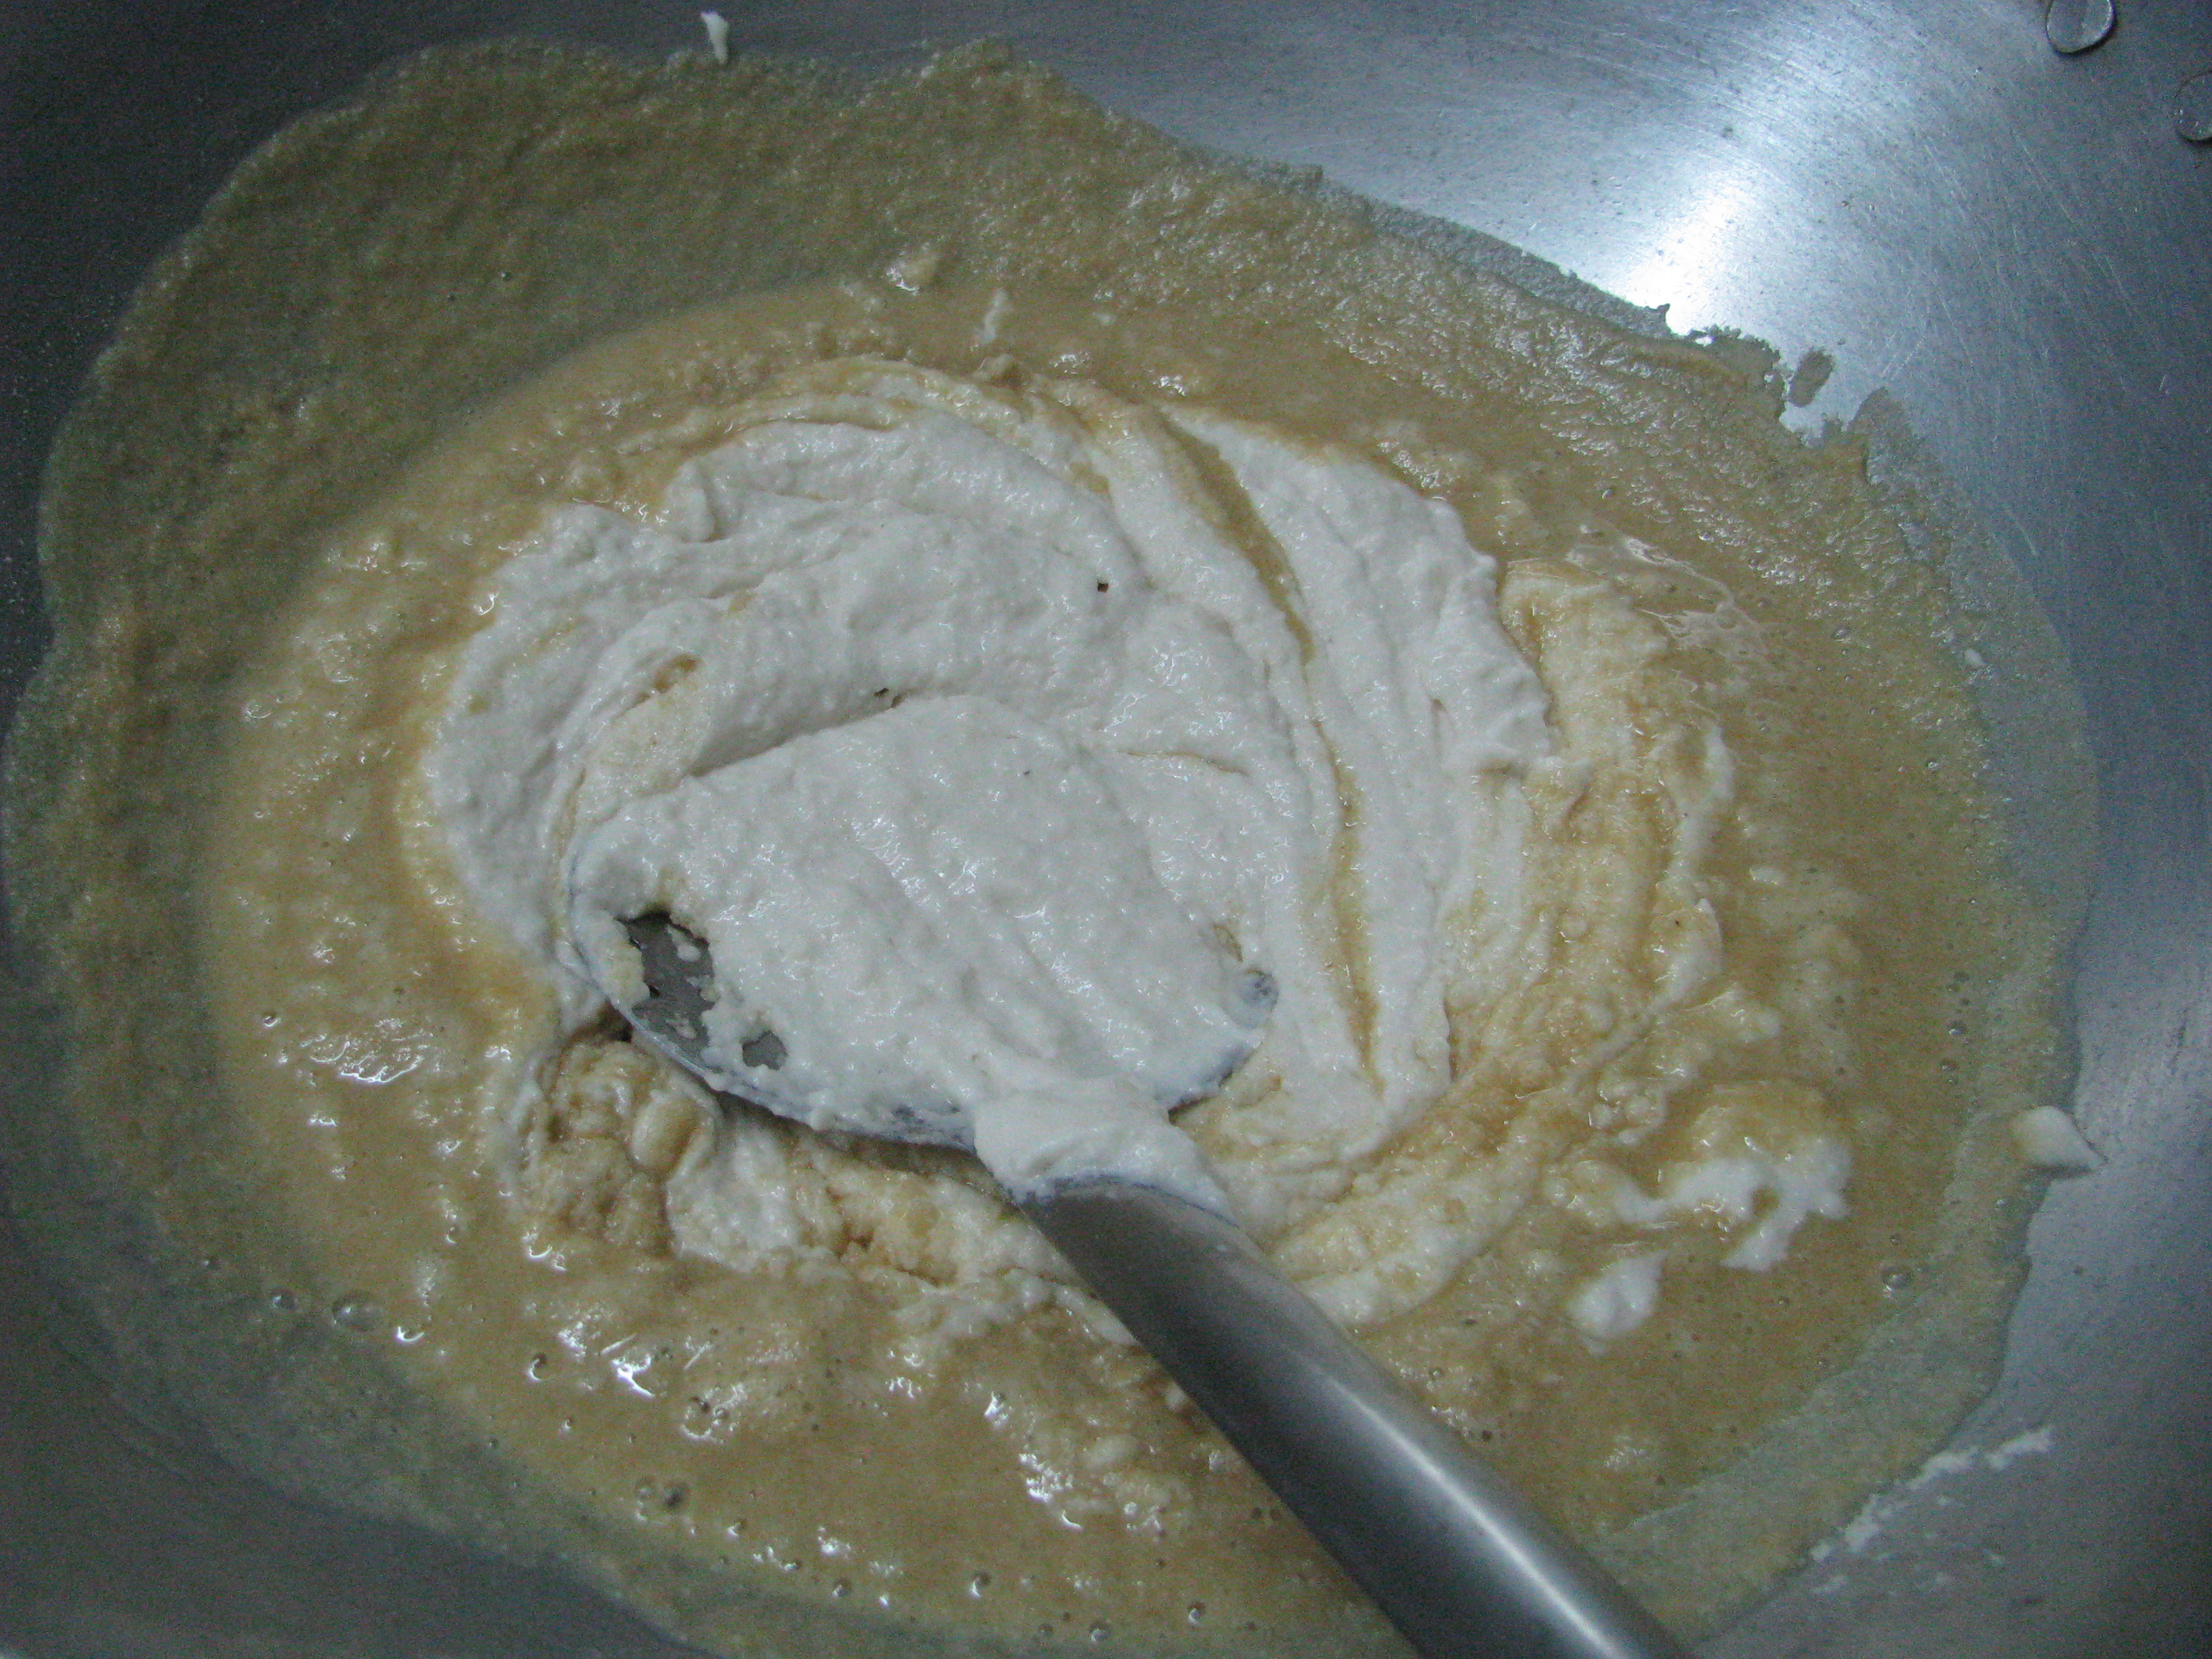
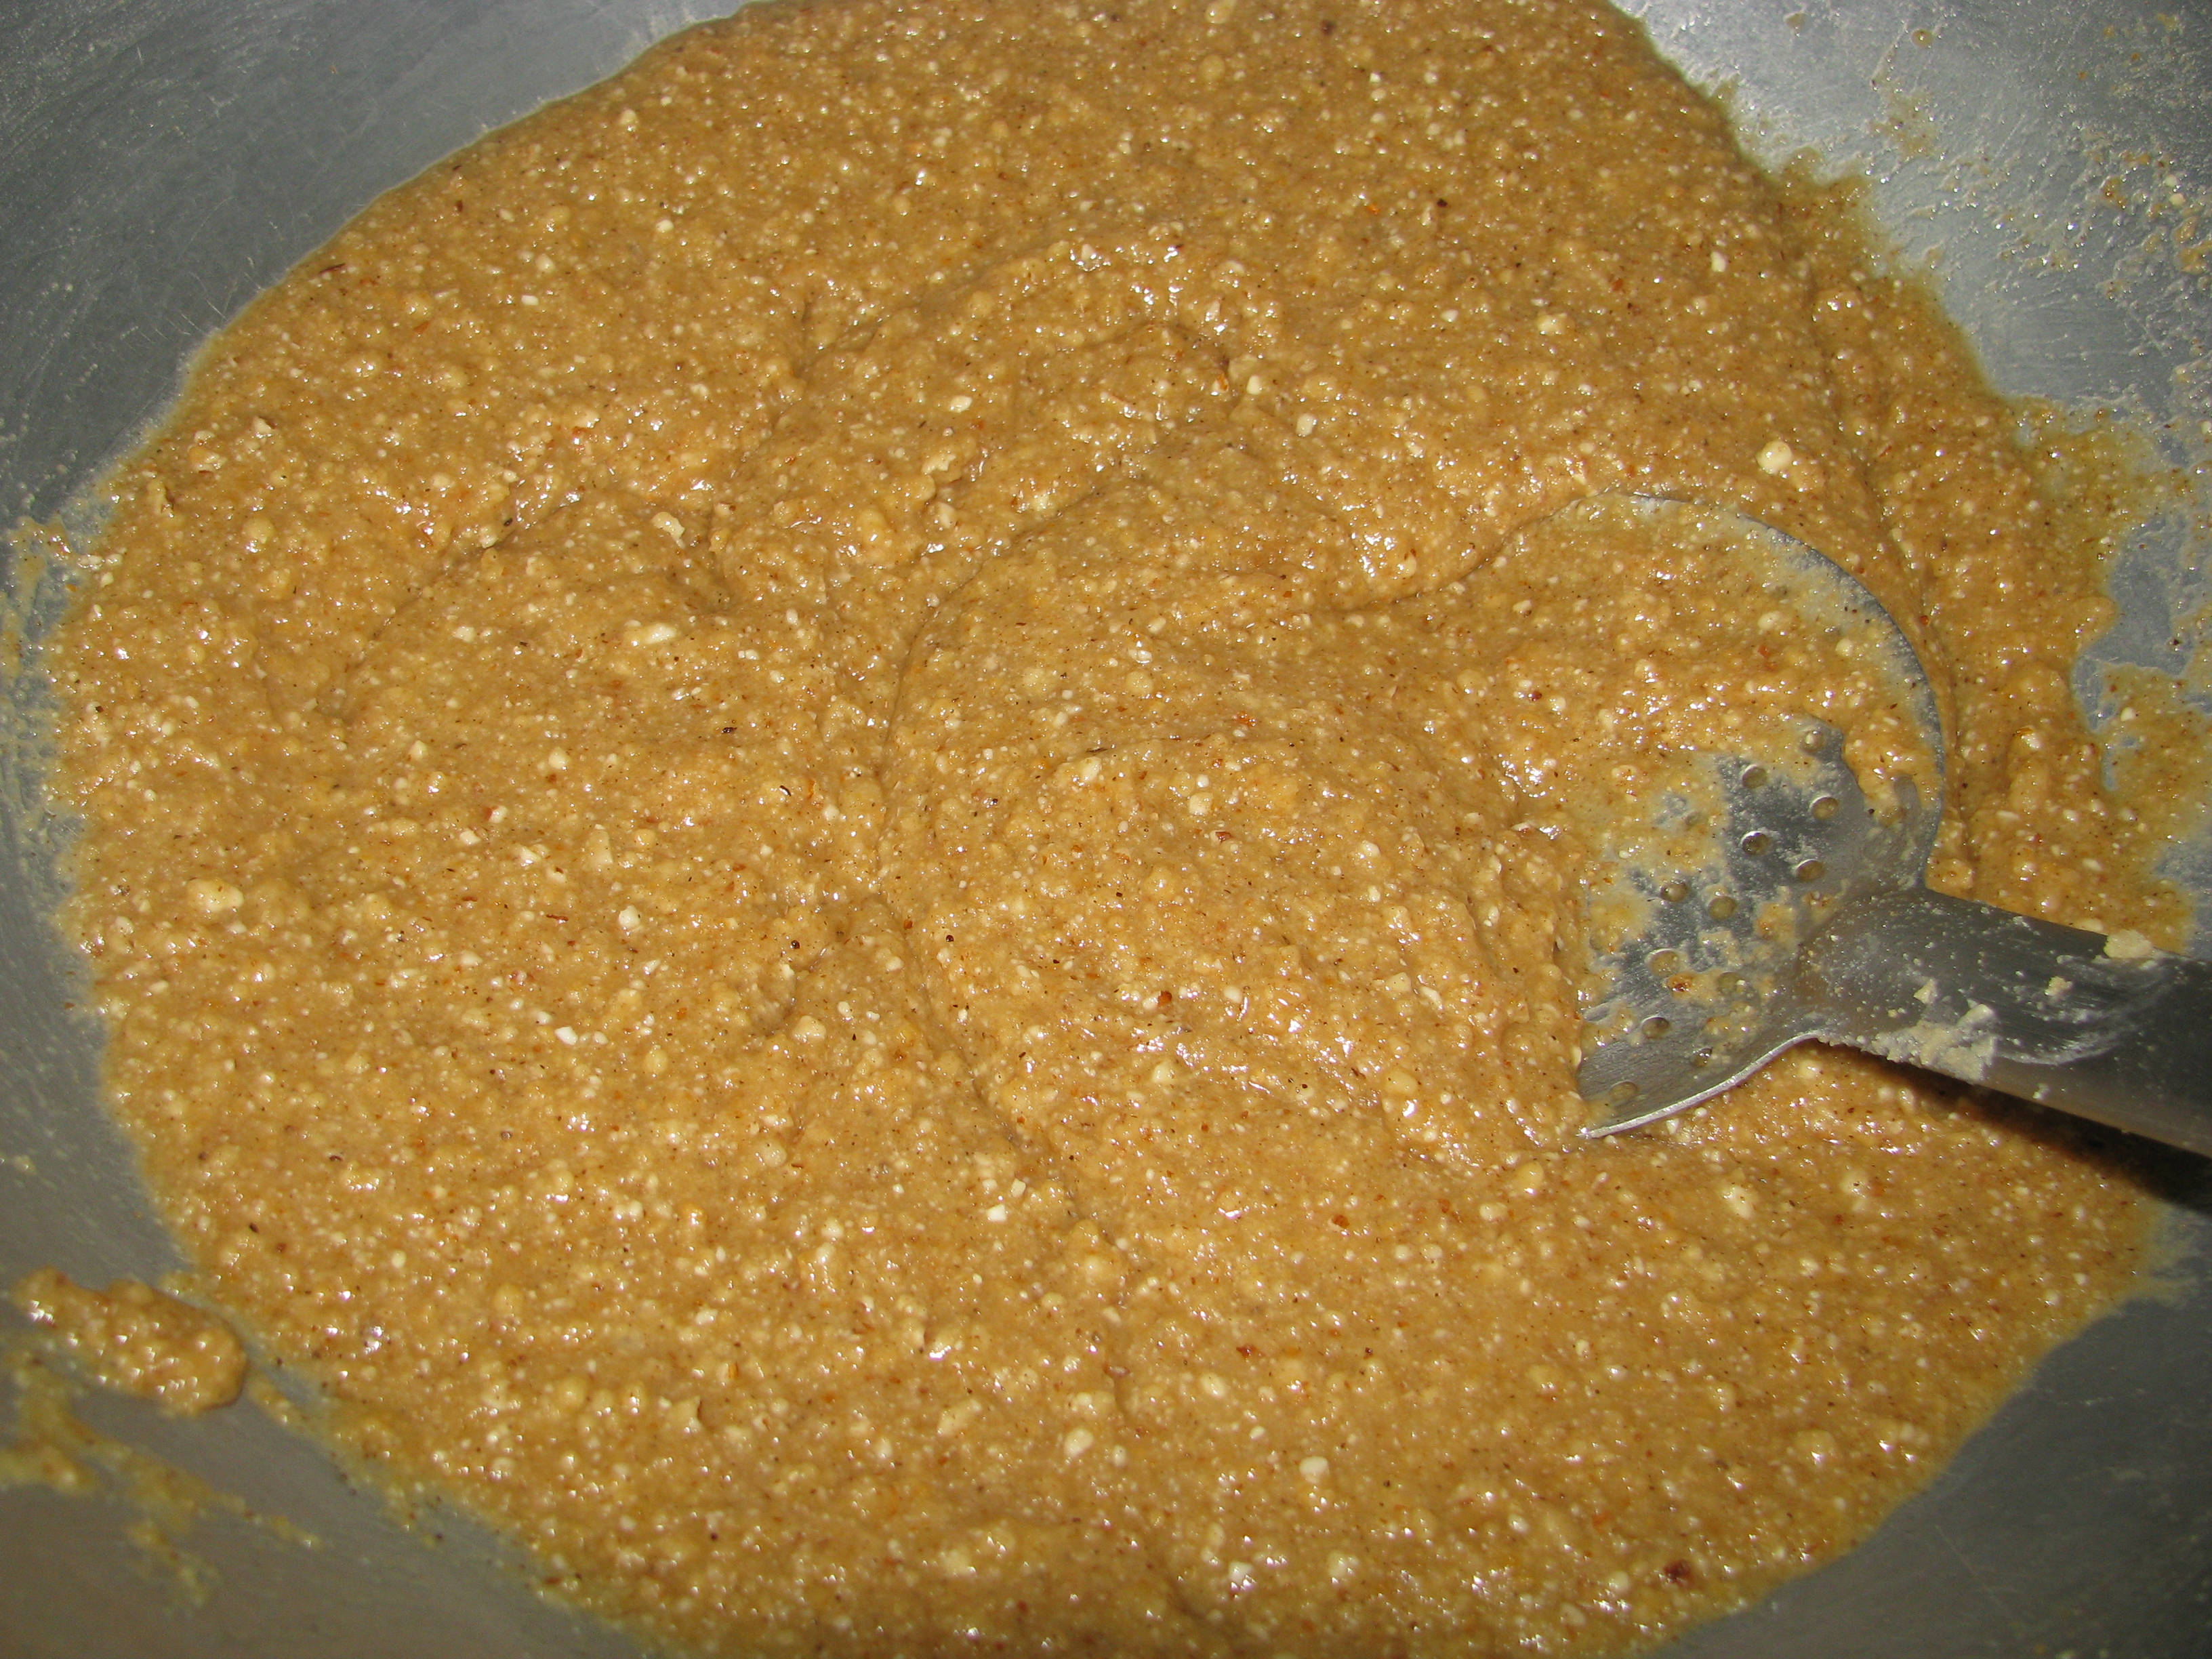
  6. Take 1 cup ghee in a big roasting pan / kadhai and add whole wheat flour in it. Roast it for 5-6 minutes. Add ground urad dal paste in it and roast it for next 20 – 25 minutes on medium flame (this is the most tedious part of this recipe). Roast it until it becomes dry as a powder and ghee starts coming out of it. Add dryfruits powder, khus khus coconut powder & gond/dink powder in it mix it nicely and remove the pan from heat.IMG_8324IMG_8325IMG_8327IMG_8328IMG_8331IMG_8334
  7. If you are using jaggery, add the grated jaggery to laddu mixture when it’s hot, mix it nicely and make laddus of it.
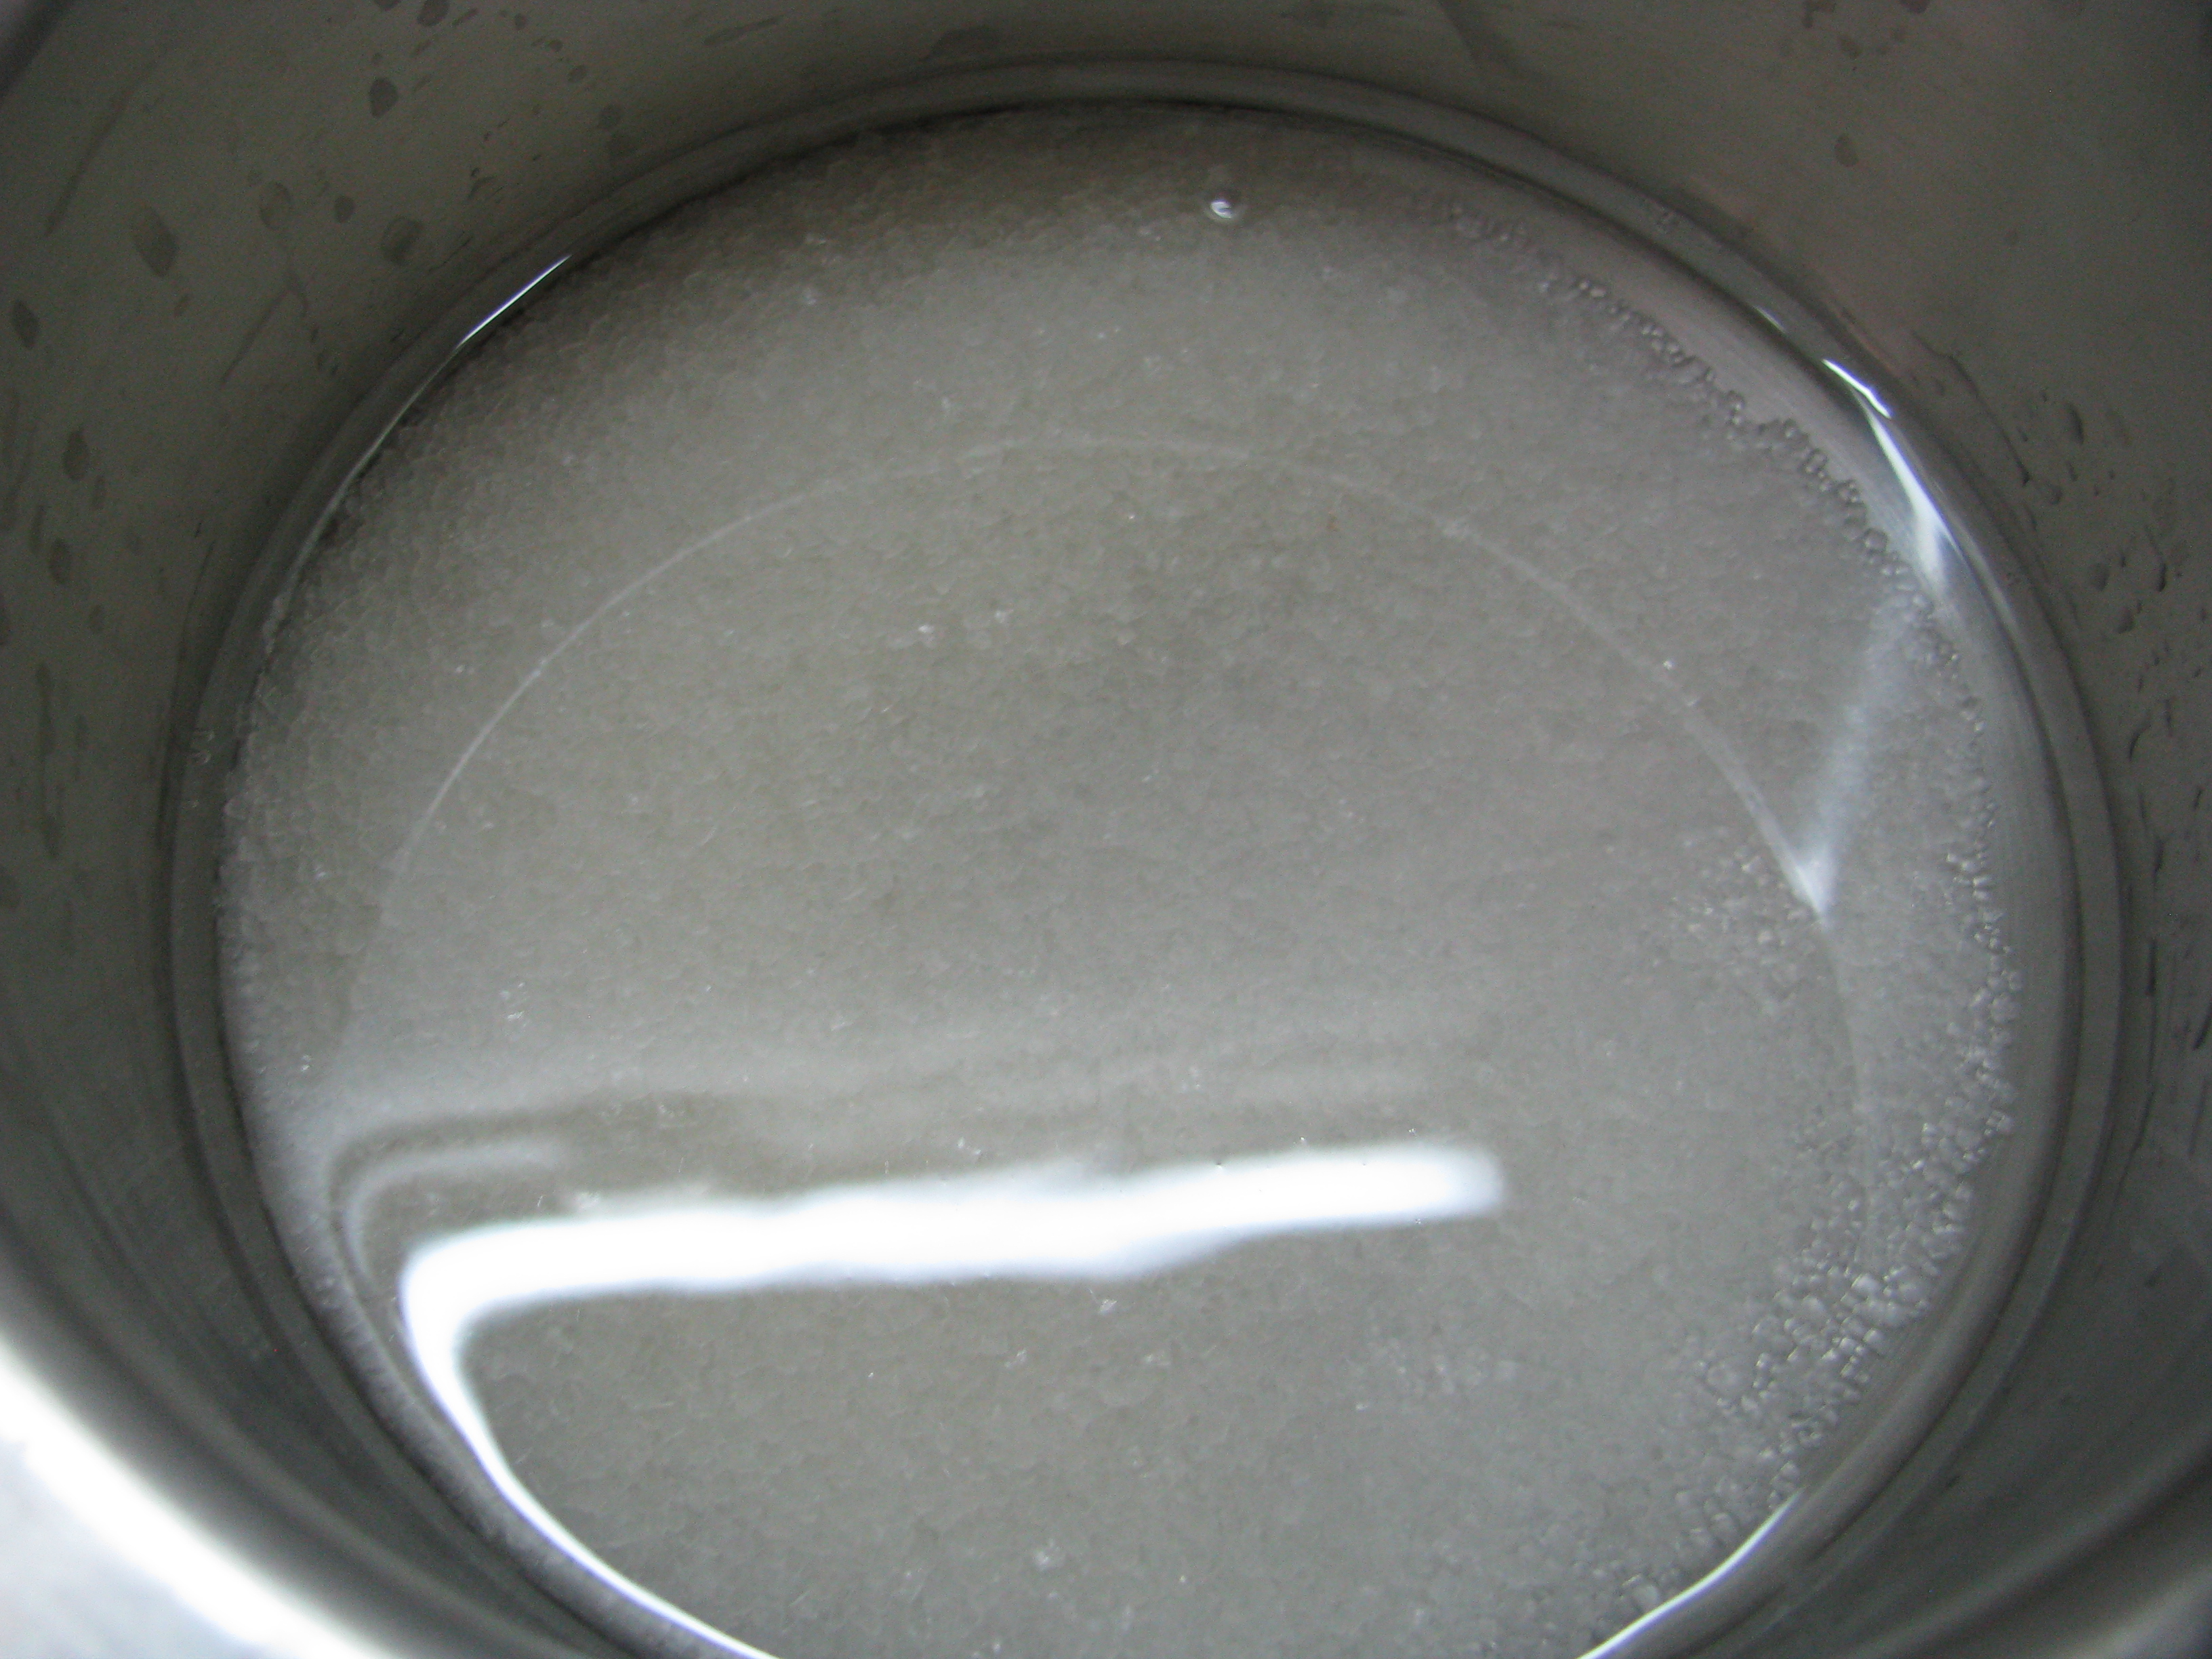
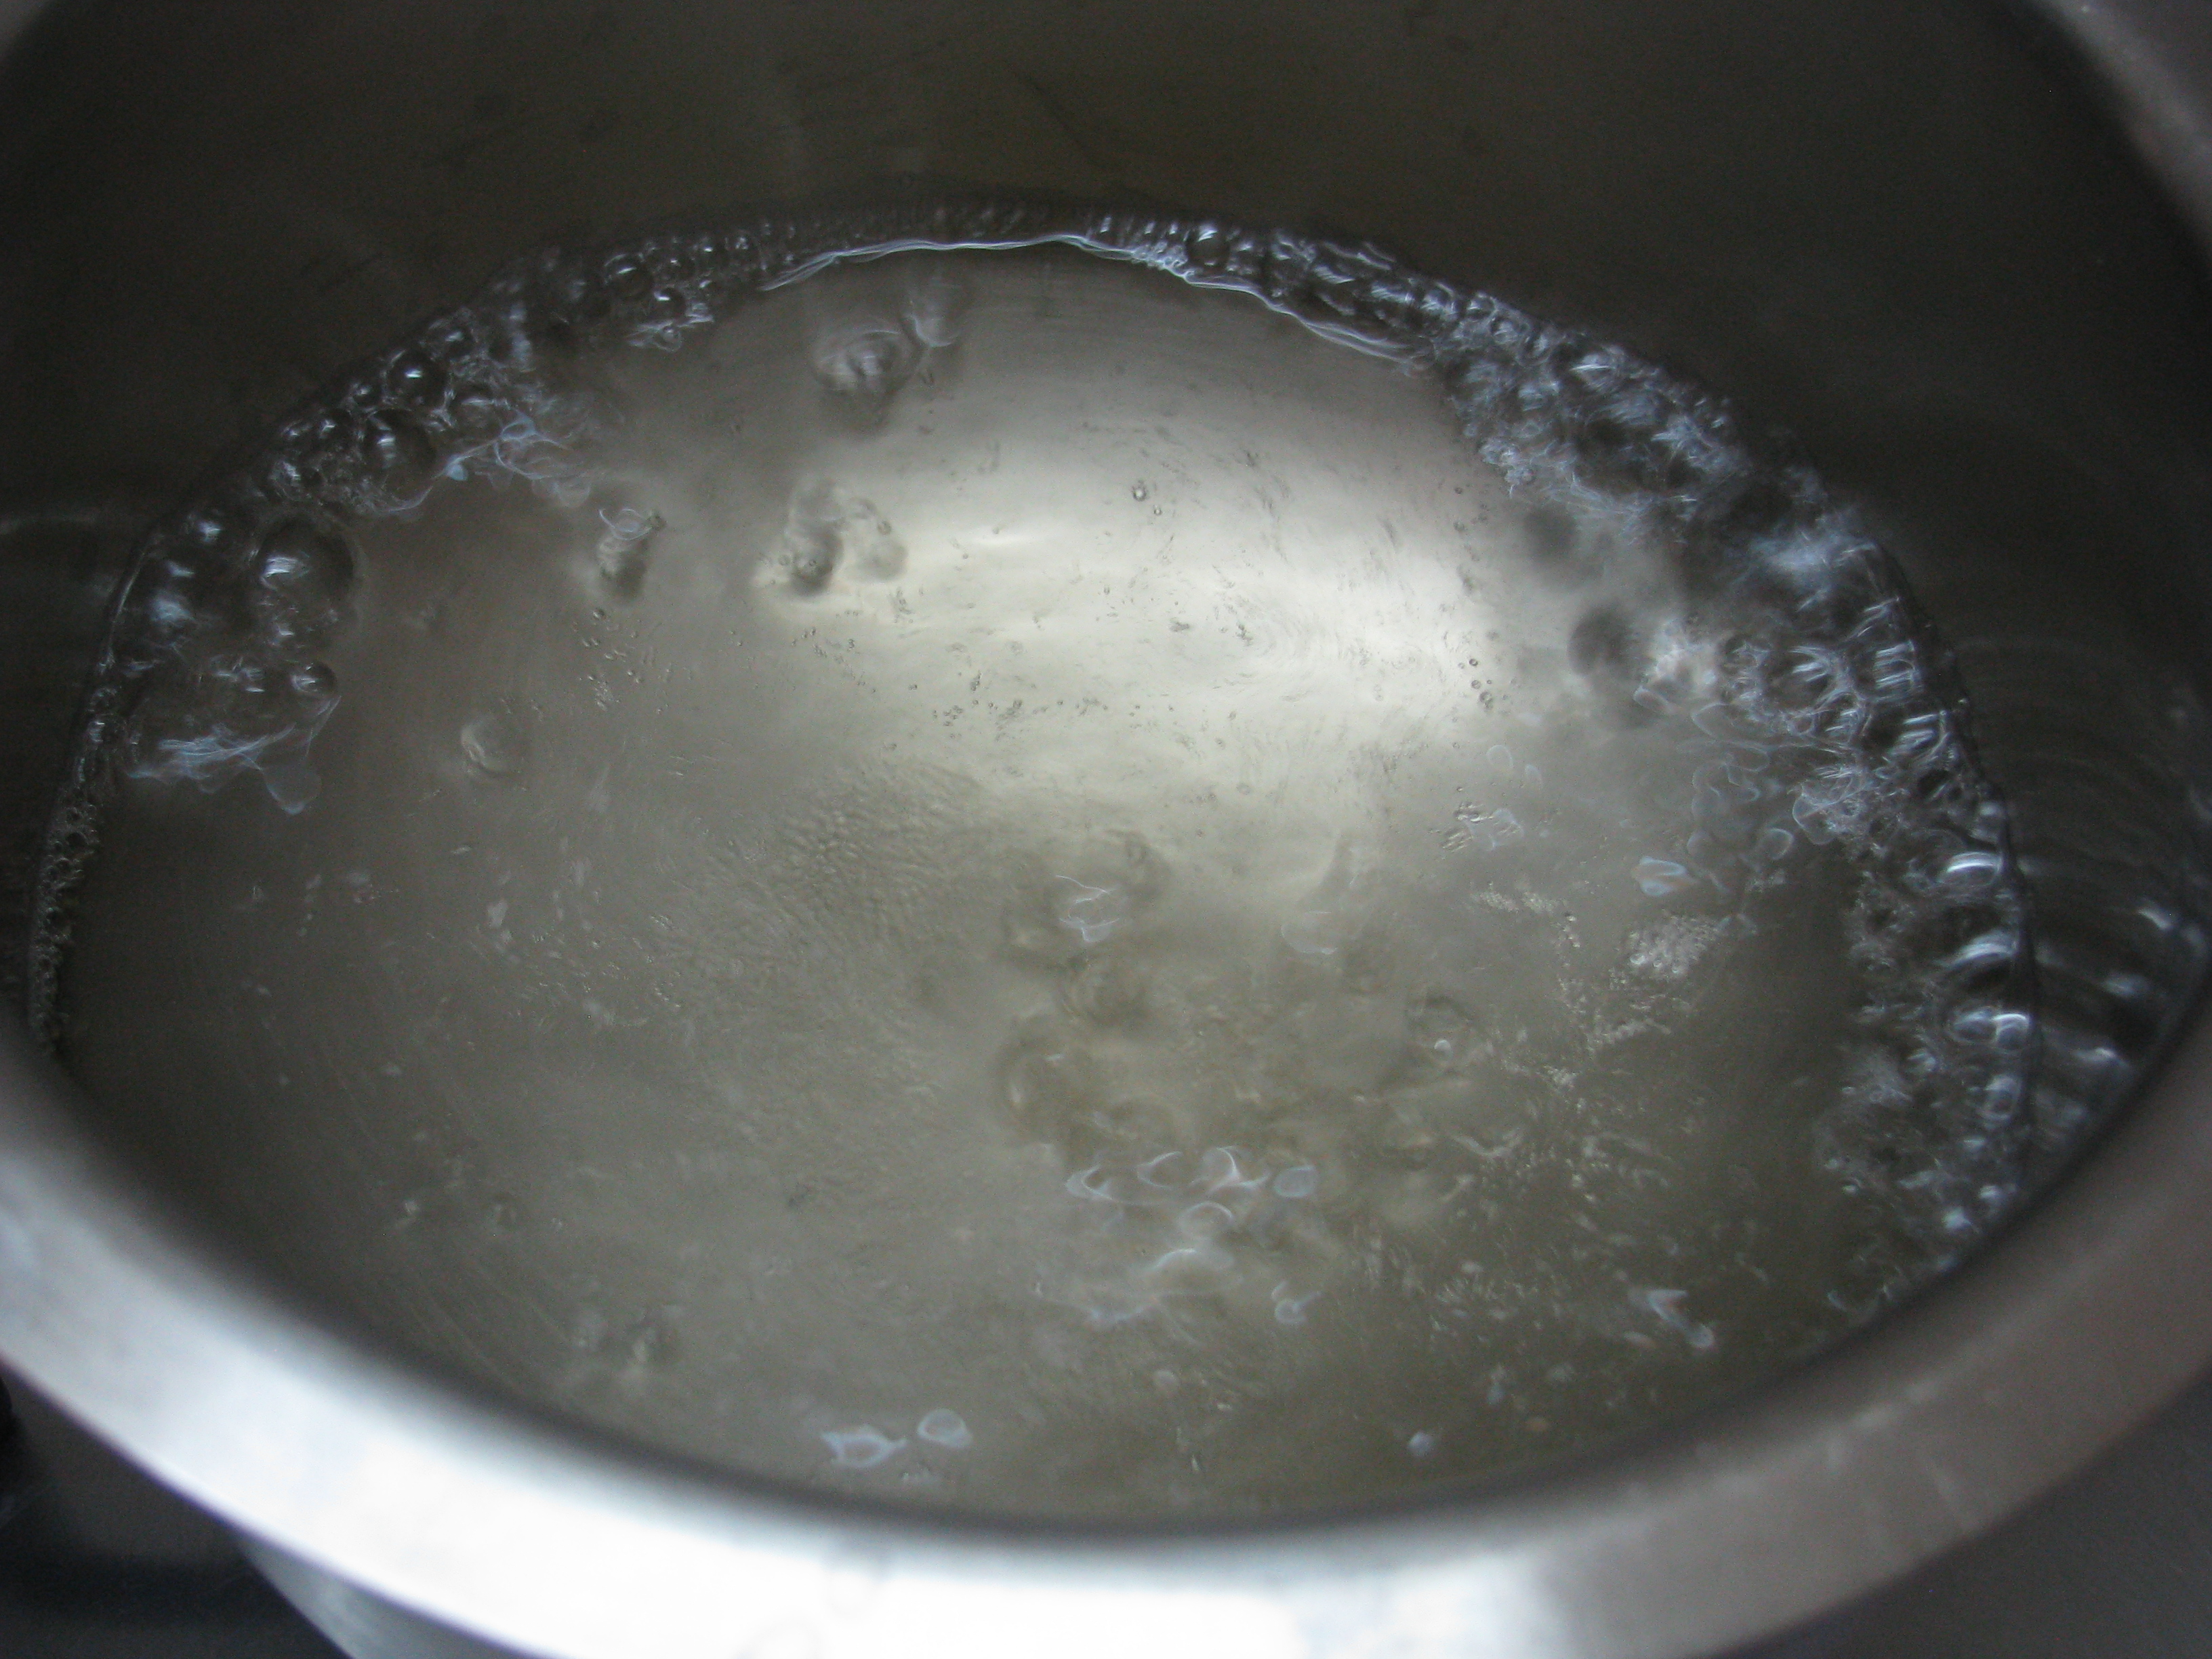
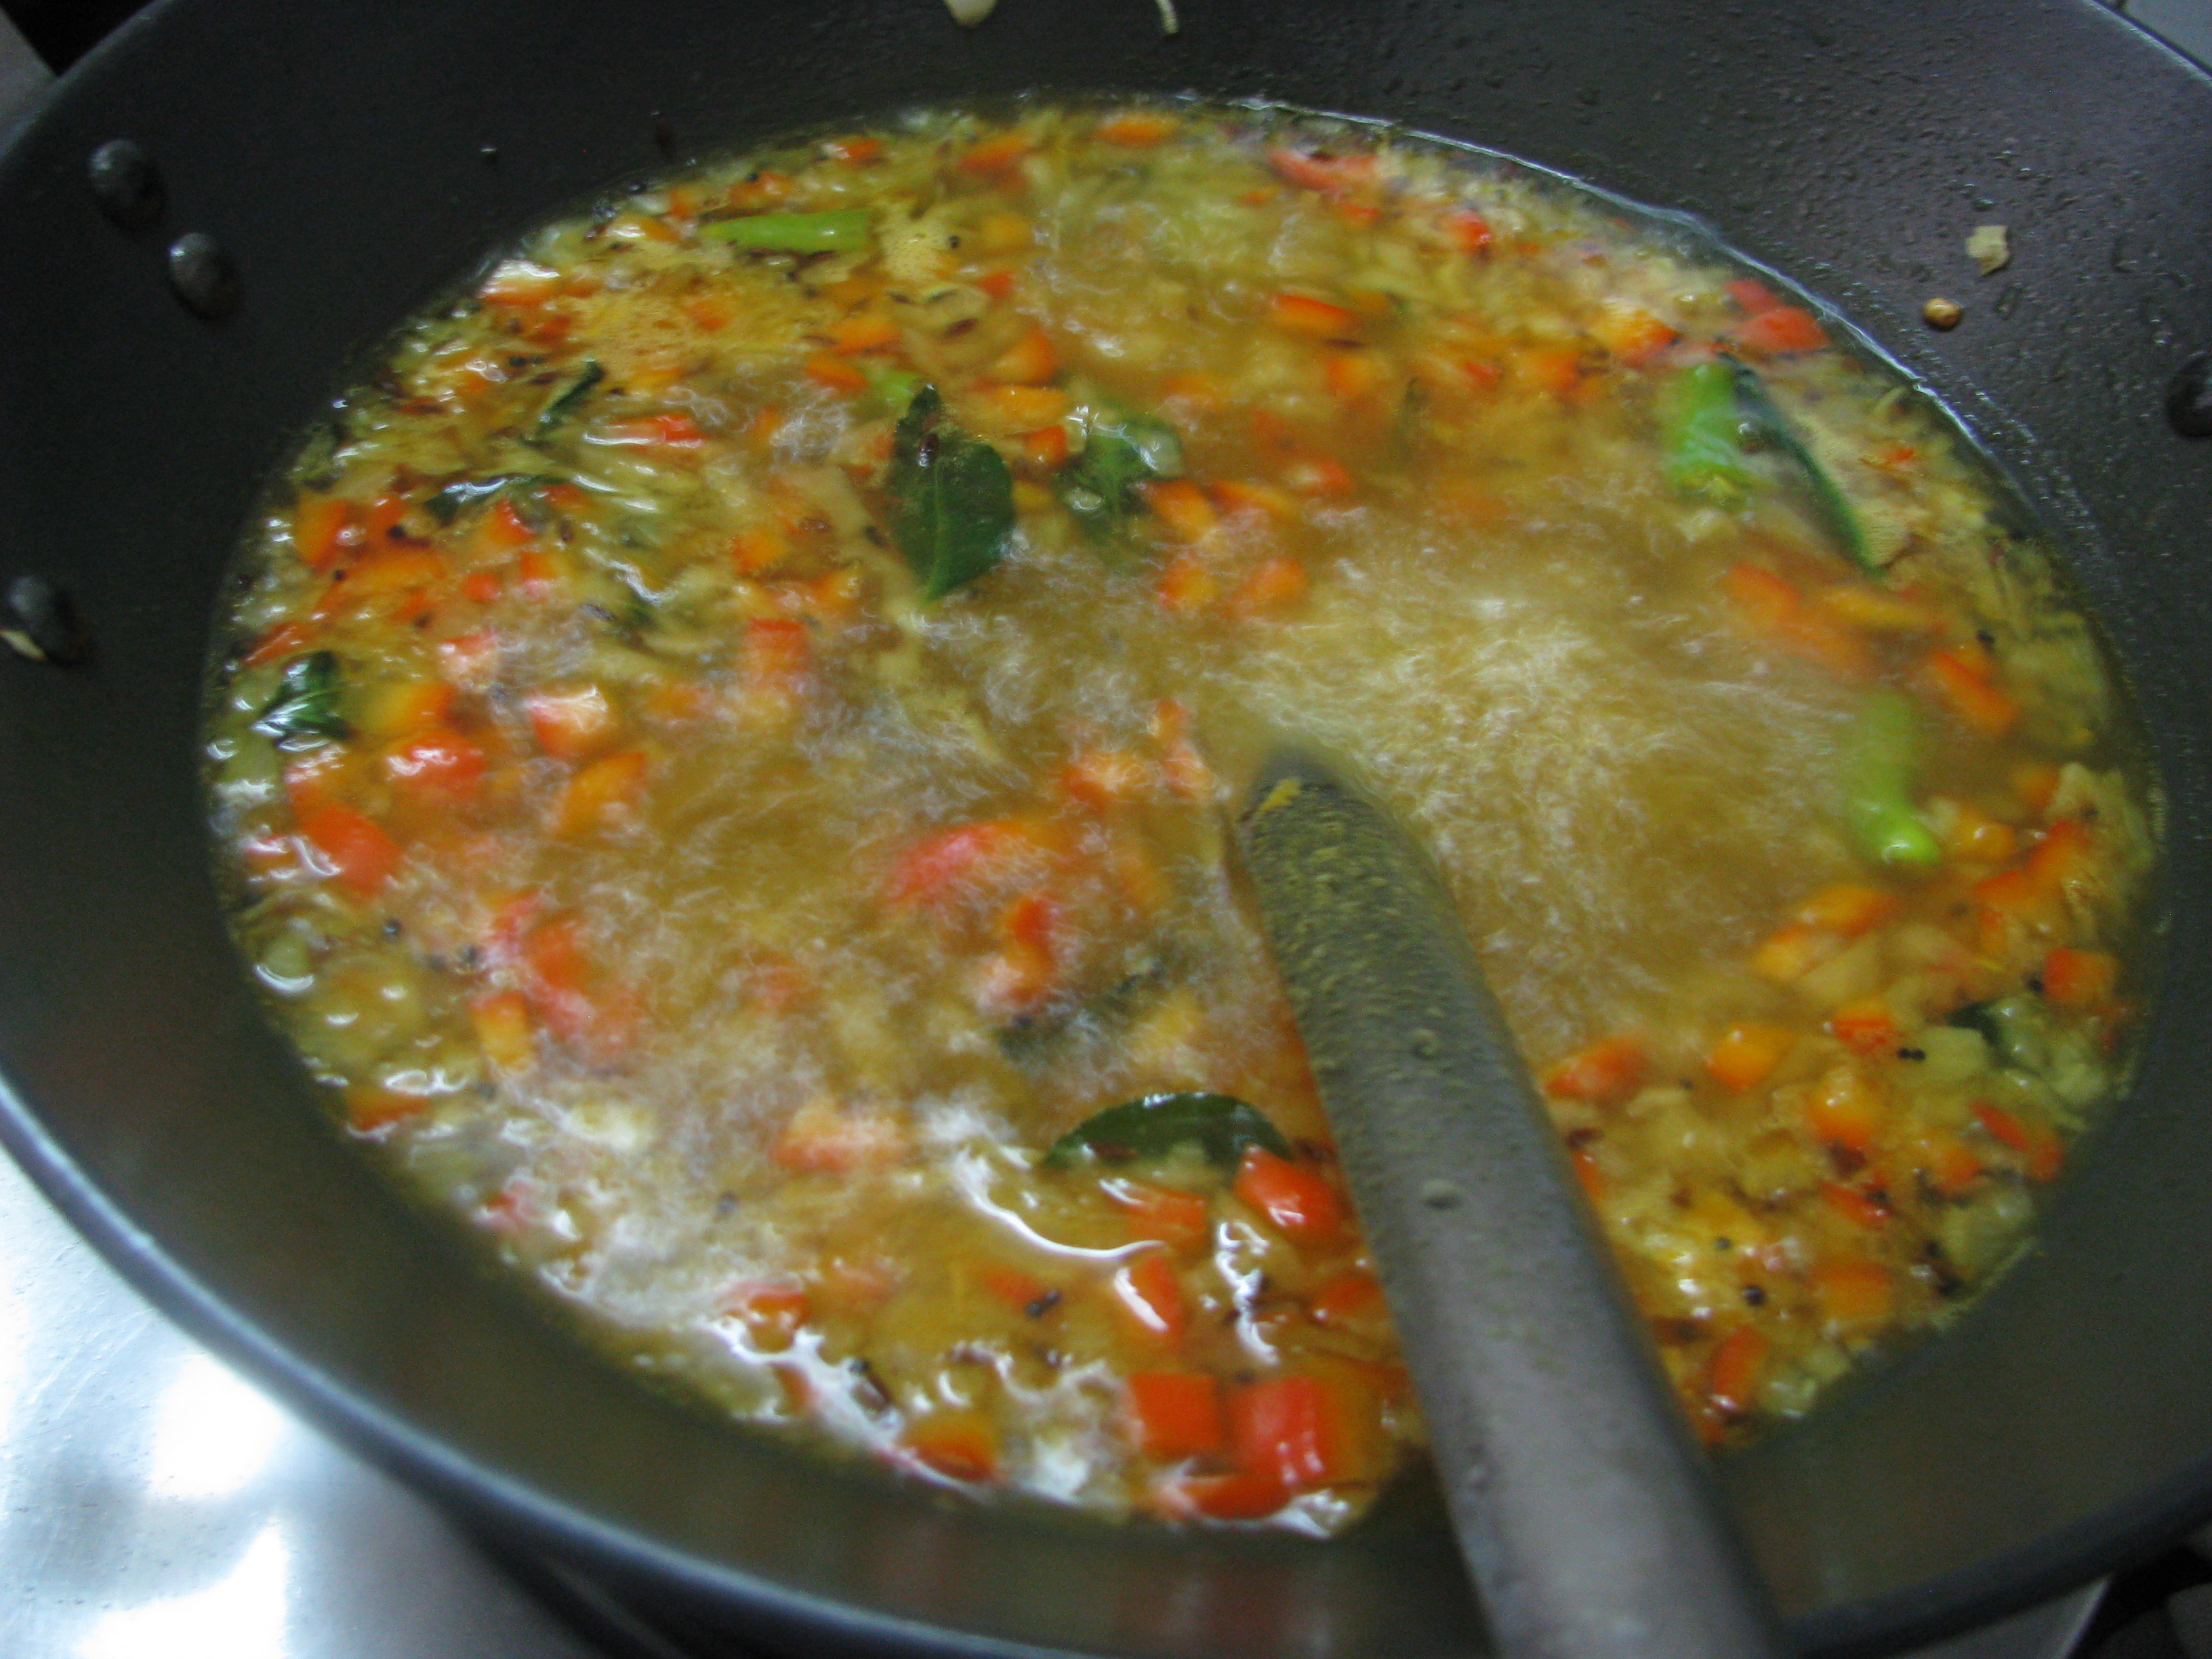
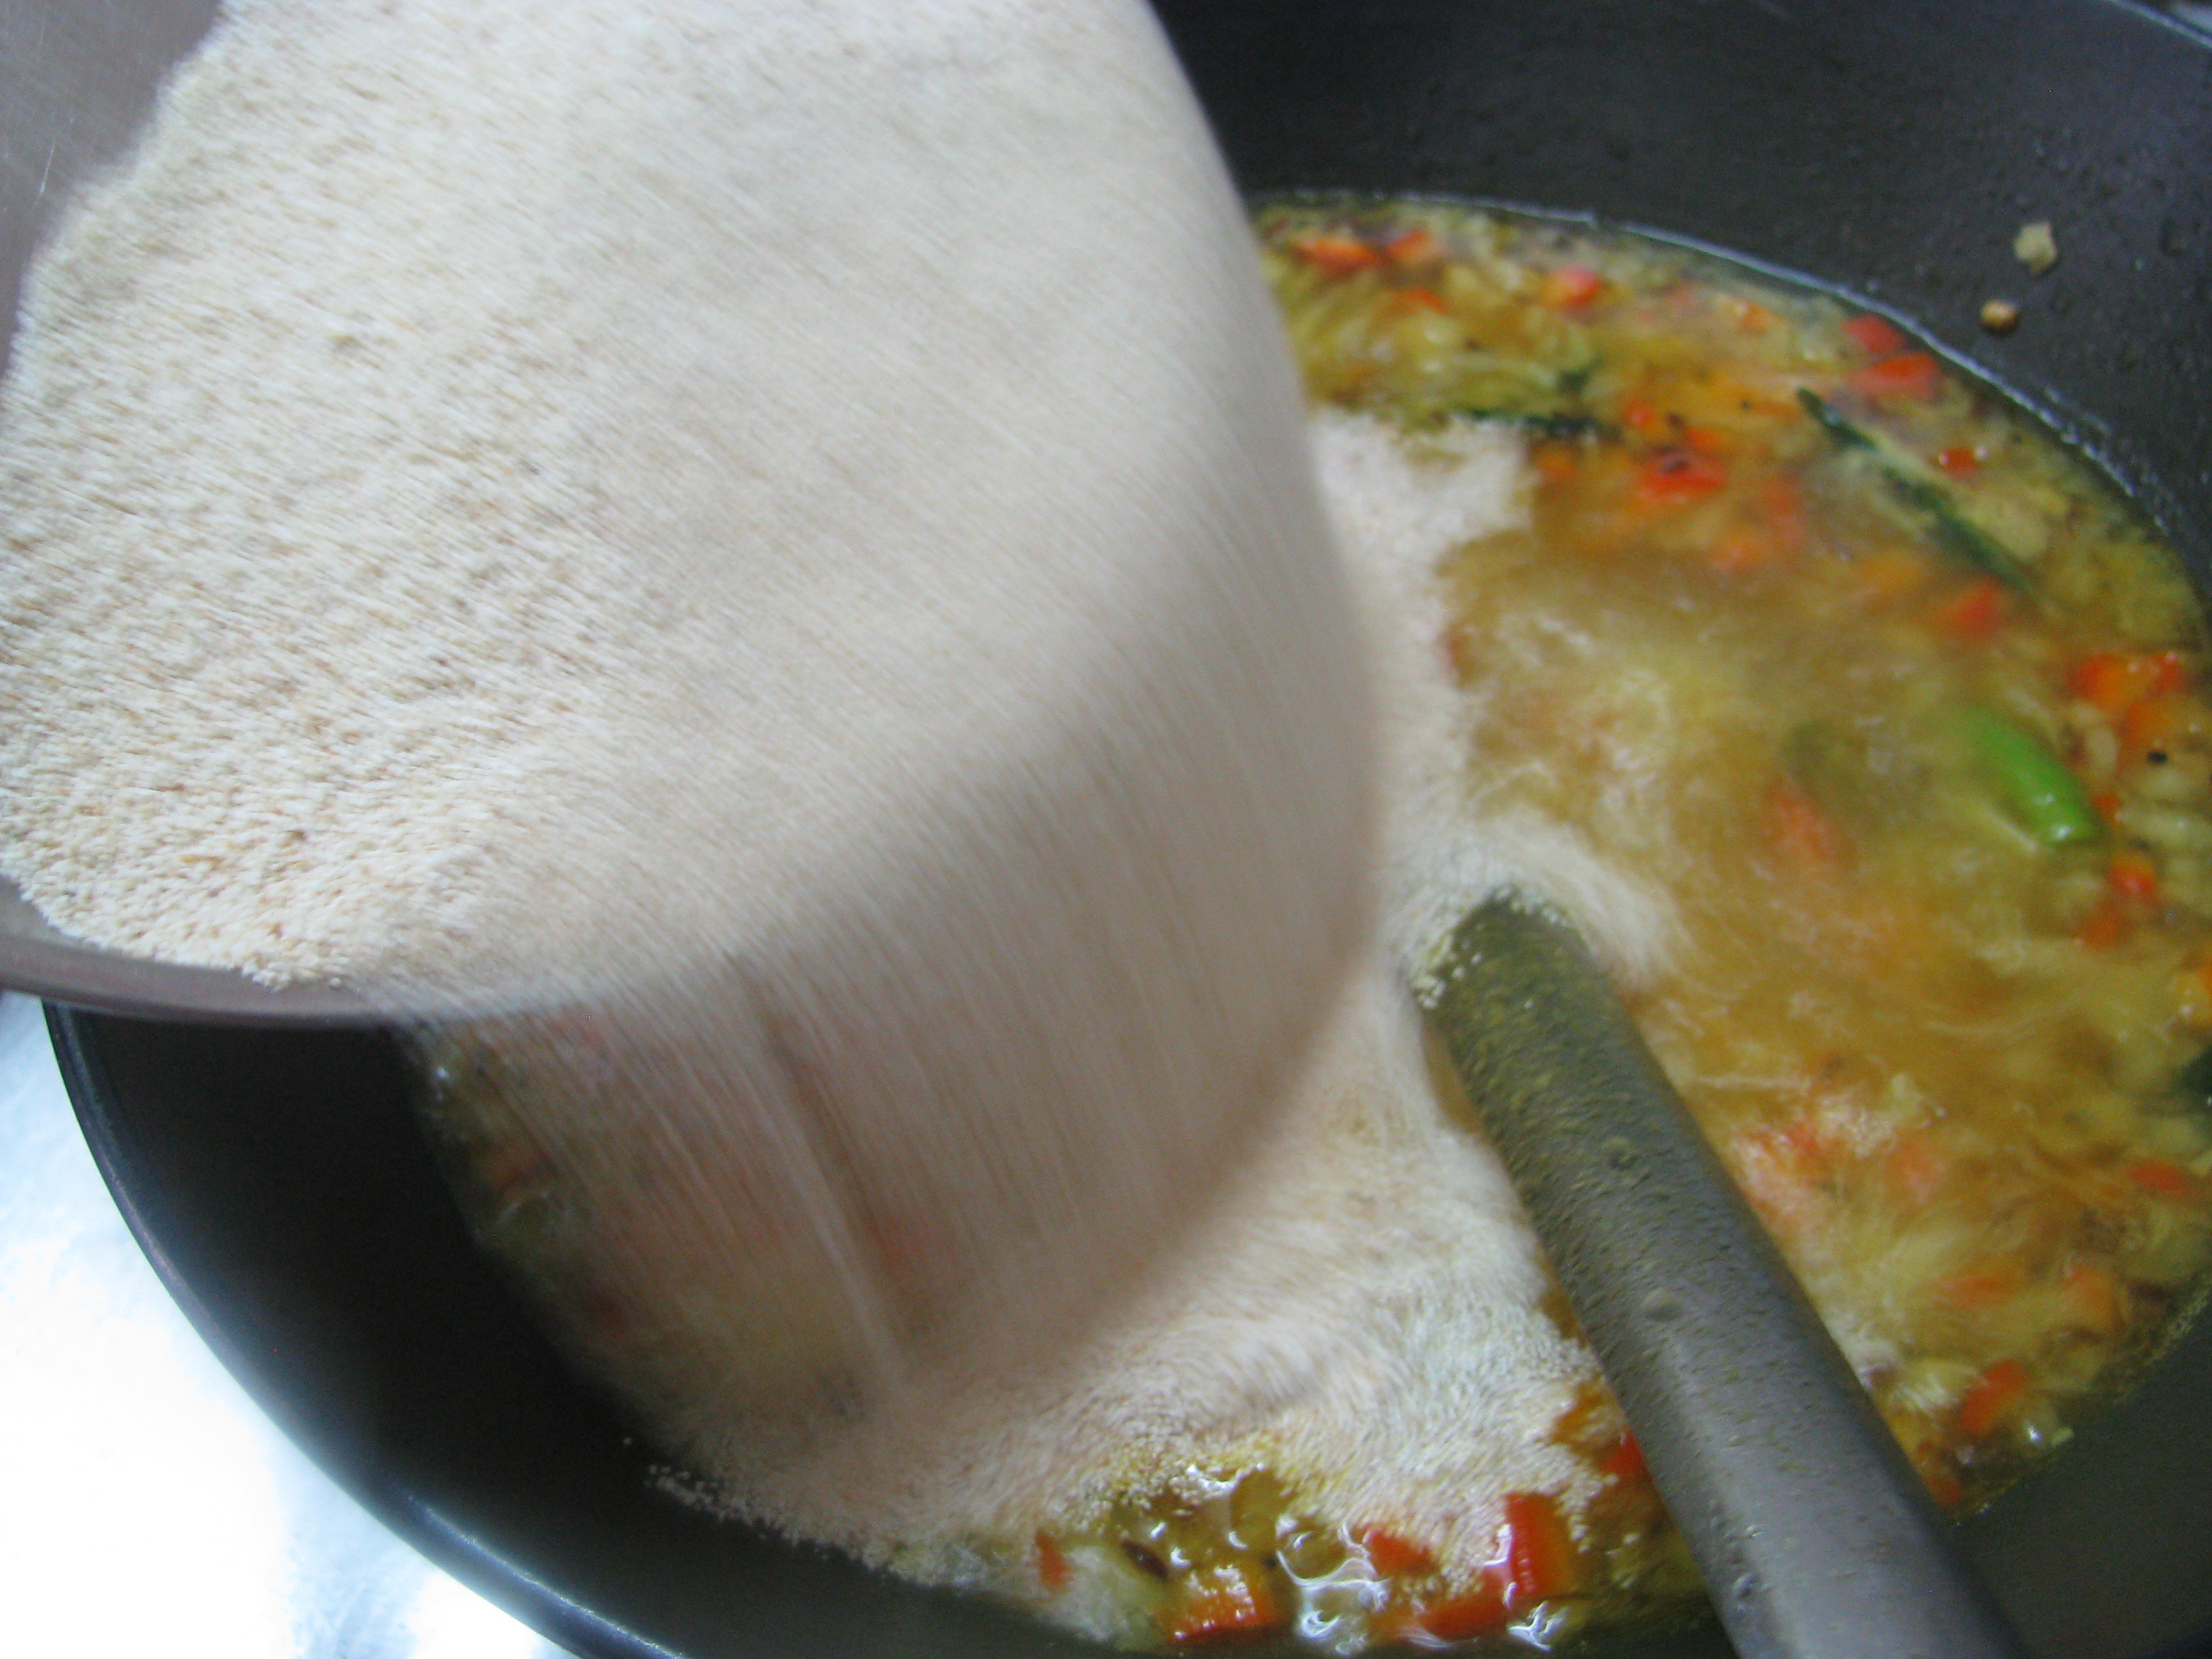
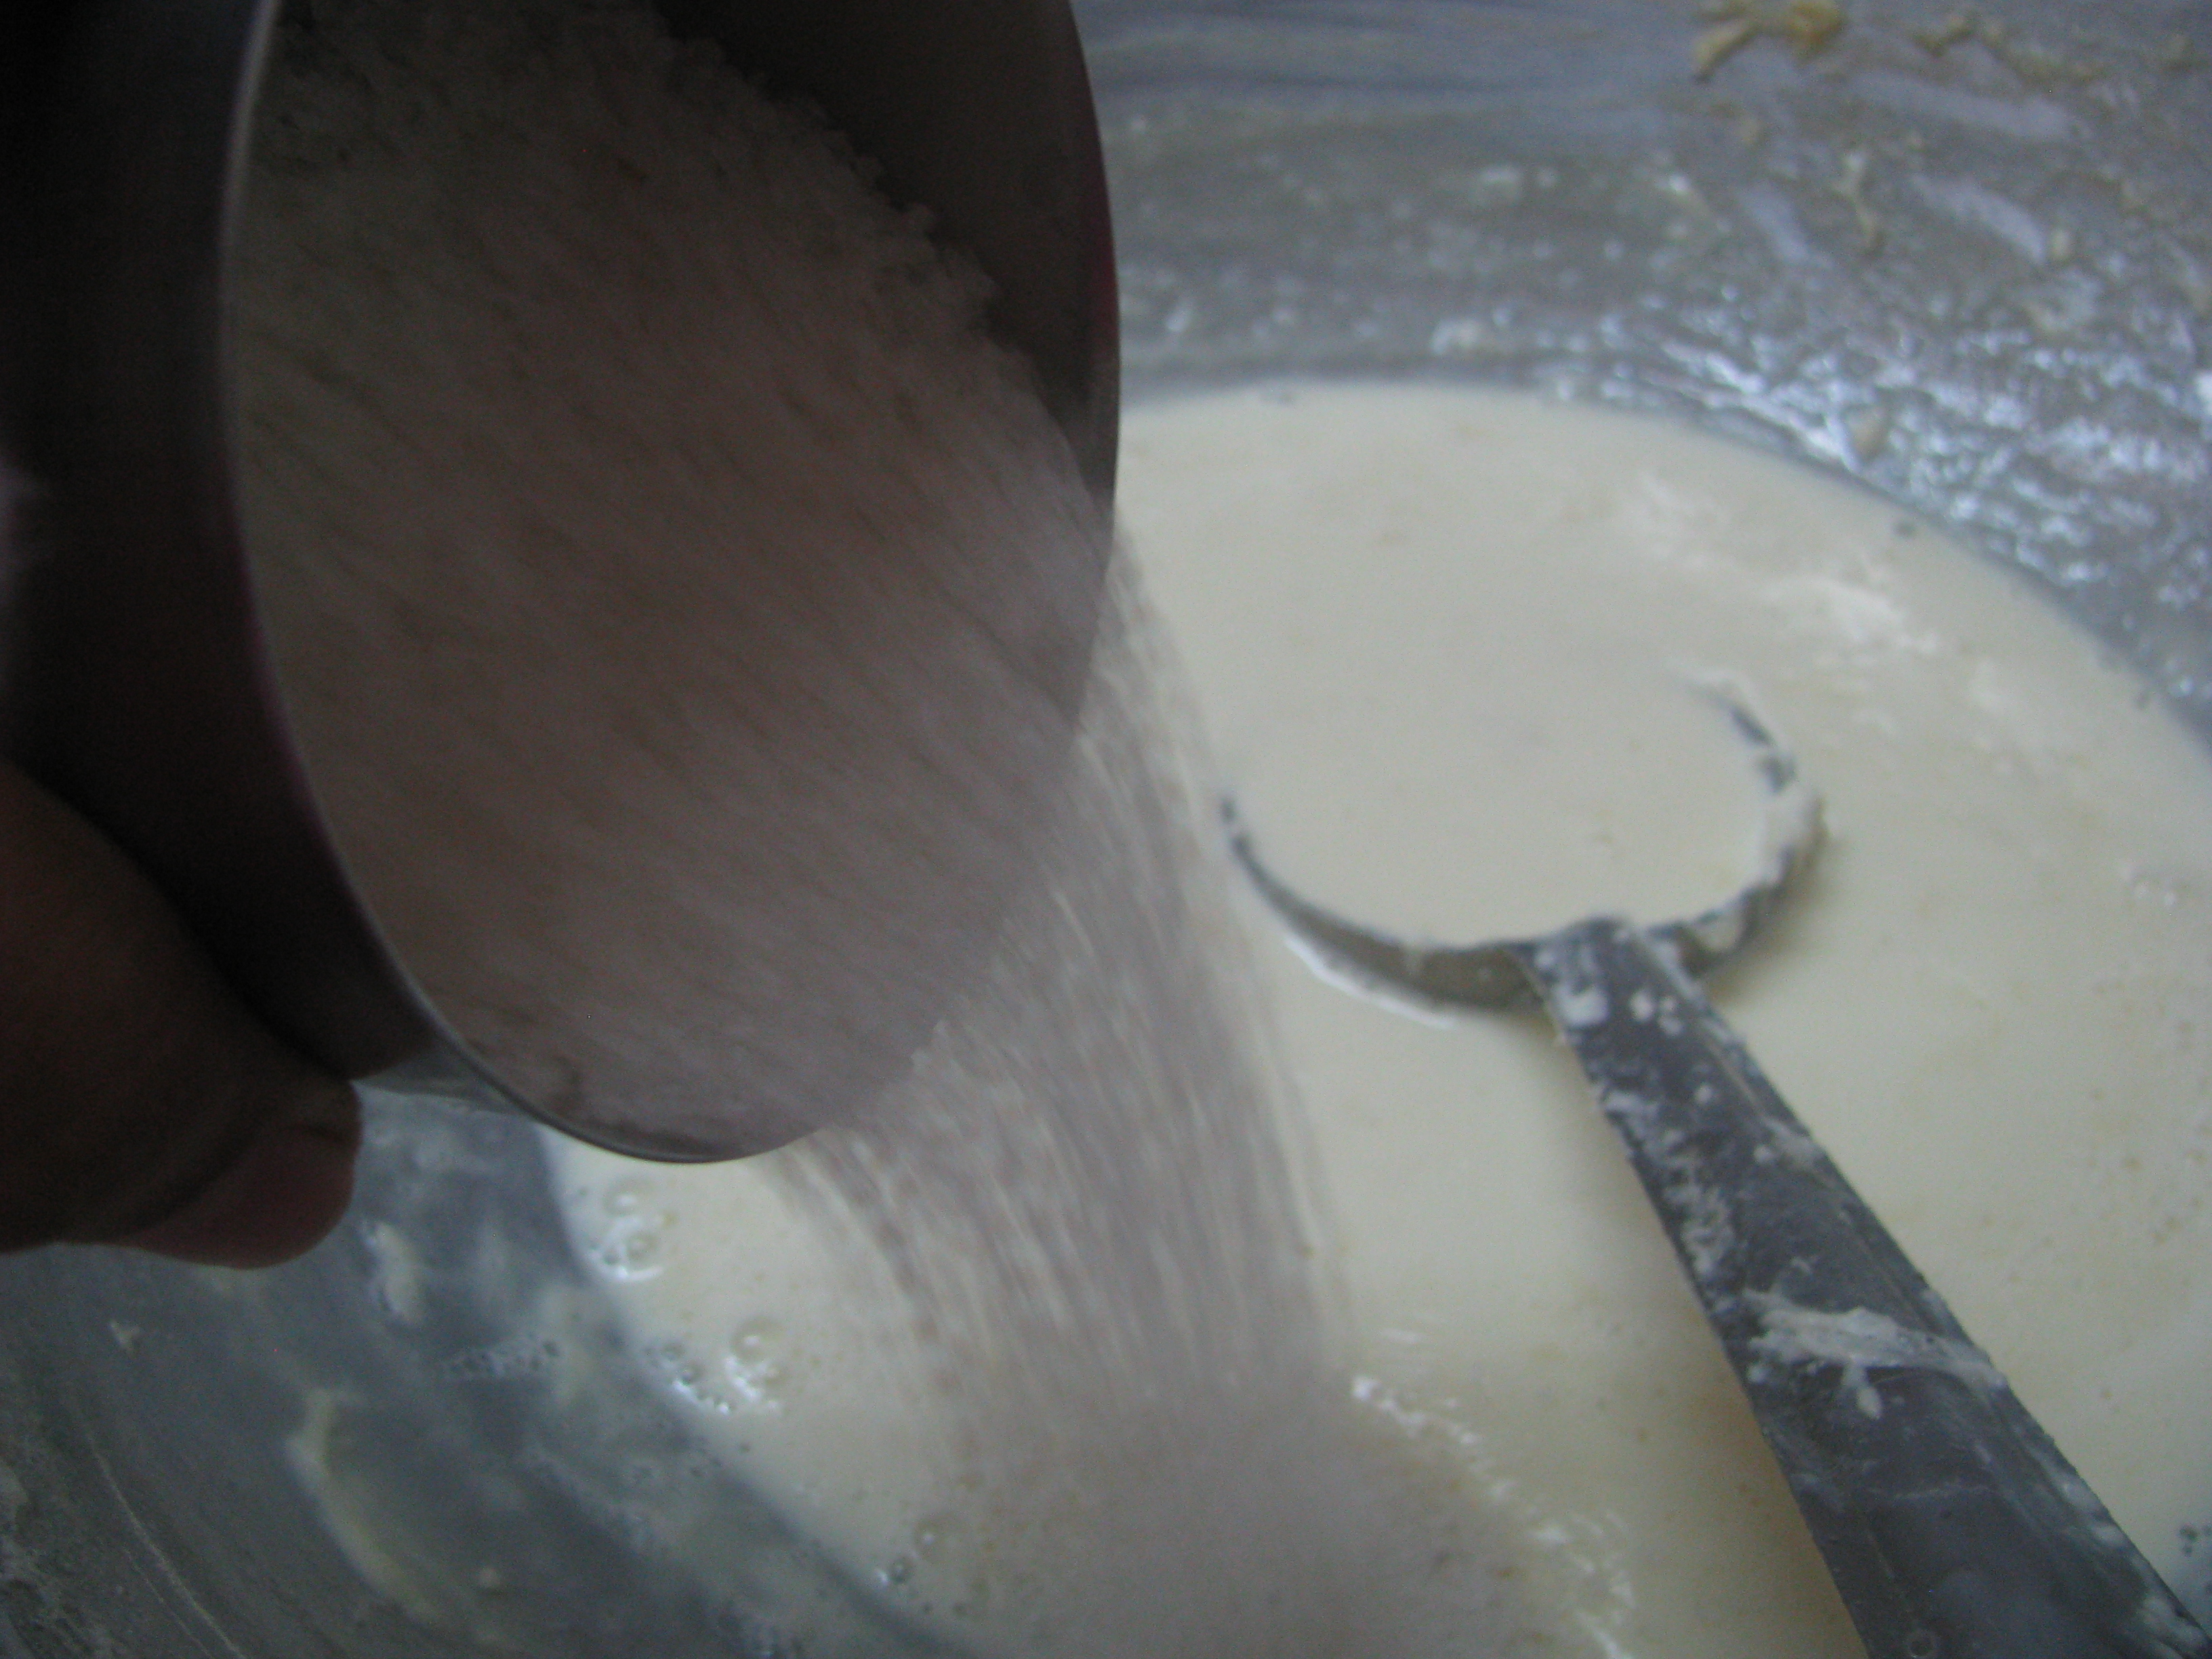
  8. If your using sugar, add 1 ½ cup of sugar in ¾ cup water and heat to make chashni (sugar syrup) of 1 string consistency. Now add this sugar syrup to ladoo mixture.IMG_8343
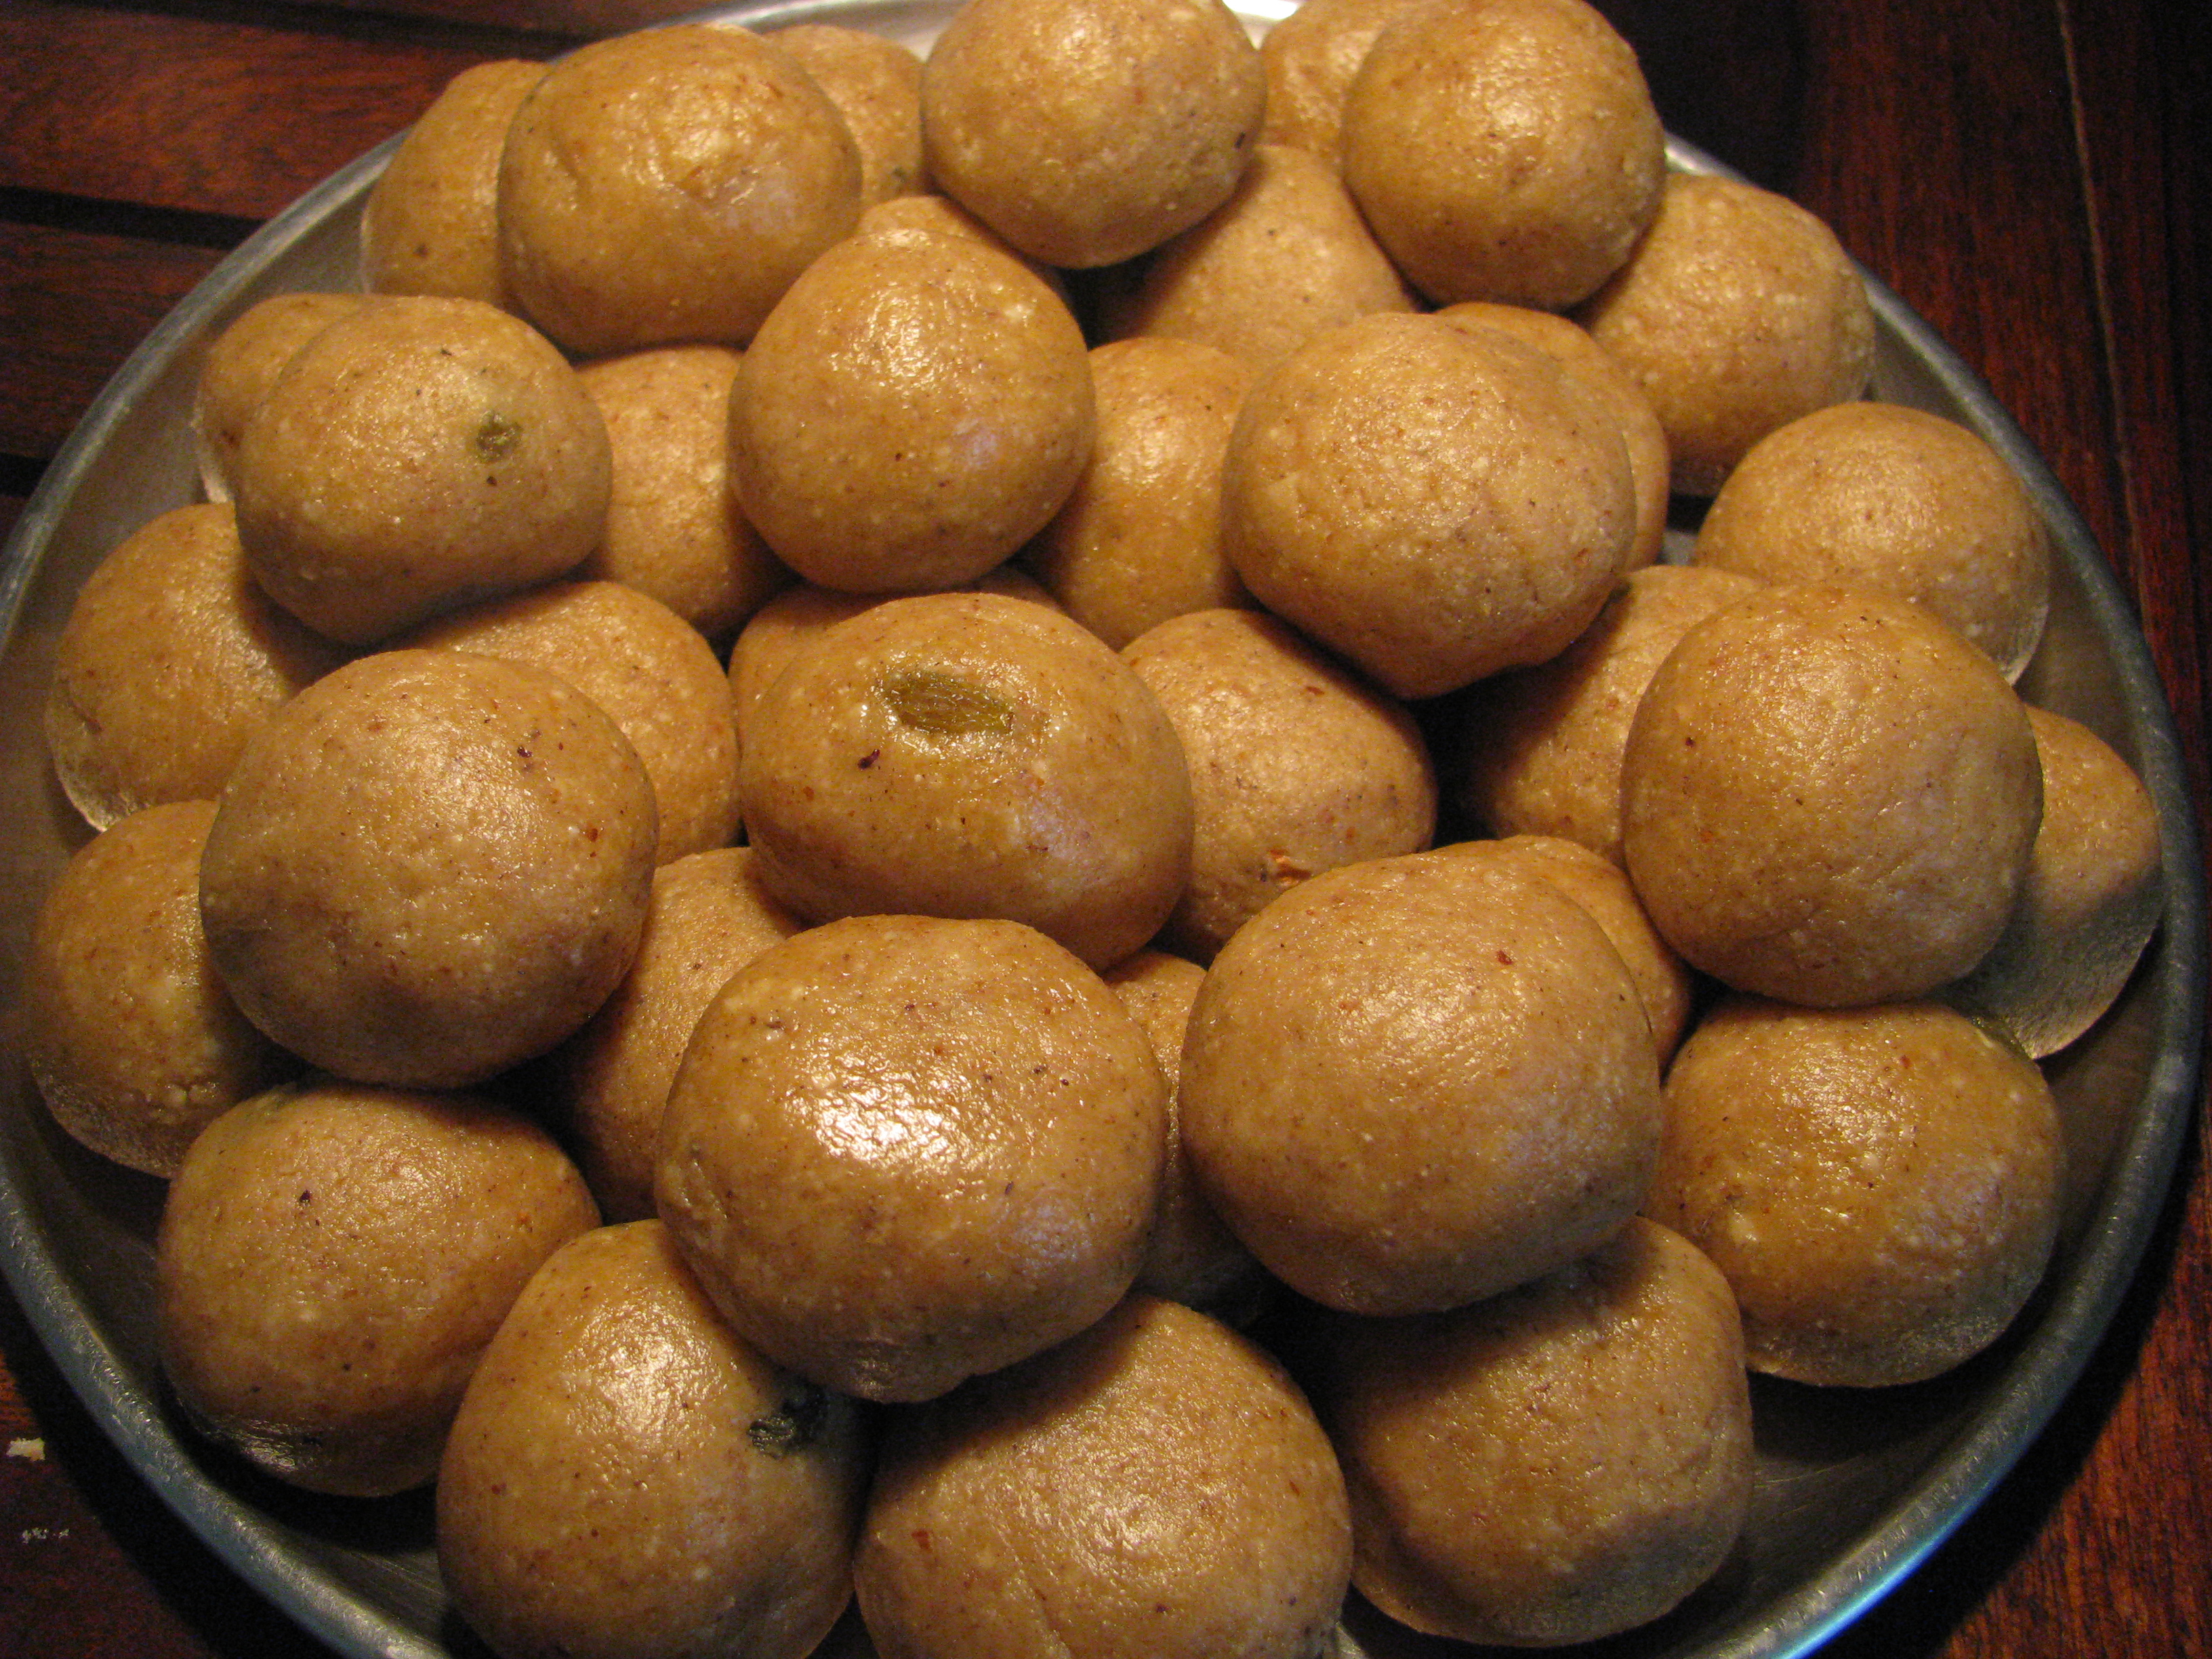
  9. After 20 minutes, you can make laddus from this mixture.IMG_8344IMG_8348
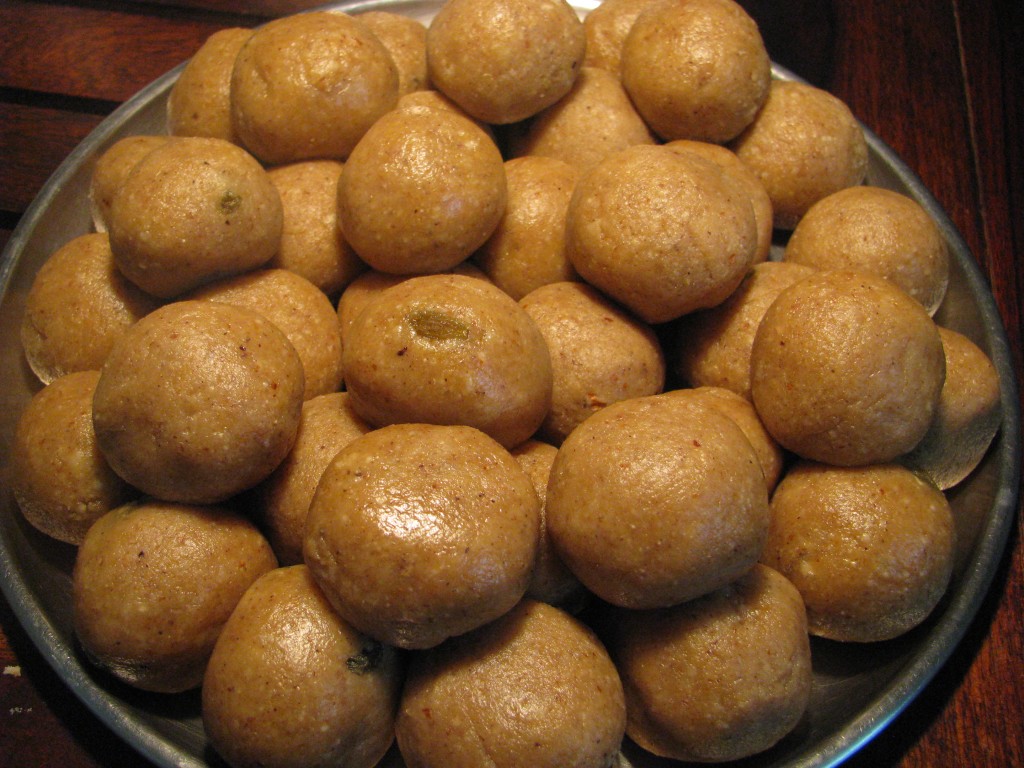
  10. You can store these ladoos for 10-15 days in air tight container

[/directions]


healthy chocolate balls / chocolate ladoos

Amla Chutney | Gooseberry Chutney | Khatti meethi Amla ki Chutney

8
how to make gooseberry chutney with pudina
Amla chutney | Gooseberry chutney

This is the season of Amla and Amla Chutney is an easy way to eat Amla in your daily meal. You can get Amla in market round the year but it is abundantly available in winters. Amla is rich in vitamin c, improves appetite, digestion, good for diabetics, has a lot of anti oxidants to improve your immunity, and good for hair and eyes. Many people eat amla in the form of amla juice ,amla powder, in triphala churna, amla murabba etc . It has lots of health benefits. It is very sour and many of us find it difficult to eat raw Amla. Many people would find it easier to eat amla in form of this chutney.

[box]Also check – Amla Kachi haldi Chutney recipe | Gooseberry Chutney recipe with raw turmeric[/box]

Amla | Indian Gooseberry

I try to make Amla Chutney or Gooseberry Chutney in variety of ways. I make Amla Chutney with peanut, coconut or curd as a base. Many times I add raw turmeric. Pudina and coriander also gives nice taste to Amla Chutney. This time I have used curd, pudina and corriander to make this khathi mithi Amla Chutney (sweet and sour Amla Chutney). You can eat this Chutney with dosa, any paratha or as a spread on whole wheat sandwiches. In winters many times I make this Chutney for morning breakfast as side dish with aloo paratha or any vegetable paratha.

[box]Also check – Paratha side dish recipes [/box]

Amla Chutney is made in variety of ways in many parts of India. In tamil, Amla is called as nellikkāy. Nellikai Chutney is made with onion tomatoes with nice tempering of curry leaves, bengal gram, urad dal and hing. In Andhra Amla is called as usiri. They make andhra style Amla Chutney (usirikaya Chutney) from both green chilly, red chiliy  and garlic along with bengal gram urad dal tempering. Tamarind is also used. In north India, Amla Chutney is also made in variety of ways like Amla mithi Chutney or they simply make it with green chillies and garlic.

[box]Also check- Chutney recipes [/box]

pudina - amla- corriander
pudina – amla- corriander

Well in this Amla Chutney, I have added coriander (dhania / kothimbir), mint (pudina), curd as a base with some spices. Coriander and mint gives this Chutney a nice refreshing flavor and makes it rich in anti oxidants. I have added sugar to this recipe but it is optional. You can make it without sugar or add sugar-free or jaggery. Jaggery may change the color of the Chutney.

[box]Also check – Amla ka achar | Amla pickle recipe[/box]

I have explained how to make amla chutney with step by step images . Do share your comments and suggestions for this recipe.

[ingredients title=”Ingredients to make Amla Chutney | Gooseberry Chutney ]

  • 2 Amla (awla / Gooseberry)
  • ½ cup pudina (mint)
  • ½ cup coriander
  • ½ onion
  • 3-4 garlic cloves(lehsun)
  • 1 green chilly
  • 2 teaspoon sugar
  • 1 teaspoon salt
  • ½ cup fresh curd
  • 15-20 roasted peanuts

[/ingredients]

[directions title=”Step by Step Directions to make Amla Chutney | Goose berry Chutney”]

  1. Wash Amlas and cut them to  remove seeds.
  2. Wash pudina (mint) and coriander leaves with clean water.
  3. Mix deseeded Amlas, pudina, corriander leaves and all other ingredients and make a fine paste of these. 
  4. Serve this Amla Chutney with parathas, dhoklas, idli, dosa, or even with kababs. You can even use it as sandwich spread.

[/directions]

Note – You can also eat this chutney in vrat ( upwas | fast ) , don’t add onion, garlic and add sendhanamak (rock salt ) in place of common salt in this chutney if your making it for fast.

how to make gooseberry chutney with pudina
Amla chutney | Gooseberry chutney

Sabudana Tikki | How to make Sabudane ki Tikki Chat

5
sabudana tikki
Sabudana tikki chat


sabudana tikki
Sabudana tikki chat

Sabudana Tikki Recipe

Sabudana ki Tikki is the tasty variation of Sabudana Vada. Sabudana Vada is a fried recipe made for fast (vrat , upas) .In Pune most eateries serve Sabudana Vada with curd and green chutney . By adding curd ,green chutney and tangy tamarind chutney you can make this Sabudana Vada even more tasty .Sabudana Vada soaks lots of oil so most of the time I make this roasted Tikki of Sabudana with Sabudana Vada batter. Sabudana Vada is high calorie snack as it is made of Sabudana (rich in carbohydrates) , peanuts (shengdana, moongphalli) which is rich in fats and potatoes , when you fry this ingredients, it soaks lots of oil and the calorie count increases almost 3-4 times . This non fried Sabudana Tikki tastes good and for calorie conscious its low in calories than Sabudana Vada.

sabudana tikki can also be served without curd topping
Sabudana tikki with vegetables (not for fast)

How to Make Sabudane ki Tikki More Healthy ?

Sabudana has some health benefits it is rich in carbs and provides instant energy.Sabudana Tikki recipe which I have explained is for fast , vrat or upas , if you want to make it for just another day you can add finely chopped french beans ,carrot , cabbage ,cacapsicum ,grated paneer or tofu to make it rich in vitamins , fibers and proteins . With potatoes you can mixed this finely chopped vegetables in Sabudana Vada batter and make a healthy snacks for your kids .To enhance the taste of this you can add curd , green coriander chutney and tamarind chutney or serve them as it is as most of the kids loves finger foods as compare to runny one . As I said Sabudana has lots of carbs it provides instant energy . Well it doent have much nutritional value so you can add this vegetables and paneer or tofu to make it a complete food .

[box]Also Check- Sabudana khichadi recipe in marathi style[/box]

non fried sabudana vada
Sabudana tikki for fast

Sabudana recipes are generally made for fast ,upas or vrat ka khana . As I said Sabudana has high glycemic index so it provides instant energy during fast. Generally most of the people make Sabudana khichadi or Vada for vrath . In navratri vrat we want to make variety of Sabudana recipe and this recipe tastes awesome for this fast . Sabudana Tikki ingredients are same as Sabudana khichdi only there are slight changes while making it .

[box]Also check – Vrat recipes for Navratri fast[/box]

sabudana tikki in hindi
Fried Sabudana Tikki

I have explained step by step instruction to make Sabudana Tikki for vrath and with vegetables as well . Do share your queries and suggestions for this recipe
[ingredients title=”Ingredients to make Sabudana tikki chat”]

Ingredients to Make Sabudana Tikki

  • 2 cups Sabudana ()sago
  • 2 boiled potatoes (aloo)
  • ½ cup roasted peanut powder (bhajlelya shengdanyach kut /bhuni moongphalli ki powder )
  • salt for taste
  • 2 green chilies finely chopped (add it according to your taste)/ 1 -2 teaspoon red chili powder
  • 1 tablespoon finely chopped corriander leaves
  • 1 teaspoon carom seeds (ajwain / owa)
  • 1 teaspoon cumin seeds ( jeera) / jeera powder
  • 1 tablespoon lemon juice / 1-2 teaspoon amchur powder (optional)
  • ½ cup grated Paneer (optional)
  • oil for shallow frying 

Ingredients to make dahi /curd for Sabudana tikki chat

  • 2 cup fresh curd
  • 2 teaspoon sugar / 2 teaspoon Demerara sugar 1 teaspoon sugar free natura
  • 1/2  teaspoon salt

Ingredients to make green coriander chutney for fast

  • ½ cup green coriander
  • 1 green chilly
  • Salt to taste

Ingredients to make tamarind chutney for vrath ,fast or upas

  • 1 lemon size ball of seedless tamarind (chinch / imli)
  • 5-6 seeds less dates
  • 1/2 teaspoon dry ginger powder (saunth or soonth powder)
  • Salt for taste
  • 2 tablespoon grated jaggery or add it according to your taste

Optional ingredients to prepare Sabudana Tikki (not for vrat /upas)

  • 1 cup finely chopped mixed vegetables (like carrot , french beans, cabbage )
  • if you r not adding paneer you can use ½ cup grated tofu

[/ingredients]

[directions title=”Step by step Directions to make sabudana tikki chat “]

  1. Wash Sabudana 2-3 times .IMG_2332
  2. Add enough water 2-3 above the level of Sabudana .IMG_2334
  3. Soak 6-7 hours . Sabudana should be very soft when you make Sabudana Tikki .
  4. Remove skin of boiled potatoes and grate (kadookas / kisun) it .
  5. Take soft soaked Sabudana and all other ingredients except oil in bowl.IMG_2358
  6. Mix it nicely with your hands . Apply little pressure with your palm while mixing the mixture. Soft soaked Sabudana ,Boiled grated potatoe and groundnut powder will five nice binding to make Tikki.IMG_2361
  7. Heat non stick tava / girdle or flat frying pan add little oil and spread it nicely .
  8. Make small balls of Sabudana Tikki mixtureIMG_2363
  9. Press it with your palms and make small disc shape. this discs are called as Tikkis in hindi .IMG_2364
  10. Place the Tikkis on hot tava or frying pan and cover it for 2-3 minutes on medium to low flame.IMG_2366
  11. Apply little oil on other side of Tikki and flip it and shallow fry it on other side . Shallow fry them on both side until golden brown .
  12. You can Serve this Tikki with green corriander chatni or make chat by following procedureIMG_2370
  13. Take a fresh curd and whip it briskly. add sugar and salt to it ,mix it and keep it aside .IMG_2373
  14. For green chutney wash coriander and chilly and grind it with little water and salt .IMG_8899
  15. For tamarind chutney (saunth ki chutney) wash tamarind and dates nicely and soak them in hot water for ½ hour . grind them together in a grinder and strain the pulp out of it . add jaggery and salt to this pulp and add  ¾  cup of water to it . Boil it until it becomes little sticky. Don’t make this chutney very thick.IMG_8898
  16. Place the 2-3 sabudana tikki in a plateIMG_2374
  17. Pour 2 -3 tablespoon curd on it .IMG_2375
  18. Drop little tamarind chutney (saunth chutney) and green chutney to it.IMG_2377
  19. Sprinkle kashmiri mirch powder and garnish it corriander and serve this tasty chat for vrath

    sabudana tikki
    Sabudana tikki chat
  20. If your not making this tikki for vrath add optional vegetables to Sabudana tikki batter .IMG_2385
  21. Make tikki from this mix vegetable sabudana tikki batter and shallow fry it on greased tava
  22. Serve this tikki with sauce or make the chat as explained above

    sabudana tikki can also be served without curd topping
    sabudana tikki can also be served without curd topping
  23. If you want you can fry the tikis on medium to low flame in hot oil .IMG_2397

My kids love the fried versionn of this Tikki . [/directions] Note – If you are making this Tikkis for vrath

  • Dont add vegetables to it .
  • Use sendhana namak in place of normal table salt.
  • Dont add tofu , if you want you can add grated paneer (its optional)
  • To make sabuda Tikki low in calorie go for roasted one . Its better to avoid fried food during fast.

[box]Also Check – Soft Tasty dahi vada chat recipe of North India [/box]

Neer Dosa Recipe | Quick Dosa without fermentation| Instant Dosa Recipe

1
Neer dosa recipe
Neer dosa
quick dosa recipe
Neer dosa

Neer Dosa Recipe

This is simple easy Dosa recipe with nice coconut flavor. Neer Dosa are soft delicate, fluffy, white in color dosas unlike brown crispy Dosas. When I eat this Dosa I remember my days in Bangalore. I had this Dosa made from coconut milk and rice in many food joints in Bangalore. In my college days me and my Friends have enjoyed variety of Dosa’s and this was my favorite one. I learnt this Dosa from my neighbor in Bangalore. There are many restaurants in Bangalore which serves soft thin tasty Neer Dosa with different types of South Indian curry or chutney. My kids love Dosa and when I ask Anagh in evening that what he want to eat in dinner many times the answer is Dosa or Pav bhaji . When you want to make Dosa without fermentation especially in winters, this recipe of Neer Dosa works really well. This is the instant dosa recipe.

[box]Also check –Different types of dosas and cheela recipe [/box]

How to make Neer Dosa at home

You can make this Neer Dosa recipe with raw rice or rice flour. I add coconut milk to make Neer Dosa batter. Neer Dosa made from Dosa batter with coconut milk tastes awesome as compare to when it is made with plain water. If you have rice flour at home this dosa recipe is very quick and easy to make. When you make this Dosa from rice, soaking time is required. Neer Dosa are the Dosa which you can make without fermentation and grinding. If you are using rice flour for dosa  grinding is not required but if you are using soaked rice then good quality grinder is required to make this soft delicate lace like Dosa.

dosa recipe without fermentation
White , soft , lacy Neer dosa

Types of rice used to make Neer Dosa

You can make this Dosa with any rice. I use tukda basmati or Sona masuri rice to prepare Neer Dosa. To make Neer Dosa more healthy you can make it with brown rice . Use good quality rice or fresh rice flour otherwise crack will form on Dosa . Add little cooked rice or leftover rice while grinding the batter this will also avoid the cracks .Soak this rice for 2-3 hours and grind it with coconut milk and water. Some people make it with plain water and some make it with only coconut milk. I use both coconut milk and water to make Neer Dosa batter. Consistency of Neer Dosa batter is very runny .it should be slightly thicker than whole milk. If you keep it thick the small holes will not form in Dosa . Rice should be grind finely to make Neer Dosa batter.

Side dishes for Neer Dosa

You can serve any curry or gravy or chutney with Neer Dosa. You can serve small potato curry, matar paneer , mushroom curry,Katahal / Raw jack fruit curry as a side dish with Neer Dosa. Many people eat fish or chicken curry as side dish with this Dosa. You can also eat it with coconut chutney or peanut chutney. Many times  I also serve it with flaxseed chutney ( Alsi / jawas chutney) mixed with curd . Neer Dosa is generally served on banana leaves, hot Dosa when kept on banana leaf gives nice south Indian flavor to it, it is  feast for eyes and taste buds!

[box]Also Check – Different Chutney and Pickles recipes[/box]

Tips to make perfect soft, fluffy, delicate and crack free Neer Dosa

  • Use fresh rice flour or good quality rice like Sona masuri ,tukda basmati , kolam ,ambe mohar or any short grain rice to make Neer Dosa. This will make the Dosa crack free.
  • Add little cooked rice whilst grinding the rice to make Neer Dosa batter, this will also make Dosa crack free and soft. You can use leftover cooked rice .
  • Batter should be superfine that’s the tip for Neer Dosa . Grind it until you should feel it very soft when you rub it with ur fingers.
  • Consistency of batter should be runny, it should be little thicker than whole milk.
  • If you have kept the batter in refrigerator, let it come to normal room temperature before making Dosa from it. Cold Dosa batter sticks to the pan.

[box]Also Check – Neer Dosa side dish recipes[/box]

  • Your skillet or tawa should be very hot when you pour the batter on it
  • Use non stick or seasoned cast iron skillet/ tawa to make Neer Dosa .
  • Many times first 1 -2 Dosa stick if your  using cast iron tawa , but it will come out easily as the pan gets seasoned. Well on non stick pan this problem doesn’t come.
  • Neer Dosa are white in colour, they are not brown like other Dosa. Cook it by covering a lid for 20-25 seconds on low to medium flame, this will cook the Dosa and at the same time it will remain white.
  • After each Dosa wipe the skillet/ tawa with paper towel dipped in oil. This will season the tawa.
  • Well if your Neer Dosa comes out brown there are two reason your pan is very hot or you have added too much of coconut milk. Most of the time Neer Dosa made from rice flour comes out brown as compare to Neer Dosa prepared from soaked rice.
  • Don’t spread the batter with spoon or ladle . Check out this small video to make Neer Dosa in non stick pan 
  • If your making Neer Dosa on tava or skillet Scoop a ladle of the batter and pour the batter starting from around the pan to the centre, filling any spaces that are left out without touching the ladle or spoon .
  • Pour Neer Dosa batter 4-5 inches above the skillet / tava .
  • Cover Neer Dosa by covering the skillet .

    dosa recipe without fermentation
    neer dosa

I have explained how to make Neer Dosa perfect at home .I have explained both Neer Dosa made from raw rice and rice flour .do share your queries and suggestion for this recipe .
[ingredients title=”Ingredients required to make Neer Dosa from Raw Rice “]

  • 1 cup rice (sona masoori / tukda basmati / ambe mohar / indrayani/ kolam or any short grain rice )
  • ½ cup coconut milk / 1 cup grated coconut
  • ¼ cup cooked rice (optional- cooked rice helps to make Dosa crack free)
  • Salt for taste
  • Oil or ghee for making Dosa

[/ingredients]

[directions title=”Step by step directions to prepare Neer Dosa from raw rice”]

  1. Soak the rice in plenty of water for at least 2 hours .drain the water.IMG_2069
  2. Place the soaked rice, coconut milk or grated coconut, cooked rice if using, and 1 cup waterIMG_2071
  3. Grind it to make super fine batter. you should feel soft when you rub it with your fingersIMG_2072
  4. Add 1 more cup of water and salt and blend for a few seconds. The batter should be a little thicker than whole milk. If its too thick, add water to dilute it.dosa batter without fermentation
  5. Let the batter rest for 1 hour. You can also use the batter right away.
  6. Dip a wad of paper towel in oil, and wipe the skillet. This will season the skillet.IMG_2084
  7. Mix the batter with a ladle. Grease the tawa with a little ghee and pour a ladleful of batter from a little height so that you get plenty of holes.  Pour the batter on the tawa to make a circle. Make this circle by pouring the batter from the periphery to the center .Do not touch the ladle to the tawa; you need to pour the batter not spread it.IMG_2088
  8. Drizzle few drops of oil/ ghee around the Dosa. (If you are using a good non stick skillet, you can get away with not using any oil/ ghee at all if you wish).
  9. Now cover the tawa / skillet, reduce heat to medium and cook for about 30 seconds. Remove lid, and cook another 30 seconds or till the Dosa is no longer liquidly, come off the skillet easily and is still white in color.IMG_2089
  10. Fold the Dosa into a semi circle and then again in half to form a triangle.

    White , sofet , lacy Neer dosa
    White , sofet , lacy Neer dosa
  11. Bring the pan back up to high heat, and repeat for the remaining batter.
  12. Serve neer dosa with chutney or any curry .

[/directions]

[ingredients title=”Ingredients to make Neer Dosa from Rice flour “]

  • 2 Cups Rice Flour
  • ½ cup coconut milk (fresh coconut milk or Dabur homemade coconut milk )
  • Salt to taste
  • 2 cups water
  • Oil / ghee

[/ingredients]

[directions title=”Step by step instruction to make Neer Dosa recipe from Rice Flour |Rice flour dosa”]

  1. Mix all the ingredients except oil and make a smooth paste out of it .
  2. Follow above steps from step number 4 -10 to make Neer Dosa from rice flour .

[/directions]


Pudla recipe | Besan chilla with vegetables

8
chickpea flour pancake recipe
Pudla | Chickpea flour pancake
pudla recipe gujarati
Pudla | Chickpea flour pancake

Pudla Recipe | Besan Pudla

I first read this recipe in the “Hare Krishna book of Vegetarian Cooking” by “Shree Adiraja Dasa”. My brother gifted me this book; it has no onion no garlic Indian food recipes. Pudla are Besan or chickpea flour pancake which are very similar to Besan Chillas. The difference between Pudla and chilla is  that they are small in size, crispier and thick as compared to Chillas. I make this recipe with or without onion garlic. Over the time, I have refined this recipe. Now I make Paneer Pudla, Cheese Pudla, veg loaded Pudla, Oats Pudla , coconut Pudla etc.  It’s easy to make breakfast or snacks time recipe. I try to make this recipe tasty as well as healthy by adding some of my favorite colorful vegetables. It’s an easy and quick recipe and never goes wrong.

[box]Also check- Healthy Chilla /Pancake recipes[/box]

What Is Pudla?

It’s a type of Besan Chilla which is a bit thick and crispy. I make my Pudla in many ways and when you start making it, you can make lots of variations of it. I make Pudla with either Besan (chickpea flour) or chana dal. Pudla made from chana dal takes more time for soaking but it’s good for kids and people who have upset stomach because of  Besan. When you soak chana dal and wash it nicely, it cures the upset stomach. Basically it’s easy to digest.

[box] Also Check – Different types of Tasty Chutney Recipes[/box]

GUJARATI BESAN PUDLA
BESAN PUDLA

Types Of Pudla

I make Pudla batter with curd, it makes it more nutritious. You can make this batter with plain water if you want to make this Pudla vegan. There are lots of variations to make Pudla nutritious as well as tasty.

[box]Also check- Masala oats recipe[/box]

Different types of Pudla

  • Paneer Pudla 

Add grated Paneer in Pudla batter to make it rich in calcium. Kids loves this Paneer Pudla .

  • Cheese Pudla 

You can also add grated Cheese in Pudla batter. It gives nice cheese flavor . Taste of Cheese Pudla is awesome.

  • Vegetable loaded Pudla

If your  calorie conscious, add variety of vegetables like colourful capscicum ( red, yellow, green), grated cabbage, grated carrot, grated zucchini, mushrooms, grated bottle gourd( ghia /lauki / bhoplo), roasted blanched tomatoes or any combination of vegetables of your choice. you can also add finely chopped jalapeños to give Pudla a nice spicy flavour .

  • Oats Pudla 

Add Oats Flour in Pudla batter to make Oats Pudla.

  • Coconut Pudla

Add grated Fresh Coconut in Pudla batter to make count Pudla .

  • If you want to make Pudla spicier, add finely chopped green chili. Green chili with finely chopped onion and coriander leaves makes Pudla very tasty.
  • You can make Pudla with or without oil. When you make it with oil it becomes crispier. But if your  calorie conscious, go for oil free Pudla.
  • To make it a complete breakfast, you can also add rice flour, sooji or coarsely ground wheat flour  in Pudla batter .

IMG_1924

[box]Also check –Besan Chilla recipe [/box]

Flours Used to make Pudlas

Besides Besan (chickpea flour), all purpose flour/ maida is added to Pudla batter to make it crispy. I never use maida at my home, so I add different types flour or semolina in Pudla batter. So besides  Besan I add

  • Semolina(suji/ rava)

  • Rice flour

  • Oats flour

  • Ragi flour

  • Coarsely ground wheat flour in Pudla batter

The consistency of Pudla batter shouldn’t be very thick or watery. It should be same as dosa batter. Pudla should look porous and crispier. I have shared some of my tips to make a perfect Pudla. You can serve this tasty Pudla with coriander chutney, coconut chutney or any chutney, pickle, raita or plain curd. In the images I have served Pudla with flax seed chutney with curd.

[box]Also check- Patodi Rassa Bhaji | Besan ki sabji[box]

I have explained step by step recipe of how to make Pudla with  Besan. You can add any ingredients which I have shared in different types of Pudla in basic Pudla batter.
[ingredients title=”Ingredients to make Pudla / Chickpea flour(Besan) Pancake Batter”]

  • 1 1/2 cup Besan (chickpea flour)
  • ½ cup rice flour/ ragi flour/ sooji/ coarsely ground wheat flour/ oats flour (you can add any flour which is available at your home)
  • 1 teaspoon ginger paste or grated ginger
  • 1 teaspoon grated garlic –(optional if you want to make it without garlic)
  • 1 teaspoon finely chopped green chili
  • 3/4 cup finely chopped mixed vegetables (tomatoes, capsicum, grated cabbage or anything which is available in refrigerator.
  • 1 cup finely chopped onion (optional)
  • ¼ cup grated paneer or cheese or fresh grated coconut(optional)
  • 1 tablespoon finely chopped coriander
  • 1 tablespoon oil
  • 1 cup curd
  • ¾ -1 cup Water to make Pudla batter
  • salt to taste
  • Oil or ghee to roast pudla

[/ingredients]

[directions title=”Step by step directions to make Besan Pudla / Chickpea flour(Besan) Pancake”]

  1. Mix Besan and rice flour to any other flour which you want to add.IMG_1902
  2. Add curd to itIMG_1904
  3. Add water to make a soft, smooth, and thick batter like dosa. Keep this batter aside for 2-3 hours.IMG_1906
  4. Add all the vegetables of your choice, onion (optional), garlic (optional), ginger, green chilies, paneer /cheese / grated fresh coconut (optional) and salt in this batter.IMG_1908
  5. Add finely chopped coriander and green chilies.IMG_1909
  6. Add 1 tablespoon oil and mix this batter.IMG_1912
  7. Grease griddle or tava with oil and pour enough batter to make three 4-5 inch pudla or pancake at a time. It should be uniformly thick.IMG_1914
  8. Sprinkle little oil ghee on pudla and cook it on both side.IMG_1917
  9. Finish the batter in this way.
  10. Sprinkle lemon juice on pudla and serve it hot with chutney, curd or Raita. In this image, I have served Pudla with Flaxseed (Jawas / Alsi) chutney with curd.IMG_1924

[/directions]

So when are you going to try this healthy but tasty recipe. Share you questions and comments below.


Tomato Chutney with Garlic | Red Tomato Chutney Recipe

4
best side dishes with aloo paratha
paratha side dish recioes
tomato chutney  recipe with garlic
Homemade tomato chutney | Salsa

 Red Tomato Chutney recipe

This Red  Tomato Chutney  is a tasty combination of sweet sour and spicy tastes. It tastes like sweet Salsa with Indian spices. My elder son started calling this sweet Tomato Chutney as Salsa when he ate nachos and Salsa for the first time in restaurant. Now he asks me to make it at home whenever he wants to eat nachos. He also likes this fresh homemade red tomato chutney with chips and parathas. This Chutney goes very well with paratha, dosa / cheela, momos (dumplings), bread, pancake, chapati, chips nachos or with any meal. You can even apply it on sandwiches. I make this easy tomato Chutney very frequently at my home as my son likes to take it in his tiffin box with any vegetable paratha especially Aloo paratha. This reminds me childhood days when my mom used to give it in our tiffin box.

[box]Also check – Easy vegetable paratha recipes without stuffing [/box]

Tomatoes used to make tomato chutney

I make this Chutney  with both red and green Tomatoes. Somehow it’s difficult to get green Tomatoes round the year in Delhi, so most of the time I make it withRed Tomatoes. There is a slight difference in preparation of red and green Tomato Chutney. This recipe is made from roasted Tomatoes. Tomatoes roasted directly on flames give nice flavor and color to this sweet and sour recipe. When you roast the Tomato, it’s easy to blanch them (remove its skin). Most of the time I use roasted Tomato for many sabjis and gravy. I add roasted Tomato in Pav Bhaji which gives it a rich red color.

There are Variety of Tomatoes . To make this Tomato Chutney, choose Tomatoes with thick flesh. It gives nice texture to this recipe. Don’t use very sour Tomatoes (desi tamatar / gavthi tamate). If you use very sour Tomatoes, you have to add lots of jaggery or sugar. You can add jaggery, Demerara sugar, white sugar or sugarfree natura to give sweetness to this Chutney. Sugar and jaggery give nice texture and color to this Tomato Chutney. Quantity of sugar or jaggery you add in this recipe depends upon the sourness of Tomatoes. Some Tomatoes are very sour, because of that lot of sugar or jaggery is required to make this recipe.

[box]Also check- Easy Chutney and pickle recipes[/box]

Main Ingredients to make Red Tomato Chutney

You  can make this Chutney with or without onion. I don’t add garlic to make this Chutney. Without onion it’s a satvik Chutney. If you want to store this Red tomato chutney for more than 2-3 days don’t add onion to it. Store it in refrigerator. If you are using 1/2 kg Tomato to make this recipe, add 1 tablespoon vinegar to increase the shelf life of this Salsa. Vinegar also gives little sour taste to this Salsa. If you like Salsa a bit sour, add vinegar to it. Generally I make it fresh whenever I want. So I don’t add vinegar but I got this tip from my friend who stays abroad and does not have time to cook daily. I make this  Tomato Chutney whenever I am travelling with my kids. I carry paratha or bread with this Chutney.

Calories in Home-made red tomato chutney

You can cut calories in home-made tomato chutney by adding less oil while making this chutney.

Calories in Homemade Indian: Tomato Chutney

Nutrition Facts

Homemade – Indian: Tomato Chutney

  •  
Calories 155 Sodium 0 mg
Total Fat 10 g Potassium 0 mg
Saturated 0 g Total Carbs 17 g
Polyunsaturated 0 g Dietary Fiber 0 g
Monounsaturated 0 g Sugars 0 g
Trans 0 g Protein 4 g
Cholesterol 0 mg
Vitamin A 0% Calcium 0%
Vitamin C 0% Iron 0%

*Percent Daily Values are based on a 2000 calorie diet. Your daily values may be higher or lower depending on your calorie . source- myfitnesspal


tomato chutney recipe
Fresh tomato salsa | chutney

I have explained how to make this red Tomato Chutney / Salsa in a easy way, do share your  comments and suggestions for this recipe .

[ingredients title=”Ingredients required to make red Tomato Chutney or Salsa”]

  • 1/2 kg fresh red Tomatoes (don’t use canned tomatoes to make this chutney / salsa)
  • 1 medium size onion finely chopped (optional)
  • 1 tablespoon oil
  • 1 teaspoon mustard seeds
  • 1 teaspoon cumin seeds
  • 1 tablespoon finely chopped coriander leaves ( kothimbir/ dhania patta)
  • 1 teaspoon salt for taste
  • 4-5 teaspoon sugar / grated jaggery
  • 1 teaspoon red chili powder
  • 1 teaspoon finely chopped green chili
  • 1/2 teaspoon turmeric powder ( haldi powder)
  • 1 teaspoon finely chopped garlic

[/ingredients]

[directions title=”Step by step directions to make red Tomato Chutney / sweet Salsa”]

  1. Choose fresh Tomatoes for this recipe and wash it properlyfresh red tomatoes  for salsa | chutney
  2. Roast Tomatoes directly on flames.roasted tomato chutney
  3. When its skin become black remove it from flames and let it cool down.roasted tomatos for salsa
  4. Remove the charred black skin of Tomatoes with knife.blanch roasted tomatoes with knifetomato chutney
  5. Chop Tomatoes into small pieces. If you want, you can remove the Tomato seeds (deseed tomatoes) before chopping.blanched chopped tomatoes for salsa or chutney
  6. Heat oil in a pan and add mustard seeds to it.IMG_1808
  7. When it starts crackling, add cumin seeds.IMG_1809
  8. Add onion and stir it until it becomes soft. This step is optional. You can avoid onion if you want to store this Chutney for 2-3 days in refrigerator.IMG_1810
  9. Add red chili powder and turmeric powder to it.IMG_1811
  10. Mix it nicely and add chopped Tomatoes and salt to it.
  11. Mix it and cook it covered for 5-6 minutes on low flames or until Tomatoes become soft. Stir it occasionally.
  12. When Tomatoes become soft, add sugar.IMG_1814
  13. Mix it and let it cook for 3-4 minutes.IMG_1815
  14. Add finely chopped coriander leaves, garlic and green chili to it. Mix it and remove it from flame.IMG_1816
  15. Serve this Tomato Chutney / Salsa with paratha, chips, nachos, idli, dosa, momos or with any meal.

    tomato chutney recipe
    Fresh tomato salsa | chutney

[/directions]

Chilli pickle | Green chilli pickle recipe | Hari mirch ka Achar

12
mirchi achar
green chili pickle | Hari mirch ka achar
chilli pickle
green chili pickle | hari mirch ka achar

Green Chili Pickle Recipe| Hari Mirch ka Achar

This hot and sour Chilli pickle recipe (hari mirch ka achar) will spice up any meal. It tastes same as ready-made Green Chilli pickle and has a long shelf life. The pungent taste of mustard ( rai / kali sarso) gives nice flavor to this pickle. I always prefer homemade pickles as they are prepared with high quality ingredients. At home we can make perfect pickle in a hygienic manner. In ready-made pickles, lots of preservatives and color are added to give it a good color and to increase its shelf life. Synthetic colors which are used in this ready made pickles are not good for our health. Many of us think that making pickle is a hectic task and we simply don’t go for it. Actually it’s hectic if you are planning to make a big batch of pickle. There are variety of Indian pickles which are made in particular season due to availability of these ingredients. I don’t make big batch of pickles. I make pickle which will go for a maximum of 1 or 2 months except sweet lime pickle which I want round the year. I make Green Chilli pickle whenever I get good quality green chillies which are less spicy. There are lots of ways to choose perfect Green Chillies for green chilli pickle.

[box]Also check – Stuffed green chillies | Bharwa mirch | Bharela marcha |  Bharli Mirchi [/box]

Tips to pick perfect Green Chillies (hari mirch) for pickle

  • Pick up the chilly and smell it. If the smell is very strong don’t buy the chili.
  • Ask the vegetable vendor about the spiciness of Chillies.
  • Choose fresh Chilies to make pickle. Check it’s  stalk ( danthal /deth), it should be fresh Green not black or brown , It indicates the freshness of Chillies .
  • Fresh plucked chilies are thick which make the pickle juicy and tasty.

Freshly plucked green long chillies make tasty pickle.

  • chili pepper for chili pickle
    long green chilies / hari mirch for pickle / achar
Thick green chillies for pickle

Indian Green Chilli Pickle 

Green Chili  pickle is made in all parts of india. In Hindi it is called as Hari Mirch ka Achar, in Marathi it is called as Hirwya Mirchi che Loncha and in Gujarati it is called as Marcha nu Athanu. Spices added in this pickle is more or less same, the only difference is the oil used to make this pickle. I add filtered mustard oil or groundnut oil to make pickle. Both mustard oil and groundnut oil increase the shelf life of pickle. In north Indian style pickles mustard oil (sarso ka tel) is used . Mustard oil has anti-fungal and antibacterial property and it has a unique flavor which enhances the tastes of the pickle. In Maharashtra and Gujarat, they love the flavor of groundnut oil, especially the filtered one, and they add this oil to their pickle . Mustard seeds (rai / Mohri / kali sarso ) is the main ingredient of this pickle. When I was in Pune, I used to add splitted dehusked mustard seeds also called as rai na curia (in Gujarati) / Mohri chi dal ( in Marathi) in my pickle. It gives nice colour to the pickle. But in Delhi it was difficult to get sarso ki dal, so I added mustard seed powder in this pickle . Taste was same but only difference was the color of pickle.

[box]Also check – Thecha recipe | Dry green chilli chutney[/box]

Preparations for Green Chili pickle Recipe

I add lemon juice to make this pickle. Lemon juice with Green chilies works very well in this pickle . I like juicy pickle as compared to dry one except stuffed chilli pickle which can be dry. That’s why I prefer to add lemon juice as compared to dry mango powder ( amchur) in green chilli pickle . I add amchur in stuffed red chilli pickle. I also add little vinegar (sirka) in this pickle as it gives good taste and increases shelf life.

The other ingredients in Green Chilli pickle are fenugreek ( methi) seeds, fennel seeds(methi), coriander seeds etc. This pickle doesn’t take a lot of time to make. You can start eating it from second day. Whenever you make this pickle, just take care that the day should be sunny, I pickled this chilli in hot sunlight for 1 day. Pickles made in sunlight have long shelf life and are very tasty.. I have explained the step by step recipe to make this tasty Green chilly pickle . Enjoy and do share you questions below in comments section 🙂

[ingredients title=”Ingredients required to make Green Chilli pickle / Hari mirch ka achar”]

  • 250 gms fresh long Green Chillies (hari mirch)
  • ½ cup lemon juice (nimbu ka ras)
  • 3 teaspoon salt
  • 2 tablespoon vinegar (sirka)

Ingredients required to make masala( spices) of Chilli pickle

  • 2 tablespoon mustard seeds ( rai / Mohri / Mohri dal/ Rai na Curia / kali sarso)
  • 2 tablespoon fennel seeds( badi saunf)
  • 1 teaspoon fenugreek seeds( methi dana )
  • 1 tablespoon coriander powder
  • 1 teaspoon asafoetida ( hing)
  • 1 teaspoon turmeric powder( haldi)
  • 7-8 black pepper corn( Kali Miri / kali mirch)
  • ⅓  cup mustard oil / groundnut oil

[/ingredients] [directions title=”Step by step directions to make Green Chilli pickle | Hari mirch ka achar”]

  1. Wash fresh green chillies properly, wipe them with a clean dry cloth, remove the stalks ( danthal / deth ) of chillies.
  1. Cut the chilies lengthwise and make 1/2 of them .IMG_1709
  2. Add salt and lemon juice to it, mix it and keep it in glass bowl or jar, cover it with plate.IMG_1713
  3. Keep it in sun for 1 day .
  4. Green chilies will become yellowish green in hot sun . Let it cool down for whole night .
  5. Next day roast mustard seeds, fenugreek  seeds, badi saunf separately for 1-2 minutes on low flame. Let it cool down and put it in mixer jar.IMG_1580
  6. Make a fine powder of it .IMG_1581
  7. Heat oil in a pan, when it becomes hot, add black pepper to it.IMG_1578
  8. Remove it from flame and add asafoetida ( hing) to it. Let it cool down.IMG_1579
  9. Add this masala ( spice) powder, coriander powder, turmeric powder, oil and vinegar ( sirka) to chilies and mix it nicely.IMG_1717
  10. Keep this pickle in clean glass jar. Stir the pickle up and down twice everyday with dry clean spoon.
  11. From next day, you can start eating this tasty green chili pickle.

    mirchi achar
    green chili pickle | hari mirch ka achar
  12. Spice up your meal with this tasty pickle.

[/directions]

Aate ka halwa | Wheat flour Halwa | Wheat flour sheera recipe

7
whole wheat flour pudding
atte ka halwa | whole wheat flour sheera
whole wheat flour pudding
atte ka halwa | whole wheat flour sheera

This tasty as well as healthy sweet halwa or sheera recipe is made from whole wheat flour or gheu ka atta.  Its a sweet whole wheat flour pudding  made in all parts of India . In north india this whole wheat flour halwa is also served with puris on occasion like Navratri. In Maharashtra this halwa is called as kankecha (atta / wheat flour)sheera . Many people add jaggery in place of sugar to make this halwa more nutritious.

[box]Also check–Navratri pooja vidhi at home for nine days  [/box]

The important task while making this halwa is roasting of whole wheat flour .if you don’t roast it properly this halwa becomes sticky. You can also make this halwa with coarsely ground wheat flour (gheu ka mota atta) , my family loves this halwa  made from normal wheat flour which I use to make roti . Both adults and kids loves this halwa .

[box]Also check-Whole wheat flour dark chocolate cake | Atte ka chocolate cake[/box]

Tips for making Atte ka halwa /Whole wheat flour halwa 

  • Roast the whole wheat flour without adding ghee on medium to low flame for atleast 10-12 minutes, by this method less ghee is required and all the wheat flour gets roasted nicely. many people use 1 cup ghee for 1 cup atta ,in this recipe by using this procedure of roasting i had used 1/2 cup ghee for 1 cup aata  and next time i m planning to make it with 1/4 cup ghee .  this halwa is not at all sticky with this procedure so why to increase calories!
  • Add ghee after the atta is completely roasted.
  • Boil sugar or jaggery in water and add this boiling water in the roasted atta with ghee.

[box]Also check –Satyanarayan Pooja Prasad Sheera / Halwa | Banana Halwa / Sheera[/box]

Follow the step by step whole wheat flour halwa recipe to make it perfect.

[ingredients title=”Ingredients to Make Aate ( Whole wheat flour) ka Halwa / Sheera “]

  • 1 cup whole wheat flour (gheu ka atta)
  • ½ cup pure ghee
  • 1 cup sugar or grated jaggery (gud)
  • 1 cup water
  • ½ teaspoon fresh cardamom powder (elaichi powder)
  • 10-12 almonds and cashews roughly chopped (optional)

[/ingredients]

[directions title=”Step by Step Directions to make Atta ( Whole wheat flour) Halwa/ Sheera”]

  1. Mix water and sugar / jaggery and keep it on flame. Don’t make this solution thick, we just want sugar or jaggery mix with water, when it comes to a boil and hot ,we add it in halwa.IMG_0263IMG_0264IMG_0265
  2. Roast gheu ka atta on medium to low flame stirring it continuously for 10 -12 minutesIMG_0260IMG_0266
  3. Atta should become light in weight (you will feel it while stirring)and a nice aroma of roasted wheat flour will start coming out of it , It will become light brown , don’t let it burn .IMG_0272
  4. Remove it from flame and add ghee to it, mix it and keep it on low fame stirring it continuously for 1 – 2 minute.IMG_0273IMG_0276
  5. Again remove it from flame and add boiling sugar water or jaggery water to it. If your using jaggery strain the water before adding it in roasted flour as many times jaggery contains impurities.IMG_0278IMG_0279
  6. Mix it nicely there should not be single lump in halwa or sheera . It will become very smooth and thick immediately.IMG_0280
  7. Now keep it on low flame stir it and keep a lid on it for 1-2 minutes. Remove it from flame add chopped dry fruits and cardamom powder.IMG_0281
  8. Mix it and serve warm whole wheat flour (atta) halwa or sheera . You can also serve these halwa with puris on navratri festival.

    whole wheat flour pudding
    atte ka halwa | whole wheat flour sheera

[/directions]

Tip

If you are making this Halwa in winters add a pinch of Jaiphal (nutmeg) and Kesar (saffron) in this Halwa / Sheera .

Oats Upma Recipe | 2 Easy Oats Upma recipes

5
vegan oatmeal recipe
oats upma
oats upma recipe
oats upma

Oats Upma is a tasty and easy way to cook oats in Indian style. Oats has lots of health benefits. It is healthy breakfast cereal if cooked in right way. it Provides high levels of fiber, low level of fat, and high levels of protein . it is low calorie food with low glycemic index that keeps you feel for longer time and stops food cravings . It is consider to be best cereal for people who have diabetes or have heart related problems. It stabilizes sugar and lowers cholesterol level. Oats Upma is easy and can be made with or without vegetables. You can add vegetables if it’s available in your refrigerator.

[box]Also check – Healthy Breakfast and Snacks recipes[/box]

Oats Upma  Recipe

Oats Upma never go wrong if prepared in a proper way. Oats Upama should be soft and shouldn’t be soggy or sticky .if you add less water in it, it becomes dry very fast, if you add more water it becomes soggy. Oats becomes sticky if you directly cook it in water or milk. To avoid all these problems use the following tips.

Tips to make a perfect Oats Upma

  • Roast Oats with 1 teaspoon oil for 4-5 minutes until it becomes very light. Basically all the moisture in it should get evaporated and the Oats should get little roasted. This will make pats Upma non sticky.
  • Add water1:1 ratio in Oats Upma.less water will make it very dry and chewy and more water will make it soggier.
  • Add colourful vegetable like beans, carrot , capscicum / bell pepper  ( red , green) , green peas etc to make Oats Upma  to make it more nutritious .

I add all the basic Upma ingredients in Oats Upma to make it tastier. Urad dal (black lentils) curry leaves gives nice flavor to Upma.you can also garnish it with coriander and fresh grated coconut. Add the ingredients according to availability.

[box]Also check – Bread Upma recipe [/box]

I make Oats Upma in two ways

  • Oats Upma with oatmeal and vegetables

    oats upma
    Oats upma made from oats and vegetables
  • Oats Upma with oatmeal , semolina (rava / sooji) and vegetables

vegan oatmeal recipe
oats upma

Both this Upma tastes good. The only difference in cooking both of this Upma is water proportion. I have explained both the Oats Upma recipes step by step . first I have explained Oats Upma and then Oats Upma with semolina.

[box]Also check – Masala oats recipe[/box]

Calories in Home Made Oats Upma

Nutrition Facts

  •  
Calories 220 Sodium 0 mg
Total Fat 0 g Potassium 0 mg
Saturated 0 g Total Carbs 27 g
Polyunsaturated 0 g Dietary Fiber 0 g
Monounsaturated 0 g Sugars 1 g
Trans 0 g Protein 0 g
Cholesterol 0 mg
Vitamin A 0% Calcium 0%
Vitamin C 0% Iron 0%

*Percent Daily Values are based on a 2000 calorie diet. Your daily values may be higher or lower depending on your calorie needs.

Source- Myfitnesspal

[ingredients title=”Ingredients to make Oats Upma “]

  • 1 ½ cup Oats (i used Quaker White Oats)
  • 1 ½ cup of water
  • 1 cup chopped mixed vegetables (carrot, beans , capcicum etc)
  • ½ cup finely chopped onion
  • 1 teaspoon mustard seeds (rai/ mohri)
  • 1 teaspoon cumin seeds (jeera )
  • 2 teaspoon urad dal (black gram)
  • 3-4 green chilies
  • 1 teaspoon turmeric powder (haldi)
  • 15 -20 curry leaves.
  • 1 tablespoon oil
  • salt to taste

[/ingredients]

[directions title=”Step by step directions to make Oats Upma”]

  1. Heat 1 teaspoon oil
  2. Add Oats and roast it for 3-4 minutes on medium flames. Remove it from flames and keep it aside in a bowl.IMG_1621
  3. Heat oil in the same pan
  4. Add mustard seeds, urad dal and cumin seeds in the oilIMG_1627
  5. When a mustard seed starts crackling add green chilies and curry leaves.IMG_1628
  6. Add onion and 1 teaspoon salt , sauté it until it becomes translucent.IMG_1629
  7. Add vegetables and sauté it for 2-3 minutes. add 1 teaspoon turmeric powder IMG_1632
  8.  Add 1 ½ cup water.IMG_1634
  9. Let the water boil for 2 -3 minutes.IMG_1636
  10. Add roasted Oats to itIMG_1639
  11. Mix it nicely and covered it with lid for 1-2 minutes.IMG_1641
  12. Add lemon juice and salt if required and mix it . Serve it hot in your morning breakfast.

    oats upma recipe hindi
    Oats upma

[/directions]

[ingredients title=”Ingredients to make Oats Upma with Oats and Semolina (Rava/ Sooji)”]

  • 1 cup Oats (i used Quaker White Oats)
  • ½ cup thick semolina (moti sooji  / jaad rava)
  • 2 ½ cup of water
  • 1 cup chopped mixed vegetables (carrot, beans, capcicum etc)
  • ½ cup finely chopped onion
  • 1 teaspoon mustard seeds (rai/ mohri)
  • 1 teaspoon cumin seeds (jeera )
  • 2 teaspoon urad dal ( black gram)
  • 3-4 green chilies
  • 1 teaspoon turmeric powder (haldi)
  • 15 -20 curry leaves.
  • 1 tablespoon oil
  • salt to taste

[/ingredients]

[directions title=”Step by Step Directions to make Oats Upma with Semolina and Oats “]

  1. Roast Oats for 3-4 minutes on medium flame with little or no oil . remove it from flame and keep it aside .

    roasted oats
    roasted oats
  2. In the same pan roast semolina for 2- 3 minutes on medium to low flames until it becomes light .

    IMG_1726
    roasted semolina | rava | sooji
  3. Heat oil in the same pan
  4. Add mustard seeds, urad dal and cumin seeds in the oilIMG_1627
  5. When a mustard seed starts crackling add green chilies and curry leaves.IMG_1628
  6. Add onion and 1 teaspoon salt, sauté it until it becomes translucent.IMG_1629
  7. Add vegetables and sauté it for 2-3 minutes.IMG_1632
  8.  Add 2½ cup water.
  9. Let the water boil for 2 -3 minutes.IMG_1728
  10. Add roasted Oats and semolina to itIMG_1729IMG_1731
  11. Mix it nicely and covered it with lid for 1-2 minutes.
  12. Add lemon juice and salt if required, serve it hot. You can garnish it with fresh grated coconut and coriander.

    oats upma recipes
    oats upma recipe with oats , semolina (rava / sooji) and vegetables

[/directions]


Basundi recipe | Rabri Recipe | How to make thick tasty Rabri or Basundi

1
basundi recipe in hindi
Basundi

basundi recipe in hindi

Basundi is a easy-to-make milk sweet dish with a nice flavor of cardamom (elaichi/welchi) or kesar. Dry fruits especially charoli (chironji) and some nuts like almond, pistachios, cashews are also added to Basundi. This Creamy sweet milk recipe is called as Basundi in Marathi and Gujarati.It  is a traditional sweet recipe of Maharashtrians and Gujaratis , they make this recipe on Kojagiri Pornima / Sharad purnima, dushera, Akshay Tritiya and on many festivals. Basundi is served with puri or served as a dessert at the end of meal. The puri which are served with Basundi are made from whole wheat flour with little salt in it. This recipe is very easy and doesn’t require much preparation as compared to other sweet dishes.

[box]Also check- Traditional sweet recipes for festival[/box]

In North India, the thicker version of Basundi is prepared. This is called as Rabdi or Rabri in Hindi. Rabri is heavier in terms of calories and generally prepared during winter season. Whole milk is boiled until it becomes ¾  to ½ of its original volume to make Basundi. To make Rabri, whole milk is reduced to 1/2 or even 1/4 of its original volume. Rabdi is very thick with lots of malai / heavy cream as compared to Basundi. Rabdi is generally served with jalebi in Madhya Pradesh. The preperation of both Basundi and Rabdi is the same – just boil the milk more if you want to make Rabri. This recipe can also be eaten on vrath / fast /upwas.

[box]Also check –Easy Chocolate Pudding from Condensed milk (Milkmaid / Amul mithaimate)[/box]

There are lots of ways in which you can make Basundi quickly. I have explained Basundi in a authentic way with whole milk but if you’re in a hurry you can use the quick Basundi tips which I have shared at the end of this recipe. There I have shared how to make Basundi with condensed milk, khoya (mawa / ricotta cheese), cream or evaporated milk powder.

I have explained how to make Basundi or Rabri  in a traditional way. Do share your comments or suggestions for this recipe.

[ingredients title=”Ingredients required to make Basundi | Rabdi | Rabri “]

  • 2 liter whole milk (milk with full cream or fats)
  • 3/4 cup sugar or 1 tablespoon sugarfree
  • 1 teaspoon cardamom powder (welchi / elaichi)
  • 1 pinch of saffron ( kesar)- optional ,use kesar in winters to make Basundi
  • 1 tablespoon charoli ( chironji) – if u want to make Basundi.
  • 1 tablespoon finely chopped dry fruits of your choice, I have used pistachios ( pista ) in this recipe.

[/ingredients]

[directions title=”Step by Step Directions to make Basundi or Rabdi at home”]

  1. I have used heavy bottom big pan ( kadahi ) to cook this recipe.

    basundi in hindi
    whole milk
  2. Boil milk in big vessel or kadahi with heavy bottombasundi recipe
  3. Reduce the milk to 3/4 if you wants to make Basundi

    basundi maharastriyan style
    milk reduced to 3/4
  4. Or reduce it to 1/2 if u want to make Rabdi.

    rabdi in hindi
    milk reduced to 1/2
  5. Even if you feel that the consistency or thickness of this recipe is not up to the mark but it gets very thick when it gets cold.
  6. Add sugar or sugarfree (if you want to make this recipe for diabetic) and boil it for 4-5 minutes.

    add sugar
    add sugar
  7. Remove it from flame . If u dont like malai which is formed during evaporation of milk blend this thick basundi with hand blender .This step is optional.
  8. Add charoli ( chironji). In Rabdi we don’t add charoli but in Basundi it is a must.

    add charoli / chironji in basundi
    add charoli / chironji in basundi
  9. Add cardamom powder

    basundi in marathi
    cardamom powder in basundi
  10.  Add finely chopped dry fruits.basundi recipe in marathi
  11. Let it cool down. It will become thick.
  12. Serve hot or chilled Basundi or Rabdi or rabri.

    basundi recipe in hindi
    Basundi

[/directions]

Tips for making quick and easy Basundi / Rabri recipe .

  • Basundi / Rabri recipe using khoa/ mawa / ricotta cheese

Basundi / Rabri made with this method is very quick. For 1 liter of milk 250 gms khoya ( mawa ) is required. Boil the milk, mix khoya with 1cup of cold milk with hand blender or in mixer. Add it to the boiling milk, let it boil for 5-6 minutes. Add 3/4 to 1 cup of sugar or 1 tablespoon sugarfree. Remove it from flames and adddryfruits and cardamom powder as mentioned above.


In this type of Basundi, there is no need to add sugar or just add 1-2 tablespoon. Condensed milk already contains lots of sugar in it but you can add little sugar according to your taste. For 1 liter of milk, 1 tin of condensed milk is required to make quick Basundi. For making this Basundi, add condensed milk to boiling milk, stir it for a while and remove it from flame. You can add extra cream if you want to make this Basundi like Rabdi. Add dry fruits and cardamom as mentioned above


  • Basundi/ Rabri  recipe using cream

In this method you can use homemade cream or Amul fresh cream which is easily available in market. With this method, you can make Basundi / Rabri quickly and it can be made without sugar. In condensed milk, lots of sugar is present so it cannot be used for diabetic people. For 1 liter of milk, you will need 1 or 1 ½  cup of fresh cream. Boil the milk, add cream to it.  Boil it again stirring it continuously for 6-7 minutes. Add Sugarfree or sugar according to your taste . Add dry fruits and cardamom as mentioned above.


  • Basundi recipe using evaporated milk

This is also a quick recipe. You can make this recipe when u want to make a quick dessert . When I was in Pg accommodation we tried this recipe .Boil 1 liter of milk, let it cool down. Add 1 cup of milk powder and 1 cup of condensed milk or fresh cream to it. Boil it for 6-7 minutes stirring it continuously. Remove it from flame, add dry fruits and cardamom powder to it.