Home Blog Page 4

Pitla Recipe | Maharastrian Besan Pithla

pitla recipe
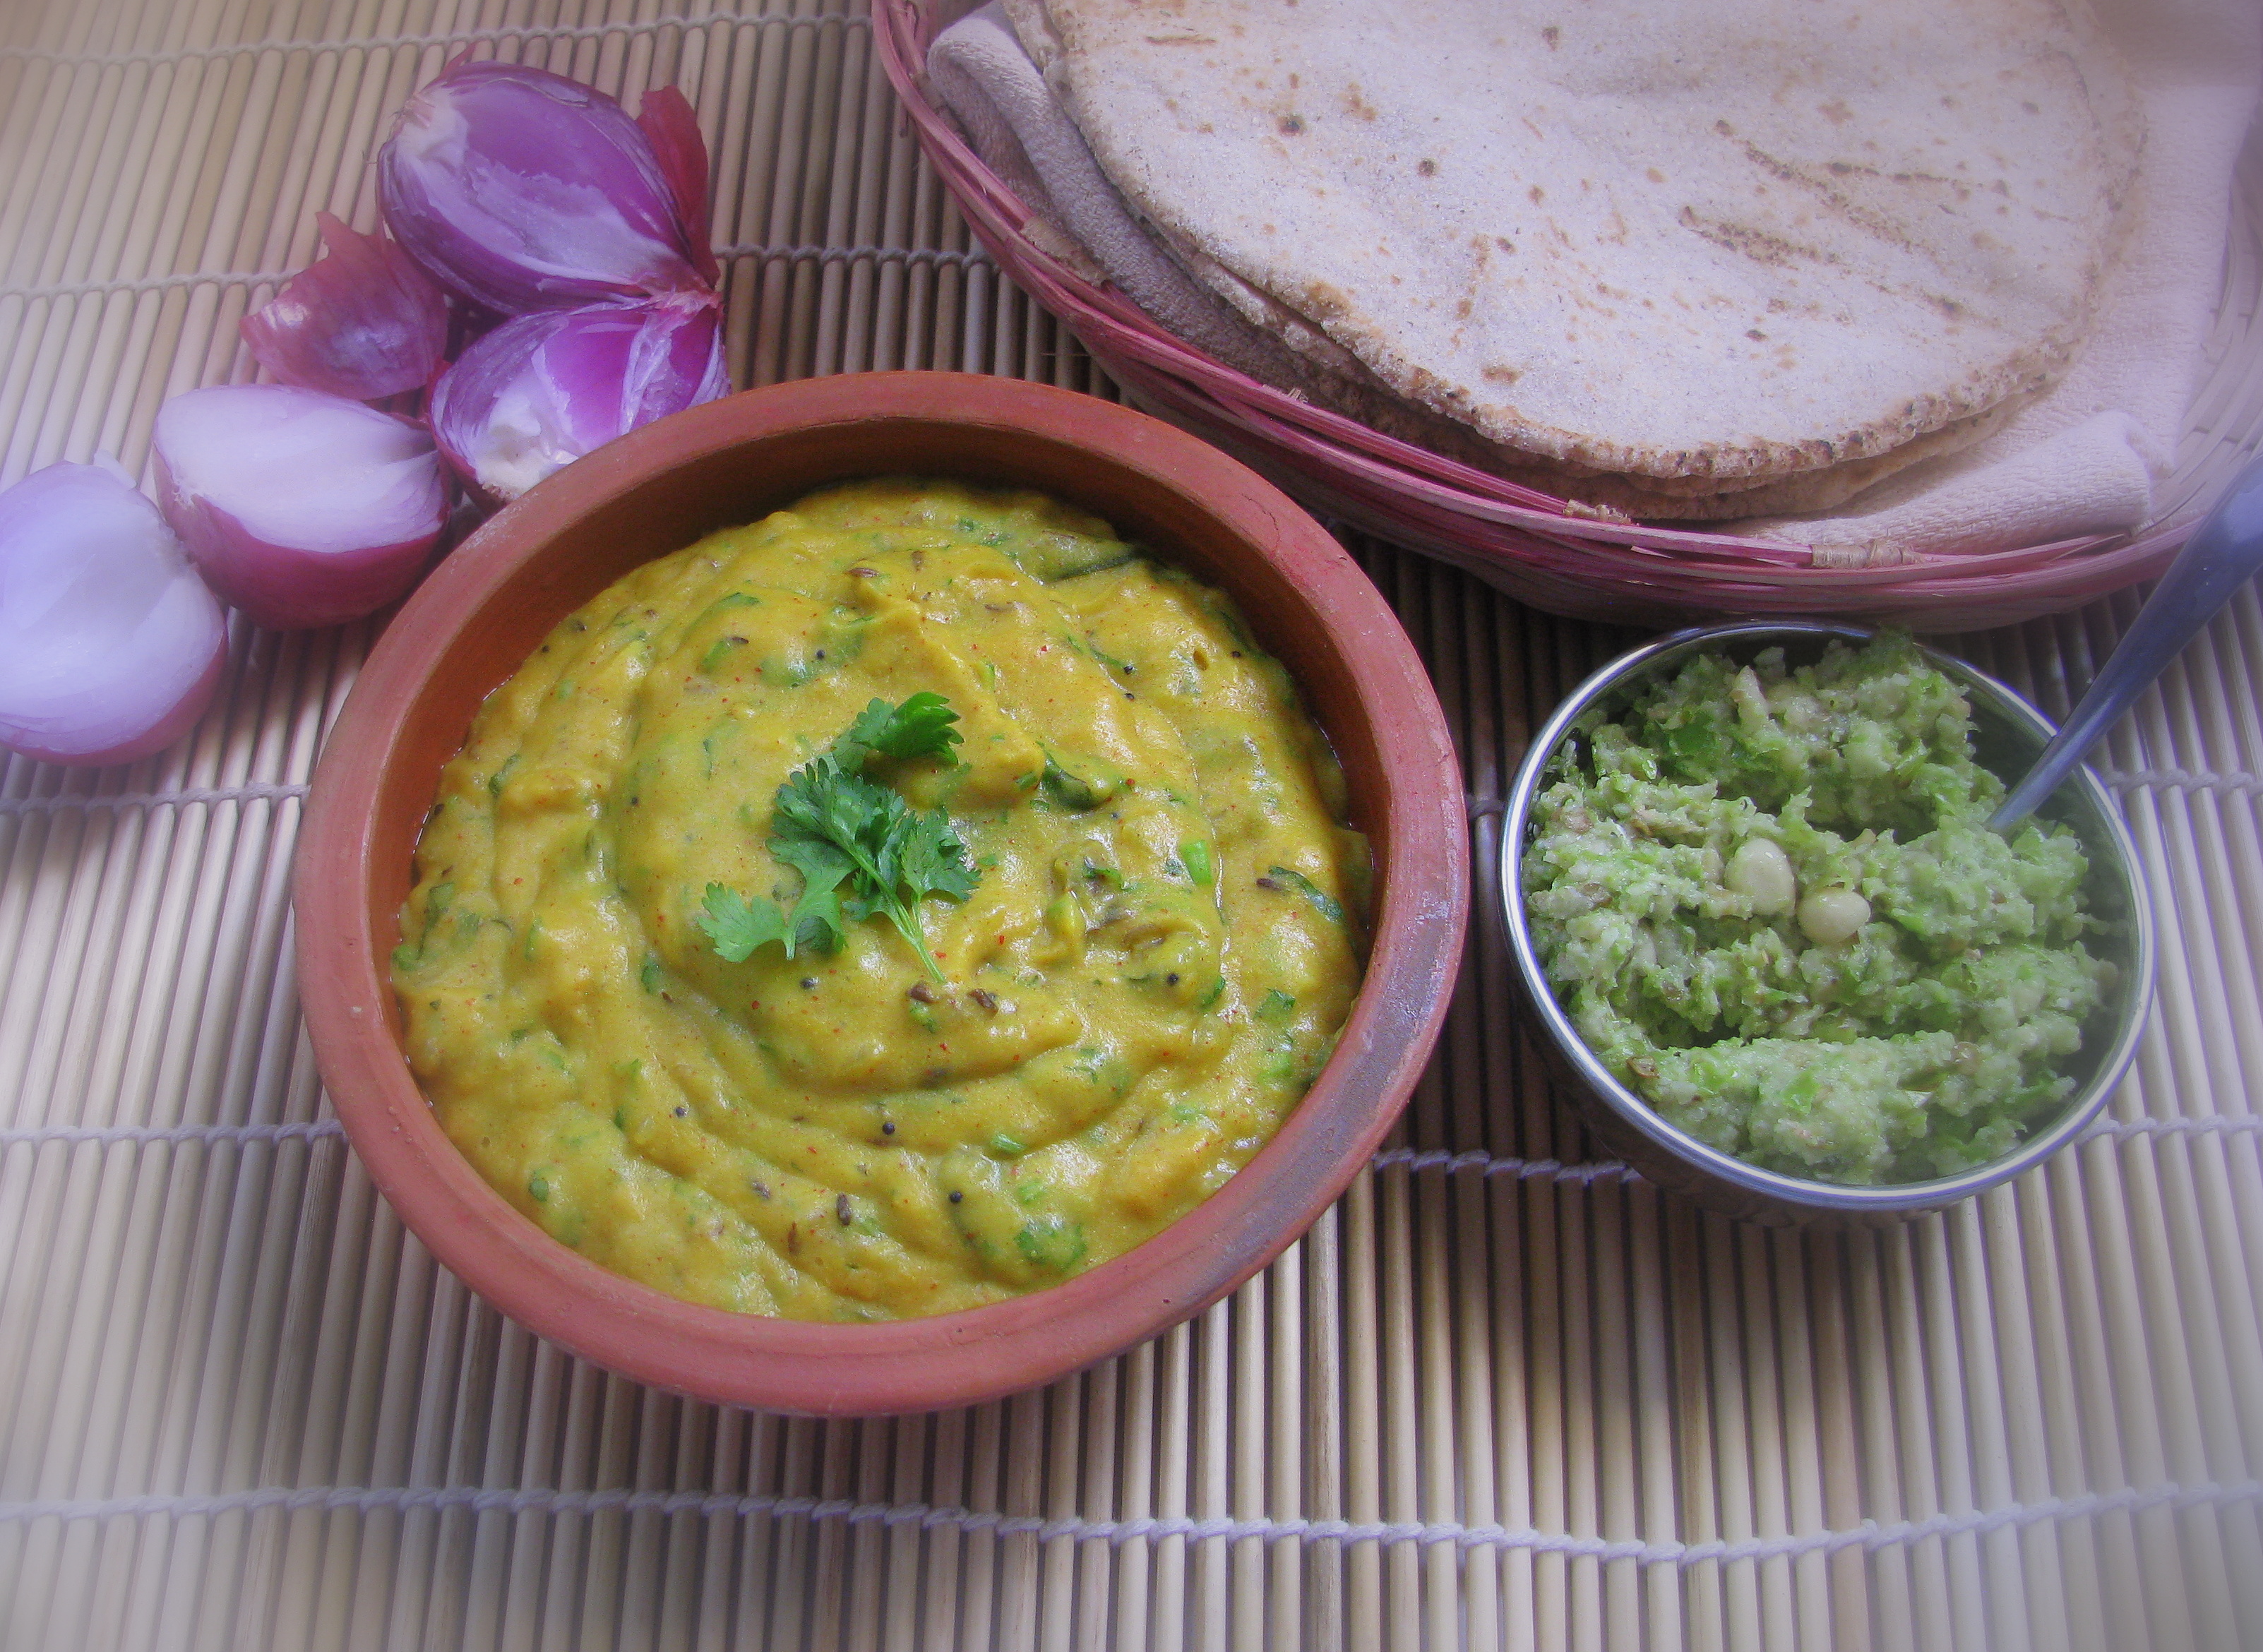
Pithla Bhakri Thecha

Pitla Recipe | Besan Pithla

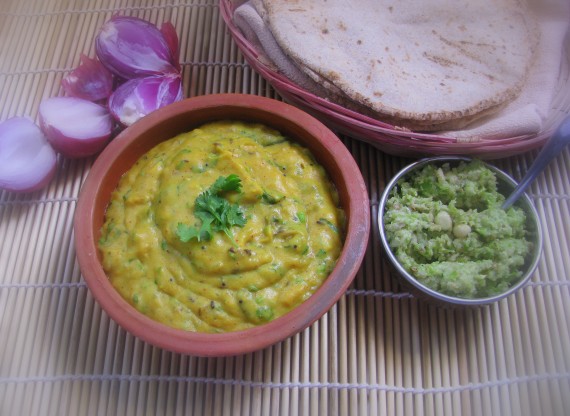
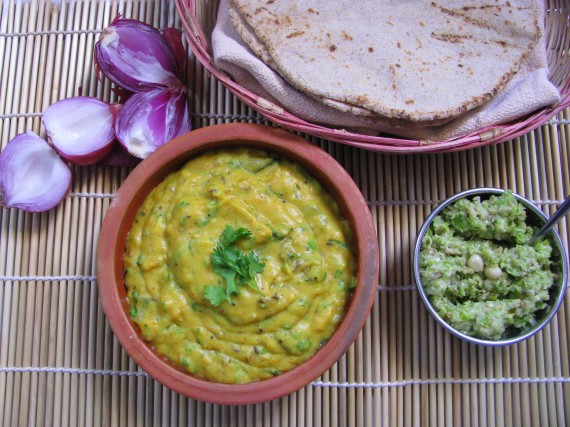
Whenever I make Pitla at home, I feel very nostalgic. It reminds me of my childhood days.  My mom used to make it when there were no vegetables at home or she was in hurry to make dinner. Pithla was something that everybody liked at my home. It’s spicy, tasty, easy to make and can be made in variety of ways. Consistency of Pitla can be changed according to the way you want to enjoy it. It can be runny, thick curry-like or dry. The dry version of pitla is also called as Zunka. Pitla is made runny when we want to eat it with rice. It is made thick curry-like or dry zunka when it is served with bhakri (jowar or bajra roti).

[box] Also check- Hirwi Mirchi Thecha Recipe[/box]

Pitla – Maharastrian Comfort Food

One can get Pithla bhakri or zunka bhakri with onions and dry green chili chutney (thecha) on roadside eateries in Maharashtra. Its tasty and feast for spicy food lovers. Maharashtra is trekkers’ paradise and many treks have small eateries which serve this authentic Maharastrian comfort food. If you go to hill stations like mahabaleshwar, lonvala or any trek in Maharashtra you get pithla bhakri in a very rustic ambiance. In Pune people visit Sinhghad in monsoon to enjoy the awesome weather and have this favorite maharastrian cuisine along the way.
pitla recipe
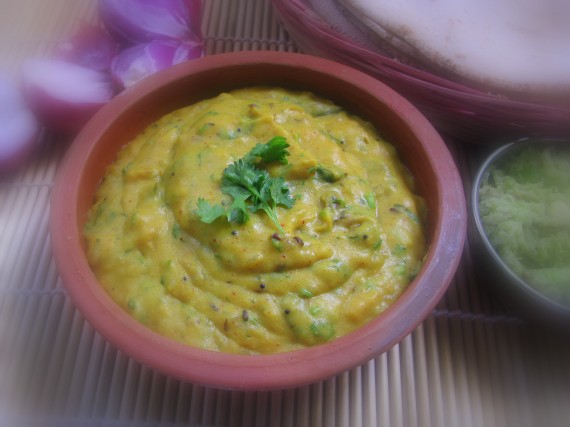
Pitla | Pithla

[box]Also check—Kanda Bhaji Recipe [/box]

Important ingredients for Pitla

Pitla is made from easily available ingredients at home. Preparation of pitla doesn’t take long time, it’s a quick recipe. The main ingredient is besan (gram flour). Pitla is spicy besan curry. For spicy taste, only green chilies and red chilly powder is used. Fresh besan makes pithla taste awesome. My mother never bought ready-made besan, she always made besan from chana dal. After grinding the flour she used to make patodi rassa bhaji(besan ki sabji), Kanda bhaji or pithla.

[box]Also check – Shev bhaji recipe [/box]

How to make Pitla (Pithla) healthy and nutritious

Pithla is rich in proteins and with bhakri or chapati it makes a complete food. Gram flour (besan) has lots of nutritional benefits – it is rich in proteins but it also contains amylase – a slowly digested starch that helps you to feel full longer. With pitla, serve lots of salads like cucumber, tomatoes, radish, onion to increase the nutritional value of meal. Homemade pitla calories are less as compared to the restaurant one, so you can enjoy it without worry. You can also add green vegetables like palak (spinach), methi, ghol bhaji (kulfa / pig-weed) or chival bhaji in pithla to make it healthier. Tomatoes can also be added to pitla.

Calories in Home Made Pithla ( Marathi Dish) |Nutritional Benefits of Pitla / Pithla

Nutrition Facts

Home Made – Pithla ( Marathi Dish)

  
1 bowl of pithla
Calories 182 Sodium 166 mg
Total Fat 9 g Potassium 0 mg
Saturated 5 g Total Carbs 20 g
Polyunsaturated 0 g Dietary Fiber 4 g
Monounsaturated 0 g Sugars 6 g
Trans 0 g Protein 6 g
Cholesterol 0 mg
Vitamin A 0% Calcium 0%
Vitamin C 0% Iron 0%

*Percent Daily Values are based on a 2000 calorie diet. Your daily values may be higher or lower depending on your calorie needs.                 source- myftnesspal
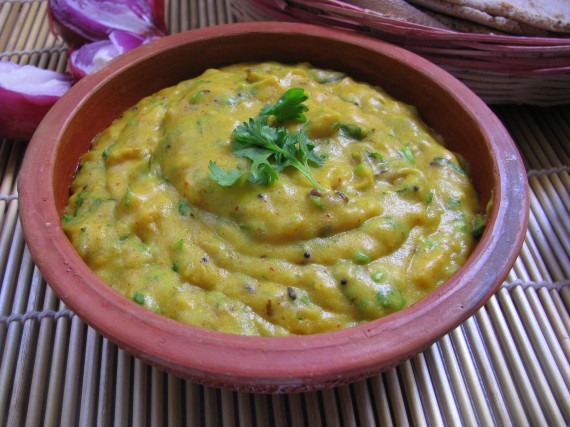
prepare besan pithla / pitla
pitla

[box] Also check- Patodi rassa Bhaji | Besan ki sabji [/box]

I have explained step by step recipe of basic pitla without any vegetables which can be made very quickly and even when there are no vegetables in refrigerator. Its an awesome recipe especially for bachelors when they want to eat easy to make home-made food.
[ingredients title=”Ingredients to make pitla”]

  • ½ cup Besan (chickpea flour)
  • 2 cups of water
  • 2-3 green chillies finely chopped(adjust it according to taste)
  • 3-4 garlic cloves finely chopped (lasun)
  • 1 medium size onion chopped
  • 1 teaspoon red chilli powder
  • 1 teaspoon turmeric powder
  • 1 teaspoon mustard seeds(mohri)
  • 1 teaspoon cumin seeds (jeera)
  • 1 tablespoon oil (I prefer groundnut oil)
  • 9-10 curry leaves (optional)
  • Pinch of asfoetidia
  • 1 tablespoon finely chopped coriander
  • Salt to taste

[/ingredients]

[directions title=”Step by Step Directions to make Pithla”]

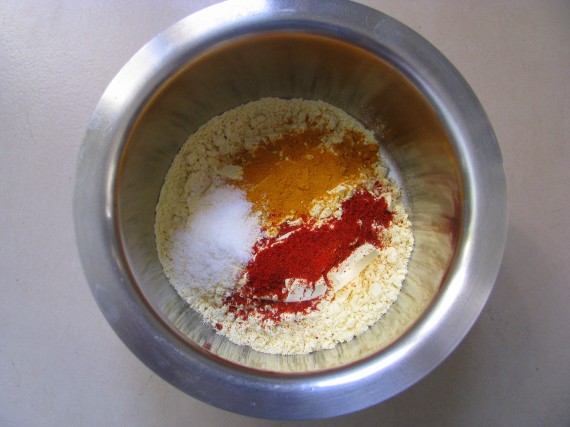
  1. Take besan, red chili powder, turmeric powder and little salt in a mixing bowl.p2
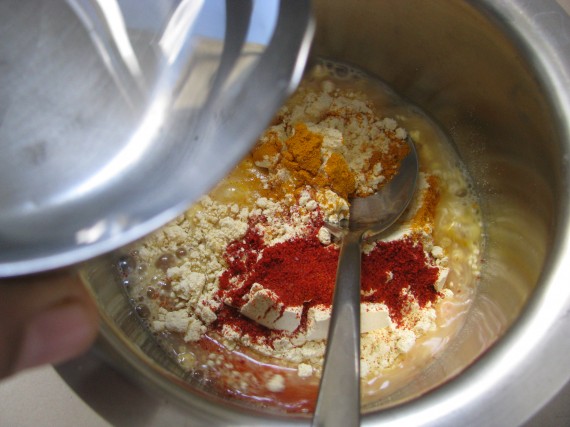
  2. Add little water at a time and make a smooth paste of it.p3
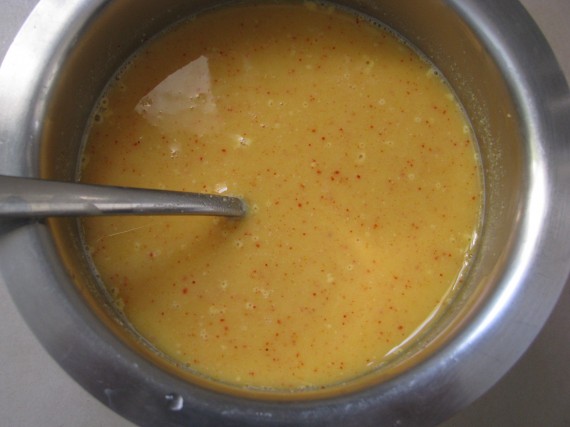
  3. Add all the remaining water to this paste, mix it and keep it aside.p4
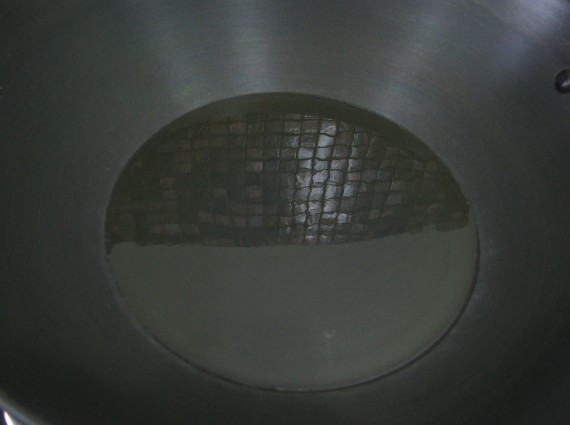
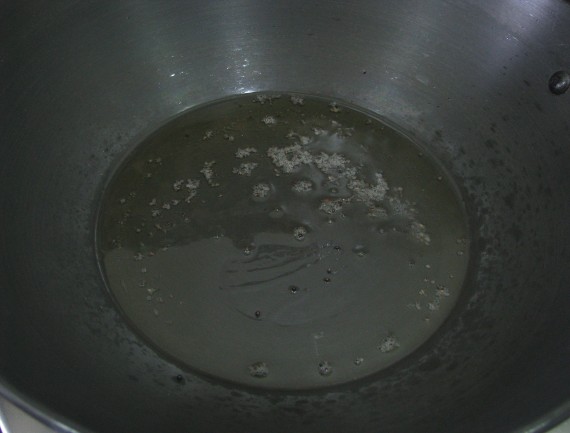
  4. Heat oil in kadhai.p5
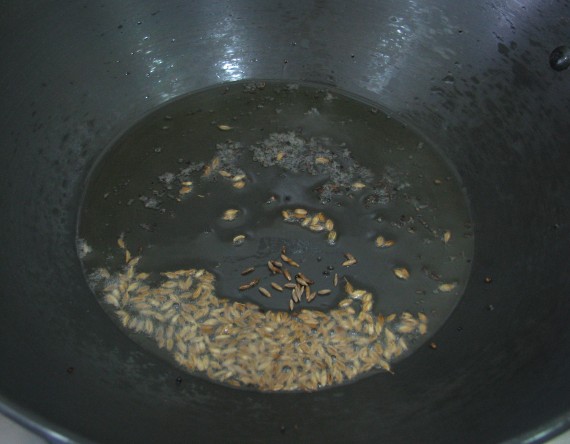
  5. When oil is hot add mustard seeds.p6
  6. When it crackles, add cumin seeds and let them sizzle.p7
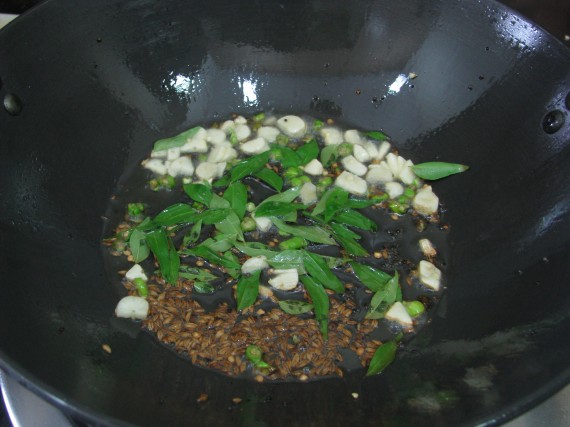
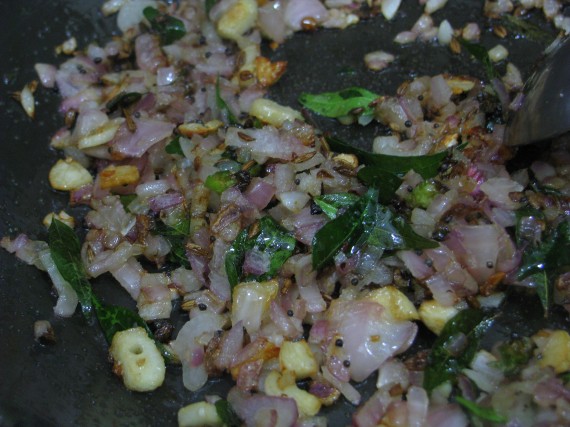
  7. Now add finely chopped garlic, curry leaves, and green chillies and let it fry.p8
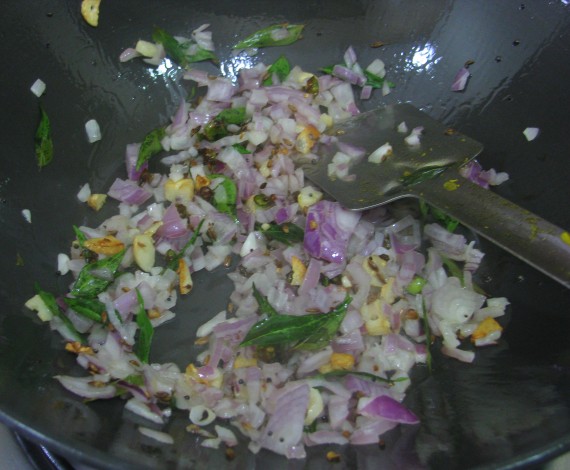
  8. Add onion to it.p9
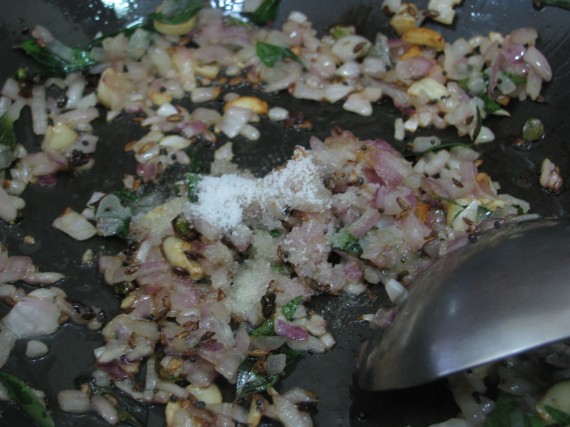
  9. Add little salt to it.p10
  10. Mix it and let it cook until onion softens up.p11
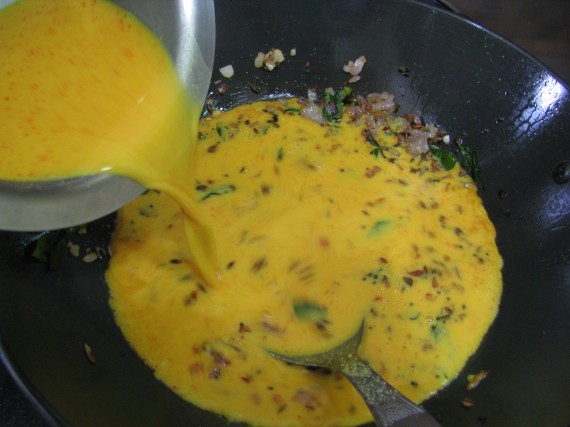
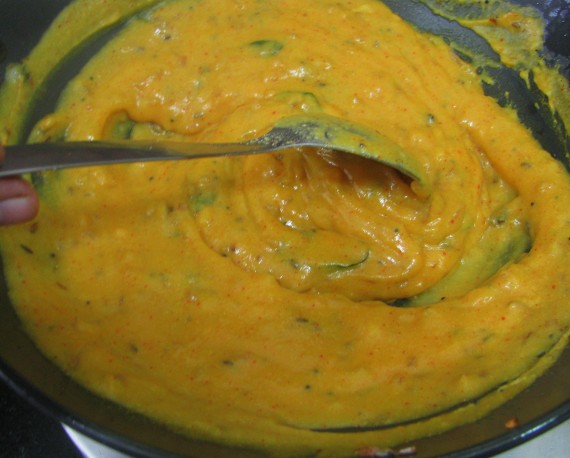
  11. Add besan paste and mix it nicely.p12
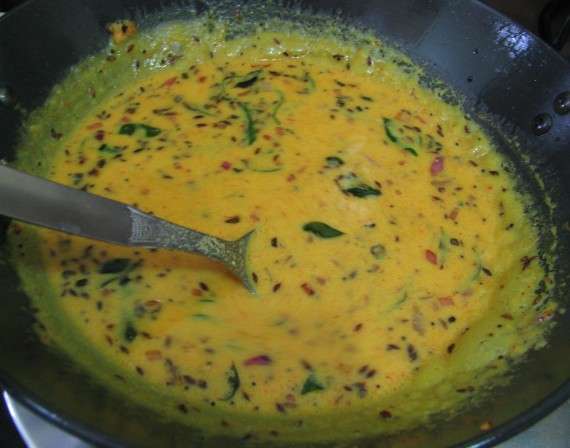
  12. It will start becoming thick.p13
  13. Stir it continuously and keep on adding small amount of water to get right consistency.p14
  14. Now cover it with lid and  let it cook for 7-8 minutes on low flame, stir it occasionally.p15
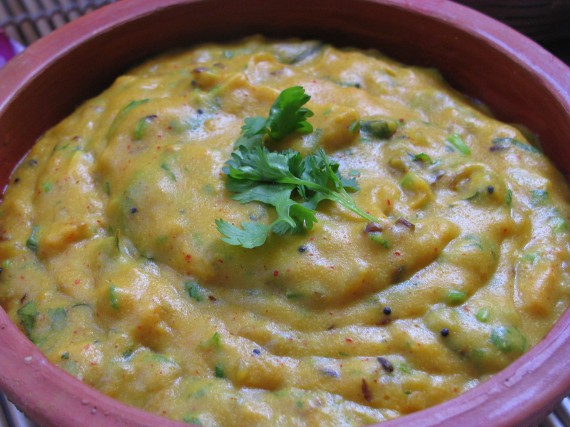
  15. Garnish it with corianderp25
  16. Serve this Pitla with Bhakri, Roti or Rice and Spicy Thecha.p23

(if you want to make Pithla-bhath, add more water in Pitla while cooking to get thin consistency)

[/directions]


Khirapat and Panchkhadya or Panch Gudkhadya for Ganesh chaturthi

ganegh prasad - khirapat | panchkhadya
khirapat | panchgudkhadya

Kheerapat and Panchkhadya or panch gudkhadya  is served after ganpati aarti  during Ganesh chaturthi festival. This is a easy to make dry prasad for ganpati. This recipe is made in variety of ways in many Marathi homes. My mom used to make both kheerapat as well as panchkhadya. Panch khadya is made from 5 ingredients, it is also called as panch gud khadya. She always made a big batch of this dry Prasad so that it will go for 11 days. But me and my brother would never let it last for more than 5 days. It was very tasty. This Panchkhadya Prasad has long shelf life as compared to kheerapat, due to roasted ingredients.

[box]Also check- Different types of Modak Recipes[/box]

khirapat recipe
kheerapat

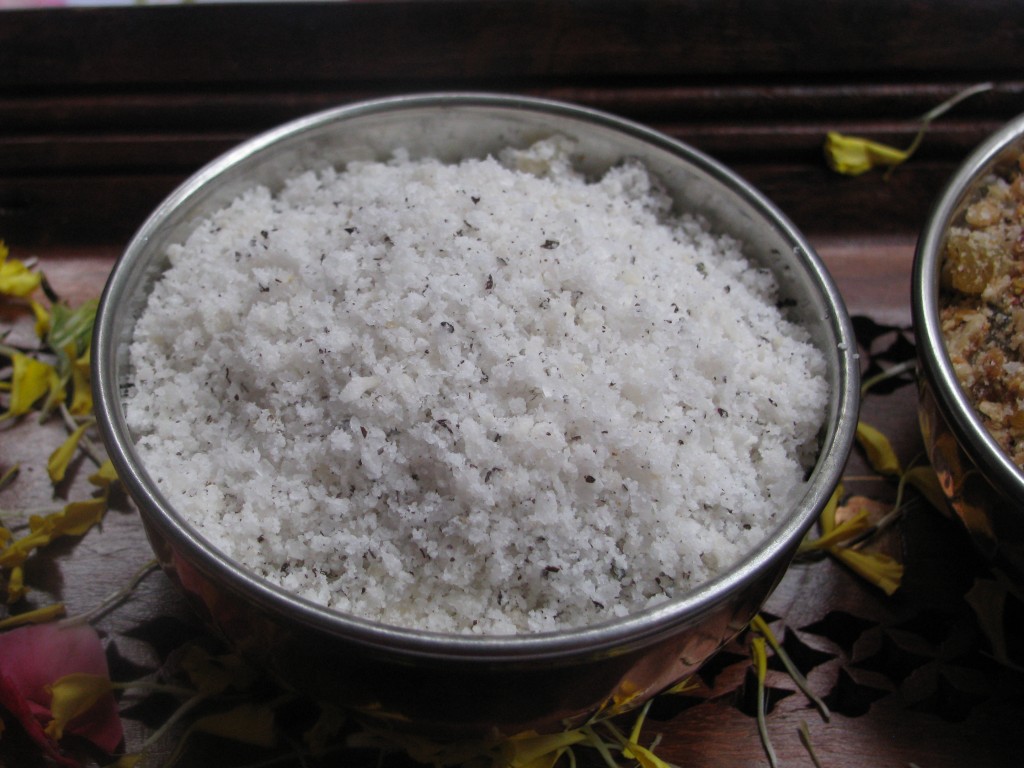
Many people make kheerapat and Panch khadya seperately. Kheerapat is a very simple recipe and it contains only 3 ingredients – coconut, sugar and cardamom powder. Kheerapat is generally served in “Sarvajanik Ganesh mandal” after ganpati  aarti. It is also served after gulabai and bohondla songs which are very famous in Maharashtra. All this makes me very nostalgic!

[box]Also check- Satyanarayan pooja Prasad recipe[/box]

panchkhadya | panch gudkhadya

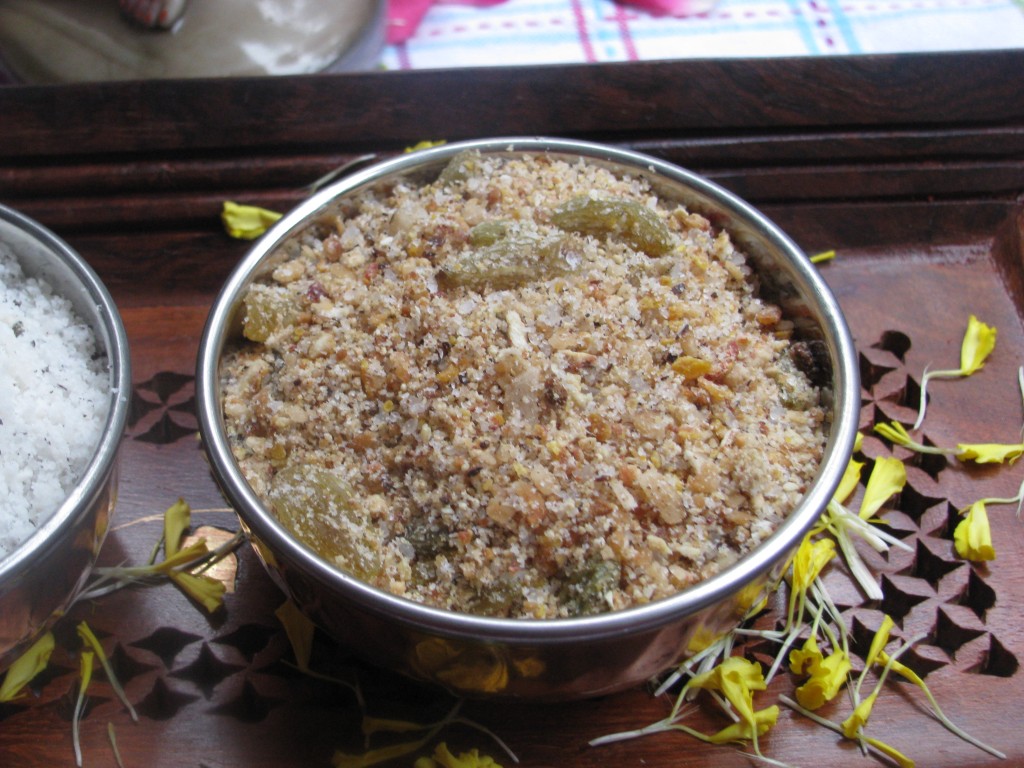
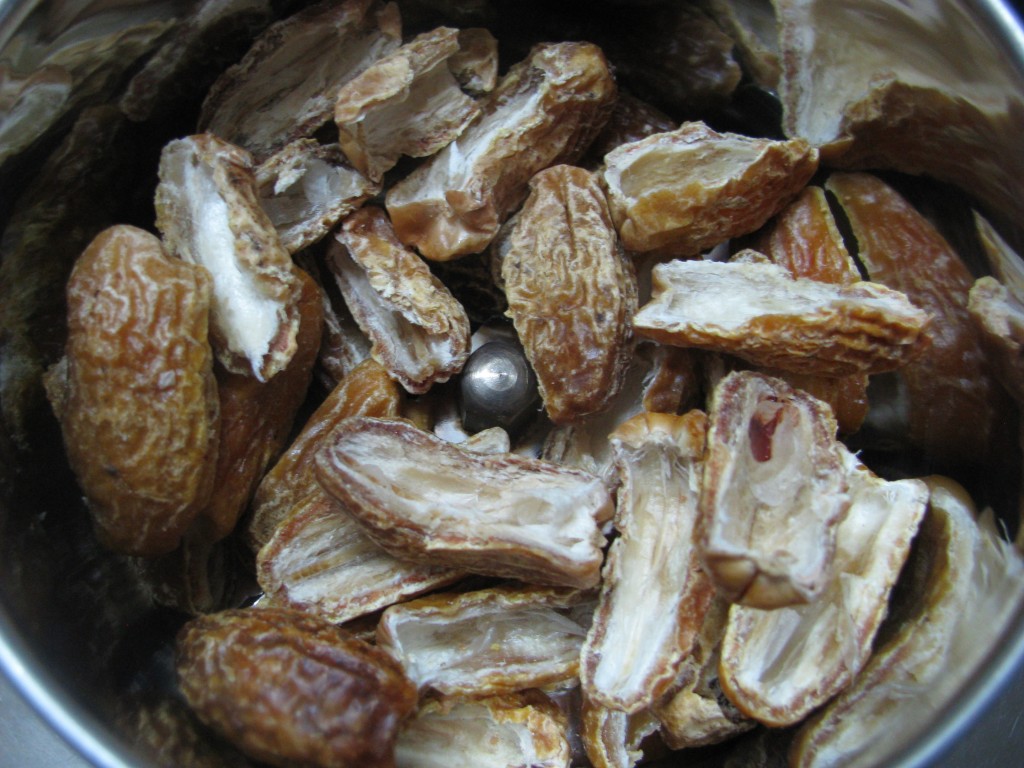
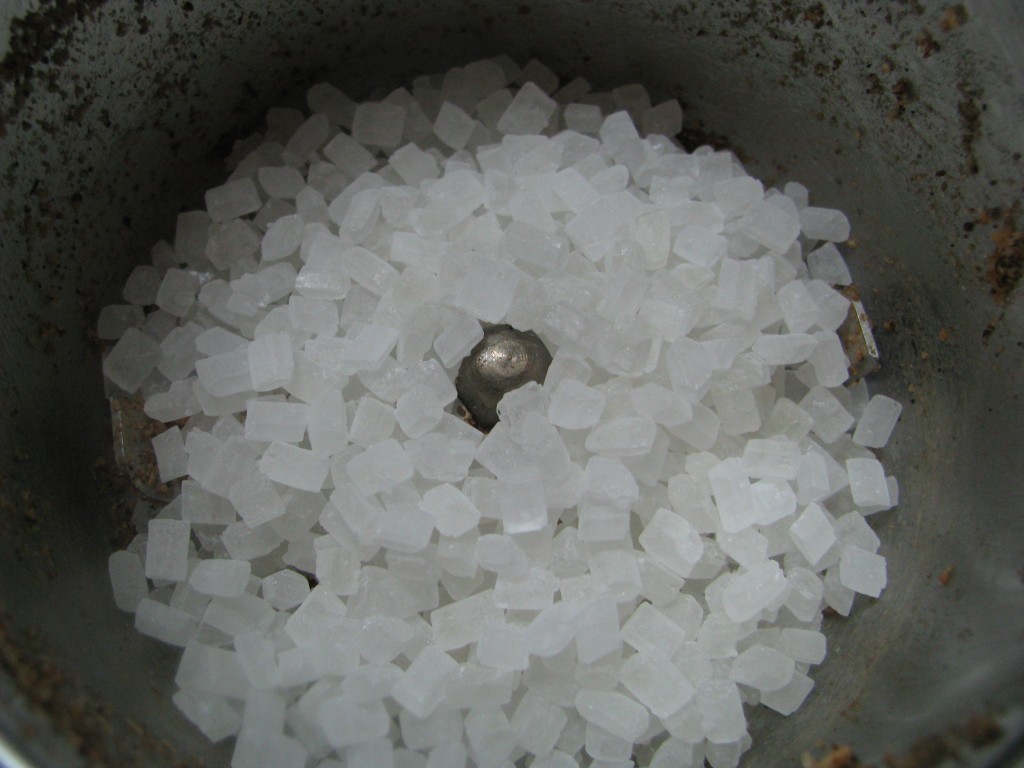
Panchkhadya has 5 ingredients whose Marathi name starts from ” kh” they are kharik (dry dates/ chuara) , khopra (dry coconut / sukha gola) , khishmish ( dry grapes), khus khus  (poppy seeds), khadisakhar ( rock sugar / mishri). This mixture of 5 ingredients is said to be very nutritious for brain. You can also use panchkhadya for stuffing of fried modak .

[box]Also check – Panchamrut recipe for pooja[/box]

I have shared how to make kheerapat and panch gudkhadya. Make any recipe according to your  convenience in this Ganpati festival.

[ingredients title=”Ingredients to make Kheerapat | Khirapat”]

  • 1 cup grated dry coconut ( kislele sukha khobra/ sukha nariyal or gola)
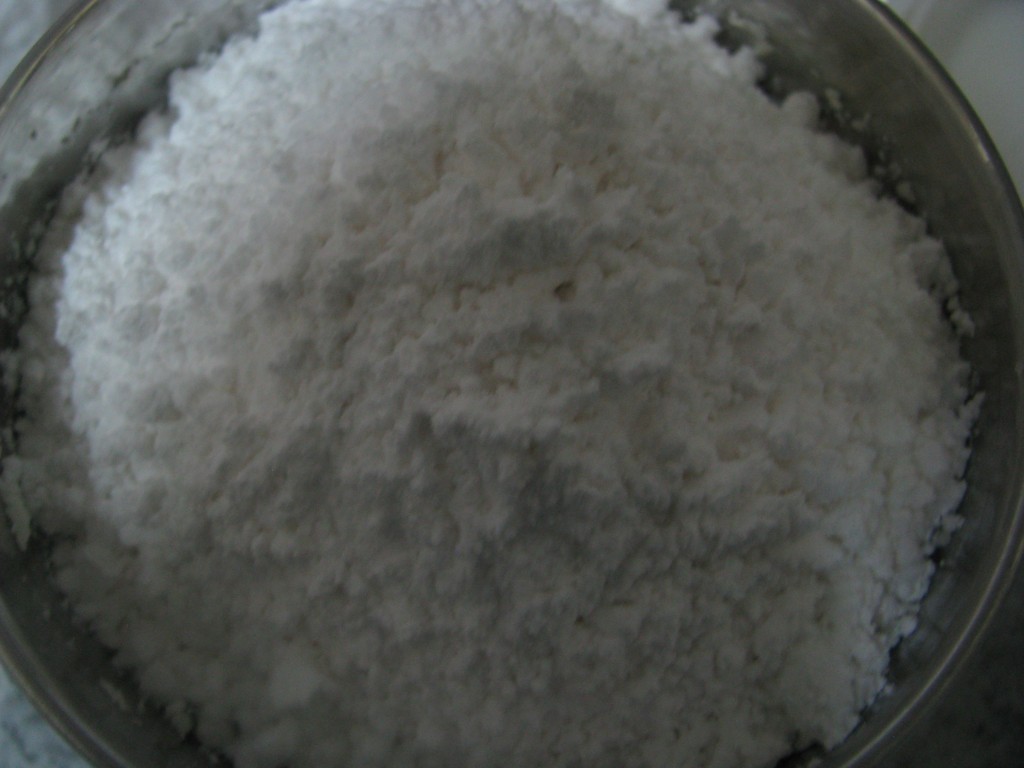
  • 1/2 cup powdered sugar ( pithi sakhar / pisi hui chini)
  • 1 teaspoon cardamom powder ( velchi pud / elaichi)

[/ingredients]

[directions title=”Step by step directions to make Kheerapat | Khirapat”]

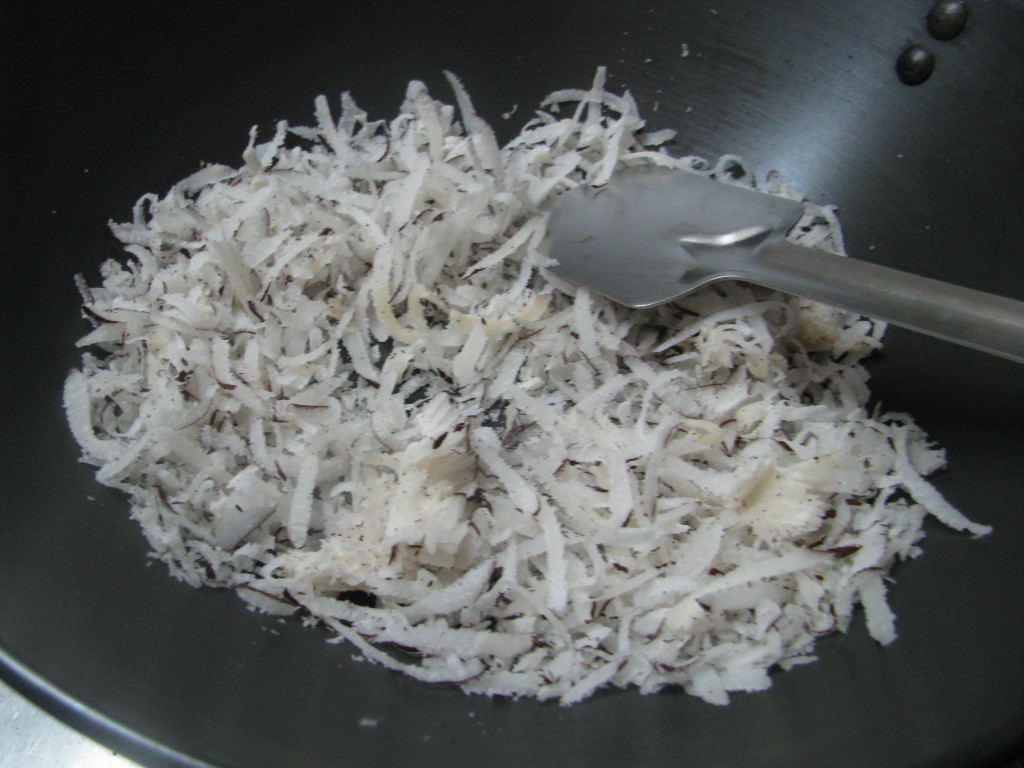
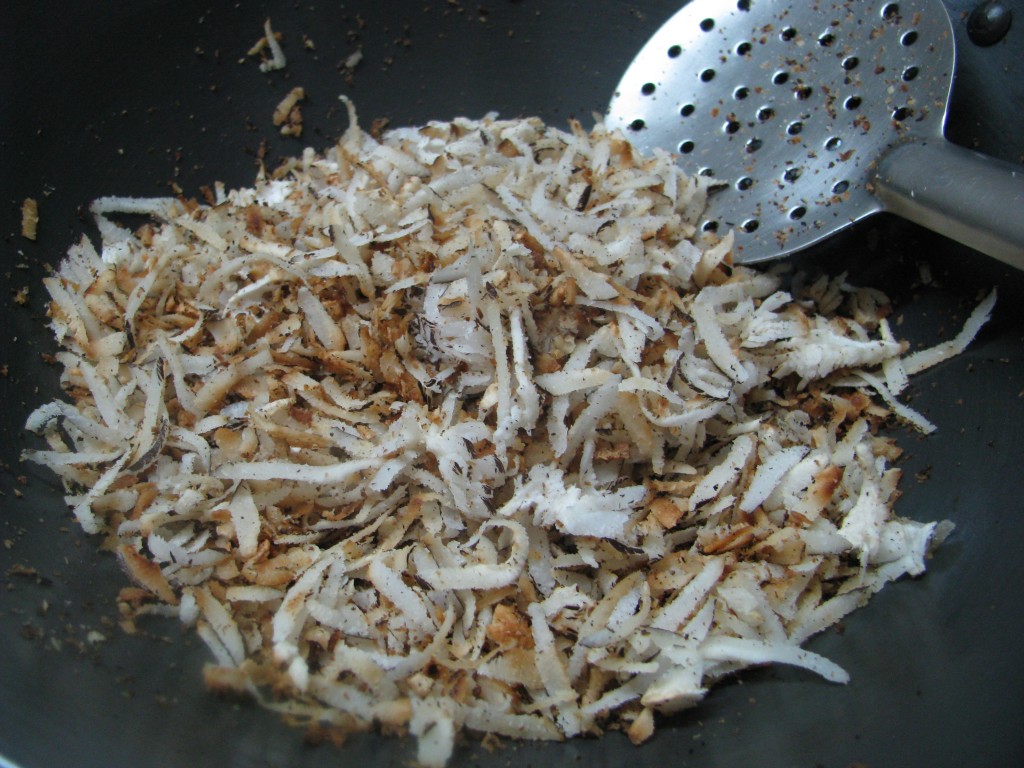
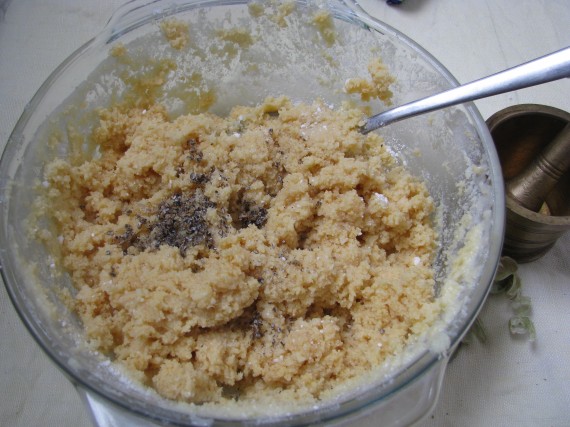
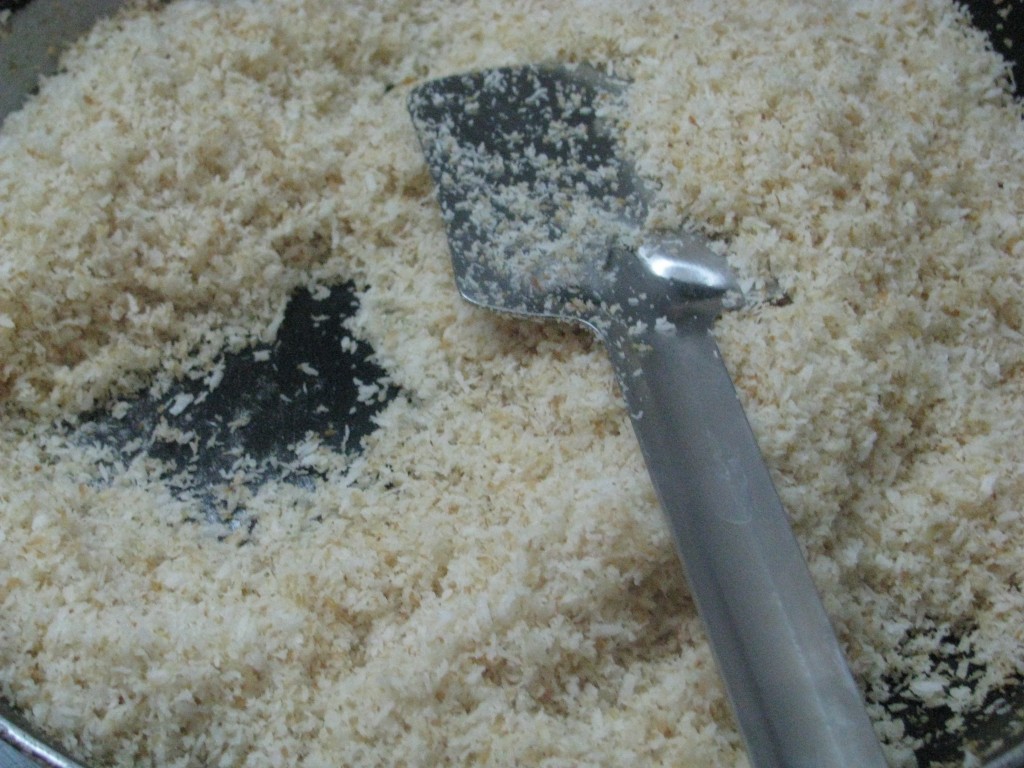
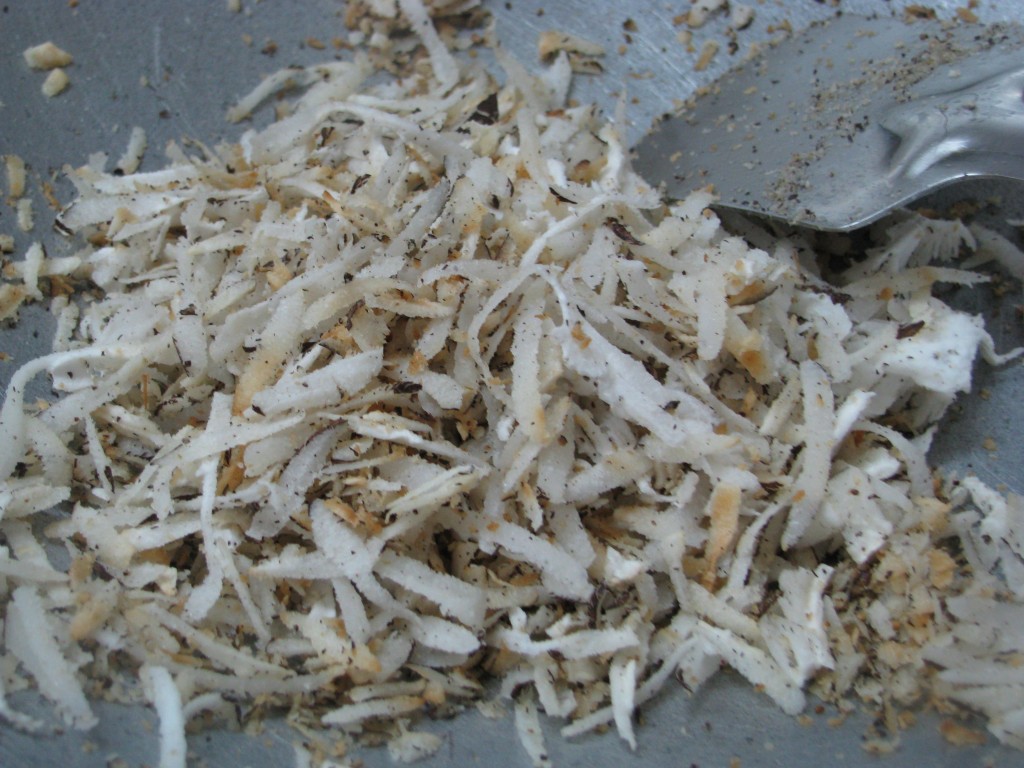
  1. Roast grated coconut on low flame for 2-3 minutesIMG_1989
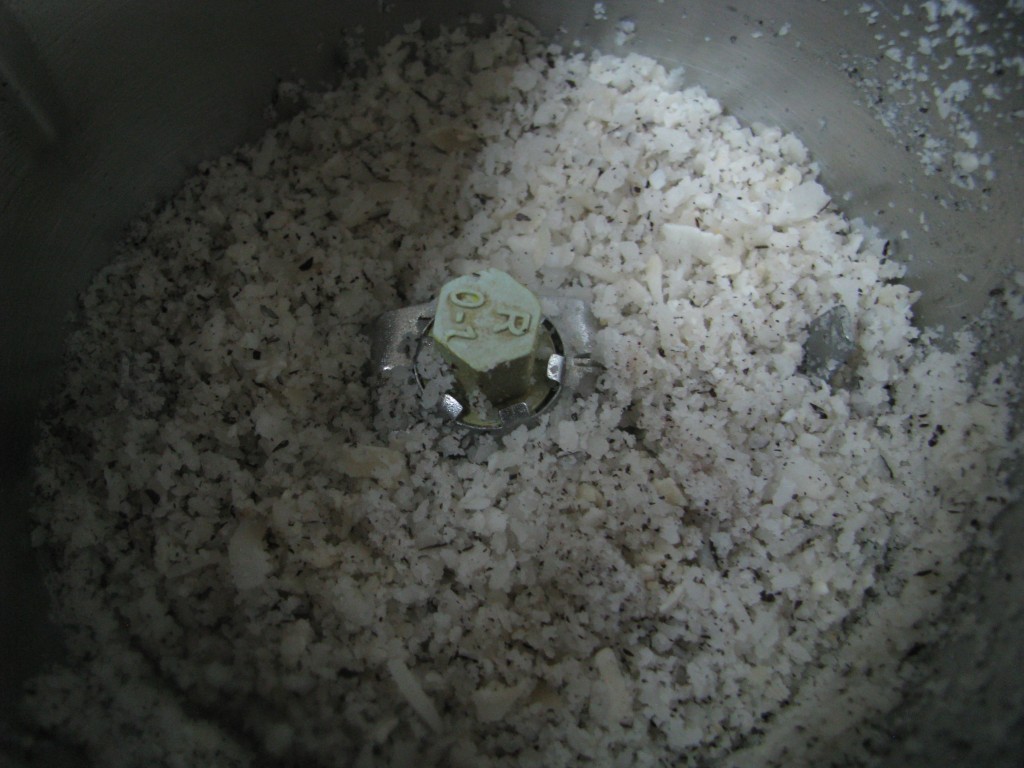
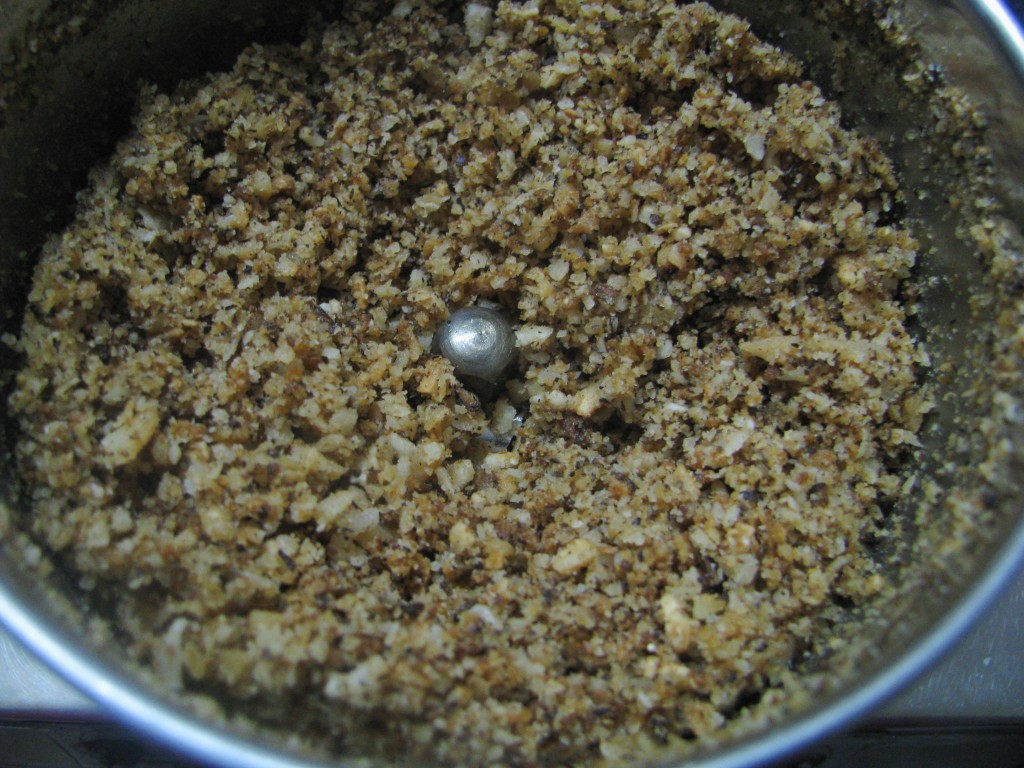
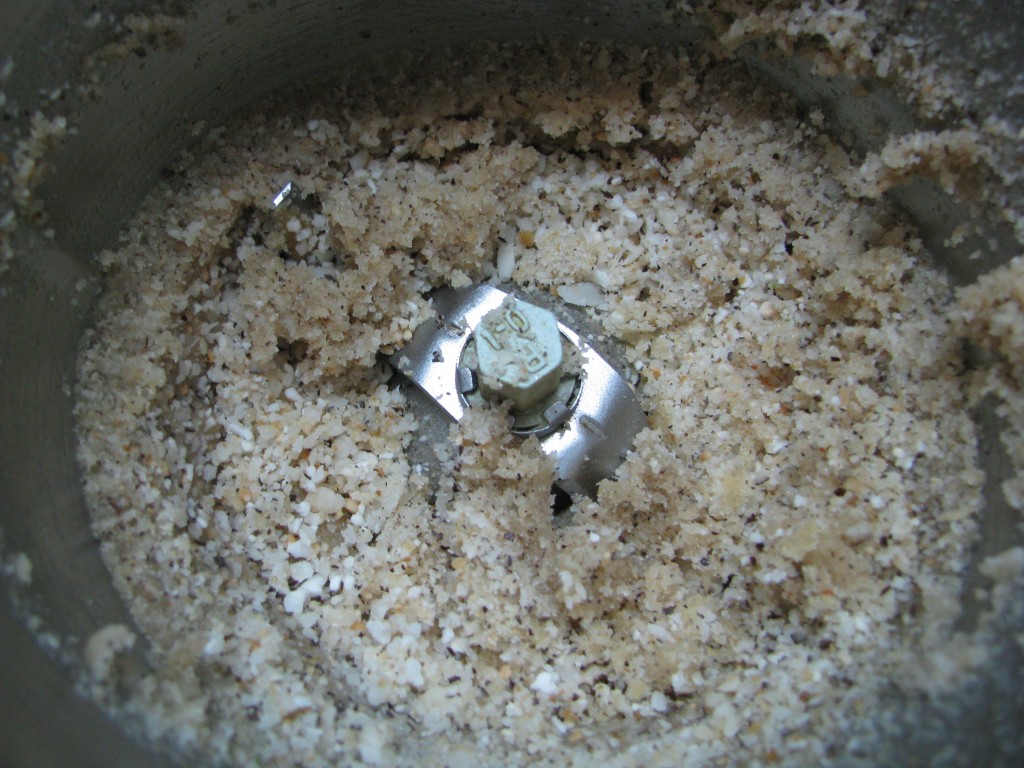
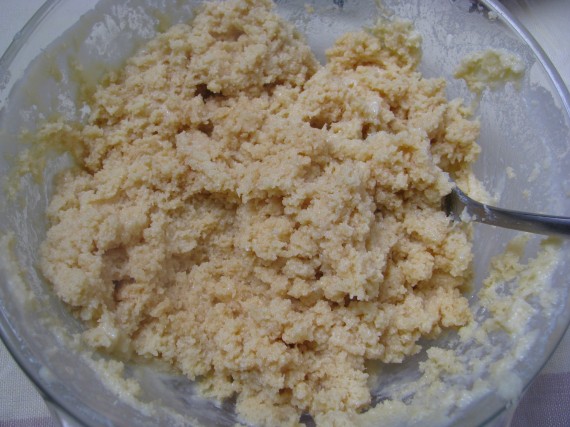
  2. Let it cool down. Coarsely grind it in mixer or pound it in khal batta.IMG_1993
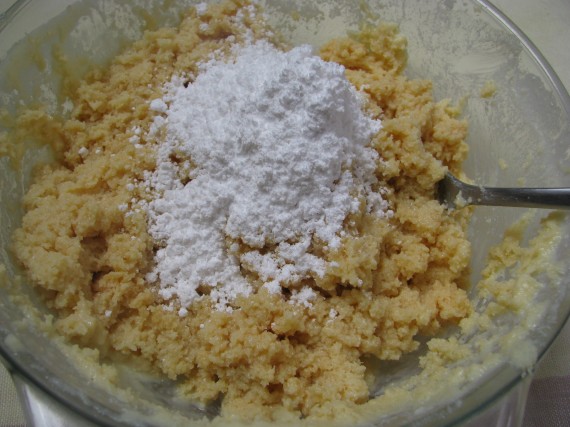
  3. Mix it with powdered sugar and cardamom powder.

    khirapat
    kheerapat
  4. Kheerapat is ready for ganpati naivedyam and Prasad.

[/directions]

Note- Shelf life pf kheerapat is less as compared to panchkhadya . You can keep it only for 2-3 days. If you want to store it for 11 days, roast the coconut until it becomes light brown. But many people like kheerapat white in color. In that case, keep it in airtight box and refrigerate.

[ingredients title=”Ingredients to make Panchkhadya| Panchgudkhadya | Panch khadya”]

  • 1 cup grated dry coconut ( kislele sukha khobra / kadukas kiya hua gola)
  • 1/2 cup rock sugar ( khadisakhar / pathrishakhar/Mishri
  • 1 tablespoon poppy seeds ( khus khus )
  • 10 -15 dry dates ( kharik / chuara)
  • 1/2 cup kishmish
  • 1/2 teaspoon cardamom ( welchi / elaichi ) powder – optional for flavor

[/ingredients]

[directions title=”Step by step directions to make panchkhadya or panch gudkhadya for ganpati naivedyam “]

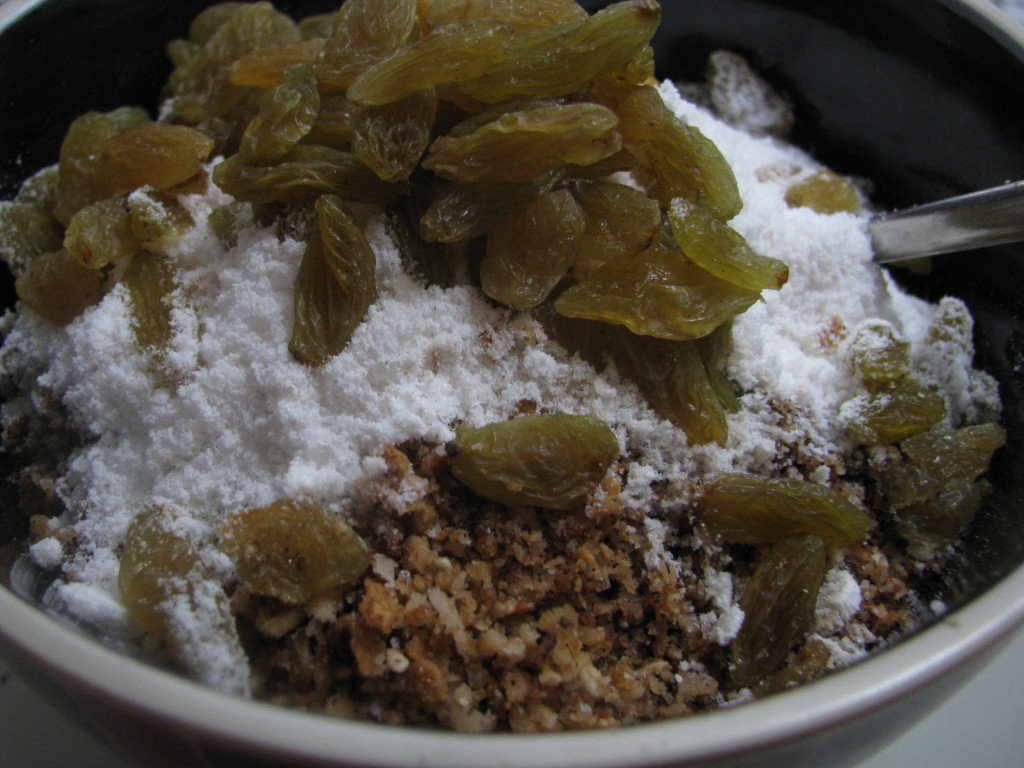
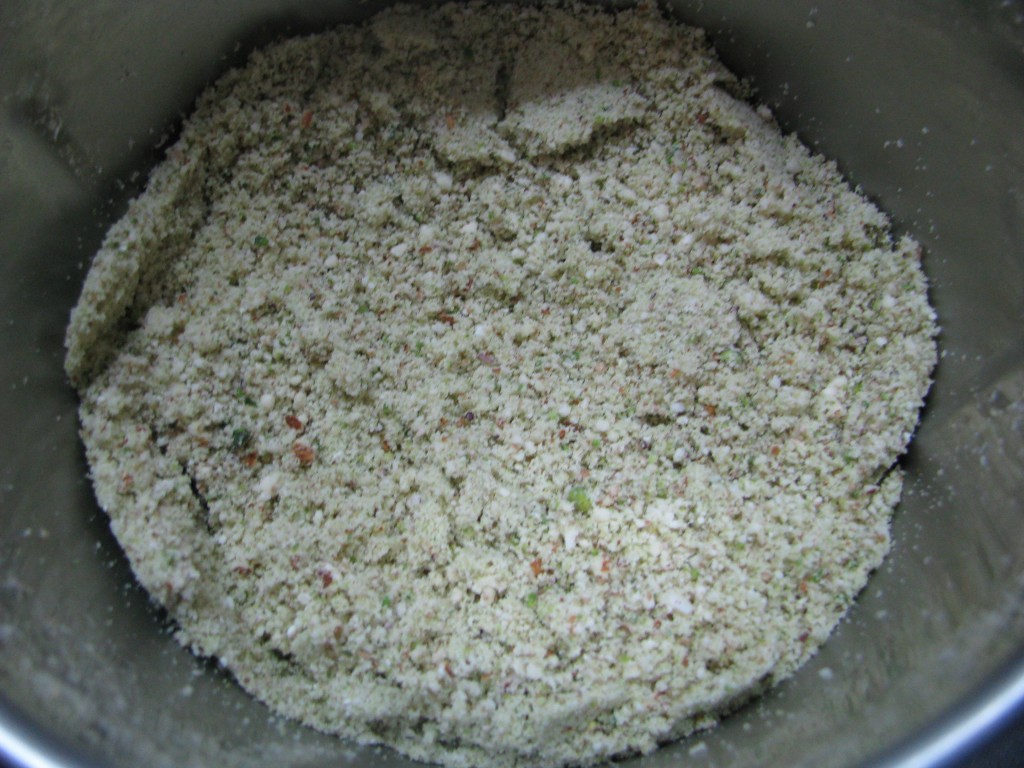
  1. Dry roast coconut until it becomes light brown on low to medium flame. Let it cool downIMG_1973
  2. Crush the roasted coconut with your fingers or coarsely grind it in mixer.IMG_1981
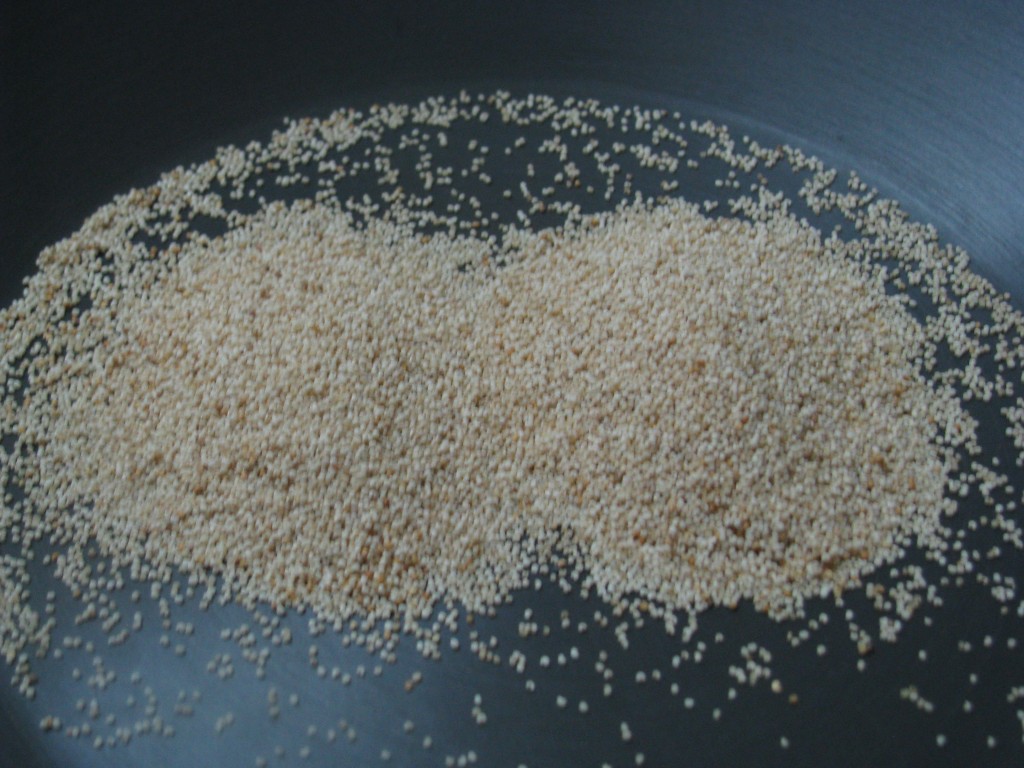
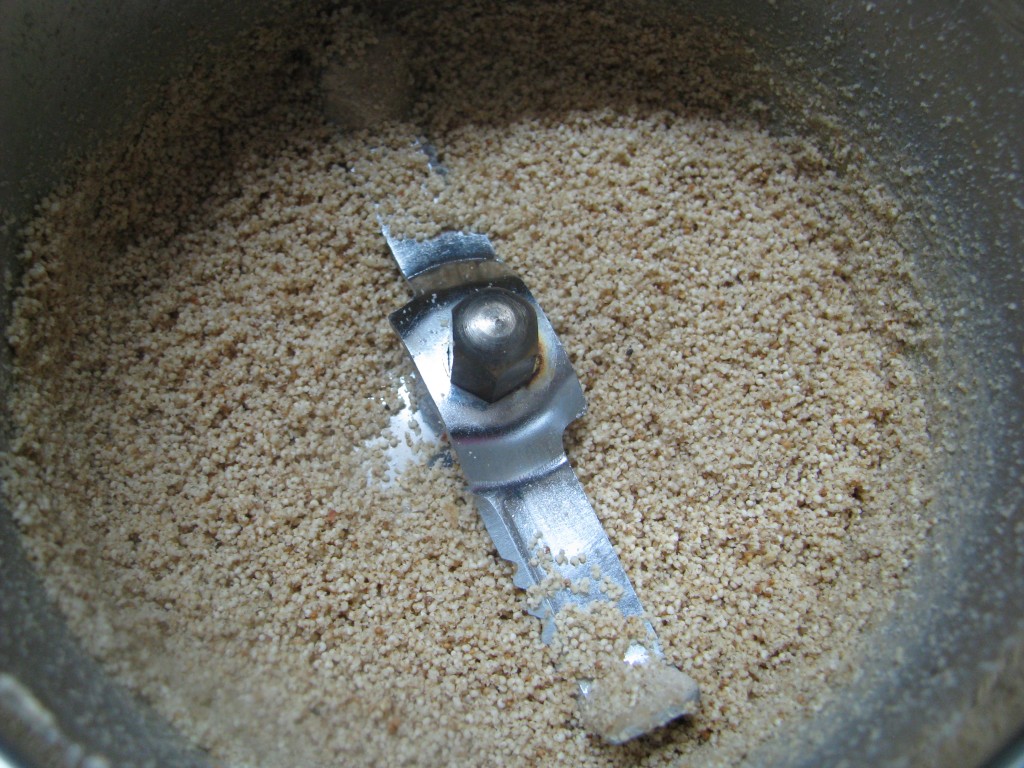
  3. Dry roast  khus- khus or poppy seeds on low flame for 1-2 minutes, pound it in mortar and pestle ( khal batta) or coarsely grind it in mixer .IMG_1971IMG_1979
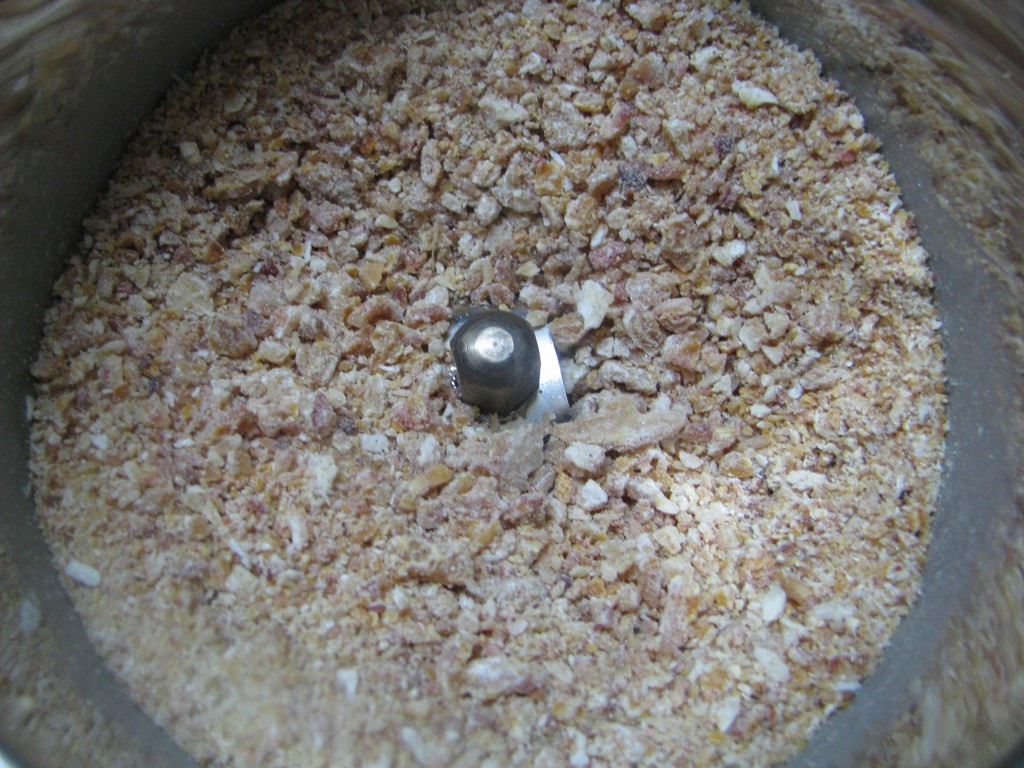
  4. Remove seeds from dates and make powder of it.IMG_1968IMG_1970
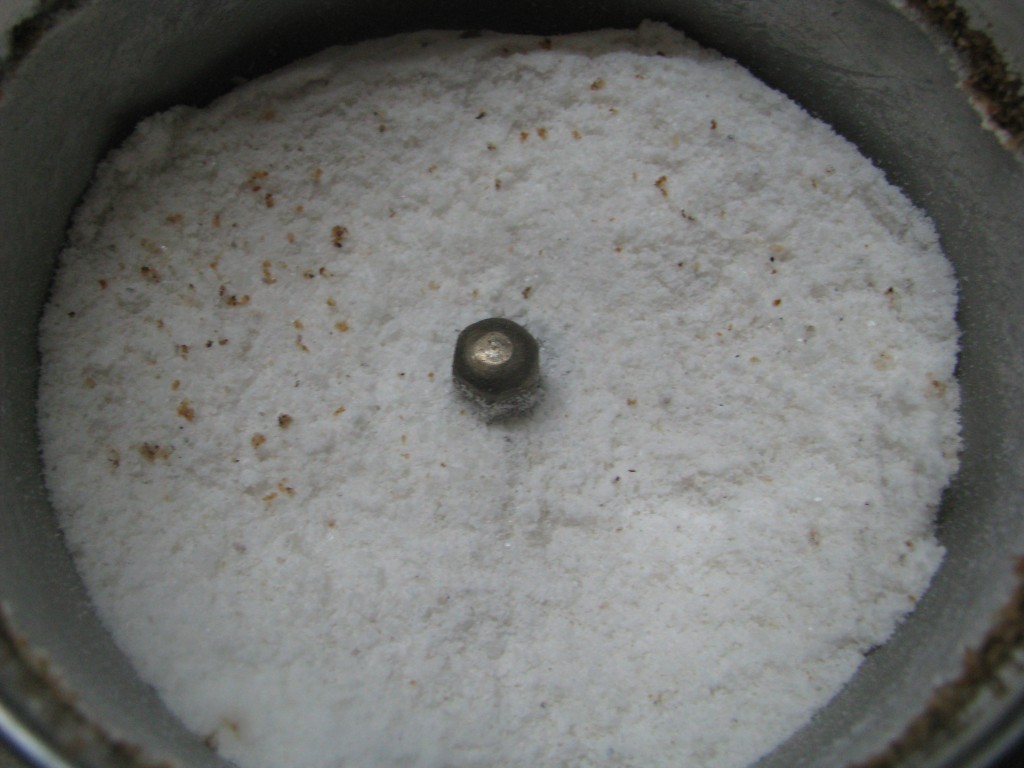
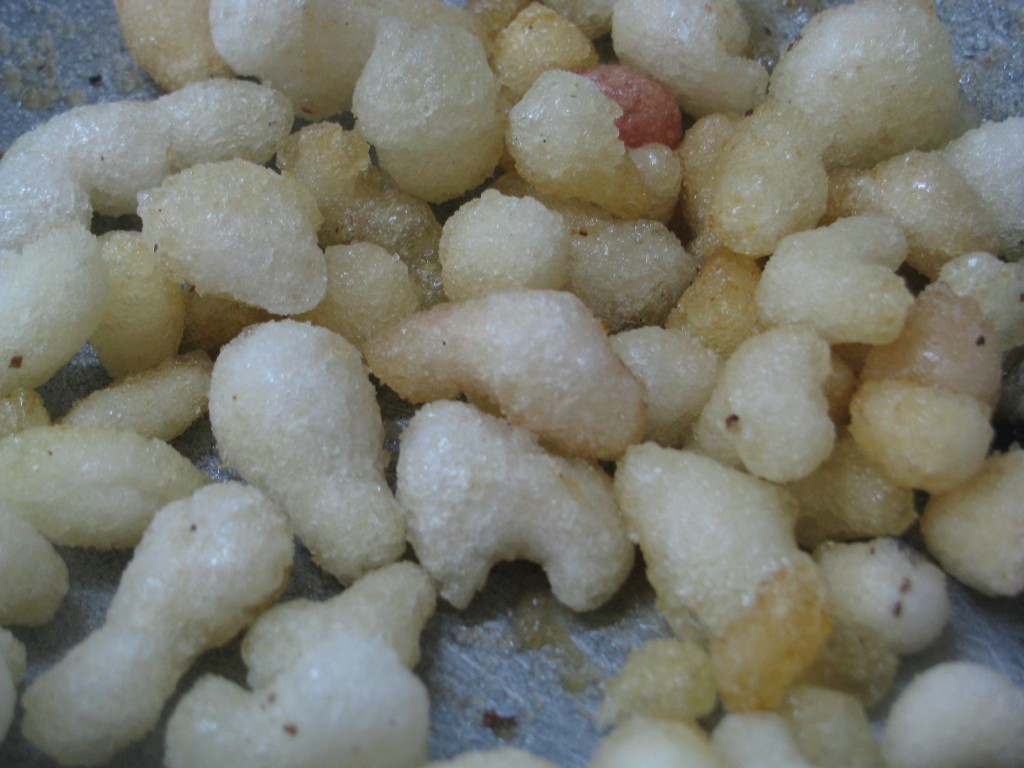
  5. Pound the rock sugar / mishri in mortar and pestel ( khal batta ) or mixer into coarse powder.IMG_1982IMG_1983
  6. Mix all the above ingredients, and add cardamom powder. Panchkhadya is ready for naivedyam and Prasad.IMG_1988

    panchkhadya | panch gudkhadya
    panchkhadya | panch gudkhadya

[/directions]

Note – if Kharik ( dry dates/ chuara ) are soft, roast it for 3-4 minutes on low flames. Let it cool down completely and then make powder of it. You can also microwave it for 1-2 minutes , let it cool down and then make powder of it .Its difficult to powder dry dates (kharik) if its soft.

Chocolate Modak Recipe | How To Make Chocolate Modak from Khoa or Chenna

chocolate modak recipe in marathi
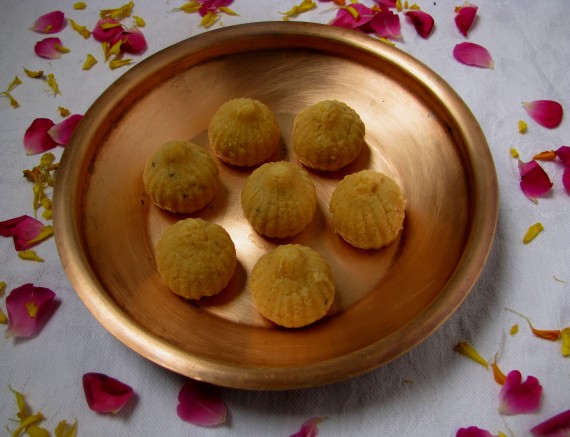
chocolate modak

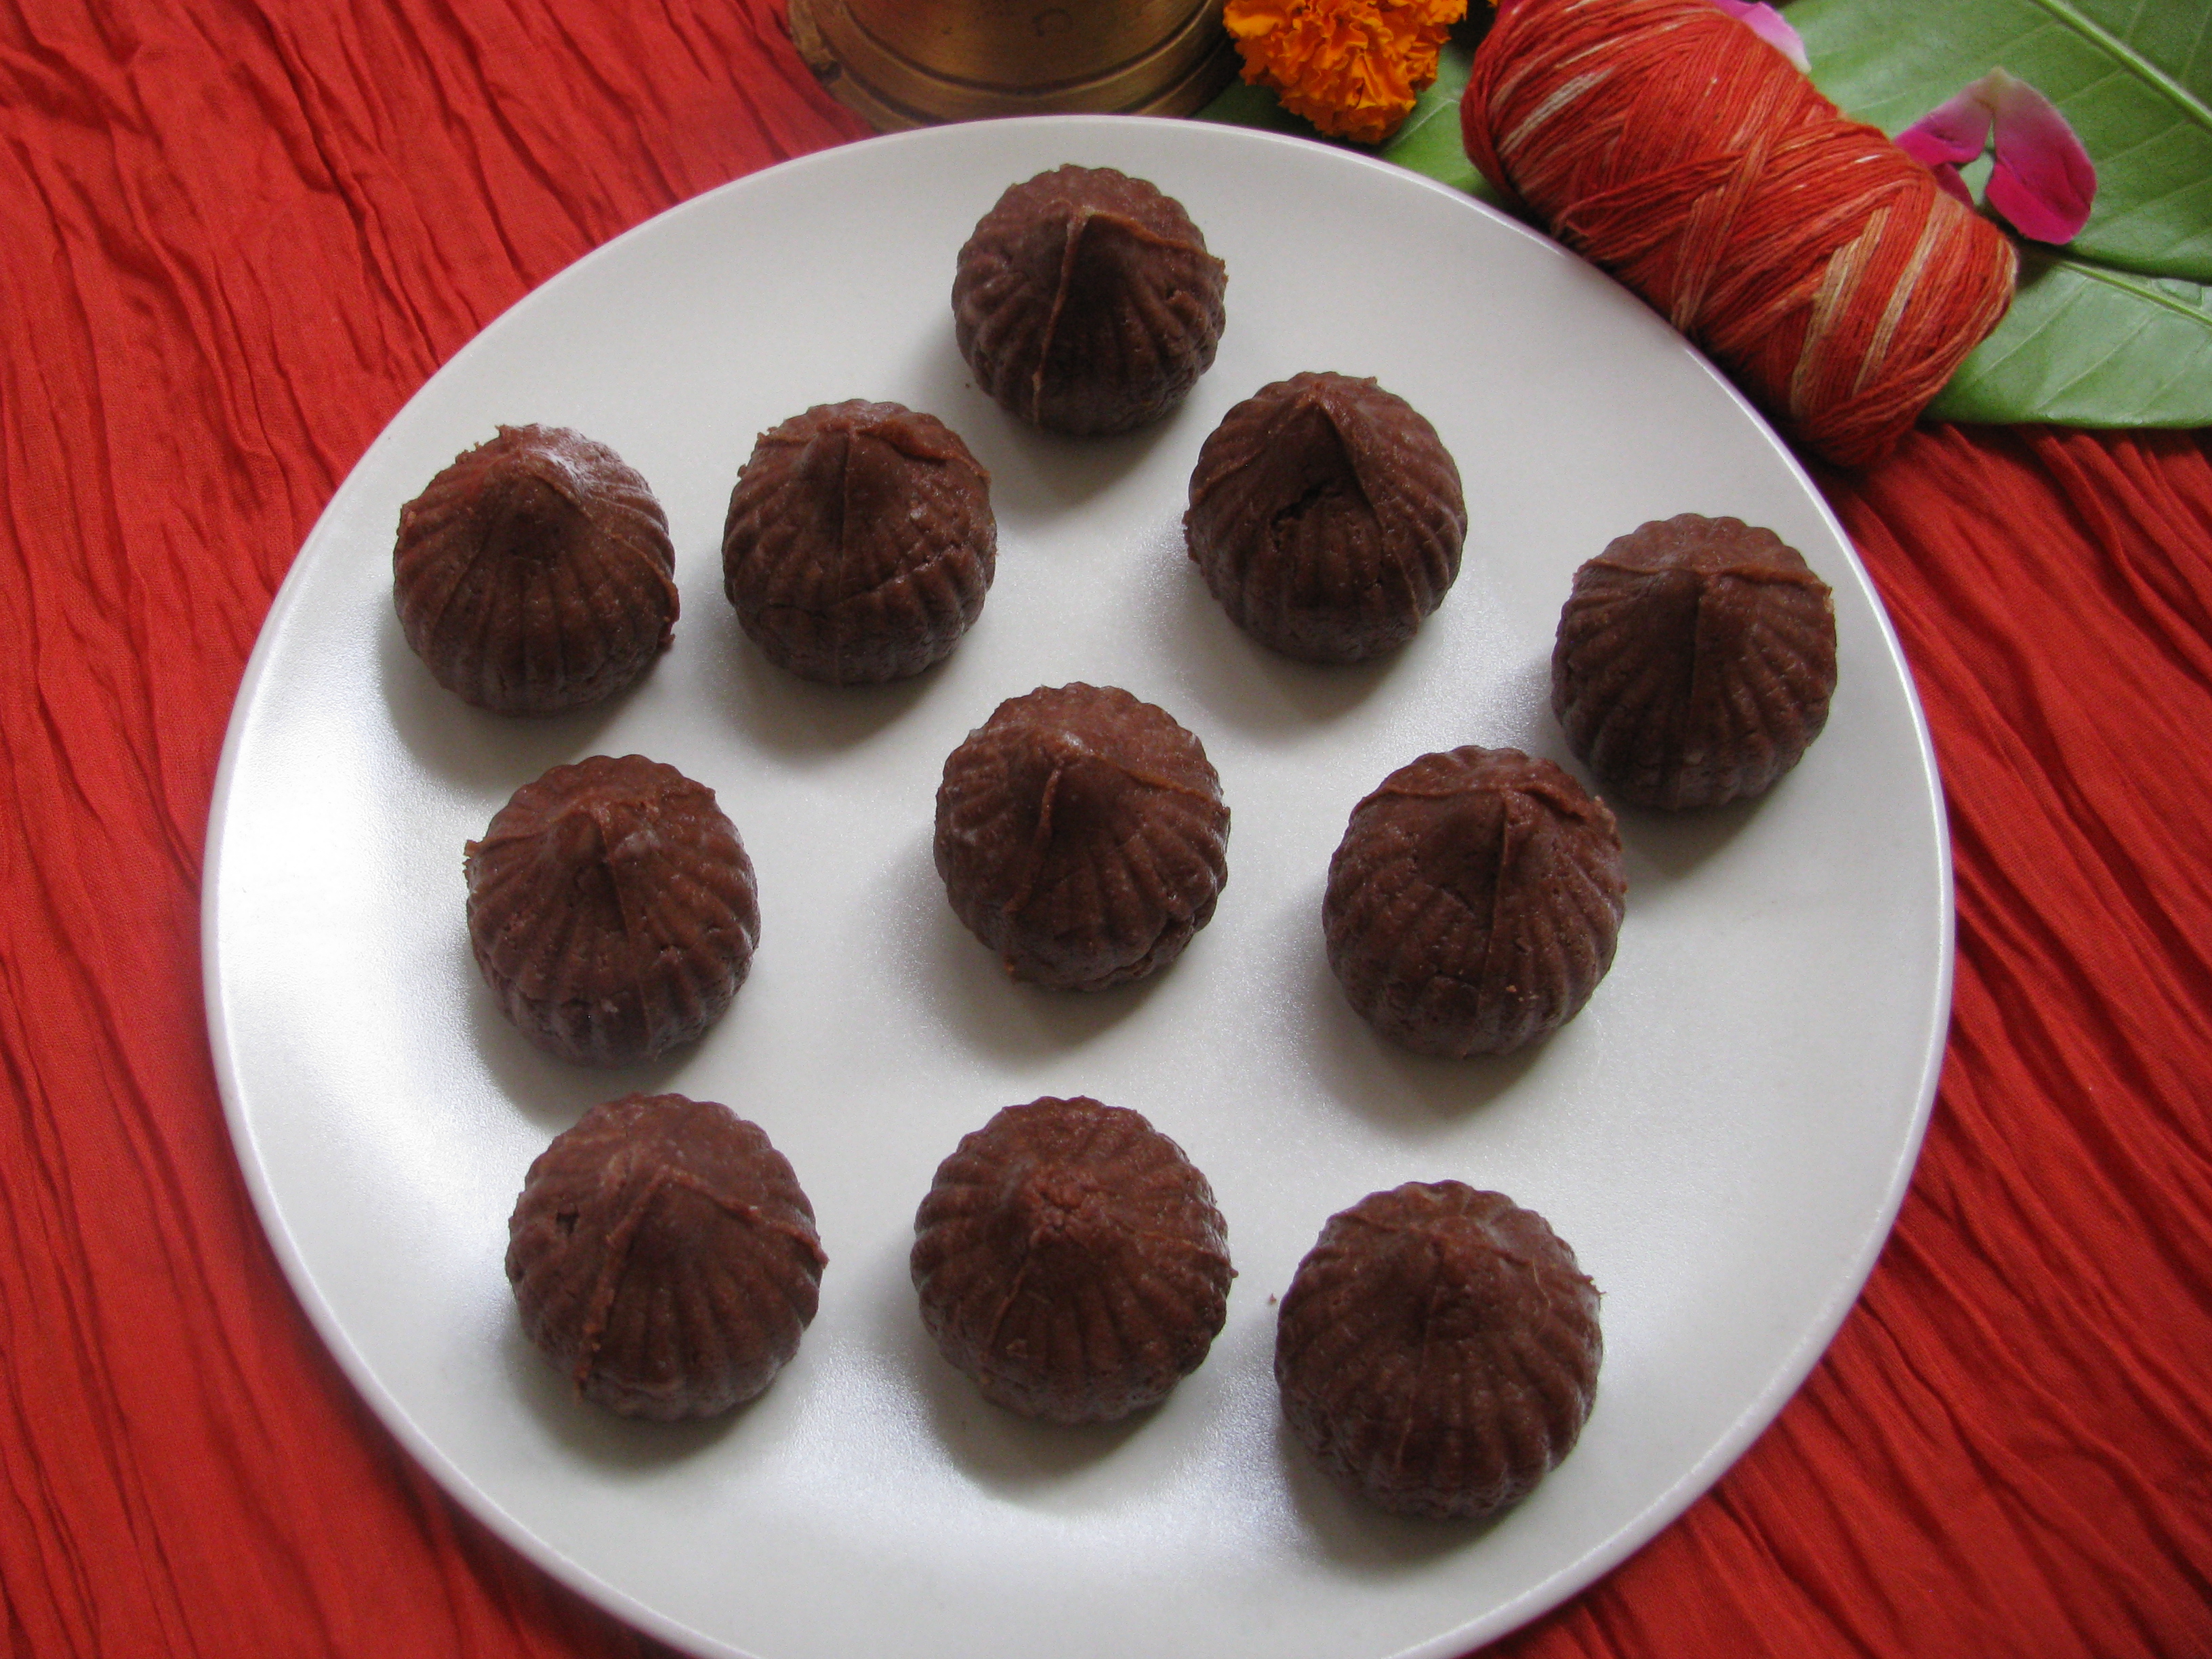
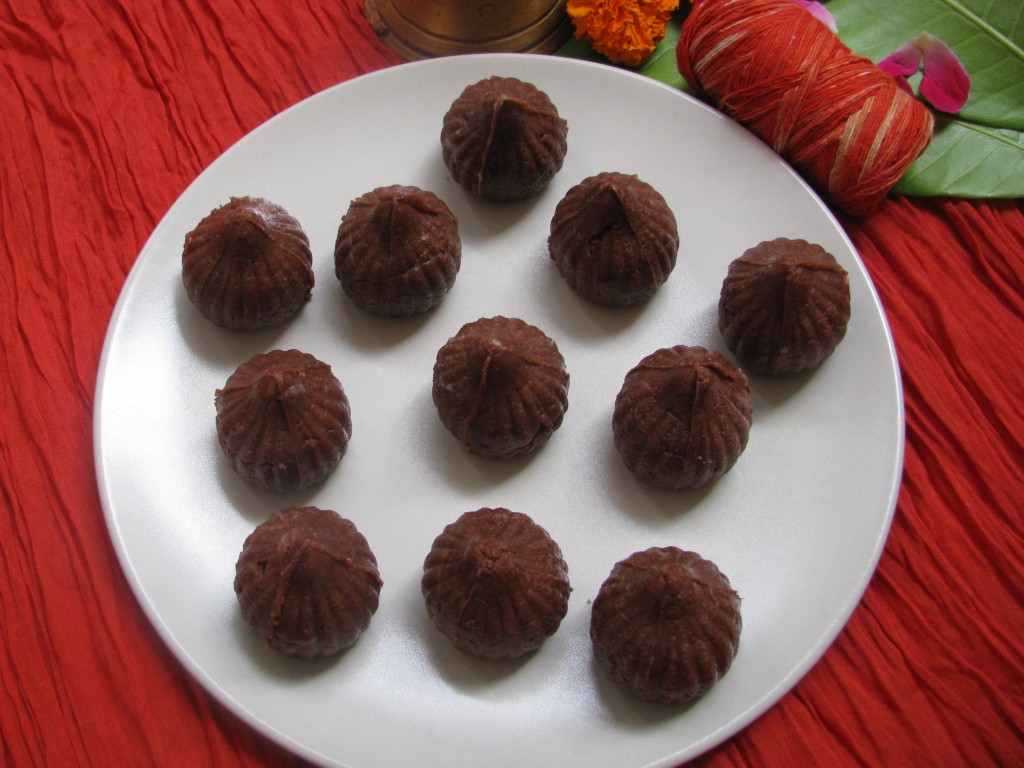
Chocolate Modak is a tasty Prasad which everybody love to have in Lord Ganesha’s Chaturti Festival. This Prasad is healthy as well as nutritious if made in a right way. Chocolate Modak which You get in market is made from Khoya ( khawa/ mawa) with lot of sugar . This Modak is very high in calorie. But when we make  Chocolate Modak at home we can make it  healthy as well as nutritious. I make Chocolate Modak in two ways

  • Chocolate Modak using Chenna ( paneer)
  • Chocolate Modak using Khoya ( khawa/ mawa)

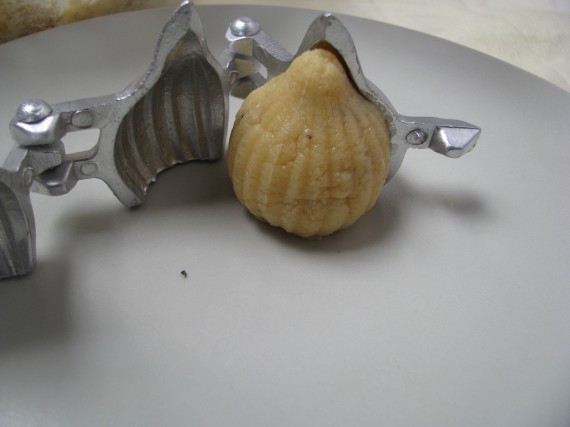
Chocolate Modak made from chena can be made from whole milk , tonned milk or even with skimmed milk .You can cut calories from this Modak by using low fat milk . This Modak are very simple and You can easily make it at home. you just need a Modak Mold (Modak sancha) to give it a nice shape of modak. I use icing sugar to make this Modak as plain sugar makes this Modak sticky. This modak are served chilled .

[box ]Also check – Khirapat and Panchkhadya recipe [/box]

Chocolate modak made from khoya is little high in calorie as it can be made from whole milk only . I generally don’t buy ready made khoya as  many times it’s adulterated ( besal/ milawat ) . U can make khoya at home or buy good quality khoya to make this modak this modak tastes like Pedha with a nice flavor of coconut and chocolate .

[box]Also Check- Coconut modak recipe from condensed milk[/box]

I have explained step by step method to make this tasty chocolate modak . I have shared both the chocolate modak recipe made from khoya as well as chenna (paneer) .Do share ur comment and queries for this recipe

[box]Also check –Diffrent types of modak[/box]

Chocolate Modak using Chenna ( paneer)

[ingredients title=”Ingredients required to make chocolate modak”]

  • 1 ½ litre whole milk (if you want less calories use fat free milk )
  • 2 tablespoon lemon juice (limbacha ras / nimbu ka ras )
  • 3 tablespoon icing sugar
  • 2 tablespoon Cadbury Coco powder (it already contains vanilla essence)
  • 1 tablespoon desiccated coconut (khobryacha barik kis / gola barik kadukas kiya hua)

Modak Mould (Modak Sancha)– To give Modak shape

[/ingredients]

[directions title=”Step by Step Directions required to make chocolate modak”]

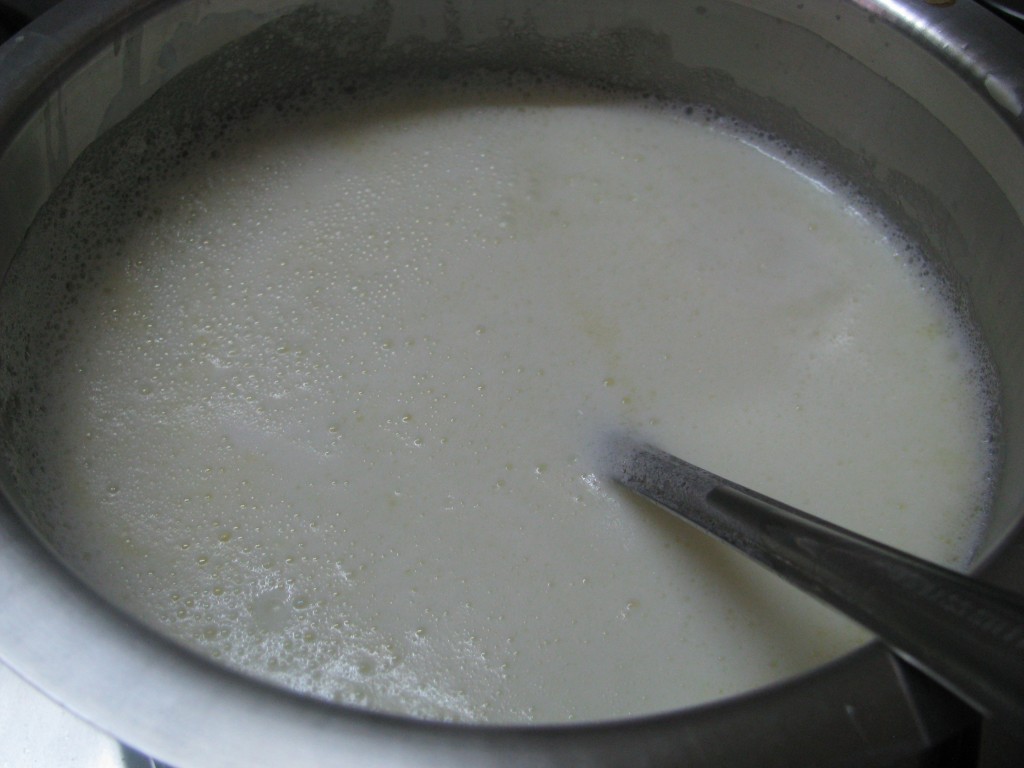
  1. Bring milk to boil in a heavy bottom pan .IMG_2005
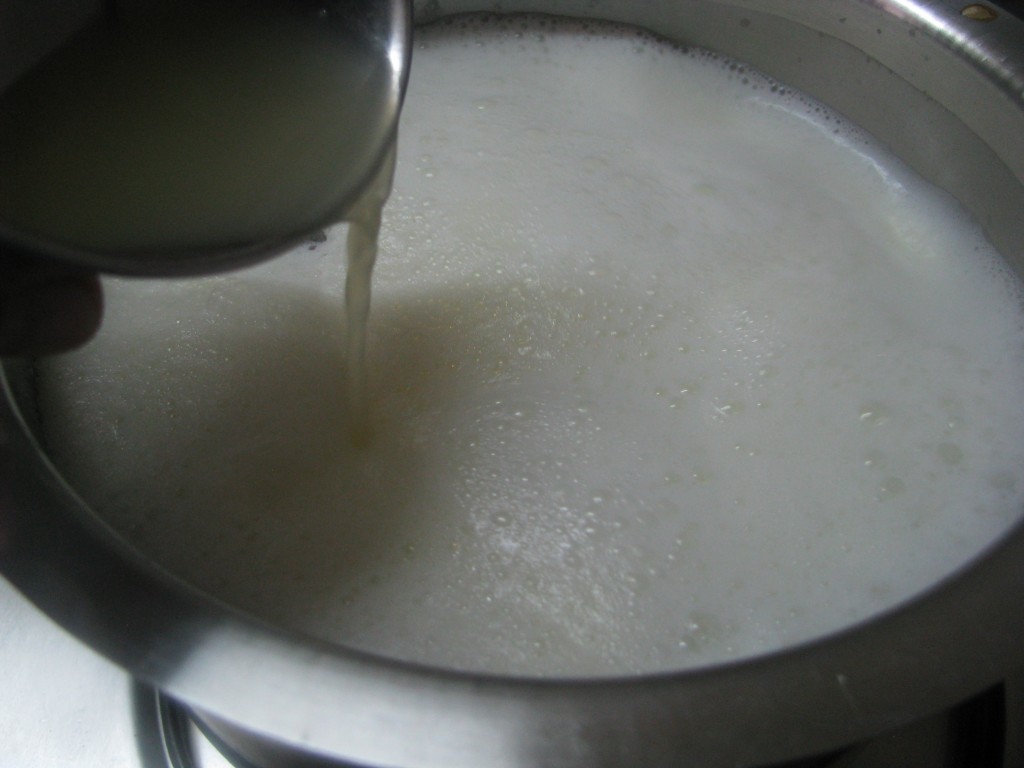
  2. Add lemon juice to it .IMG_2006
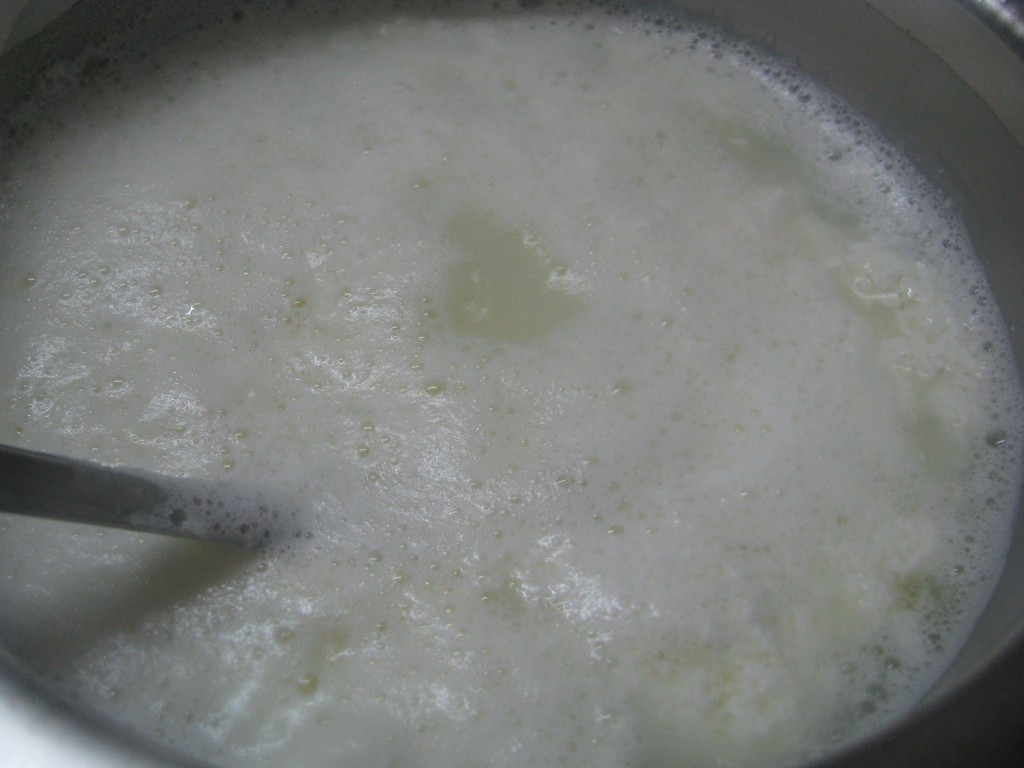
  3. Stir continuously.When milk curdles completely, remove pan from heat  .IMG_2007
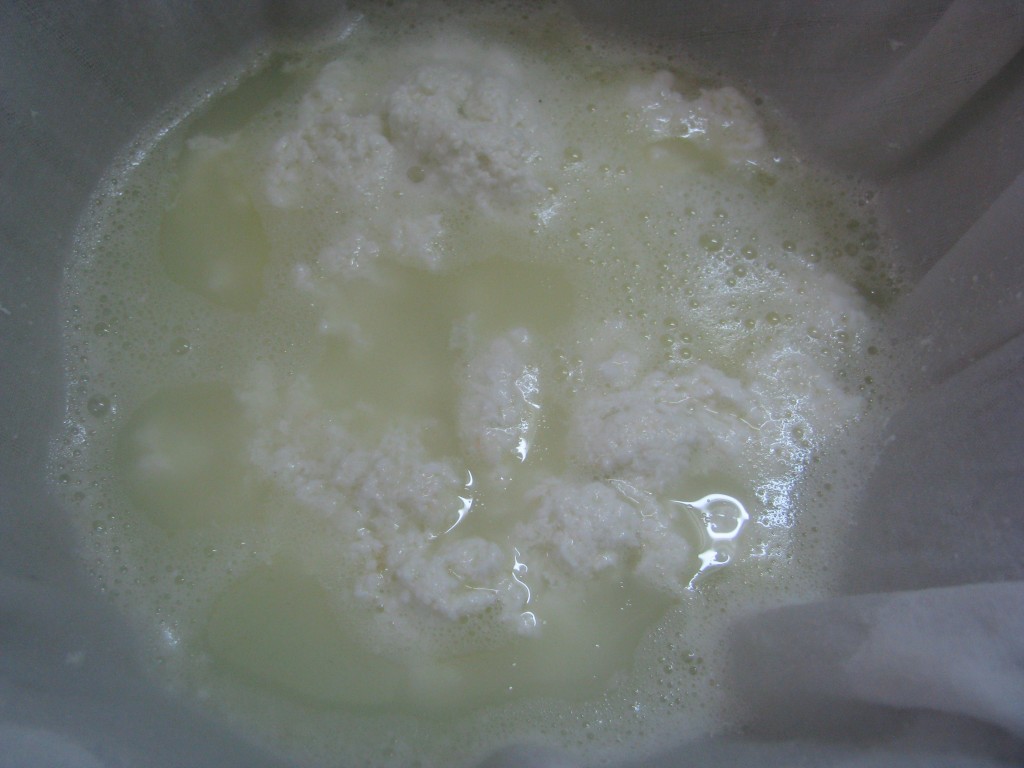
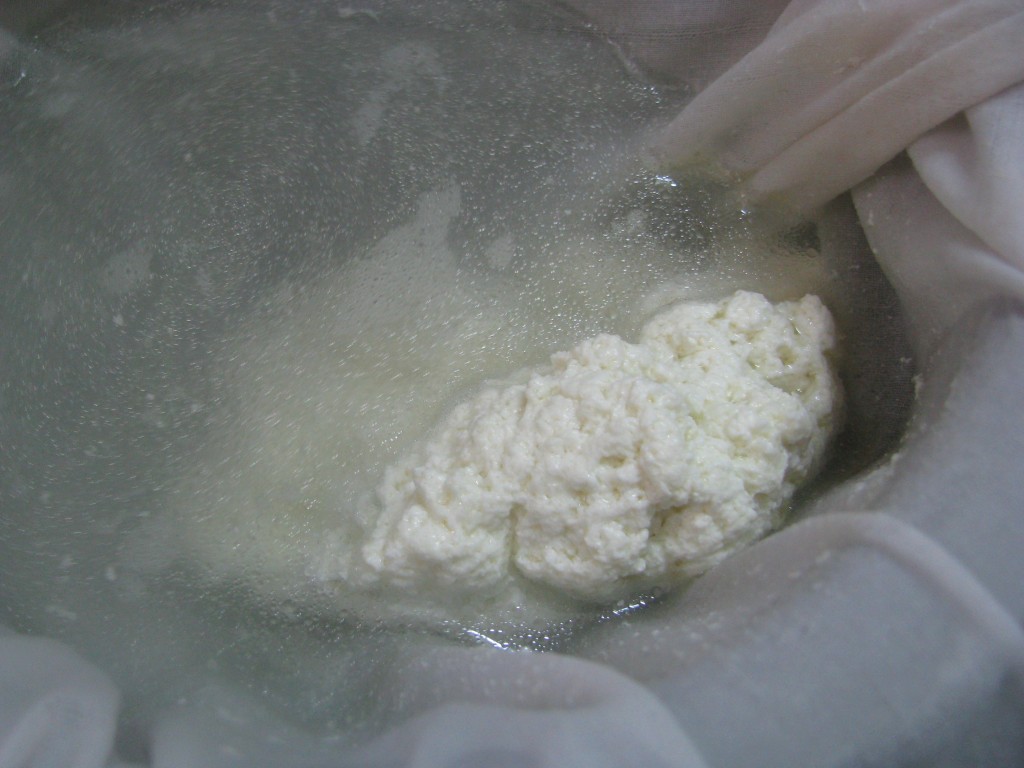
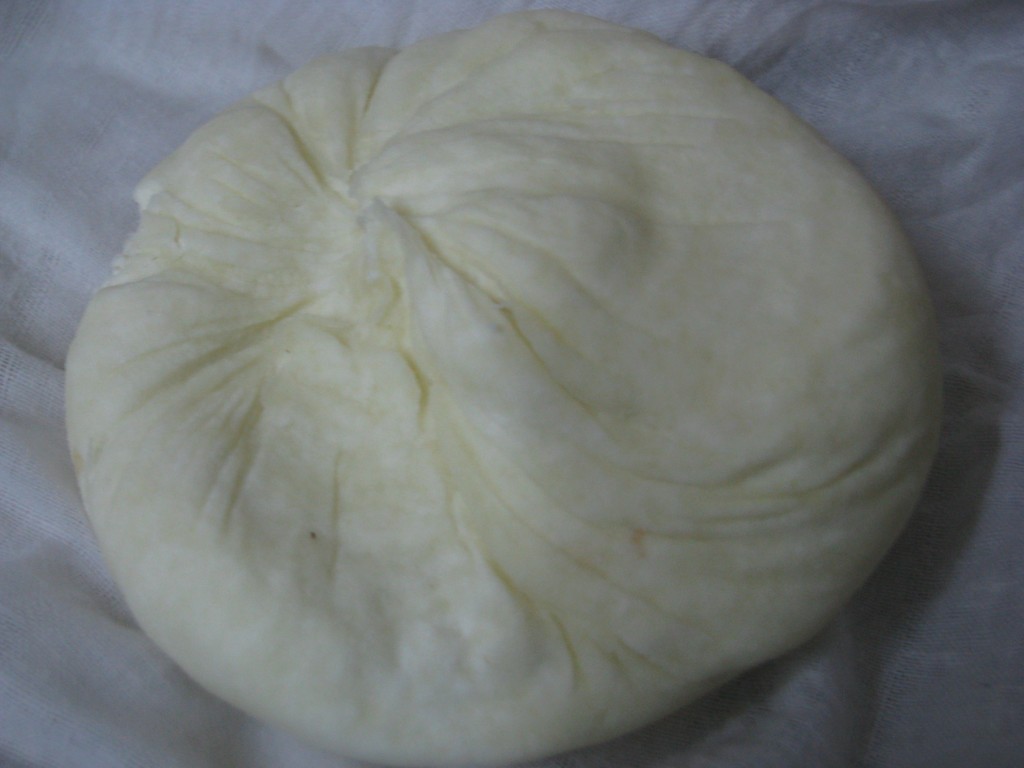
  4. Place muslin cloth on the bowl and pour curdled milk into it and strain ,Bring four  corners of muslin cloth together and gently twist and squeeze all the water from the chenna .IMG_2008
  5. Again wash it 2-3 times  with plain water to remove the sour lemon taste out of it.IMG_2009
  6. ,Bring four  corners of muslin cloth together and gently twist and squeeze all the water from the chenna . keep heavy weight on this cloth with chenna for 2-3 hours . it should become little dry.IMG_2010
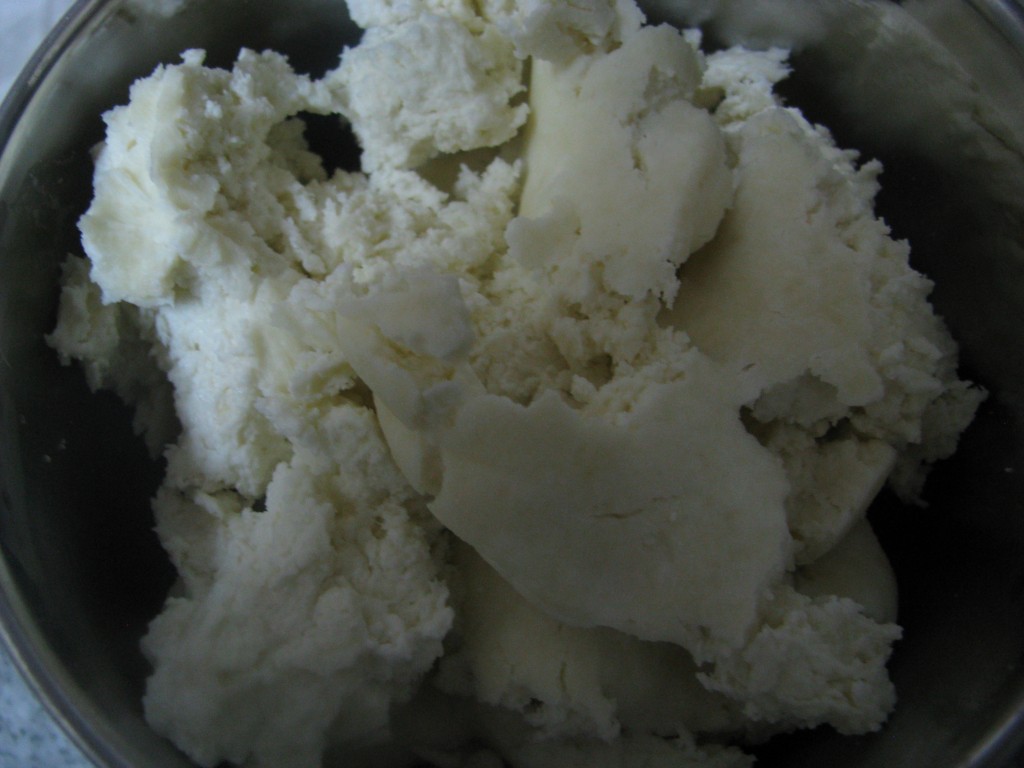
  7. Break chenna in small pieces and take it in food processor jar or mixer jar IMG_2011
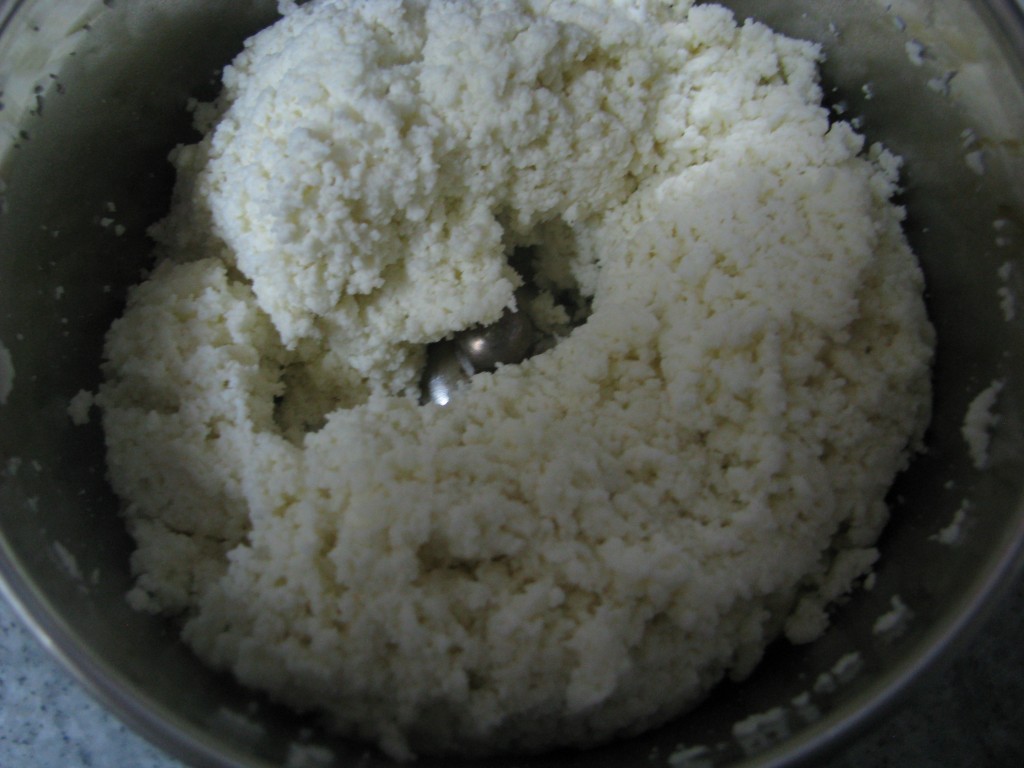
  8. Grind it for few seconds .IMG_2012
  9. Add icing sugar in it .IMG_2013
  10. Grind it with in few seconds it will become very soft.IMG_2014
  11. Add desiccated coconut in this chenna icing sugar mixture . IMG_2016
  12. Grind it again until it mix nicely and becomes very soft .IMG_2017
  13. Chocolate modak mixture is ready
  14. Grease the modak mold with ghee…this will prevent the mixture  from sticking  and all you have to do is  stuff it with this  chocolate modak  mixture by pressing it nicely with your index finger and demould ……do remember to grease the modak mould before use …IMG_2018
  15. Keep it in refrigerator .It will become firm.Serve it chilled to lord ganesha .

    chocolate modak recipe
    chocolate modak

[/directions]

tip – If you don’t have modak mold shape the modak with your fingers .

Chocolate Modak by using khoya (mawa) base

[ingredients title=”Ingredients required to make chocolate modak “]

  • 1 cup khoya(mawa)
  • ½ cup sugar or sugarfree natura (this quantity you can take according to your taste buds J)
  • 1 tablespoon milk
  • 2 tablespoon coco powder
  • 2 tablespoon desiccated coconut (optional)

[/ingredients]

[directions title=”Step by Step Directions to make chocolate modak”]

  1. Take khoya ( mawa ) , milk , and sugar in food processor or mixer jar and blend it to make it soft…
  2. In a heavy bottom pan add this soft mixture and cook it on low flame  …first it will melt and then it will start becoming thick …. Now remove it from flame and add coco powder in it and mix it nicely …let cool down
  3. Grease the modak mold with ghee…this will prevent the mixture  from sticking…now fill the mixture inside the mold press it nicely using your fingers and demold …do remember to grease the modak mould before use 
  4. Serve it cool to lord ganesha ….store this modak in refrigerator as it made up of  khoya(mawa)

[/directions]
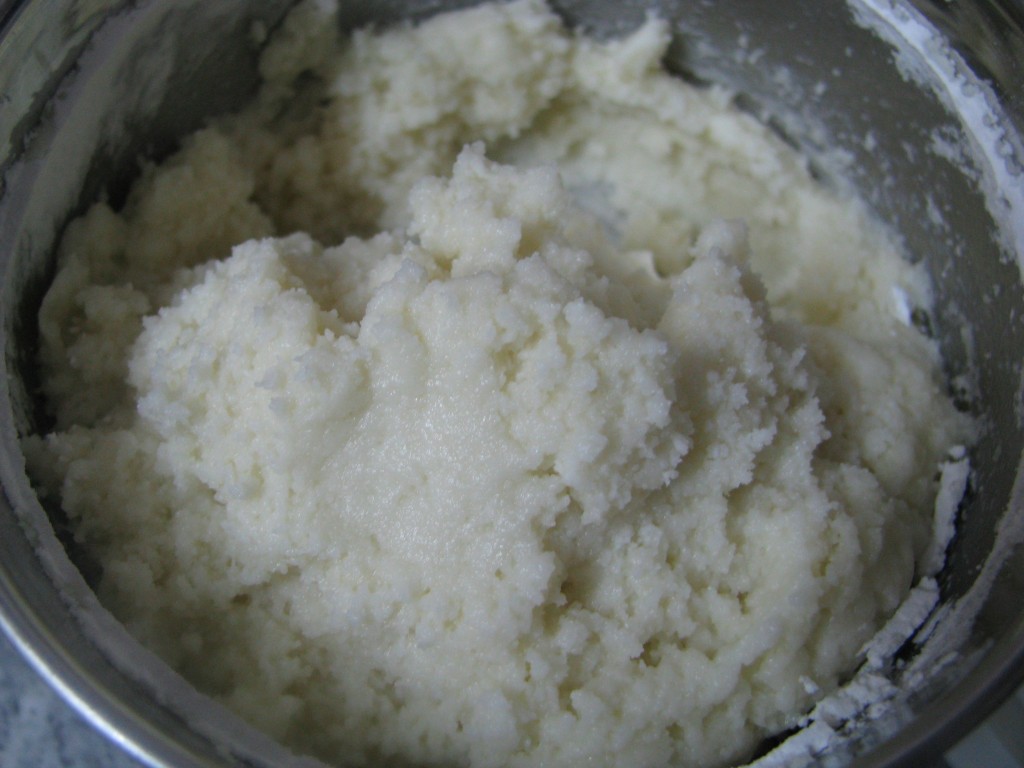
Note – if u want to add coconut ,add it at the time of roasting khoa mixture


Modak Recipe | Coconut modak made from Condensed Milk (Milkmaid / Mithaimate)

pedha / peda modak
coconut modak from condensed milk

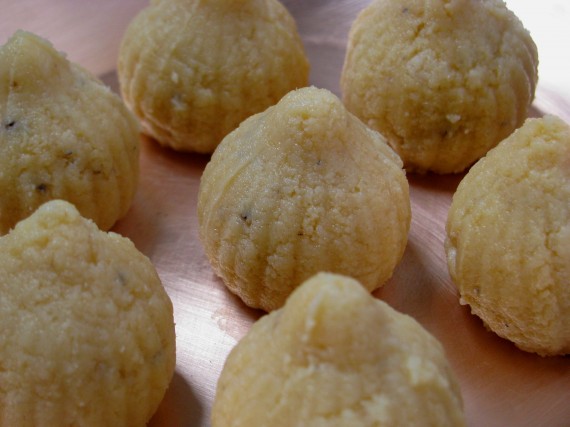
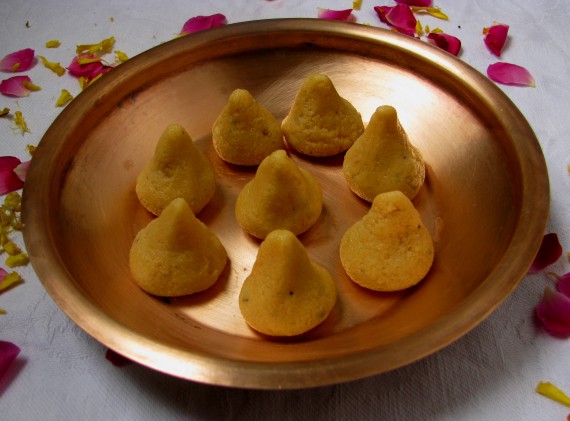
This is Quick and Easy Modak Recipe from Coconut and Condensed milk (Nestle Milkmaid / Amul mithai mate).It tastes like peda / Pedha with a nice flavor of coconut . Peda modak are very common in Maharashtra at the time of Ganesh chaturthi .you can get this modak from any sweets or confectionery shop at this time .this modak has lots of sugar with less amount of khoya .you can make this modak at home using khoya ,but now days khoya has lot of adulteration so I don’t use ready-made khoya .

modak recipe in marathi
modak

This modak made from condensed milk (Nestlé – milkmaid / amul mithaimate ) tastes same as Pedha modak and you can easily make it at home . I make this tasty modak on gas stove or microwave oven. In microwave oven you can make this modak very quickly .There is no need to stand in front of gas stove for long time and you can easily make this tasty modak in microwave oven .

[box]Also check – Different types of modak recipes and prasad for ganesh chaturthi [/box]

Many people don’t use microwave so I have shared both the method to make this modak in microwave oven as well as on gas stove. Do share your  suggestions and queries for this recipe .

[ingredients title=”Ingredients required to make modak from condensed milk”]

  • 1 tin condensed milk (Nestle milkmaid / Amul mithaimate)
  • 1/2 cup desiccated coconut
  • 1 ½ cup milk powder
  • 1 tablespoon ghee / plain butter
  • 2 tablespoon icing sugar
  • 1 teaspoon cardamom powder ( elaichi / welchi powder )

[/ingredients]

[directions title=”Step step Directions to make modak in microwave oven”]

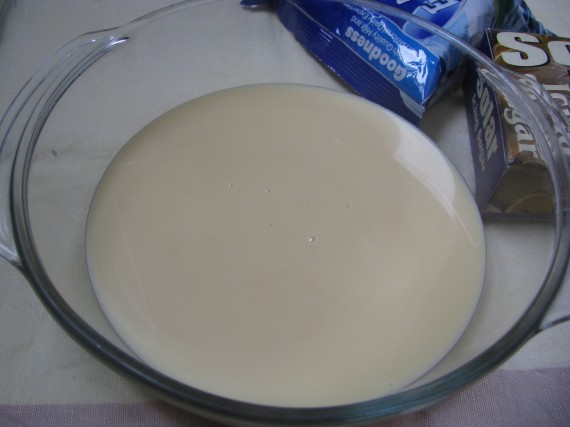
  1. Take condensed milk in a deep microwave safe glass bowl.IMG_2028
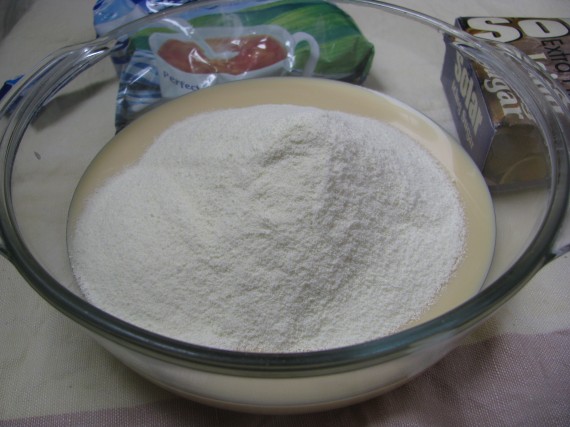
  2. Add milk powder  and mix it to smooth pasteIMG_2029
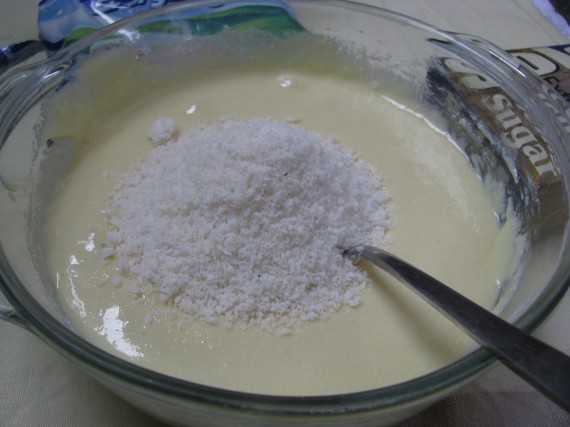
  3. Add desiccated coconut and ghee/butter and mix it .IMG_2030
  4. Mix it nicely and keep it for 1 minute on high power in microwave oven .IMG_2031
  5. Mix it and again and keep it for 30 seconds , remove the bowl again mix the mixture and keep it again for 30 seconds . Repeat this procedure until the mixture becomes dry.IMG_2033
  6. Add icing sugarIMG_2035
  7. Add cardamom powder in the mixture and mix it.IMG_2036
  8. Modak mixture is ready for molding.
  9. If you have modak mould grease it with gheeIMG_2037
  10. Stuff it with modak mixture.IMG_2039
  11. Demould it .IMG_2041
  12. Repeat the same until you make all the modak . Grease the modak  mould each time you stuff it with modak mixture.

    modak
    modak
  13. If you don’t have modak grease your palms with ghee and shape it with ur palms and fingers .IMG_2049
  14. Serve this tasty modak to lord Ganesha on this Ganesh chaturthi .

    coconut modak from condensed milk
    coconut modak from condensed milk

[/directions]
[ingredients title=”Ingredients required to make modak from condensed milk “]

  • 1 can condensed milk (milkmaid or any other brand of condensed milk)
  • 2 cup desiccated coconut (dried shredded dry coconut)/grated dry or fresh coconut
  • 1 teaspoon cardamom powder
  • 2 tablespoon Finely chopped dryfruits

[/ingredients]

[directions title=”Directions to make modak from condensed milk”]

  1. Roast desiccated coconut for 2 – 3 minutes on medium flame.

    roasted dessicated coconut
    roasted dessicated coconut
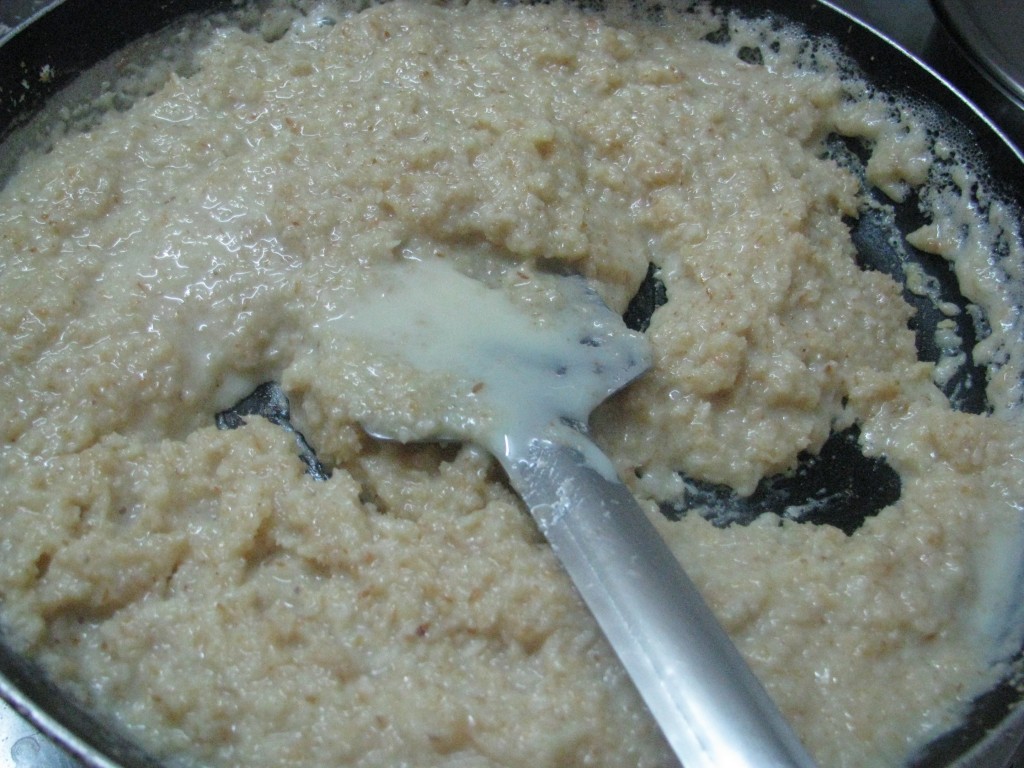
  2. Add whole tin of condensed milk in it stir it on medium until it become very thick

    roasted coconut with milkmaid
    roasted coconut with milkmaid
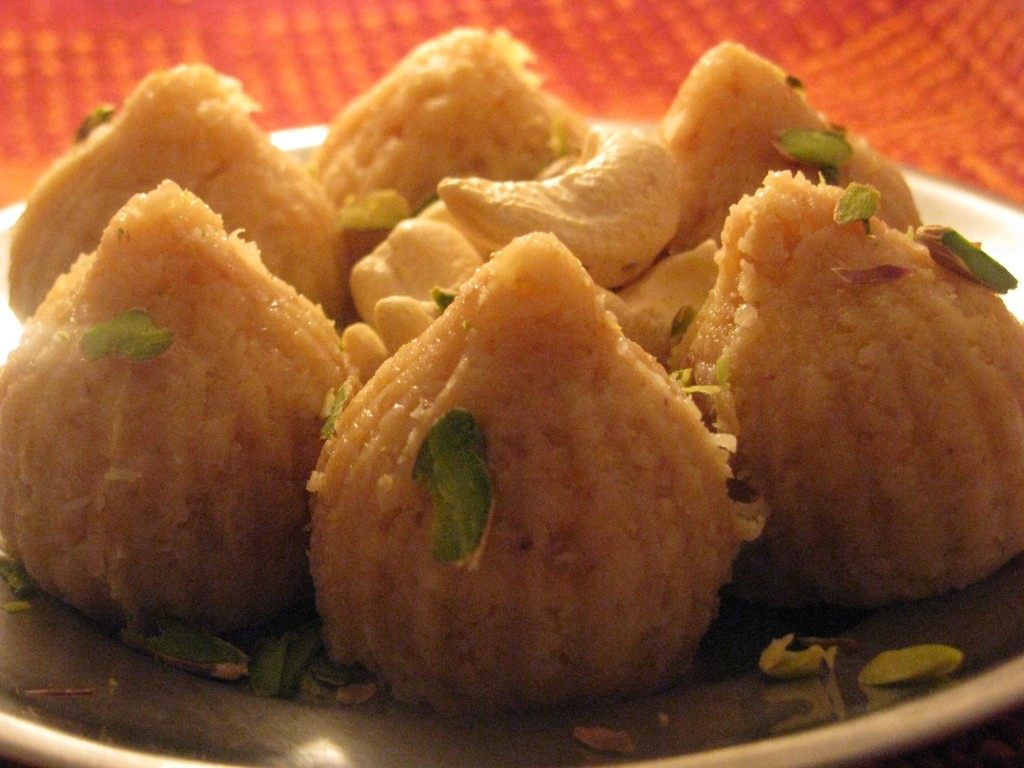
  3. Remove it from the flame and add cardamom powder and chopped dry fruits in it. Your coconut modak mixture is ready.

    coconut modak mixture ready for mold
    coconut modak mixture ready for mold
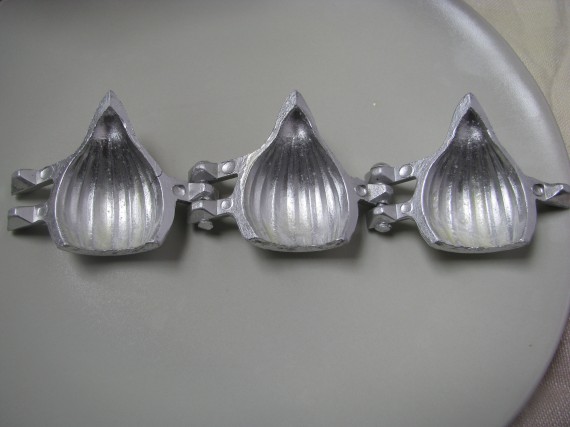
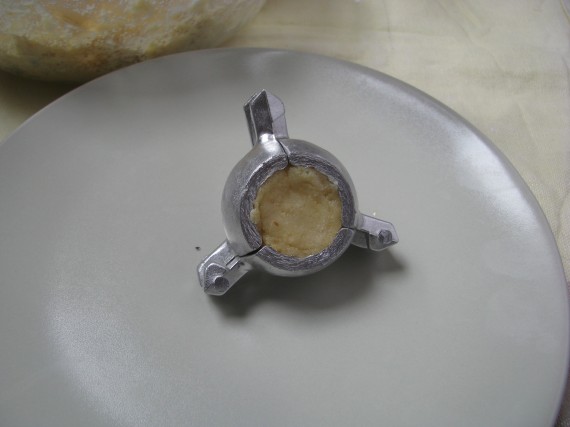
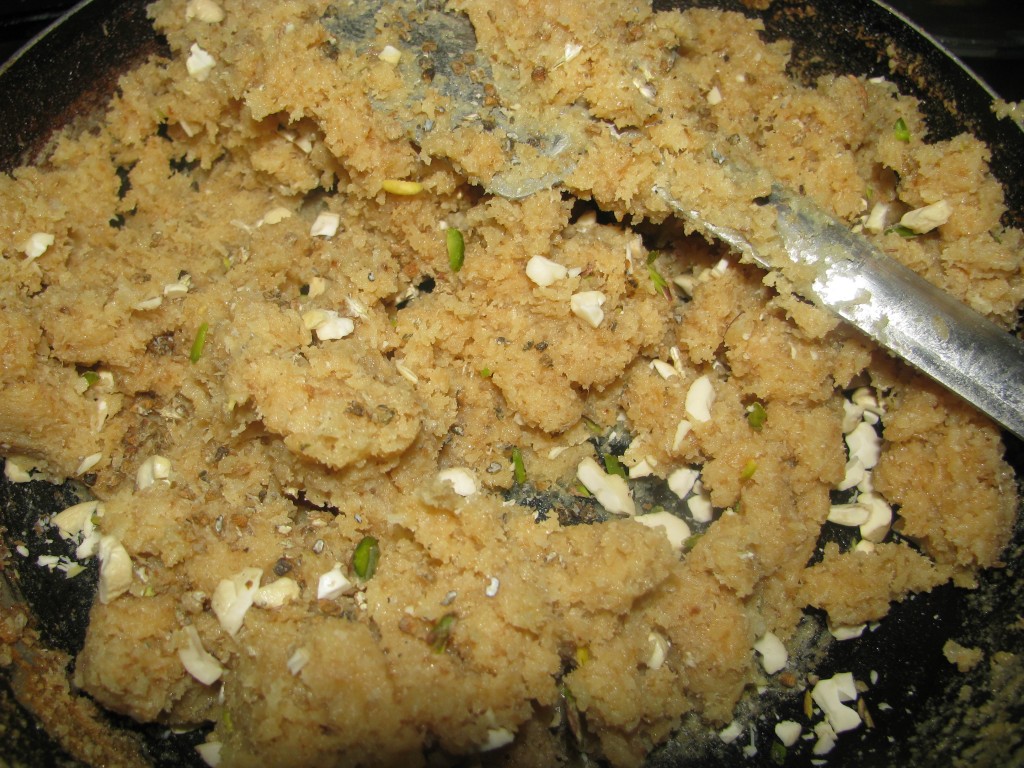
  4. Take the modak mold and all you have to do is stuff it with coconut modak mixture and demold it.Make all the modak in this way. Do remember to grease the modak mold with ghee before use.

    coconut modak
    coconut modak

[/directions]
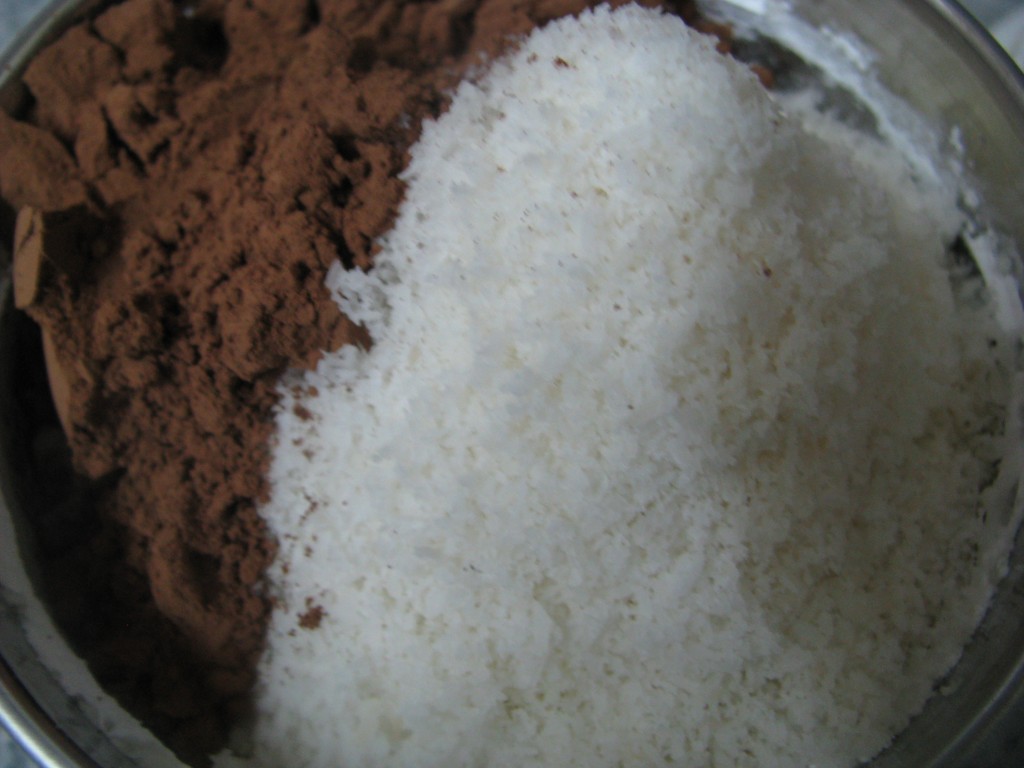
Onion kulcha | Onion Kulcha Recipe With Whole Wheat flour | How to make Stuffed Kulcha

stuffed onion kulcha with onion
Onion kulcha

Onion Kulcha Recipe

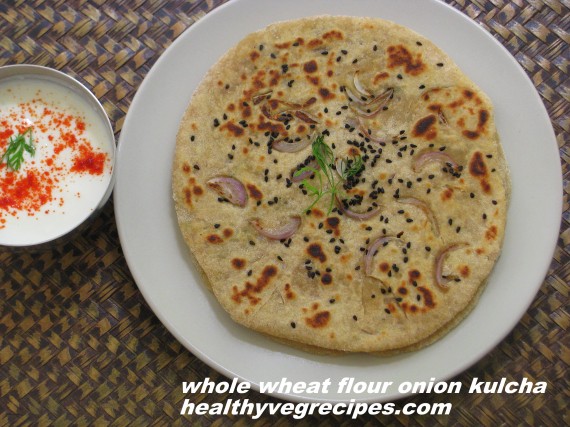
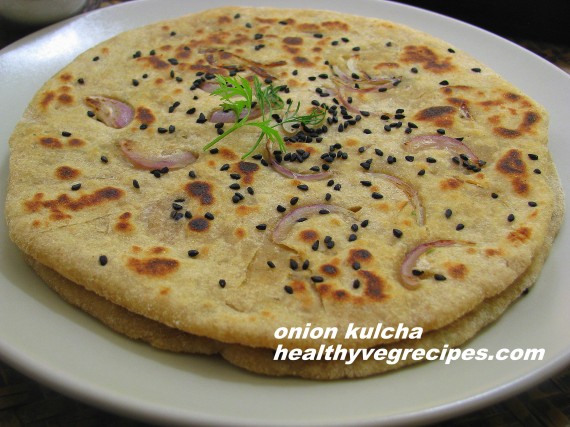
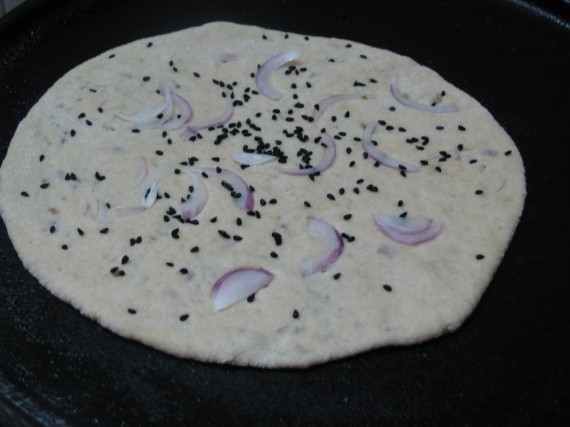
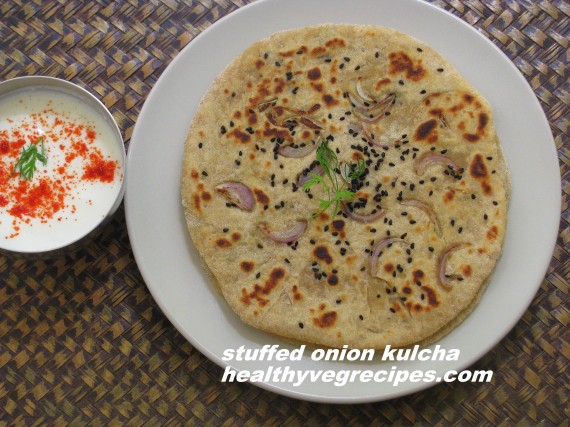
Stuffed onion kulchas made from whole wheat flour is favorite breakfast at my home. This kulchas tastes so good that there is no need to make any side dish with it. I just serve it with plain curd, raita or as it is. Most of the times, I make whole wheat flour plain kulchas when I make any Punjabi paneer, matar or chole recipe, I make extra kulcha dough and make this onion kulchas. I add onion and some spices to the stuffing. This recipe is same as stuffed onion paratha, the only difference is dough and the method to roll it. I add onion slices as topping when I roll it. Onion gets roasted and becomes crispy. This topping gives kulchas a Desi pizza look.

[box]Also check – Easy onion paratha without stuffing [/box]

What is Kulcha ?

Kulcha is leavened bread popular in India and Pakistan. Amritsar in Punjab is famous for Amritsari kulchas. Variety of kulchas are served here such as onion kulchas, aloo kulchas, plain kulcha, masala kulcha, and paneer kulcha. In Amritsar there are famous places that serve these tasty mouthwatering kulchas. It is usually eaten with chole or matar. The authentic kulchas are made in tandoor (earthen clay oven) but you can easily make this tasty Indian bread on skillet (tawa).

Onion Kulcha
Whole Wheat Onion Kulcha

How to make Kulcha healthy and low in calories?

Punjabi recipes taste awesome even if they are made with less oil or butter. Just replace some ingredients with the healthy option and you will find that all the diet conscious people can enjoy these awesome cuisine. Kulchas are generally made from maida (refined flour), but I don’t use maida in my recipes. This whole wheat flour kulcha also tastes good and remains soft even when its cold. Some times I even add oat flour to it. With curd, these kulchas make a complete breakfast. I add very less oil or no oil to roast this kulchas and that’s why it has less calories than normal 100% whole wheat flour kulcha.

100% Whole Wheat Flat Bread (Kulcha)

Nutrition Fact

  •  
Calories 120 Sodium 200 mg
Total Fat 3 g Potassium 0 mg
Saturated 0 g Total Carbs 19 g
Polyunsaturated 0 g Dietary Fiber 2 g
Monounsaturated 0 g Sugars 1 g
Trans 0 g Protein 4 g
Cholesterol 0 mg
Vitamin A 0% Calcium 2%
Vitamin C 0% Iron 6%

*Percent Daily Values are based on a 2000 calorie diet. Your daily values may be higher or lower depending on your calorie needs. source- myfitnesspal

[box]Also check – Easy Oats Upma for Breakfast[/box]

What is an Onion Kulcha

Onion Kulchas are the stuffed kulchas with onion, spices/masala and coriander leaves.

Onion has lots of health benefits and is the easiest way to beat heat during summers.Many people don’t eat onion as it gives bad breath but there are various ways to solve this problem.

You can use any of this the following tips to solve onion breath whenever you eat any onion recipe or raw onion –

  • Eat mint leaves (pudina) or mint chutney (pudina chutney) whenever you eat onion recipes.
  • Drink green tea after you eat onion in breakfast.
  • Eating apple also removes onion breath.
  • Chew cardamom after you eat onion in your food.
  • Lemon water also removes onion breath.

I have garnished this kulchas with kalonji (nigella seeds) and onion slices. Nigella seeds/ kalonji are used in Punjabi cuisines and has lots of health benefits. It is also used in North Indian style pickles. In place of kalonji (nigella seeds) you can also use black sesame seeds (kali til) or white sesame til (safed til).

[box]Also check – Side dish Recipes for Paratha[/box]

I have explained step by step recipe to make this whole wheat flour onion kulchas without yeast. Do share your recipe to make this kulchas healthier and tastier.
[ingredients title=”Ingredients to make stuffed onion kulcha Recipe”]

For onion kulcha dough
  • 3 cups whole wheat flour
  • 1 ½ cup curd
  • 1 tablespoon oil
  • 2 teaspoon salt
  • 1 teaspoon sugar (optional)
  • ½ teaspoon baking powder
  • ½ teaspoon baking soda
  • lukewarm water to make dough
For onion kulcha stuffing
  • 2 cup finely chopped onion
  • 2 teaspoon coriander powder (dhania powder)
  • 2 teaspoon fennel seed powder (saunf powder)
  • 2 teaspoon finely chopped green chili
  • 1 tablespoon coriander leaves
  • salt to taste

For garnishing onion kulchas

[/ingredients]

[directions title=”Step By Step Method To Make Onion Kulcha”]

  1. Mix all the ingredients of kulcha dough.IMG_3584
  2. Add little water to make it smooth.IMG_3591
  3. Apply little oil to the dough and keep it covered aside for 1-2 hoursIMG_3588
  4. Mix all the stuffing ingredients except salt.
  5. Divide the dough into 8-9 even sized ball.
  6. Roll out the ball into small circle dusting wheat flour.IMG_3623
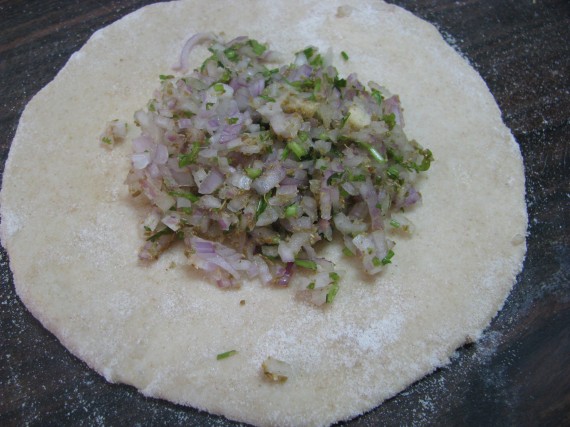
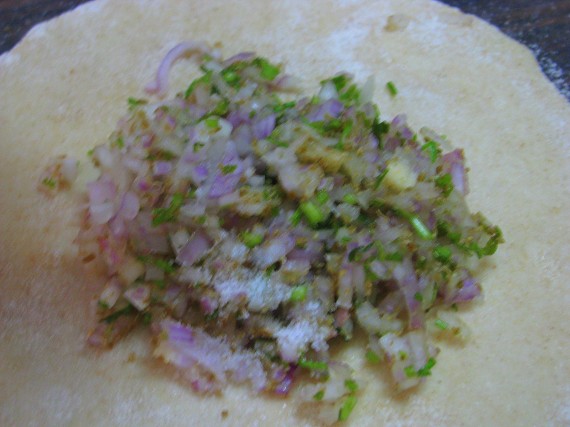
  7. Keep 1 tablespoon of stuffing in the center.IMG_3624
  8. Sprinkle little salt on the stuffing. I don’t mix salt in stuffing as onion oozes water as soon as we add salt to it.IMG_3625
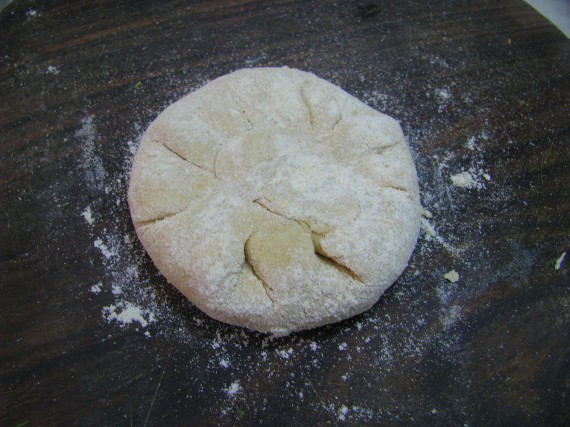
  9. Gather all the corners, seal it, dust wheat flour and roll the kulcha into flat disc of 6-7 inch with the roller.IMG_3626
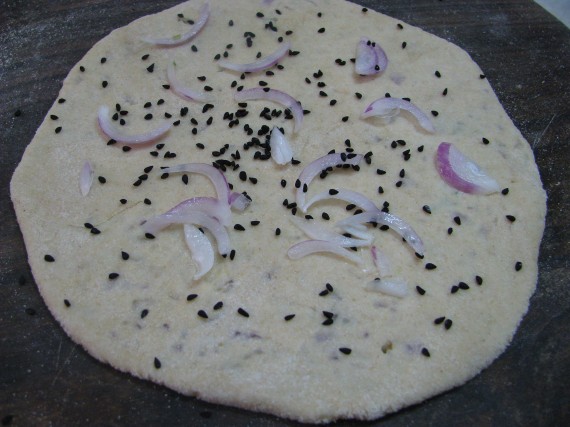
  10. Sprinkle some nigella seeds (kalonji) and onion slices over it. Again roll it out to fix the seeds and onion.IMG_3627
  11. Heat the tawa and put rolled out onion kulcha on it .IMG_3628
  12. Cover it with plate and let it cook on medium to low flame for 1- 2 minutes.IMG_3629
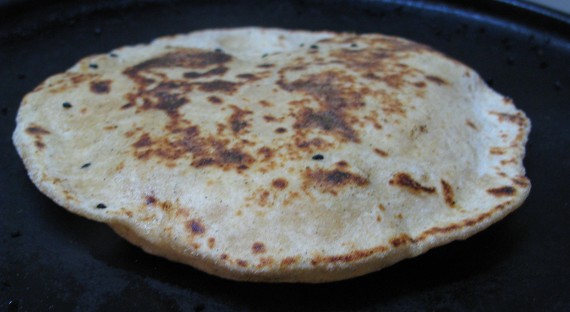
  13. Flip it over to other side and spread little oil all over kulcha (skip oil if you want to make oil free kulcha). Let it cook, then flip it again and spread little oil on other side. Cook well until brown spot appears on both the sides of kulcha.IMG_3643
  14. Serve this tasty onion kulcha with Raita, Pickle, Chutney or sauce.IMG_3637

[/directions]
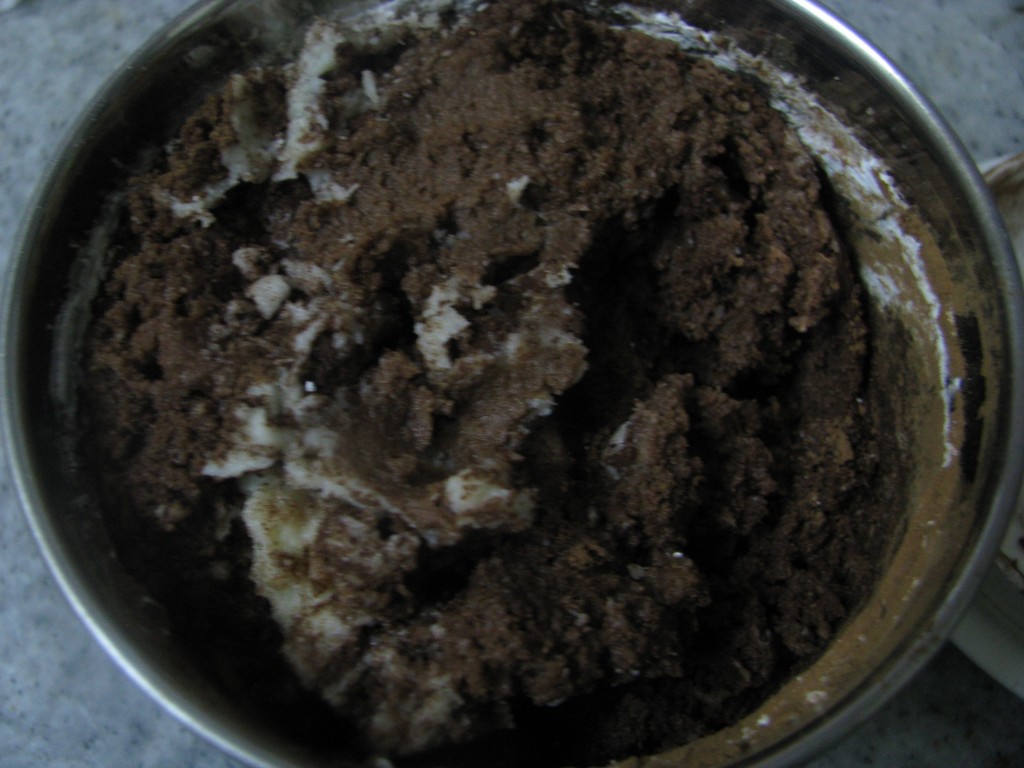
Let me know if you like this recipe in comments below.

Gajar Halwa recipe without Milk, Ghee, Khoya or Condensed milk | Vegan Carrot Halwa recipe

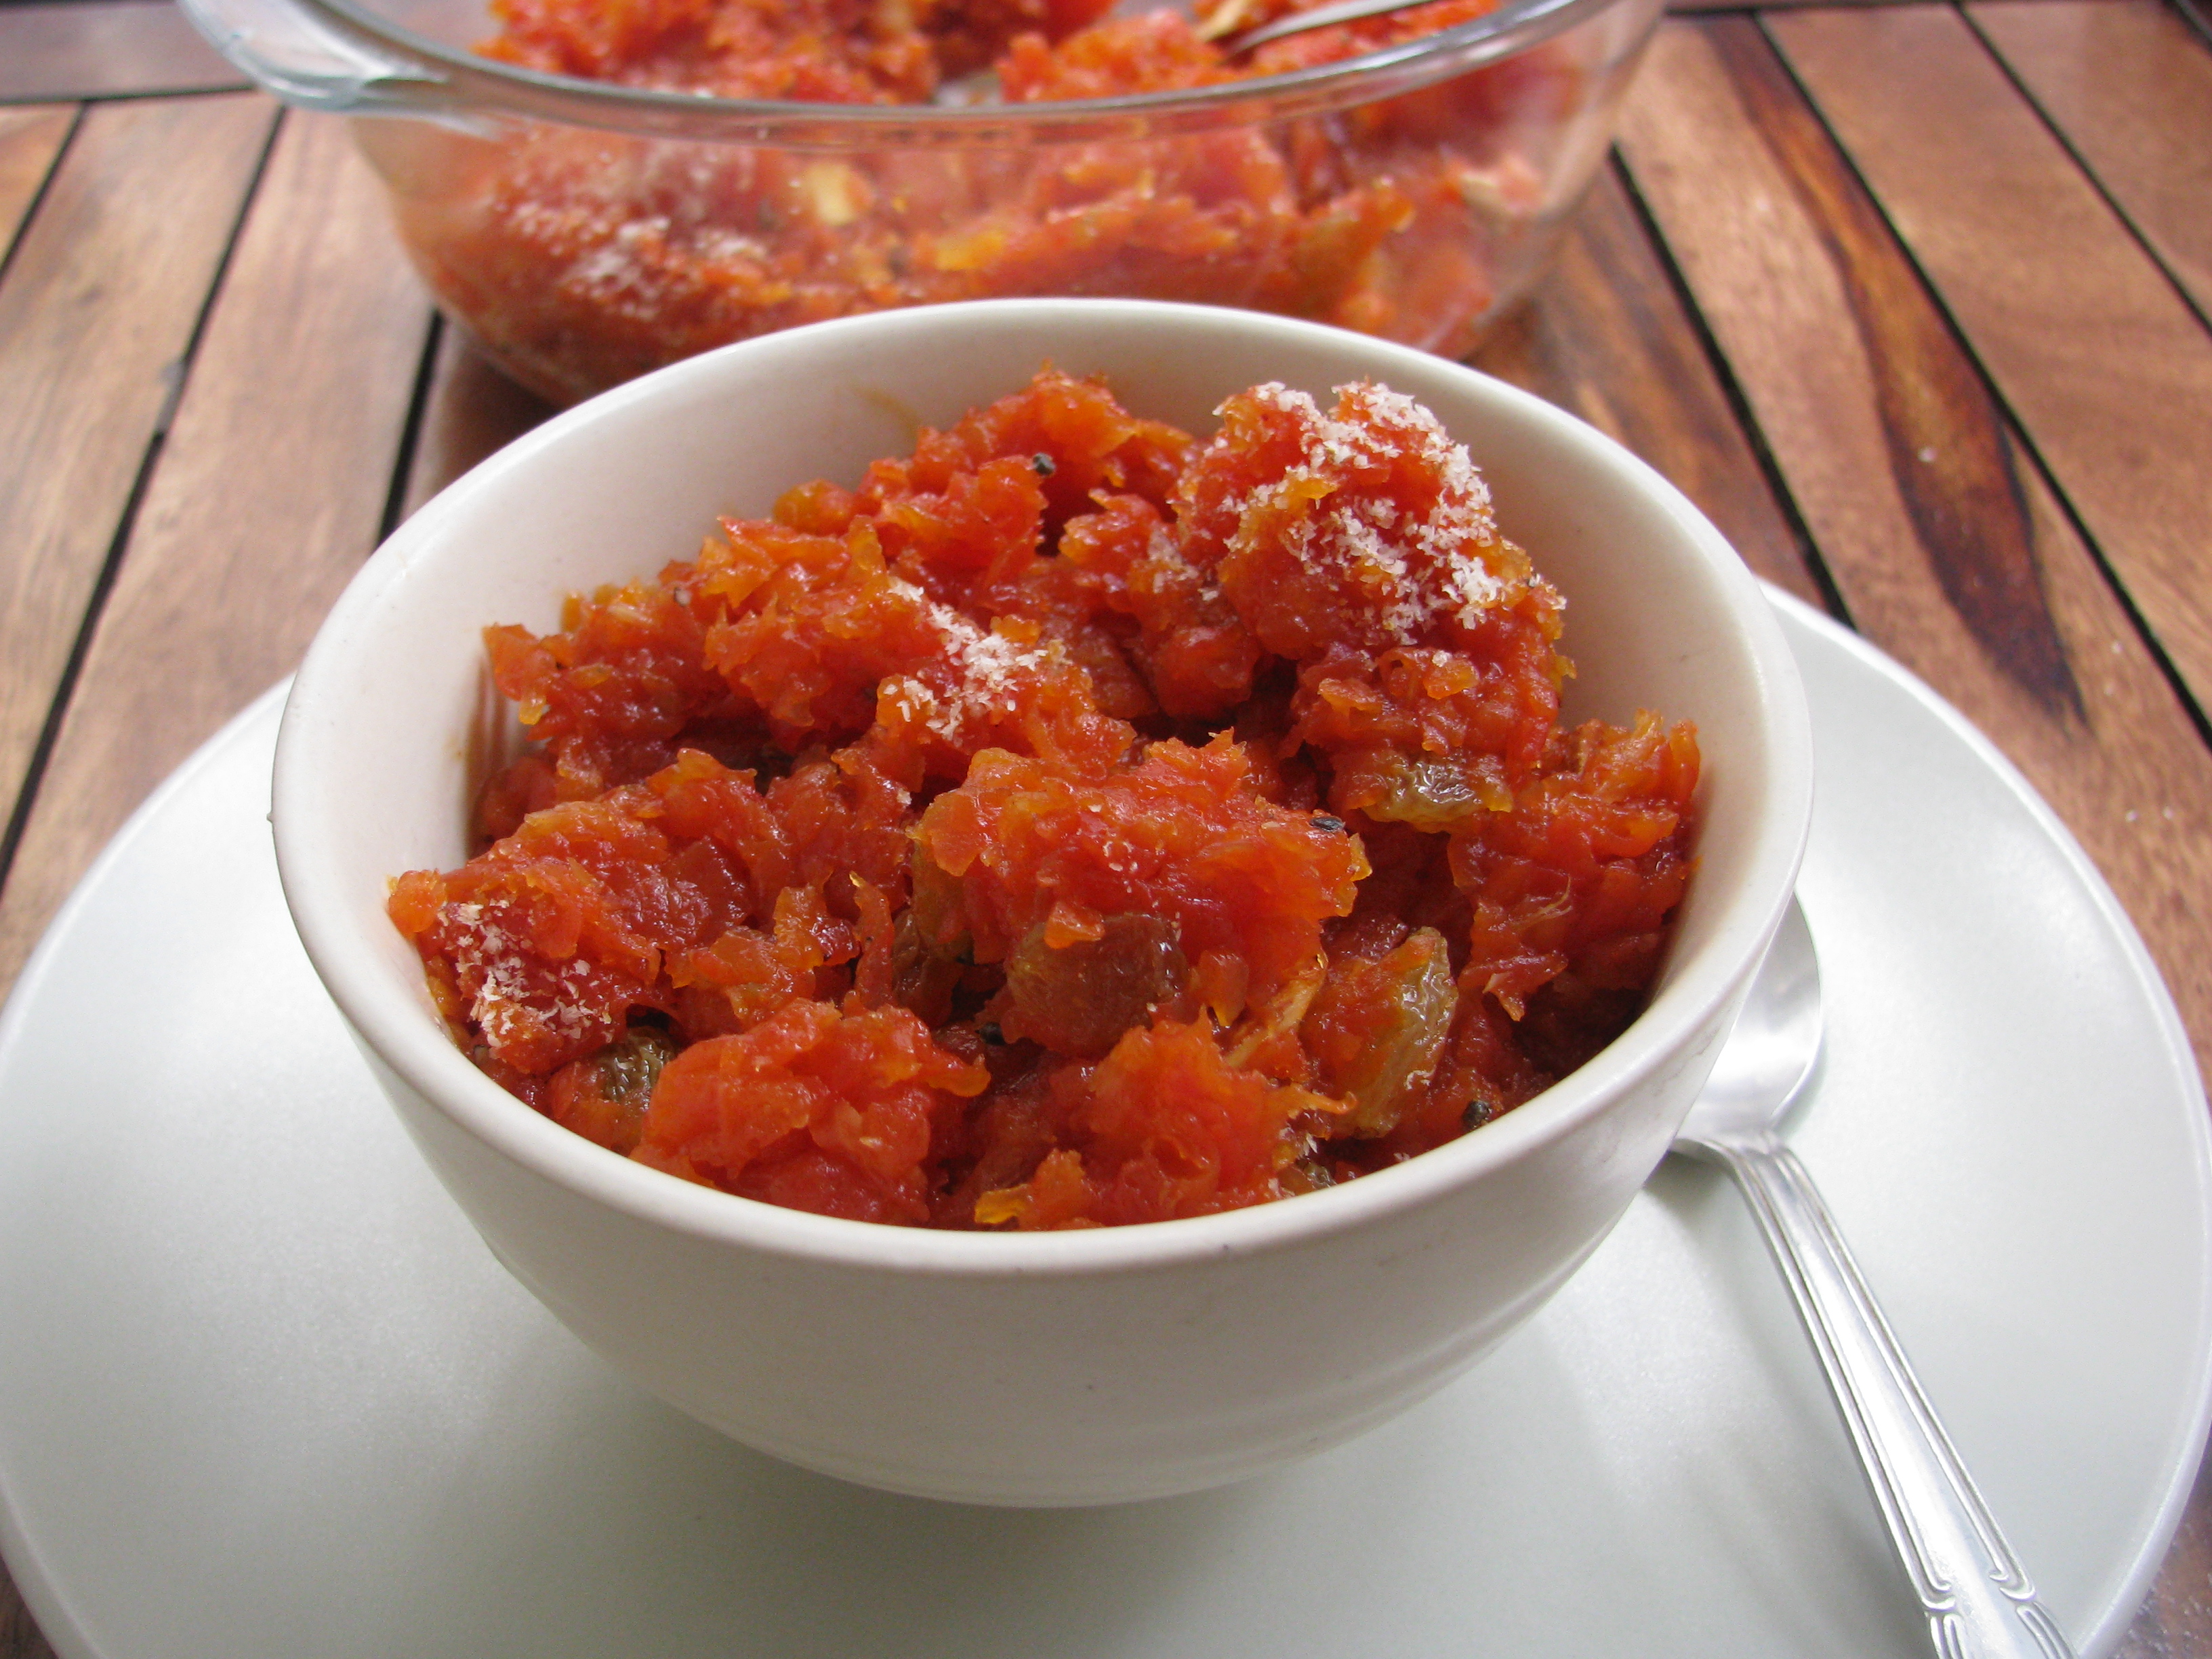
gajar halwa without milk , khoya , condensed milk or ghee
vegan carrot halwa

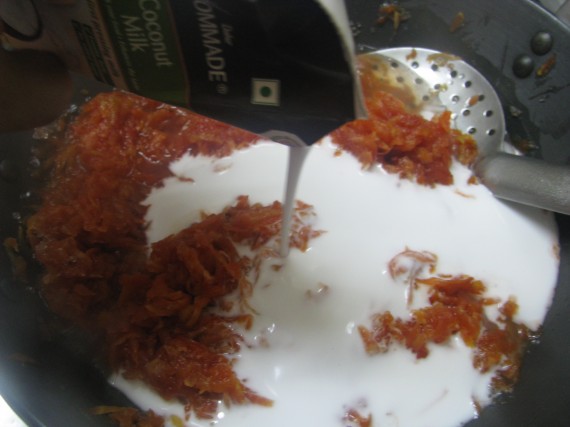
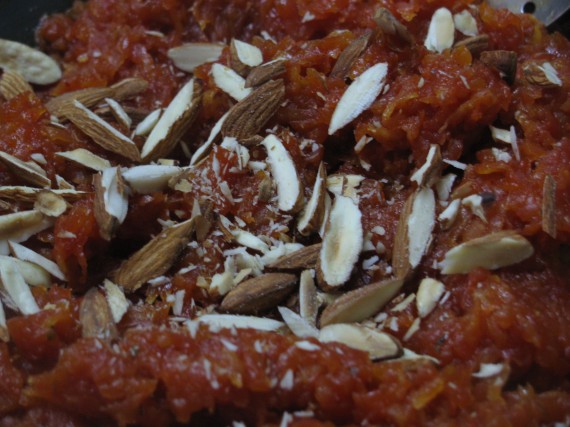
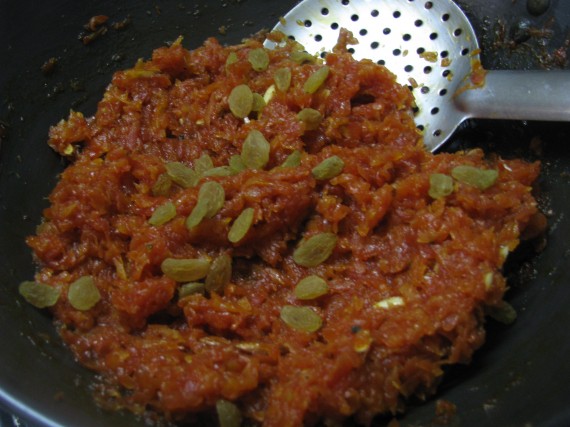
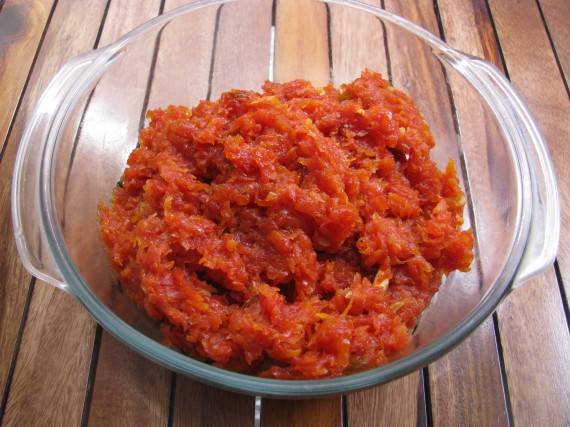
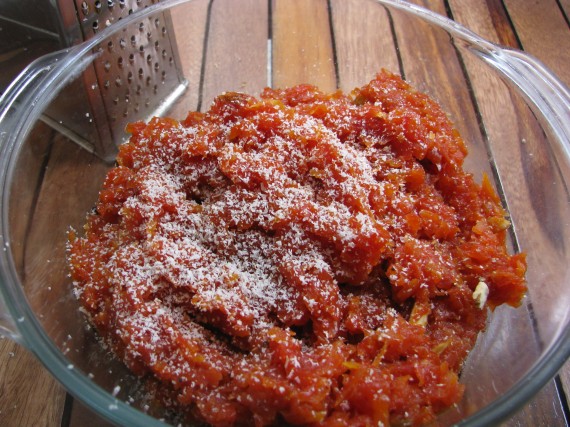
I always made Gajar Halwa with whole milk in a traditional way. But last Sunday few guests visited us and one of them was on  vegan diet. To make Indian sweet dish vegan is little tough. I had around 1 kg carrot at my home at that time. So I tried out this Carrot Halwa without khoya, milk, ghee or condensed milk and it turned out very well. Last time in my gajar halwa recipe, I added coconut or almond milk to make carrot halwa vegan. But to make this vegan halwa we need to add lots of coconut milk or almond milk to cook the carrots. In this recipe I have added just 200 ml of coconut milk ( I used Dabur homemade coconut milk ) in 1 kg halwa.

[box]Also Check –How to make whole wheat flour carrot cake[/box]

This carrot halwa is very low in calories as compared to the carrot halwa which is made from whole milk, condensed milk or khoya. I have also cut some calories from this carrot halwa by not adding a single drop of ghee or oil. The coconut milk (just 200 ml !) is the only source of fat in this carrot halwa. Well 200 ml Dabur coconut milk contains around 224kcal and this halwa makes around 6 servings. Coconut milk has many health benefits if eaten in right quantity and if you are vegan this is a good option to make many Indian desserts. In place of coconut milk you can also use almond milk to make this halwa.

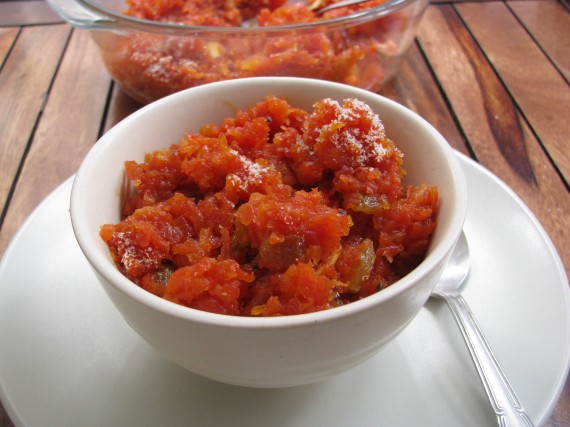
carrot halwa without milk , khoya , condensed milk or ghee
gajar ka halwa without milk

I have added sugar to make this halwa, you can also add sugar free natura, honey or jaggery to it. Most people don’t prefer sugar free but honey and jaggery are really good options to make it healthier. If you are diabetic, I suggest to go for sugarfree. I have used fresh red juicy carrot to make this halwa so I added less sugar. Also winter carrots (delhi gajar) are sweet and juicy.

[box]Also Check- Tasty Beetroot Halwa Recipe [/box]

Cooking time for gajar halwa by this method takes less time as compared to the halwa made from milk. Slowly cooked carrot halwa cooked with milk and ghee tastes awesome but for people who are vegan this tasty carrot dessert is a feast.

I have grated the carrot with hand grater, you can also grate it in food processor. If you are a bachelor and don’t have a grater, you can cut carrot into small pieces with knife. Well it will take more time as compared to grater.

[box]Also check – Lauki ka halwa recipe | Bottle gourd Halwa[/box]

I have explained step by step directions to make vegan carrot halwa at home. Do share your suggestion of how you make carrot halwa without milk, khoya or condensed milk .

[ingredients title=”Ingredients to make Carrot Halwa Without milk “]

  • 1 kg carrot
  • 1 cup sugar (u can also use brown sugar / demerara sugar)
  • 200 ml pack of dabur homemade coconut milk / 200 ml almond milk
  • 1/4 cup chopped almonds
  • 2-3 almond for garnishing
  • 1/4 cup raisins
  • 1 teaspoon cardamom powder

[/ingredients]

[directions title=”Step by Step directions to make Carrot Halwa without milk”]

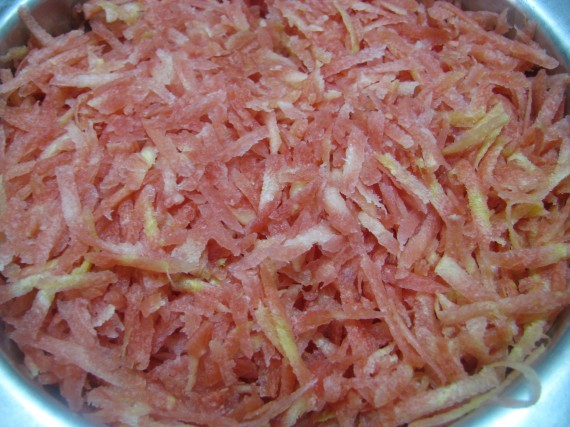
  1. Wash carrot (gajar) nicely.Remove its skin with peeler, and grate it with thick grater.IMG_3225
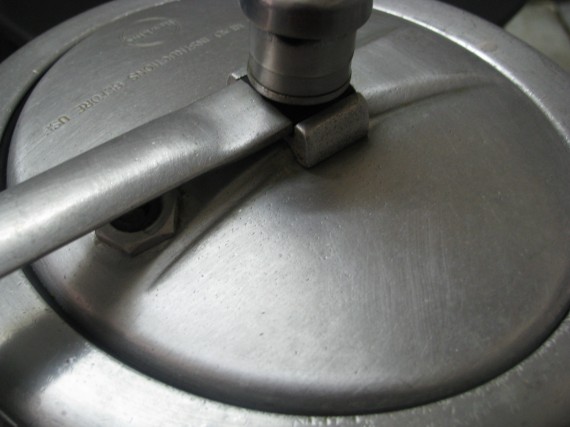
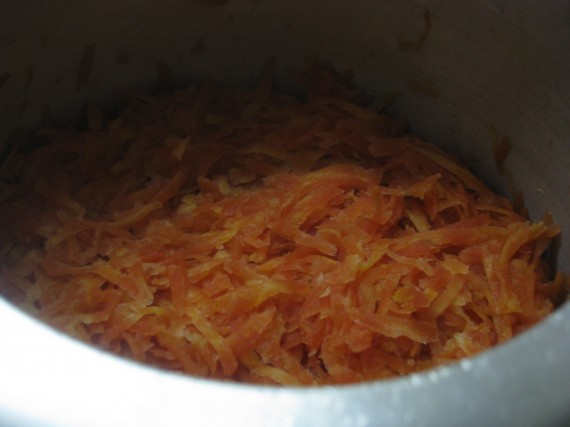
  2. Cook this carrot in pressure cooker with 1 teaspoon water upto 1 whistle.IMG_3228
  3. Carrot will ooze lot of water, use this carrot stock for making soup. Don’t add it to halwa .IMG_3233
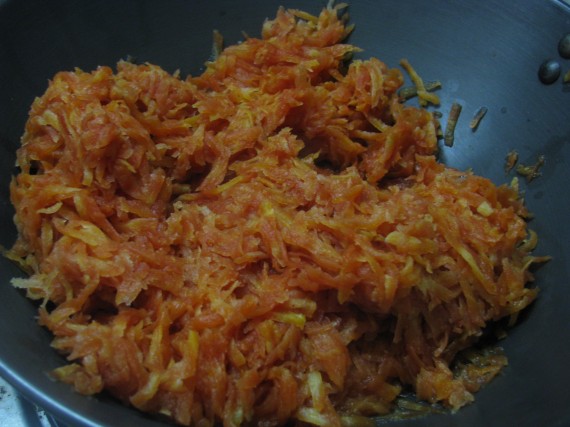
  4. Remove the cooked carrot in khadhai.IMG_3236
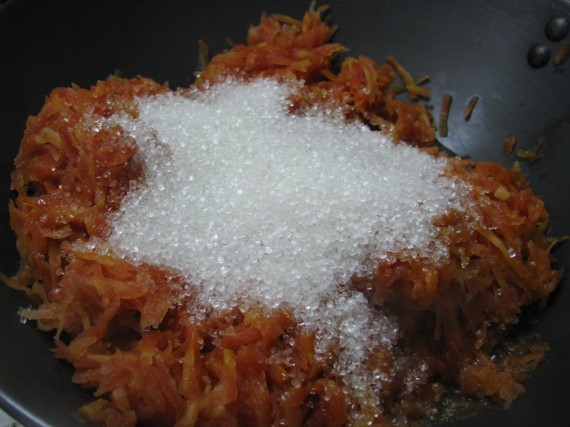
  5. Add sugar and keep it on flame.IMG_3237
  6. Add coconut milk.IMG_3240
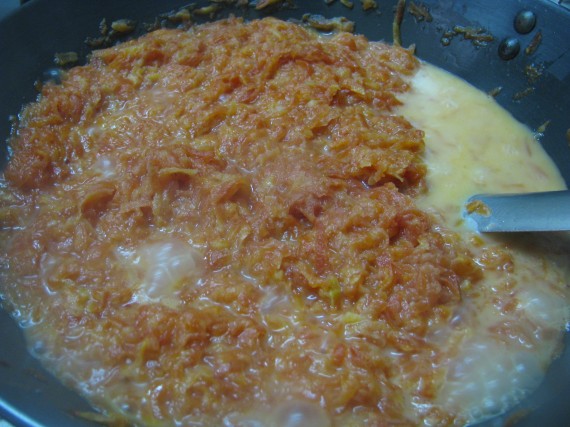
  7. boil mixture on medium to high flame.IMG_3241.
  8. Stir it occasionally.
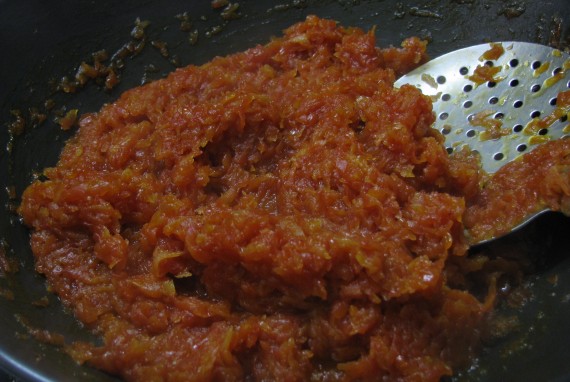
  9. After 10 minutes, continue stirring until all the coconut milk has evaporated.IMG_3245
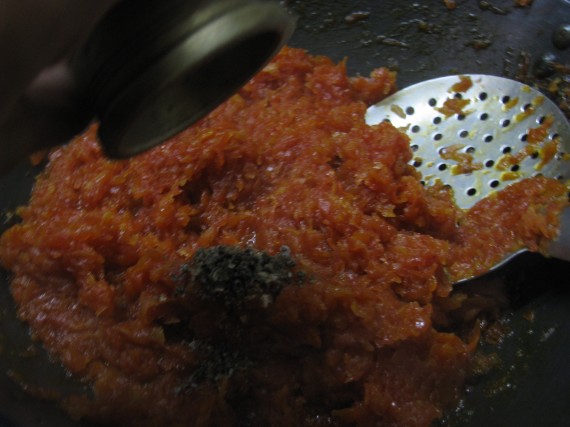
  10. Add Cardamom powder.IMG_3246
  11. Add roated almonds and cashews. I have roasted them in microwave .IMG_3248
  12. Add raisins.IMG_3249
  13. Garnish it with grated almond.IMG_3252
  14. Serve this carrot halwa hot or chilled.IMG_3253

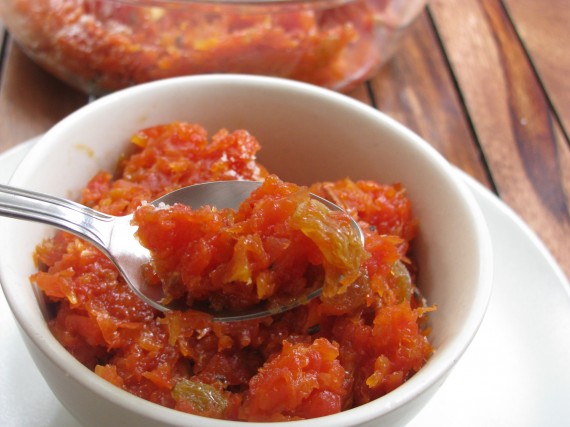
    gajar halwa without milk , khoya , condensed milk or ghee
    vegan carrot halwa

[/directions]
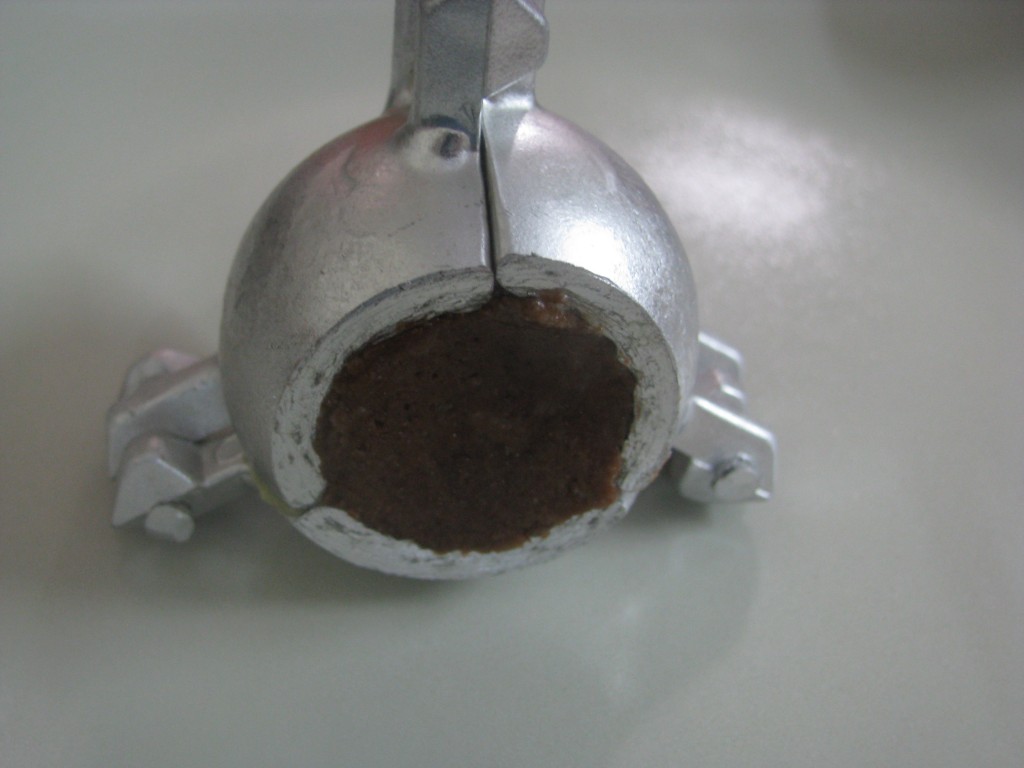
Side dish for aloo paratha | Paratha side dish recipes

Paratha in morning breakfast is very common in Indian homes. We make variety of parathas like aloo paratha ,beetroot paratha , gobhi paratha , onion paratha , matar paratha, palak paratha, methi paratha,paneer parathamooli paratha etc and always want something interesting to eat with it. Many people like to eat paratha with butter, curd, achar, raita, chutney, jam or gravies. I have explained variety of recipes to make with aloo paratha. I hope you will enjoy this recipes. Click to read the following side dish recipes which goes very well with aloo paratha or any other plain or stuffed paratha. This side dish recipes are easy to prepare and are some of the best accompaniments with paratha:-)

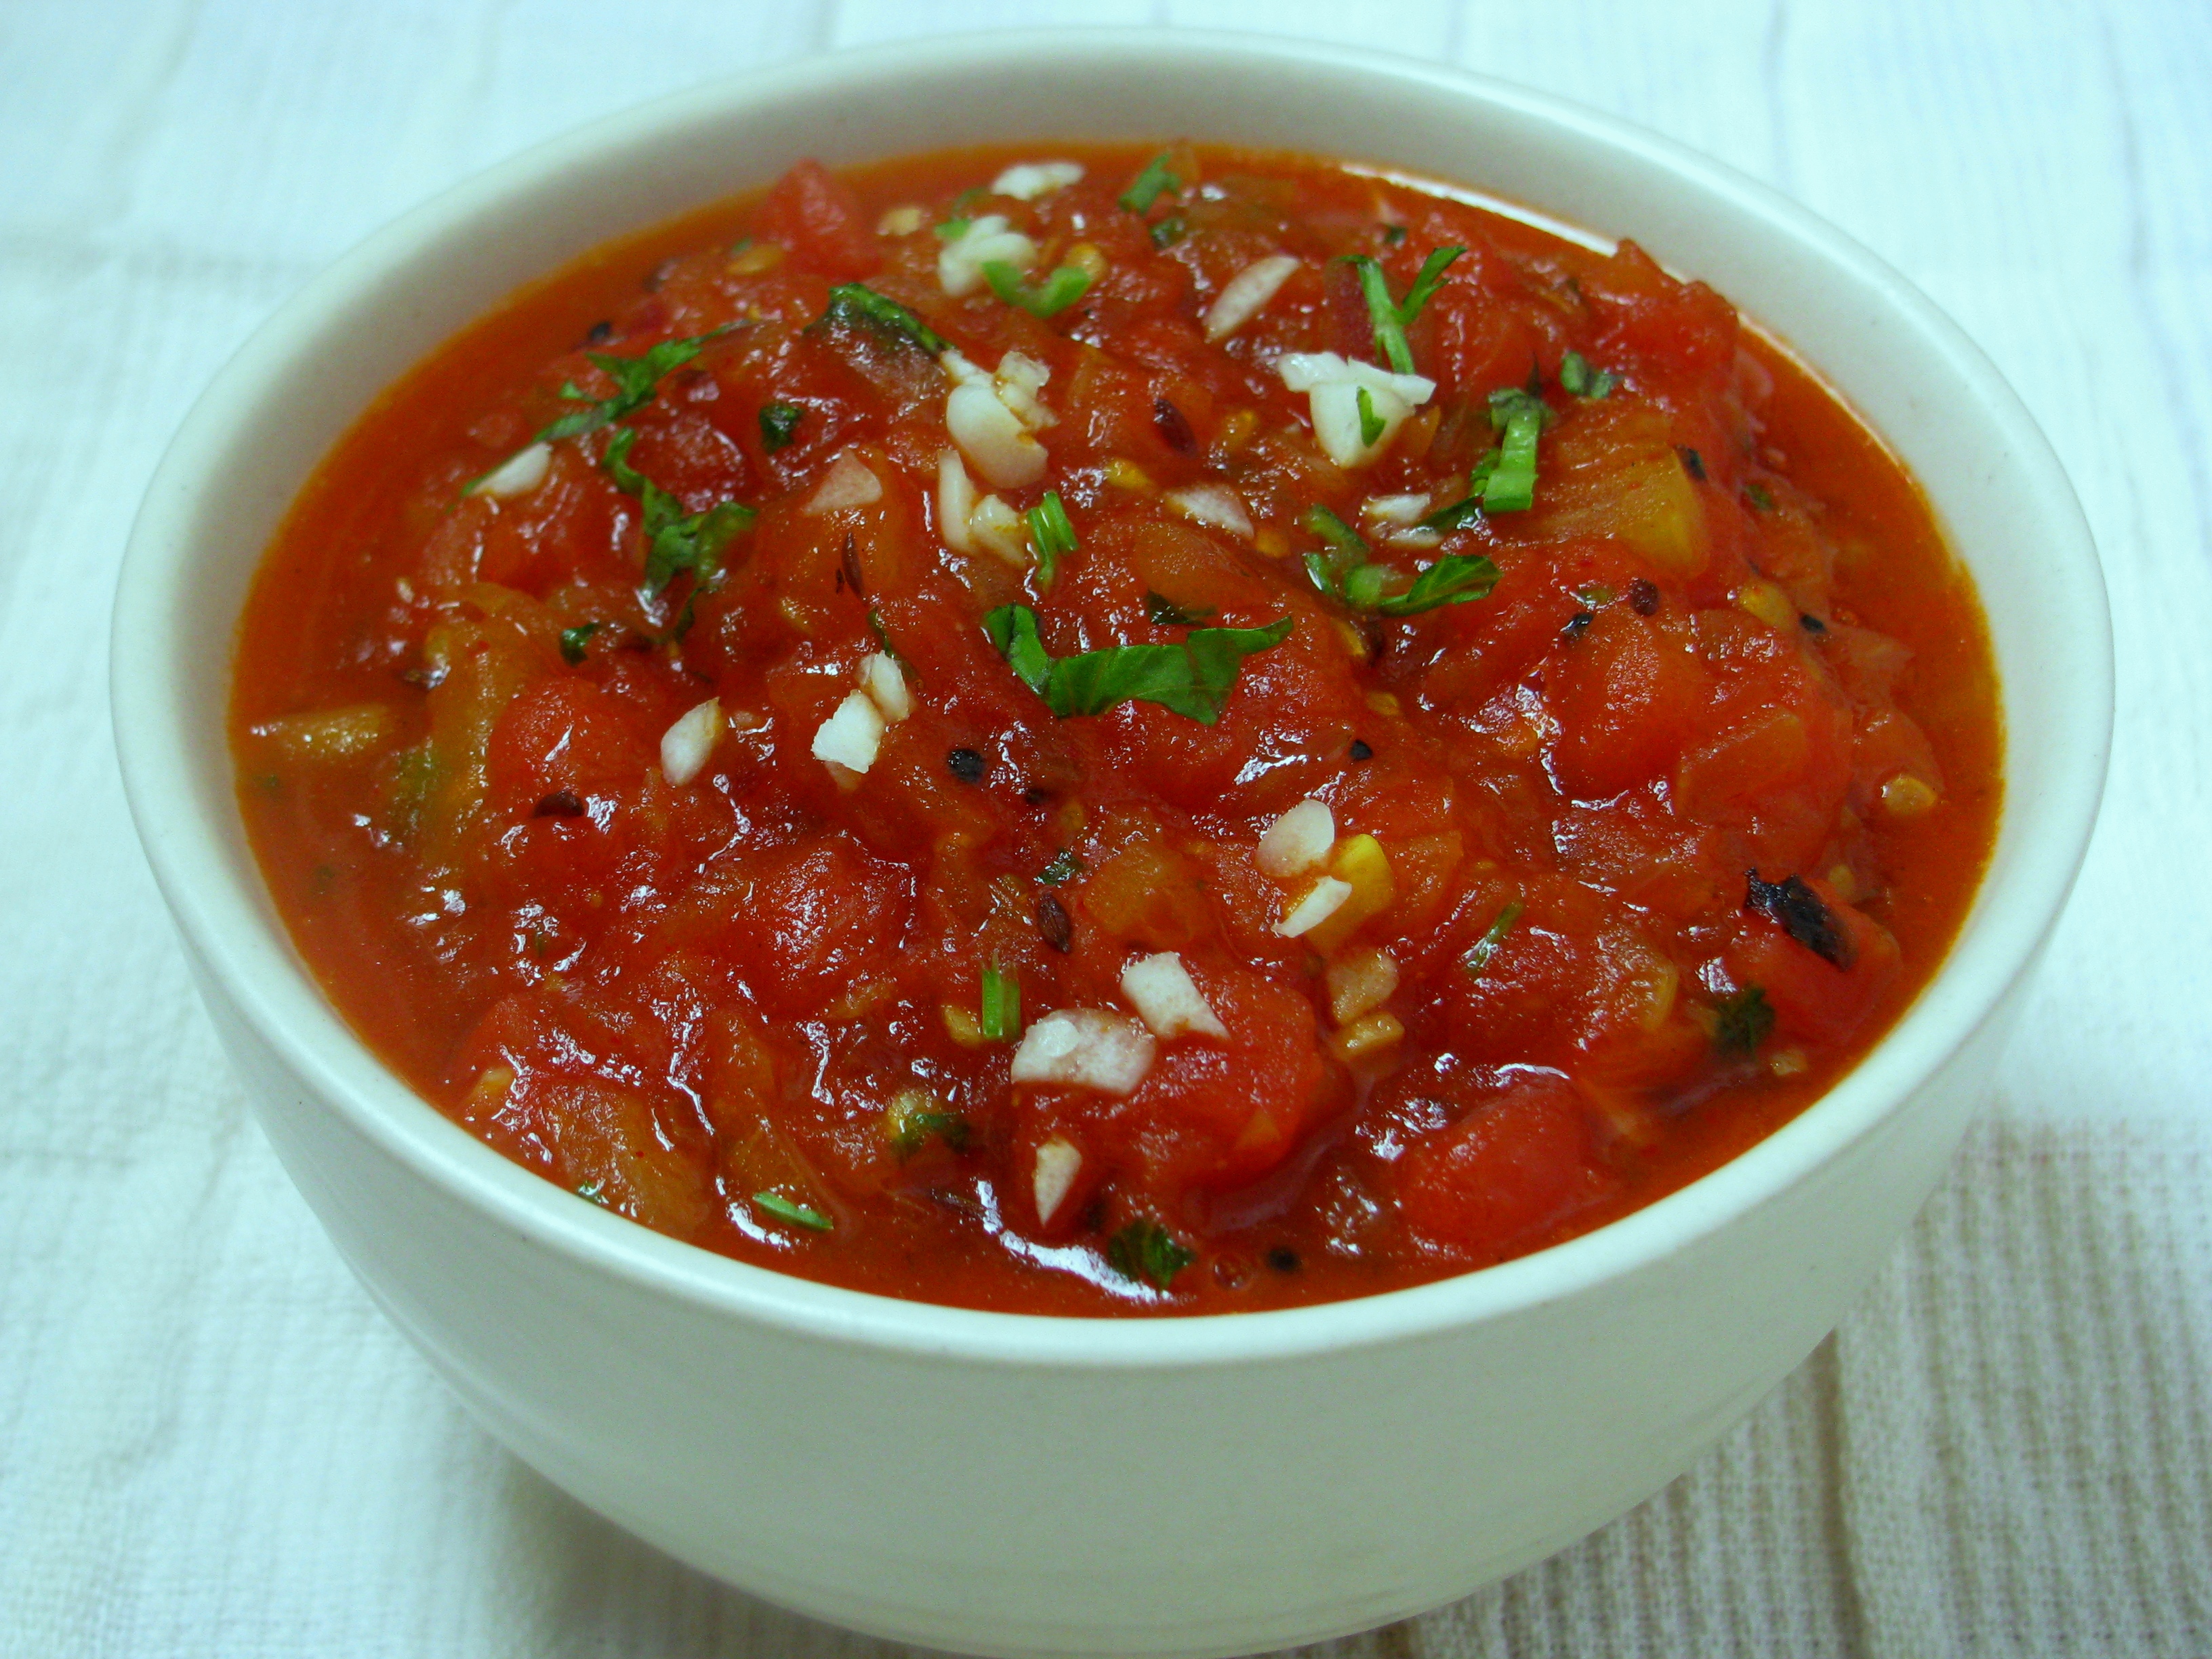
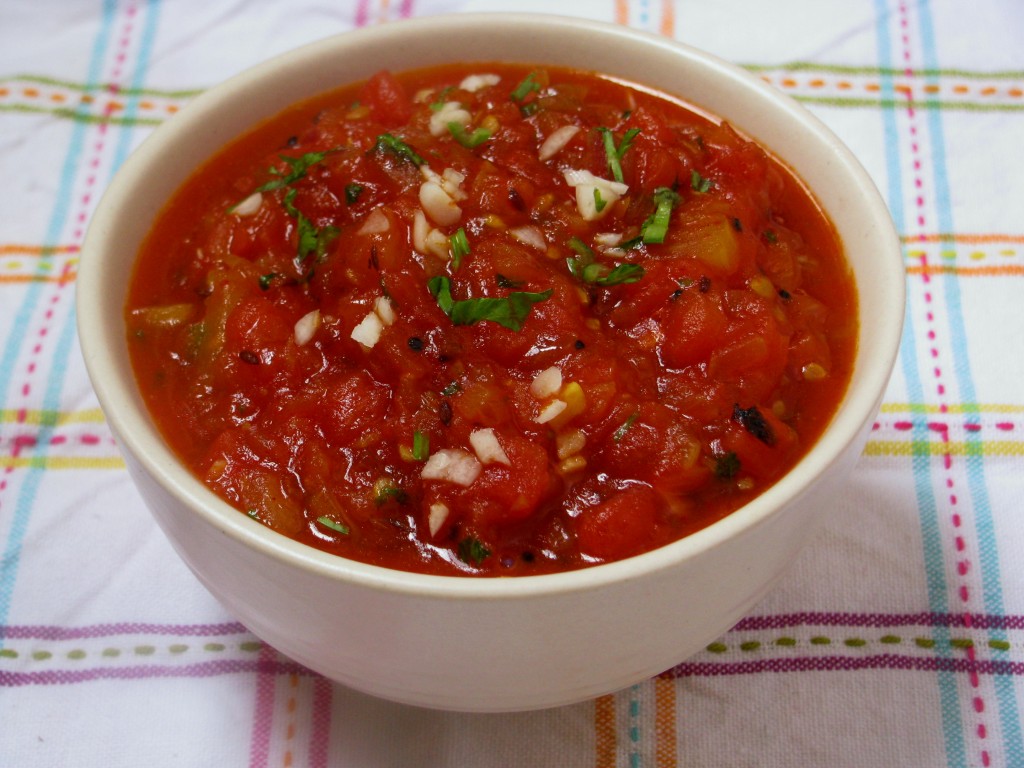
tomato chutney
Homemade tomato chutney / salsa

Tomato chutney recipe

This sweet, sour and spicy chutney tastes good and it goes very well with any plain ,vegetable or stuffed paratha. My kids love this red chutney. You can also serve this chutney with plain chapathi or dosa. Read this recipe

spicy red chutney
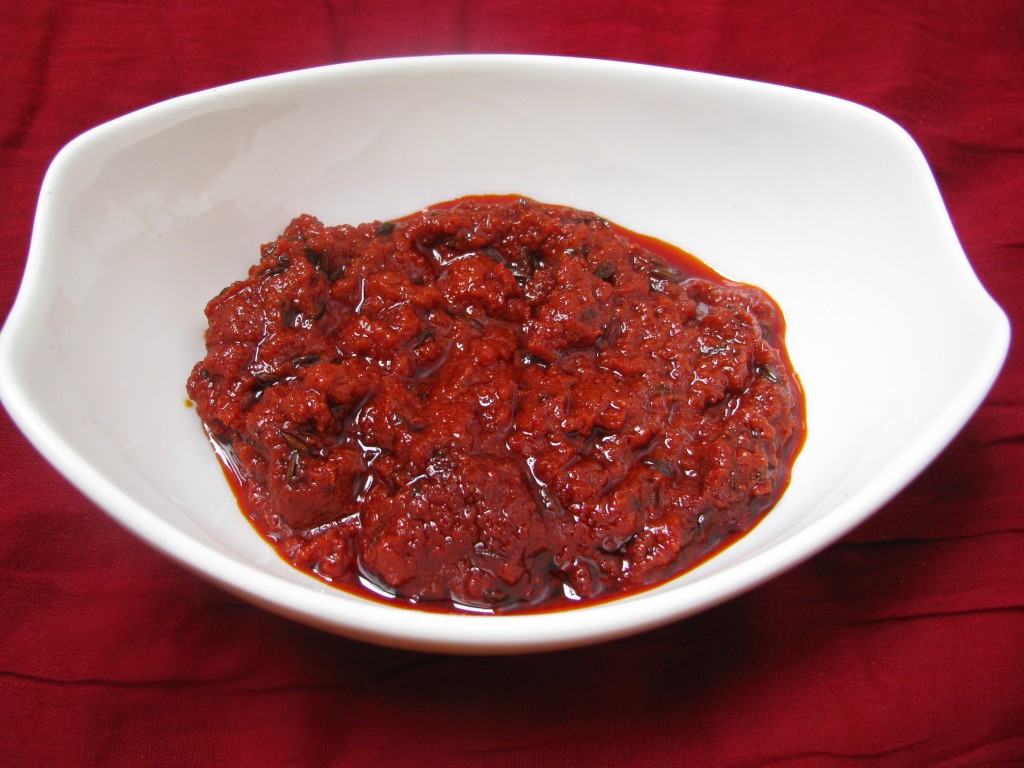
lemon chutney

Lemon chutney recipe

This is my grandma’s tasty spicy recipe with paratha or any other meal. This red chutney will open up your taste buds. Make this tasty hot and sour chutney when You want to eat something very spicy with your paratha. You can also eat this chutney with any bland meal. Read the recipe…..

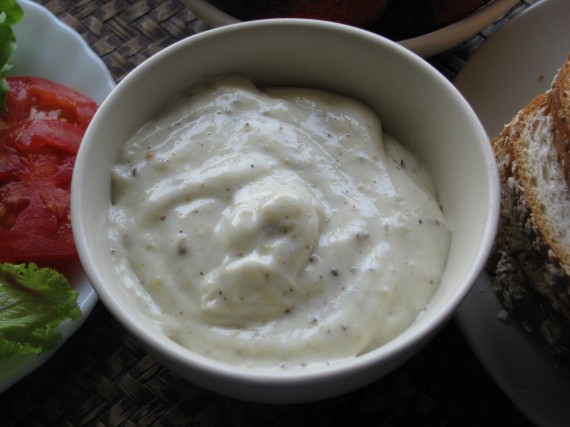
Egg-less Mayonnaise
Egg-less Mayonnaise

Egg-less Mayonnaise or Veg Mayo

Mayonnaise spread tastes awesome with any Paratha. This recipe of mayonnaise is without eggs, sugar or condensed milk. This veg mayonnaise is low in calories and easy to make at home. Read the recipe……

kaccha aam pudina chutney

Raw Mango chutney with Mint leaves

This Kaccha aam Pudina ki chutney or Kairi Chatni you can make in summers when raw mango is easily available in market. This chutney is very refreshing and goes well with paratha or any other meal. You can also eat this chutney with khichadi. Read this recipe…..

how to eat flax seeds daily
flax seed chutney

Flax seed chutney with garlic | Alsi chutney | Jawas chutney recipe

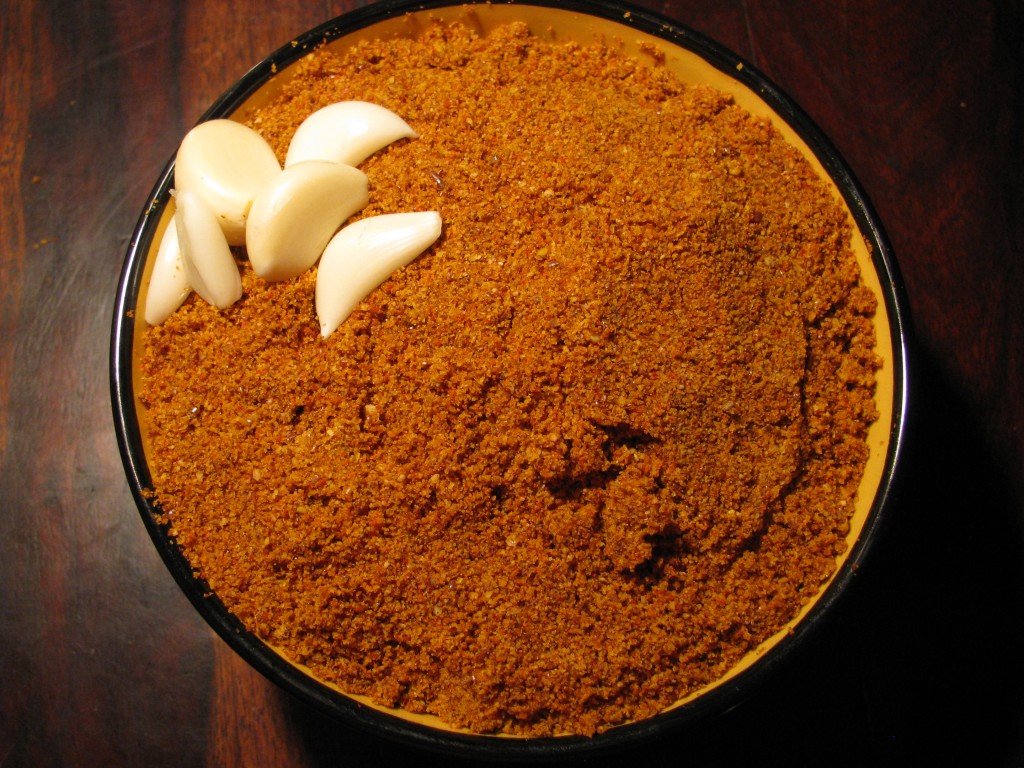
This chutney is always available at my home. This is a healthy dry chutney recipe which You can store in airtight container for 20- 25 days. It has very long shelf life. This chutney is made up of flax seeds (alsi / jawas), sesame seeds (til), peanuts (moongphalli / shengdana), garlic etc. I mix this chutney with curd or olive oil or any edible oil(filter oil) and serve it with paratha, cheela or dosa. This chutney is one of the easiest side dish recipe you can serve with your aloo paratha once its ready in your kitchen. Read this recipe….

coconut peanut chutney for bhakri , paratha ,
coconut chutney

Coconut chutney recipe

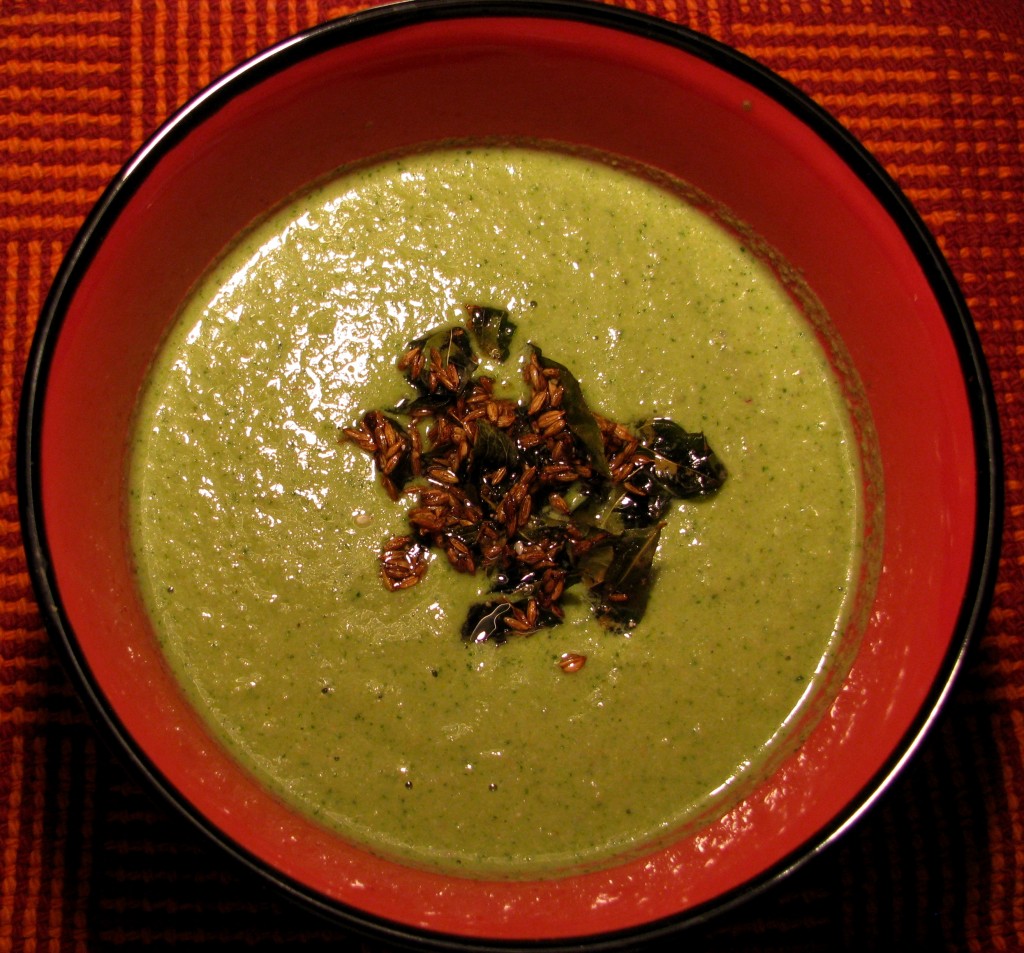
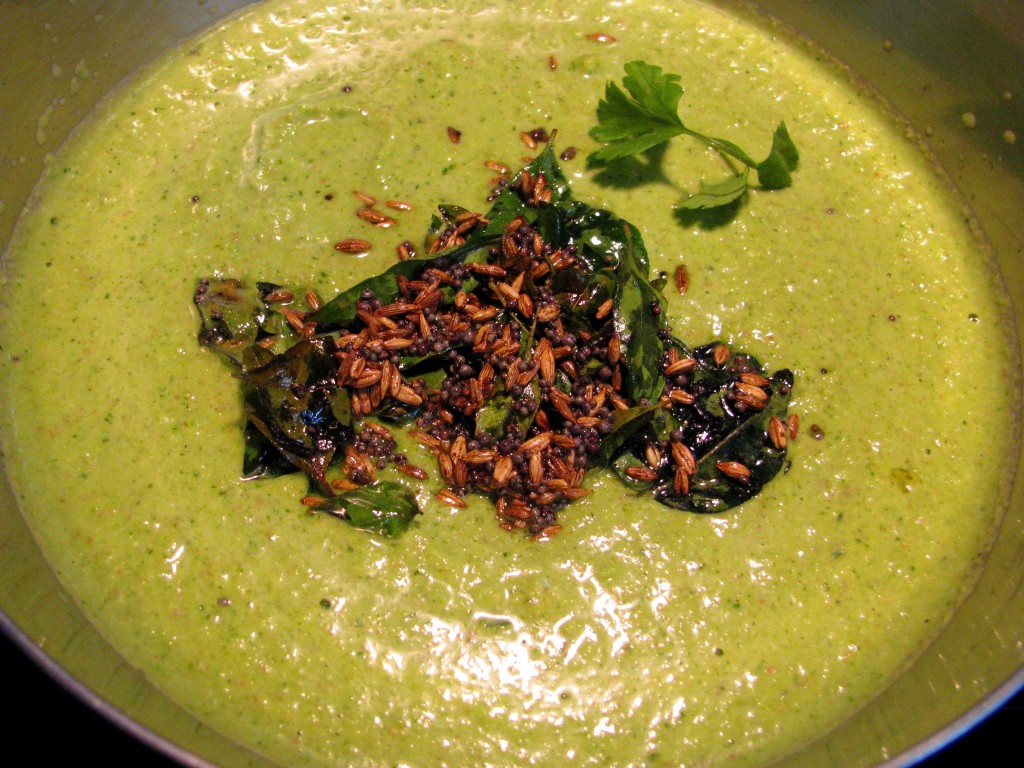
This fresh coconut chutney tastes awesome with dosa and idli, but it also goes well with paratha. I make this green coconut chutney when fresh coconut and coriander are in my refrigerator. This spicy chutney recipe is evergreen side dish recipe with idli, dosa, cheela or paratha. Read this recipe


Guava jam / jelly
Guava jam / jelly

Guava Jam / Jelly Recipe

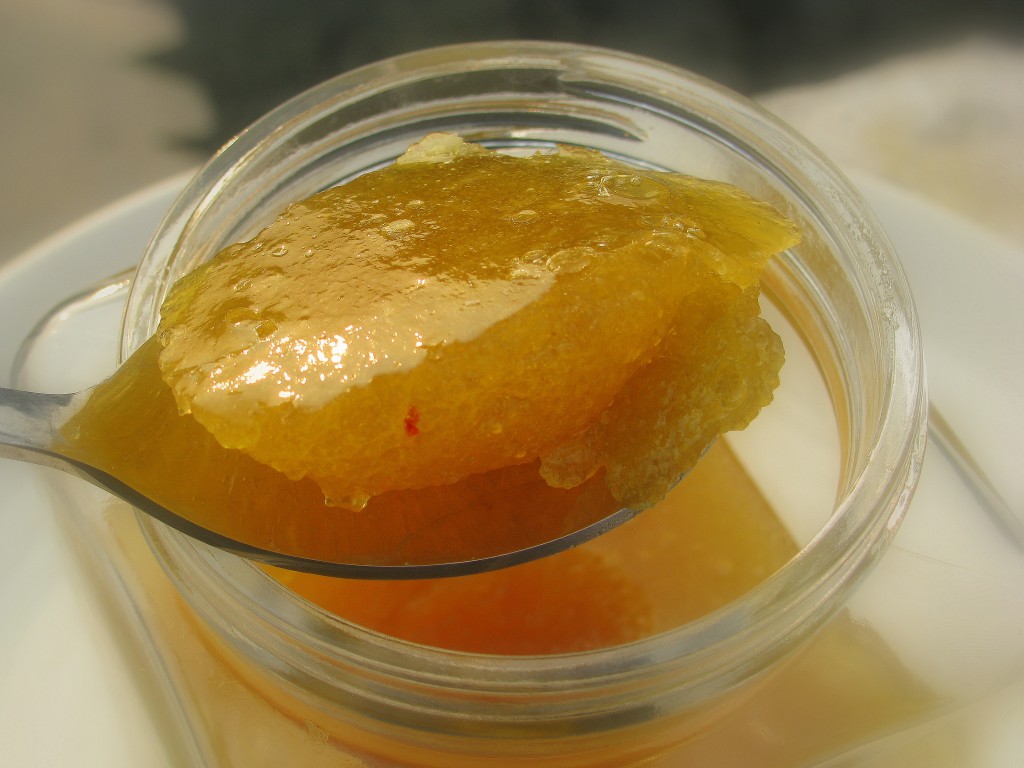
This is easy to make jam recipe and a best companion with plain paratha. Read this recipe……

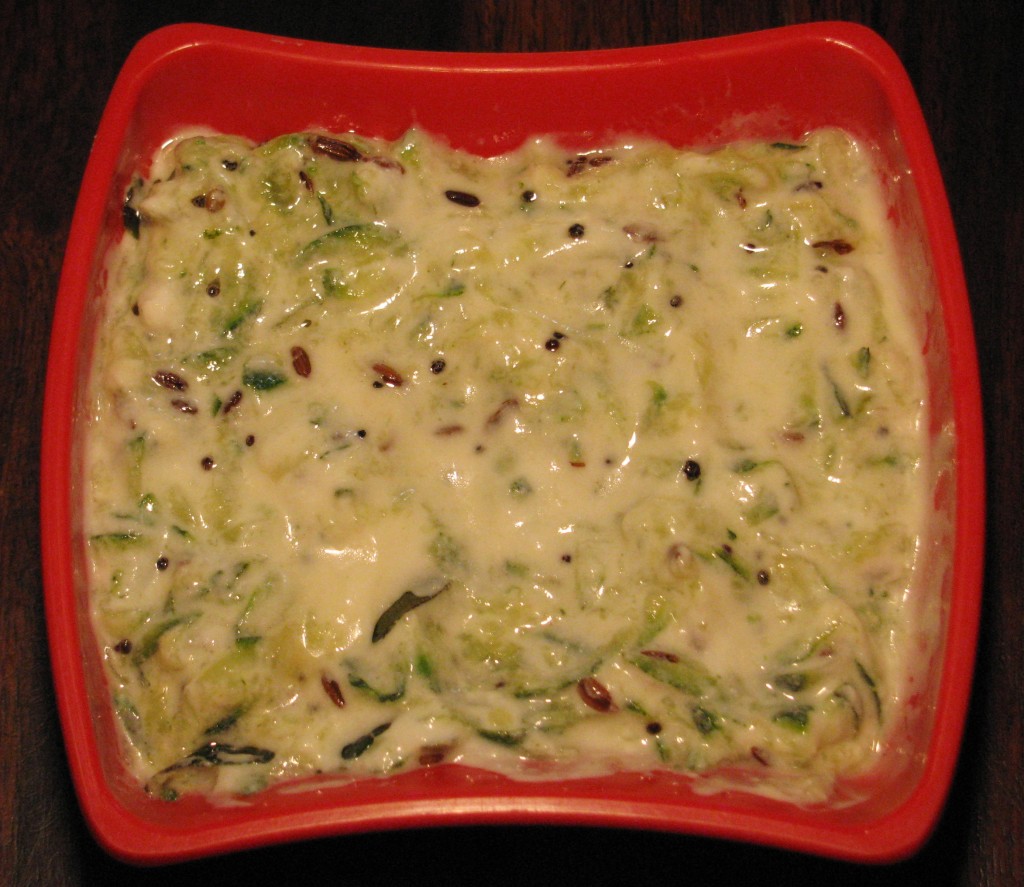
zucchini ka raita
zucchini ka raita

Zucchini Raita recipe

This is easy to make zucchini recipe. Its very healthy and have lots of health benefits. My kids somehow dont like zuchini sabzi but they love this raita. I make this raita with parantha and with my regular meal. Its easy and doesn’t take lot of time. Read the recipe….

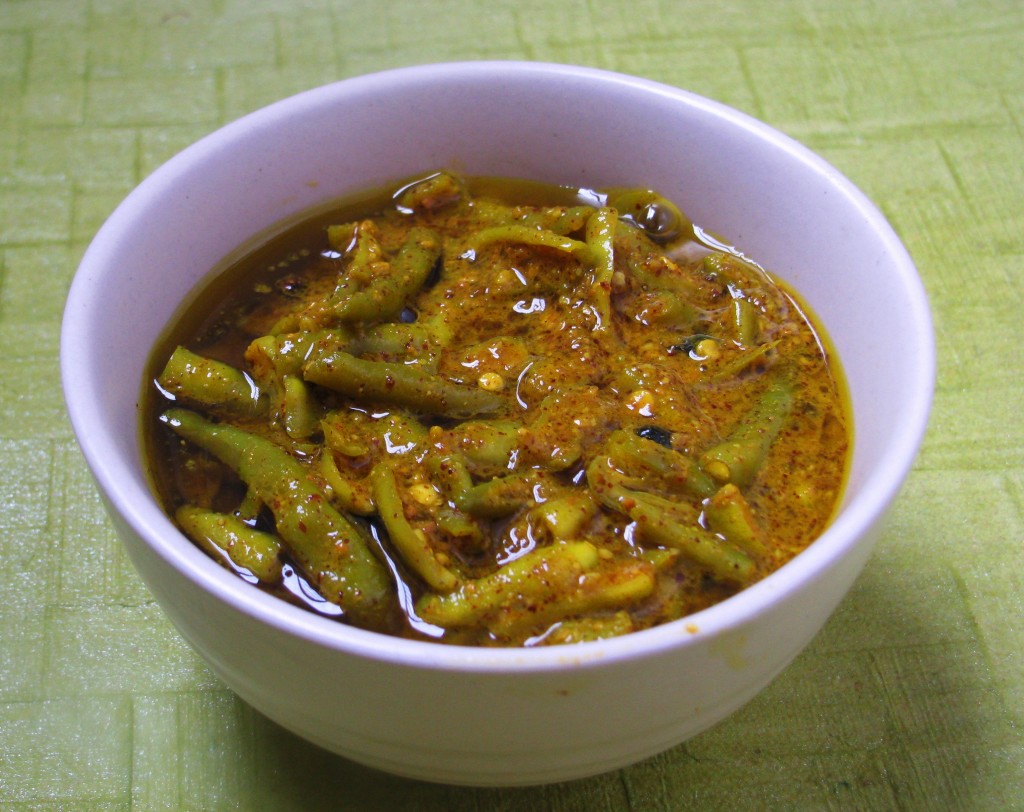
mirchi achar
green chili pickle | ari mirch ka achar

Green Chili pickle | Hari mirch ka Achar

This spicy green chili pickle goes very well with aloo paratha. You can also serve it with any rice recipe. I make this pickle at home and its very easy to make. Do try this easy to make pickle recipe . Read this recipe…

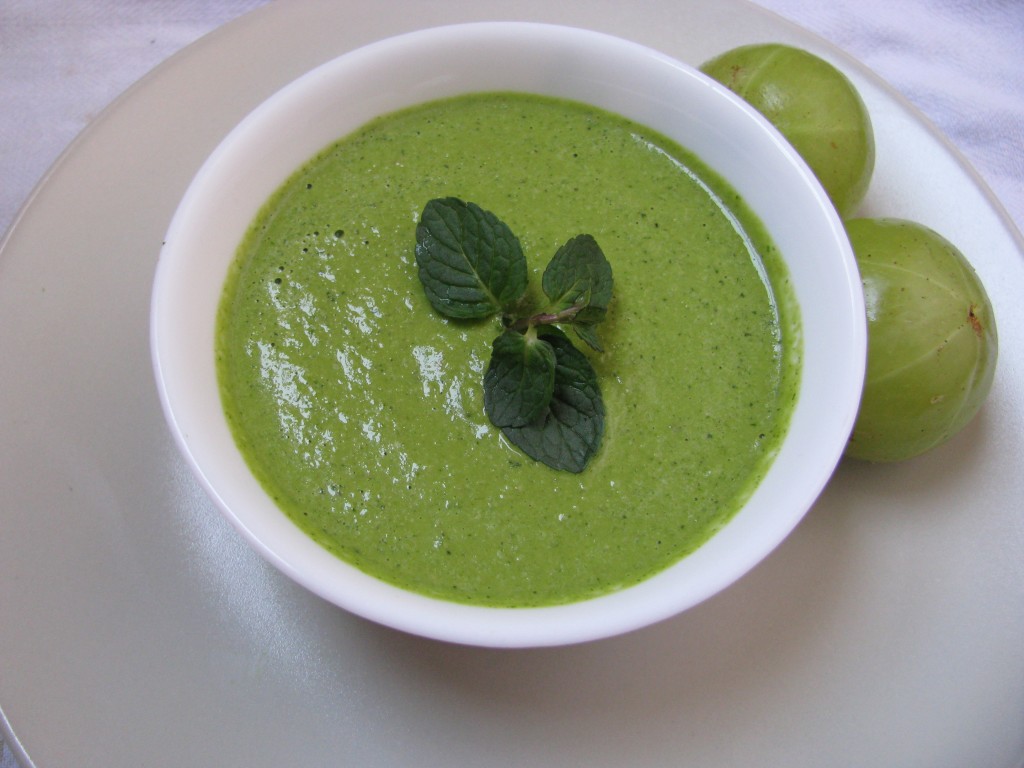
how to make gooseberry chutney with pudina
Amla chutney | Gooseberry chutney

Amla ki khati meethi chutney

This chutney is very healthy as well as tasty. You can eat it as a side dish with paratha. Amla are abundantly available in winters, so I make this chutney mostly in winters. Amla is rich in antioxidants . To eat raw amla is difficult for many people. This chutney You can easily eat with your meals. I have also added pudina (mint) and corriander in this chutney which gives this chutney a very refreshing flavour. Read this recipe……

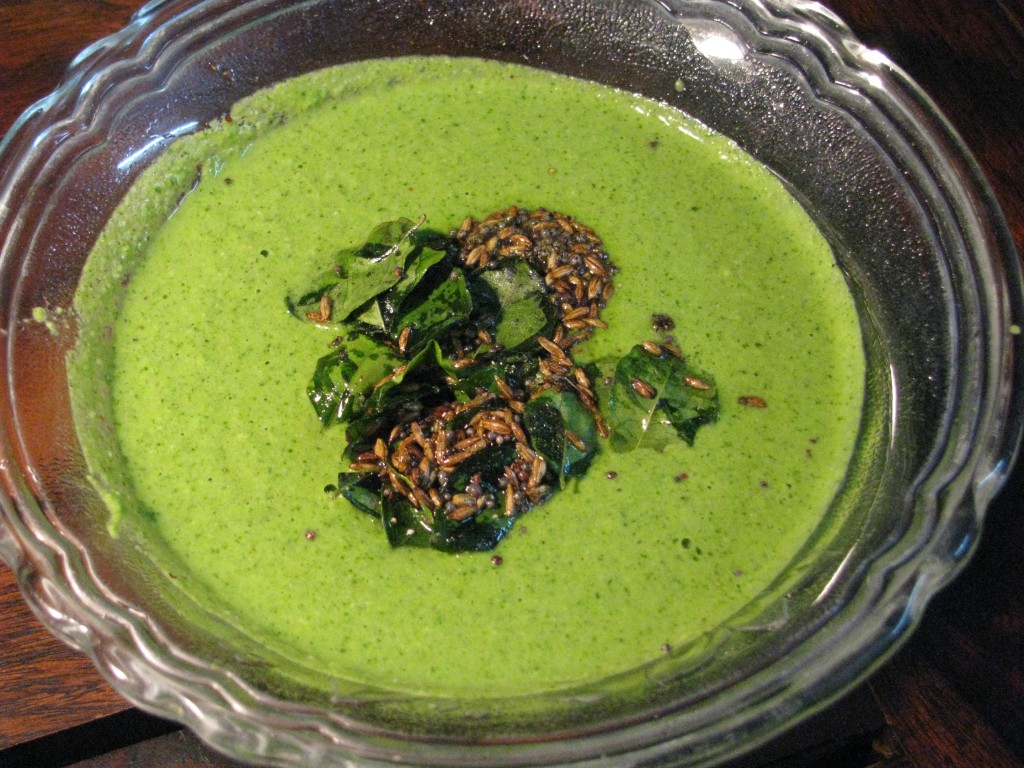
coconut pudina chutney for idli dosa

Pudina chutney recipe |Mint Chutney

I have explained 3 different types of pudina chutney. You can make any of this green chutney as a side dish for your Aloo paratha or any paratha. Read this recipe….

onion tomato koshimbir recipe
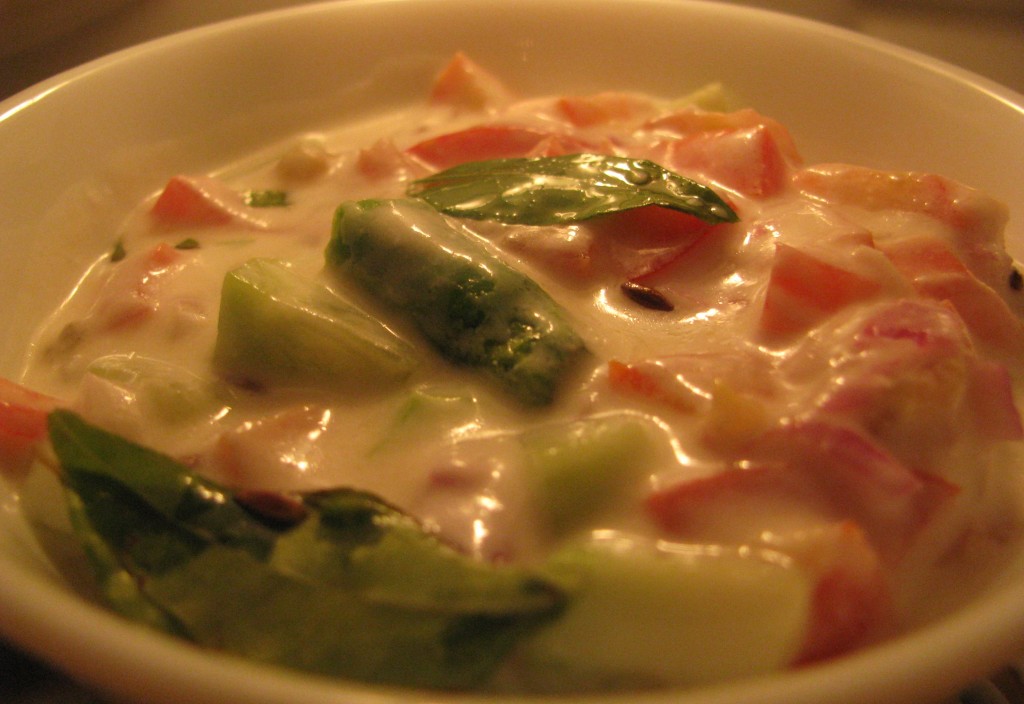
cucumber tomato raita or koshimbir

Cucumber tomato raita | Kakdi tomato koshimbir

This is a maharashtrian style raita which is made as side dish with any meal. This raita goes very well with paratha. It has refreshing taste of cucumber which make this raita best accompaniment with parathas in summer. Read this recipe…

Turmeric pickle / Kachi haldi ka achar

Quick raw turmeric pickle recipe | Kachi haldi ka achar 

This pickle is made up of raw turmeric and lemon juice with some spices. Its easy to make and there is no pickling time for this tasty pickle. Its a easy way to eat raw turmeric in your daily meals. This healthy pickle goes very well with aloo paratha. Read the recipe …..

heathy homemade chutney
amla-kachi haldi ki chutney

Amla raw turmeric chutney recipe 

This chutney is tasty as well as healthy. It contains raw turmeric, amla and coriander as main ingredients. This chutney can also be accompanied with hot parathas. Read the recipe…

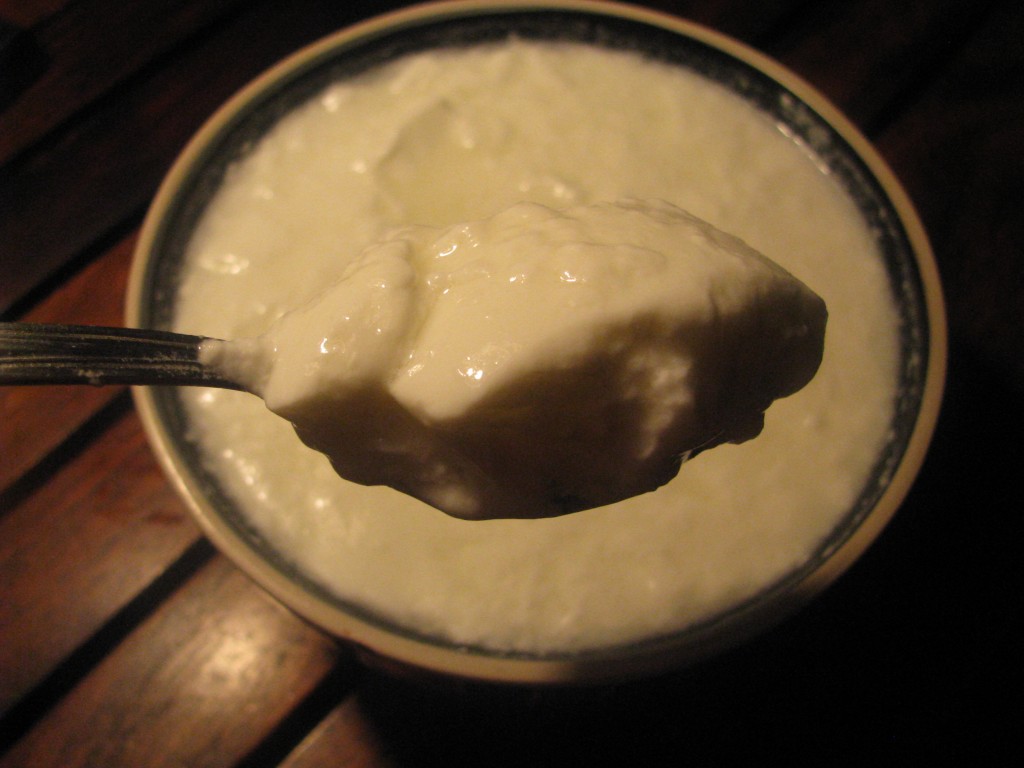
how to make curd / dahi at home
how to make curd/ dahi

Curd | Dahi | Plain Yoghurt

Plain curd or dahi also goes very well with hot parathas . You can easily set probiotic curd at your home. Many of us have an issue to set dahi in winters especially when the temperature is very low. I have explained how to make this healthy curd during winters and summers. Read the recipe….

awlayach loanch
amla khata meetha achar

Amla Pickle recipe

This is a khata meetha amla pickle (Gooseberry pickle) which you can eat with your tasty parathas. Read the recipe…

Gond ke laddu | Dinkache ladoo


gond laddu recipe | dink ladoo recipe
Gond Laddu | Dink Ladoo

Gond ke Laddu Recipe| Dinkache Ladoo Recipe

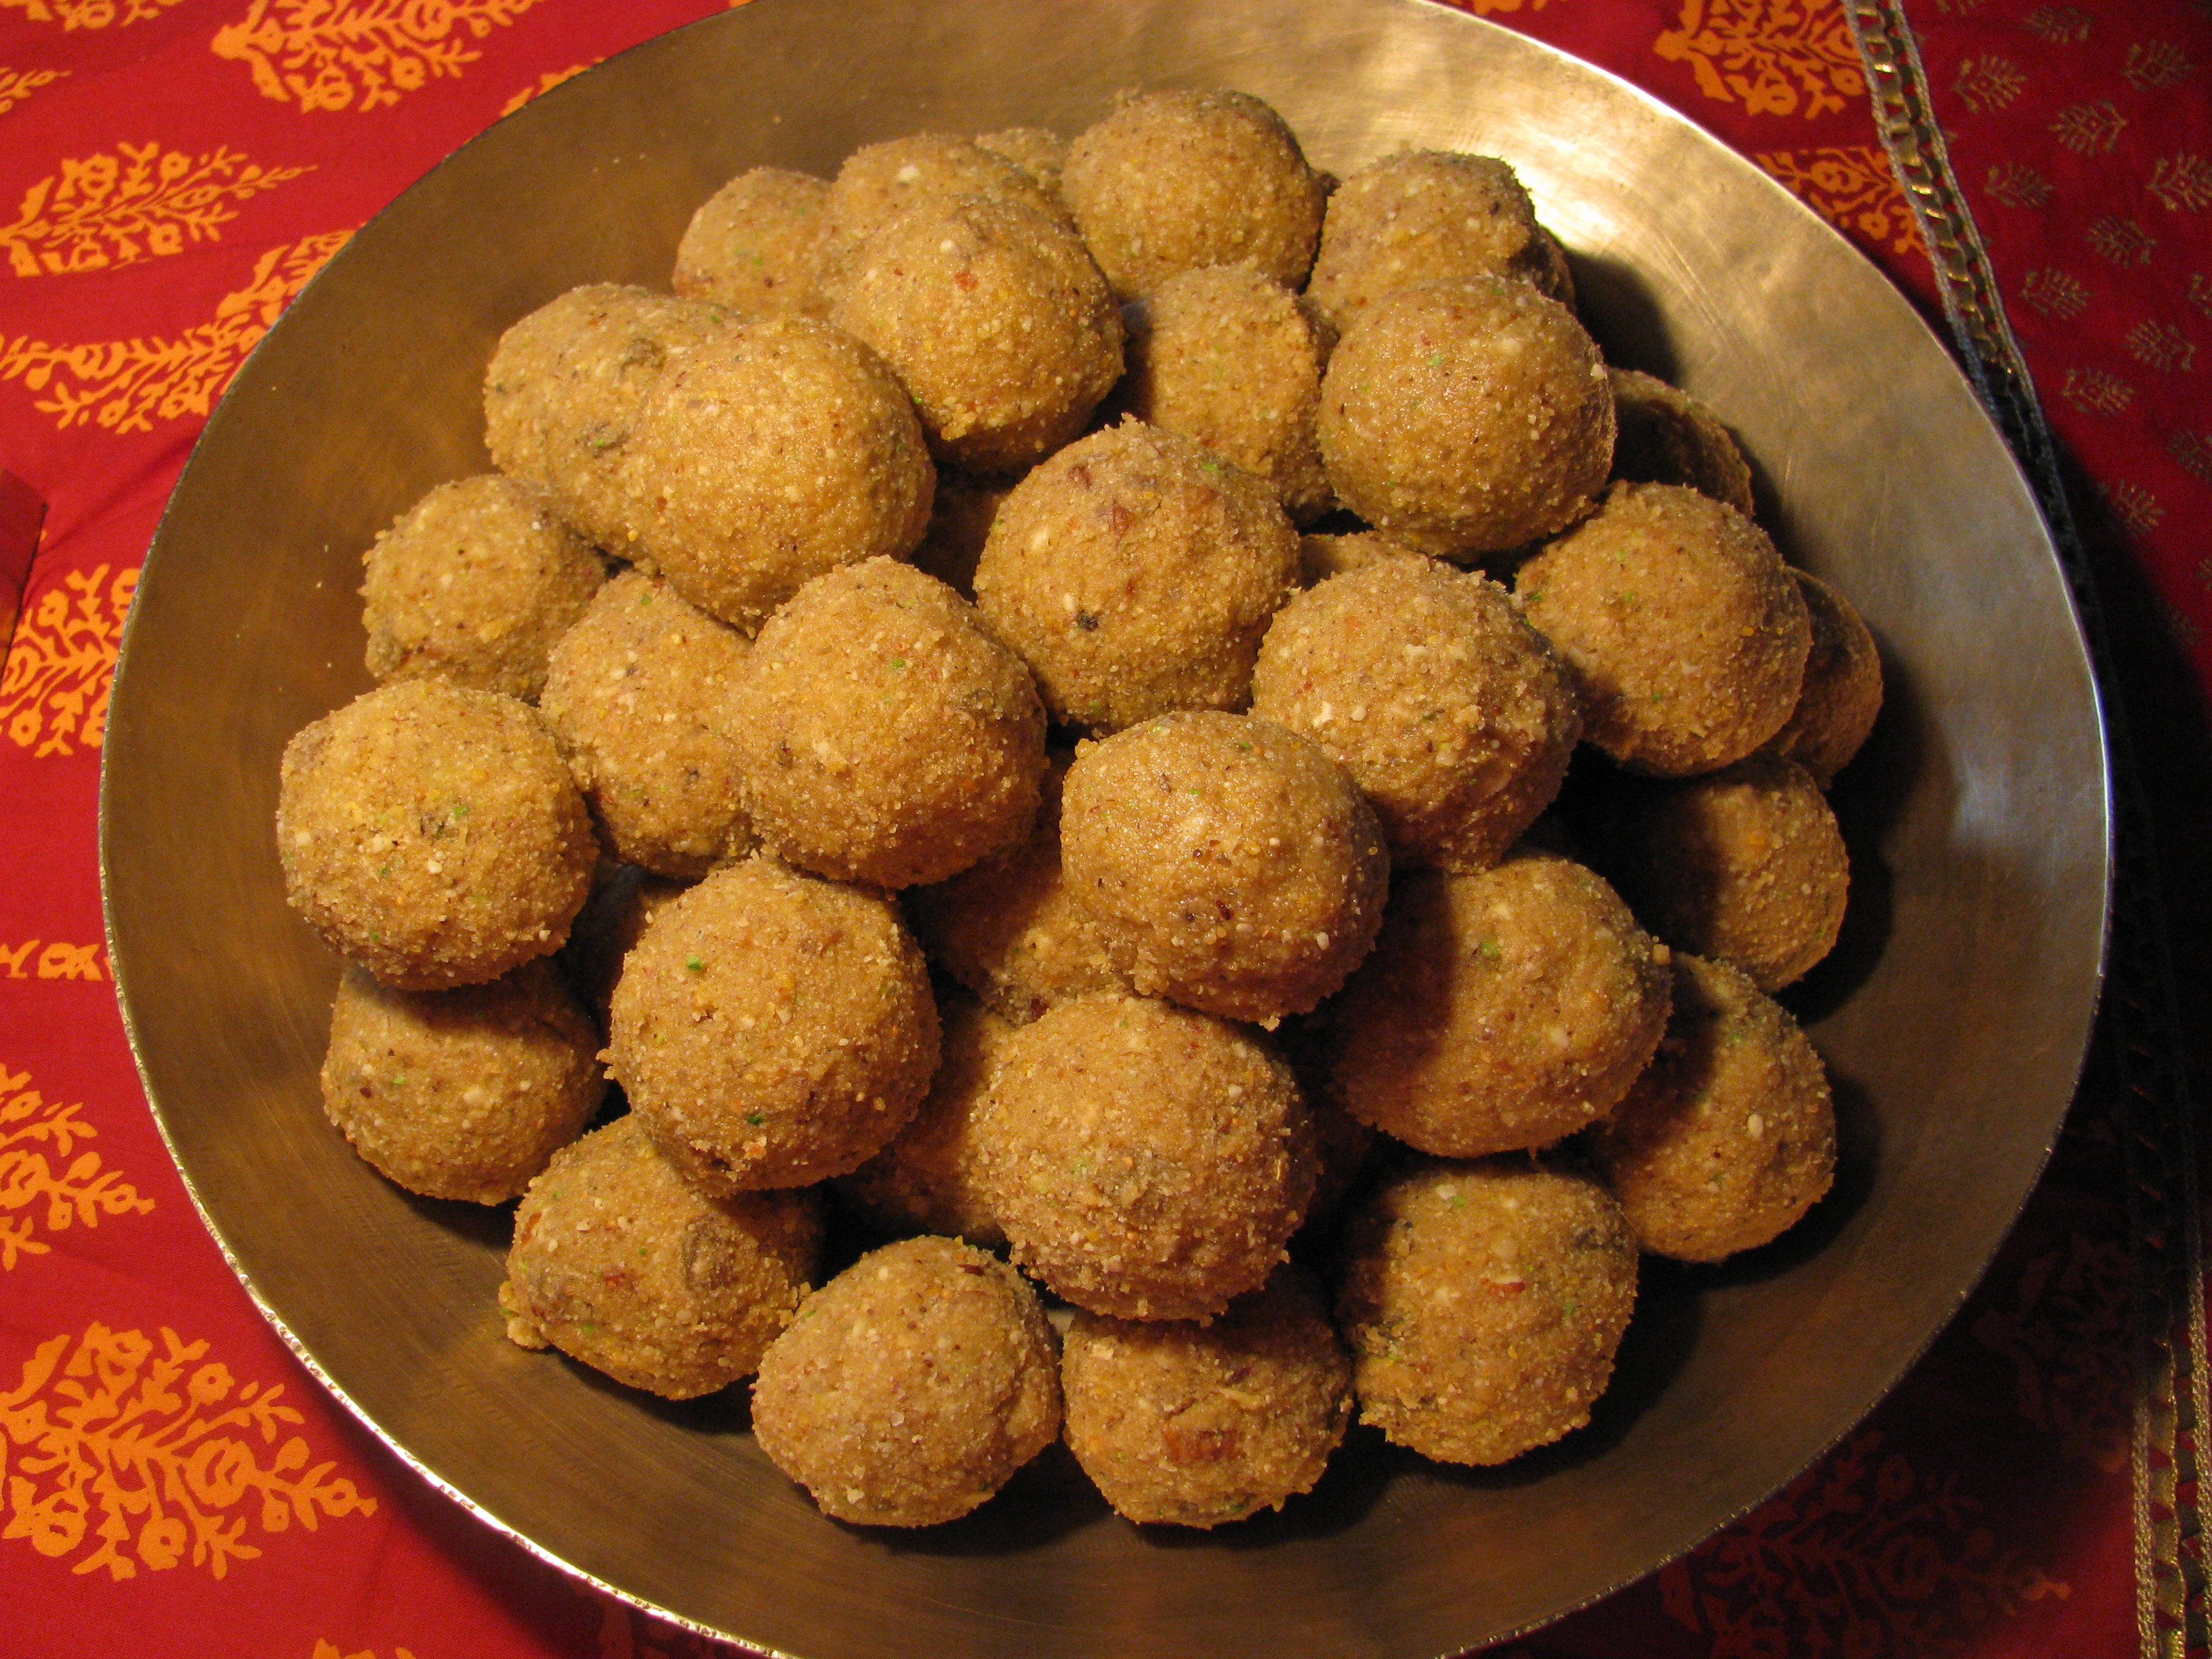
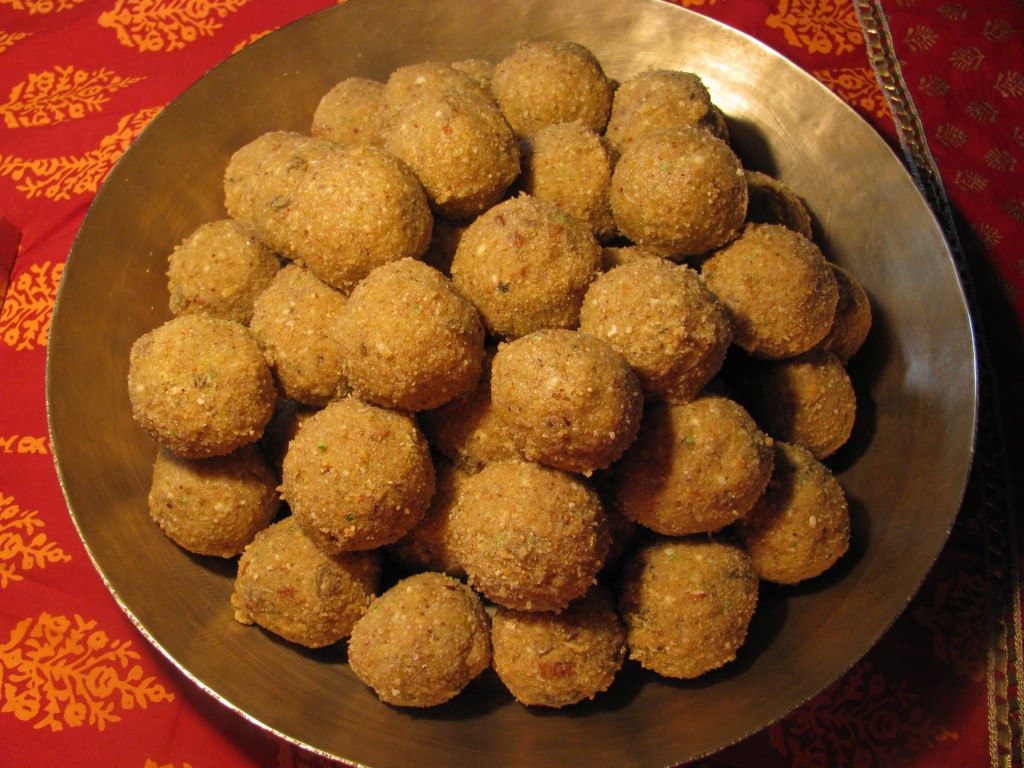
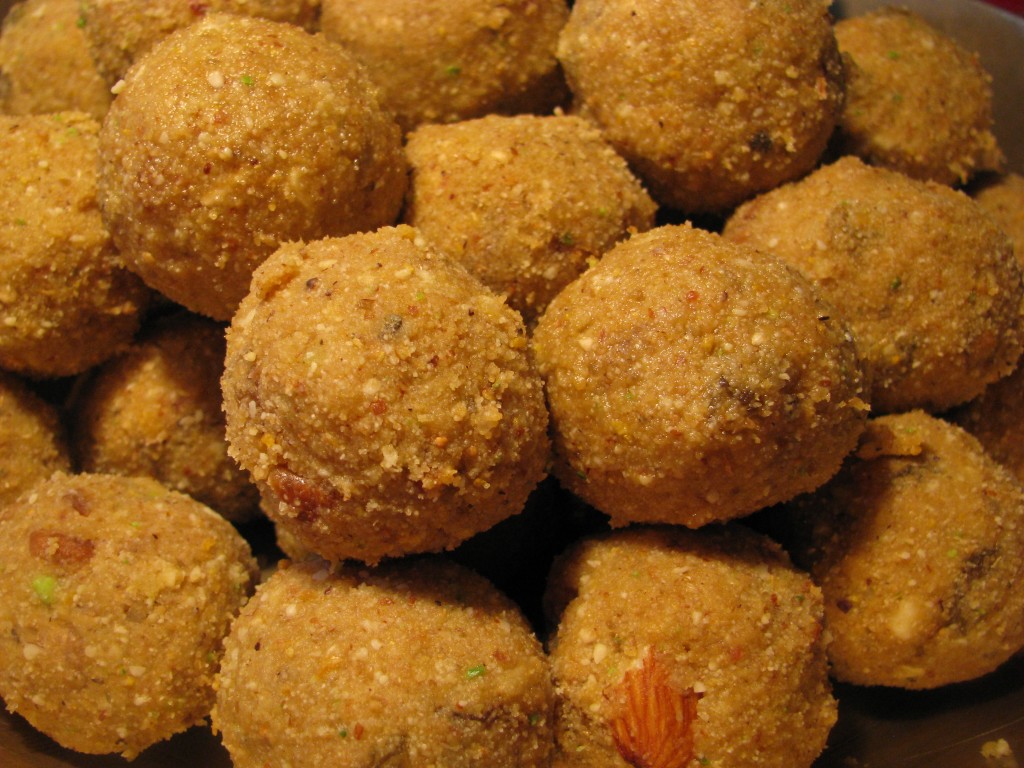
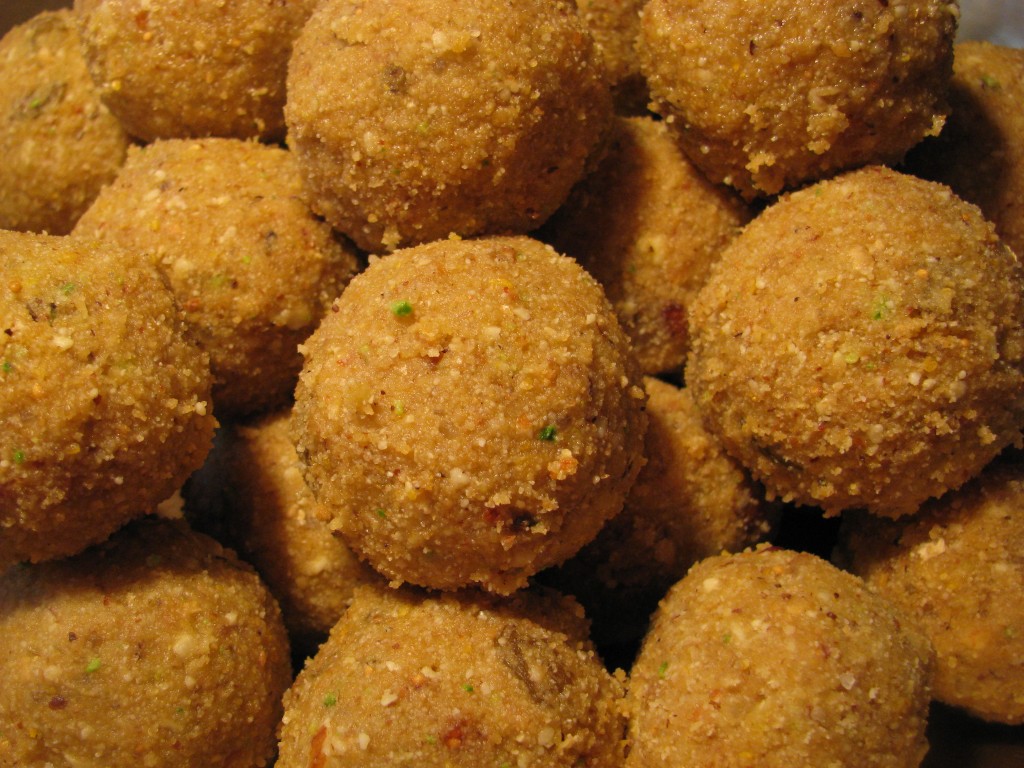
Gond ke Laddu or Dinkache Ladoo are generally made in all parts of India during winters.Gond is also called as Dink in Marathi and Gundar in Gujrati. These laddus are made from Gond /Dink /Gundar (Edible gum), Wheat flour, Ghee and with lots of Dry fruits. Gond Laddus are warm in nature and that’s why it is made in winters and is given after pregnancy to nursing mothers. These Ladoos are made in all parts of North India, Maharashtra, Rajasthan, Gujarat and Madhya Pradesh. In Hindi, these Laddus are called as Gond ke Laddu. In Marathi they are called as Dinkache Ladoo and Gundar Ladoo in Gujarati. Many Maharashtrians also make Dink Ladoo with Methi (Fenugreek seed / Methi dana).

[box]Also check- How to make Urad dal dry fruits Ladoo for winters[/box]

Why homemade Gond ke laddu | Dinkache ladoo

During winters, you can get Dinkache ladoo from any halwaii or sweets shop. In Pune, you can get good quality Dinkache Ladoo from Chitale bhandu or Kaka Halwaii. Many times, the quality of ingredients used to make Gond Laddu in no name shops is substandard. This is generally done to cut the cost. Gond ke Laddu / Dinkache Ladoo are generally made from homemade ghee (desi ghee / sajuk tup) or good quality ghee (clarified butter). In ready-made Laddus, most of the times quality of ghee is not up-to the mark. While in home-made Ladoos, lots of dry fruits are added, in ready-made Ladoo you will find lot of dry coconut instead of dry fruits. So it’s better to take out some time and make this tasty nutritious Ladoo at home. It’s really easy to make this tasty nutritious Ladoo at home.

[box]Also check-How to make curd in cold winters[/box]

Nutritional Benefits of  Gond ke laddu | Dinkache ladoo

Home-made Gond ke laddu  or Dinkache ladoo has a lot of nutritional value and has a lot of health benefits . It protects our body during winters. It is generally consumed in morning with a glass of milk. It keeps the body warm during winters .

Why Dinkaache Ladoo or Gond ke Ladoo after pregnancy

Dinkaache ladoo or gond ladoos are given after pregnacy to the nursing mother .These Laddus should not be consumed during pregnancy as they produce heat in the body which is not good during pregnancy. After pregnancy, this Ladoo is good for nursing mother as it increases the feed for baby and helps the mother’s body to recover fast. It also strengthens the back bone. You can give this Ladoo to kids in morning breakfast or in there tiffin box. Kids love this Ladoo and it’s good for their health. This Ladoo is little high in calories, so it should be eaten sparingly.

Calories in Gond ke laddu | Dinkache ladoo

Nutrition Facts

  1.  
Calories 754 Sodium 63 mg
Total Fat 34 g Potassium 0 mg
Saturated 21 g Total Carbs 102 g
Polyunsaturated 0 g Dietary Fiber 4 g
Monounsaturated 0 g Sugars 77 g
Trans 0 g Protein 6 g
Cholesterol 33 mg
Vitamin A 0% Calcium 16%
Vitamin C 1% Iron 18%

*Percent Daily Values are based on a 2000 calorie diet. Your daily values may be higher or lower depending on your calorie needs. source- myfitnesspal

gaund laddu | dink ladoo recipe
Gond ke Laddu | Dinkache ladoo

Benefits of Dinkaache Ladoo or Gond ke laddu

Each and every ingredient added in dinkache ladoo or Gond ke laddu has lots of Health benefits during winters and for nursing mothers after pregnancy.  The main ingredients which are added in this recipe and there benefits  are as follows-

Desi ghee or Sajuk tup( clarified butter)-

It’s a myth  that Desi ghee  increases your  weight . Famous dietician Rujuta Diwekar   in her book Indian superfoods  said that the addition of  ghee to your meals reduces the glycemic index of food. The reason why there are such combos as dal chawal ghee , Roti Shakkar ghee, puran poli ghee etc in our culture is that ghee reduces glycemic index of  these meals.
ghee helps in digestion and enhances eyesight. Keep muscles healthy and  detoxify the body.  In winters it nourishes the skin . There are many  home remedies  which includes ghee for winter cold.
For   nursing mother   after pregnancy ghee is  excellent  for  nourishing and rehydrating your body and helps to make breast milk. It is strengthening and soothing  and helps in digestion , cleansing and healing.

Jaggery

I never use sugar  to make dinkache ladoo or gond ke ladoo. The best part of  jaggery is it prevents constipation. It helps in proper digestion of activating digestive enzyme in our body.  That’s why many people prefer jaggery after meals.
It helps women the combat abdominal pain, menstrual cramp,  mood swings  after pregnancy.

Dink or Gond (edible gum)

It has lots of health benefits  like it strengthens the immune system. Commonly used in Ayurvedic medicine to treat and diarrhoea. It has many anti-aging properties  which delays wrinkles. For for nursing mother after pregnancy it helps in gaining the strength of the body. It also control heavy blood flow during periods.

Dry coconut 

It is the rich source of vitamin E and has rich dietary fibre and it has potassium, calcium, magnesium and many minerals. It nourishes  our body  Inside Out during winters.

It is given  to nursing mother  after pregnancy. It is an source of fats promoting the growth of healthy baby and increasing the volume  breast milk.

Dry fruits

We all eat dry fruits in winters. Even in Diwali gifts we give dry fruits to  each other  as after Diwali winter starts.
We eat dry fruits during  winters  as the give protection from many diseases like cold, flu  and many skin problems. They are Richest source of energy  our body warm.

Preparations to make Gond ke laddu | Dinkache ladoo

For preparation of this Ladoo you need following ingredients

Good quality dry fruits-

Dry fruits is main ingredient to make dinkache ladoo or gond ke ladoo. All types of dry-fruits like almond, cashews, pistachios, walnuts, raisins, dry figs etc is required.

Desi Ghee / Sajuk tup (homemade clarified butter)-

Make homemade ghee / buy good quality ghee (desi ghee/ sajuk tup) to make this dink ladoo.

Jaggery –

I have used jaggery (gul/ gud) to make this Ladoo. I have grated it before adding it in Laddus. You can also add ready-made jaggery powder (it is called as gud shakar in north India). Use good quality jaggery (gul) to make this Laddus.

Dink / Gond-

Gond or dink is the main ingredient in this recipe. It is a natural edible gum which is white or little brown in color. It provides heat to the body and is eaten in cold winter season. Buy this edible gum from good or well-known shops, check that the packet is sealed and the pieces should be dry. Store this gum in an airtight bottle after you open the seal and store it away from moisture.

Dry coconut (khobra/gola) and Dry dates (kharik or chuara)

This ingredients also important to make gond laddu.The main work in making this Laddu is to grate coconut, remove seeds from dry dates (chuara / kharik) .

I have explained step by step method to make this Laddu . Do share how you make your Dink Ladoo or Gond ke Laddu at home. 

[ingredients title=”Ingredients to make Gond ke Laddu | Dink Ladoo”]

  • 3 cups wheat flour (gheu ka atta / ghvache peeth)
  • ¾ cup edible gum (Gond/ Dink/ Gundar)
  • 2 cup ghee (desi ghee / sajuk tup)
  • 1 ½ cup almonds (badam)
  • 1 cup cashew nuts (kaju)
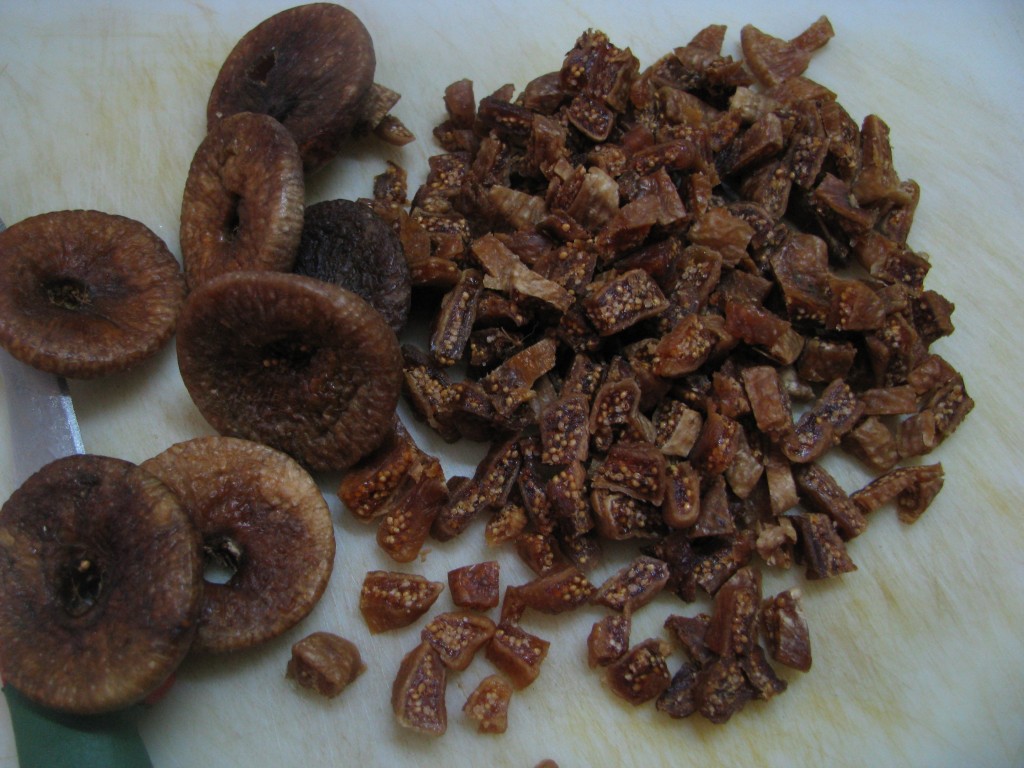
  • 1cup chopped dry figs (anjeer)
  • 200 gms dry dates (chuara / kharik)
  • 1 tablespoon poppy seeds (khus-khus)
  • 1/2 cup Godambi(optional )
  • ¼ cup unsalted green pitachios (pista)
  • 1 cup raisins (kishmish)
  • 1 ½ cup grated dry coconut
  • 2 cups grated jaggery / jaggery powder (gul / gud)
  • 1 teaspoon nutmeg(jaiphal) powder
  • 1 teaspoon cardamom(elaichi) powder

(clean dry dates , dry figs , raisins ,almond pistachios , cashew nuts buy rubbing it with clean towel .)

[/ingredients]

[directions title=”Directions to make Gaund Laddu | Dink Ladoo”]

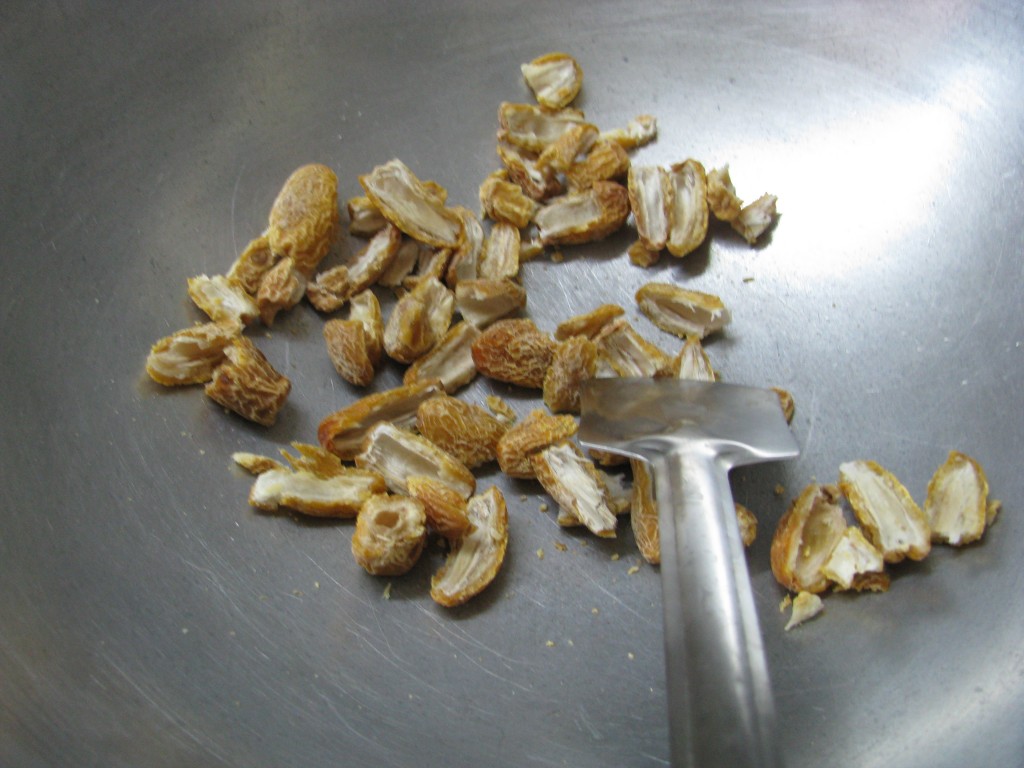
  1. Remove seeds from dry dates (chuara / kharik) and roast it on low flames . Let it cool down.IMG_2704
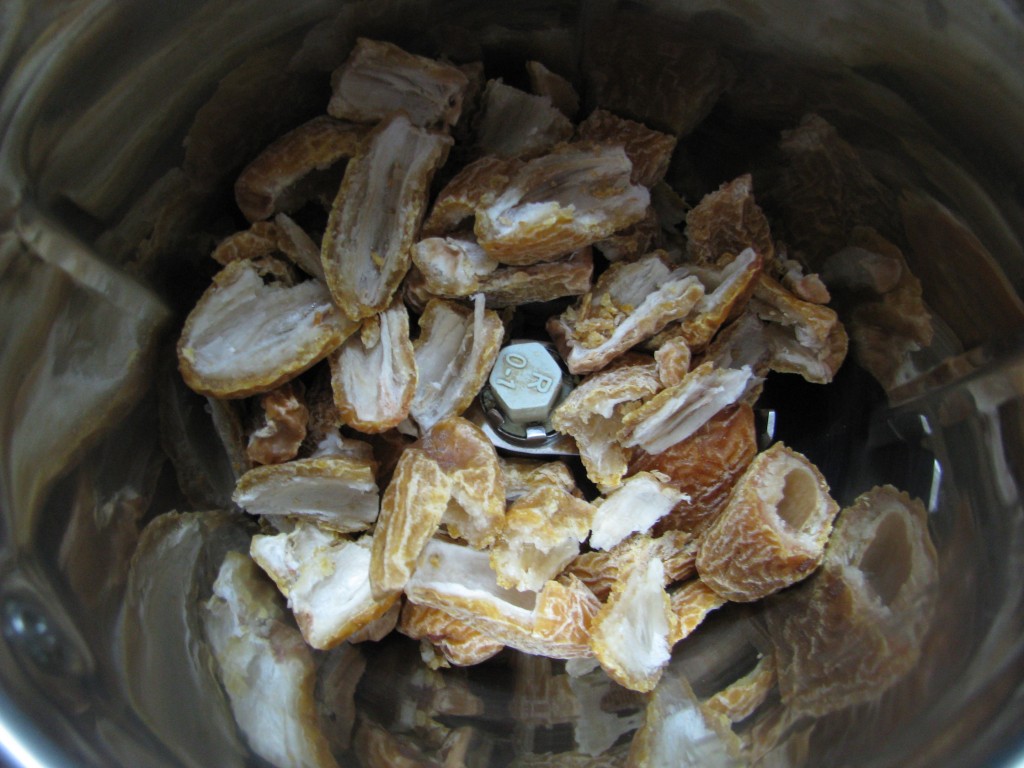
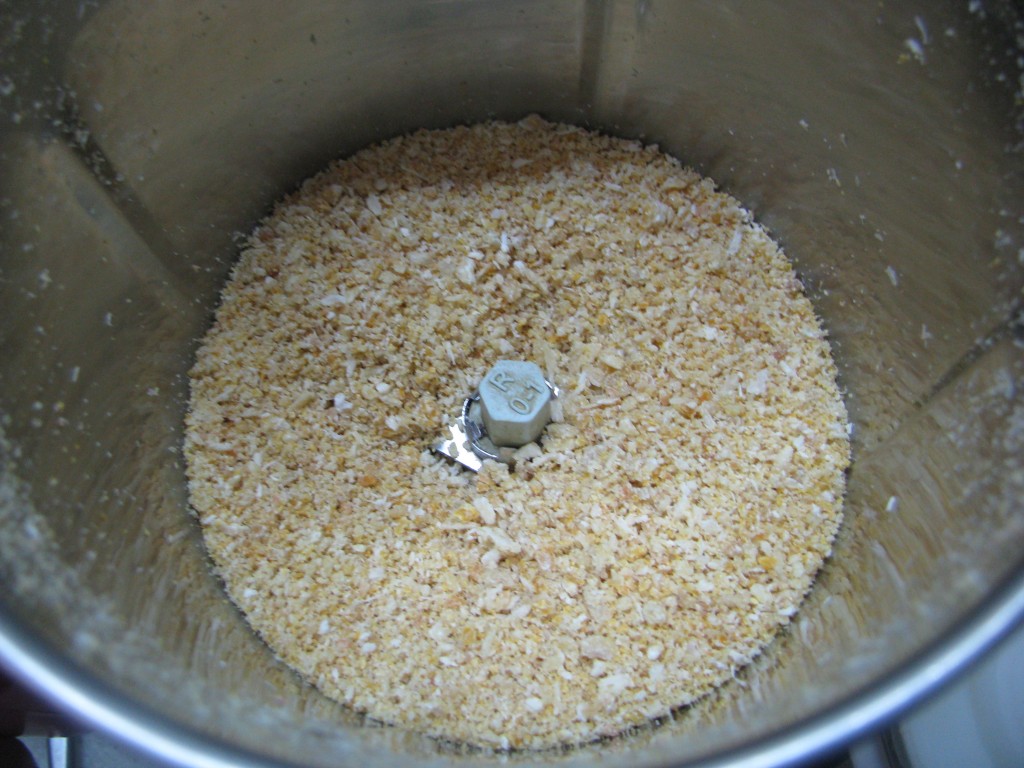
  2. Powder the roasted dry dates in mixer.IMG_2705IMG_2707
  3. Roast khus khus and make coarse powder of it in mortar and pistel .
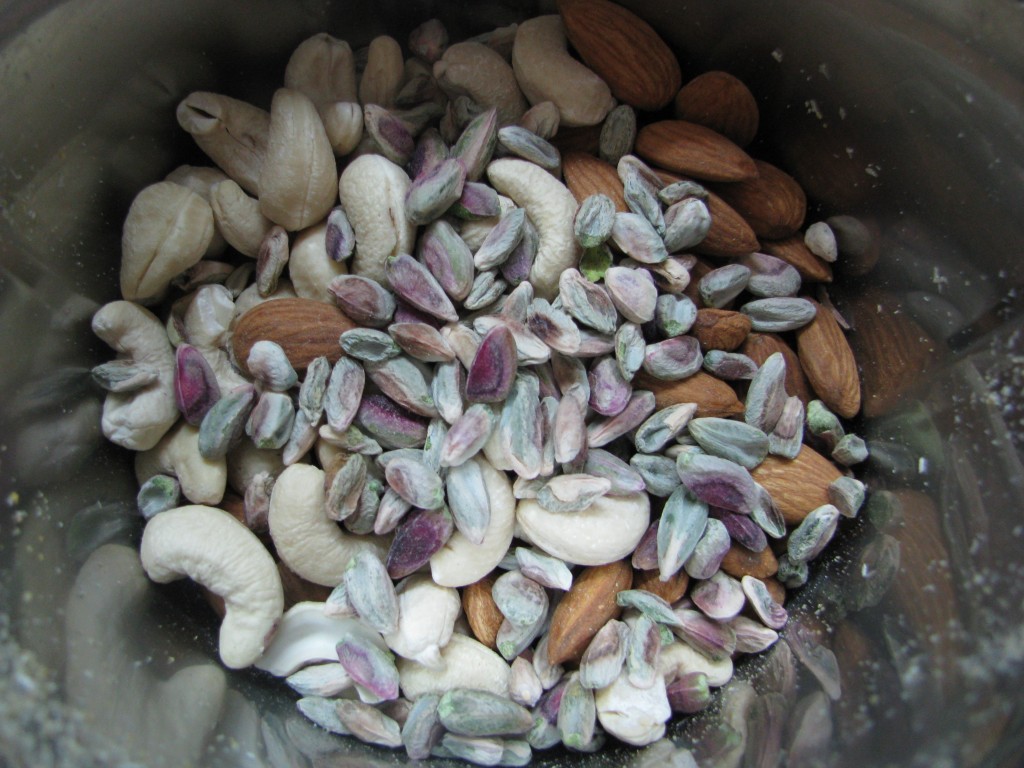
  4. Take almonds, cashew nuts and pistachios in mixer jar and grind it into coarse powder .IMG_2711IMG_2714
  5. Heat 2 tablespoon ghee and add Gond / Dink to it . Fry it until it becomes crispy and and when you break it should not be sticky from inside . Keep it asideIMG_2710
  6. Roast dry coconut in the same khadhai until it becomes light brown . Keep it aside .IMG_2721
  7. Grind Gond and coconut into powder .IMG_2723
  8. Make small pieces of anjeer and keep it aside.IMG_2719
  9. Roast wheat flour (gheu ka atta / ghavache peeth) on medium to low flame until it becomes very light and it s colour changes . Nice aroma will start coming out of it. I have used coarsely ground wheat flour (mota atta / jad pith) , you can use normal wheat flour which you use to make rotis .IMG_2724
  10. Now add 2 cups of ghee in roasted wheat flour . Stir it for another 4-5 minutes on medium to low flames .IMG_2725
  11. Add roasted coconut and Gond powder to it and stir it for 2 – 3 minutes.IMG_2730
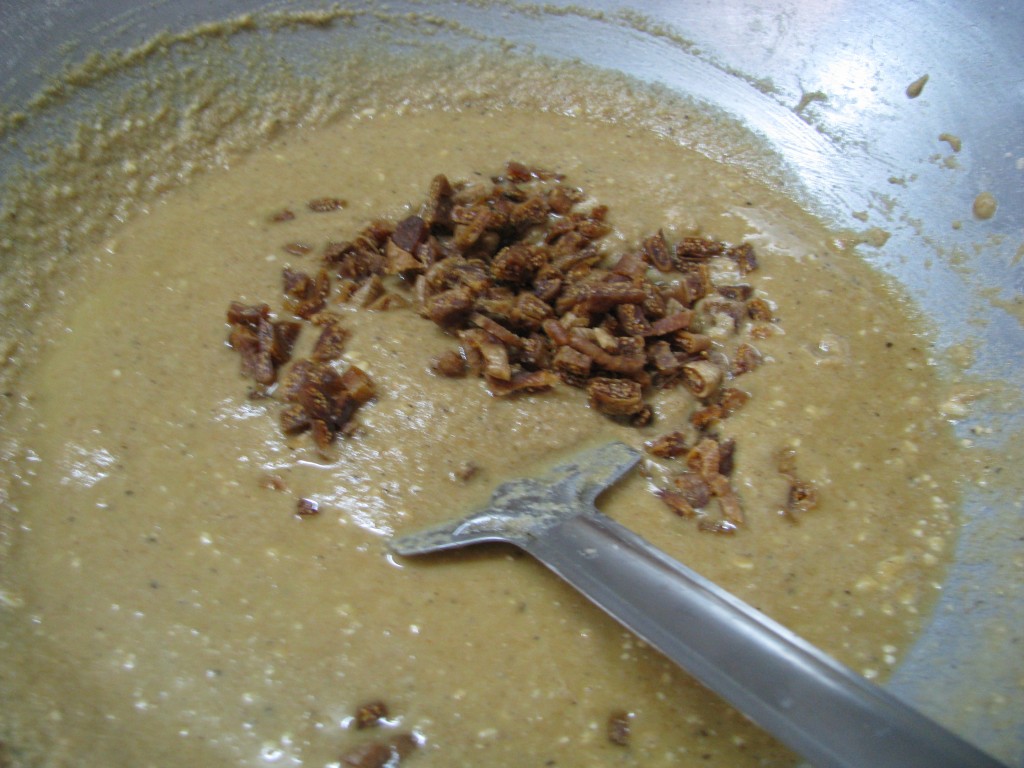
  12. Add dry figs pieces and raisins in it and mix it nicely .IMG_2731
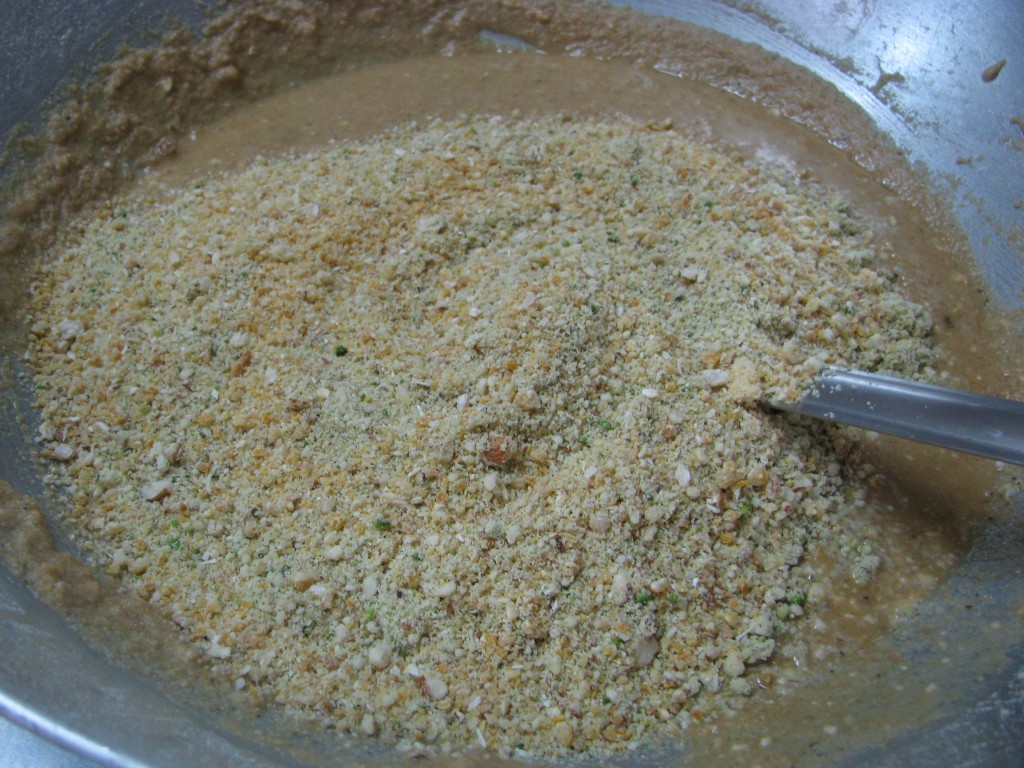
  13. Add dry fruits , khus khus and dry dates (chuara/ kharik) powder to it mix it nicely.IMG_2732
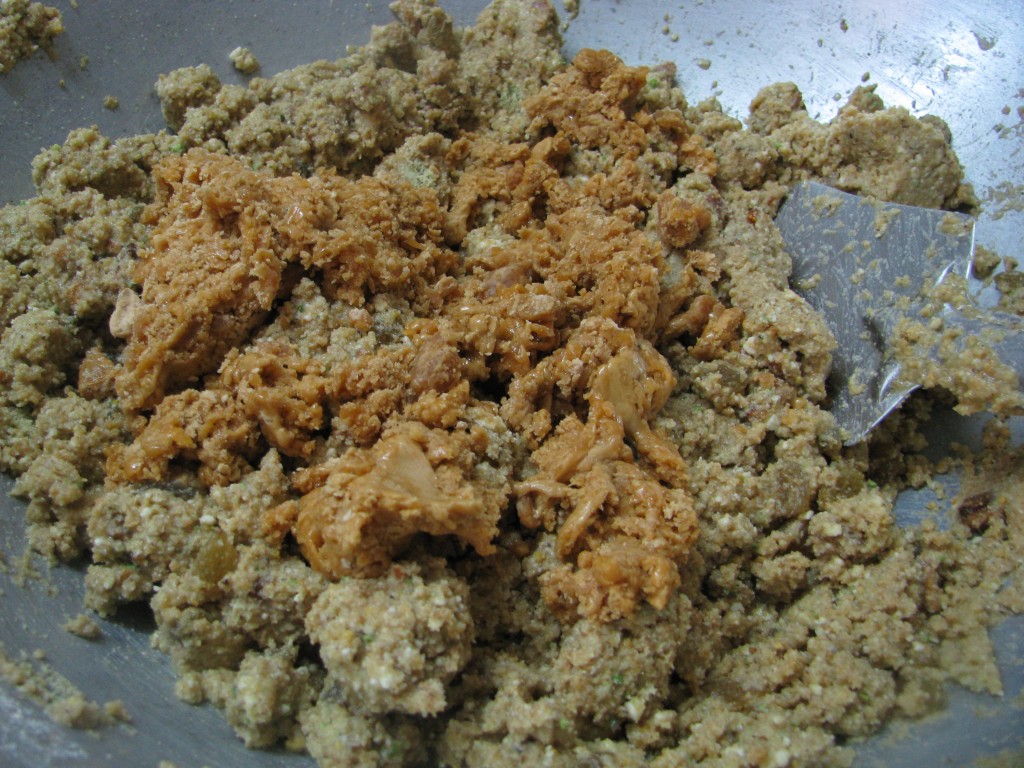
  14. Add grated jaggery , cardamom powder and nutmeg powder and remove the khadhai from the flame.IMG_2734
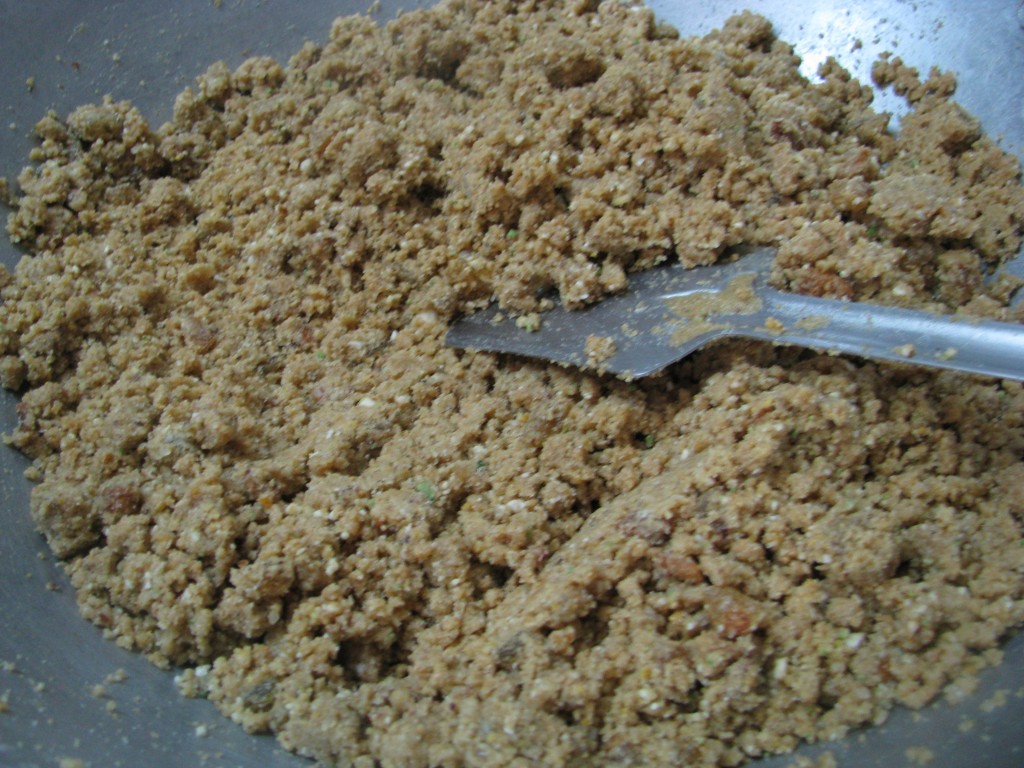
  15. Mix it nicely until the jaggery is mixed properly in Ladoo mixture.IMG_2735
  16. Make Laddus from the mixture when it’s hot.

[/directions]
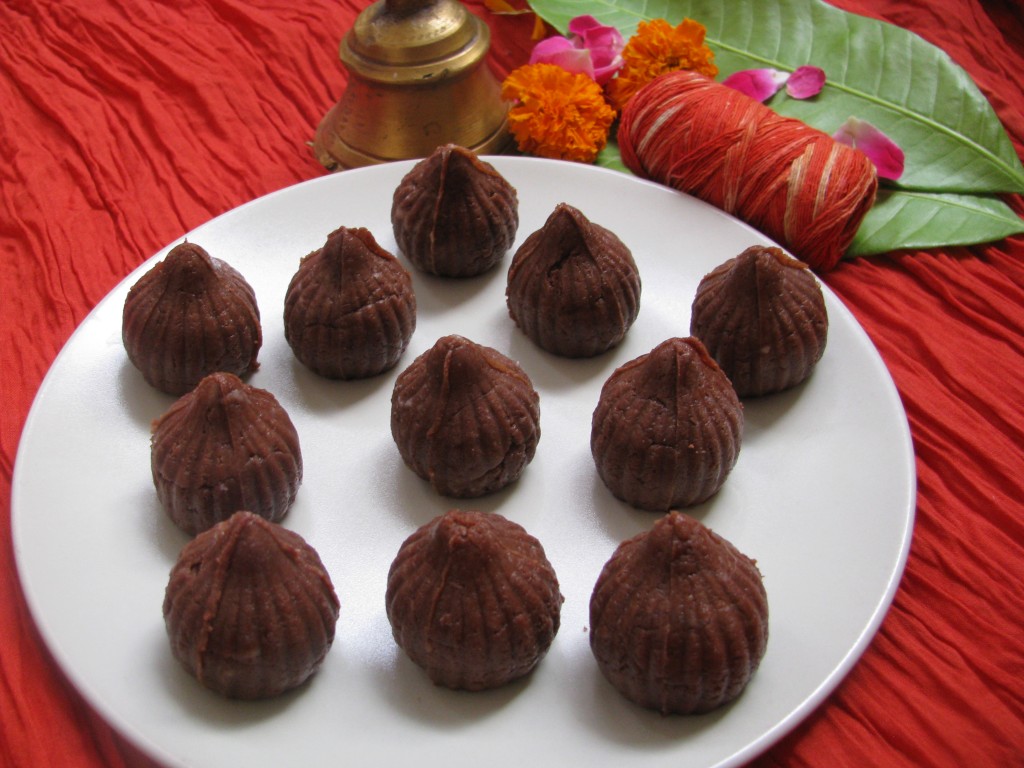
Gaund laddu | dinkache ladoo


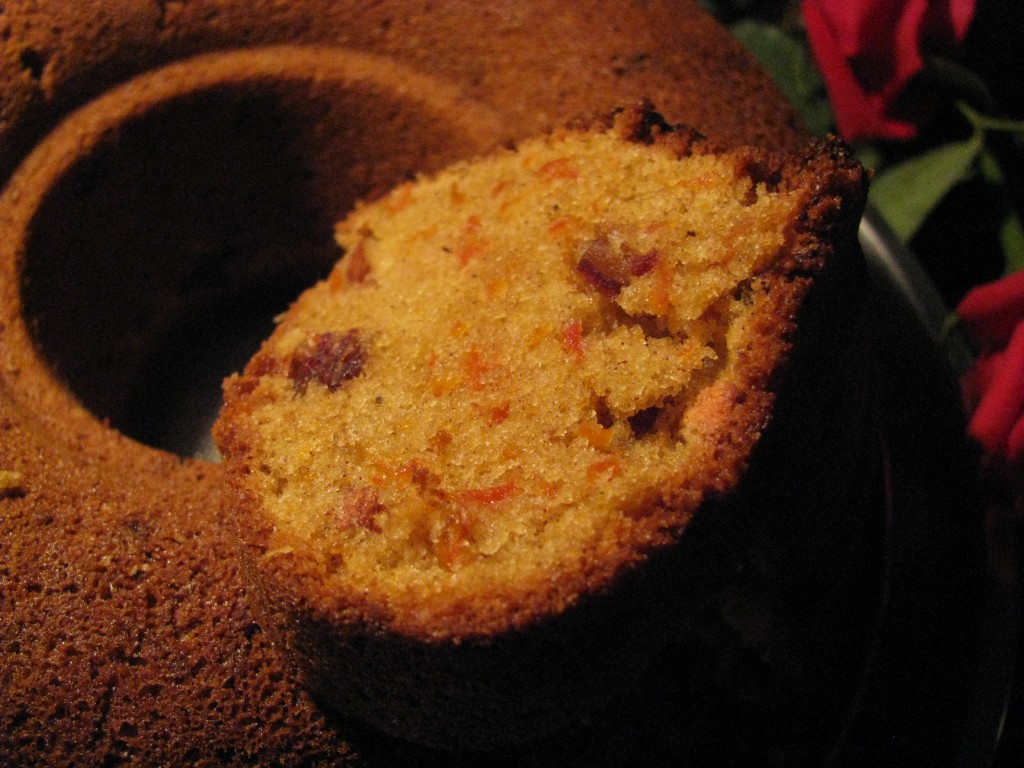
Whole wheat flour Carrot Dates cake | Atta cake recipe

Carrot cake with dates

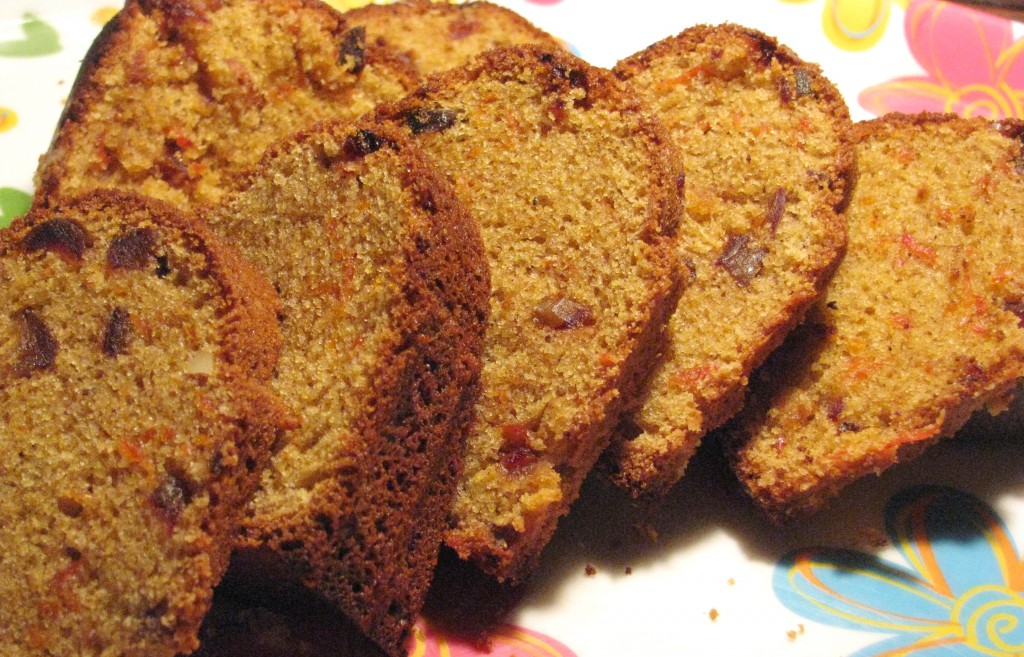
This healthy whole wheat cake recipe is modified recipe of my whole wheat flour chocolate cake and carrot cake. These tastes really good and a good treat for kids. I have made this cake on last Christmas and kids really enjoyed it. This cake recipe is very nutritious during winter time as I have used lots of dates and dry fruits in it. There is no need to add all purpose flour or maida in this recipe. Recipe is very simple and doesn’t take lot of time during preparations. .

[box] Also check– Whole wheat flour (atta) dark chocolate cake recipe[/box]

Do share your queries or experience while making whole wheat flour cake in my comment box at the end of the recipe and share your whole wheat flour pics with me.

[ingredients title=”Ingredients to make Dates Carrot cake”]

  • 1 ½ cup whole wheat flour (gheu ka atta)
  • 4 eggs
  • ¾ cup oil (any refined oil)
  • 1 ½ cup sugar
  • 1 cup grated red carrot
  • 1 cup chopped dates
  • ½ cup chopped almonds / walnuts/ cashewnuts
  • 1 ½ teaspoon baking powder
  • 1 ½ teaspoon cinnamon (dalchini) powder

I have used hand blender to make this cake recipe u can even use mixer or whisker or normal spoon for this purpose . [/ingredients]

[directions title=”Step by Step Directions to make Dates Carrot Cake”]

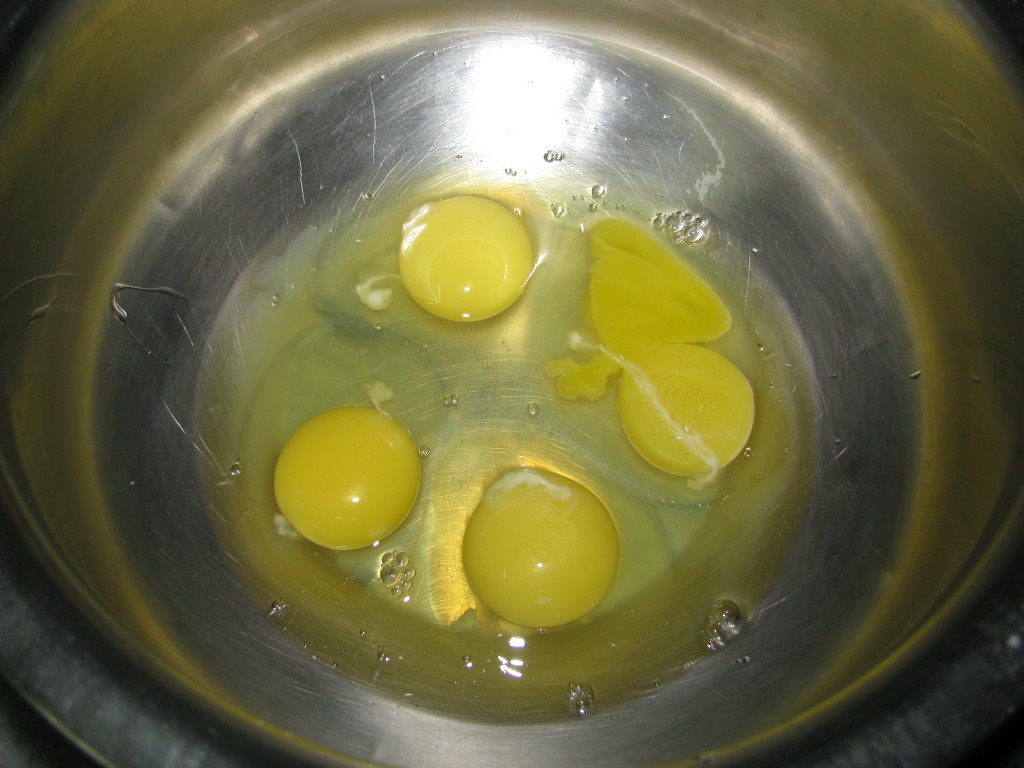
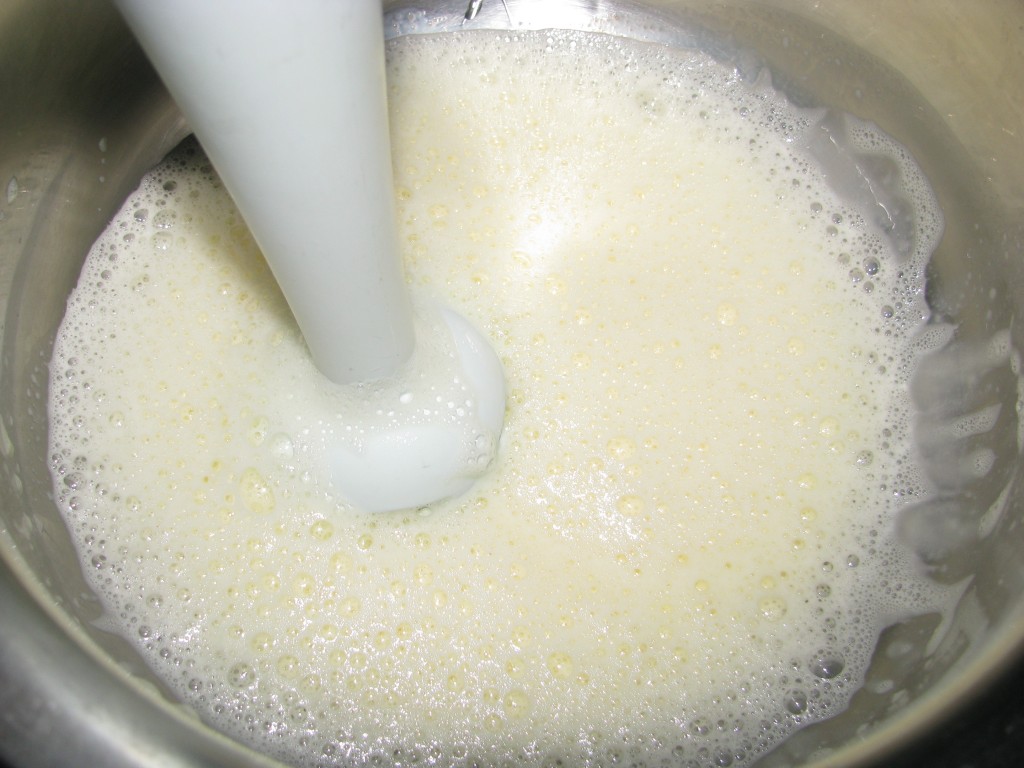
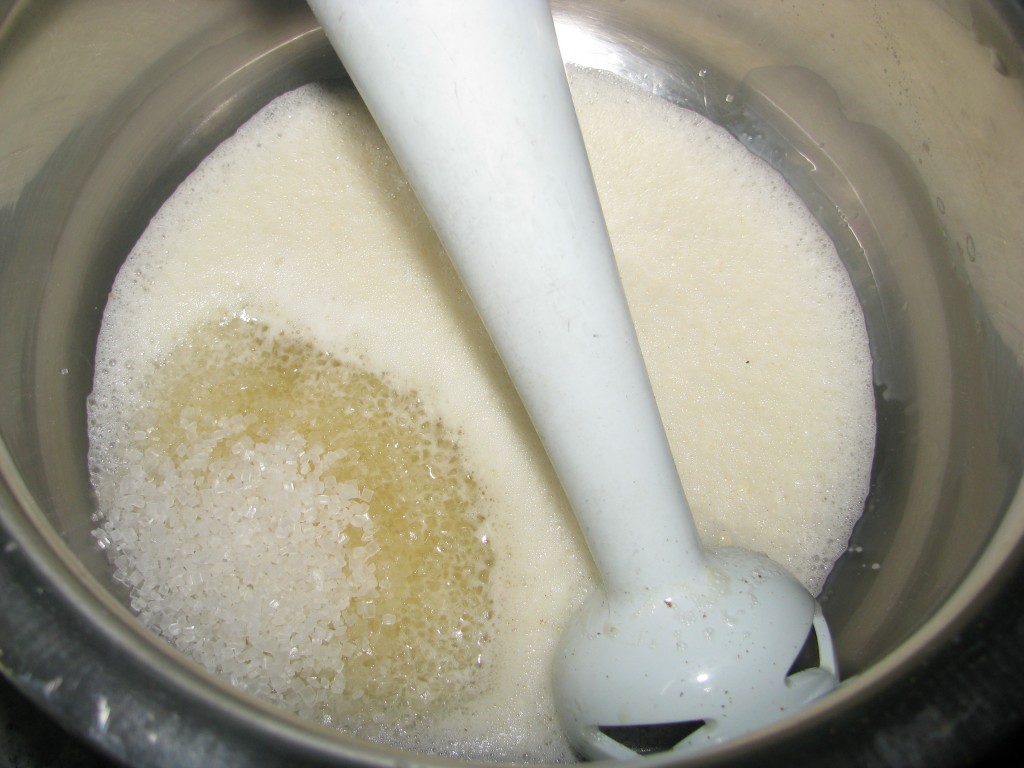
  1. Using hand blender beat egg nicelyIMG_7844IMG_7845
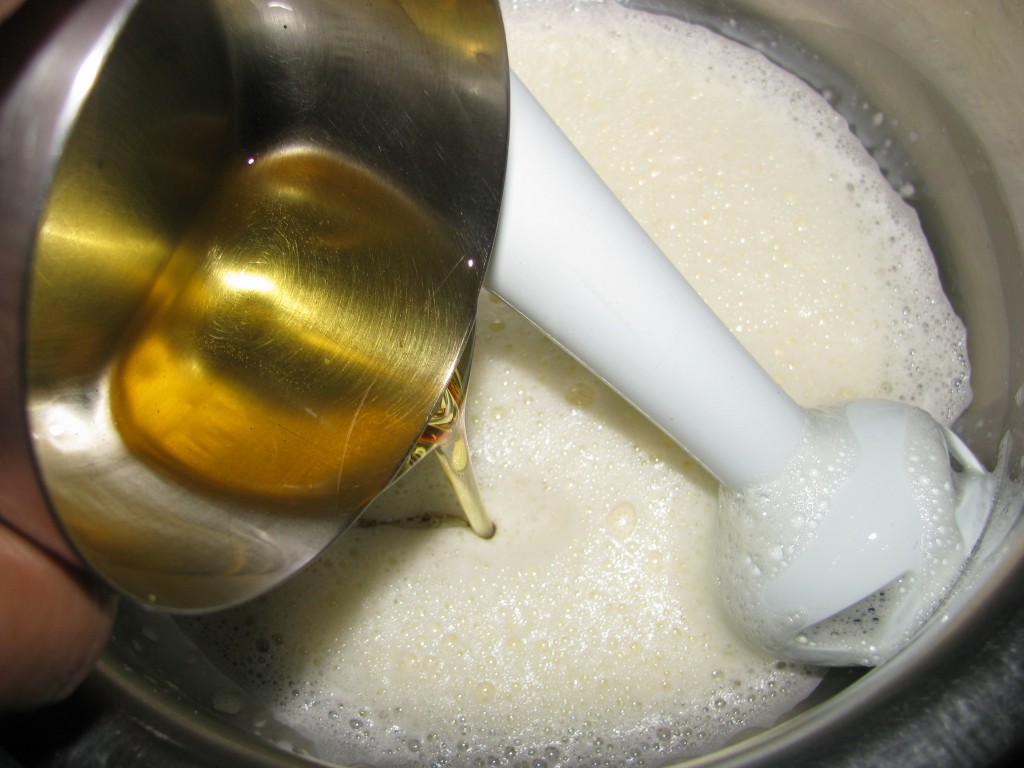
  2. Add sugar and oil to it blend it again with the help of hand blenderIMG_6670

    oil in cake batter
    oil in cake batter
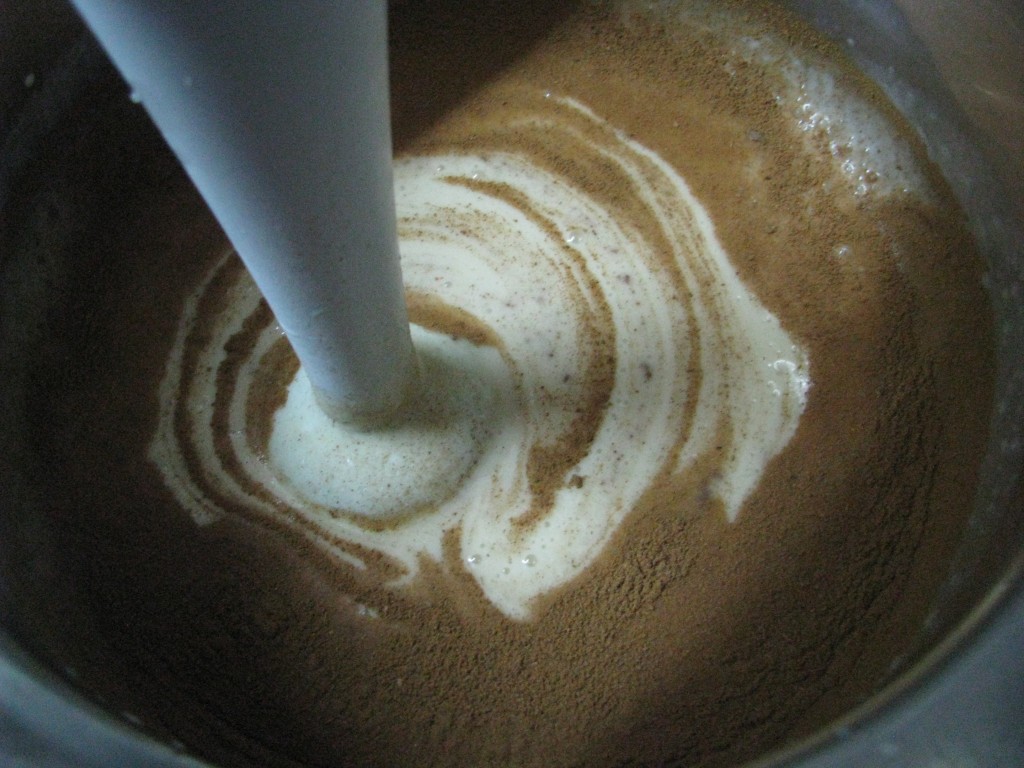
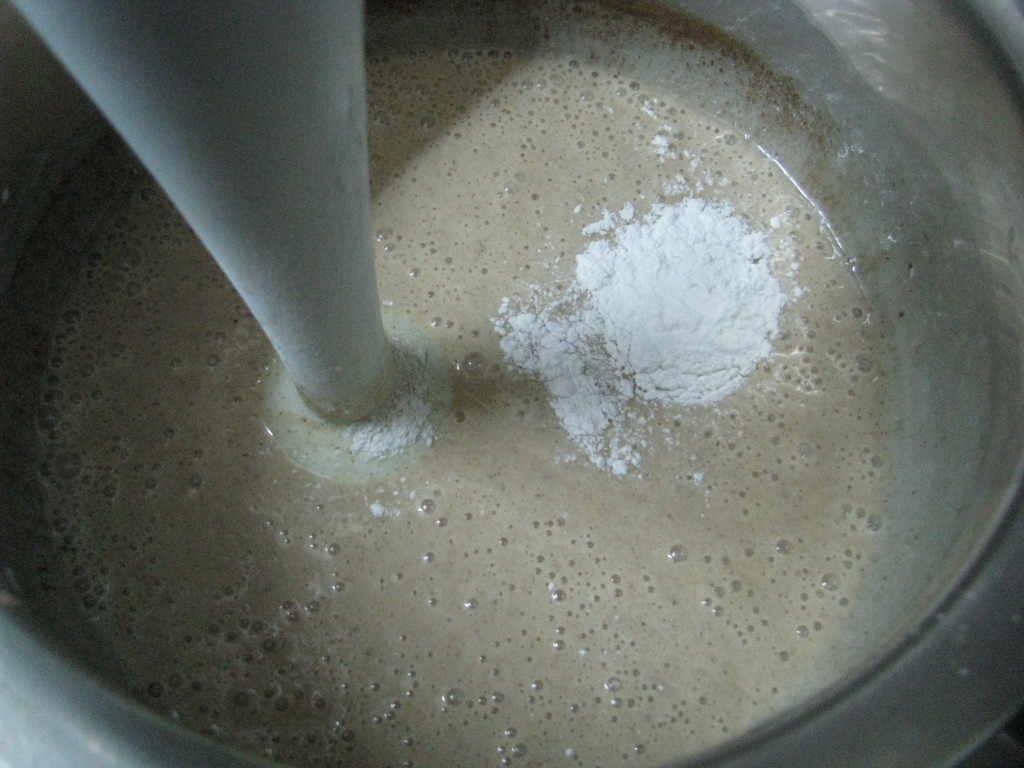
  3. Now add cinnamon (dalchini) powder and baking powder to it blend it again
    cinnamon powder in cake batter
    cinnamon powder in cake batter

    baking soda in cake batter
    baking soda in cake batter
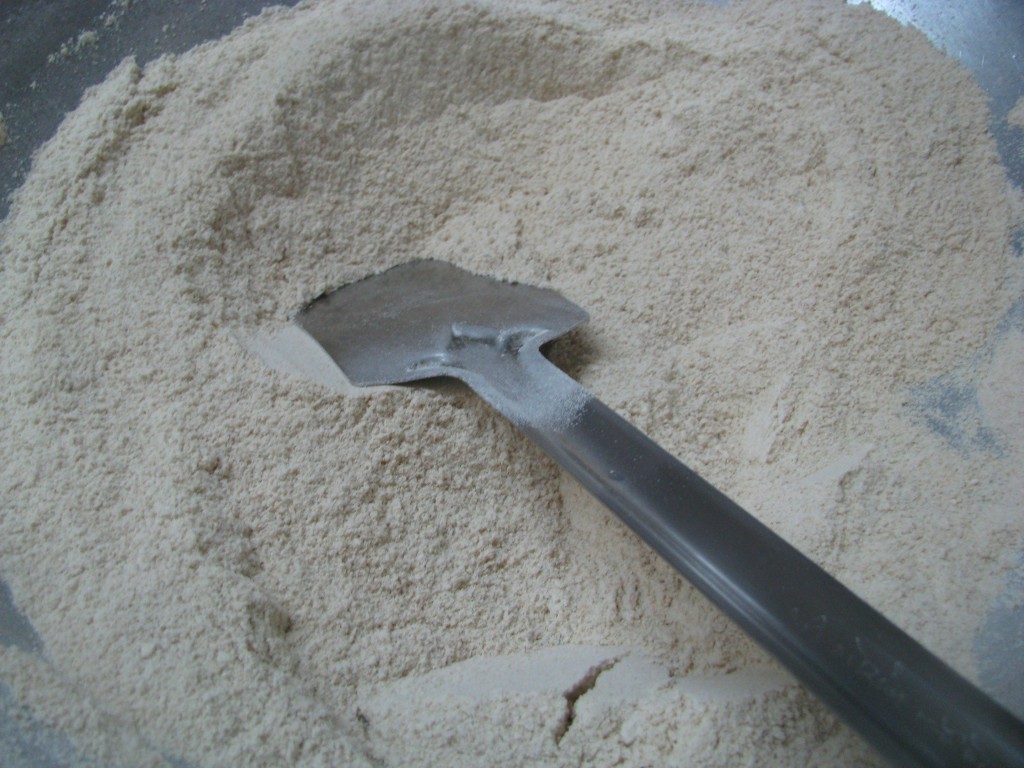
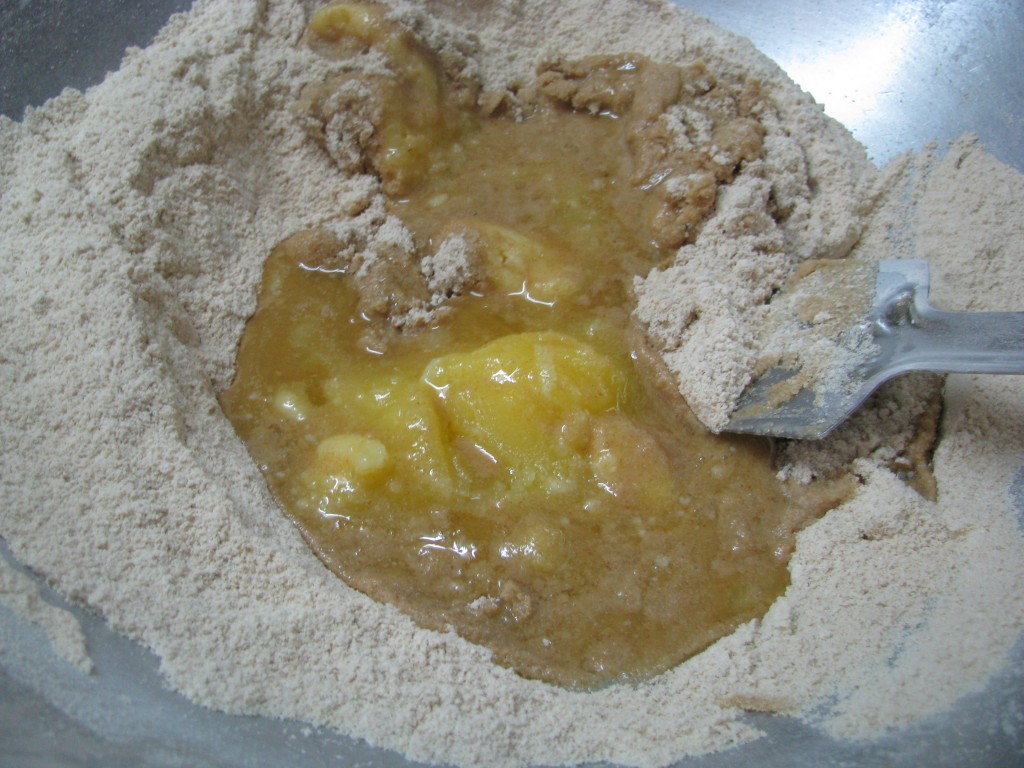
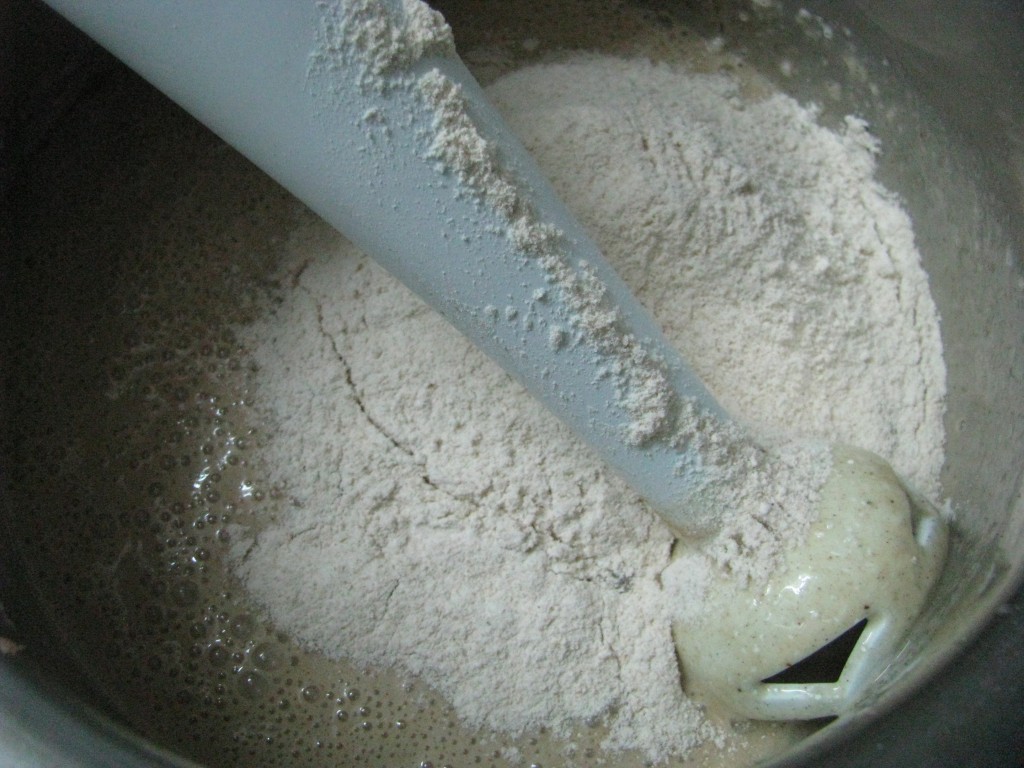
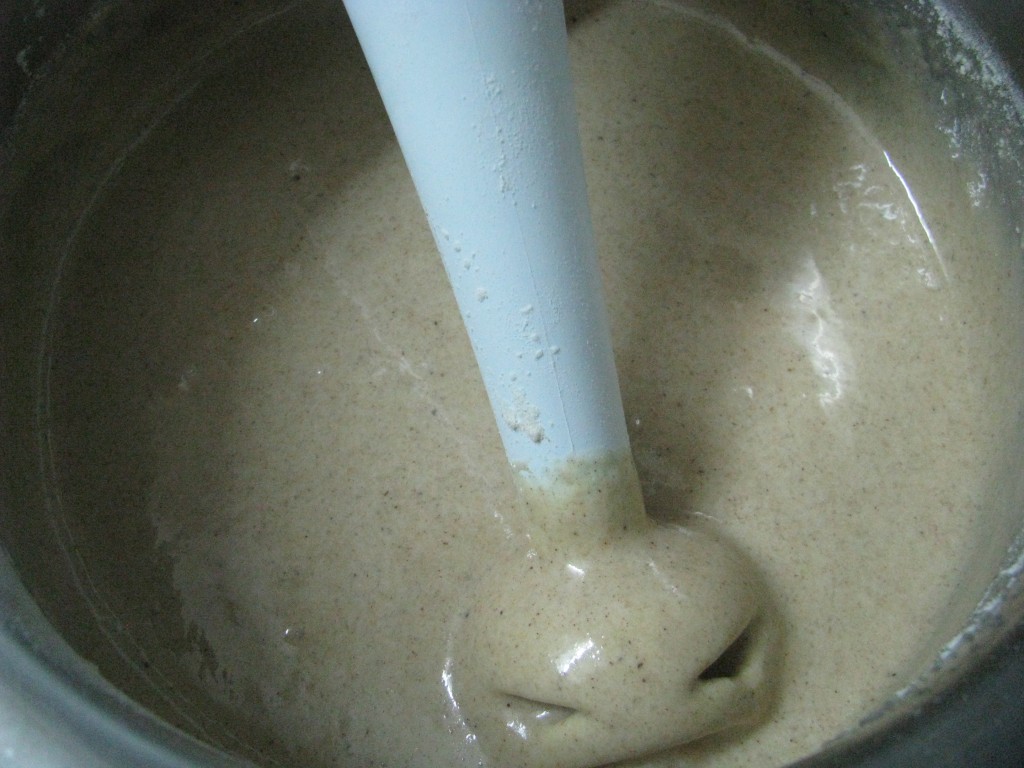
  4. Now slowly add whole wheat flour in this egg, oil, sugar, cinnamon and baking powder mixture and mix it nicely .no lumps should remain in the batter

    whole wheat flour in cake batter
    whole wheat flour in cake batter
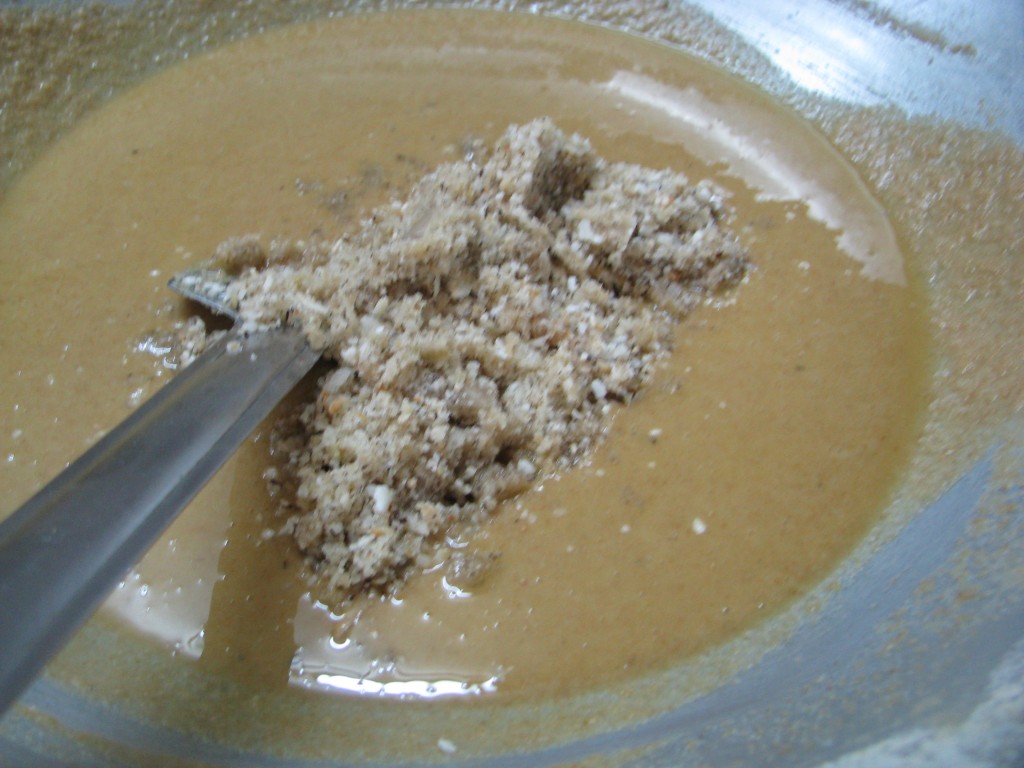
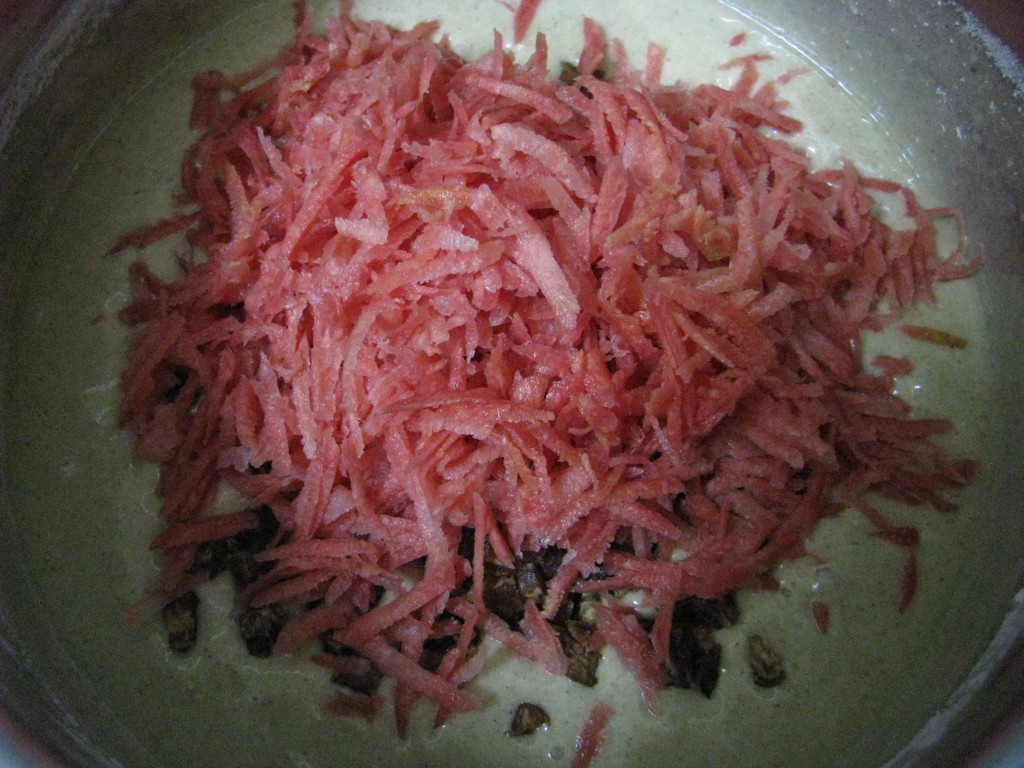
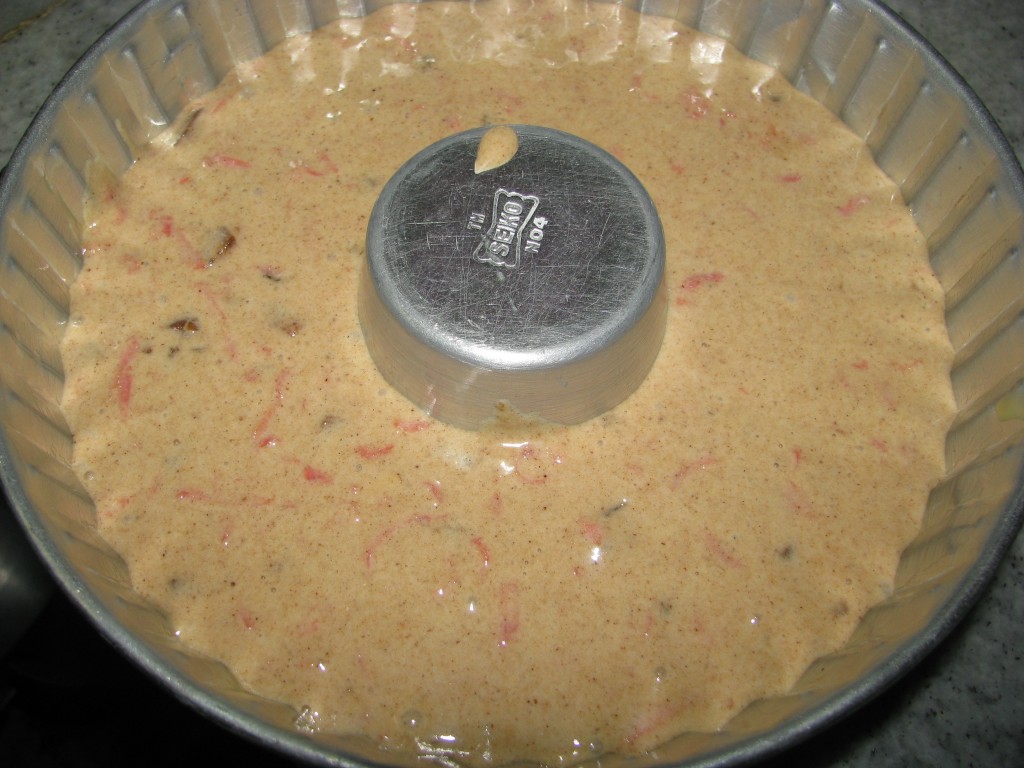
  5. Now add grated carrot, dry fruits and chopped dates to it and mix it nicelyIMG_7857

    grated carrot in cake batter
    grated carrot in cake batter
  6. chopped nuts in cake batter
    chopped nuts in cake batter

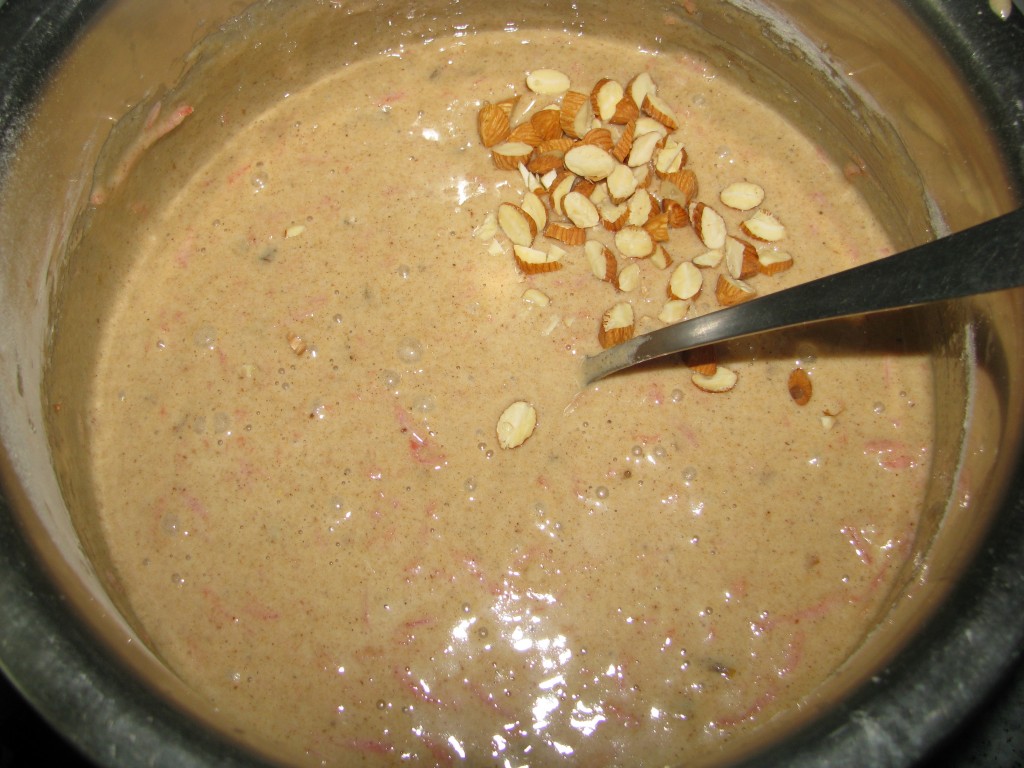
    Now your cake batter is ready for baking

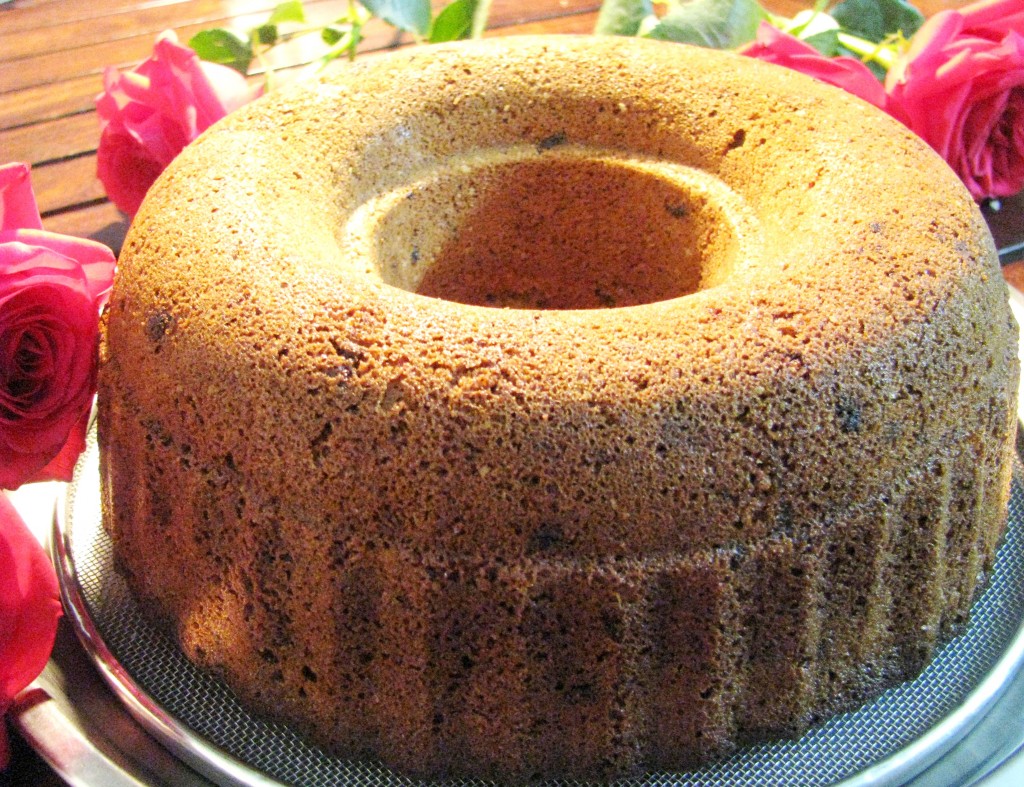
  7. Preheat oven at 180 degree Celsius. Greased the cake pan with butter or ghee (clarified butter) and pour the cake batter in it. Shove it in preheated oven and bake it for around 45-50 minutes or until the needle comes out clean. Let the crust of the cake become brown in the oven it tastes good. IMG_7863

    healthy cake recipe
    whole wheat flour dates carrot cake

Tips– time of baking varies as every oven heats up differently. So the baking time will not be same for everyone  just keep checking your cake after 35-40 minutes

healthy cake recipe
dates carrot cake

[/directions]

Bread Upma | Bread Upma recipe with Vegetables

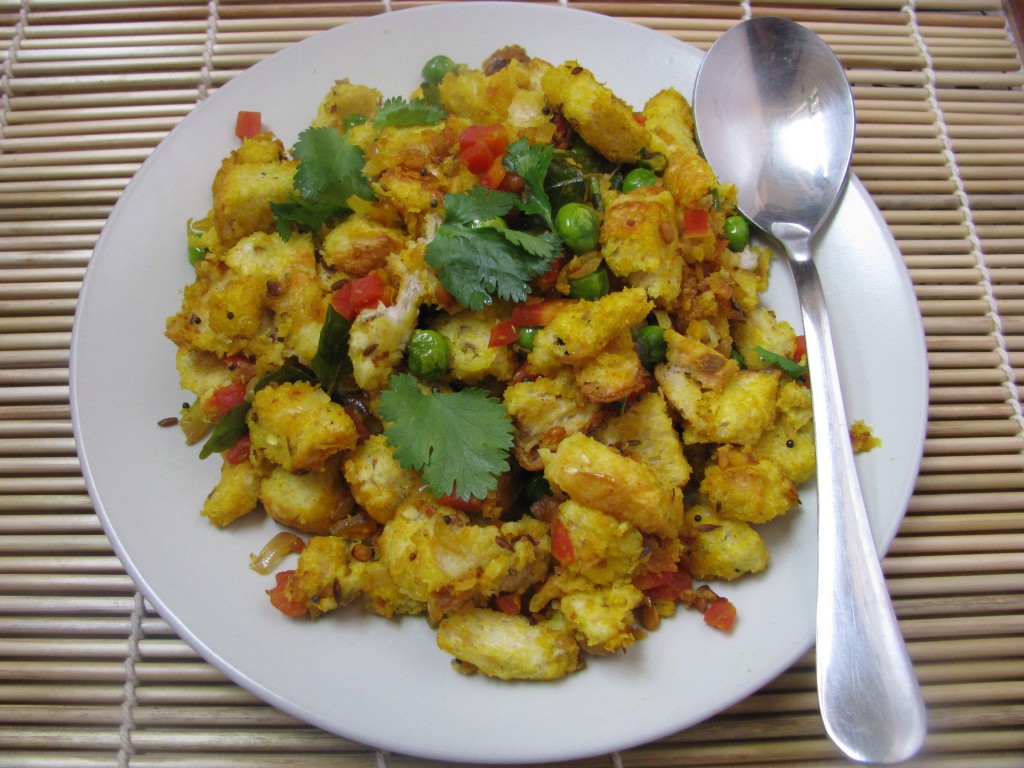
bread ka upma
Bread upma

Bread upma recipe

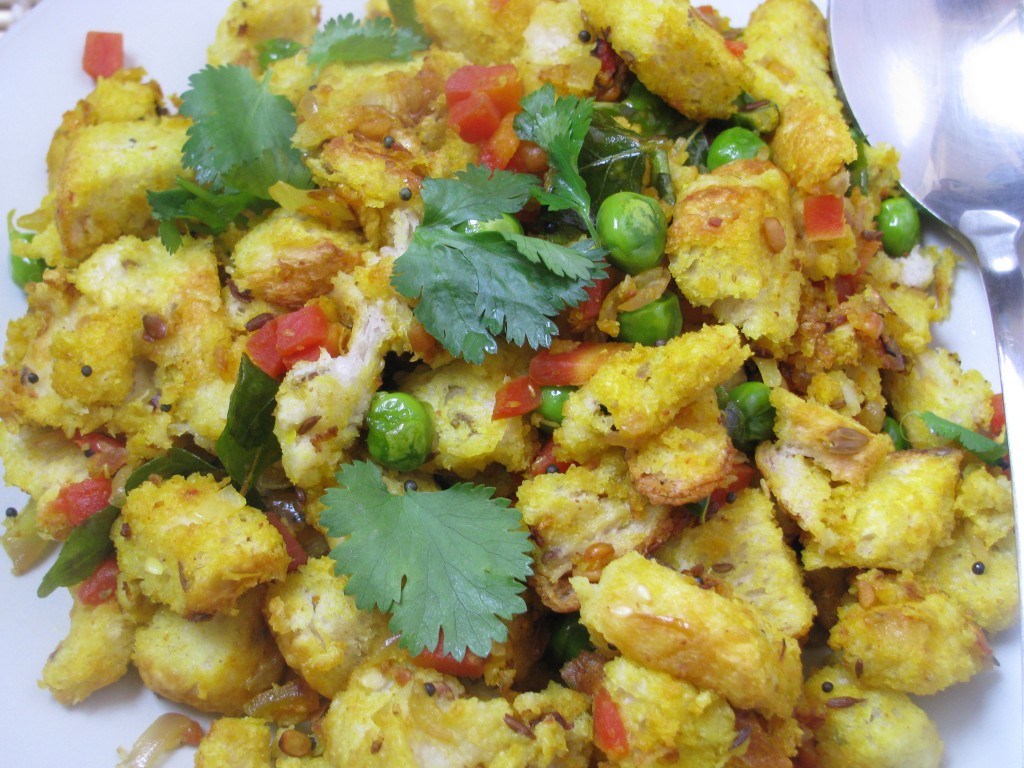
Bread Upma  is a healthy  Breakfast recipe as well as easy to make. Kids love this Upma in their tiffin box and you can easily make it in morning hours. You can also add all the colorful vegetables to this Upma. Vegetables keep this Upma soft even when it is cold. In winters, it’s really difficult for the kids to finish their tiffin as the food becomes very cold by the time they eat it. They eat it only if the food is soft and tasty. In winters, I prefer to give Paratha, Bread Upma, Dry fruit ladoos, Whole wheat flour Cake, Chocolate pudding, Vegetable sandwiches etc. in my kids tiffin box.

[box]Also Check – Upma Recipe | Suji Upma Recipe[/box]

Types of Bread to make Bread upma recipe

I have used Multigrain Bread to make this Upma. Multigrain Bread,wheat Bread, ragi Bread, oats Bread, dalia Bread are better choices than white Bread if you want to make healthy breakfast. It is rich in vitamins and minerals with lots of fiber. White bread is made up of refined flour, in the process to make refined flour, lots of vitamins, minerals and fibers are removed. Many people go for brown Bread and they think that it is a whole wheat bread. But most of the time it is made up of maida (refined flour). Do check the contents before buying bread. Now a days, multi-grain bread have lots of good seeds like flax seeds, sesame seeds, sunflower seeds, melon seeds etc. These ingredients give nice nutty taste in Upma. You can make this recipe with white Bread also.

[box]Also Check –Variety of Oats Upma recipes[/box]

easy to make bread recipe
bread upma

What Is Upma ??

Upma is a tasty South Indian recipe which is generally made with rava (sooji in hindi/ semolina). I have used some main ingredients of Upma except rava. Tempering of Upma is very important to give the typical South Indian flavor to this recipe. The main ingredients are mustard seeds, curry leaves (kadi patta), urad dal (urad dhuli).

[box]Also check– Healthy breakfast and snacks recipes [/box]

In rava Upma, we have to roast rava or sooji for long time to make it non sticky. In Bread Upma, there is no need to roast bread like that and it takes much less time to cook. Bread is already baked and we have to just cook it with vegetables and sprinkle little water to make it soft.

How to make Bread Upma more healthy and nutritious

To make this Upma healthier and more nutritious for your breakfast, make it with vegetables like carrot, beans, Capsicum (bell pepper), fresh green peas etc.I have added 2 tablespoon oil in this recipe but if you want it low in calories you can reduce the quantity of oil .  You can also garnish it with fresh grated coconut. There is no need of side dish in this recipe but my elder kid loves it with tomato ketchup.

I explained Bread Upma recipe with vegetables but you can also try  different methods –

Kids don’t like milk so I try to use paneer whenever I can. You can add paneer or tofu cubes with vegetables to bread Upma recipe. It tastes                awesome.

  • Bread Upma with curd recipe

To make bread Upma soft I sprinkle water in the end and keep it closed for some time. In place of water, you can add beaten curd (phita                       dahi) to Bread Upma and keep it covered until bread pieces soak it. This Upma has a very tangy taste.

  • Bread Upma with ketchup

If you like sweet and salty Upma add tomato ketchup in place of tomatoes in cooked vegetables.

  • Jain Bread Upma

Jain recipes are without onion and garlic. If you want to make jain Bread Upma don’t add onion. All other ingredients remain the same in this recipe. Add hing in tempering of this recipe. Add curd in place of water to make jain Upma .

  • Spicy Bread Upma

If you are not making this Upma for kids, you can go easy on chilies. In Andhra style Upma ginger is also added, this gives nice spicy taste to this Upma.

I have explained how to make Bread Upma recipe with step by step images. Do share your comments and suggestions for this recipe.
[ingredients title=”Ingredients to make bread upma”]

  • 8 -9 slices of Bread (I have used multigrain Bread, you can use any Bread of your choice)
  • 1 cup chopped mixed vegetables (carrot, french beans, green peas(matar), cabbage)
  • ½ cup paneer / tofu cubes (optional)
  • ¾ cup beaten curd (phita dahi) or water
  • ¾ cup finely chopped onion (optional if you want to make it jain Upma or without onion)
  • 2 medium-size finely chopped tomatoes / 2 tablespoon tomato ketchup
  • 2 teaspoon lemon juice

For tempering Bread upma

  • 1 teaspoon mustard seeds (rai / sarso /mohri )
  • 1teaspoon cumin seeds (jeera)
  • 2 teaspoon urad dal (urad dhuli)
  • 2-3 green chilies (use it according to taste)
  • 15-20 curry leaves
  • 1 teaspoon turmeric
  • 1 ½ corriander powder
  • 2 tablespoon oil

For garnishing

  • corriander leaves
  • fresh grated coconut

[/ingredients]
[directions title=”Step by Step Directions to make bread upma”]
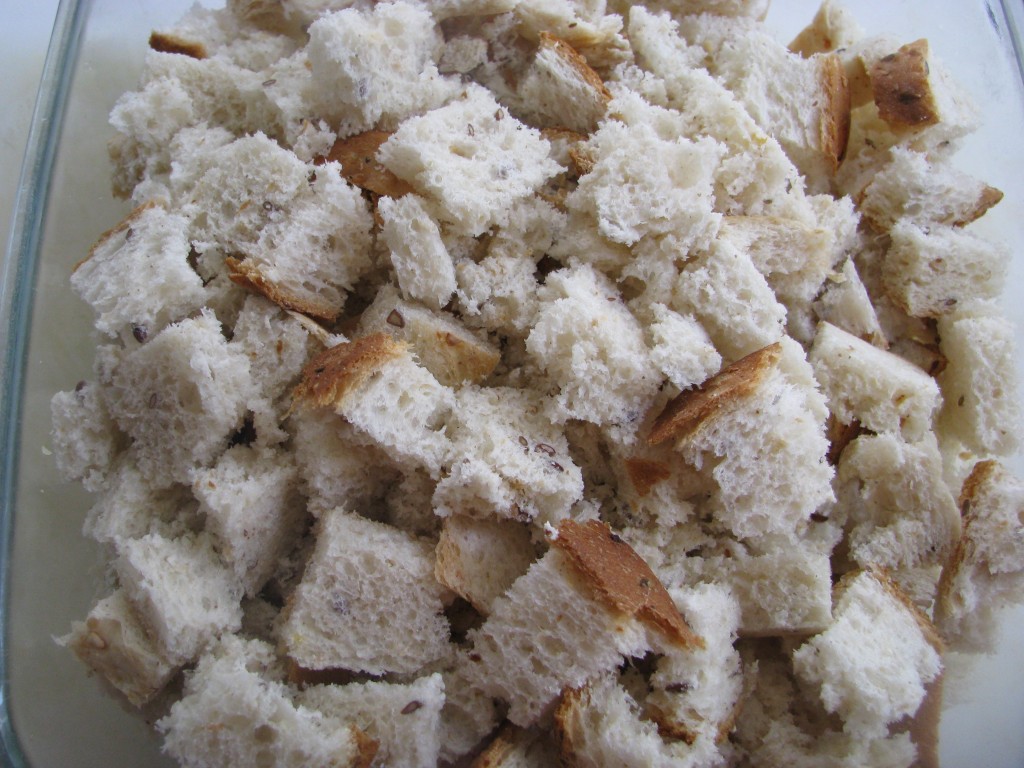
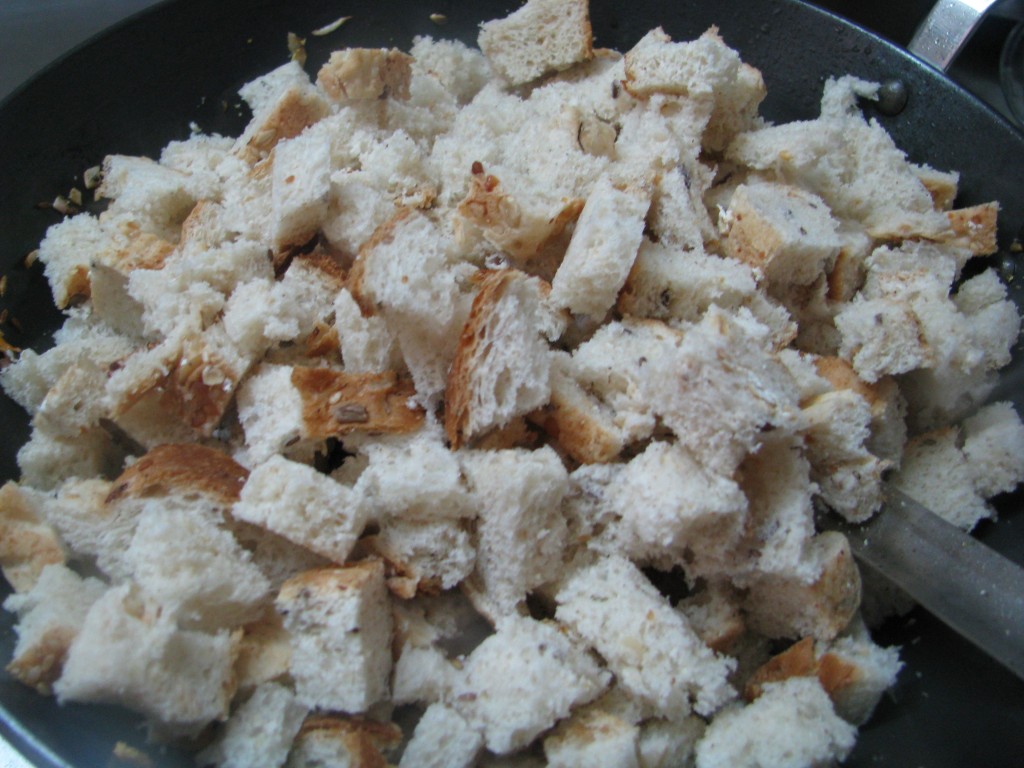
  1. Cut bread slices into small pieces.IMG_2583
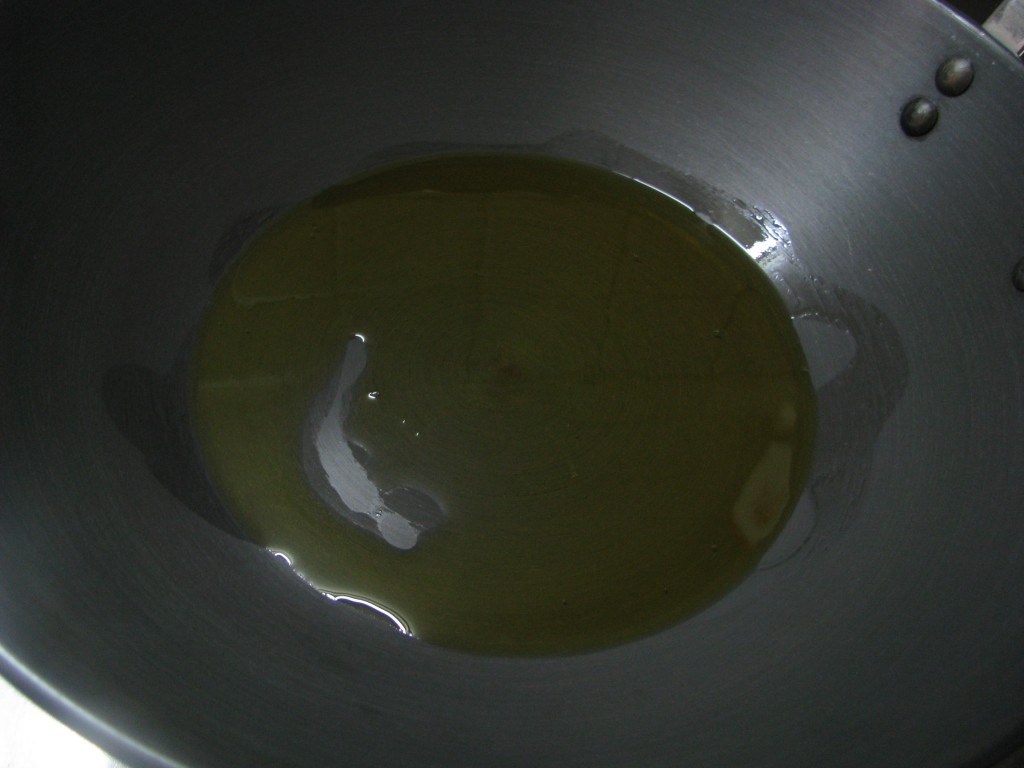
  2. Heat oil in pan.IMG_2584
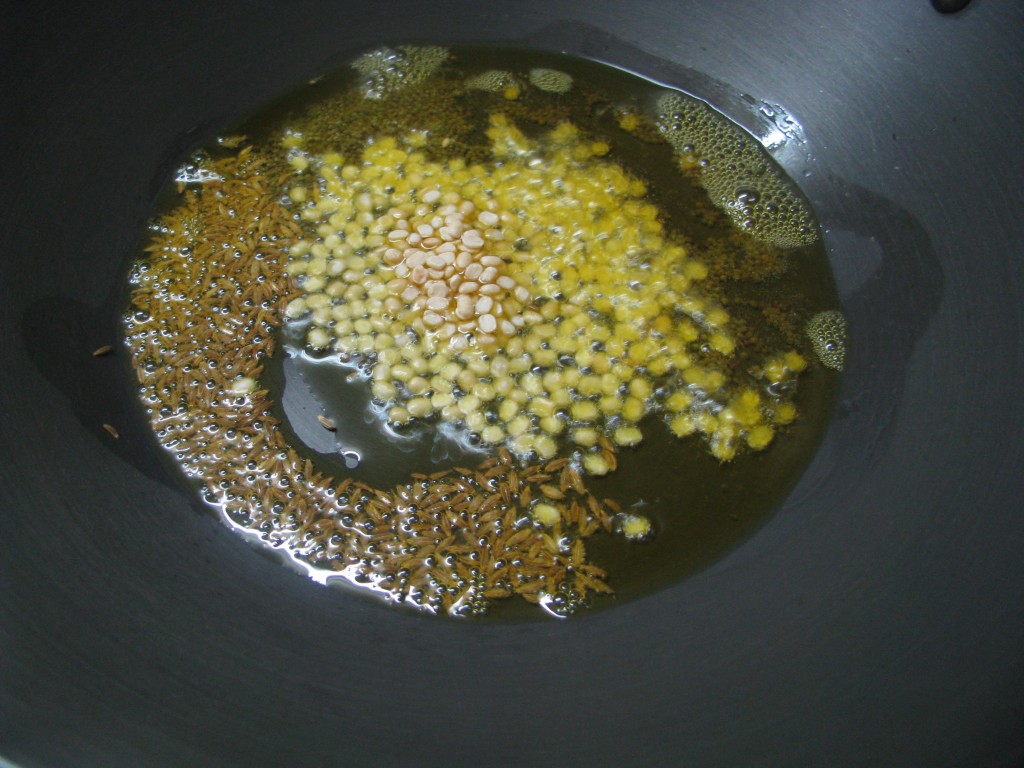
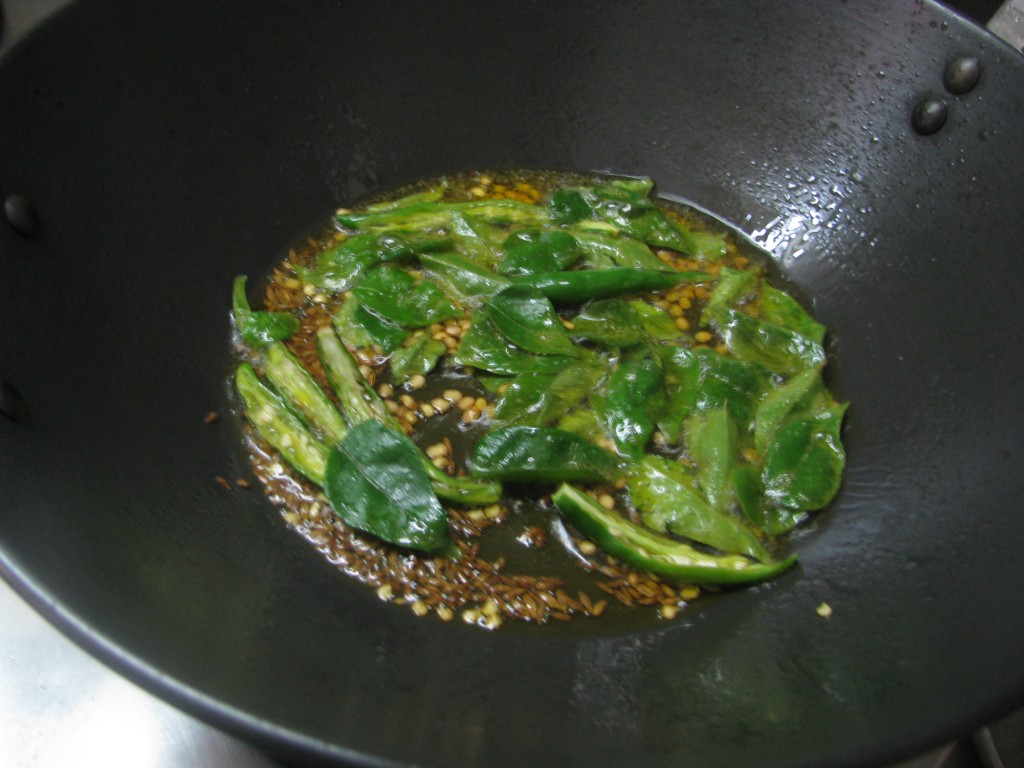
  3. Add mustard seeds and when it starts fluttering add jeera and urad dal to it.IMG_2585
  4. When urad dal becomes golden in color, add curry leaves and green chilies.IMG_2586
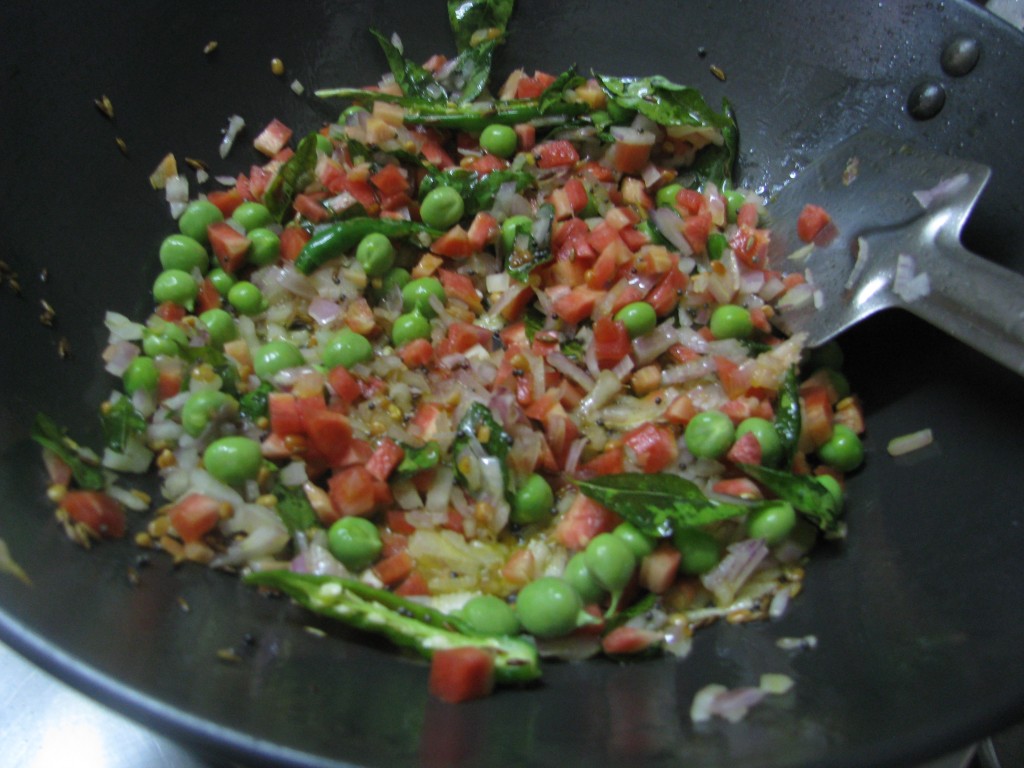
  5. Now add onion (optional) and all the vegetables of your choice except tomatoes. Mix it nicely for 1-2 minutes on high flames. Now cover it and let it cook for 3-4 minutes on low flames.IMG_2587
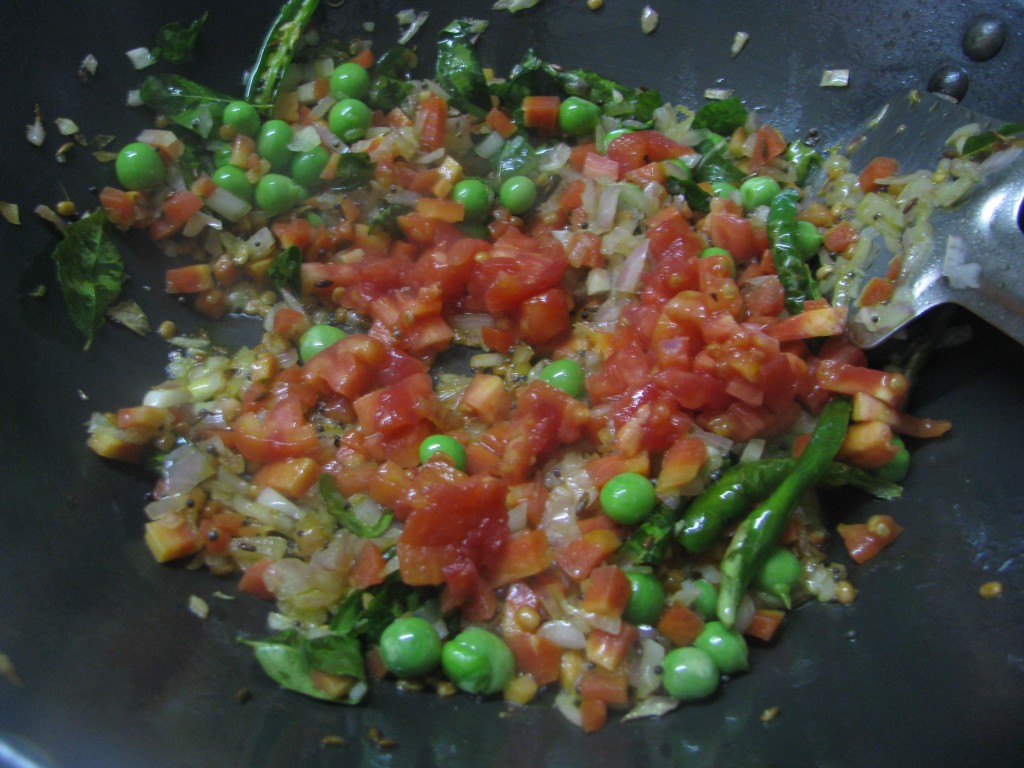
  6. Add tomatoes or tomato ketchup to it. I have used tomatoes. Let it cook for 1-2 minutes.IMG_2588
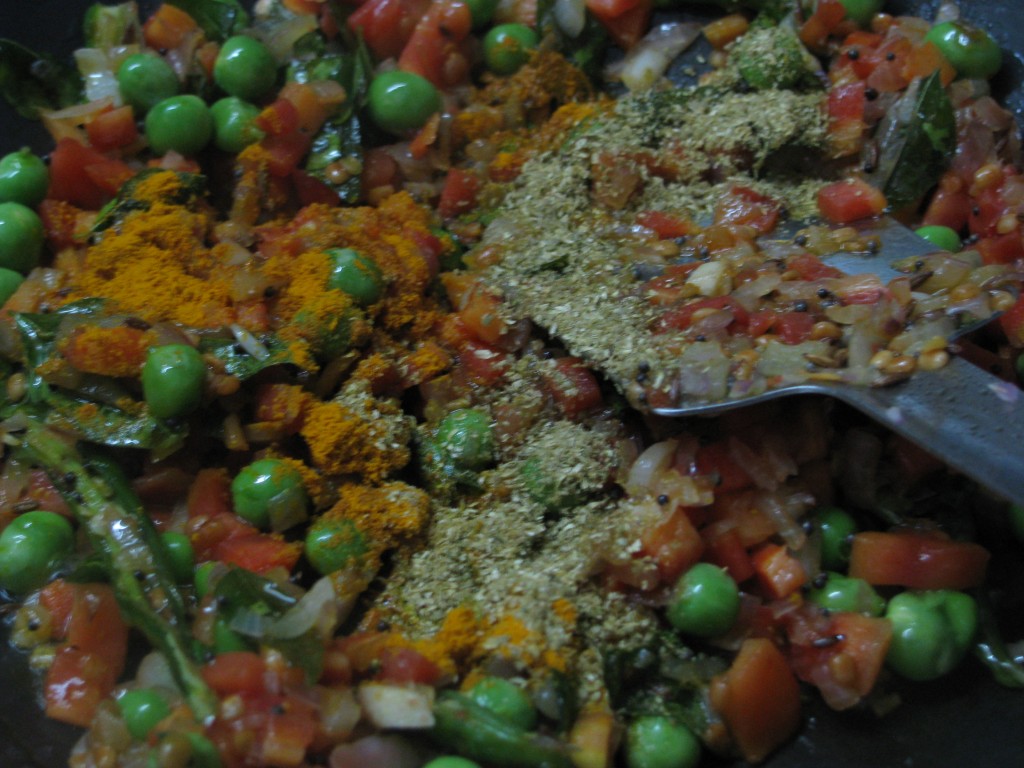
  7. Add corriander powder (dhania powder), turmeric powder.IMG_2590
  8. Now add Bread pieces to it. And mix it on high flames.IMG_2591
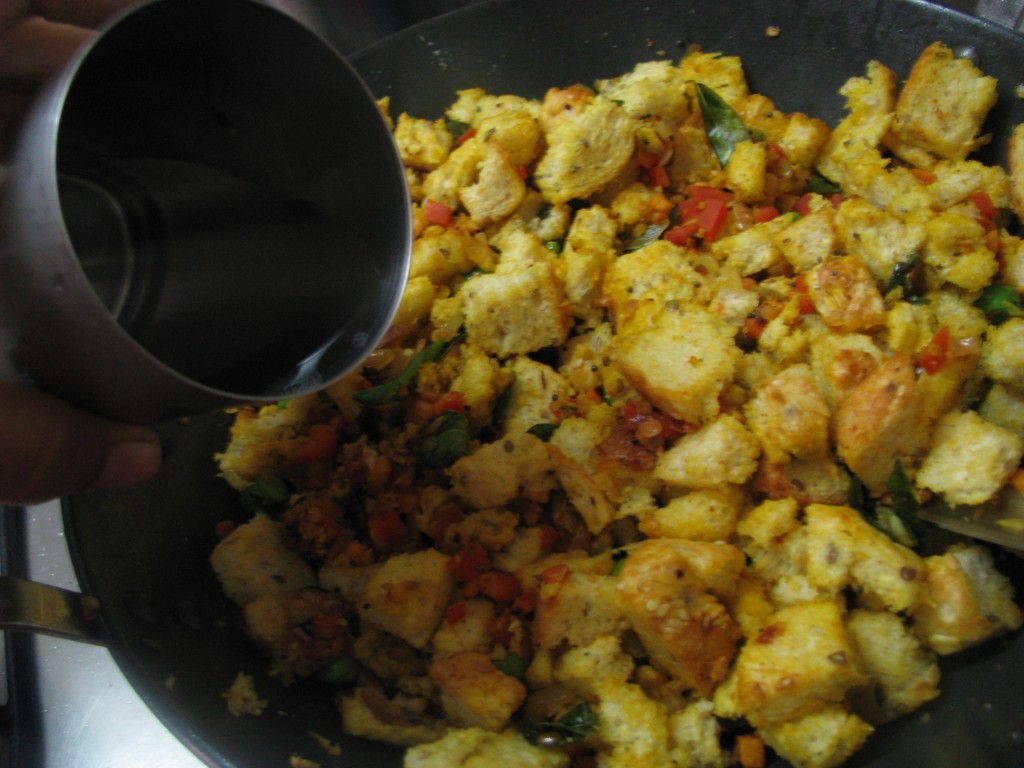
  9. Sprinkle water or add beaten curd to it and mix it peroperly. Keep it covered on low flames for 2-3 minutes.IMG_2593
  10. Add lemon juice to Bread Upma and garnish it with corriander leaves and fresh grated coconut.

    bread ka upma
    bread upma

[/directions]